
 I ta, you ta, we all scream for pita! ok, this makes no sense but these pillowy pita breads do! No, I haven’t gone completely insane and while you can buy perfectly fine pita breads in the supermarket, they wouldn’t be nearly as good as the ones you make at home. For starters these involve your blood, sweat and tears, or just some sweat or none.
Once you’ve made your own pitas you’d not bother buying one.
After many a failed attempts at baking pitas in the oven, I decided to give it another approach and now I’d want to kick myself for never trying this out.
Let’s talk a bit about pitas made in oven. Mine just never came out that good. They would puff up and beautifully brown, but they never had that softness and that cushiony thickness to it. They’d be hard, brittle and crack, unlike these, which can be stuffed with your furniture without as much as a tear.
These were just magnificent, soft, forming beautiful pockets and absolutely delightful. these are so incredibly easy to make that you’d rather make these than drive all the way to buy one.
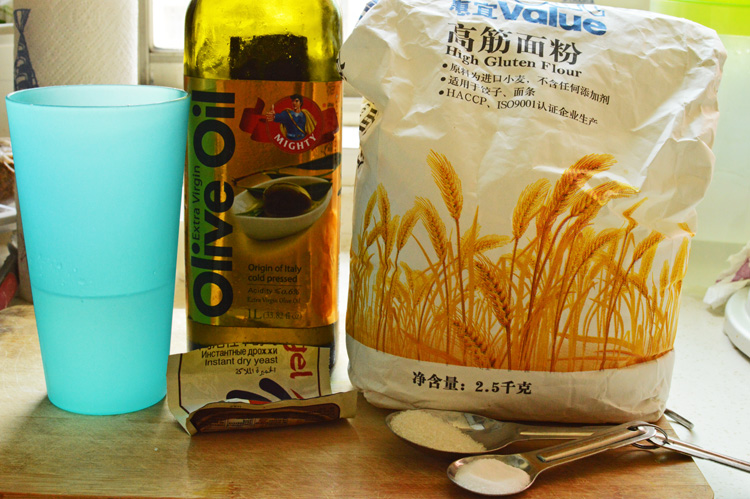 such simplicity.. I cry. handful of ingredients:Warm water, yeast, high gluten flour, olive oil, sugar and some salt
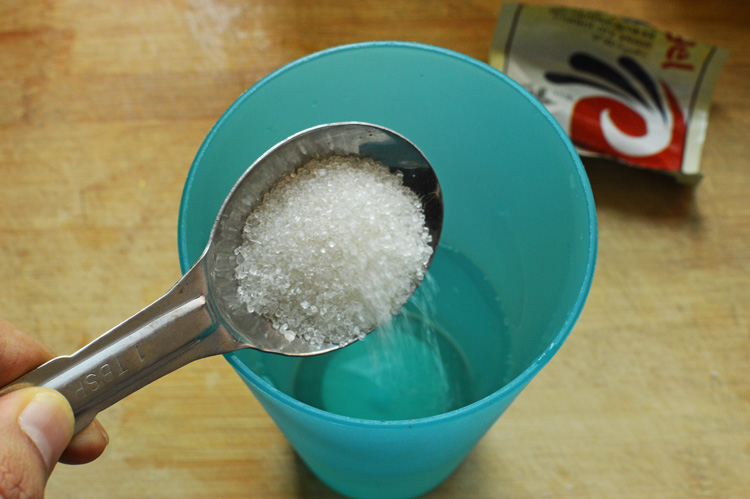 Sugar + water = yeast love. Make sugar the water isn’t hot, or cold. It should be just warm, like warm to the touch. You don’t need any thermometers for this, just a finger.
 Into the sugary water we add in the yeast. I’ve used the instant dry yeast, but please feel free to use whatever yeast you have handy.
 Mix and let it be for at least 5 minutes. In which time we can prepare our flour.
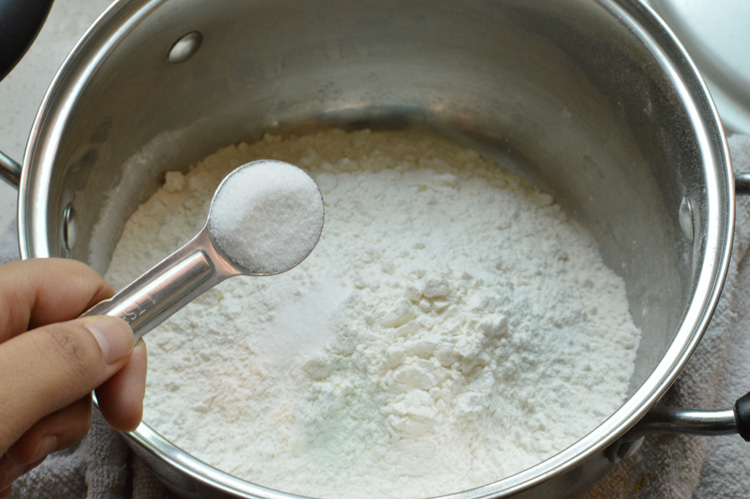 add salt in the flour and mix it to disperse salt evenly.
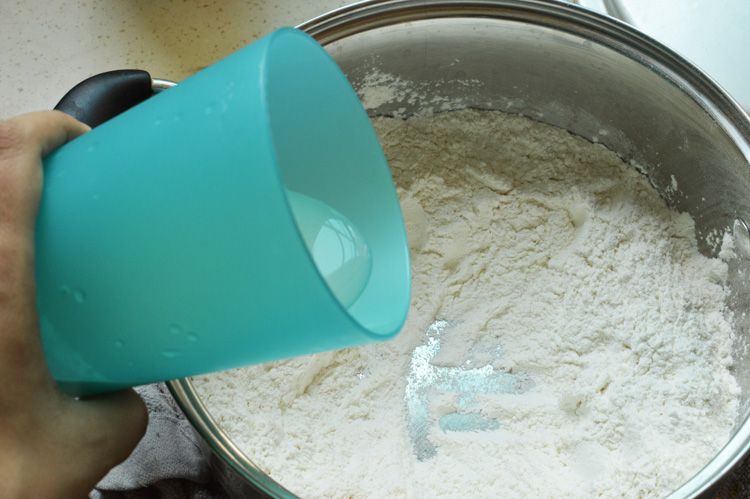 Make a ridiculous well in the centre of the bowl and pour in the yeasty water. NOTE: the water should be foamy and frothy by now. If the water hasn’t foamed it probably means that the yeast hasn’t activated, in which case throw out the water and start again. make sure the yeast is fresh and the water isn’t very hot.
 pour in the water
 and the oil, and start kneading the dough.
 Of course I didn’t take pictures while kneading the dough, I have but only two hands. I kneaded the dough for about 10 minutes and formed into a somewhat smooth dough ball. It should be slightly springy to the touch and not very dry. I also had to add a bit more water as I kneaded.
I also lightly oiled the bowl so that dough does not stick as it sits to rise. Cover the bowl and let it be in a warm place for an hour until it has doubled in size.
 Magic!!!! the dough has become puffy and fat and I sort of want to rest my head and sleep on it. Ok, now punch the dough to release out all the air. you heard me, punch it like you’d want to punch your ex, ripping out its entrails and dancing on them… forget that last part. Just punch it ok.
 Tip out onto a floured surface and make sure you knock out all the air from the dough.
 form into some sort of geometrical shape, mine looks a rectangle. Make sure it’s evenly thick from all sides and edges.
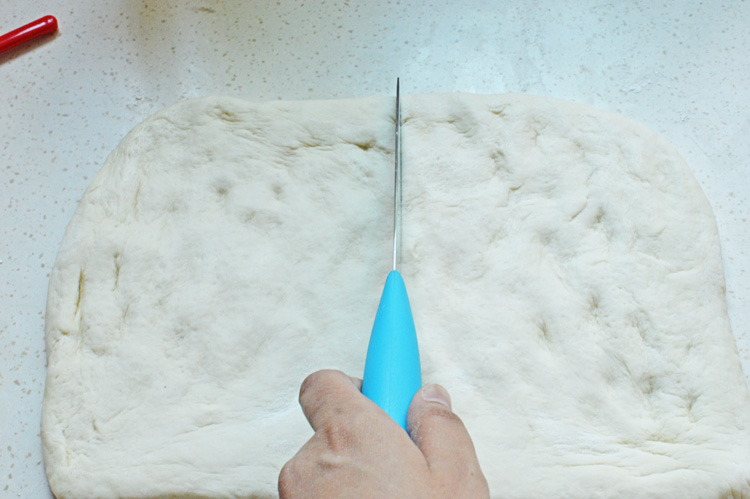 now cut it in equal portions.
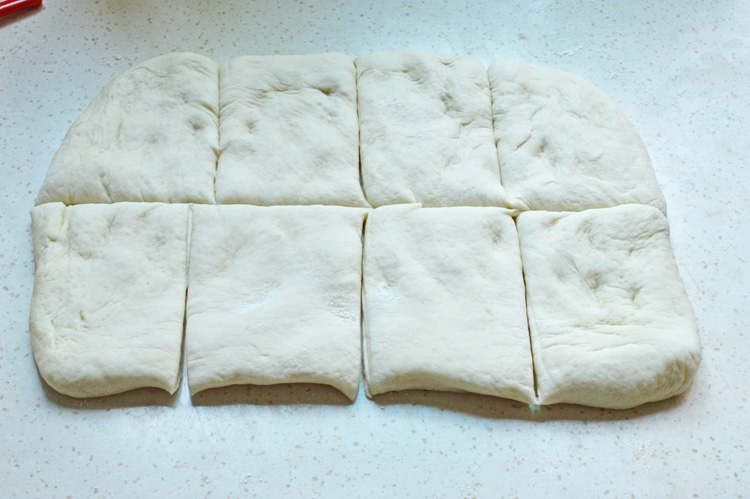 I ended up having about 8 equal portions, but you could have less, you could have more depending how big or small you want your pita, but I think this was fine.
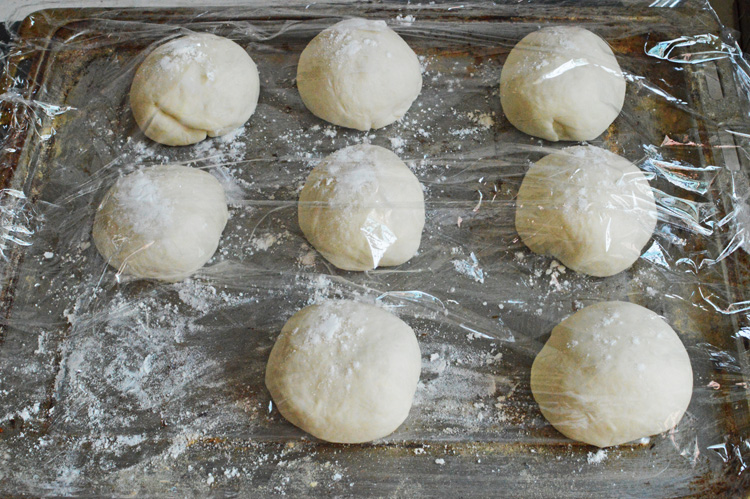 form these into equal sized balls and let them rest on a floured surface. I floured the tops slightly and covered with plastic wrap. let these rise for another 30-45 minutes.
 Oooooh, these have become fat yet again. No matter how many times I make bread, I can’t keep myself from getting amazed at what yeast does. It’s magic I tell you. Here’s your letter to Hogwarts!
 Okay, now taking individual rounds, flatten them a bit and using your rolling-pin roll these out to form….
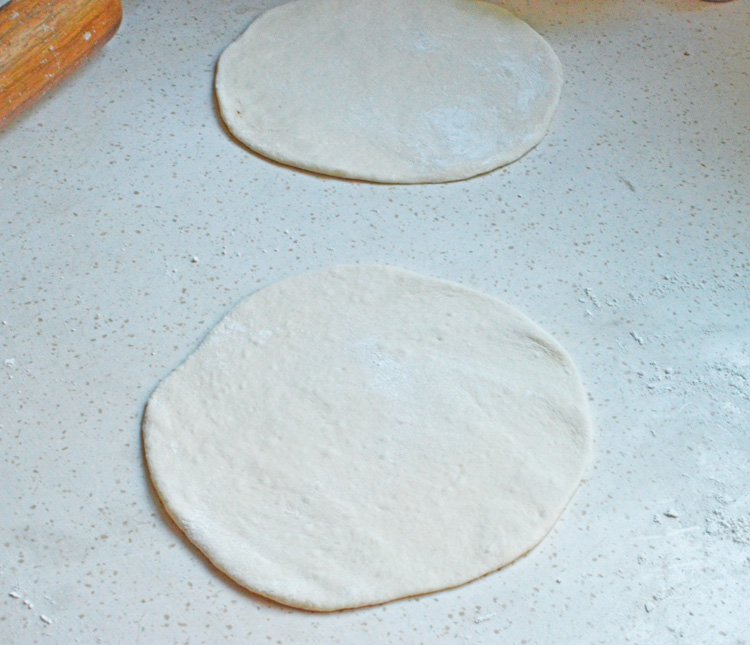 These!!!! ok, I admit they could have been rounder but once these have puffed up you wouldn’t care, also as you progress your rounds will keep getting better, in theory and in life. Let them rest for a couple of minutes.
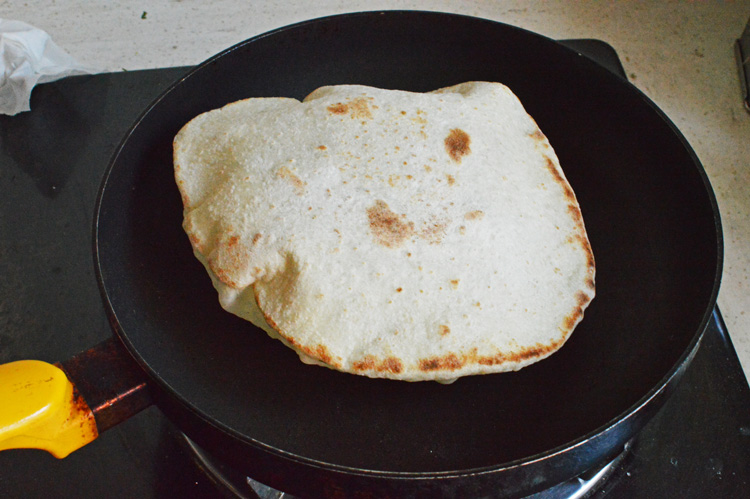
While they are resting, bring out your skillet or in my case a non stick frying pan, and put it on a medium high flame. Let it get reasonably hot and put on the rolled out dough. Flip it after about 20 seconds and after giving the other side 30 seconds flip again and…
 This!!!! It will rise, it will puff up, you will scream and shriek and you would want to embrace everyone. It actually puffs up. It forms a pocket. this really happens, in your own kitchen!!!!
 Flip again to let the other side cook and brown a little and look at this little thing. It’s risen majestically. Bow down and pat yourself on the back, for you are now a proud owner of homemade pitas.
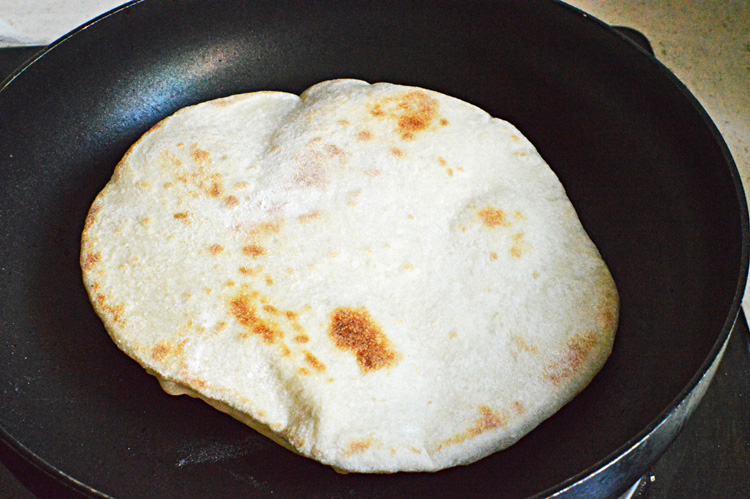

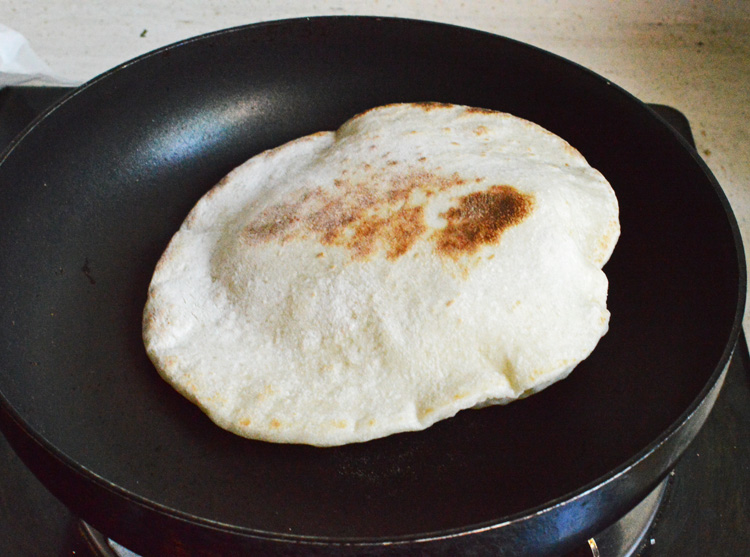 These are different pitas in different stages of puffing.
OK, now the first one would probably not puff up as much as you’d want because you’d still be getting a hang of it, the skillet/pan would be adjusting heat and perhaps your flipping would be either too fast or too late, but believe me, after the first two you’d know exactly what to do and there wouldn’t be a pita that wouldn’t rise. I promise!
 Very soon your pita pile will get bigger,
and bigger, and now you’re a pro..
Ingredients
Lukewarm water: 250 mls (I cup)
Flour( High gluten): 400 gms
Yeast: 1 teaspoon
sugar: 1 tablespoon
salt: 1 teaspoon
Olive oil: I tablespoon
Recipe: Dissolve the sugar and yeast into the water and let rest until the yeast starts foaming. In the meanwhile into a large bowl, add the flour and mix in the salt.
Making a well in the centre of the flour mixture add in the yeast water and the oil and knead to form a soft dough. Depending on the humidity and the flour you might want to add in more water if the dough is dry or add in more flour is it’s sticky.
Once you’ve made a smooth ball it should be slightly springy to the touch, let it rest in a lightly oiled bowl. Make sure to cover it and keep in a warm place for at least 1-2 hours depending on the rising and how warm your place is.
After it has risen it should have doubled in size. Punch it to knock the air out and tip it on a floured surface. Even it out and cut into 8 equal sized portions.
Form them into balls and let them rest again for 45 minutes until they have puffed up and increased in size.
Using a rolling pin, roll them out to form about 1/4 inch thick rounds and let them rest for another 2-3 minutes.
Heat a skillet or a frying pan on medium high heat and place the rolled out dough and after every 20-30 seconds flip it over to evenly brown and puff. After about 2-3 minutes it would have cooked through and formed pockets.
Stuff these pockets falafels (recipe here), hummus (recipe here) and roasted red peppers (here)
Enjoy!!!!


These look really nice. Great recipe.
Hi.
These look very good and much healthier than the market variety. Please tell me if there is any way of making pita without yeast because I have never tried making anything with yeast before and I do not feel very confident.
Thanks