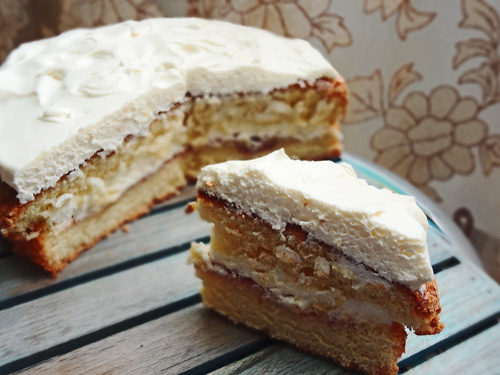
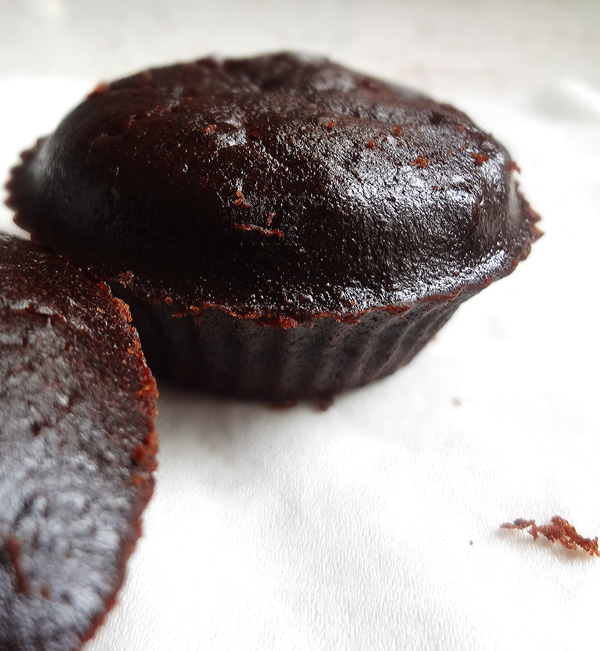
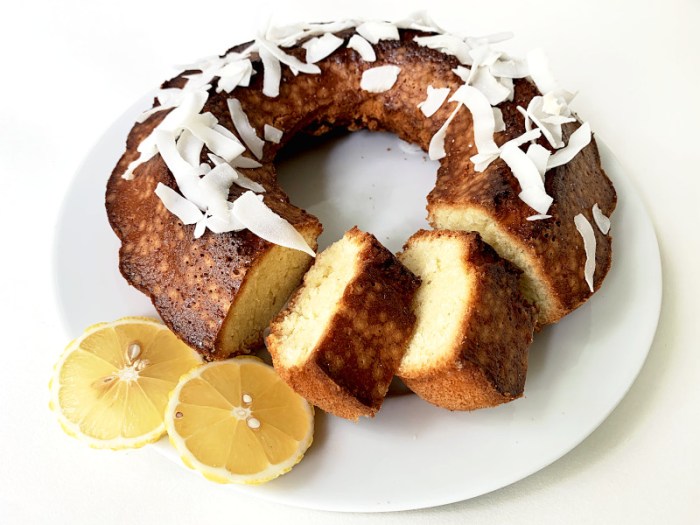
It could have been the sudden onslaught of summers or the desperate need to eat something sweet or even the fact that my pantry boosted a most comprehensive collection of coconut milk that I suddenly felt this overbearing need within me to bake a coconut cake and not just any coconut cake but beautiful bundt at that and thusly here we have a gorgeously sweet, tropically kissed and easily made coconut cake.

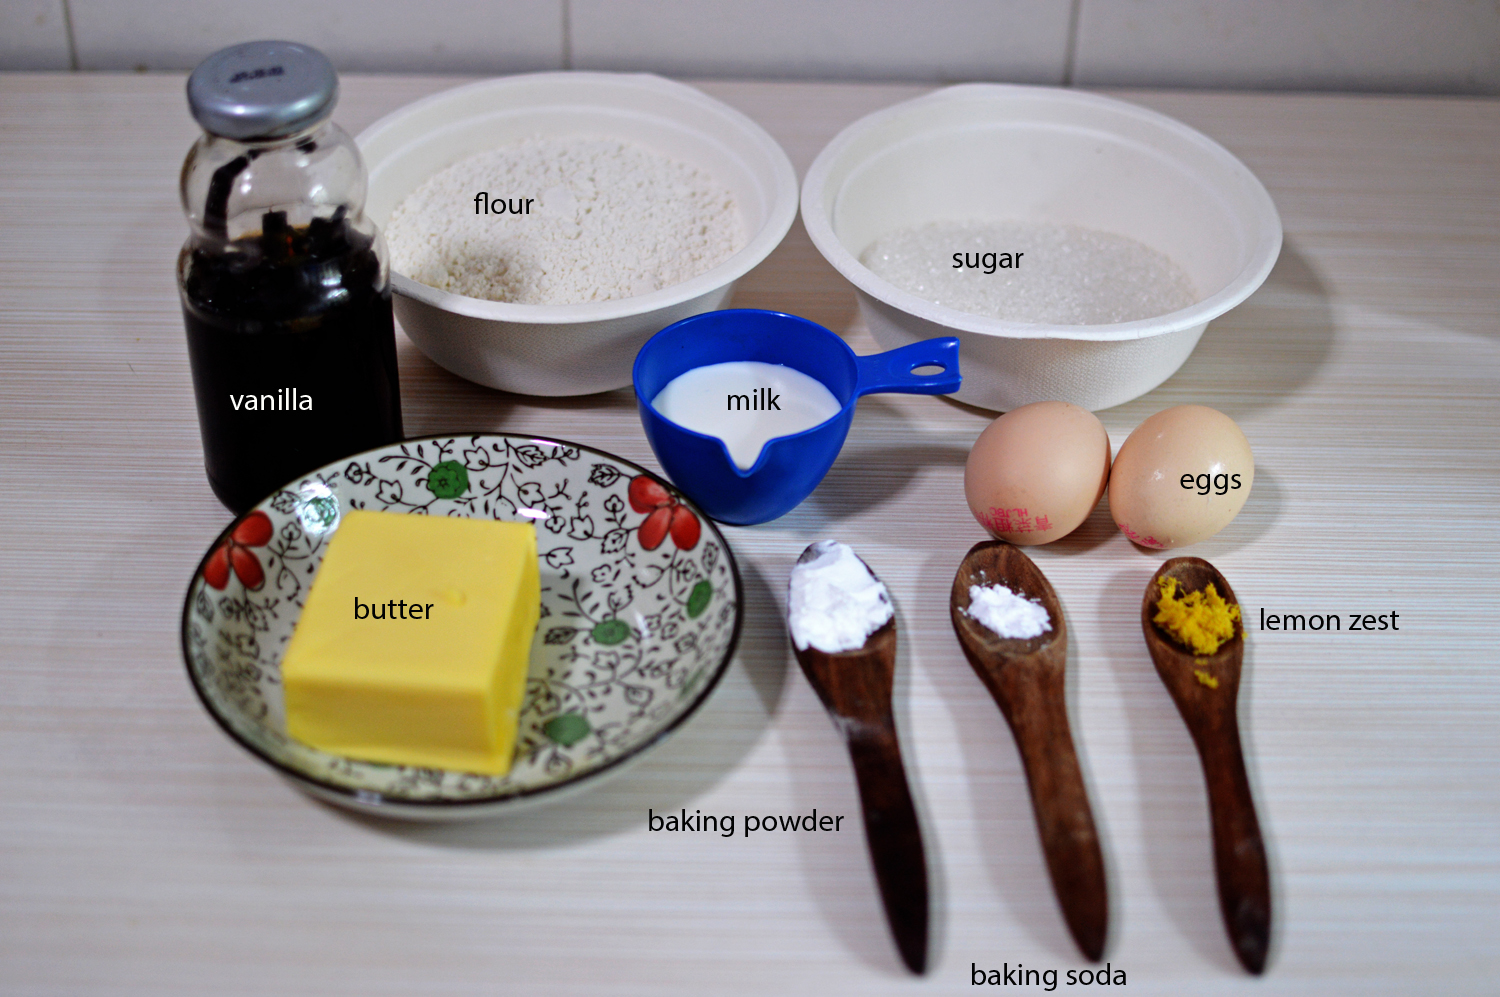
The ingredients are eggs, flour, baking powder, butter, sugar, coconut flakes or dessicated coconut, sugar, lemon zest and coconut milk. Also vanilla extract (not pictured)

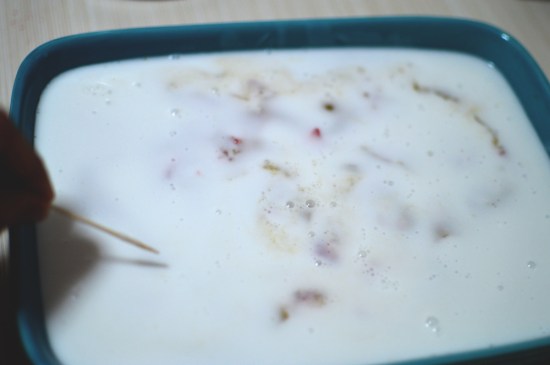
I used a food processor to mix the lemon zest in with the sugar just so it’s evenly distributed and renders a more aromatic scent. This step didn’t do much to affect the end result so it’s optional.
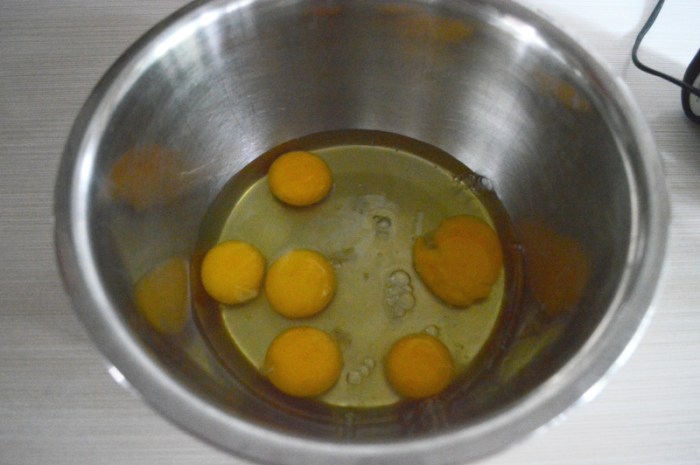
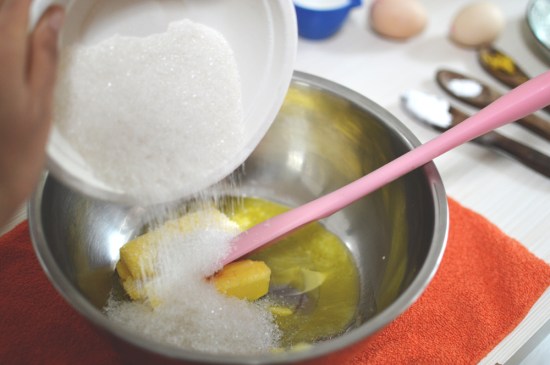
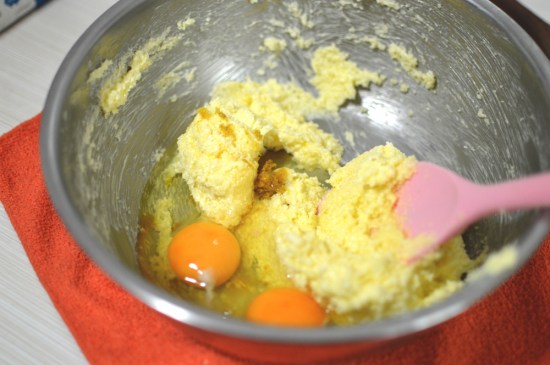
crack eggs in a clean mixing bowl

and add in the sugar

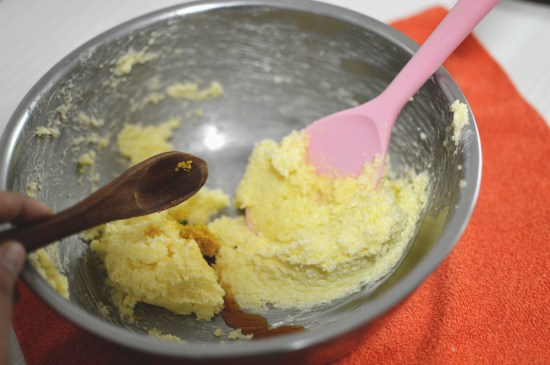
and beat well for a few minutes until pale
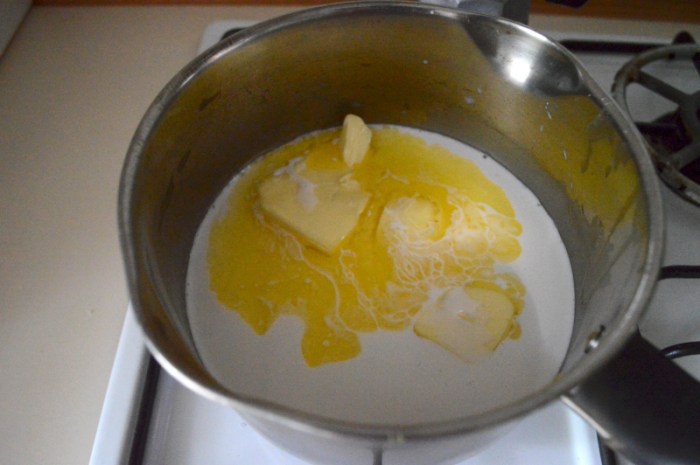
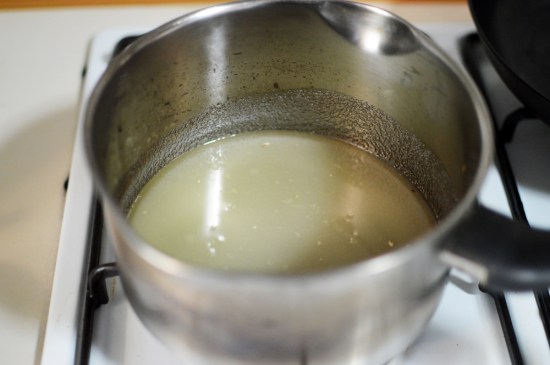
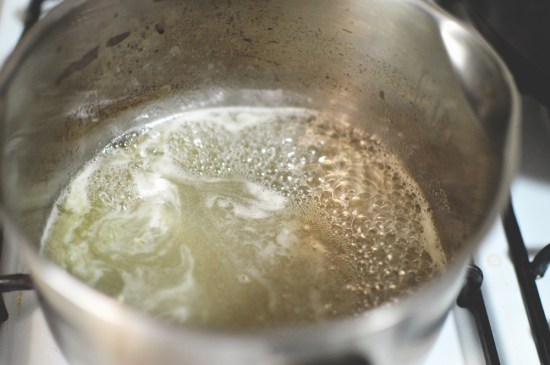
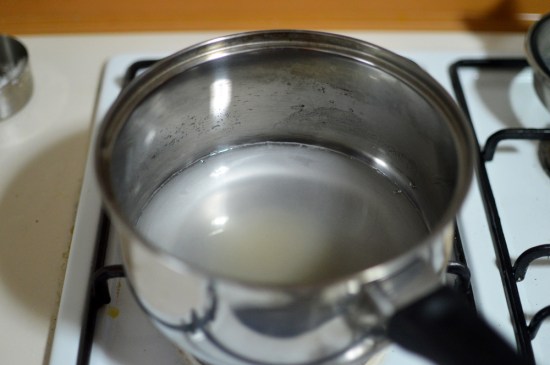
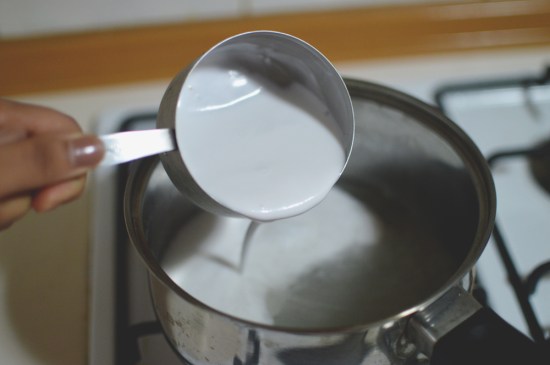
Heat coconut milk and melt in the butter ensuring it doesn’t get too hot and reserve for later.
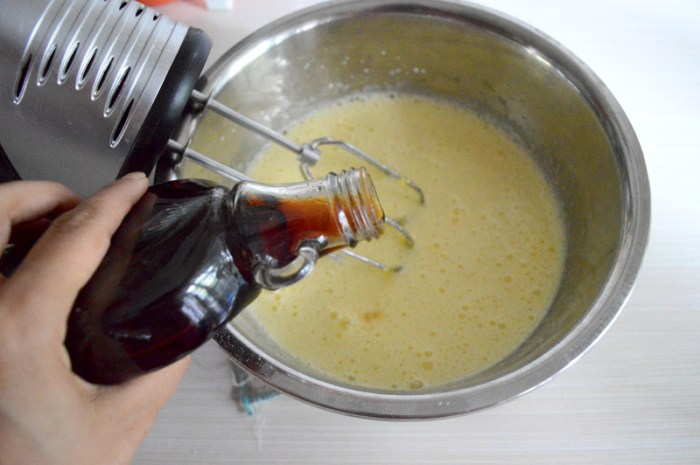
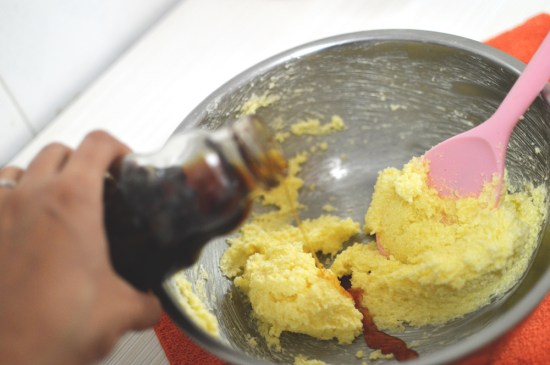
Add vanilla extract
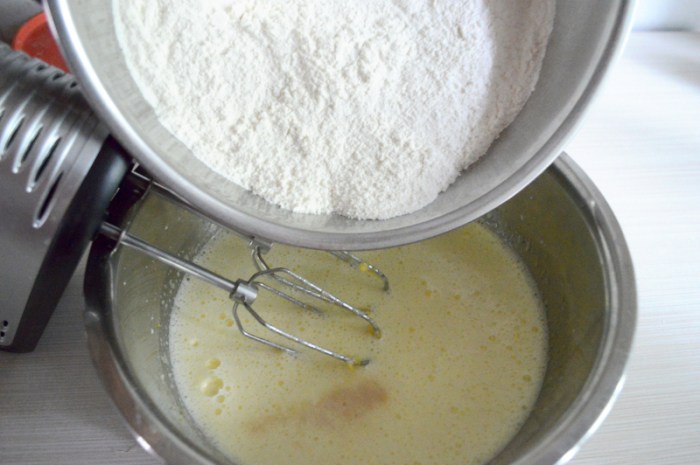
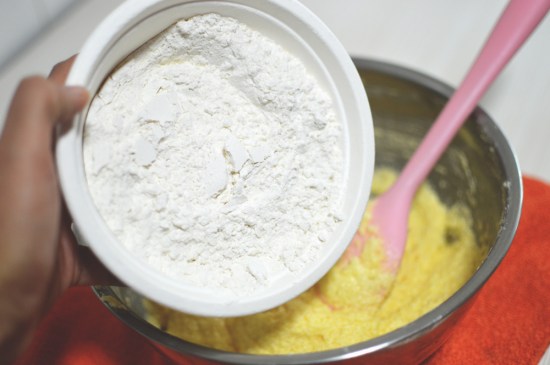
followed by the flour and baking powder. Add it in batches. Mixing constantly and scraping the sides of the bowl intermittently.

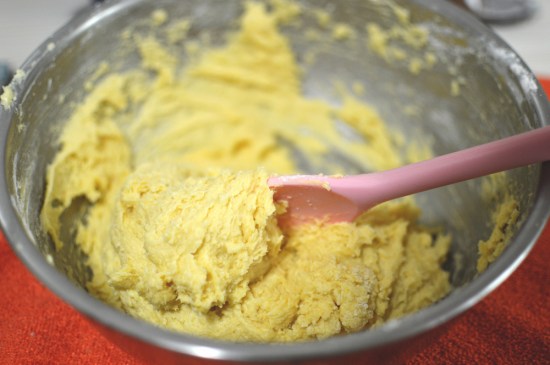
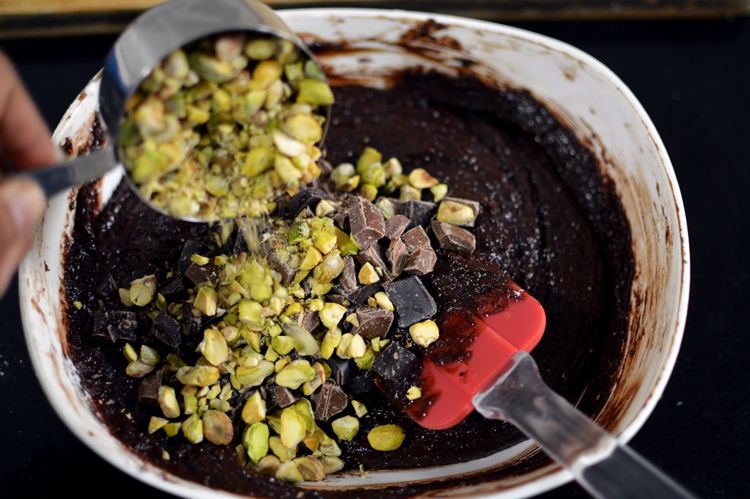
Once the flour is well mixed add in the coconut flakes and mix again.

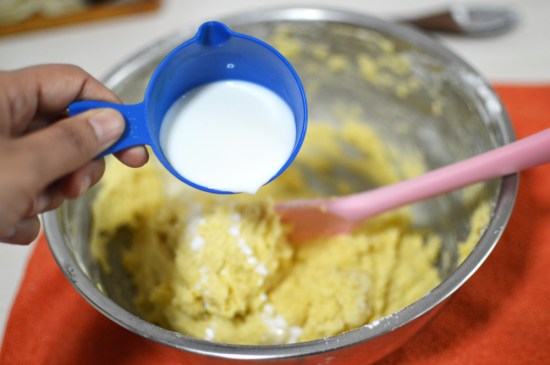
and finally pour in the coconut butter mixture.

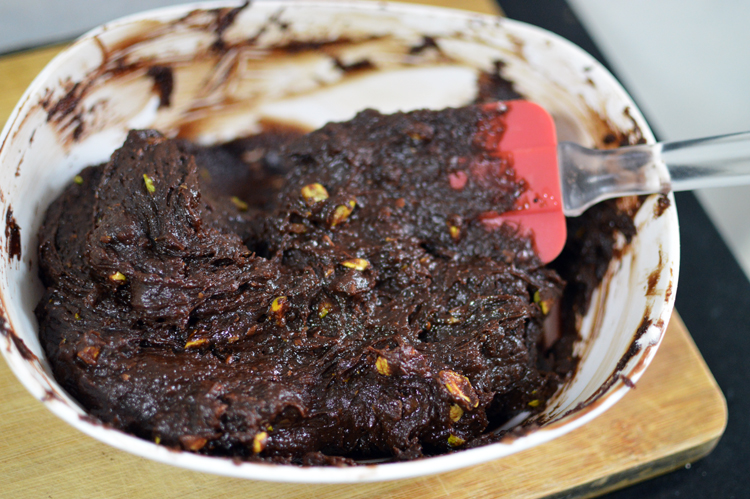
Beat well ensuring there are no dry lumps in the batter.
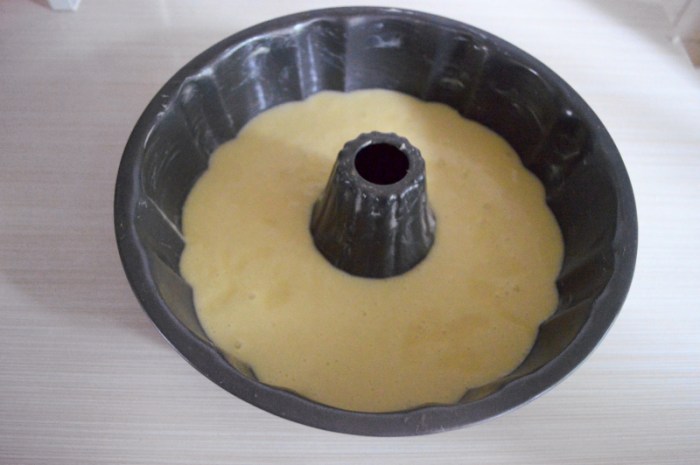
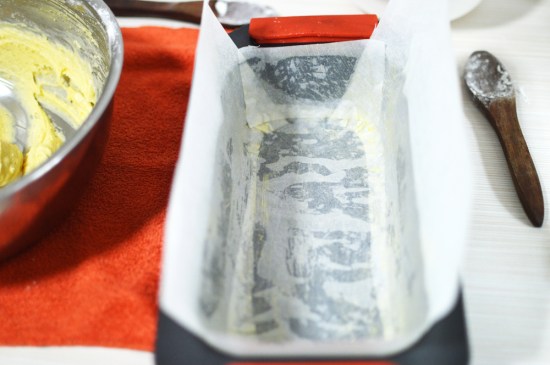
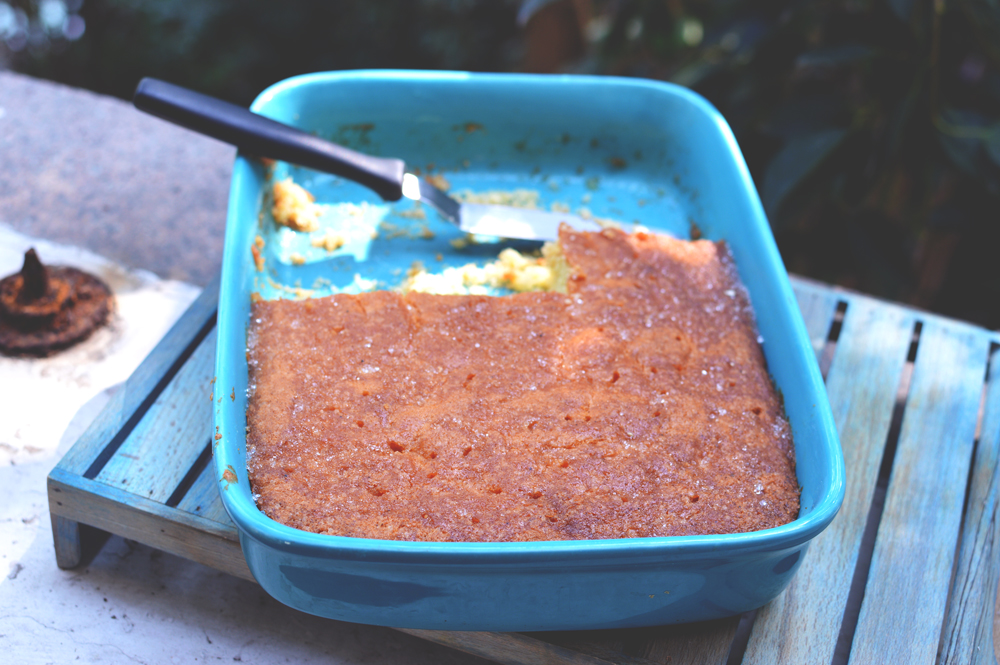
Pour into a well greased baking tin. I’m using a bundt pan but feel free to make it into a regular sheet cake or even cupcakes.

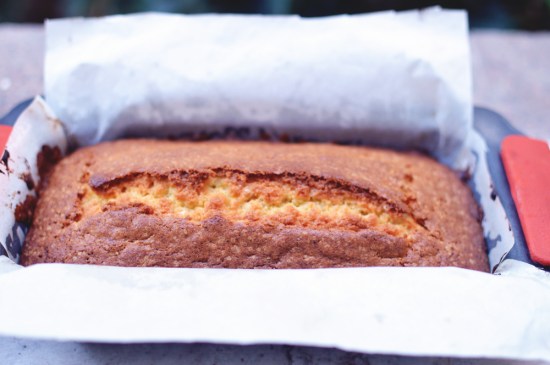
Bake at 170ºC for 45-50 minutes in a preheated oven or until a knife inserted in the middle comes out clean.
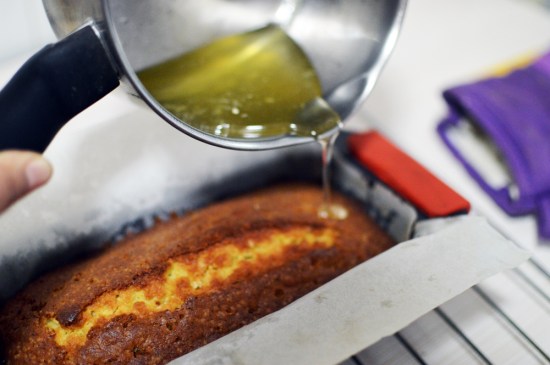
Let it rest for at least 10 minutes before removing from the pan and let cool on a wire rack.
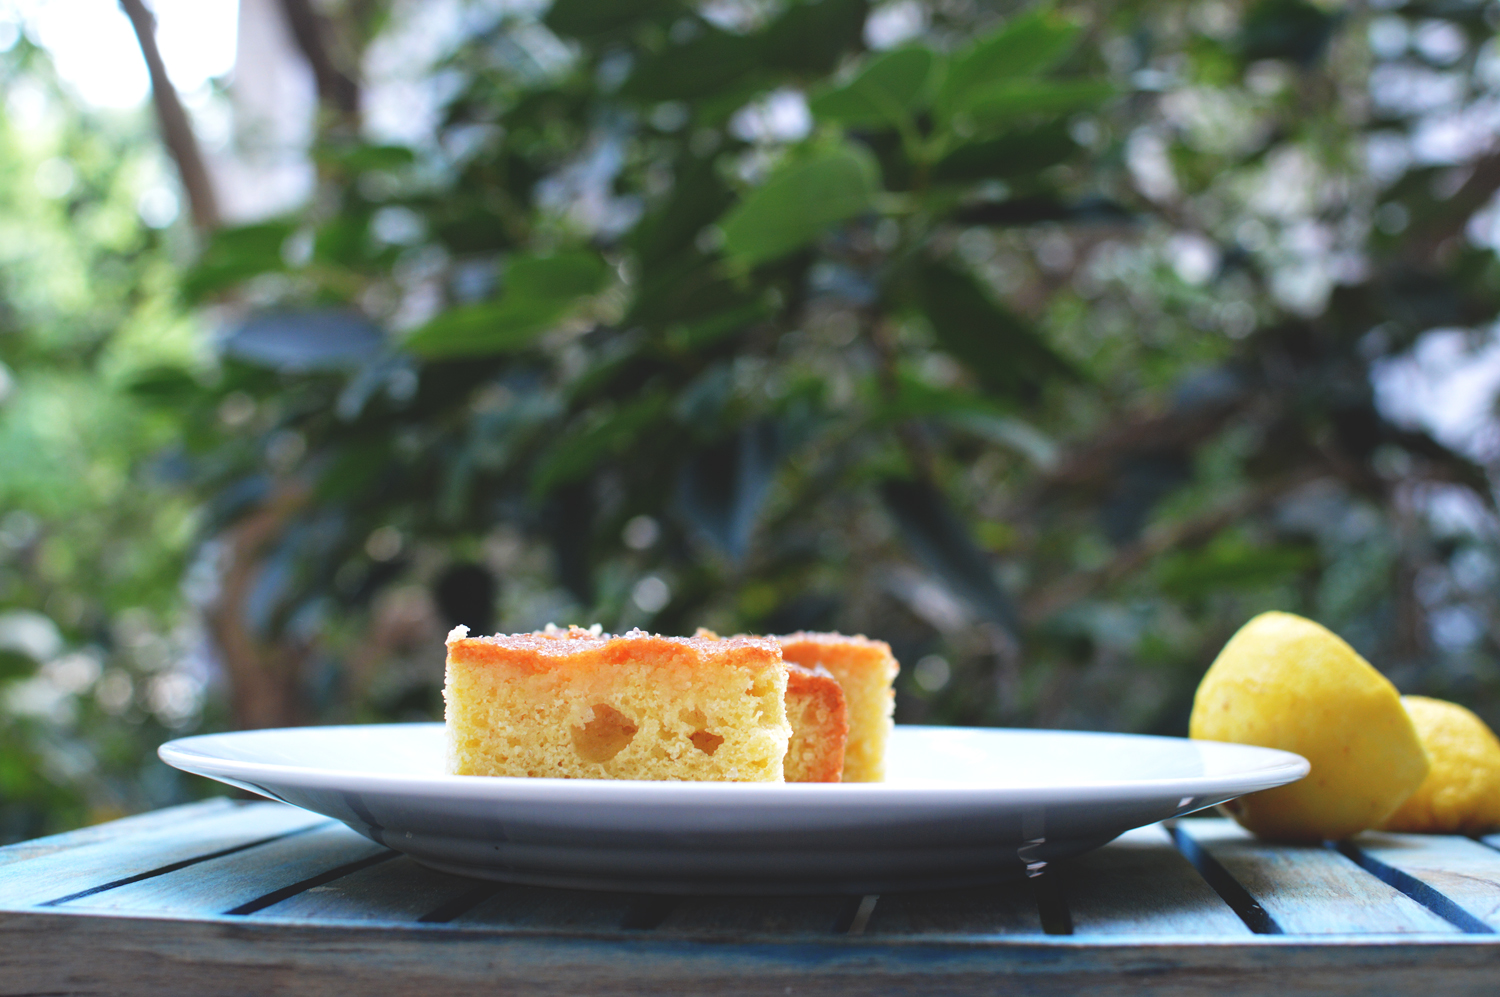
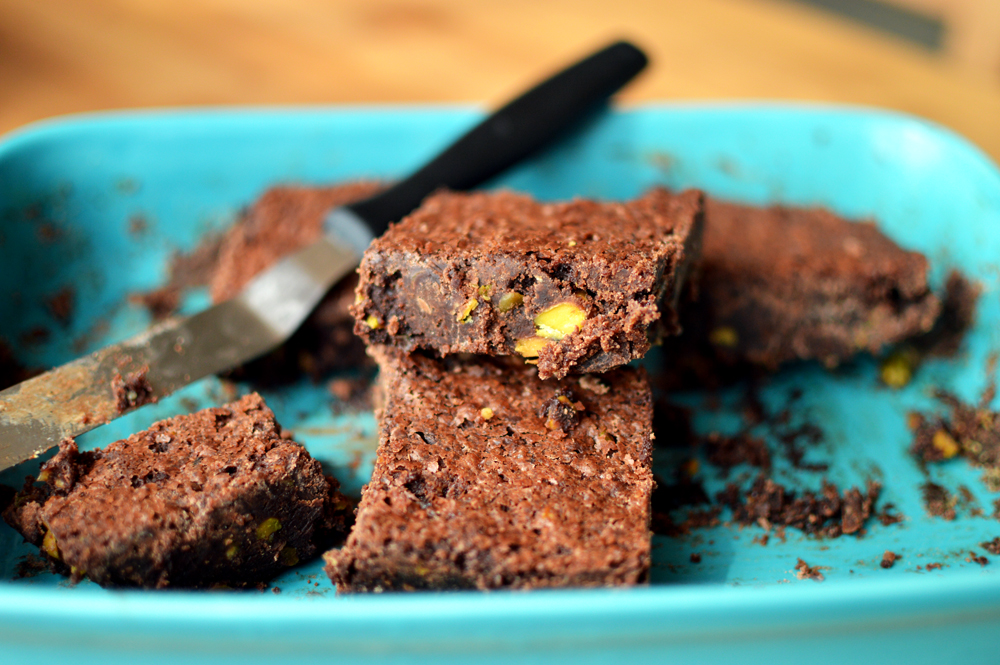
Dust with powdered sugar or sweetened coconut flakes before serving.
Ingredients
Flour: 240g
Sugar: 250g
Salt: 1/4 tsp
Baking powder: 1 heaped tsp
Butter: 80g
Eggs: 4
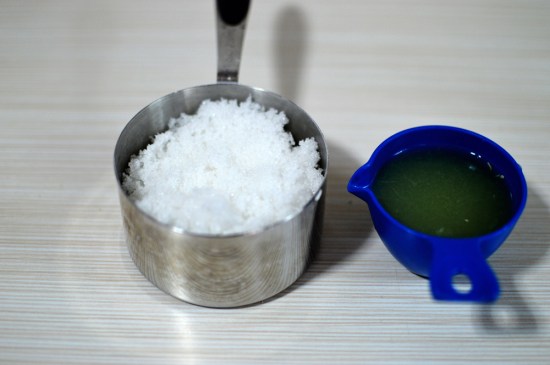
Coconut milk: 200mls
Dessicated coconut: 150g
Vanilla: 1 tsp
Lemon zest: 2 tsps
Note: The picture shows 6 eggs but the recipe uses 4.
Recipe instructions
Mix together the flour, baking powder and salt and keep aside.
In a clean pan heat the coconut milk and melt in the butter. Don’t let the mixture get too hot. Reserve for later.
Crack in the eggs in a large bowl and beat in the sugar and lemon zest until the batter gets well aerated and turns pale. It will take a few minutes and add in the vanilla extract.
Mix the flour, baking powder and salt mixture into the egg and sugar batter in batches until well incorporated. Keep scraping the sides of the bowl to ensure no lumps or dry bits of flour are stuck to the sides.
Once the dry ingredients are mixed in beat the coconut flakes/desiccated coconut followed by the coconut milk and butter mixture.
Mix well until you have a sunkissed pale yellow batter punctuated with grainy bits of coconut flakes.
Scrape the batter in a well greased baking pan and bake at 170ºC for 45-50 minutes or until the top of the cake is copper hued and a knife inserted comes out clean.
Let the cake cool in its pan for at least 10 minutes before inverting on a cooling rack where it needs to cool down for another ten minutes before slicing in.
Finally dust with sugar or sweetened coconut flakes before serving.
Enjoy!


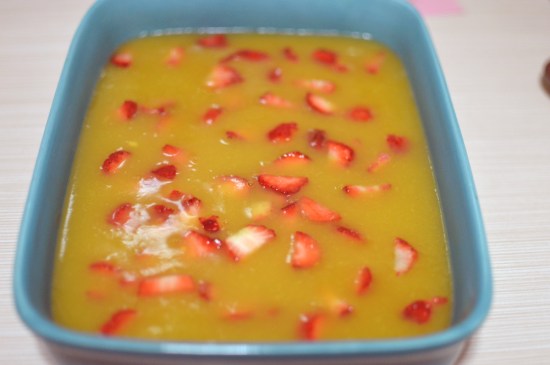
 These symmetrically gorgeous yellow and white pieces of soft squares are the stuff of dreams most soothing and calm. As lovely and mysterious as these are to look at, they taste almost as tranquil and smooth.
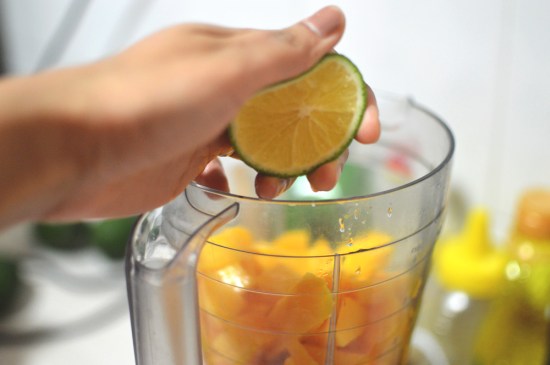
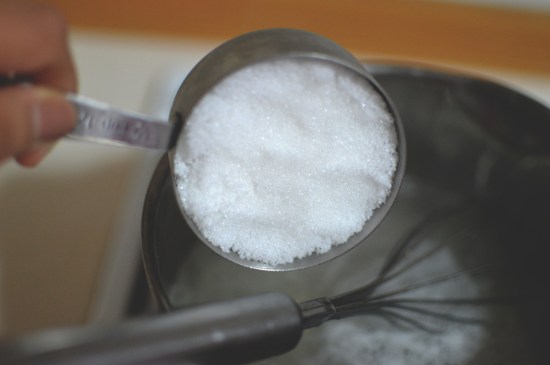
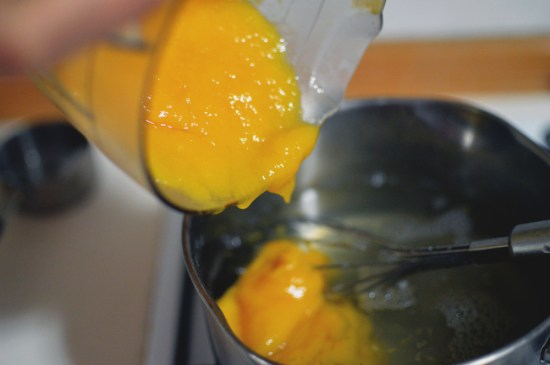
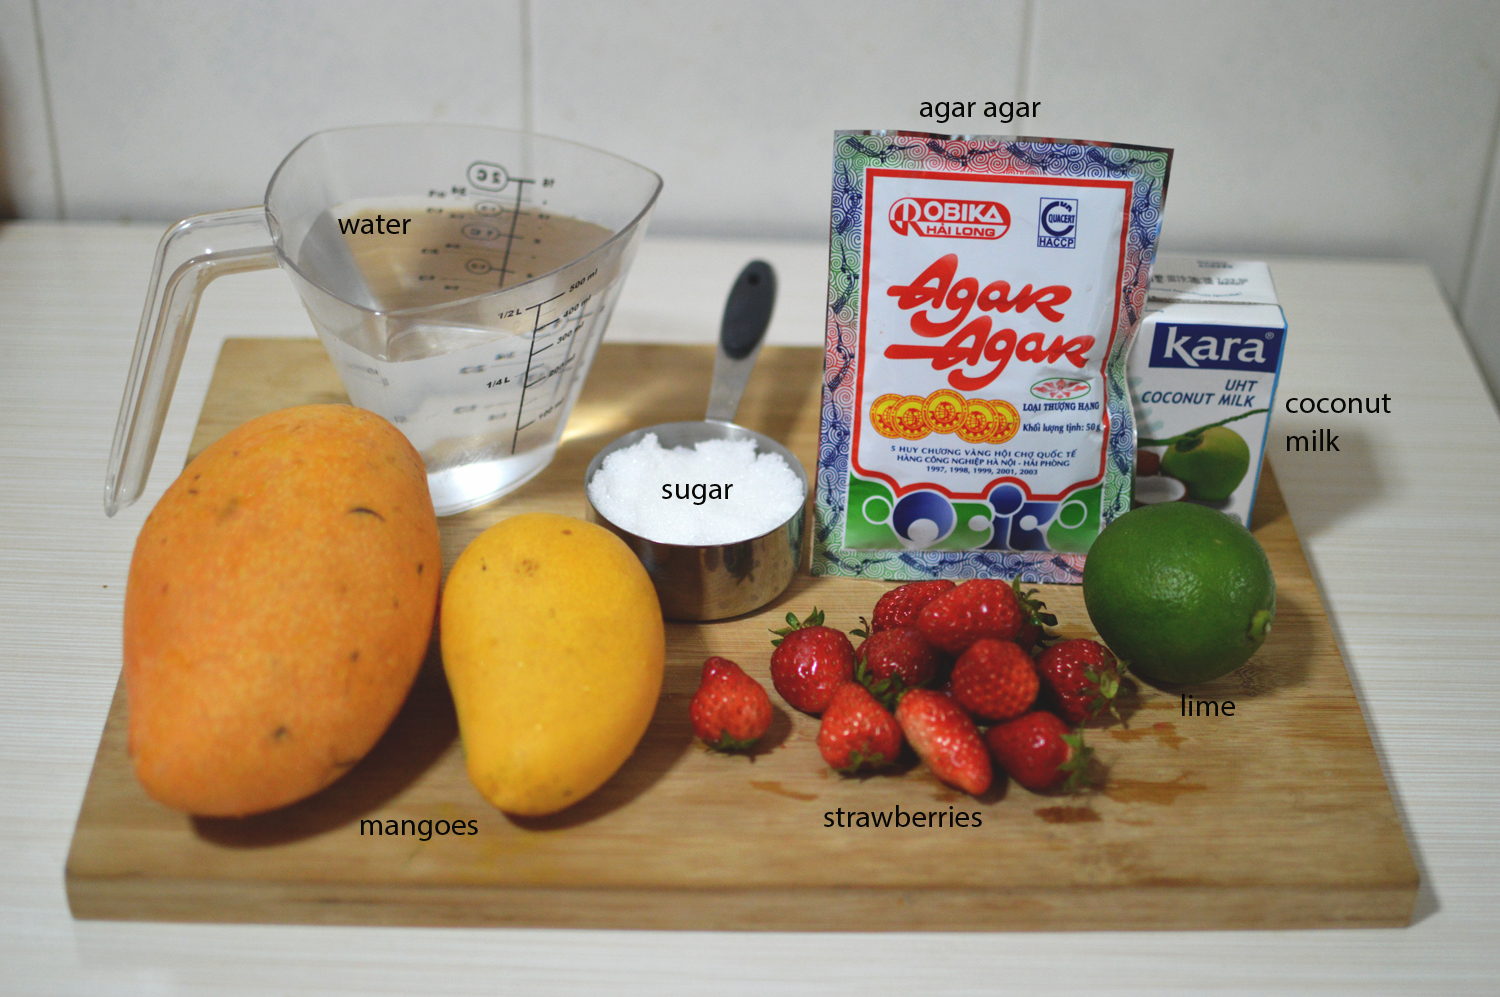 the ingredients are mangoes, sugar, lime, strawberries, coconut milk, water and agar agar.
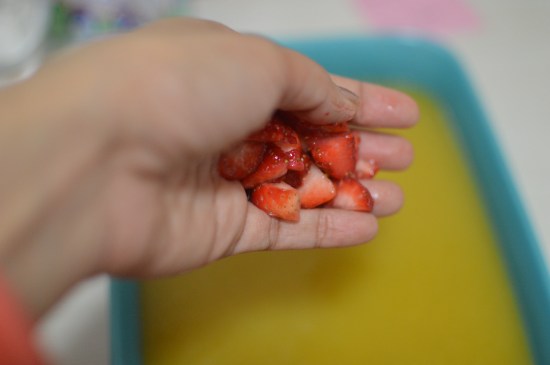
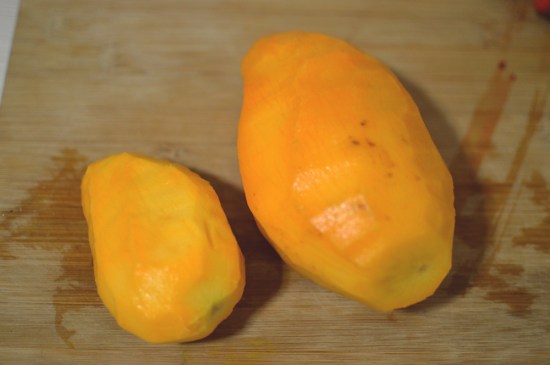


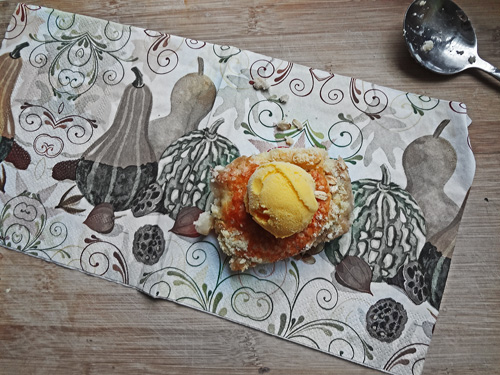
 cut into squares and serve chilled.