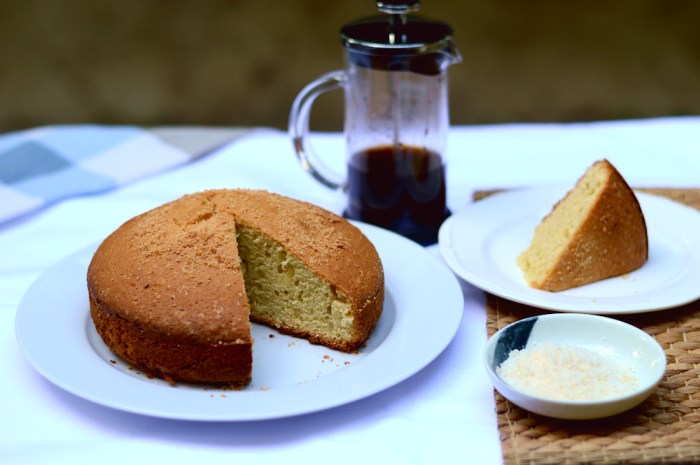
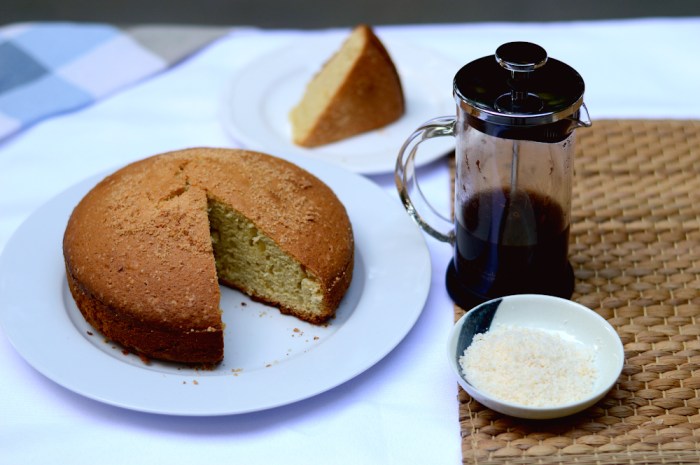
Another day, another cake. There is never a justifiable excuse or reason to not make or eat cake and though baking a cake is far more strenuous than simply buying one, I am a firm believer in homemade cakes being a lot better than shop bought ones. For starters these can be tailor made to your specific tastes and needs, and most importantly at least for me is the absence of icing or frosting. Yes, hate me if you will but I do not like cream filled, thickly frosted cakes whatsoever. The cakes I prefer should be suitable to be had with tea or coffee and it’s these no frill cakes, saturated with flavour and perfect crumb that make my day, and yours too if you bake it.
There already is a stunningly delicious coconut cake recipe on this blog, and the reason I added another coconut cake recipe here is because this one is a relatively easier with some extra texture and somewhat lesser fussy ingredients. I contemplated making this in a blender and gave up on the idea because I didn’t want to wash my bulky blender, but you can if you want to. Just goes on to show how easy and quick this recipe is.

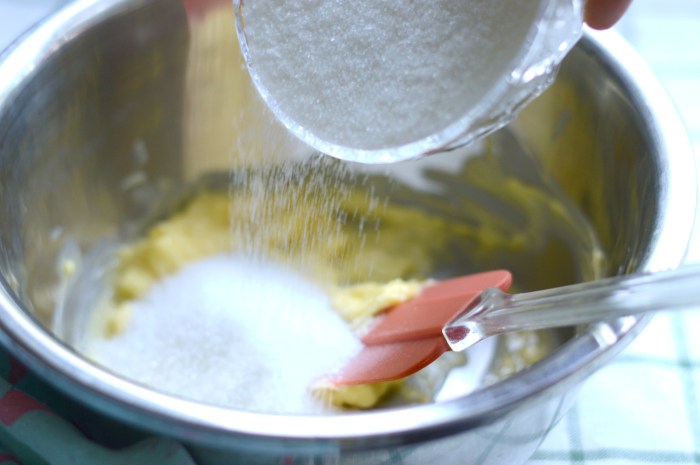
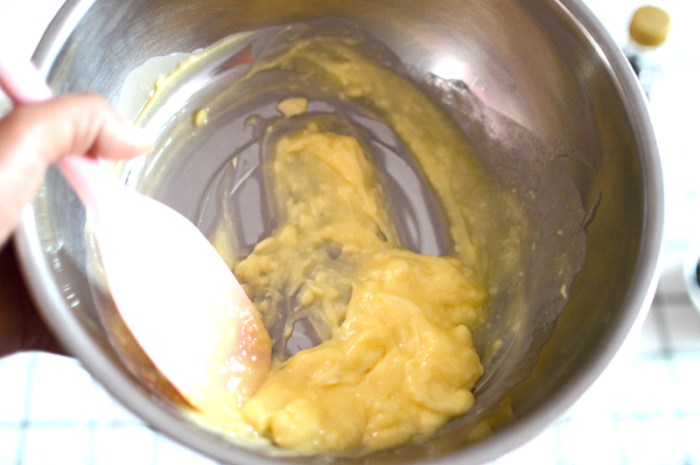
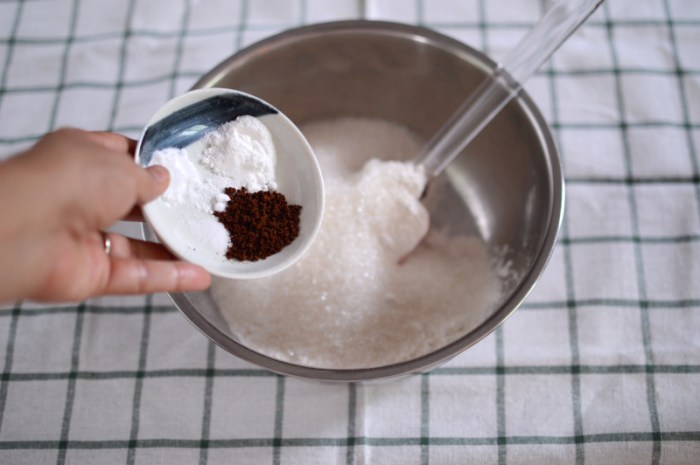
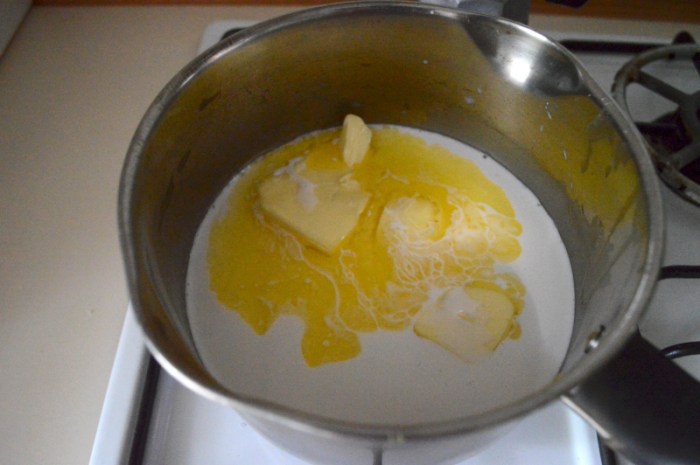
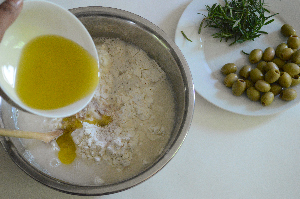
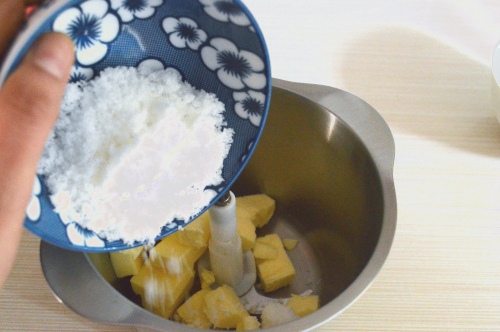
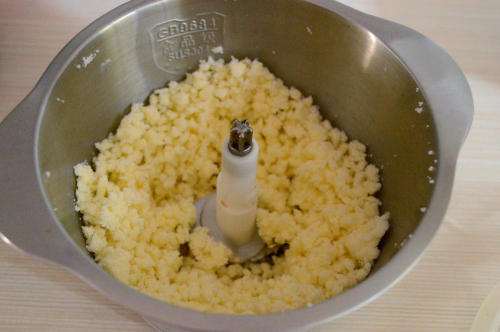
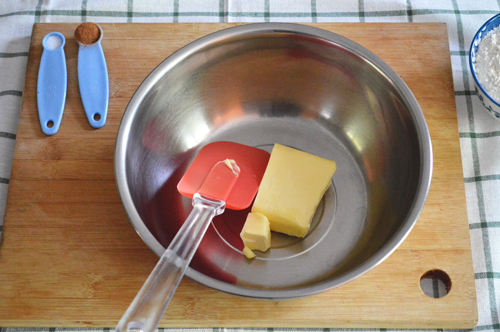
In a clean bowl mix together soft room temperature butter, sugar and lemon extract. Substitute with lemon zest if you have lemons on hand. There isn’t a lot of creaming and beating and whipping here. For this initial process of mixing I would however suggests a whisk and not a spatula. A mistake I went on to correct.
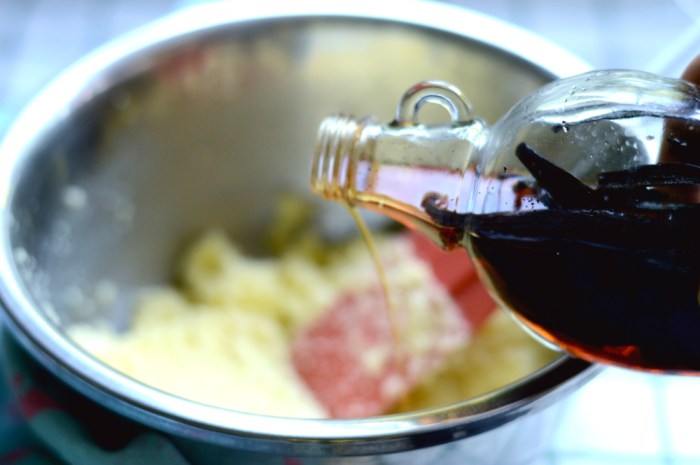
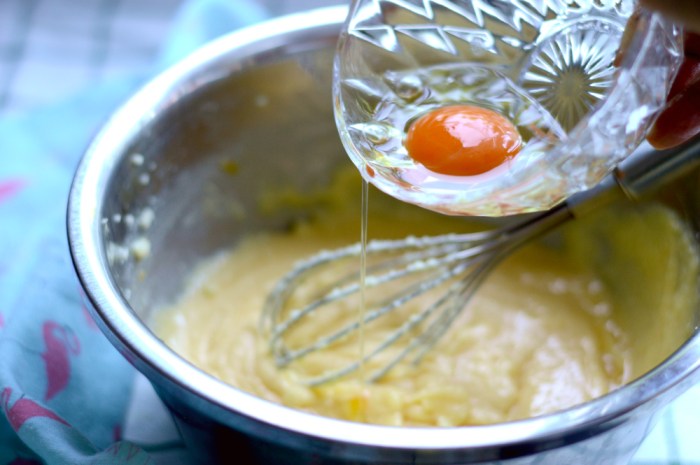
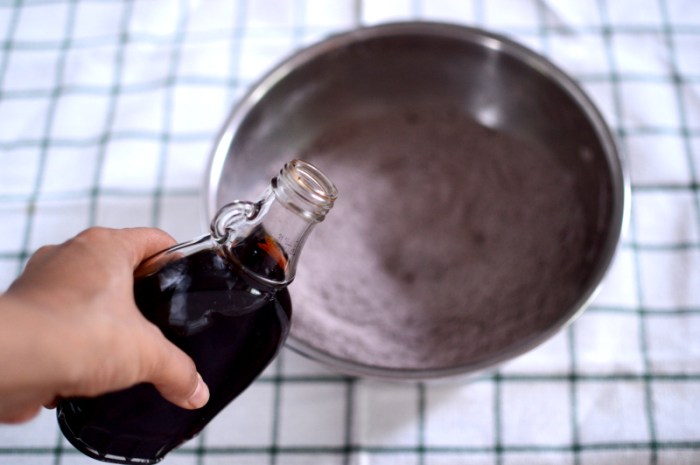
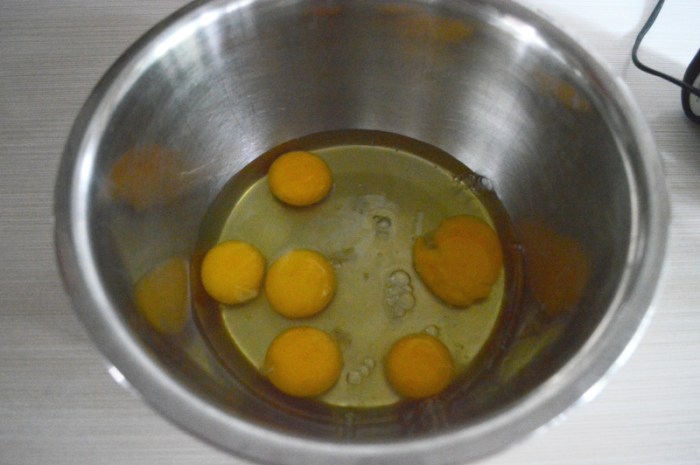
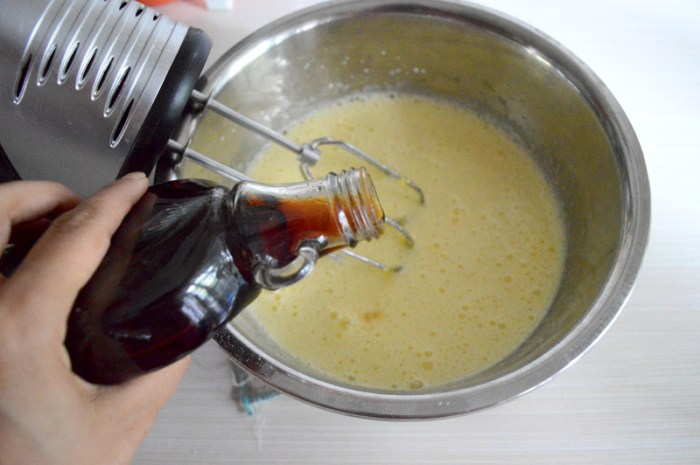
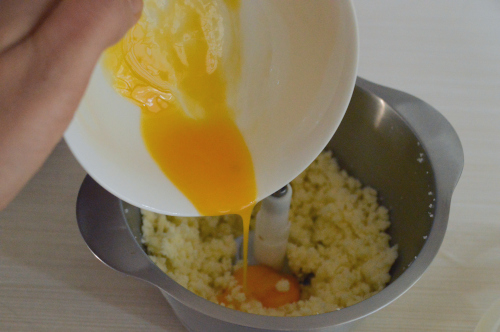
Add the vanilla extract after a brief mixing of butter, sugar and lemon extract. This is homemade vanilla extract. Mix in the eggs one at a time.


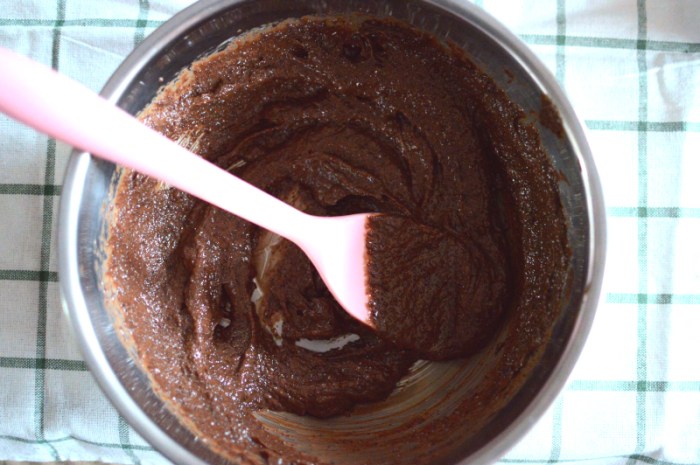
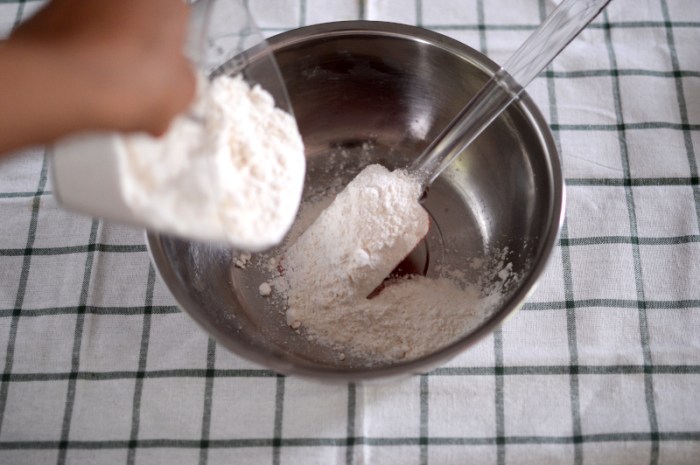
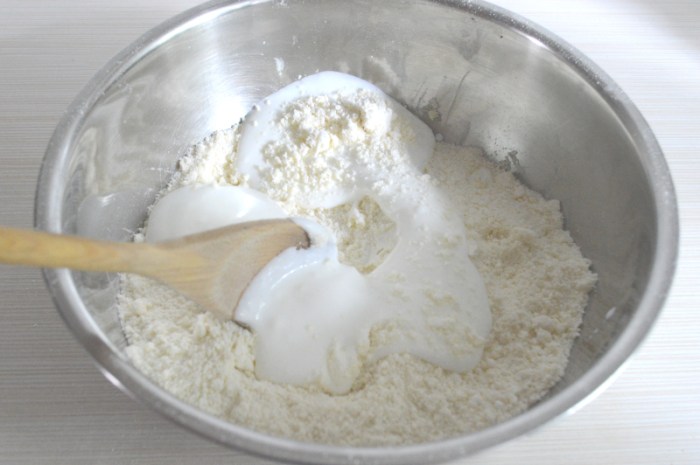
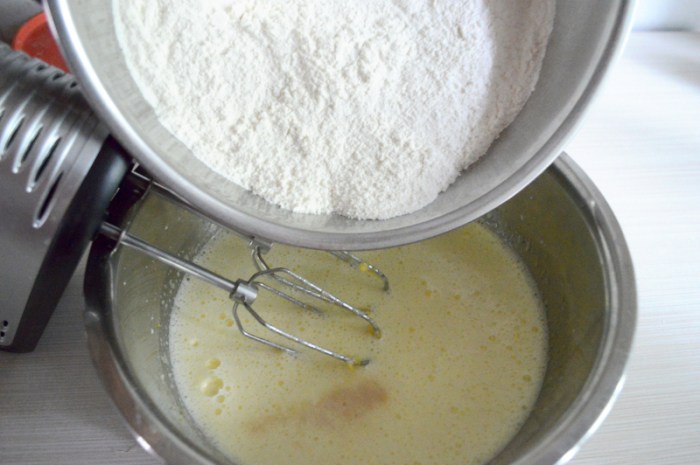
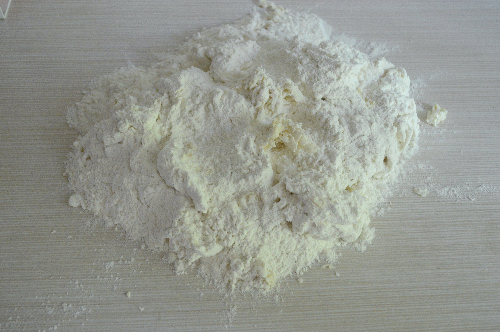
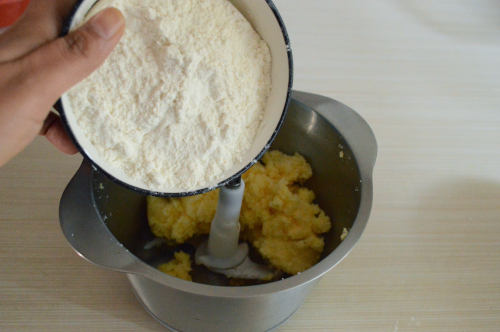
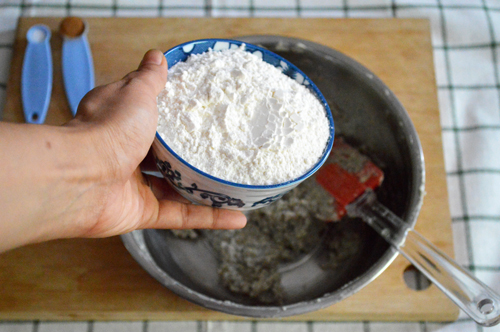
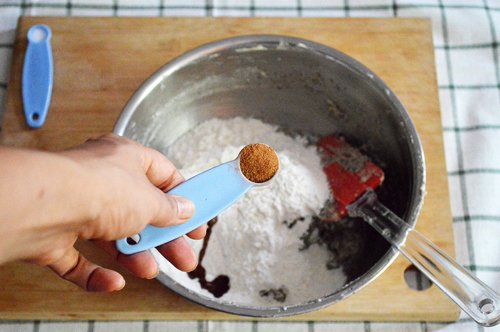
Once all the eggs are mixed in add the flour and baking powder and mix well.


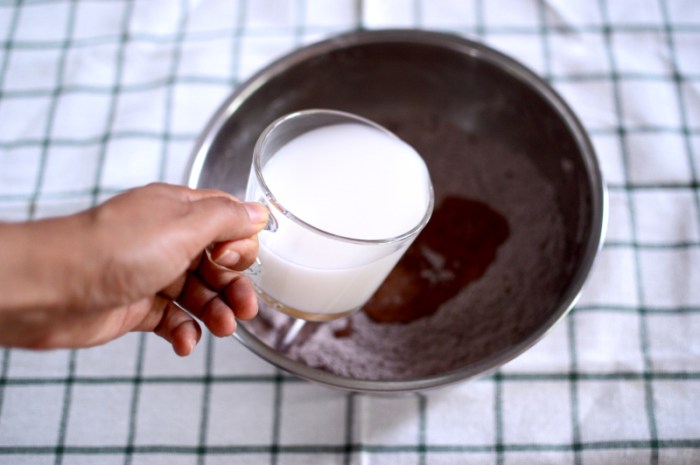
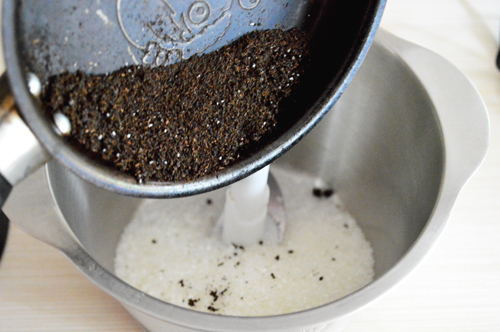
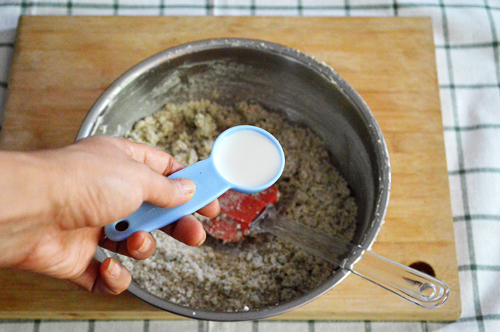
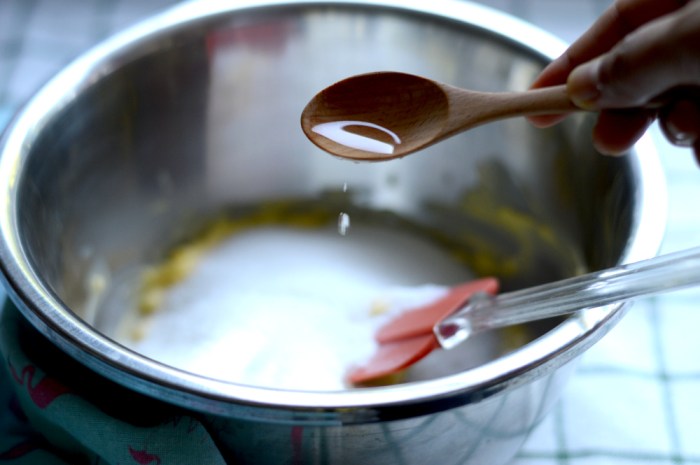
I also added a few tablespoons of milk into the batter while mixing in the flour. The batter should be thick but of dropping consistency before the addition of coconut

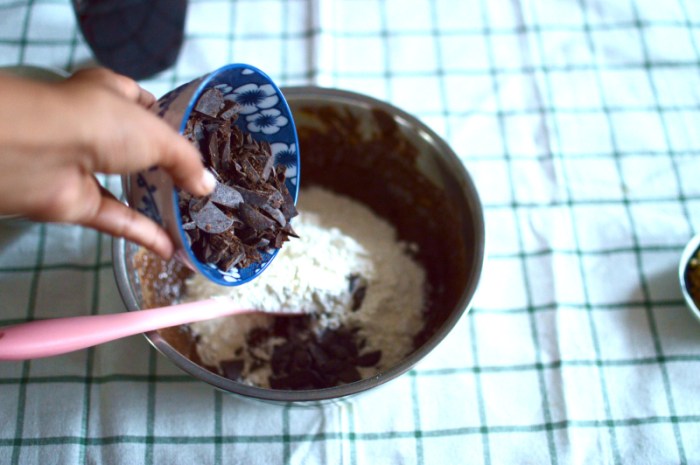
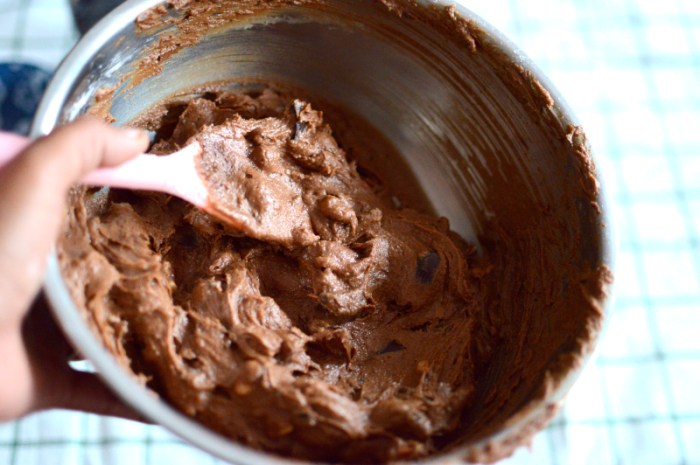
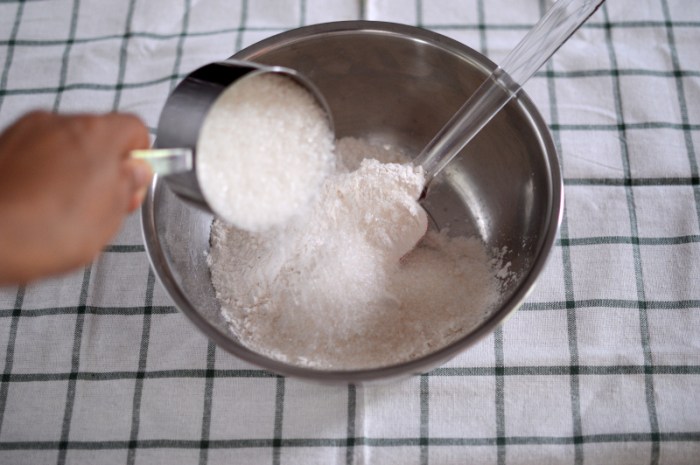
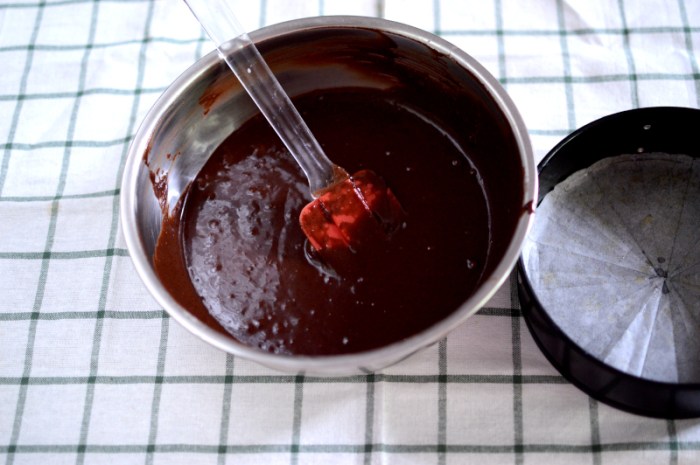
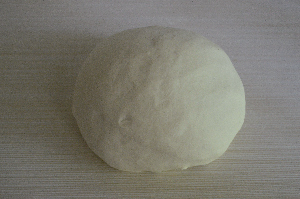
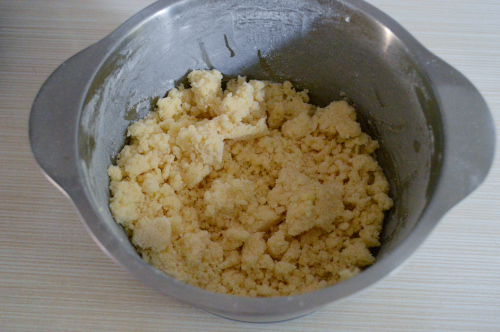
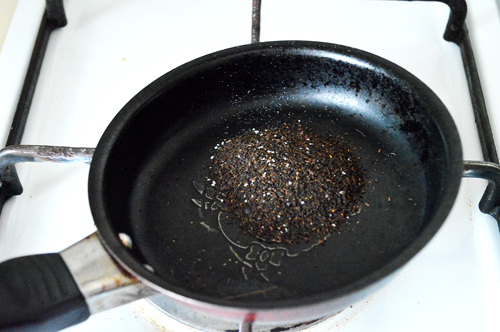
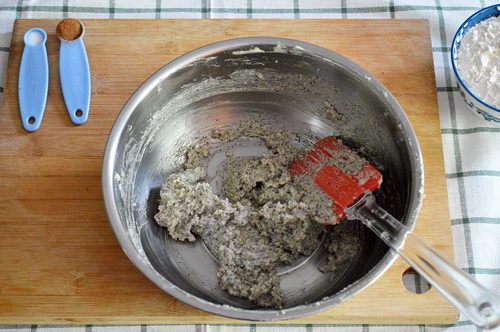
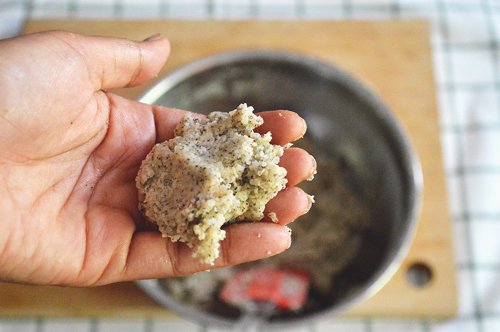
Finally add in the shredded coconut and mix briefly until everything is lusciously combined.
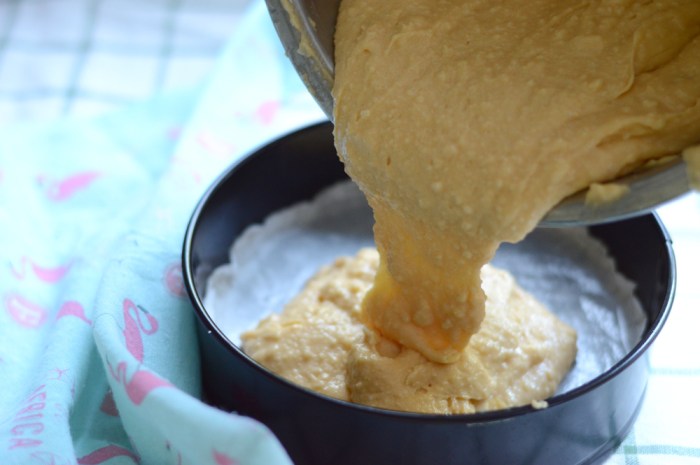
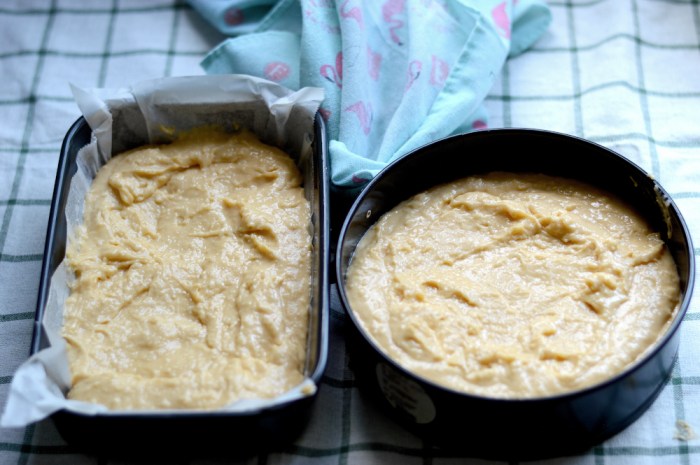
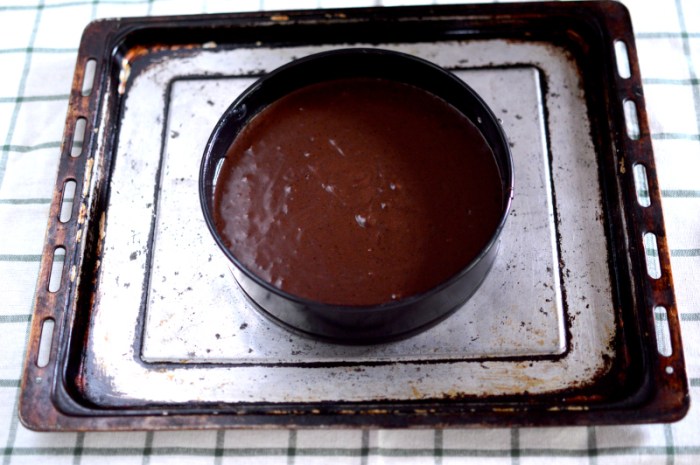
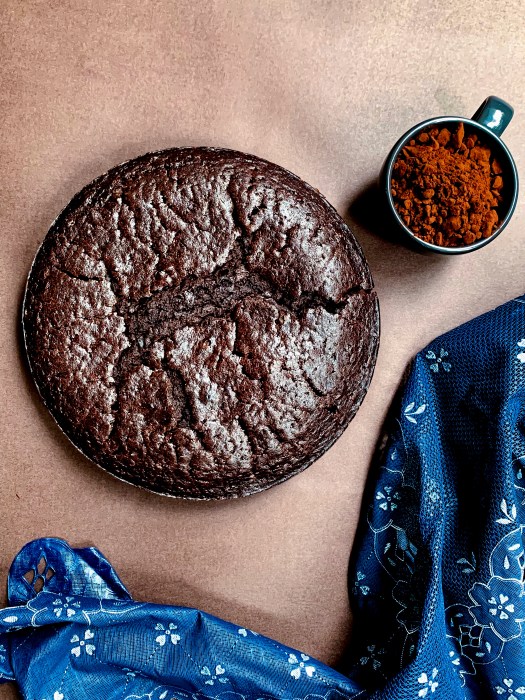
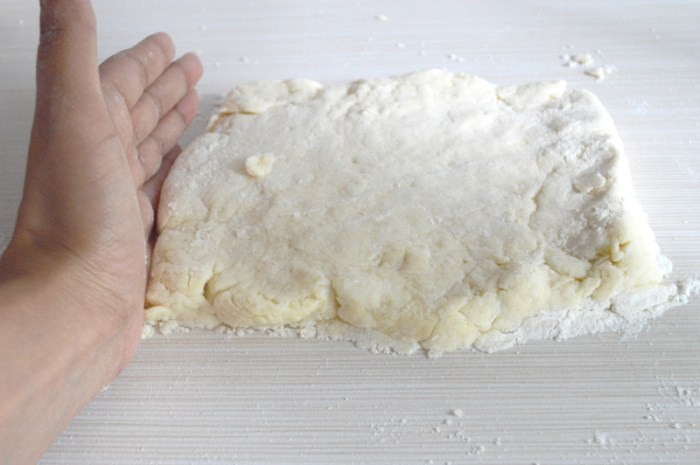
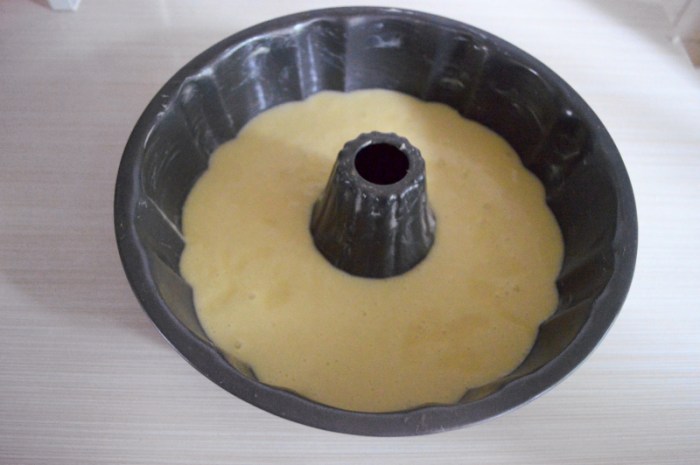
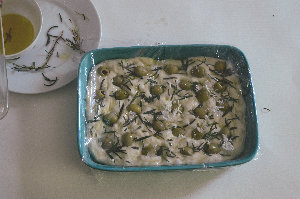
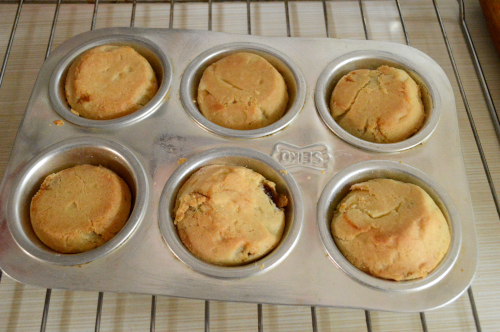
Finally pour the batter into a well greased cake pan. This batter will make one large cake or two smaller sized ones. One to eat at home and the other to give to a friend.
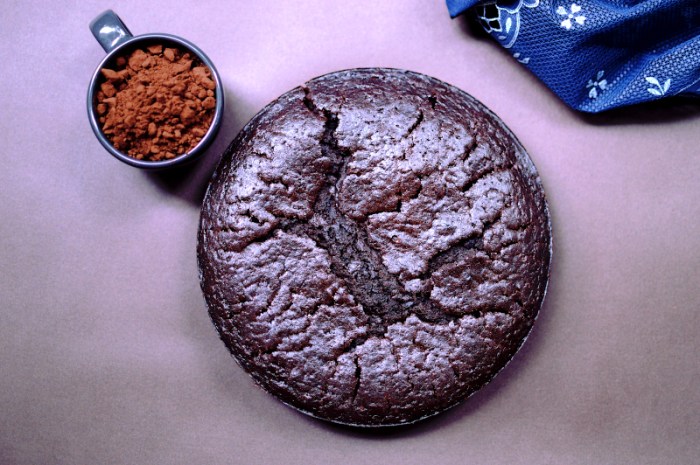
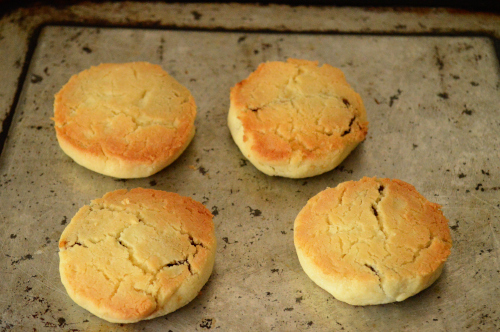
bake at 170ºC for 45 -60 minutes or until a skewer inserted in the middle comes out clean.
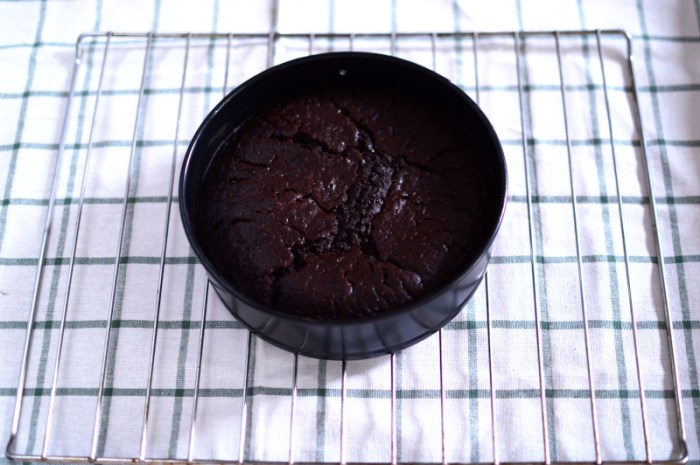
Let cool for at least 20 minutes before taking out of the pan.
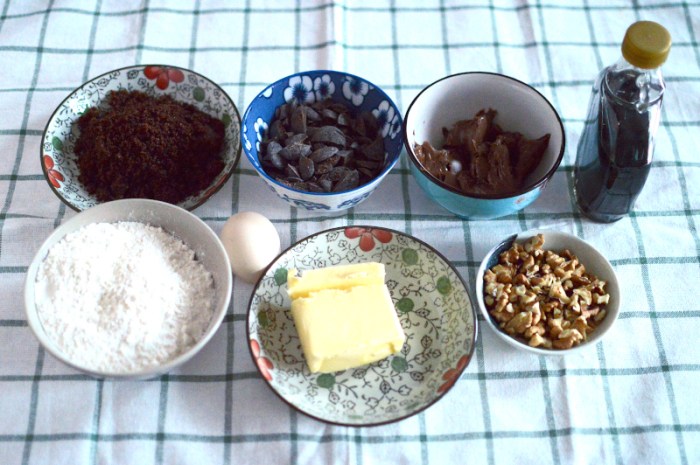
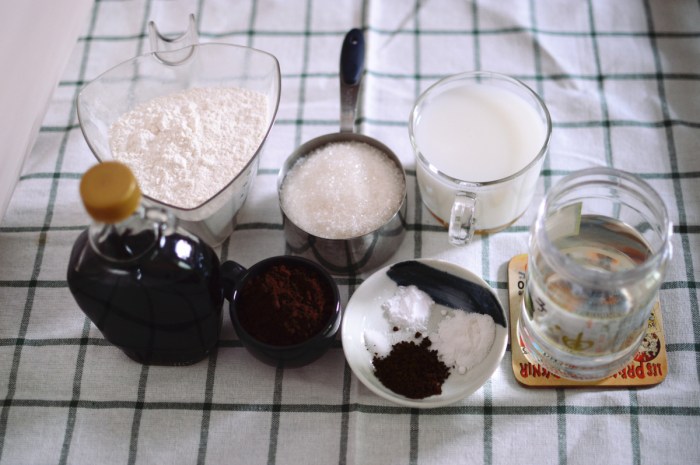
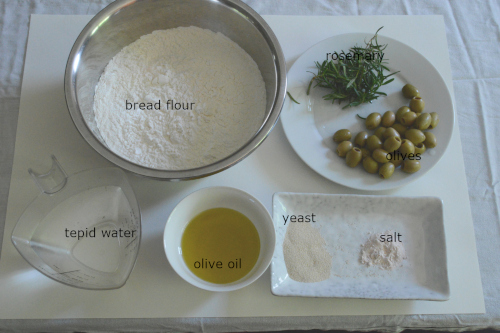
Recipe ingredients
Butter: 115g
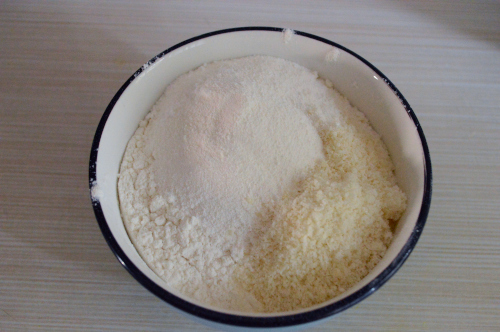
Flour: 300g
Baking powder: 2 tsp
Shredded coconut (Unsweetened): 200g
Eggs: 5
Sugar: 200g
Vanilla extract: 1tsp
Milk (optional): 2 tbsp
Recipe instructions
In a clean bowl beat in the butter with sugar and lemon extract or lemon zest if using. Add in the vanilla, give it a brief mixing and add the eggs one at a time. Beat in each egg into the mixture thoroughly. Once all the eggs are incorporated into the batter, add the flour, baking powder and milk if the batter gets too thick.
When all the flour is mixed add in the shredded coconut and mix well.
Pour into a well greased cake tin preferable a 12 inch or two smaller cake pans and bake at 170ºC for at least 45-60 minutes or until a cake tester comes out clean when inserted into the centre of the cake. The edges of the cake start pulling from the cake tin when the cake is completely done.
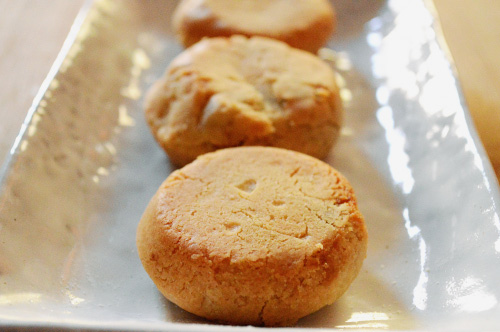
Let the cake rest on a rack for at least 20 minutes before serving.
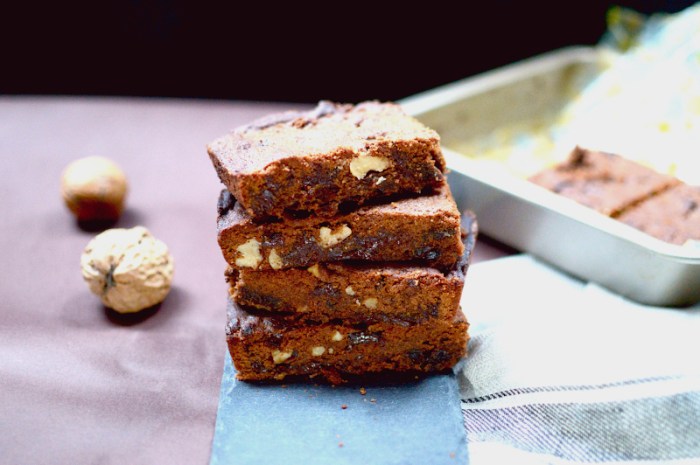
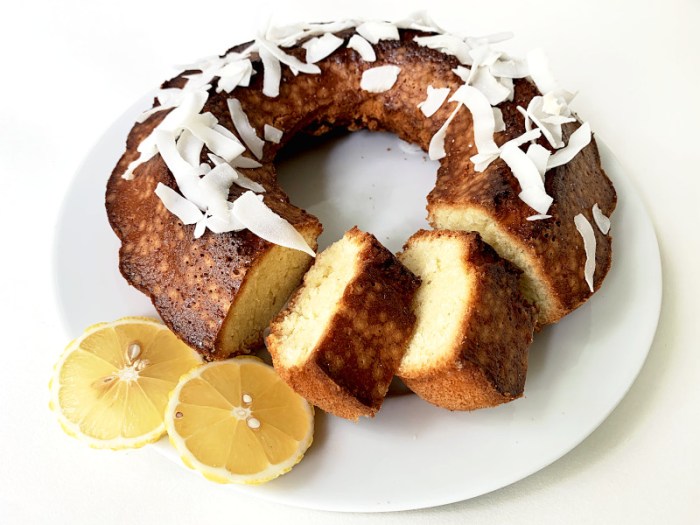
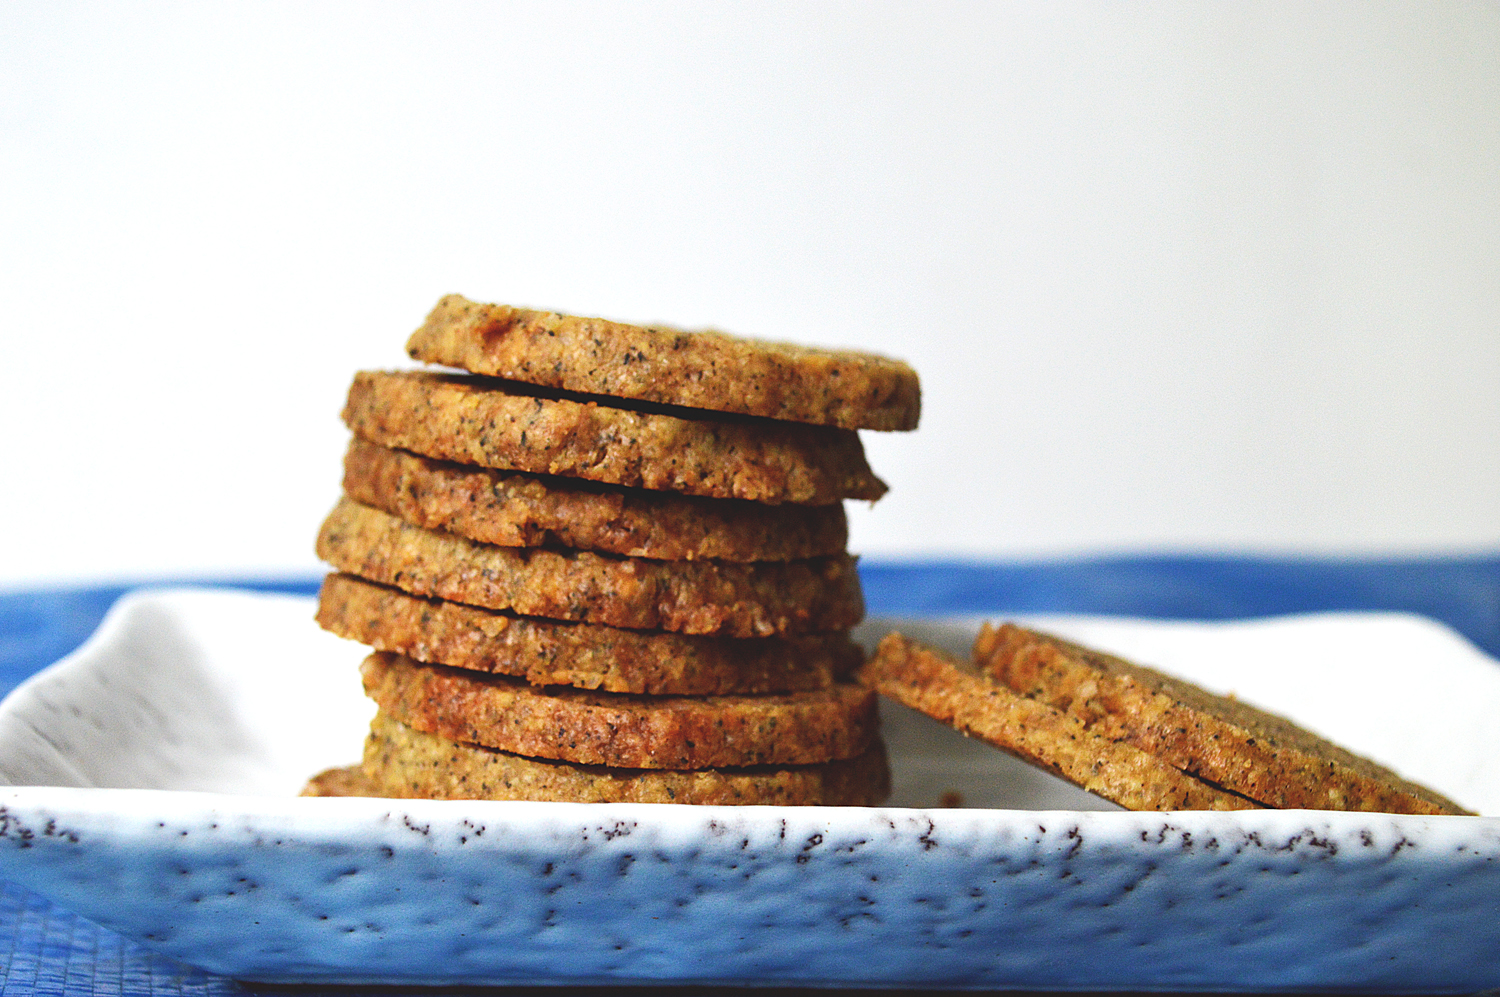
The addition of so much shredded coconut lends the cake more texture and results in a better crumb. The cake tends to dry a little which works better for this flavour than a more moist one.