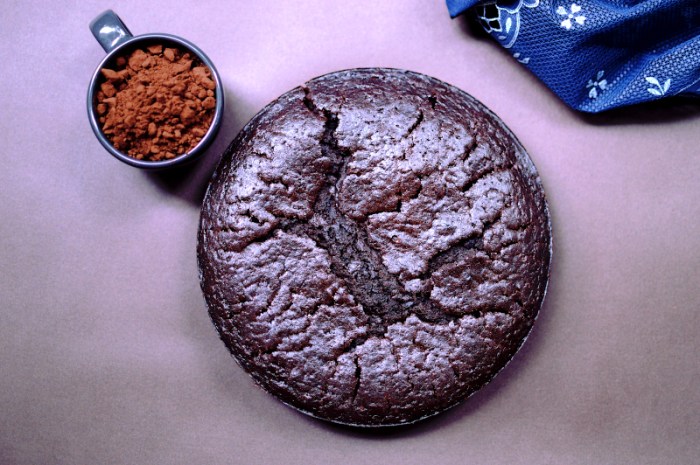
I’m sorry if this sounds like a mouthful, but calling this magnificence a mere cake, would be like calling the ‘Taj Mahal’ a mere tomb. Did I go too far? It doesn’t matter, because what really matters is this cake, its refined elegance, sophisticated marbling and luxurious taste.
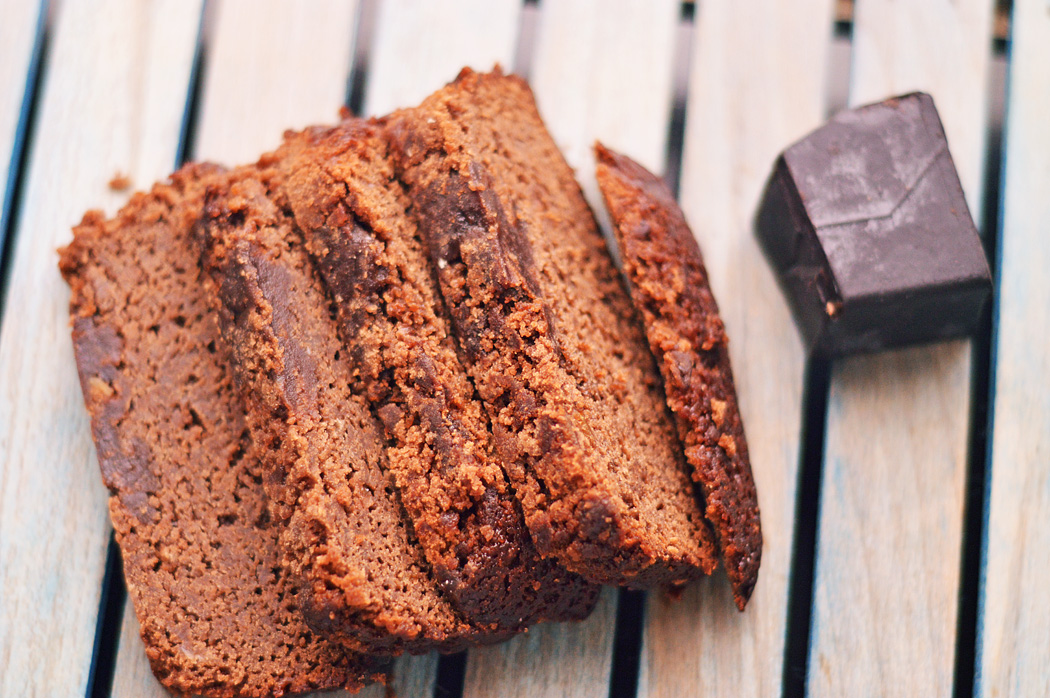
One bite and you’re in bundt heaven. Superb taste, beautiful crumb and criminally fun to put together.
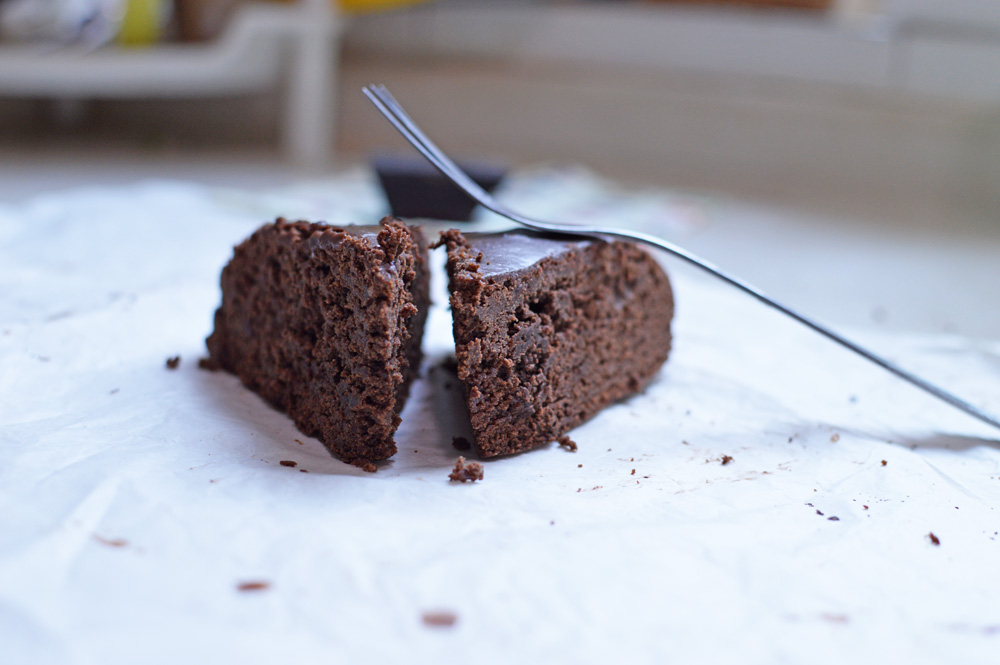
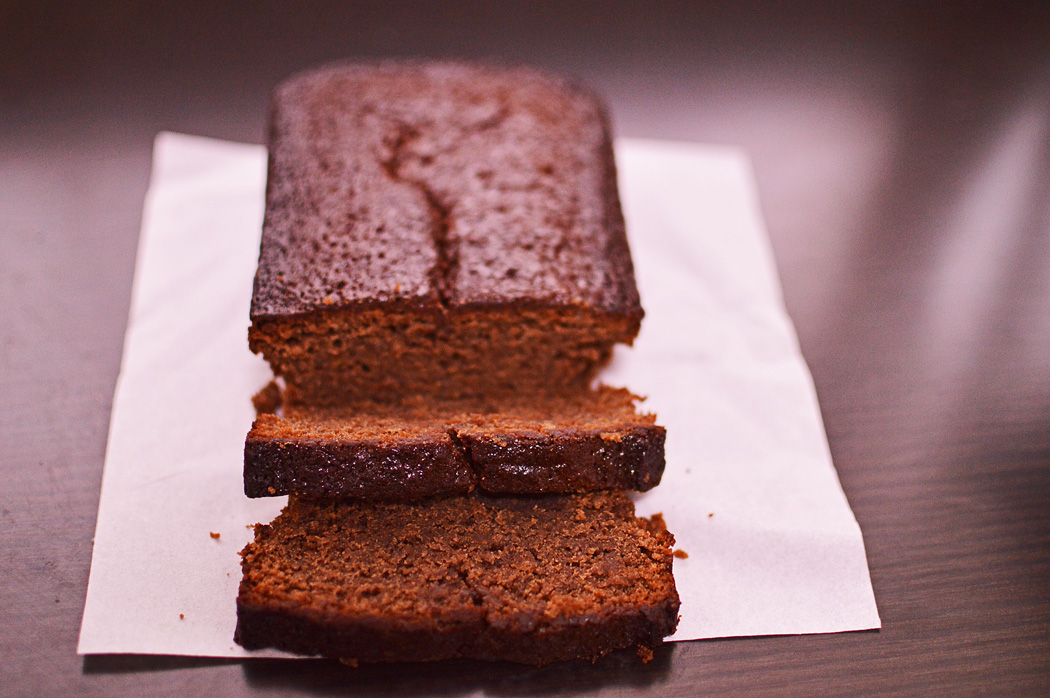
This is the kind of cake (gasp! dies) that you could serve for dessert with a scoop of ice cream, or with coffee, cut into sort of thin slices, as I did.
In fact I had made it for a big party I had in my house, and served it as a post dinner accompaniment to coffee, since most of my Chinese friends are not very big on desserts, but Coffee! they love, and as I keep getting requested to make my regular vanilla cake, I decided change it a bit and turn it into something more exotic.
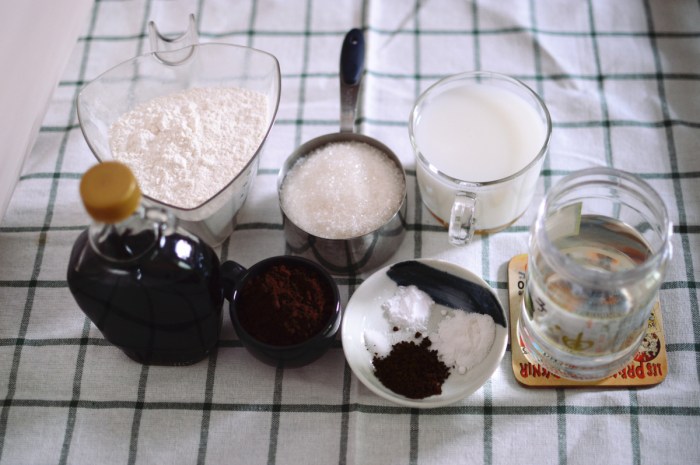
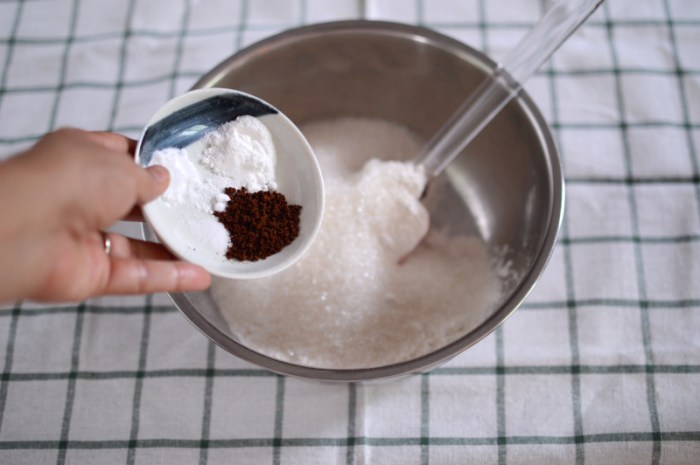
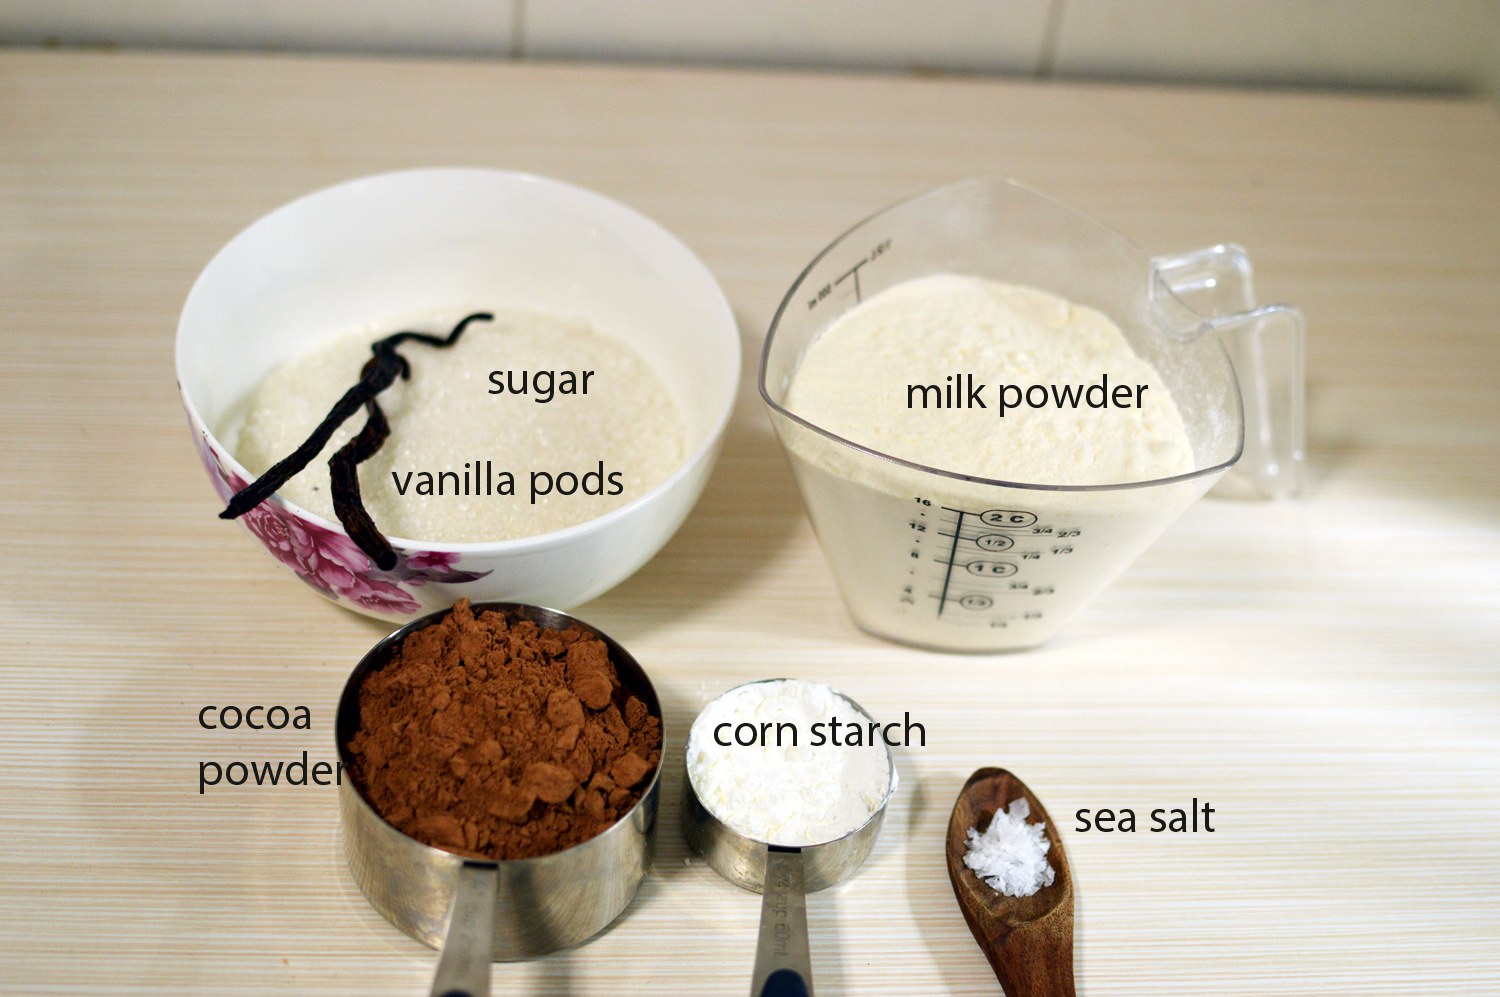
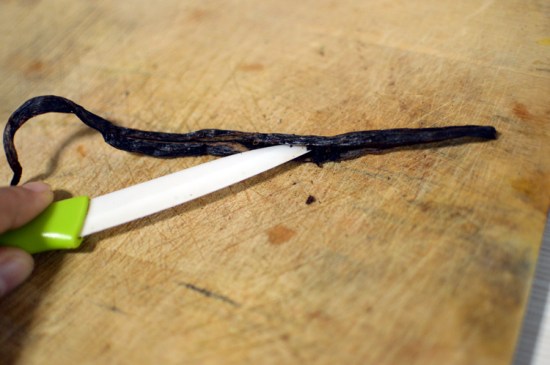
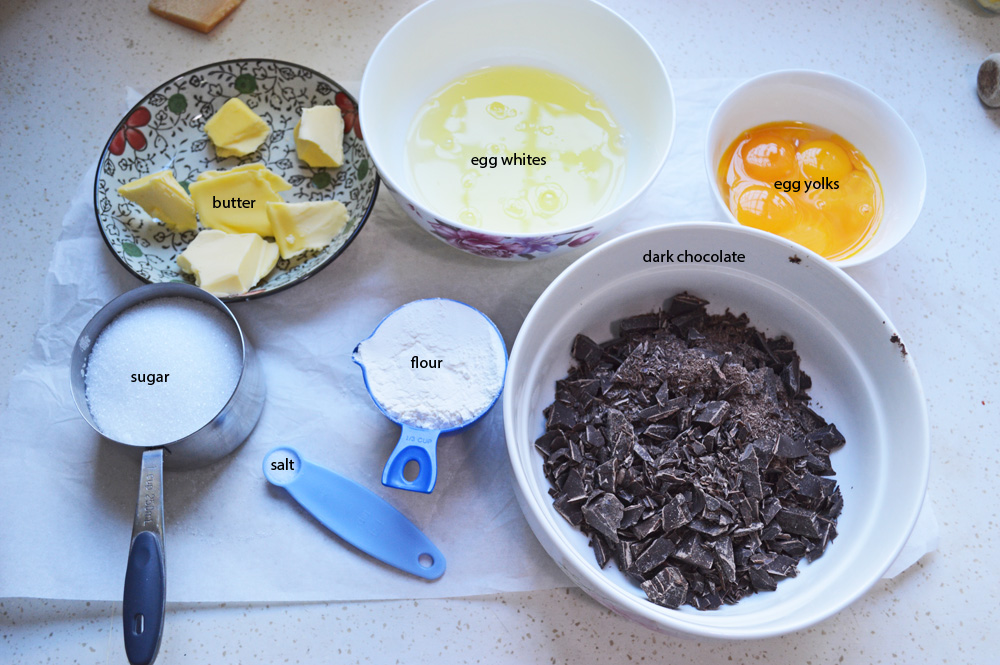
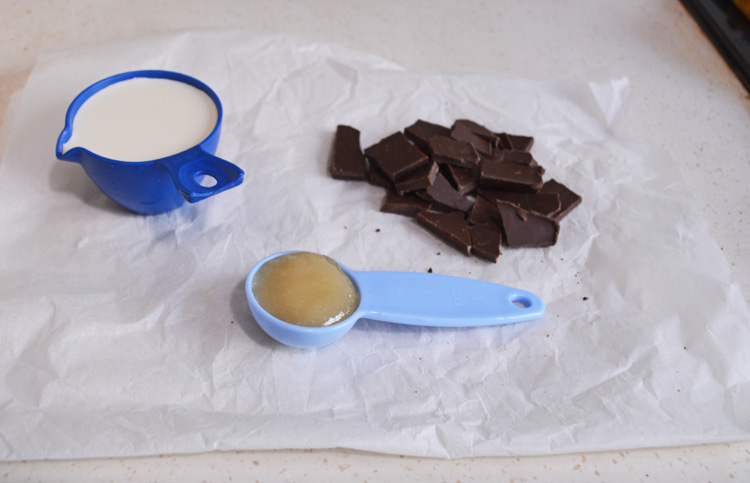
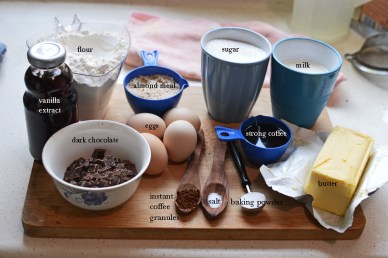 nothing too strenuous. Just good quality dark chocolate, instant coffee granules, salt, baking powder, butter, strong cooled coffee (the real deal not instant coffee this time),eggs, vanilla extract (I’m using my own,DIY) , flour, almond meal (grind some almonds in a grinder, jeez), sugar and milk.
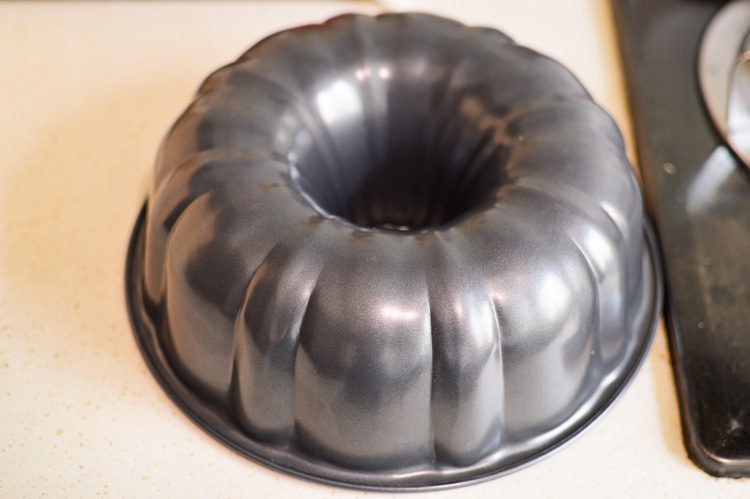
 ok, this is my bundt pan, fairly basic, fairly average, fairly good! We need to prepare this and yes you can use any other regular baking pan except it won’t be as exquisite.
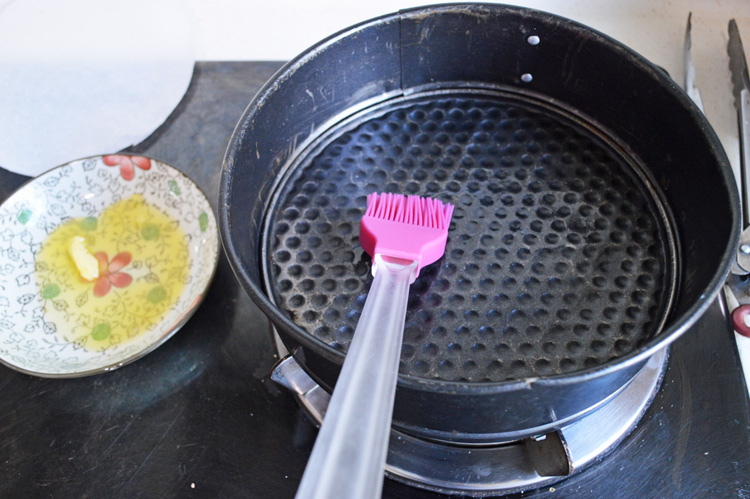
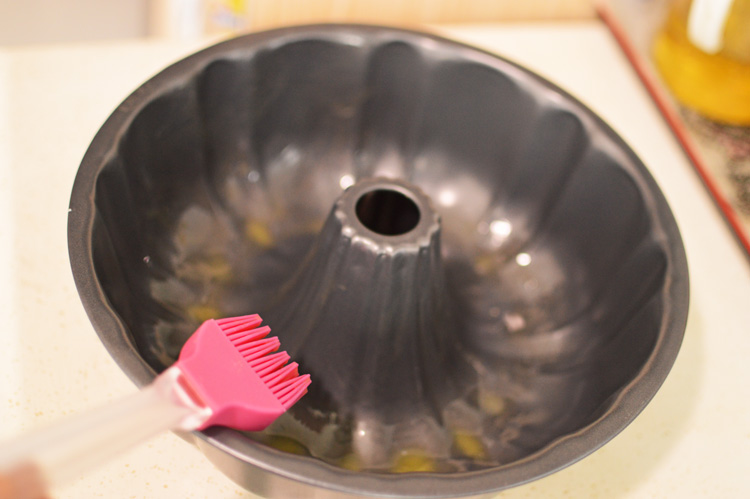
 first we need to prepare this pan so that our cake comes out in one perfect shape. brush with some melted butter.
 paint it well, all the nooks, the crevices
 all the walls.
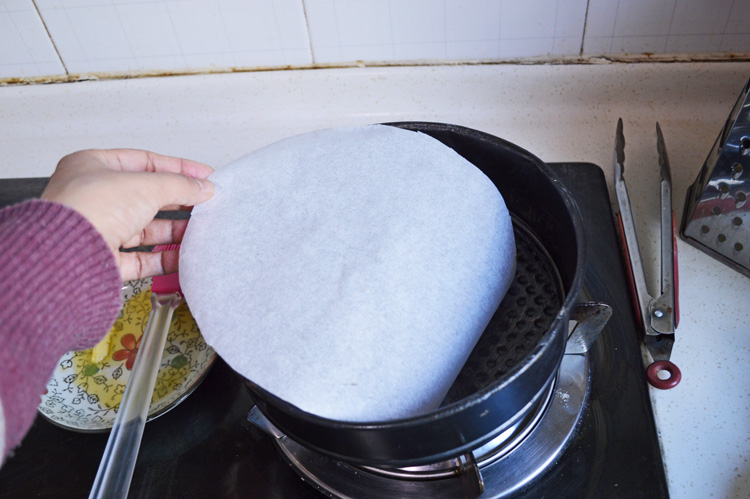
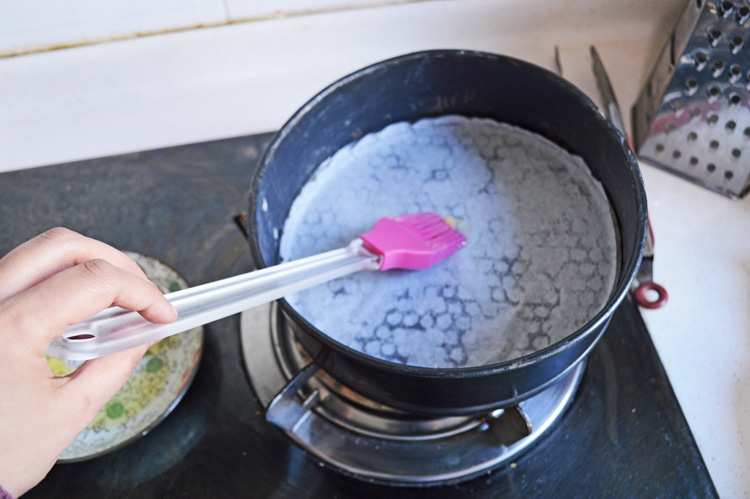
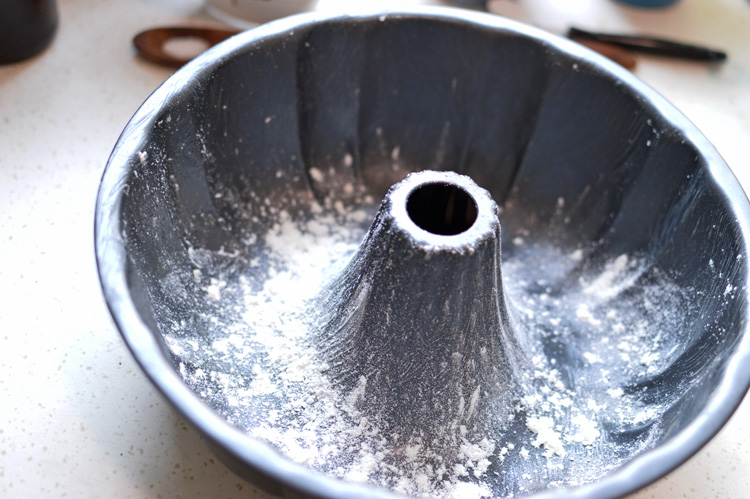
 sprinkle in a bit of flour. We’re taking precautions and there ain’t nothin’ wrong with that my love.
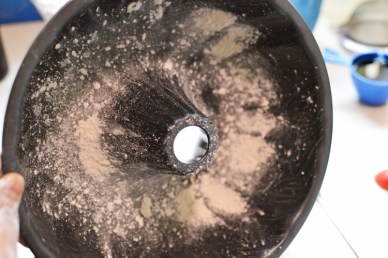 move around the pan in all directions so the flour sticks to the butter. Move that real well. turn it up, turn it down, turn it round and round and round, or just make sure it’s coated well
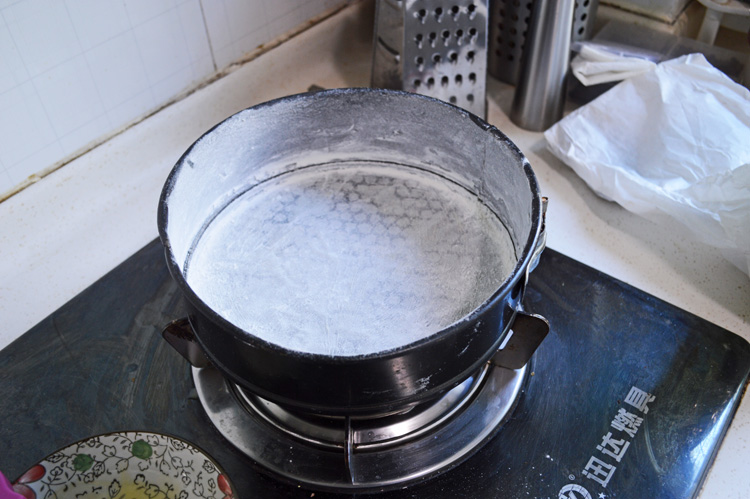
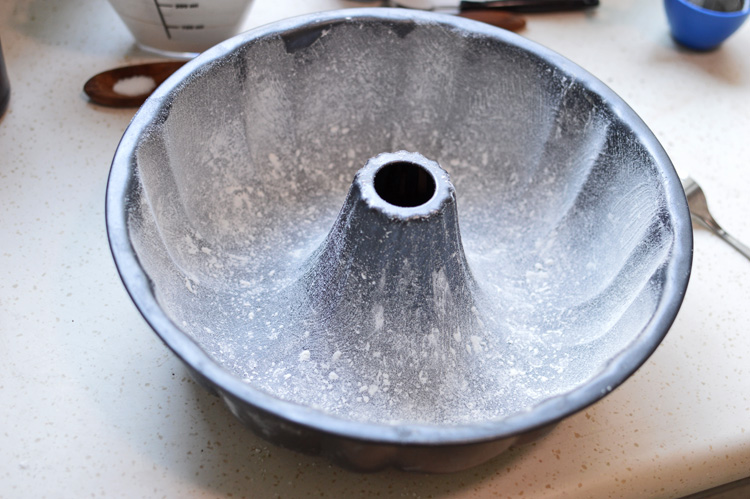
 like so…. now forget about it for a while.
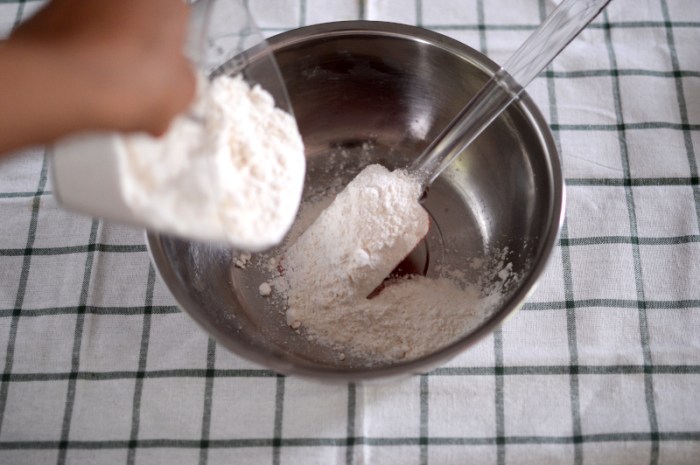
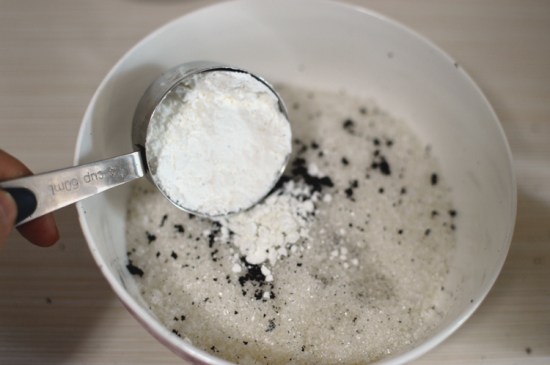
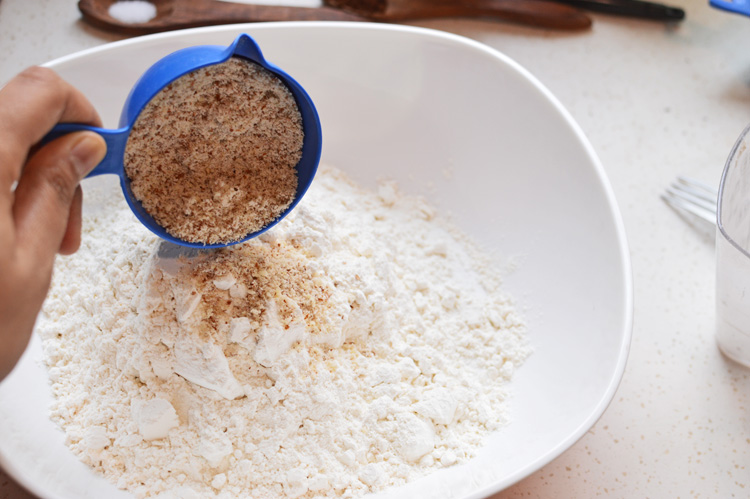
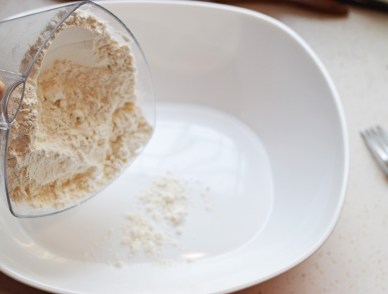 take a big bowl and dump in your flour
 and almond meal
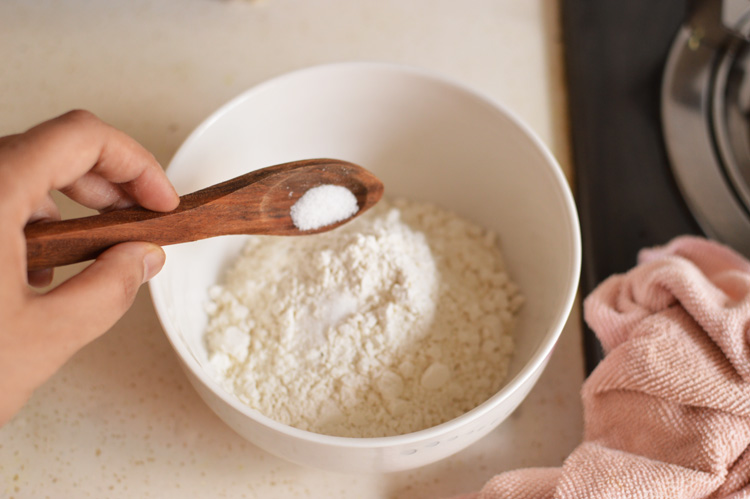
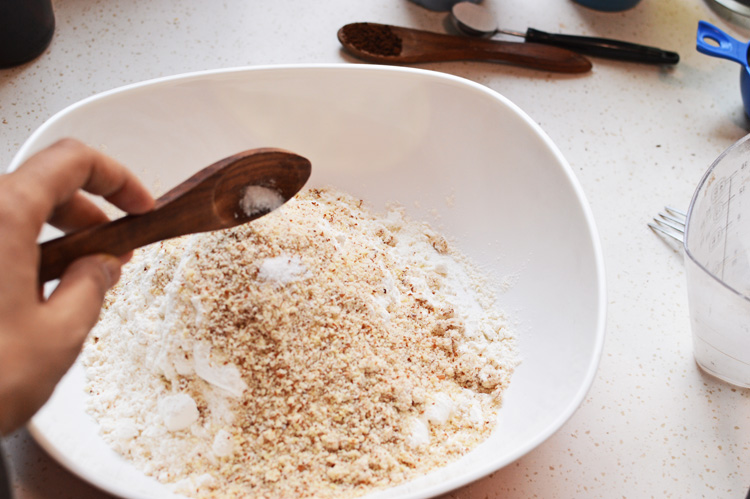
 and salt
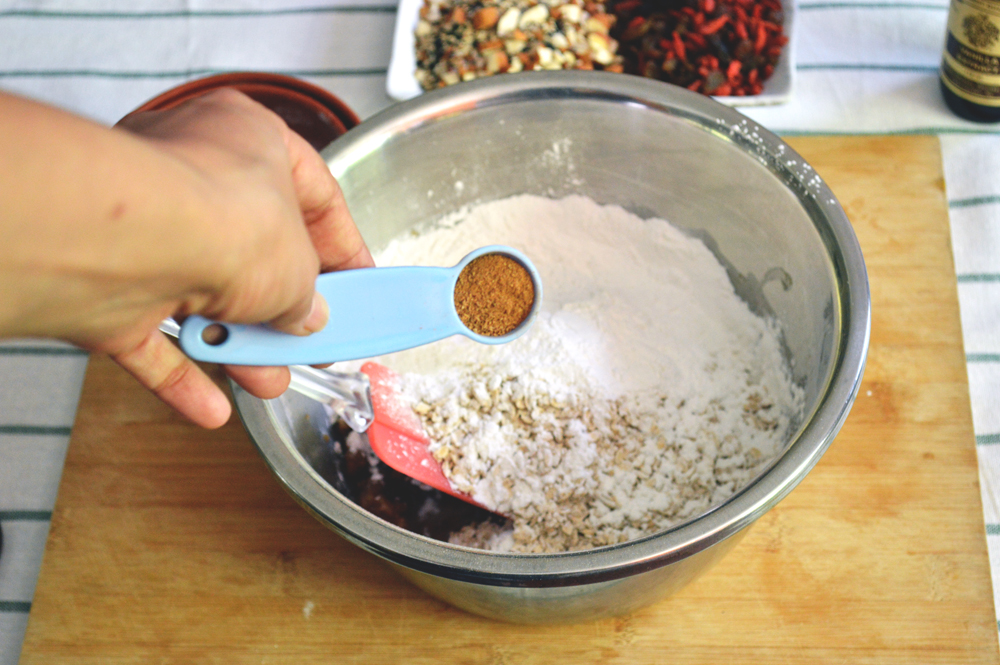
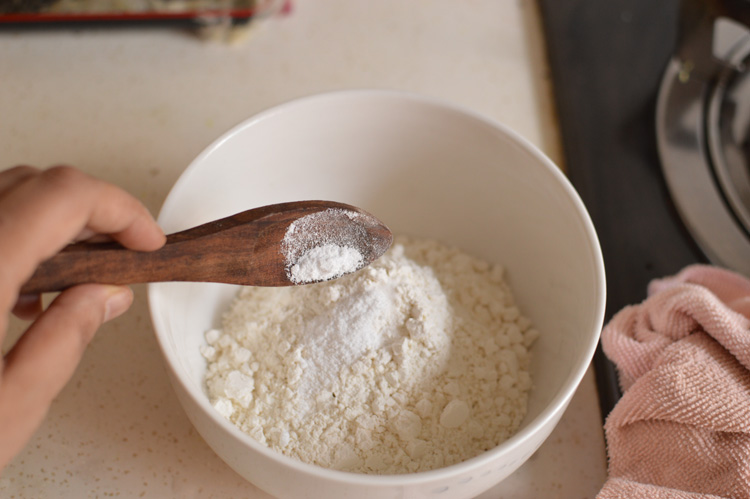
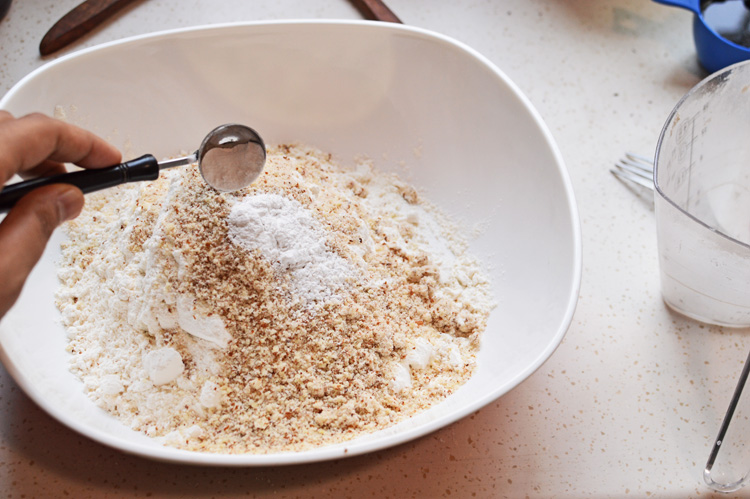
 and baking powder…and phew!
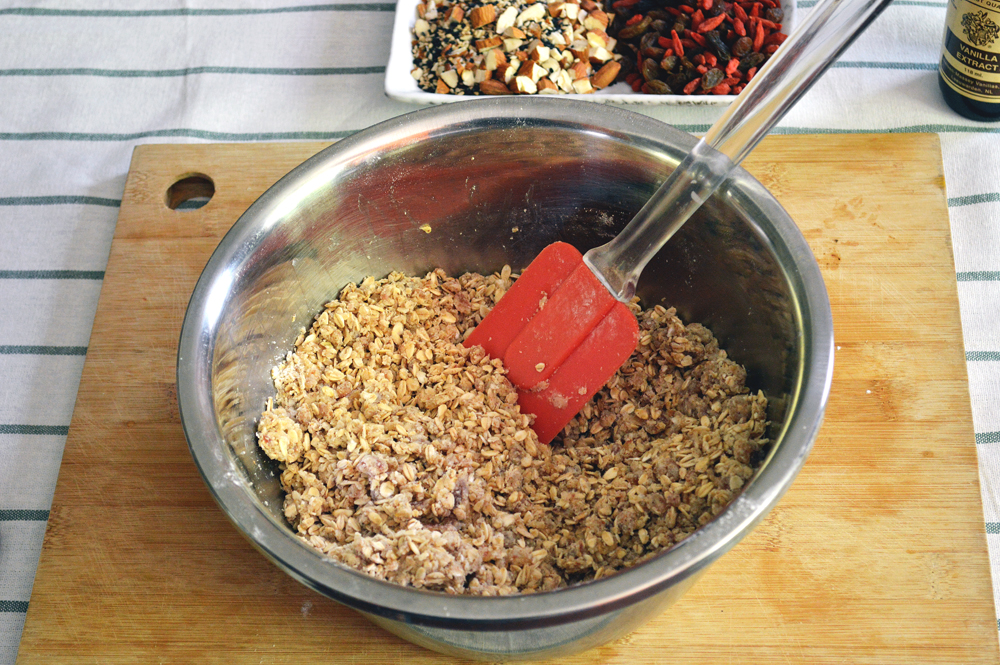
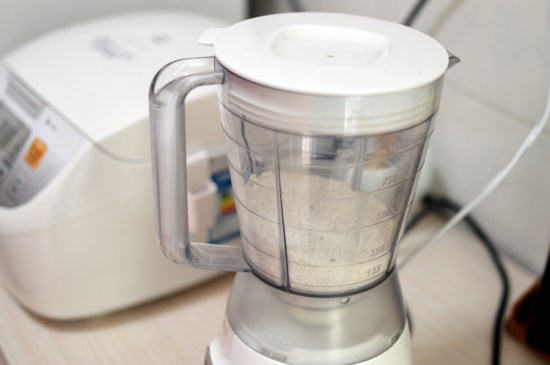
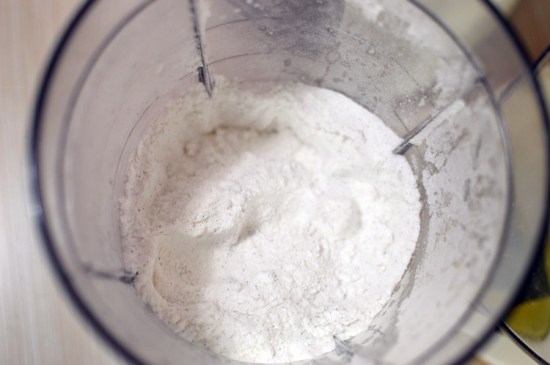
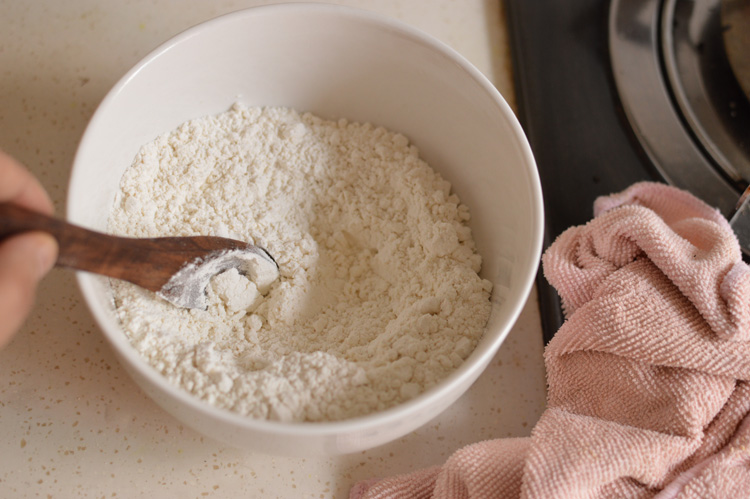
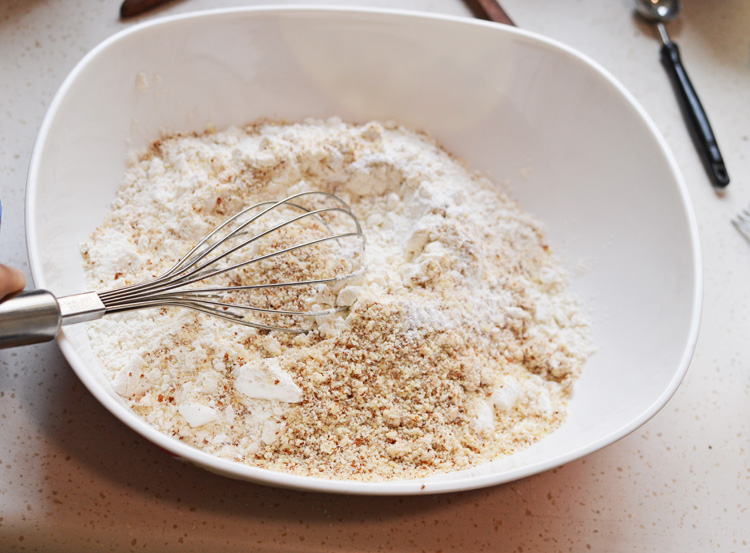
 mix it well and forget about it for a while.
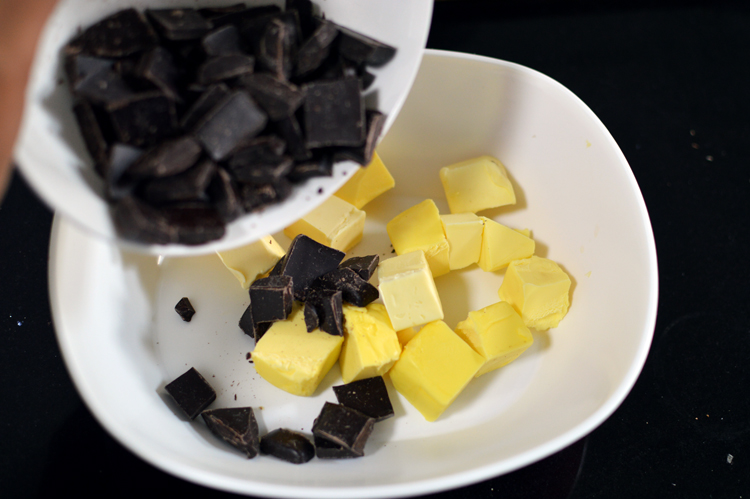
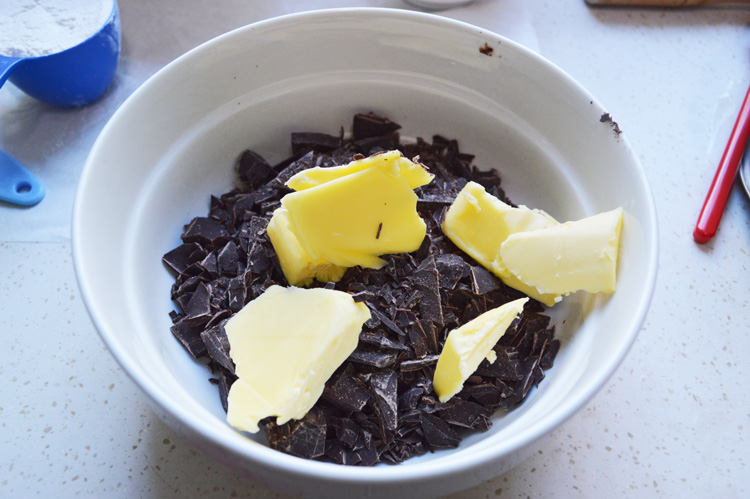
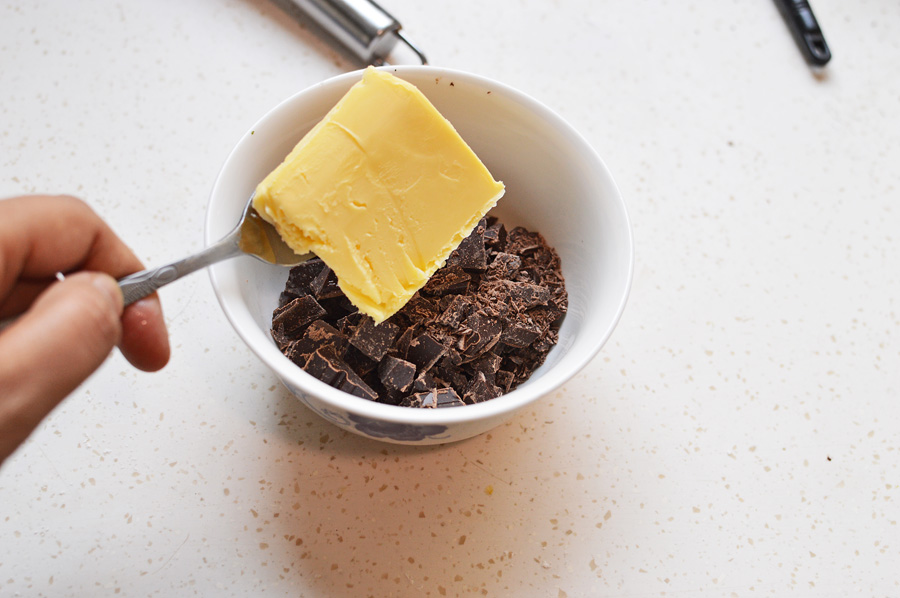
 in a separate bowl too sizes too small add some butter to the chocolate
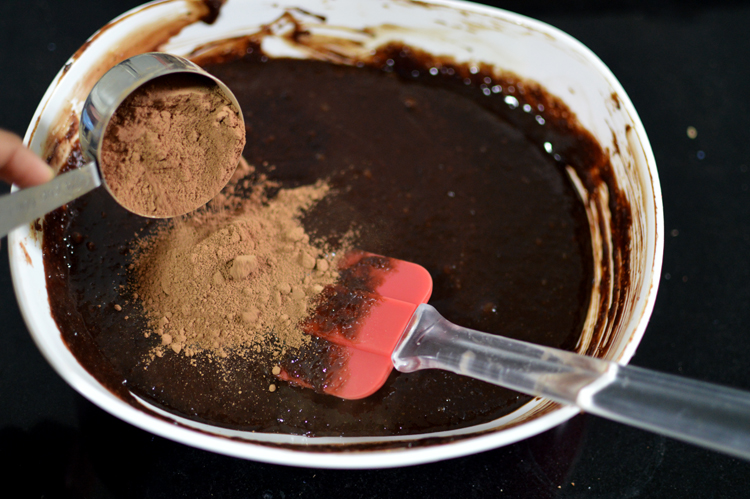
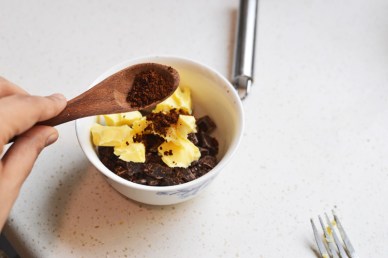 then the coffee granules (the instant kind)
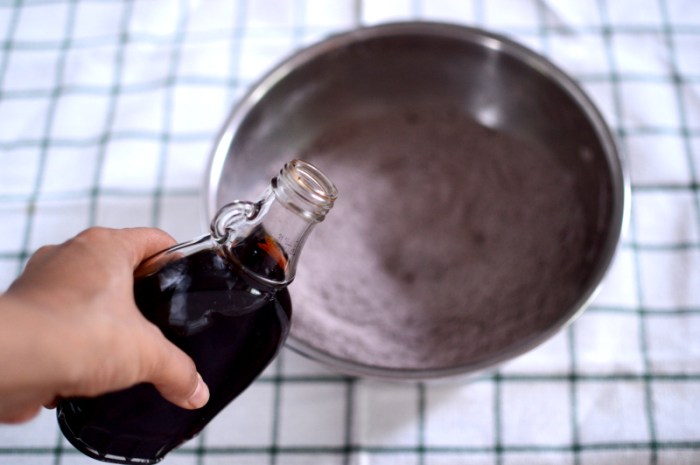
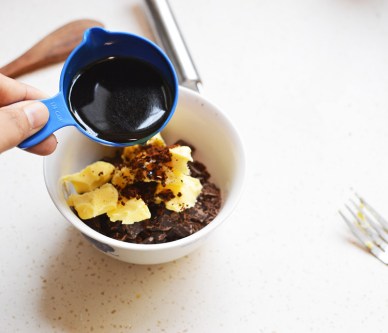 then your strong brewed coffee, the real kind
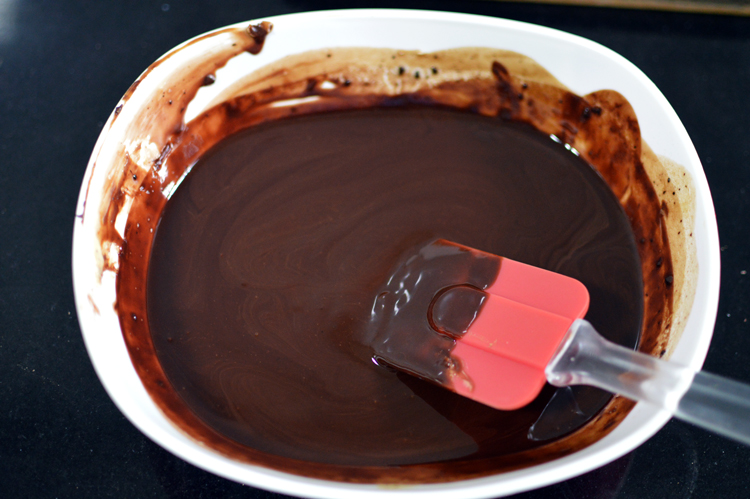
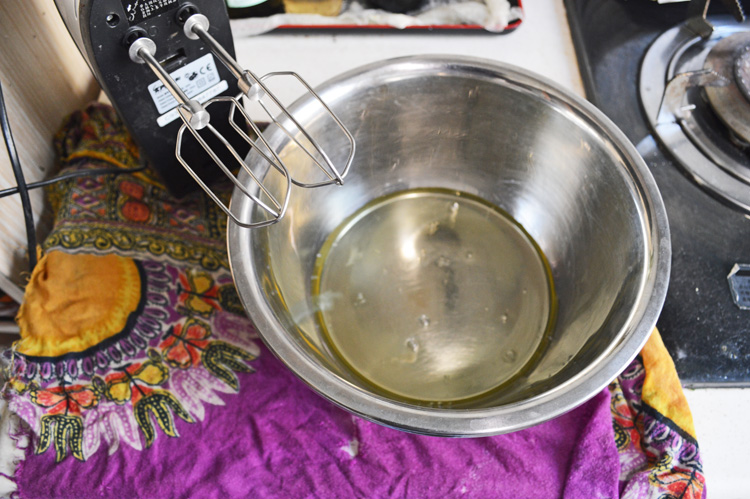
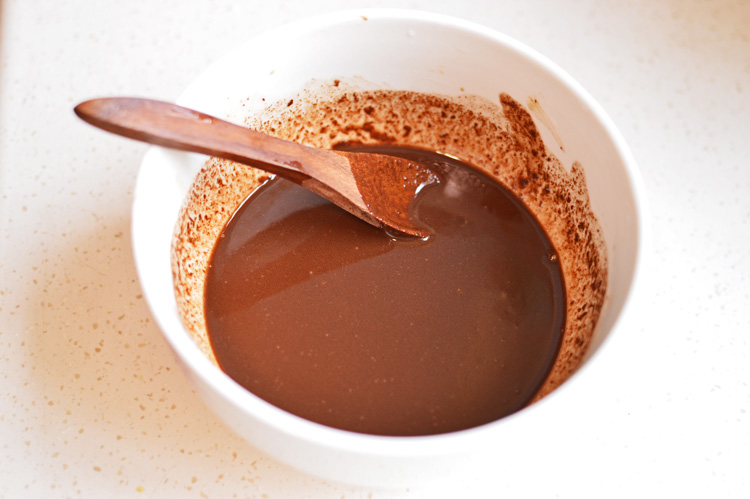
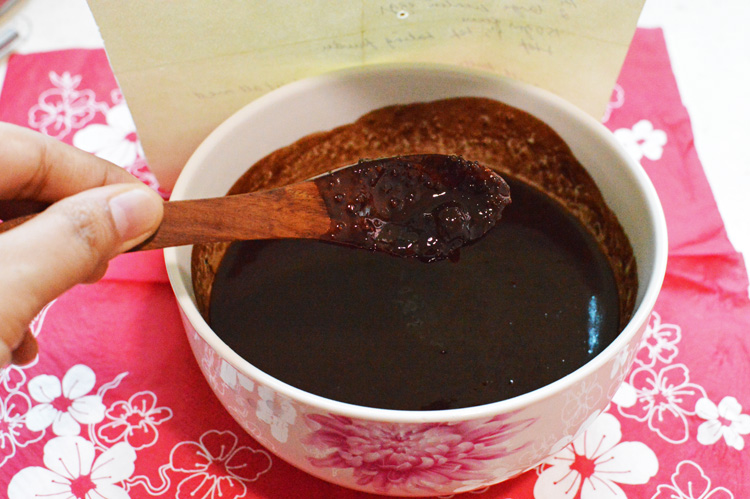
 melt in a microwave in 30 second bursts, or melt in a heat proof bowl over simmering water. I shifted mine into a bigger bowl because things were getting pretty cramped. Now forget this for a while.
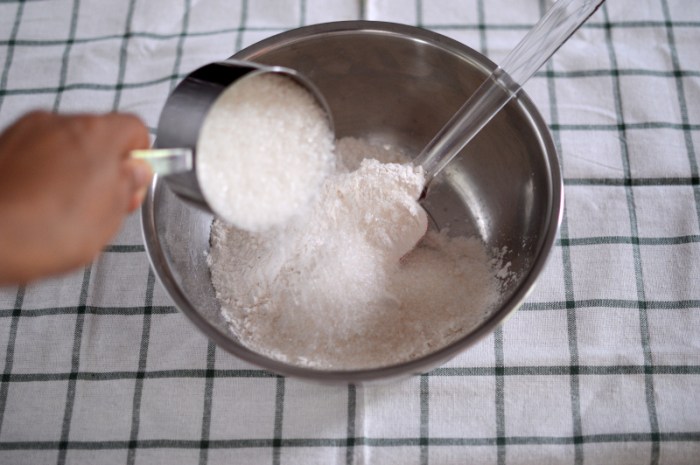
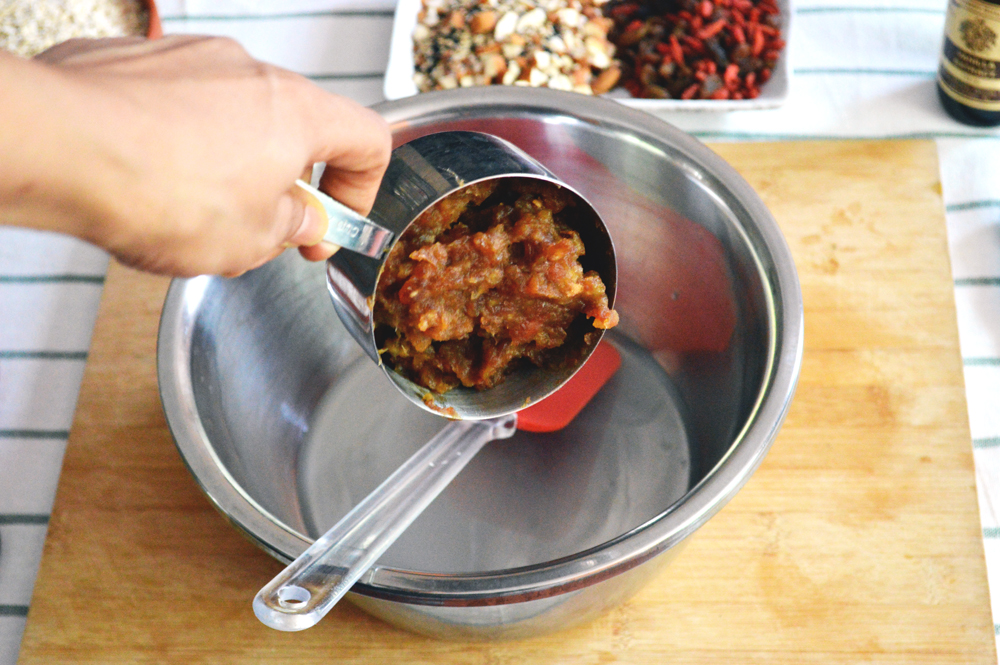
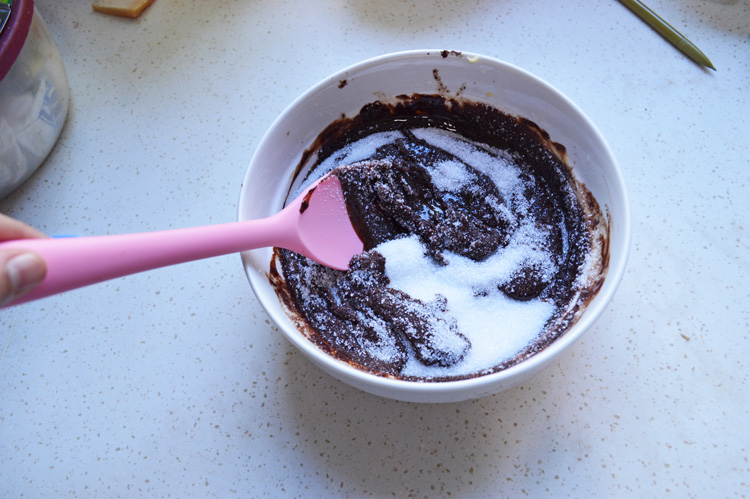
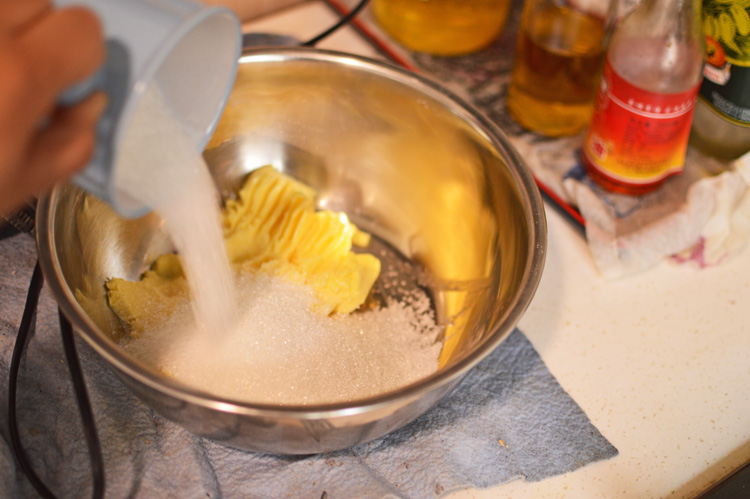
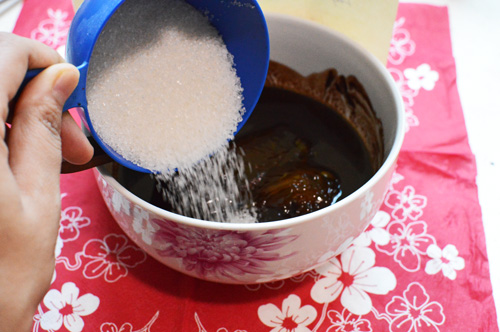
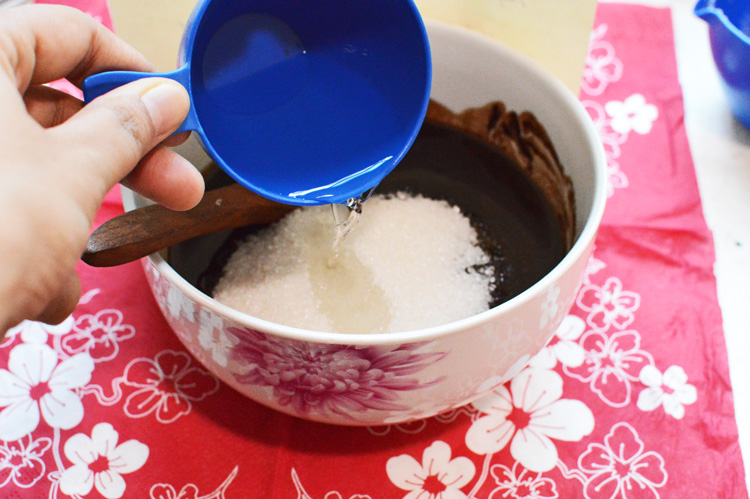
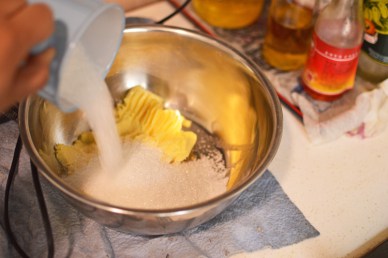 in a separate bowl, add the sugar to the butter which should be soft btw.
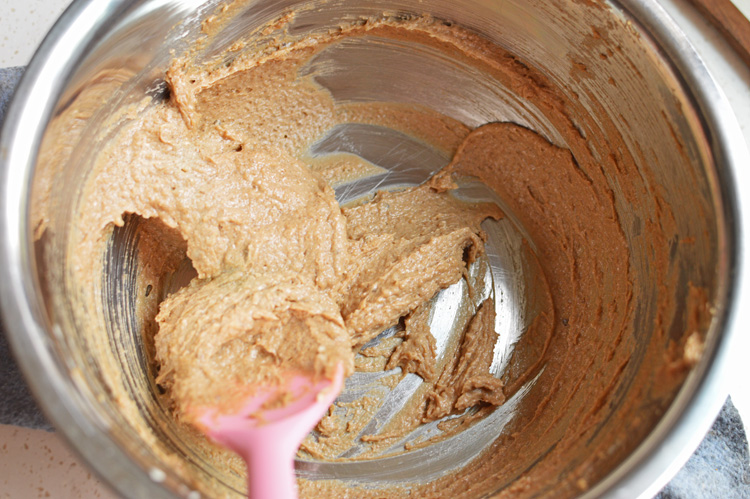
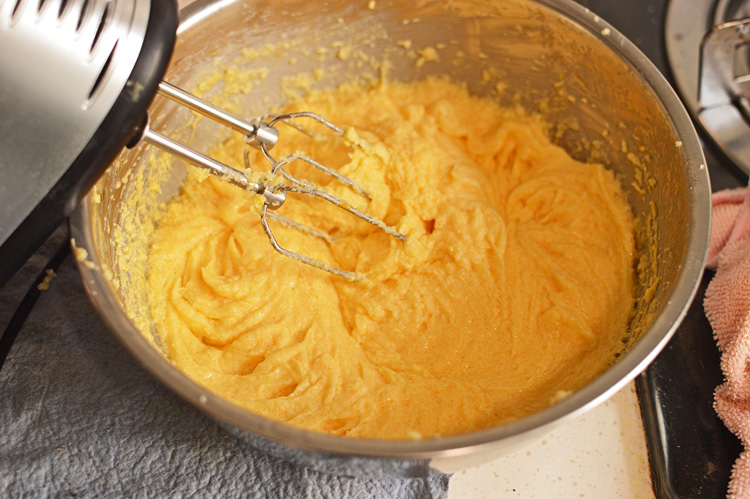
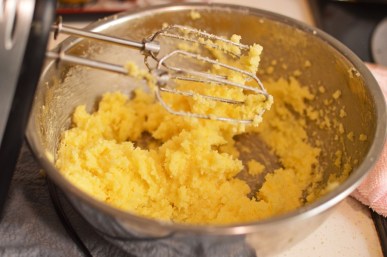 and beat together for a couple of minutes until they’re kinda fluffy.
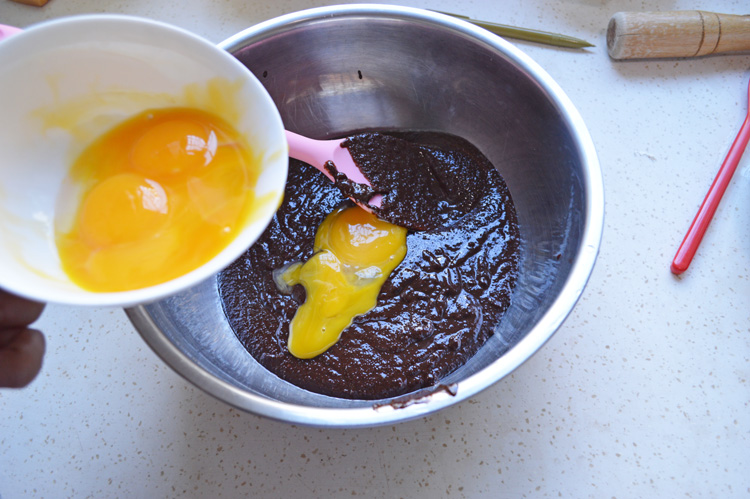
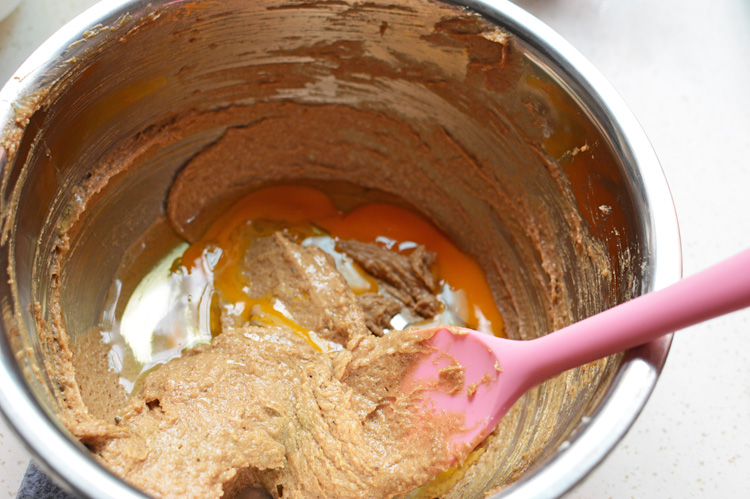
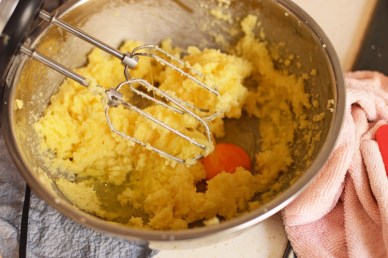 add in the eggs one by one, beating briefly after each addition.
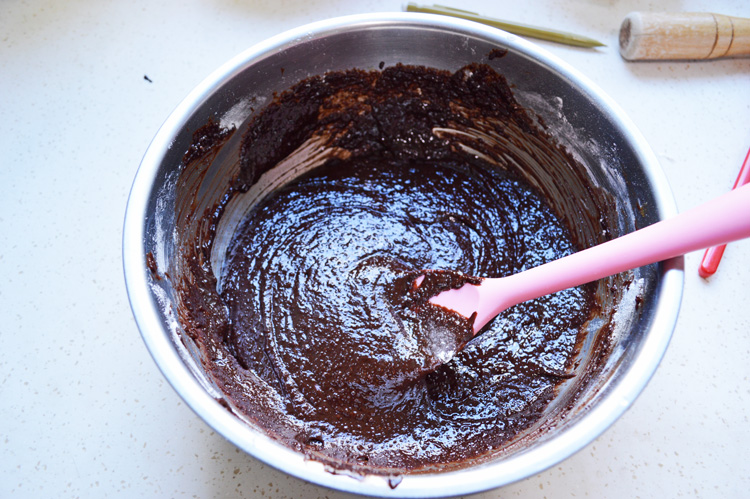
 Once all the eggs are beaten in, you will end up with something like this.
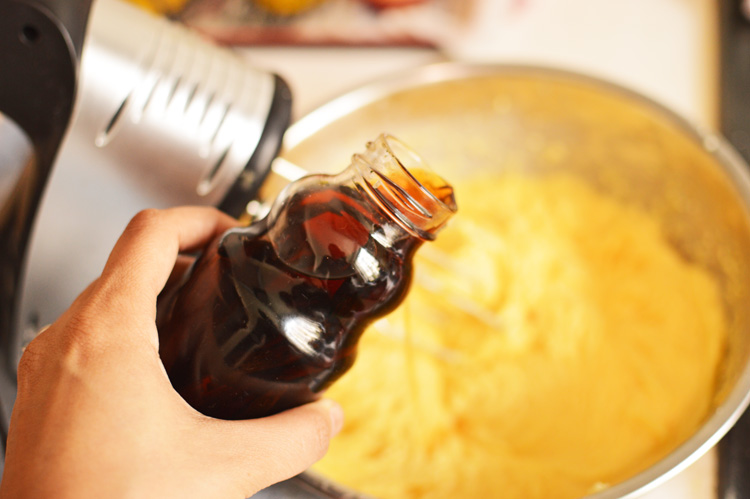
 add in your vanilla and beat for another half a minute or so.
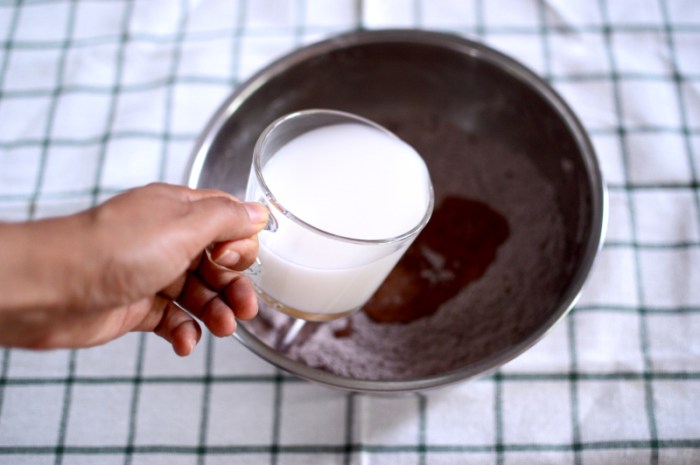
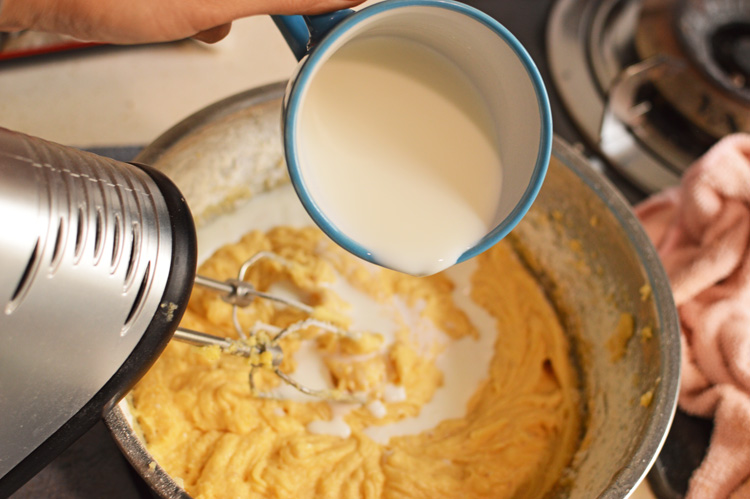
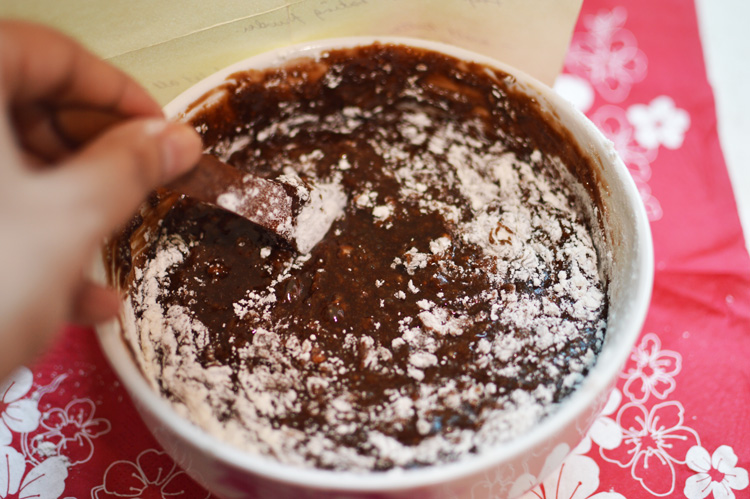
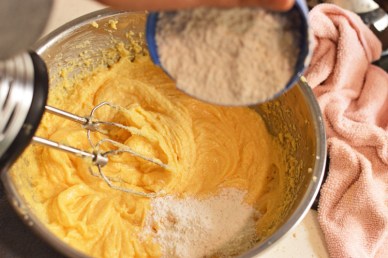 now add your flour mixture and milk alternately. The flour mixture should be added in three stages and the milk in two, and the beginning and ending should be with the flour mixture. Got it? ok beat in 1/3rd of the flour mixture.
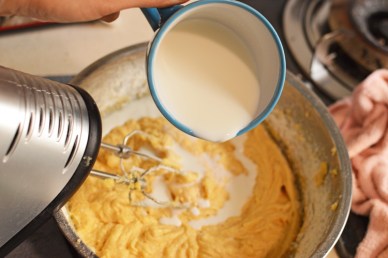 then half of the milk, then 1/3rd of the flour mixture, then rest of the milk and finally last of the flour mixture, and beat until just combined. This alternating stage is important so that you don’t end up over beating the batter.
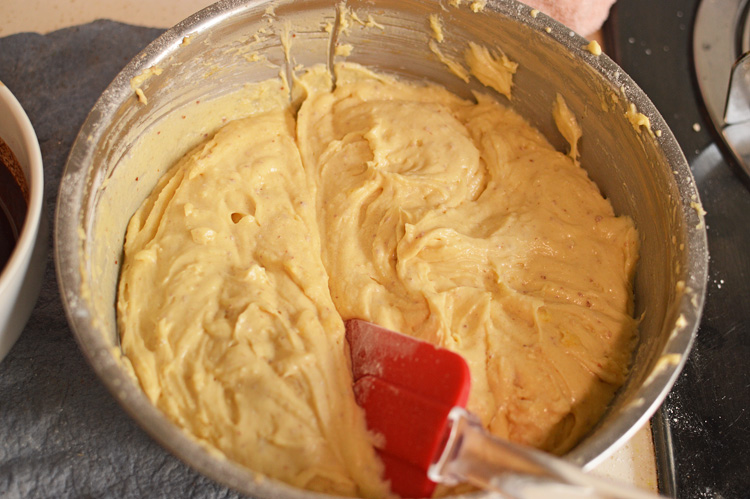
 the mixture will look like so, specked with almond meal. Do not over beat the batter at any stage or your cake will be tough and you’d hate it and blame me.
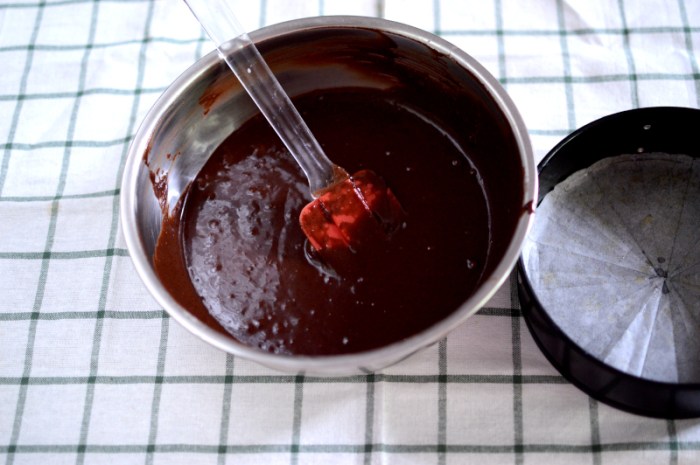
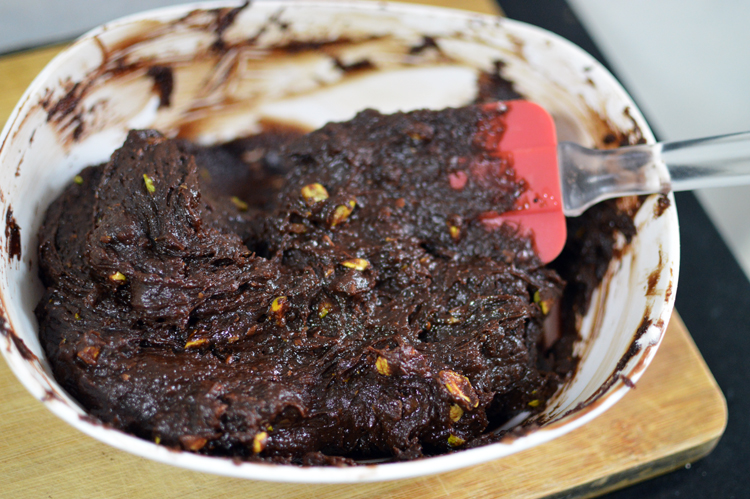
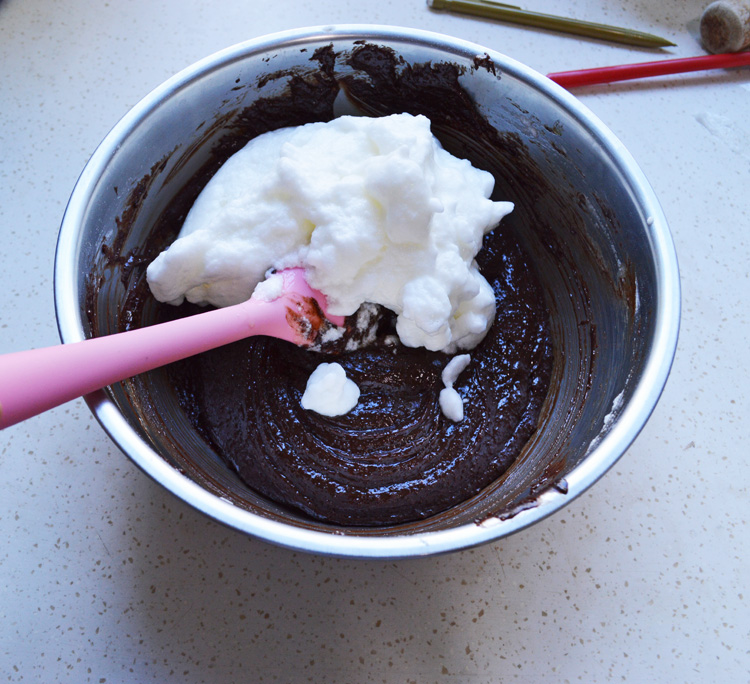
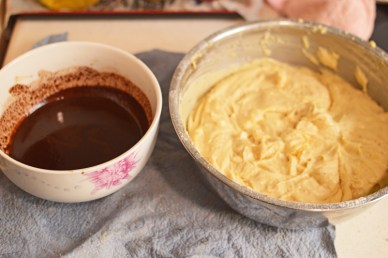 now bring back your chocolate mocha pool of sin.
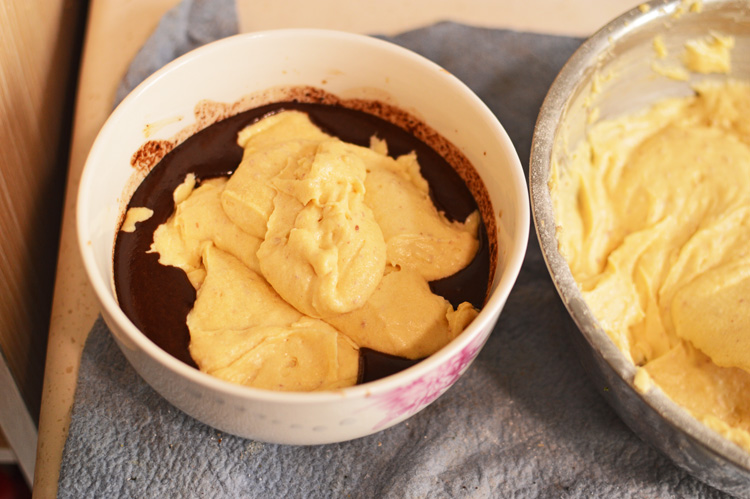
 Take a little less than half of the vanilla batter
 and add it into this chocolate coffee pool of love and mix together very briefly
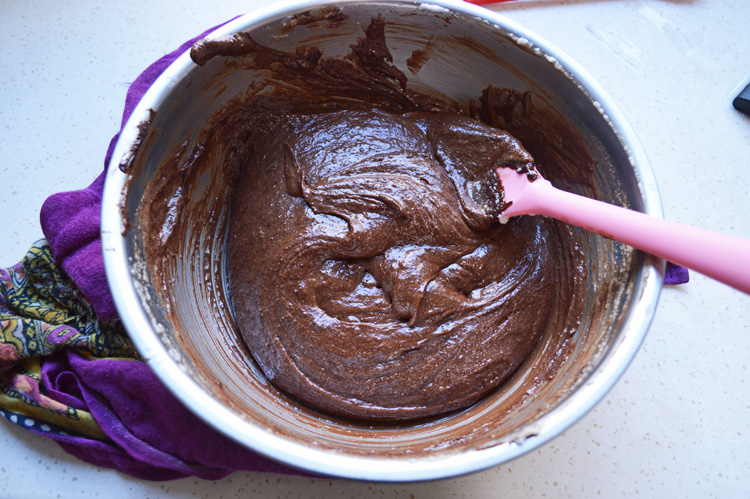
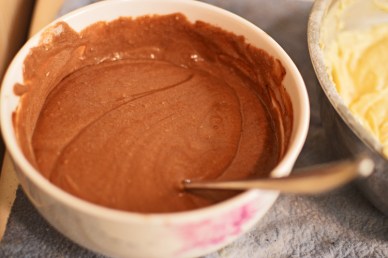 to get this.
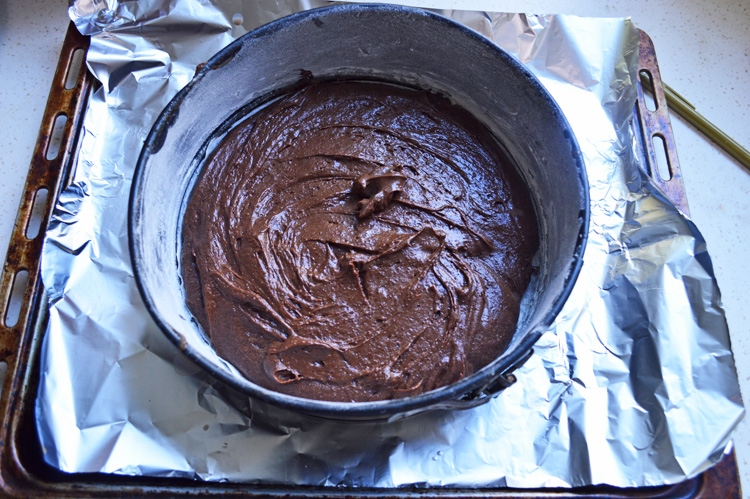
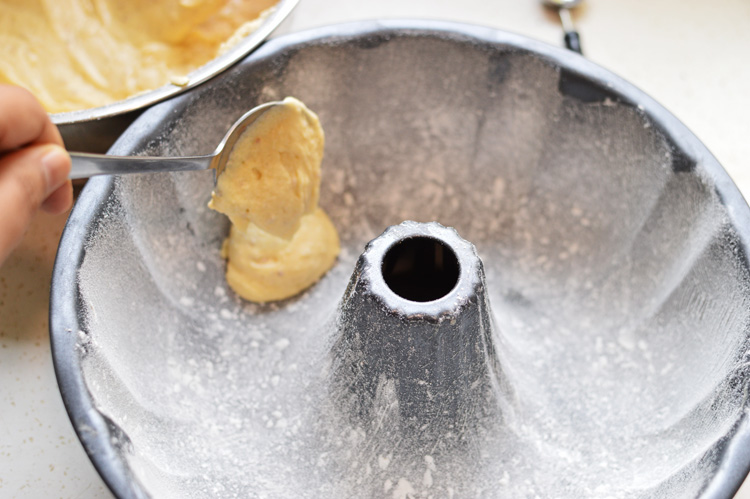
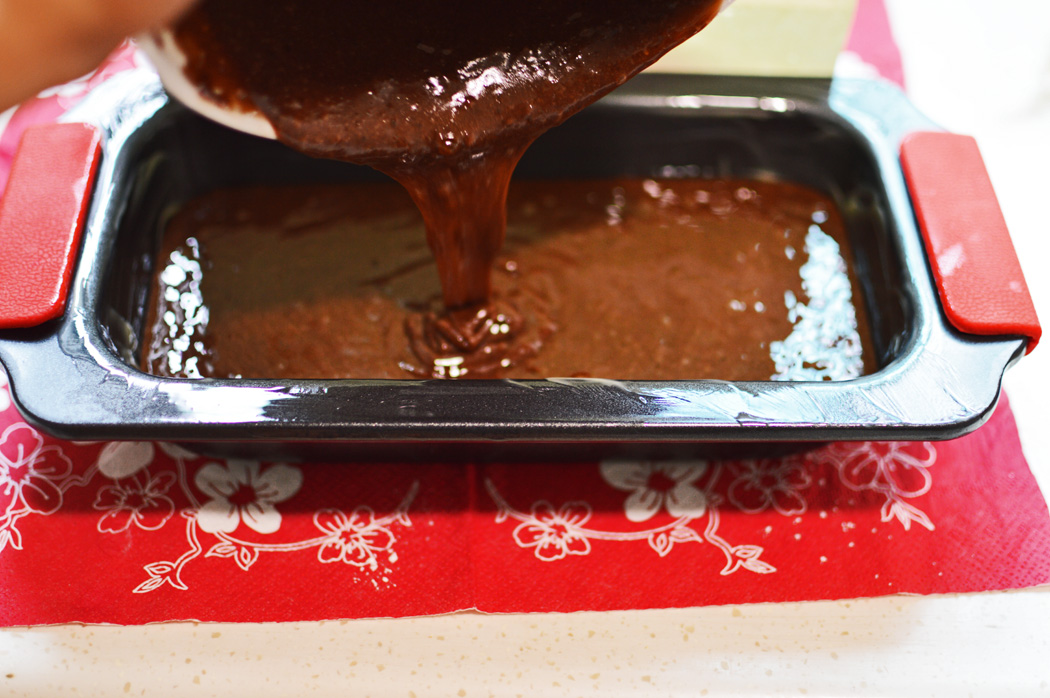
 now bring back your bundt pan and do this
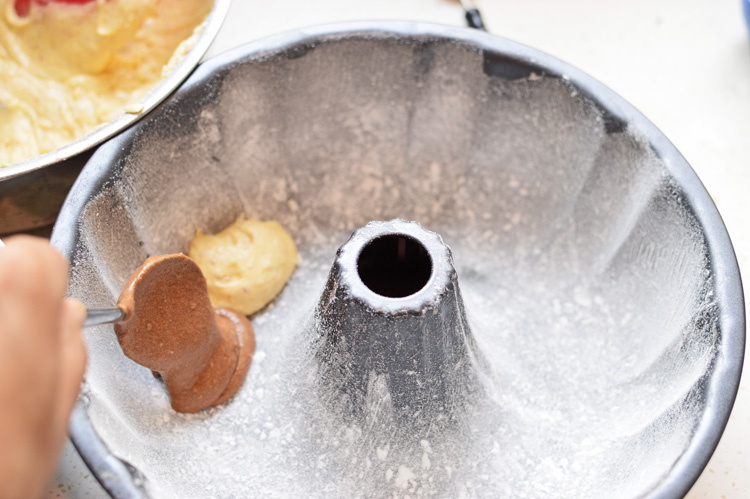
 then this, basically alternate between the batters
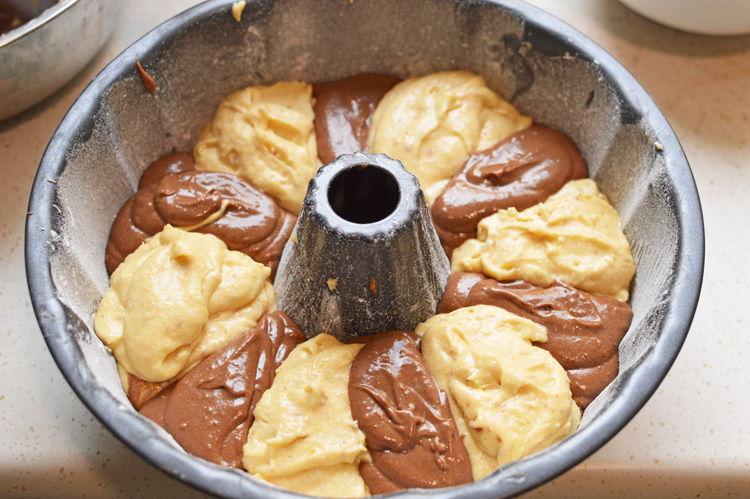
 to form this
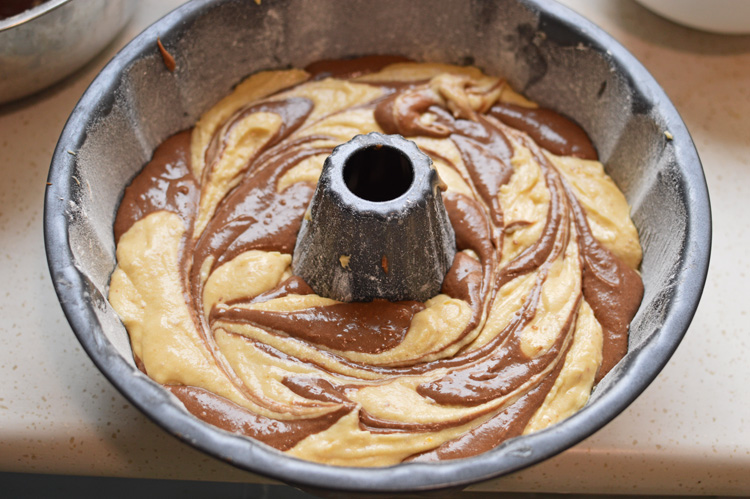
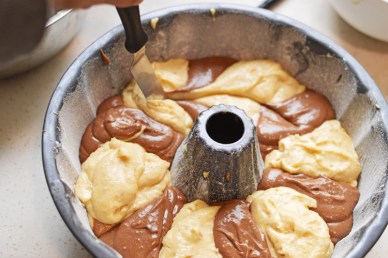 then take a tooth pick or a knife or in my case and offset spatula and swirl it lightly in the batter. Don’t Jackson Pollock this! You need to be gentle about it or the marble pattern will be all kinds of evil. But of course it’s your cake and you do what you want!
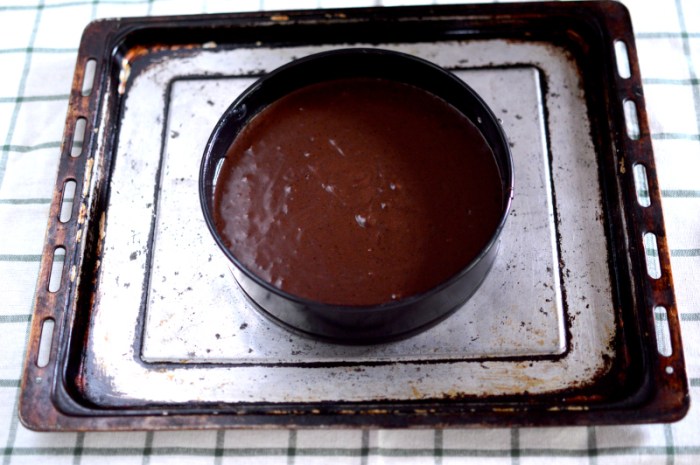
 so mine looked something like this. Bake at 180℃ for about an hour
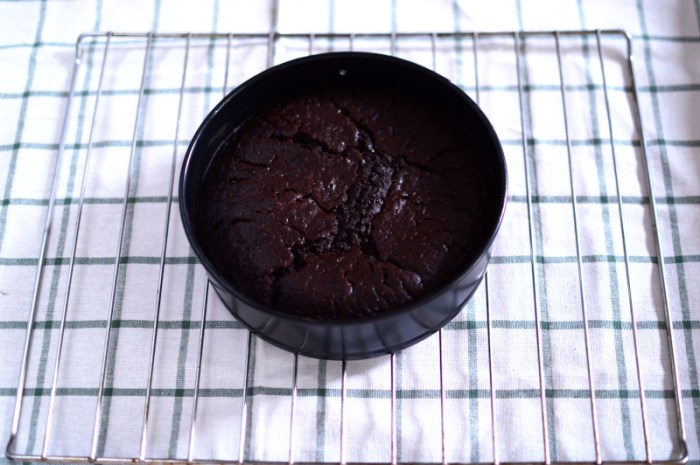
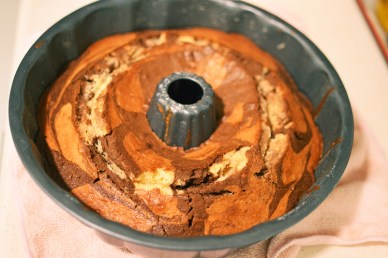 to get this! Let it cool in the pan for a while
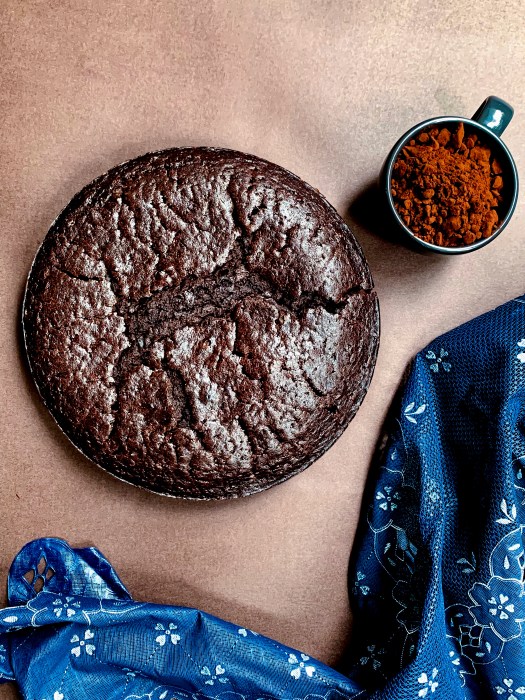
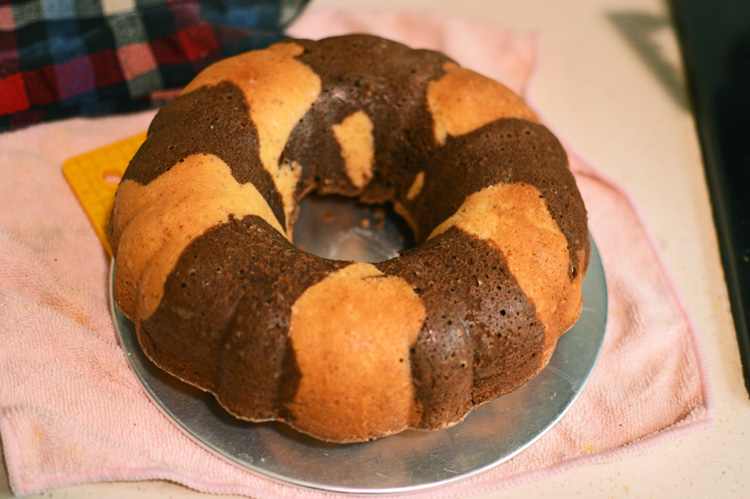
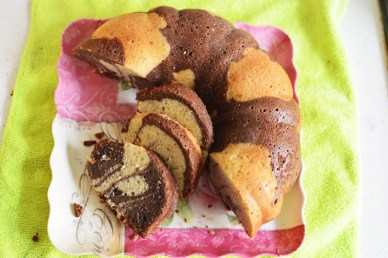
 and with all that greasing and flouring, it will come out like a song! Look at this! oh my, oh dear, oh wow! Carry this triumphantly to a table full of people, and see how quickly they whip out their phones to instagram this baby!!
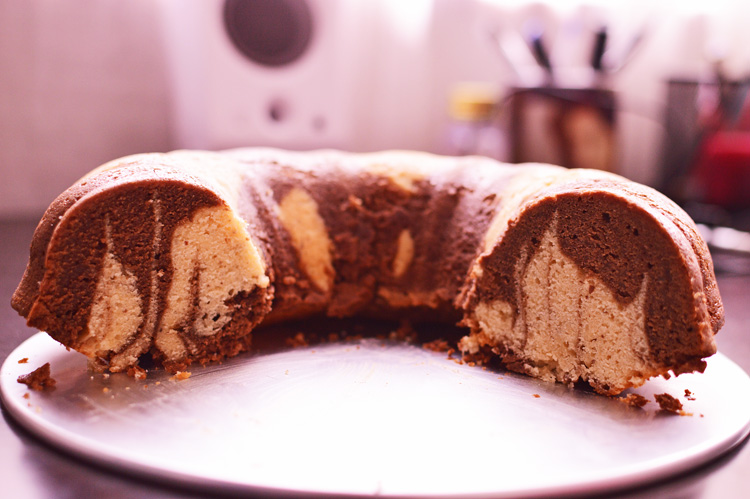
 marbled pattern in my cake.
Ingredients
Flour: 350g
Almond meal: 70g
baking powder: 1 teaspoon
salt: 1/2 teaspoon
butter: 210g + 2 tablespoons
dark chocolate: 90g
strong coffee: 60mls(1/4 cup)
instant coffee: 1 teaspoon
sugar: 230 g
eggs: 4
vanilla extract: 1 tablespoon
milk: 250mls (1 cup)
Baking instructions: butter the bundt pan and dust with flour to coat completely and shake off the excess flour. Keep aside
Mix together the flour, almond, salt and baking powder.
combine the chocolate, 2 tablespoons of butter, instant coffee and coffee and melt in a microwave. I did in 30 second burst mixing after each, until nicely melted and combined.You can also melt in a heatproof bowl over gently simmering water. Microwave is just easier and less fussy.
In a separate bowl, beat together the butter and sugar till light and fluffy. Add in the eggs one by one, beating well after each addition. beat in the vanilla extract. add the flour mixture in 3 portions and the milk in 2, so the beginning and ending should be with flour mixture. Beat only until just combined.
Add a little less than half the vanilla batter into the melted chocolate coffee and mix.
Start layering these 2 batters into the bundt pan as you wish. You can alternate them as I did, or even layer them separately with chocolate layer sandwiched in between vanilla.. Once done you can take a knife or a tooth pick and gently swirl it through the batter.
Bake at 180℃ for about 60 minutes. You might want to increase the time depending on your oven. Just keep checking by inserting a tooth pick, if it comes out clean, the cake is baked.
Once done let it cool for at least 10-15 minutes. Unmoulding would be very easy if you’ve greased and floured the pan well.
This cake will be your pride and joy and the centre piece of your party table.
 enjoy!