And many many months and a shift of scenery later I am here, in another country, in another environment making things out of very basic ingredients for the time being.
Everything has been all over the place and there have been moments when I have missed the mundane quietness of my life before the big shift and felt frustrated at not having my usual things in their place as the cargo shipment of my previous existence still hasn’t made it to this time zone.
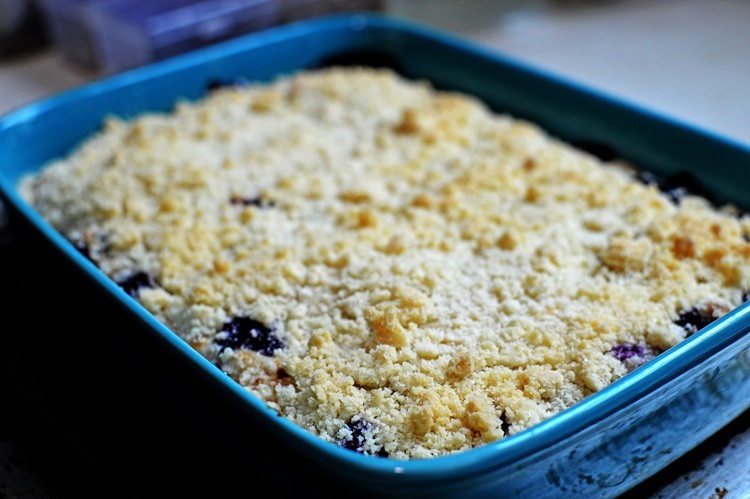
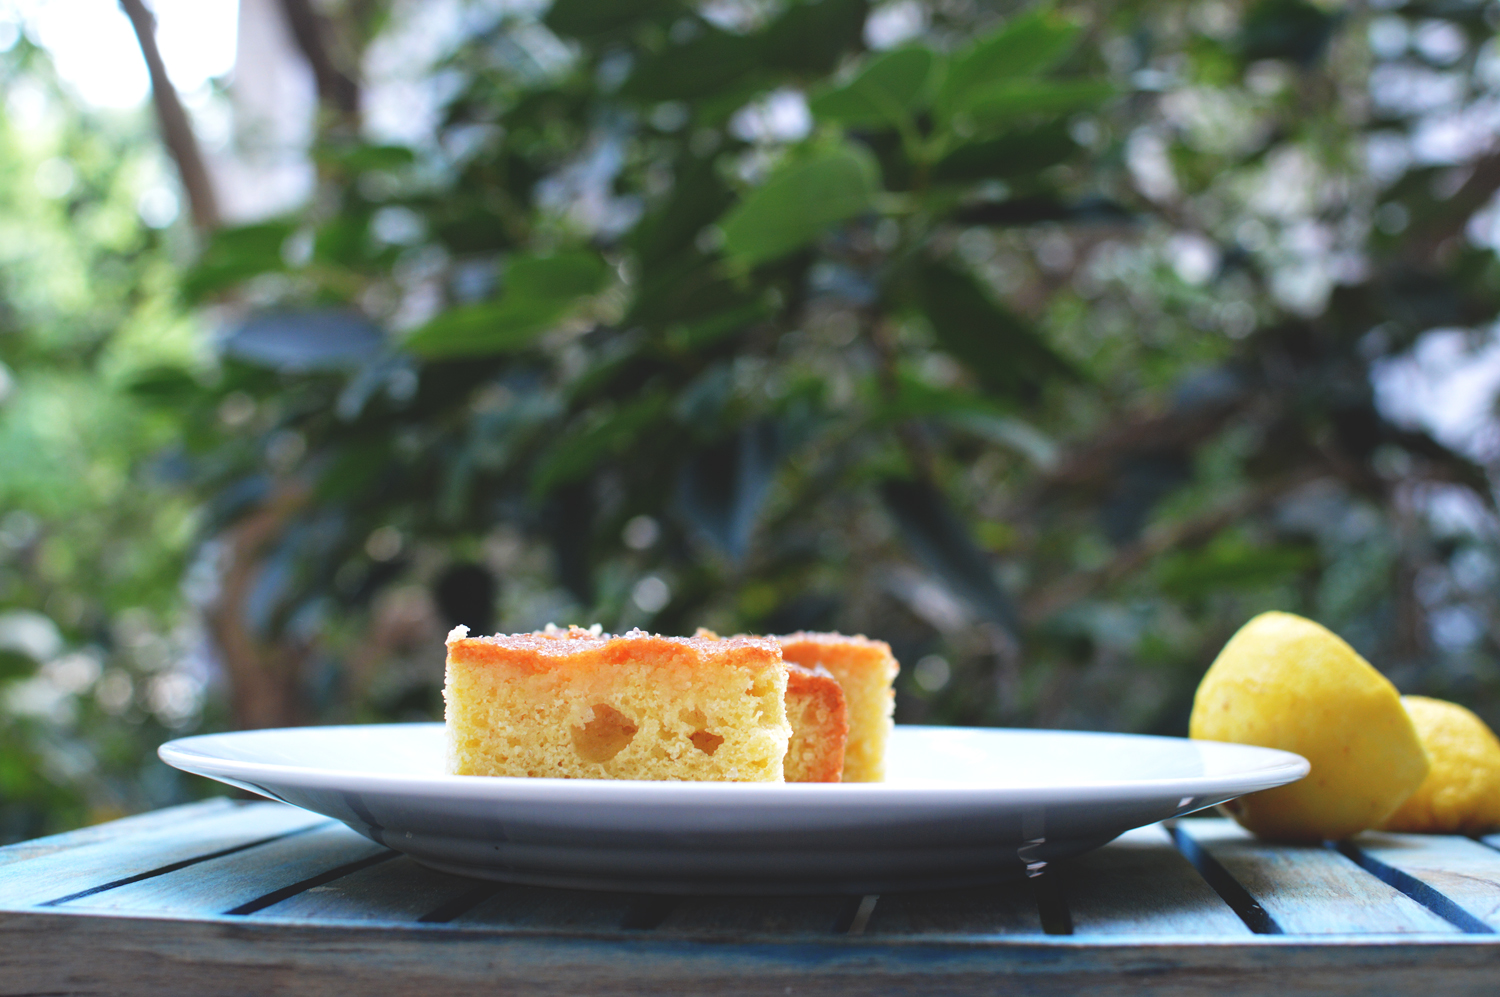
Feeling out of it and needing something comforting and simple I baked a small banana cake and when it came out just right, I felt the world shift, the mood lighten up, the grey clouds clearing and realized that maybe things are going to be okay.
This is as easy as it gets and absolutely delicious with every morsel. There are bits of chocolate punctuating this cake which isn’t cloyingly sweet and the light taste of overripe sweet bananas sits subtly in the background without stealing all the focus.

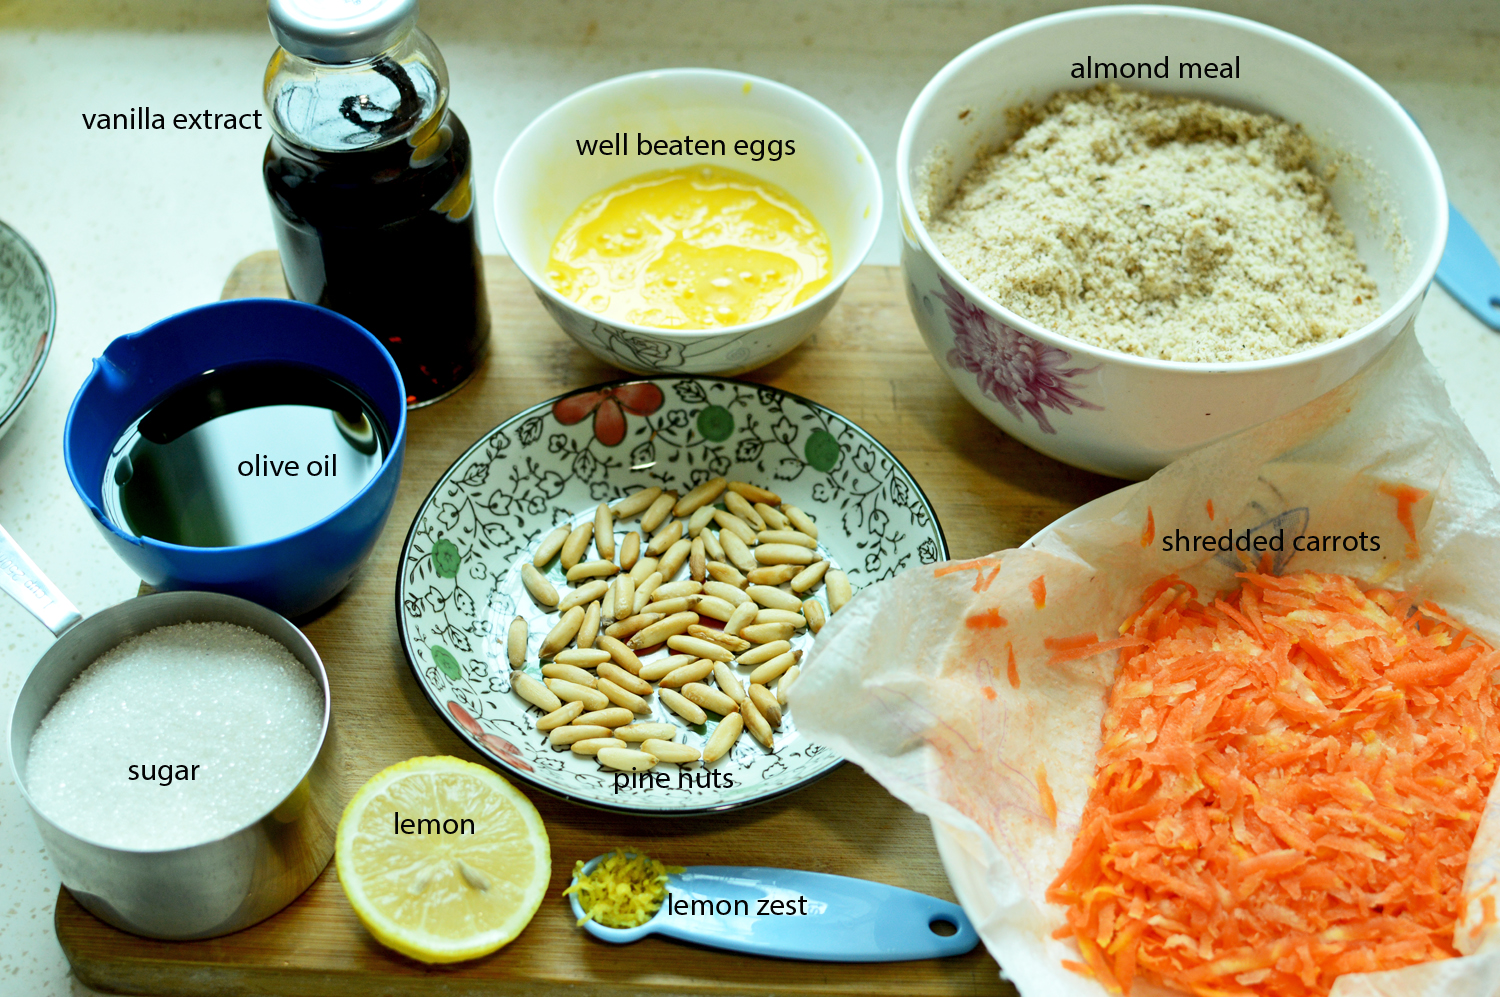
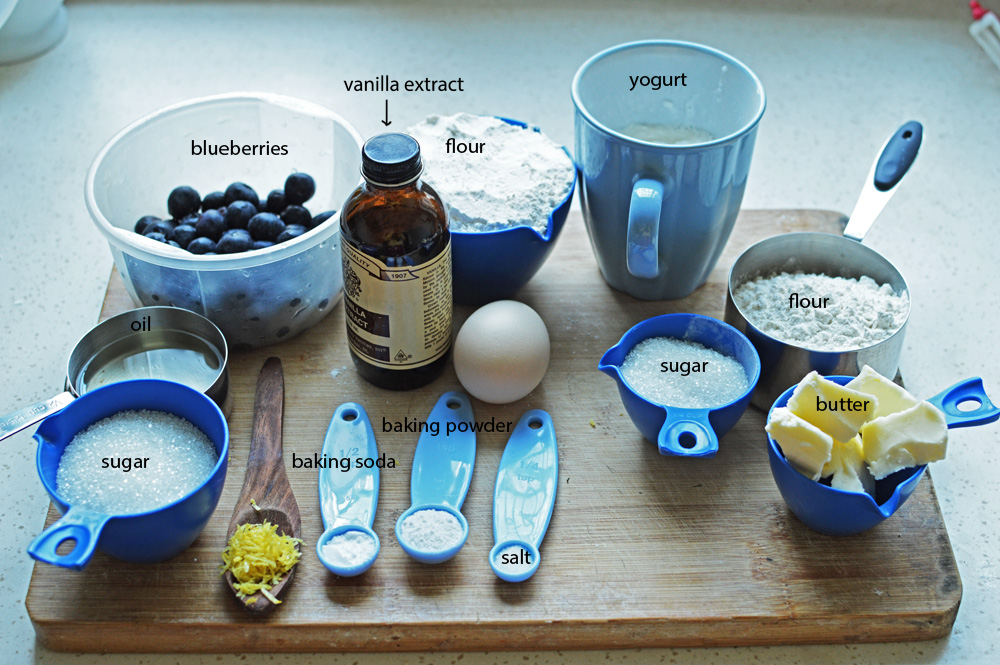
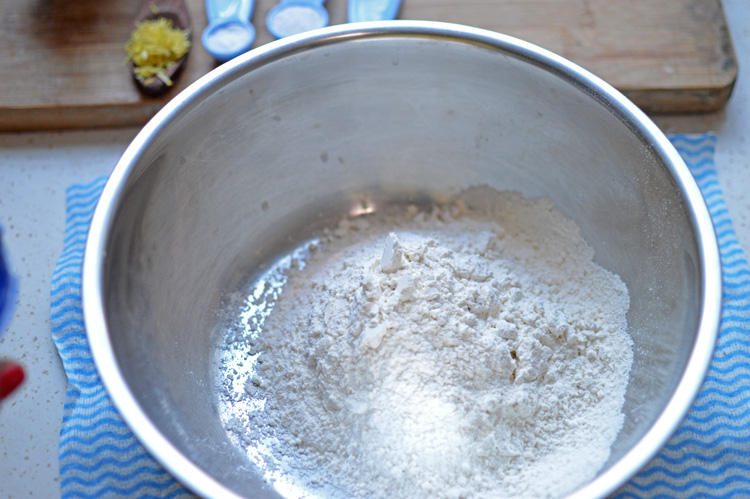
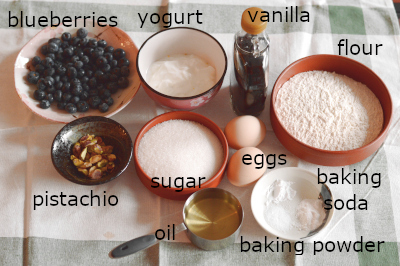
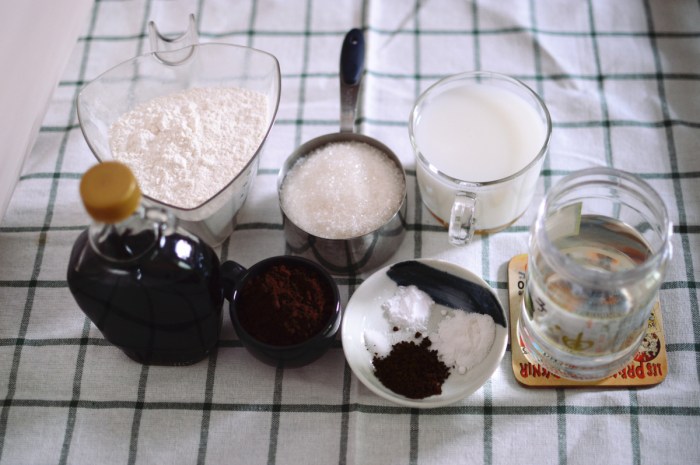
The ingredients are few. Bananas, eggs, butter, flour, chocolate, baking powder and sugar

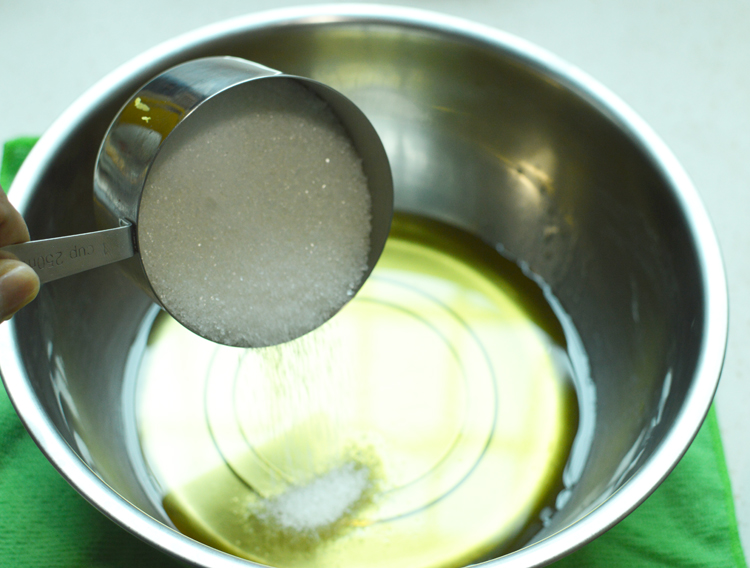
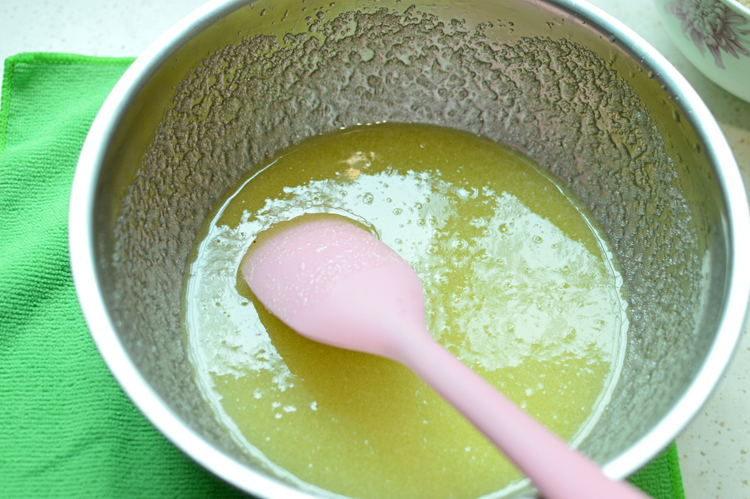
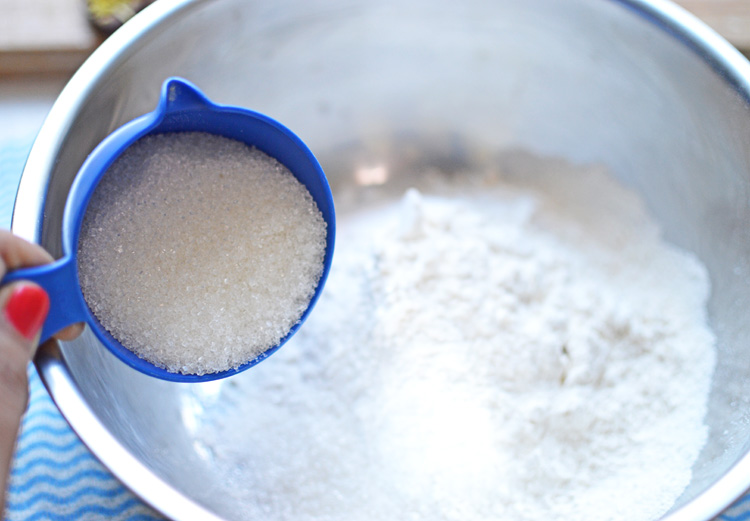
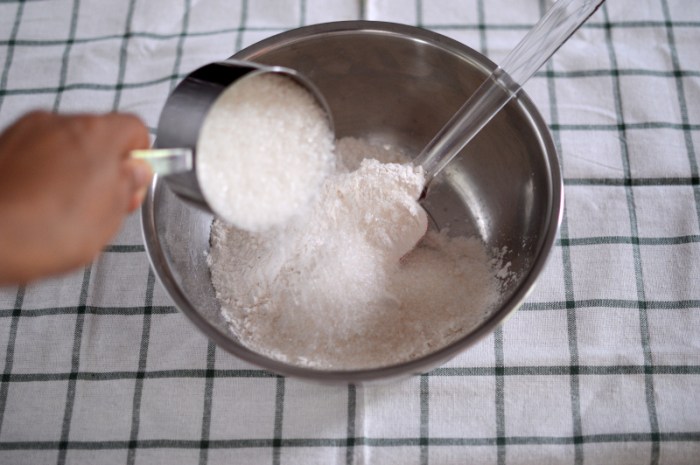
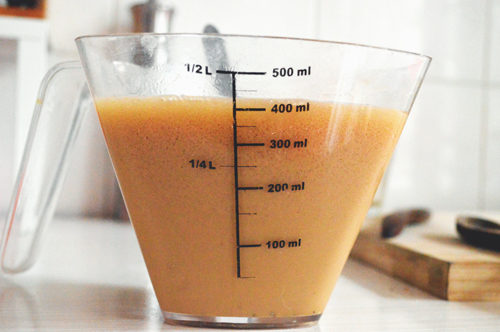
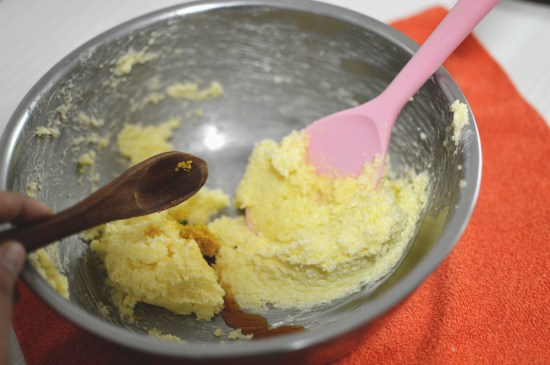
Mash an overripe banana, add sugar and beat it well.
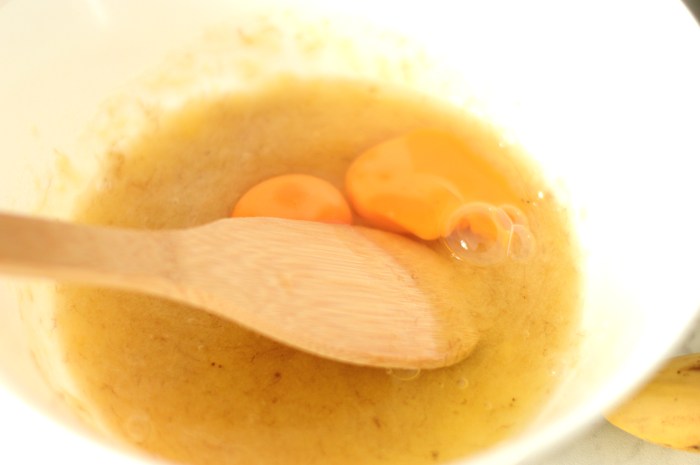
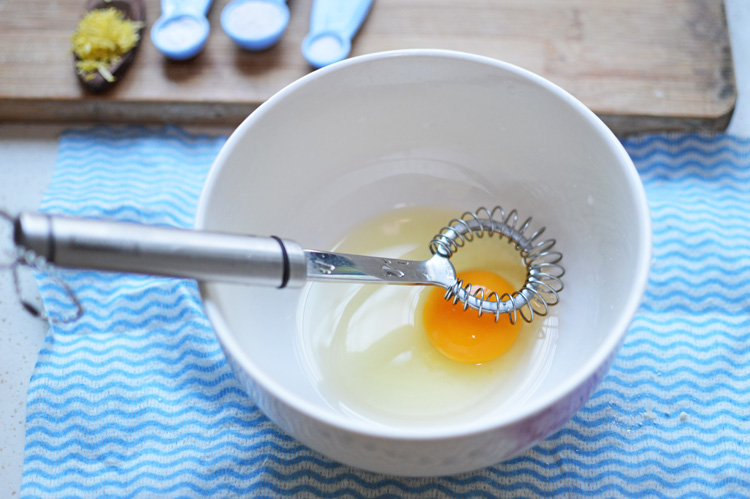
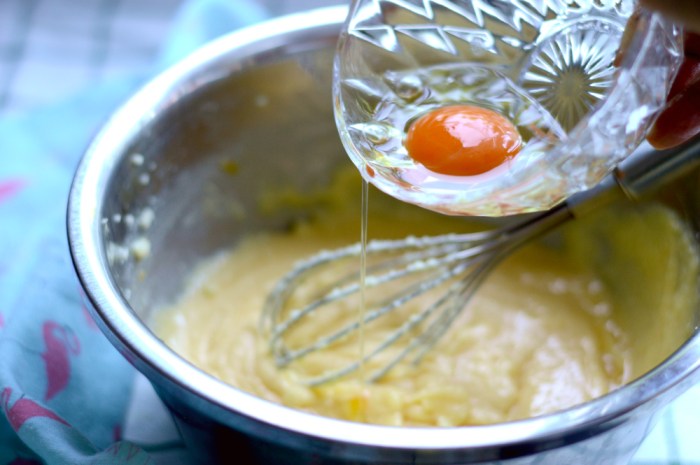
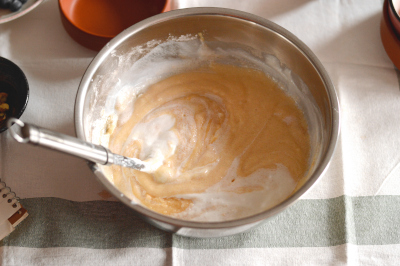
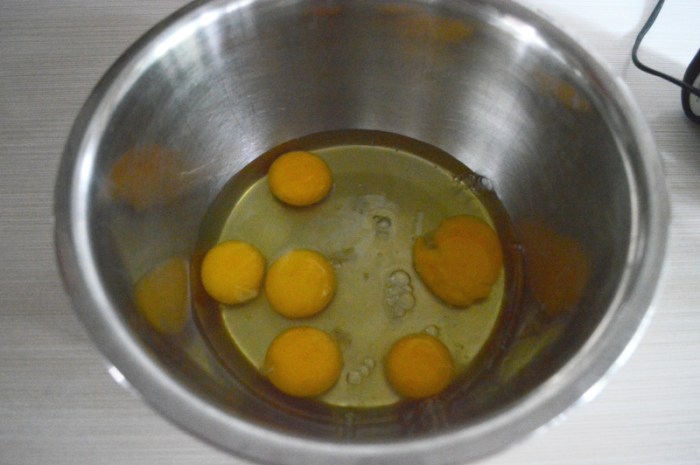
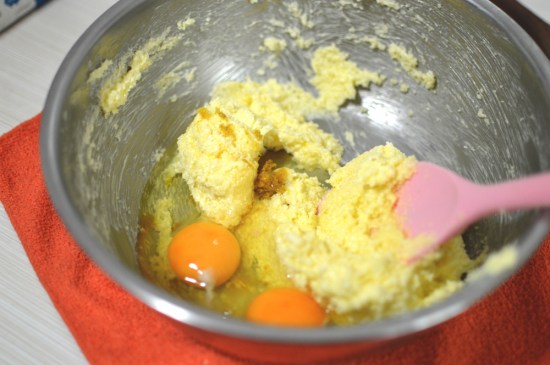
Crack in the eggs and mix into the batter until the eggs are well incorporated. It will take a few minutes but it’s worth it. This makes the cake fluffier than if you were to mix it half-heartedly.
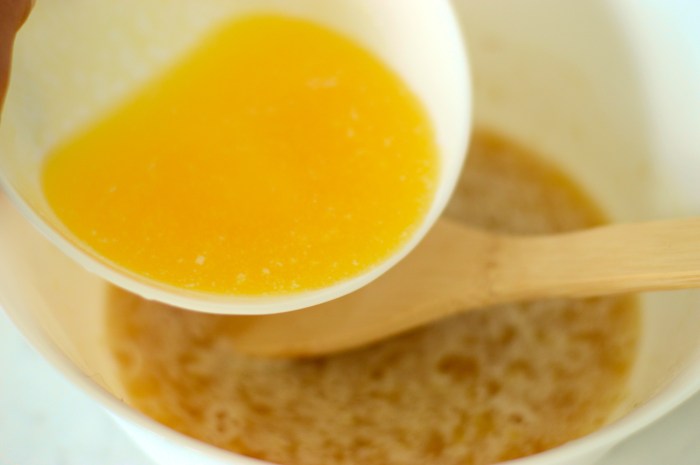
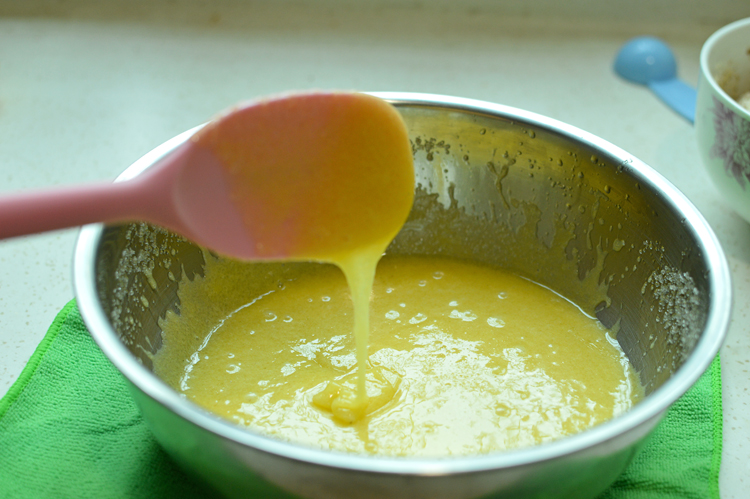
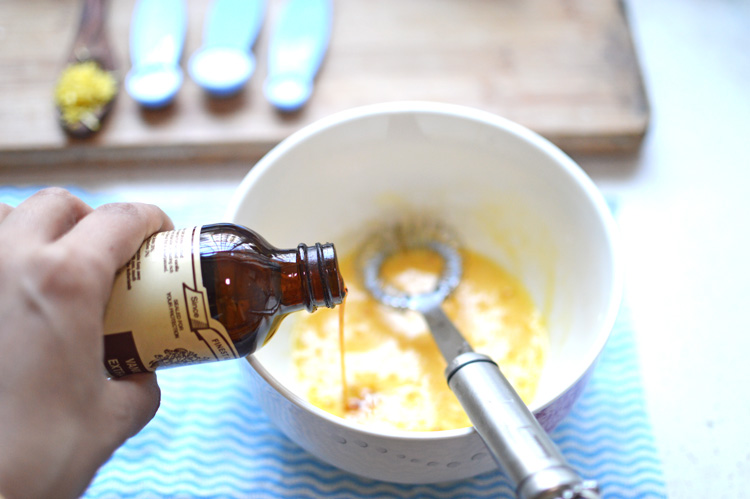
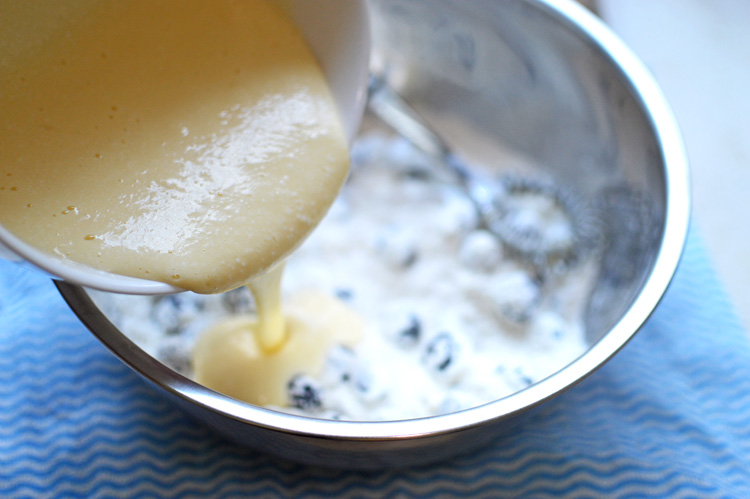
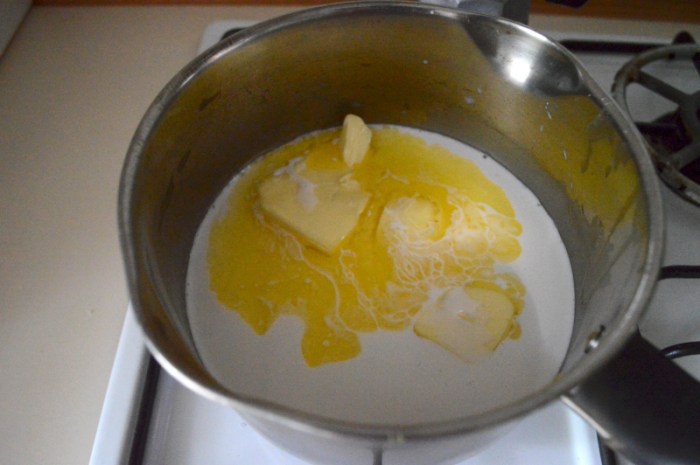
Add in the melted butter and mix
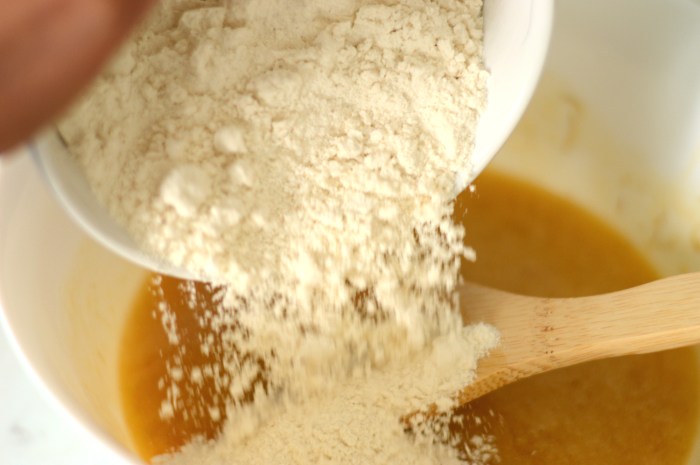
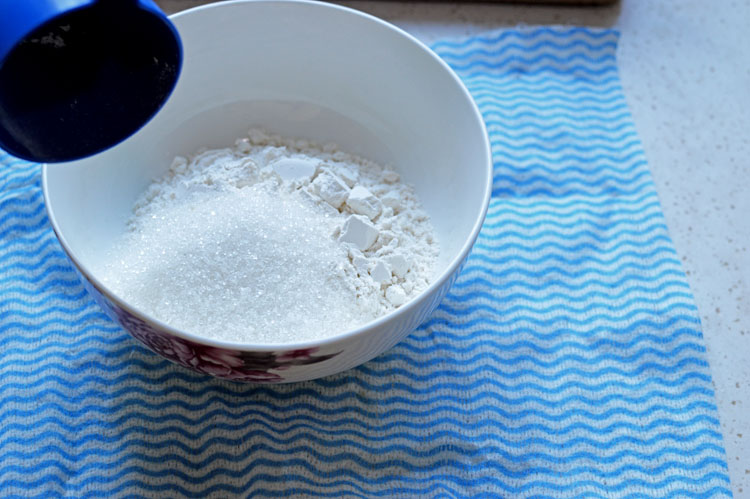
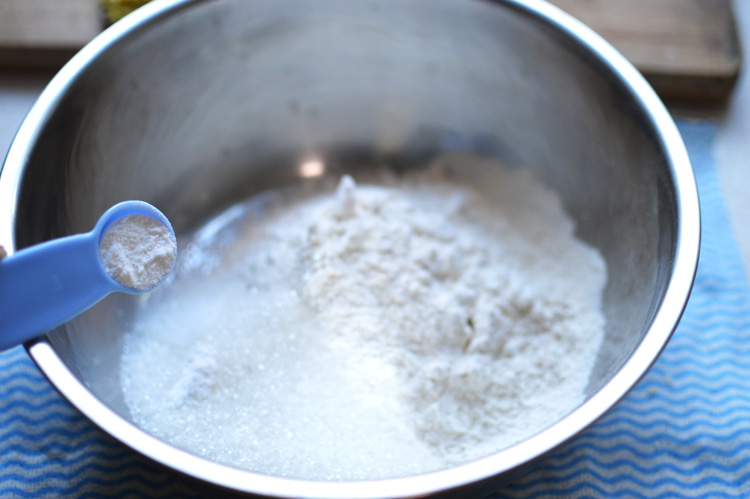
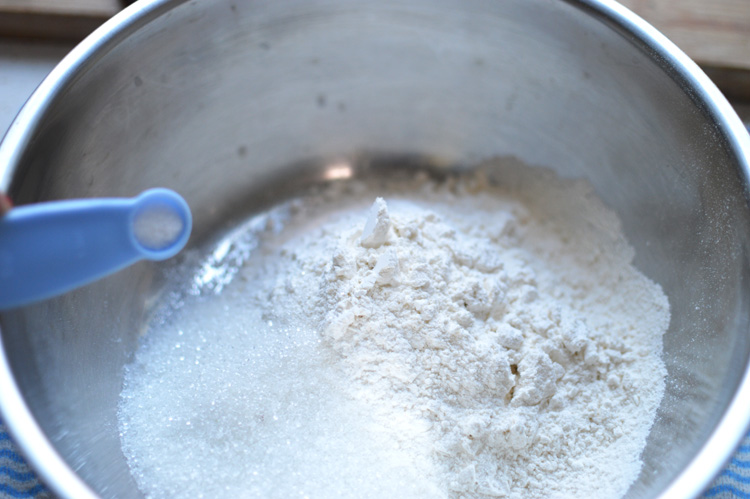
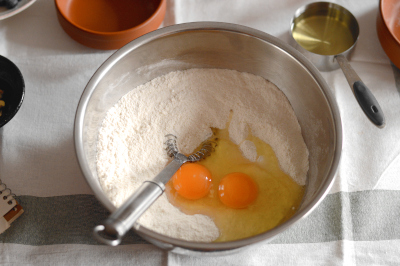
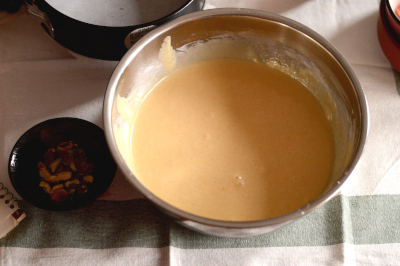
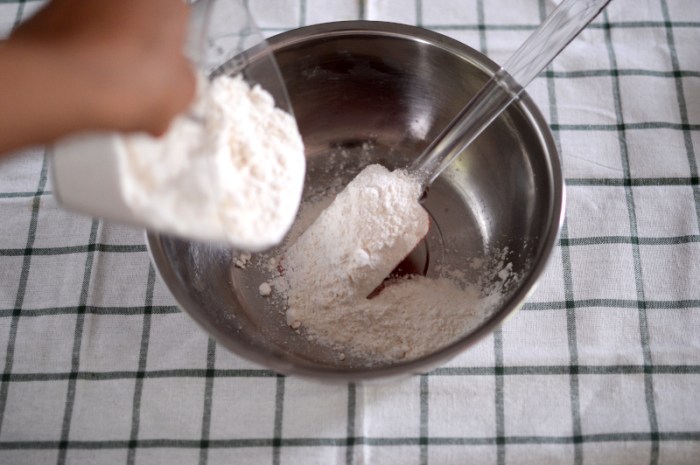
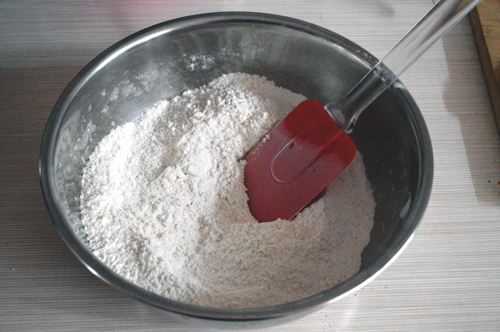
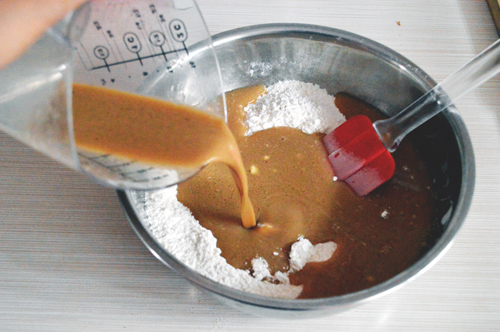
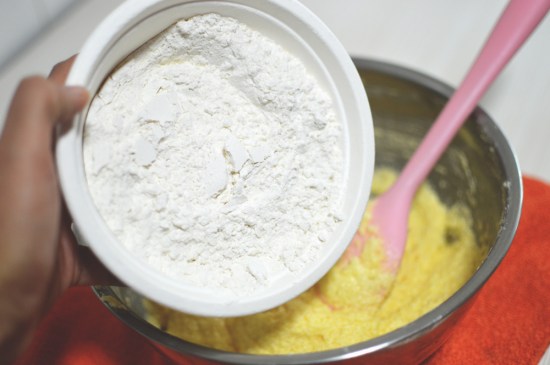
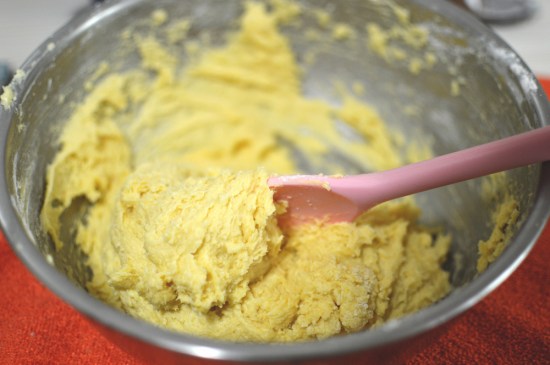
followed by four and baking powder. Mix enough to incorporate the flour into the batter without overmixing it.

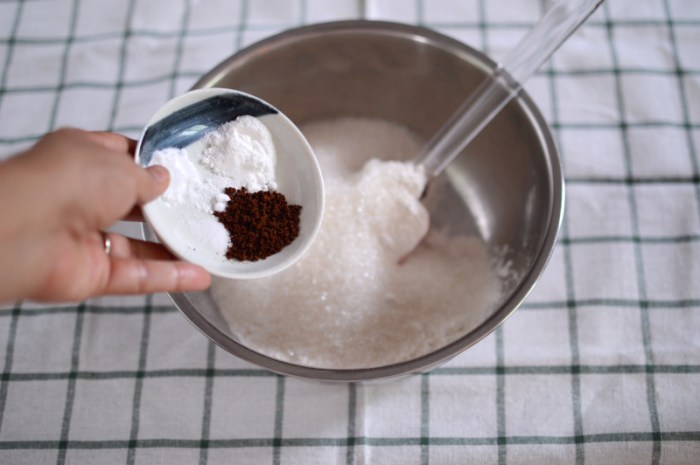
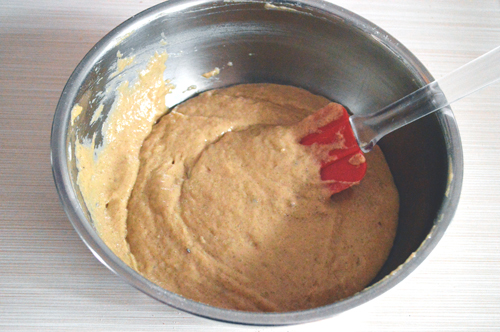
Finally, add in the chocolate bits.
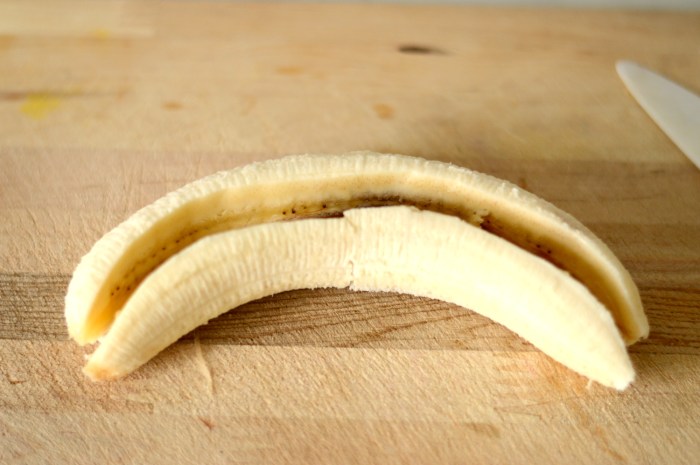
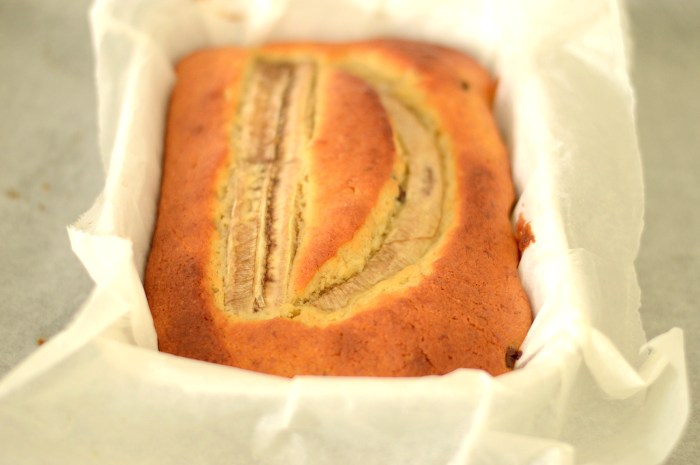
Take a whole banana and split it in between. This is an optional step but so good.

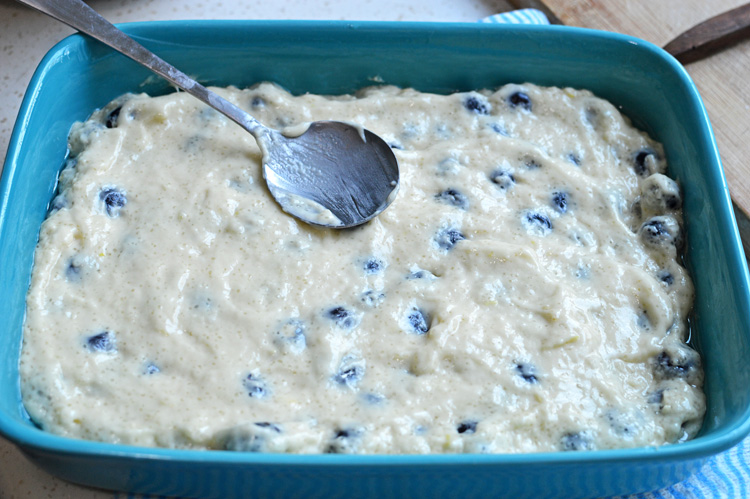
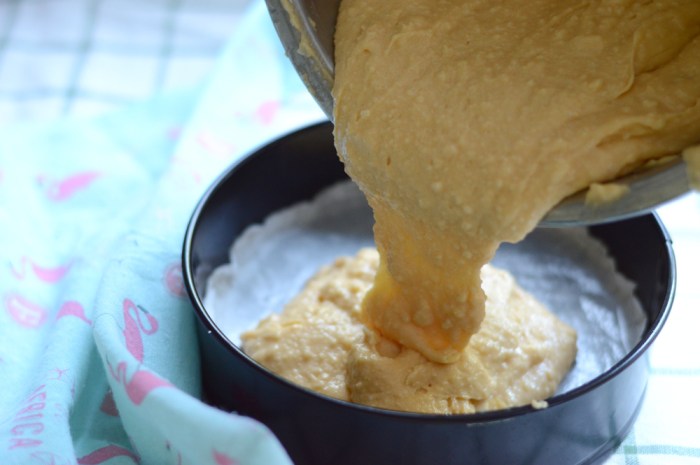
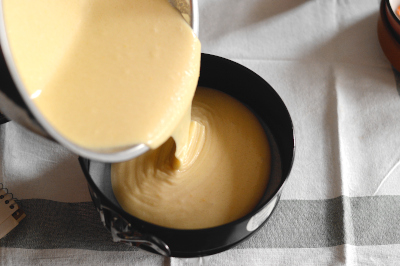
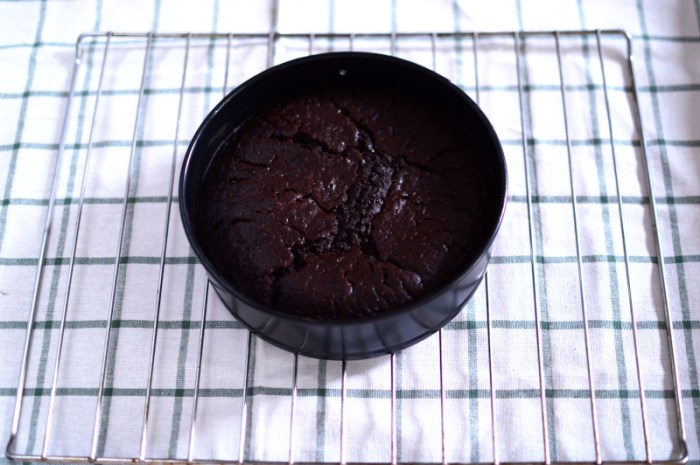
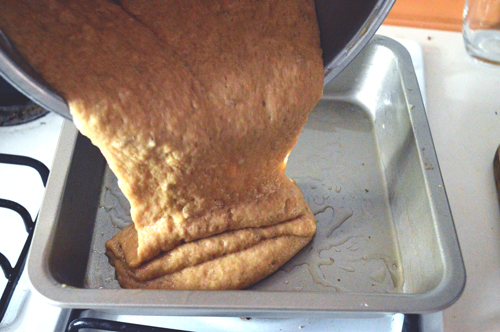
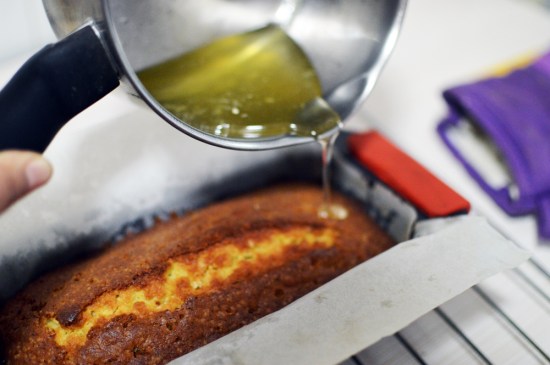
Pour the batter into a baking dish, top with the banana halves and bake at 170ºC for 35-40 minutes or until a toothpick inserted in the centre of the cake comes out clean.
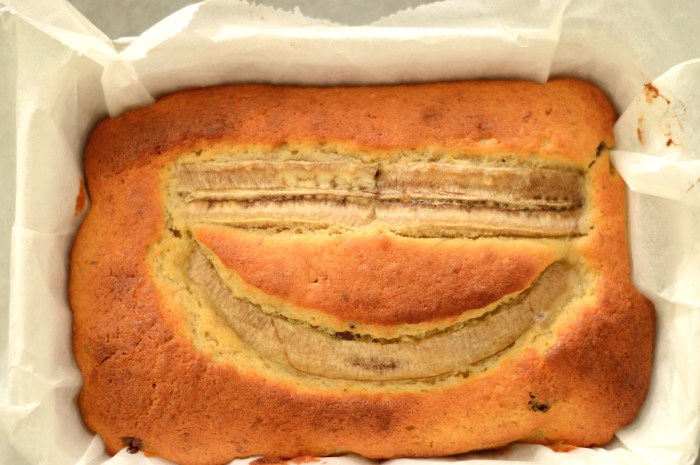
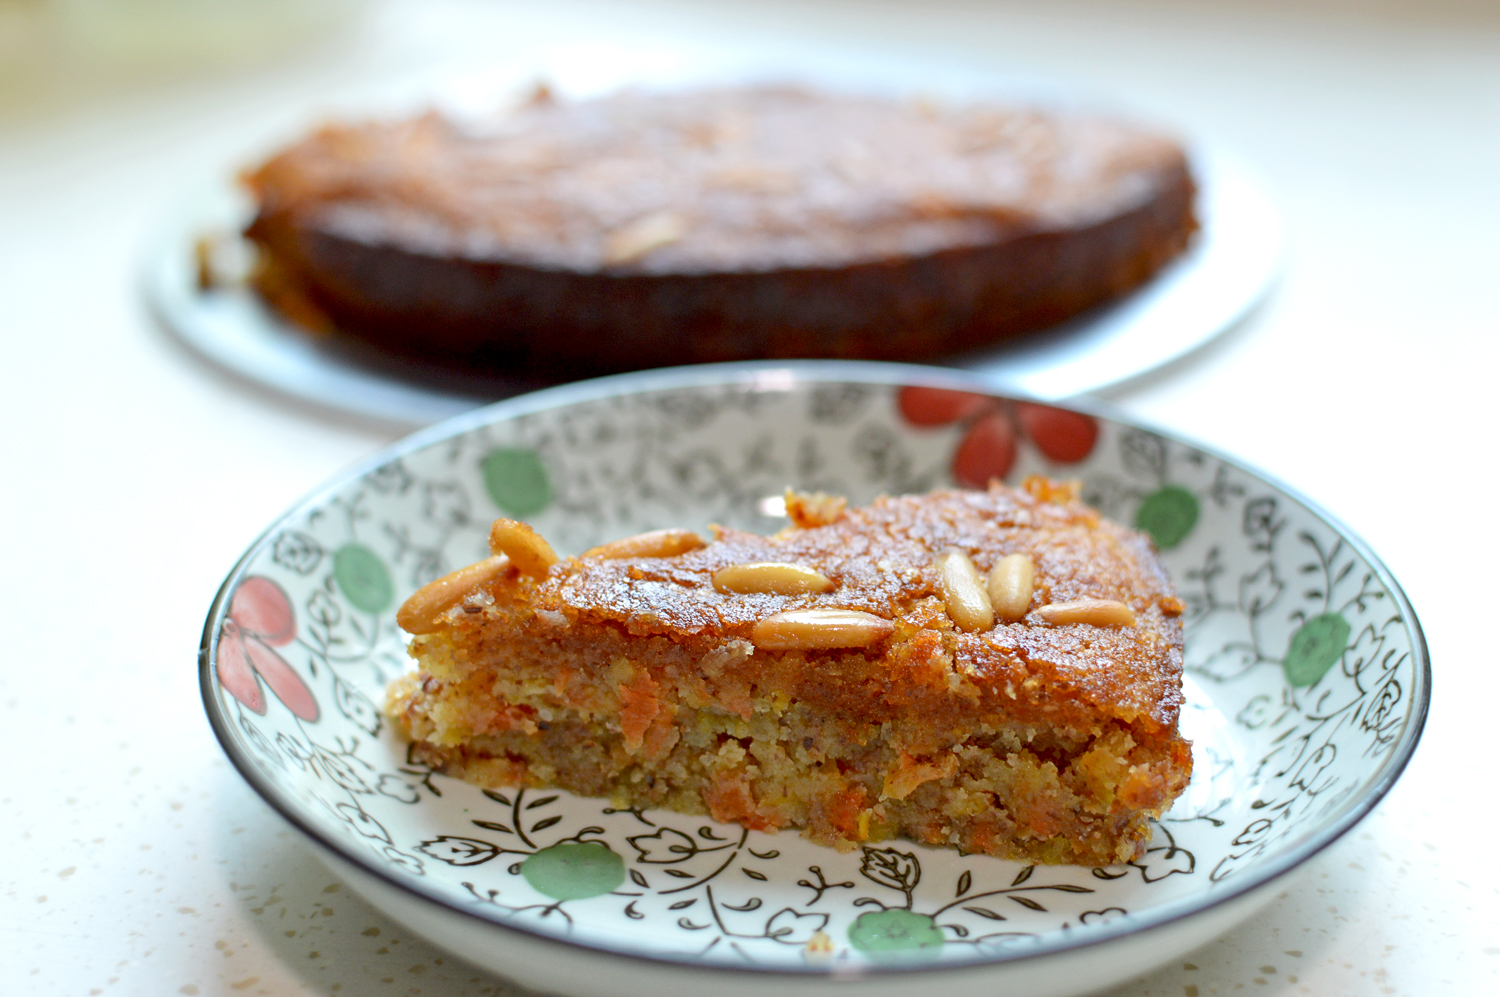
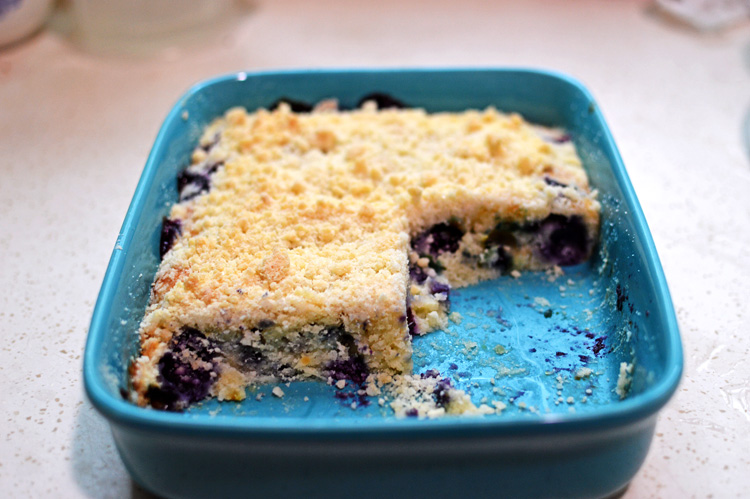
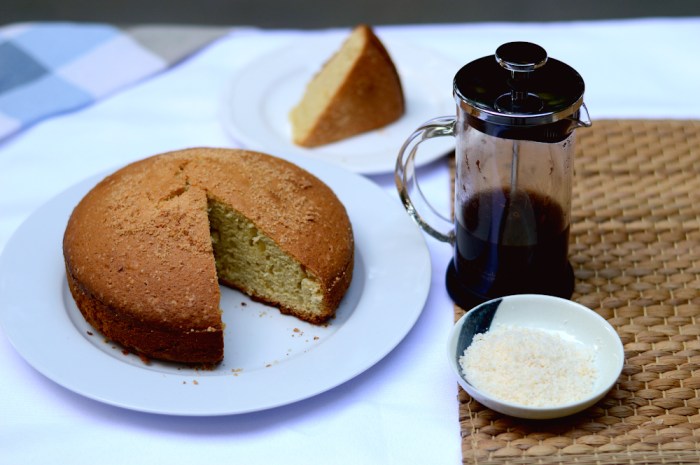
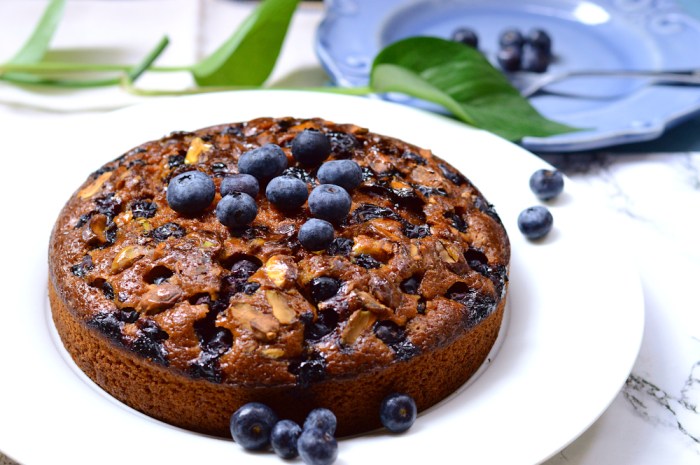
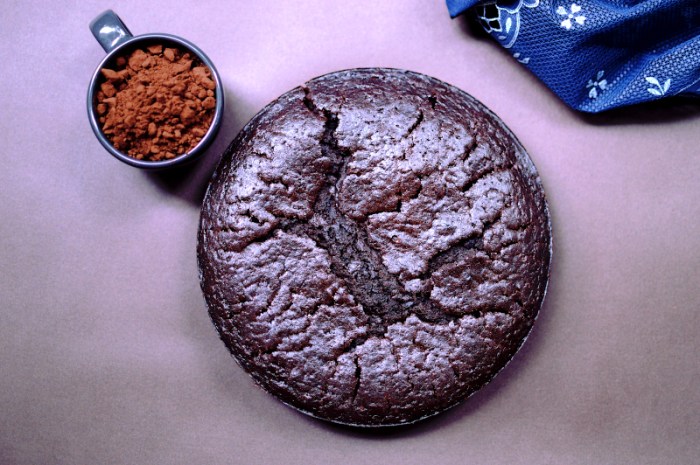
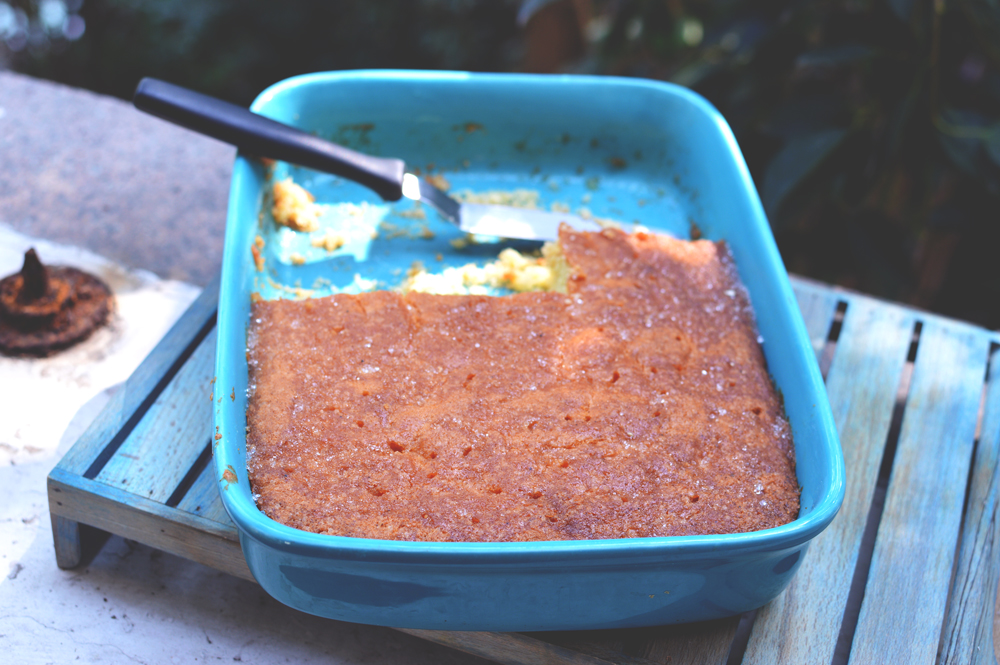
The cake was just as I like it. Not too dense and neither too fluffy, just the right amount of sweetness, lovely texture and subtly hinting at bananas or maybe not subtly since the banana topping keeps it from being too cautious, It was all that I needed to feel a little better, a little more hopeful, and a lot kinder to myself.
Recipe Ingredients

Banana: 2 nos
Sugar: 70gms
Butter: 80gms
Eggs: 2
Baking powder: 2 tsp
Flour: 160gms
Chocolate chips: 100gms
Recipe instructions
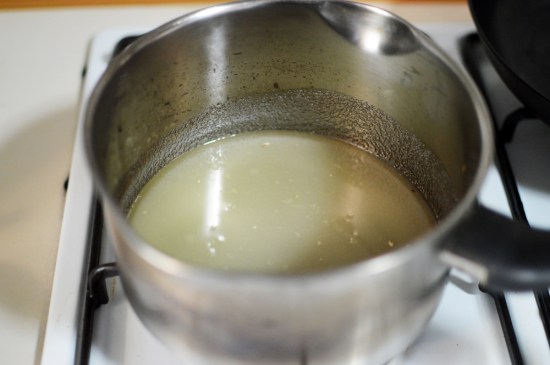
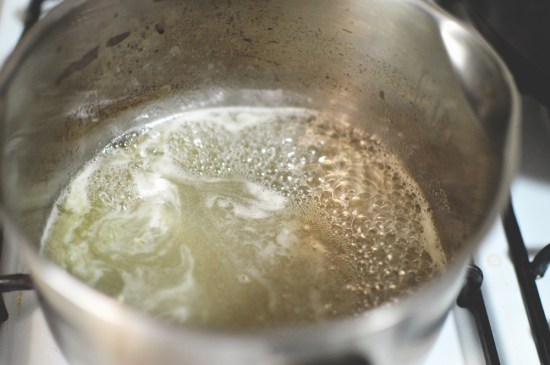
Melt the butter and let cool. Halve one banana lengthwise and reserve for later.
Mash one banana in a large mixing bowl and add the sugar. Beat until the sugar is well mixed and crack in the eggs and mix for a few minutes. The eggs should be well incorporated into the batter before adding the melted butter. Stir briefly before adding in the flour and baking powder.
Mix in the flour without overmixing the batter and stir in the chocolate chips or chopped chocolate.
Pour into a baking dish of choice and top with the halved banana.
Bake at 170ºC for 35-40 minutes or until a toothpick inserted in the centre of the cake comes out clean. Let it rest for a few minutes before finally slicing.
Works best with hot tea or coffee.


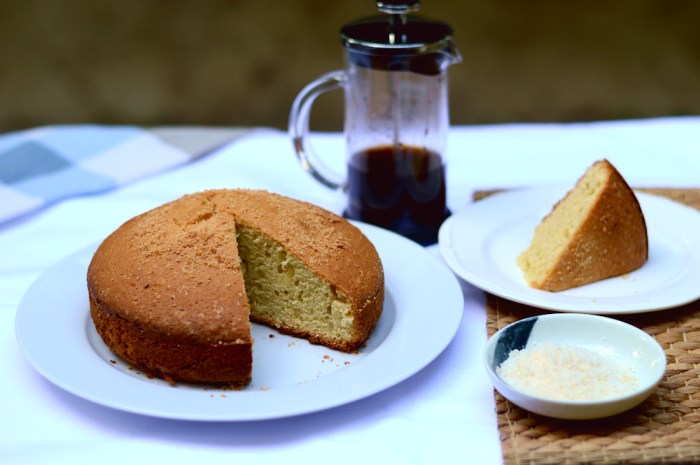


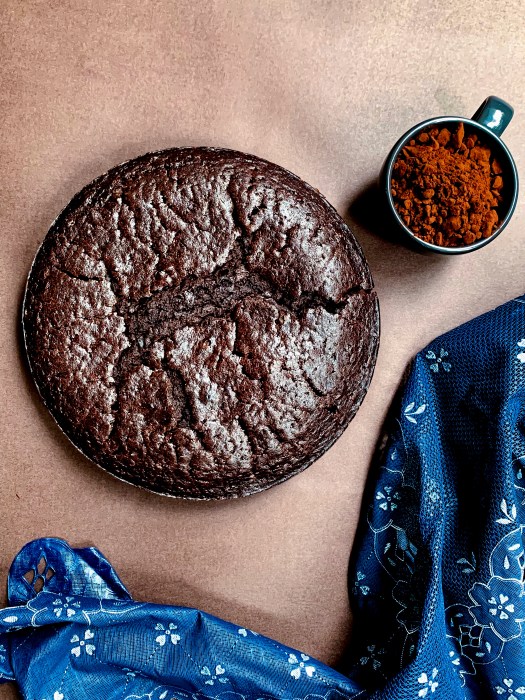


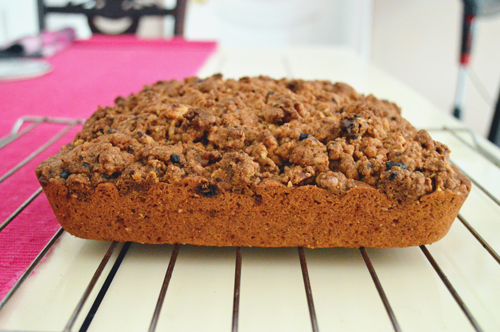


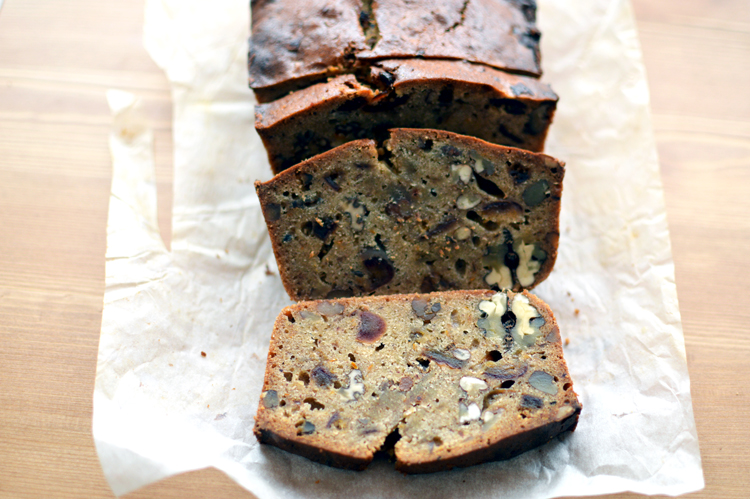 Oh this cake. I could sing songs, write sonnets and do a bit of dance and tell you how unbelievably heavenly this cake was. Instead I’m just going to do a bit of unhinged prose and explain with all the emphasis at my disposal about the fabulousness that is this Date & nut cake. It’s appearance as humble as it might seem is most beguiling and hides the delectable reality of this exquisite cake.
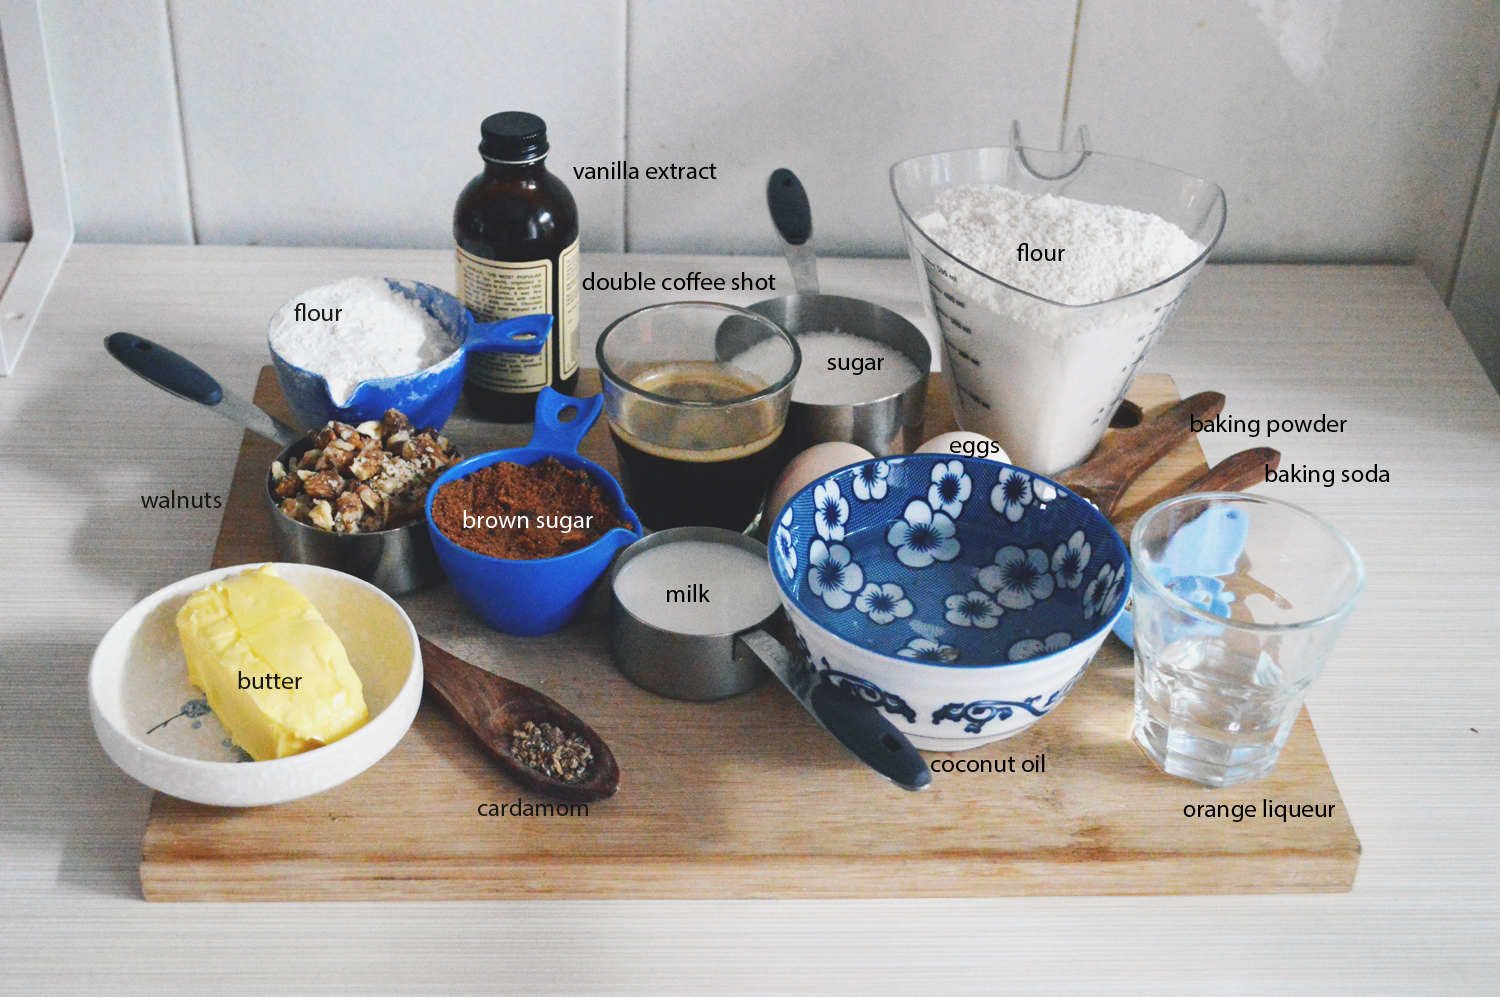
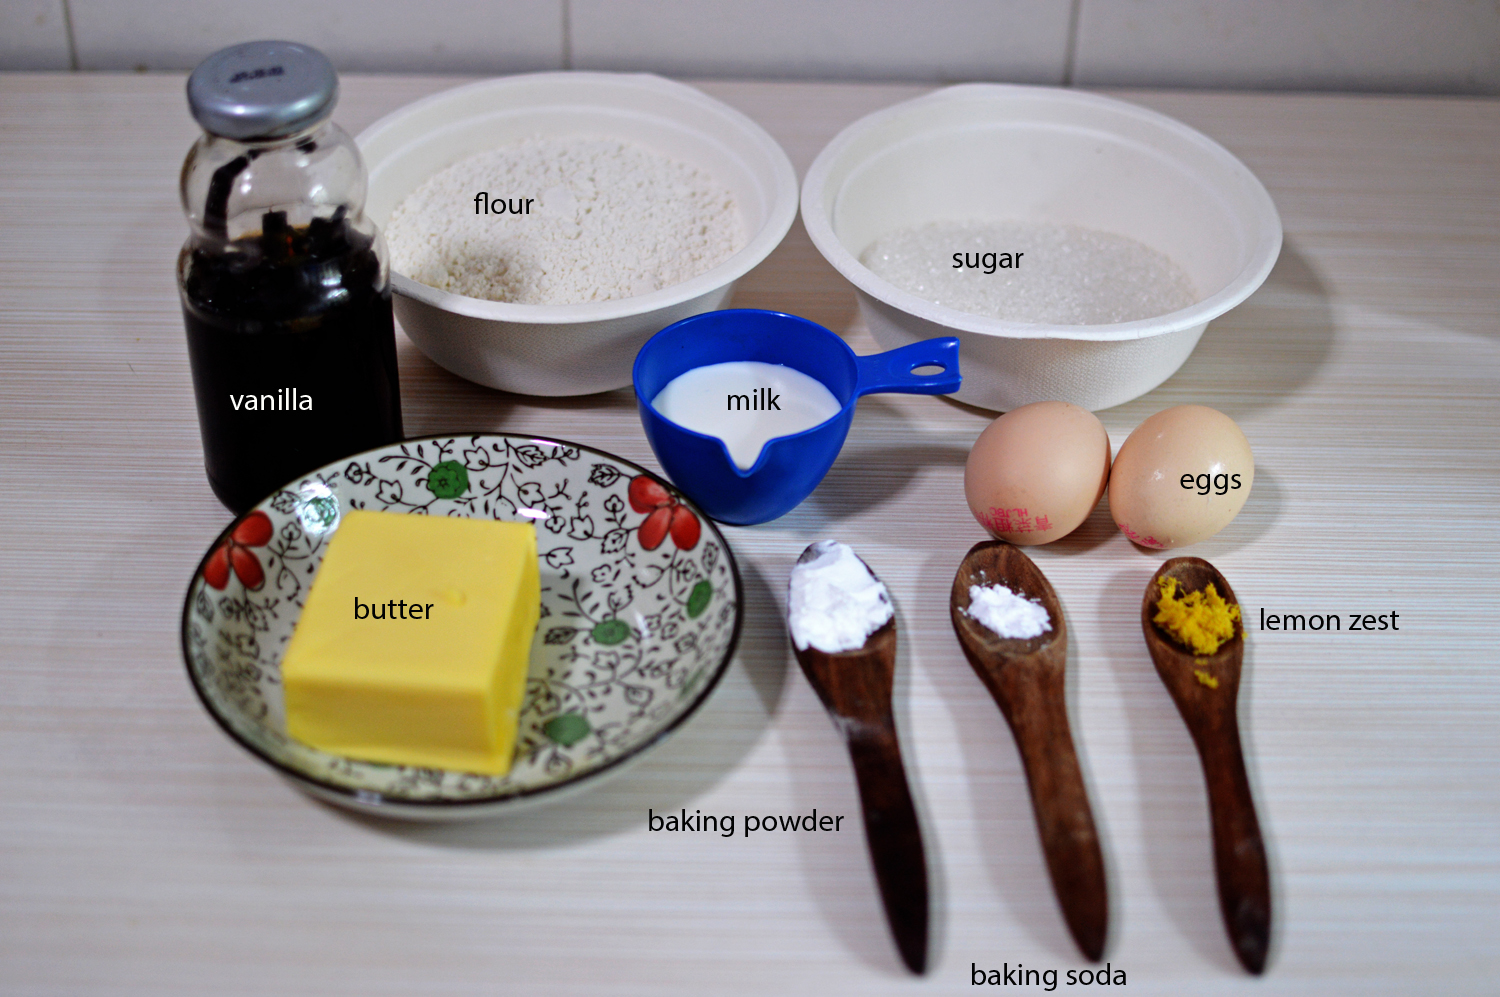
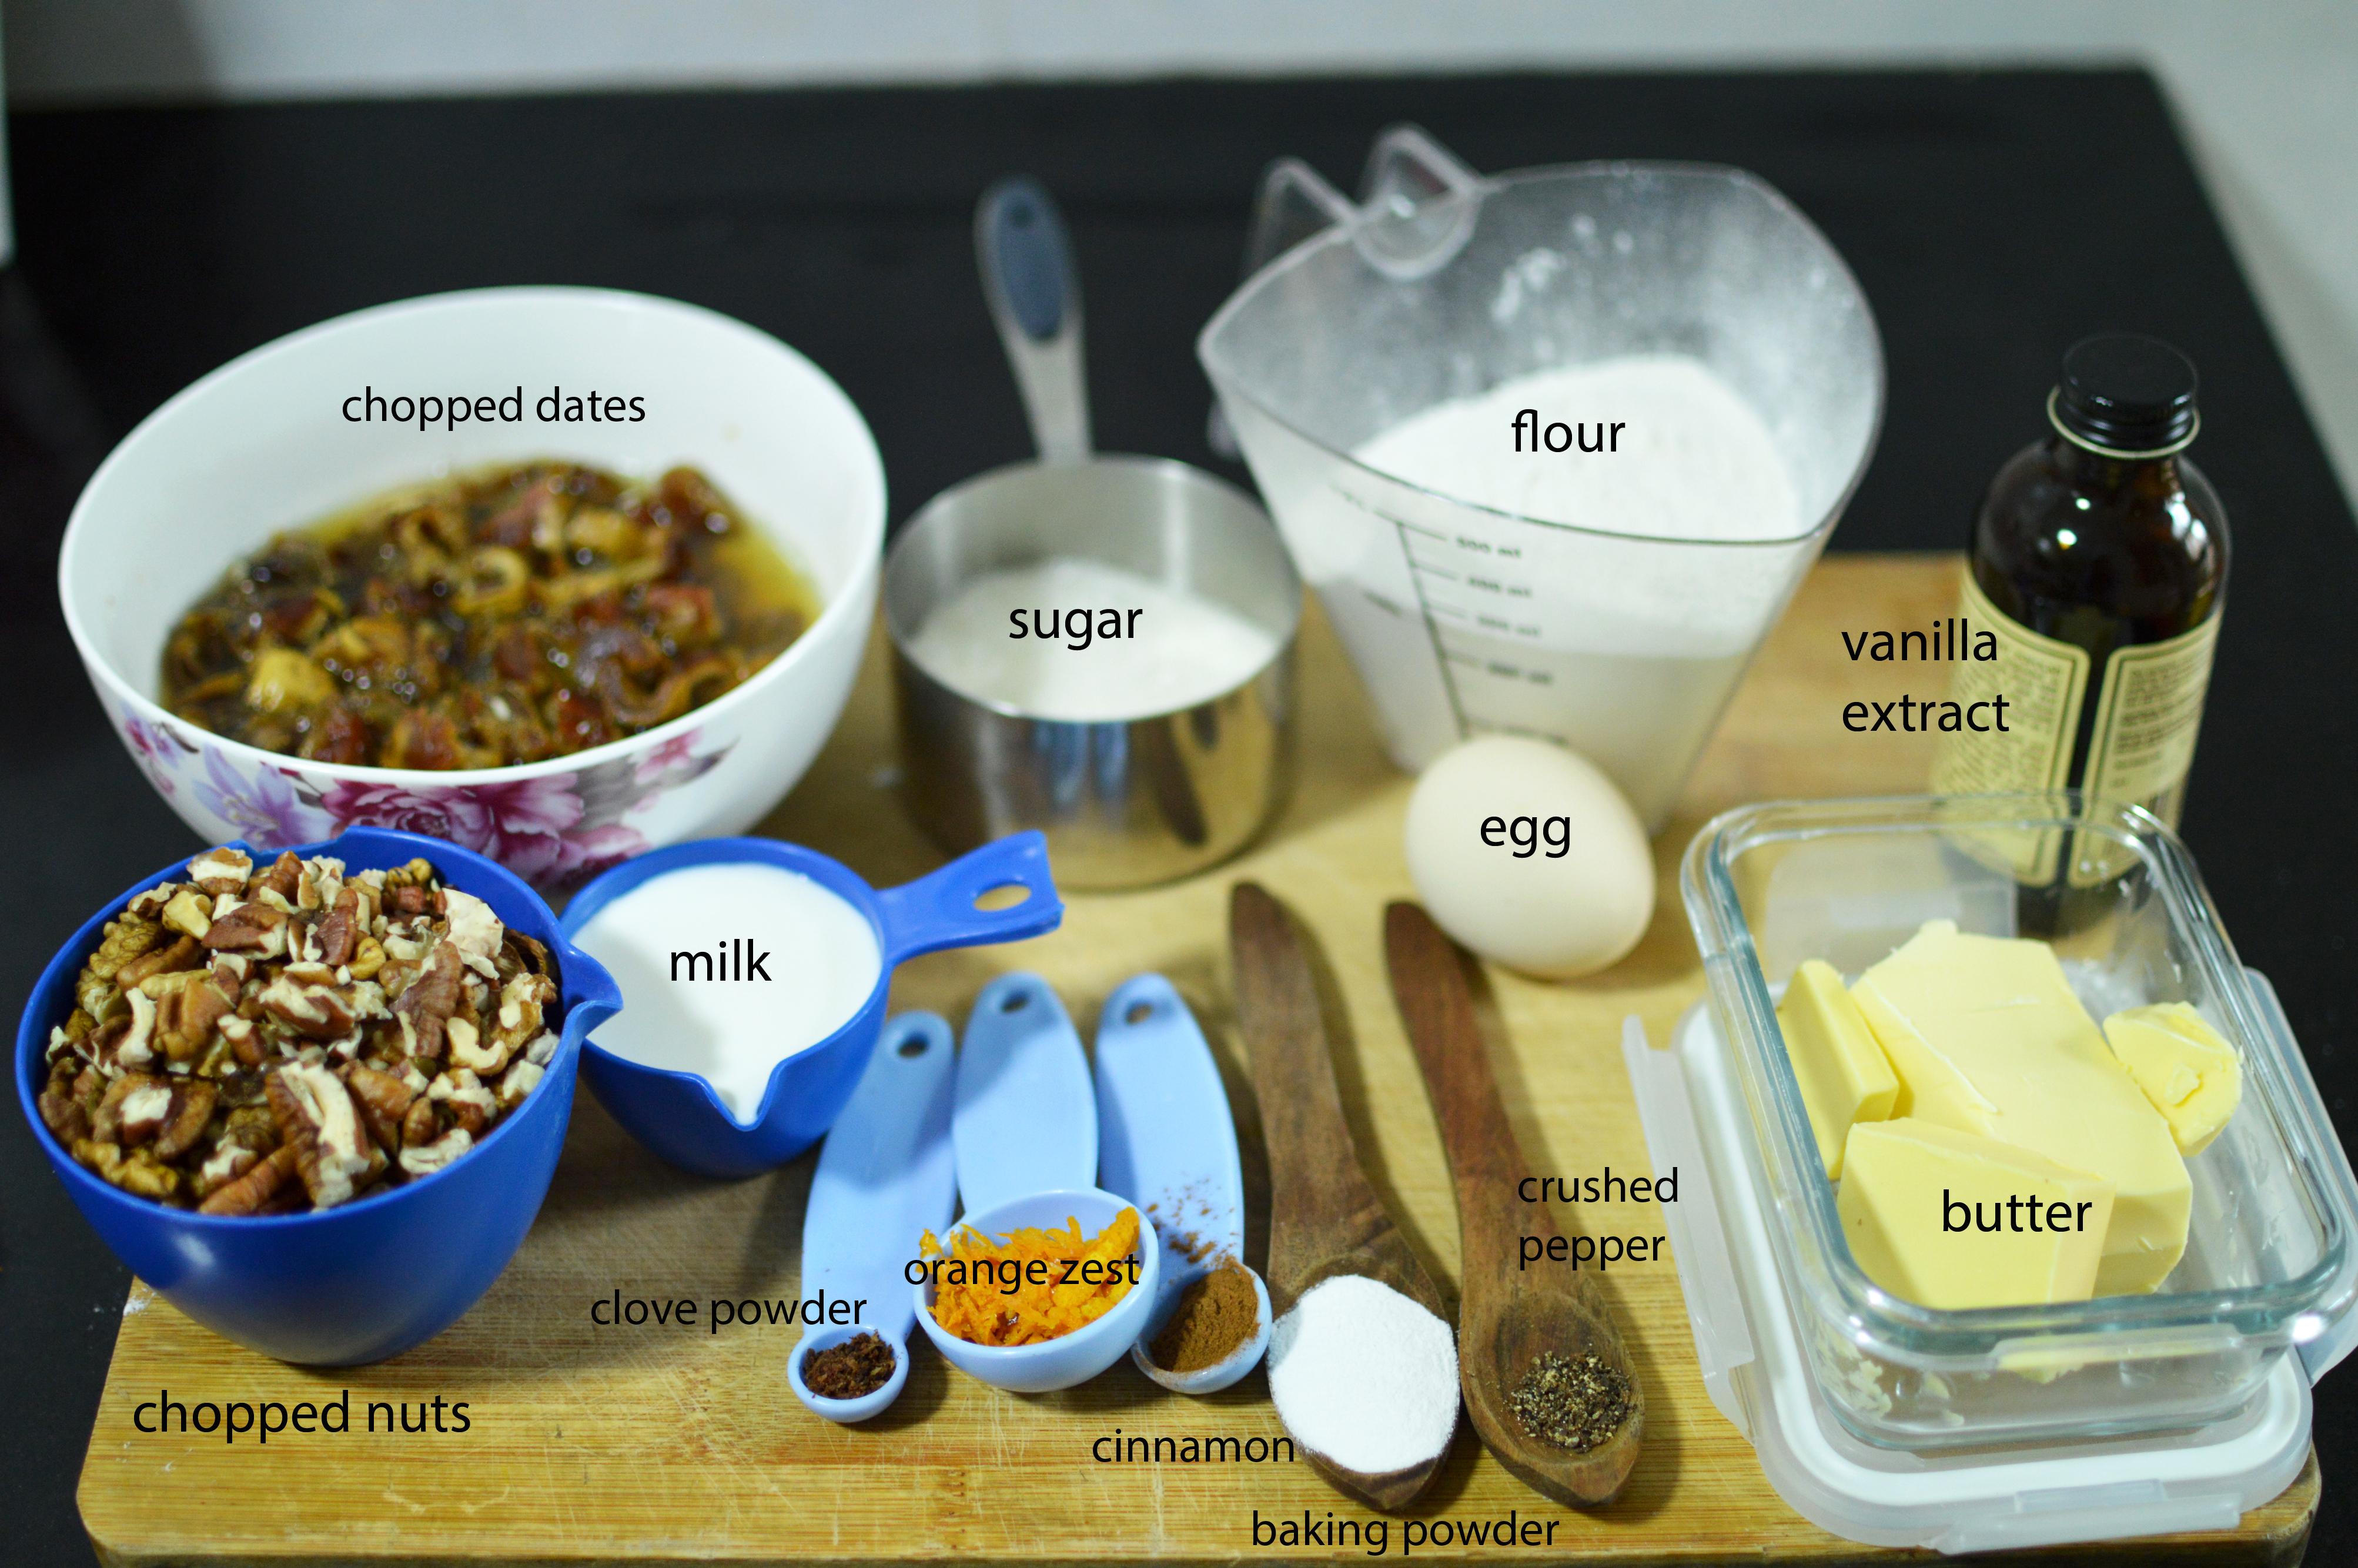 it’s a date & nut cake, so it has dates and nuts and milk, sugar, egg, flour, butter, vanilla extract, clove powder (ground cloves), orange zest, cinnamon, baking powder, crushed pepper.
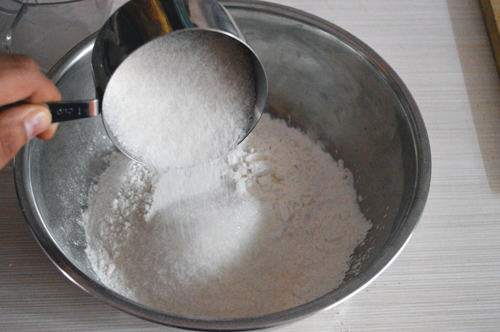
 start by adding baking powder to the flour and mixing it thoroughly. Keep it aside.
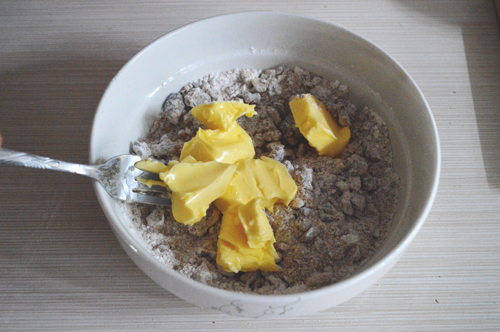
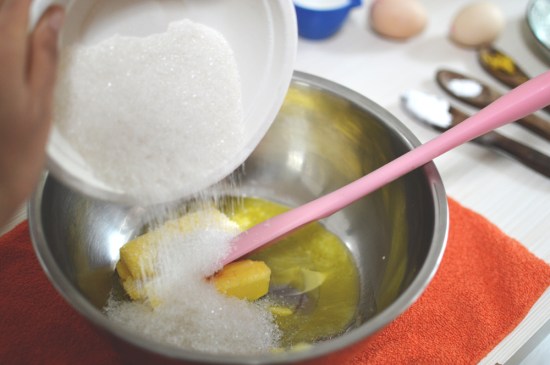
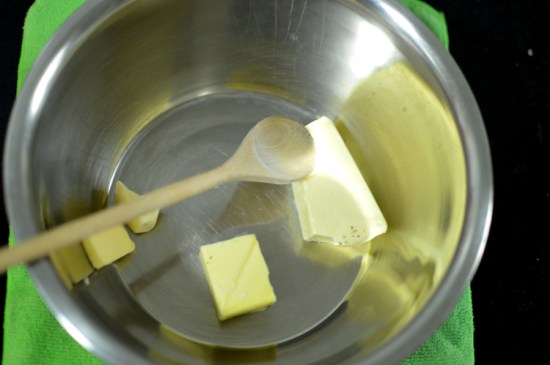 As with most cake recipes this one starts with creaming the butter and sugar in a bowl. Make sure the butter is at room temperature. Mine was not 😦
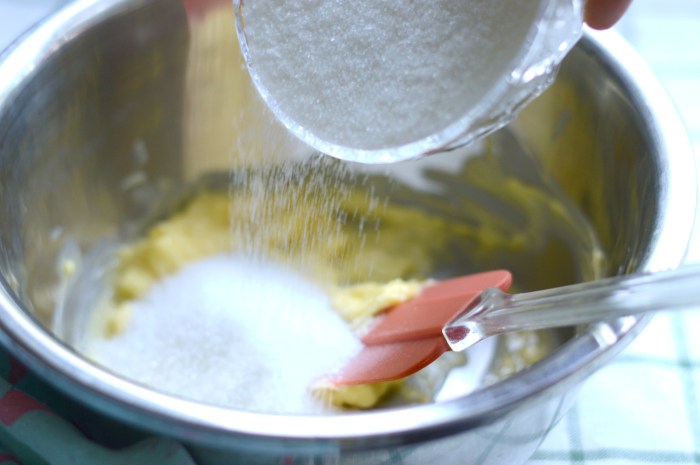
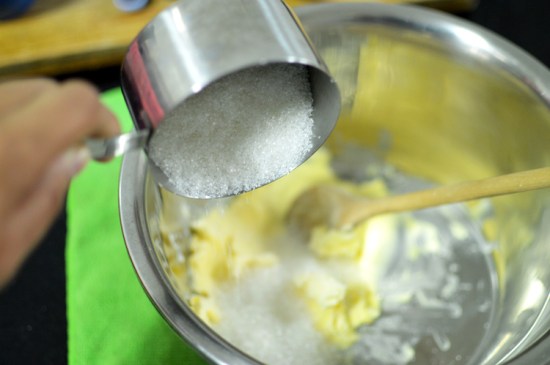 beat or cream the butter, add in the sugar
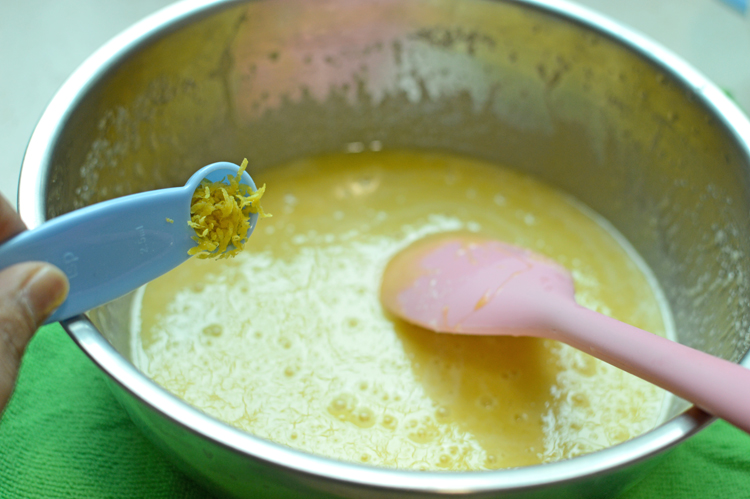
 add the orange zest
 beat until it sort of looks like this, or you can do a better job if the butter is room temperature.
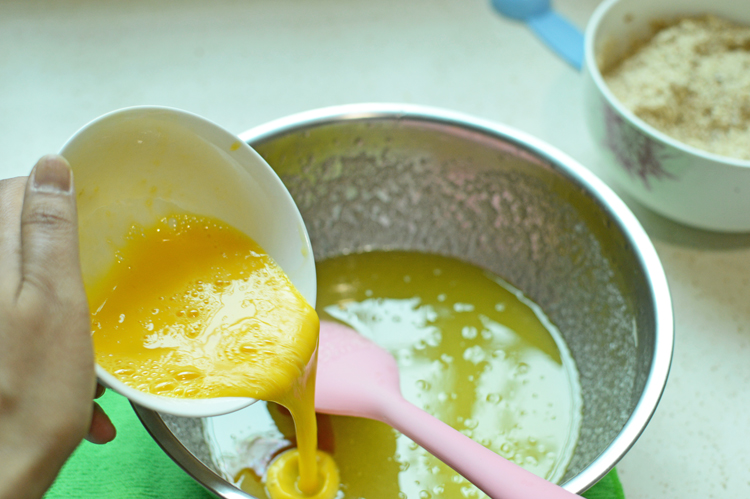
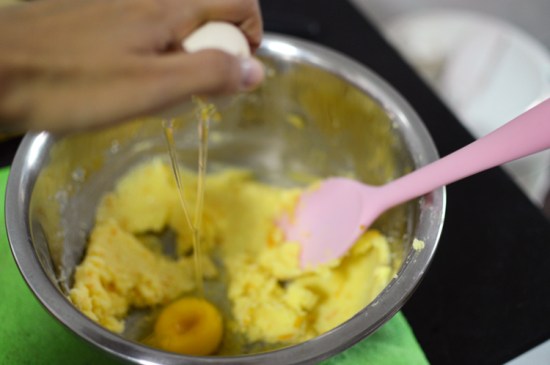 crack in an egg
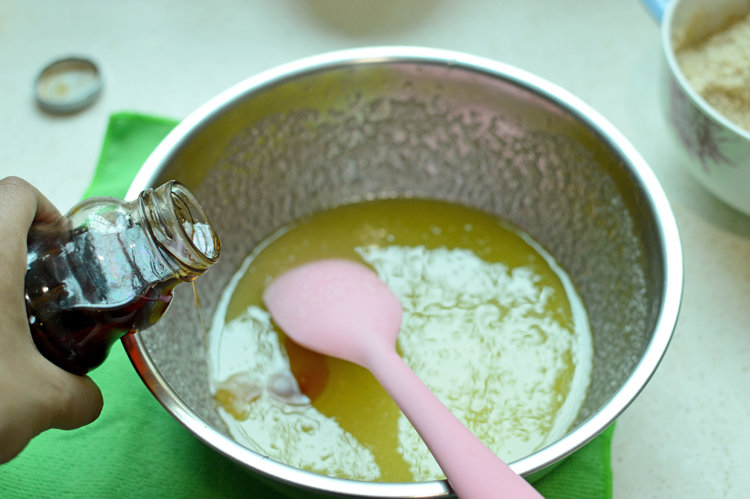
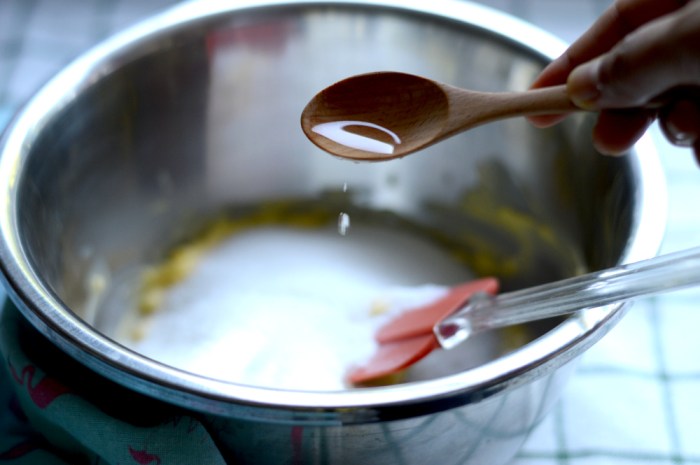
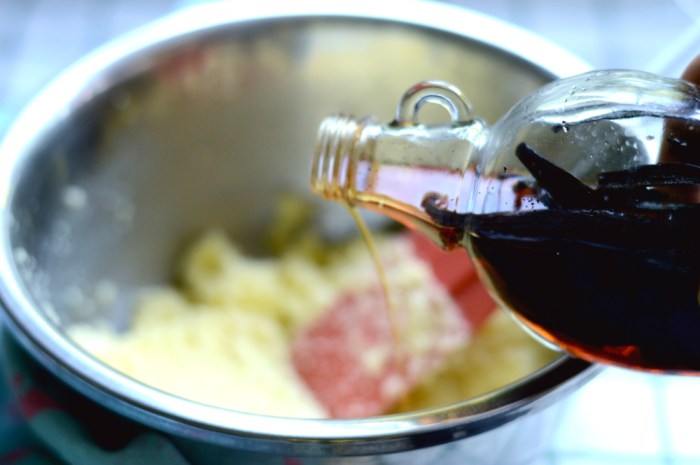
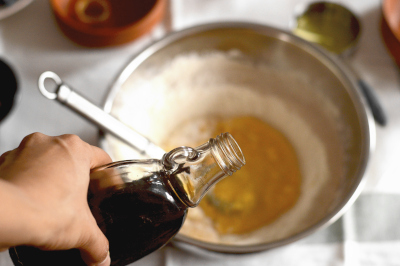
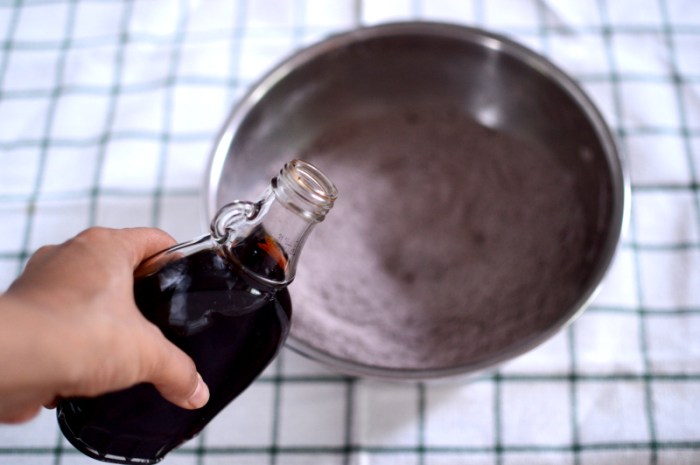
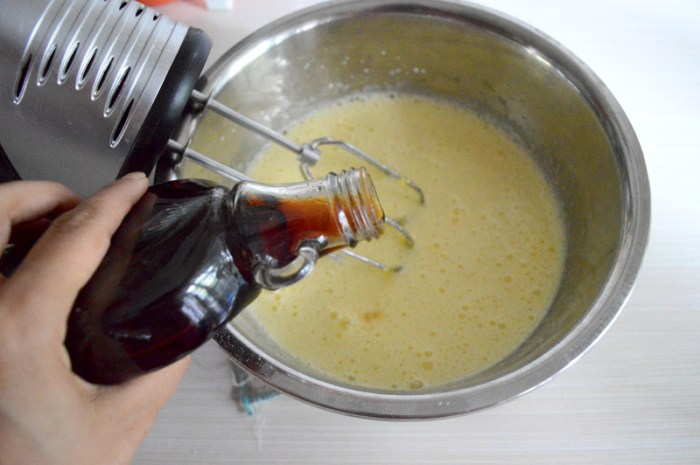
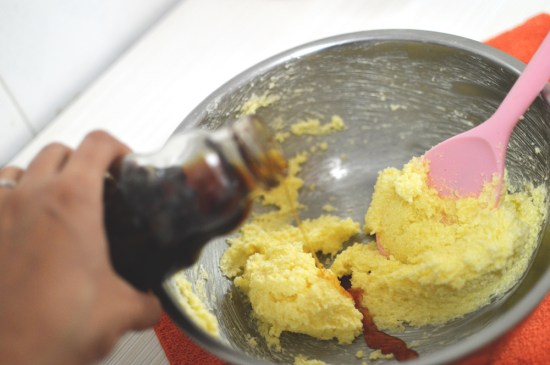
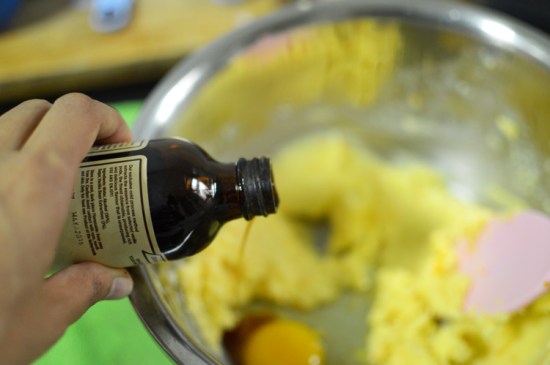 splash in some vanilla
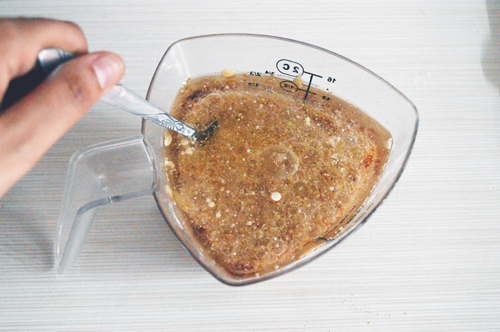
 and beat again until well mixed. My batter looks a bit curdled and that’s because I didn’t use r
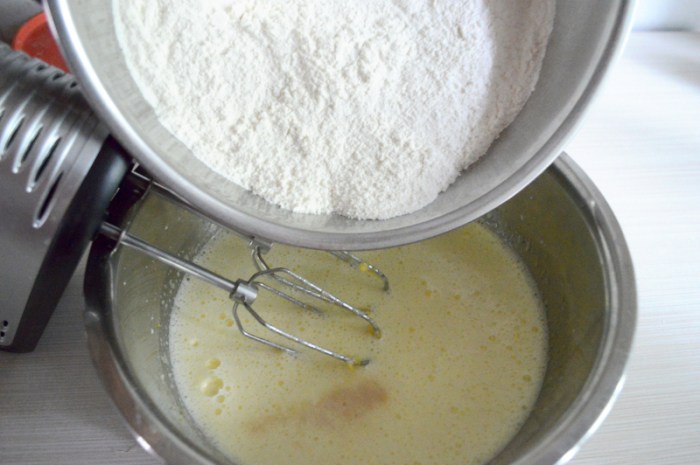
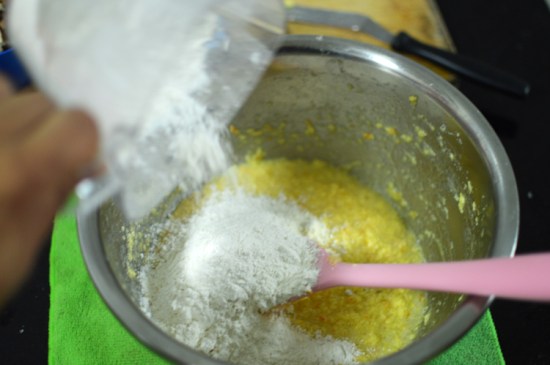 add in the flour
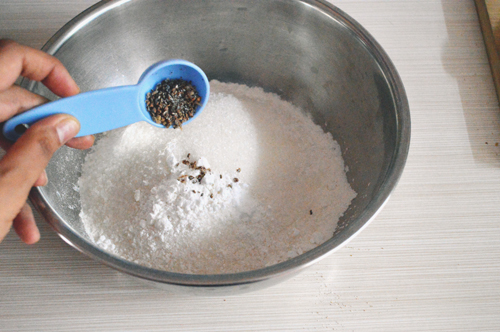
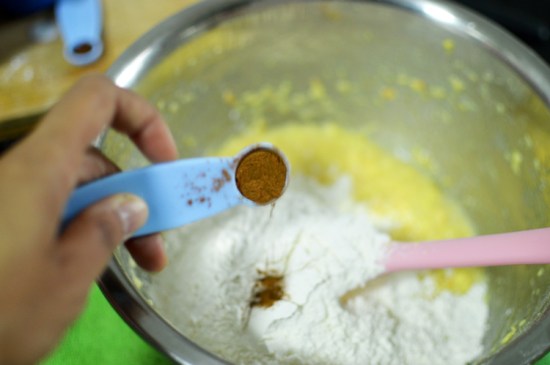 followed by spices..cinnamon, ground cloves
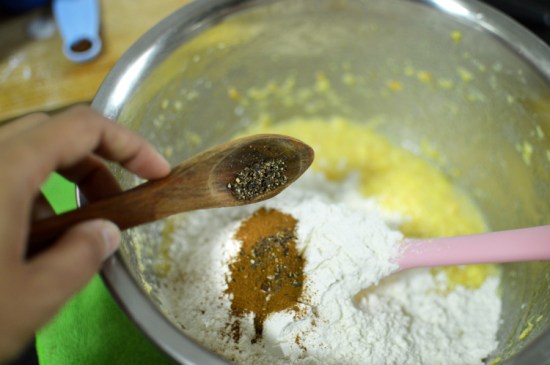 crushed black pepper
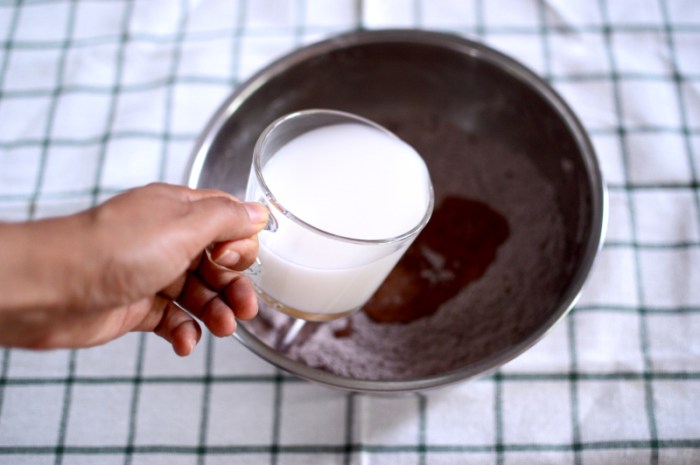
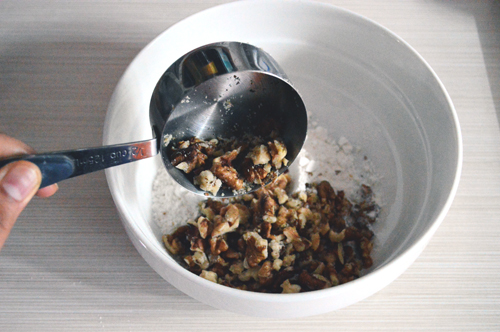
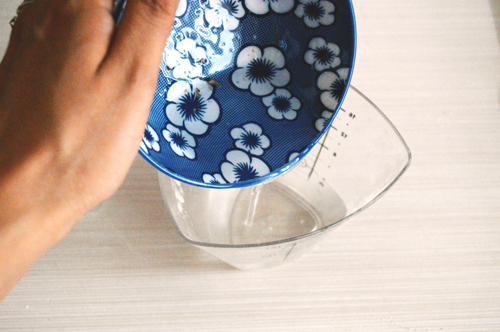
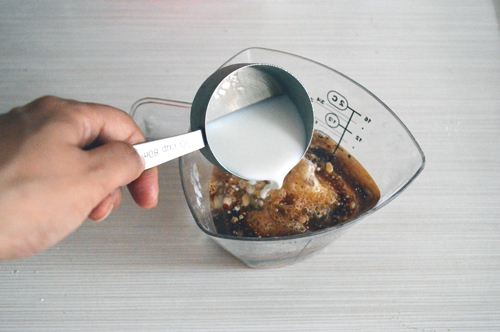
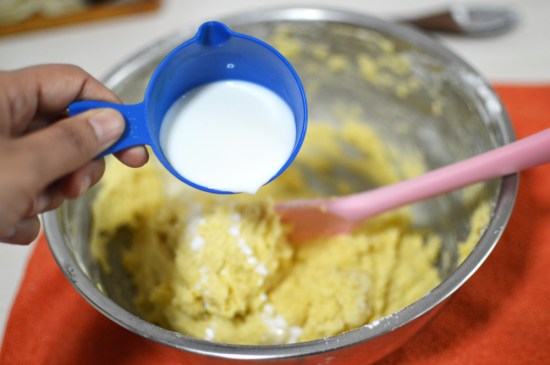
 mix a bit and add milk
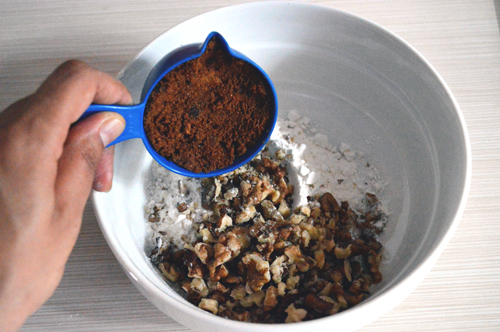
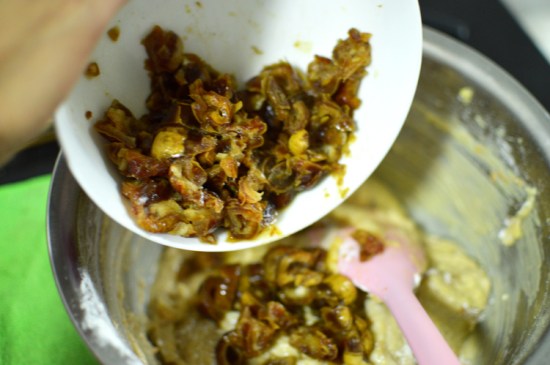 followed by chopped dates
 chopped nuts
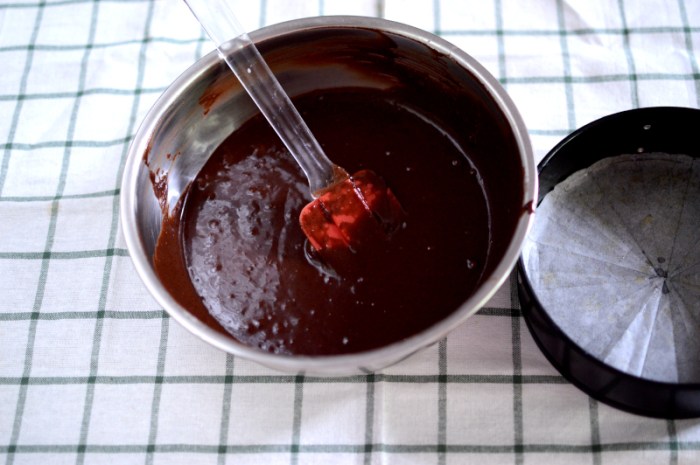
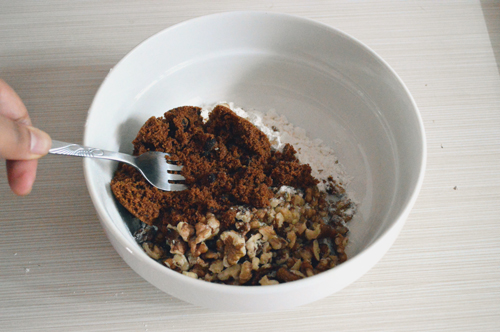
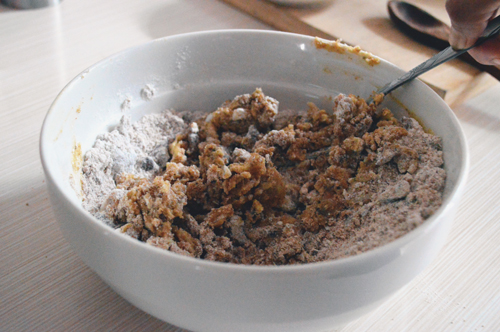
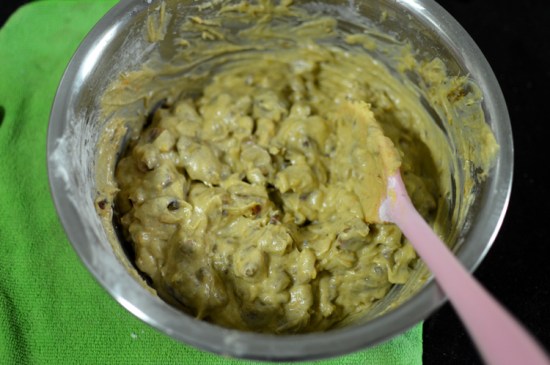 and mix until just barely mixed. Do Not overmix the batter.
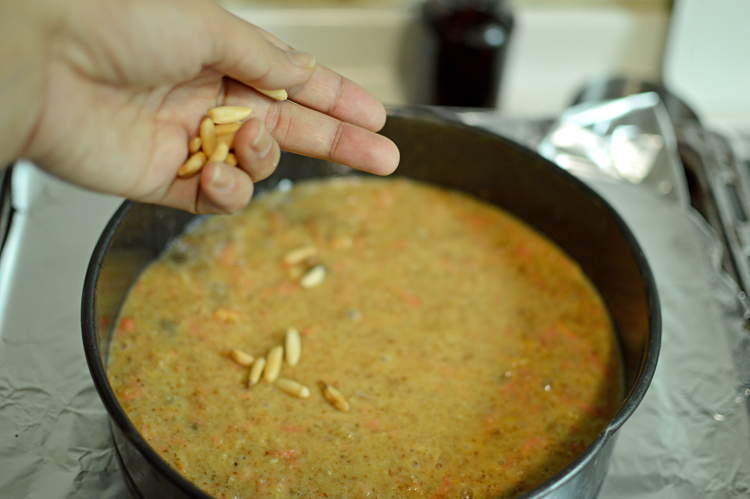
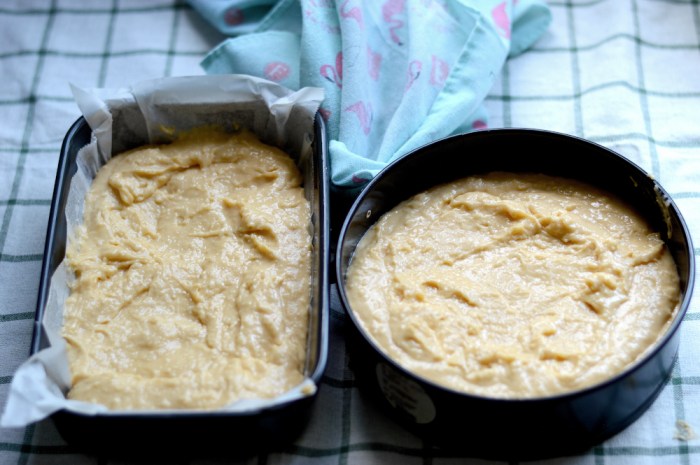
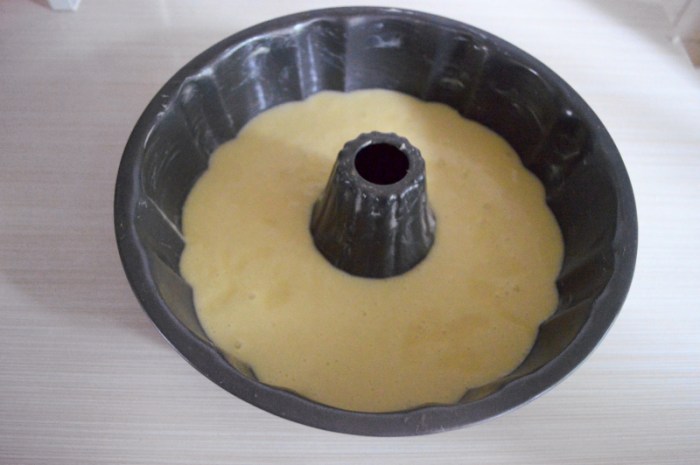
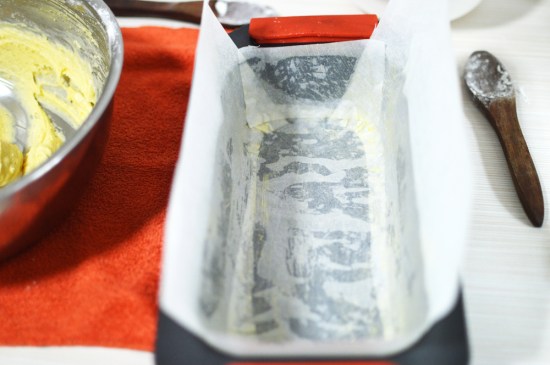
 scrape batter into a baking tin of choice. I’ve lined mine with some baking paper.
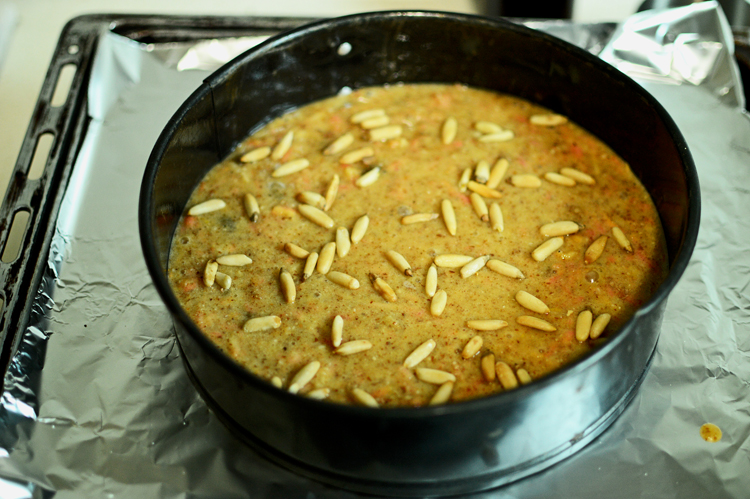
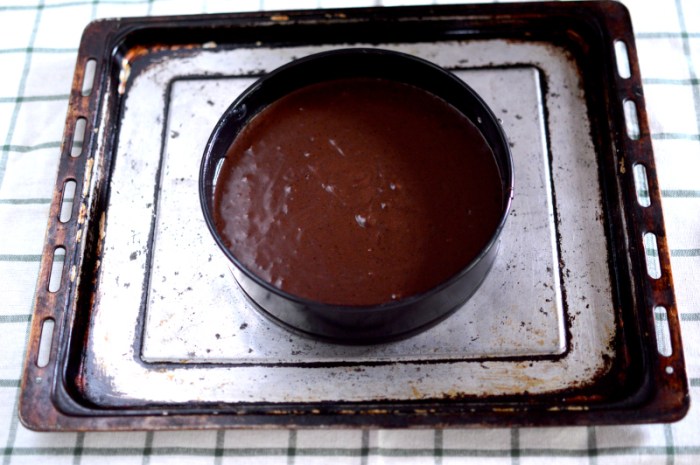
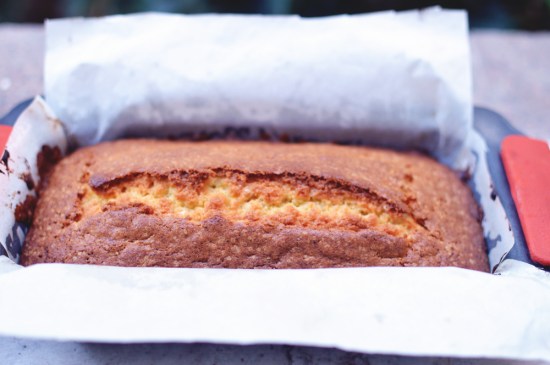
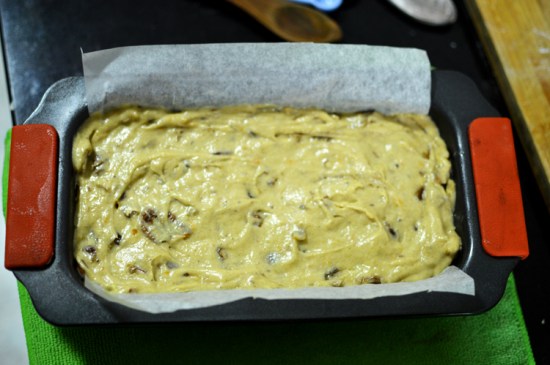 smoothen the top and bake at 180°C for 55-60 minutes, or until a skewer inserted comes out completely clean
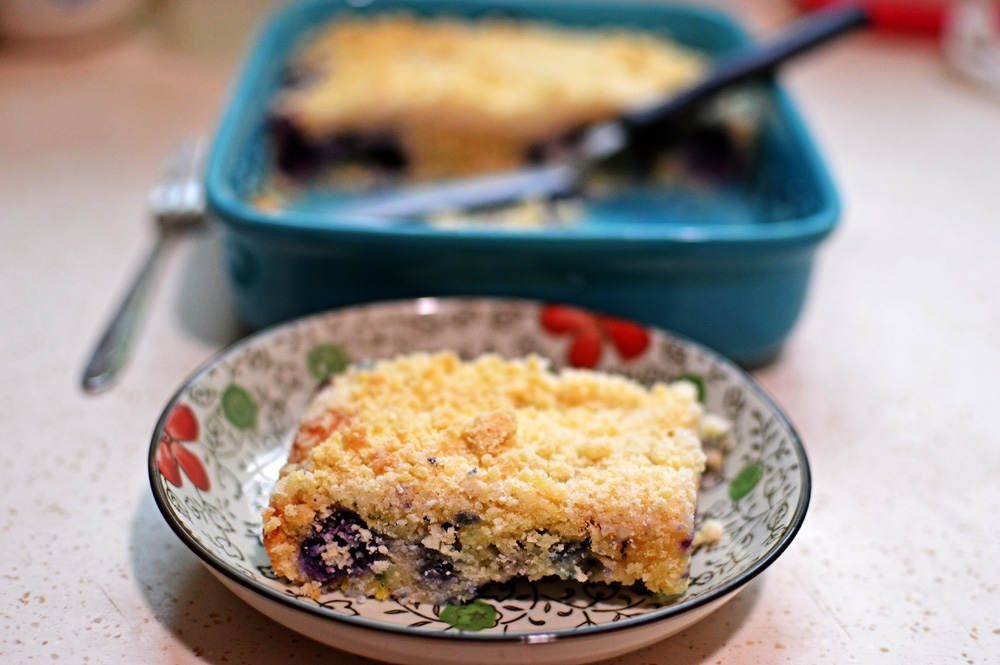
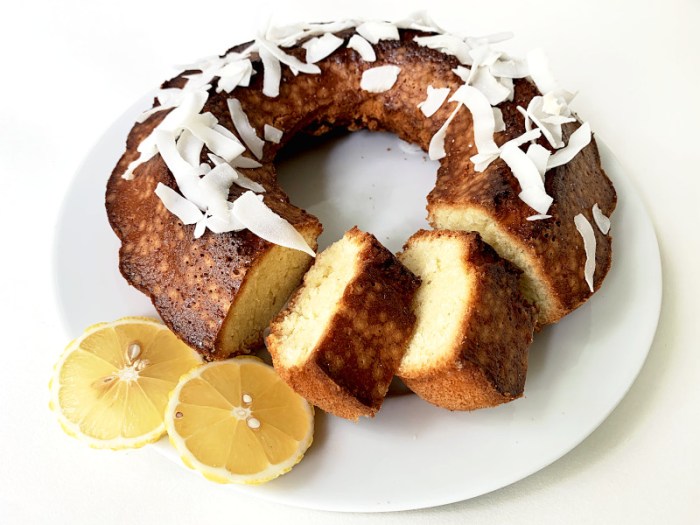
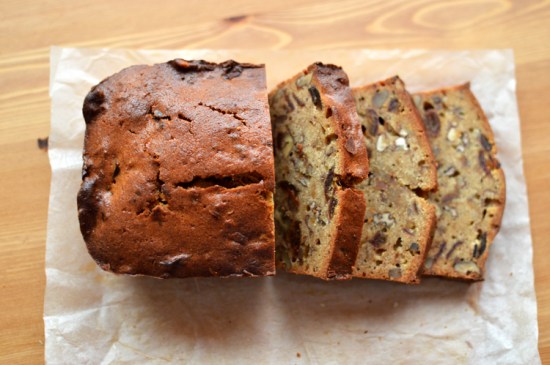 let it cool. Slice and enjoy!