Tofu seafood kimchi stew 🌶🌶🌶


To stave off burgeoning winters and bring the cozy back, this kimchi stew with the airs of a soup isn’t just for bringing forth the warmth but for setting your soul on fire. It is spicy hot and deliciously addictive in its sweat inducing mouthfuls of tofu, seafood and noodles cooked in a luridly red broth of Korean inspired fiery flavours.

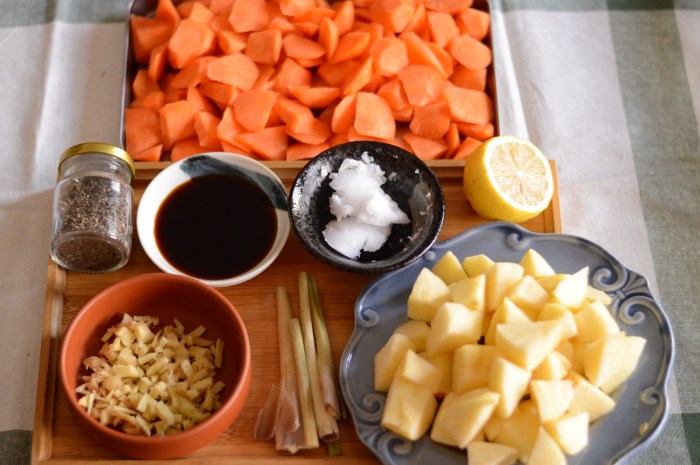
Being a Korean inspired stew with the very essence of Korean cuisine that is Kimchi, this stew also needs a few Korean pantry essentials that is ‘Gochujang’ which is a thick spicy sweet Korean paste and Korean peppers called ‘Gochugaru’ which I think you can substitute with some paprika in this recipe or even chili powder from the Indian grocery. Apart from that the ingredients are straightforward. There’s garlic, fish, shrimp, kimchi, tofu (soft or hard are both alright as long as it’s not smoked), sliced green chillies and onions, chicken base, fish sauce, soya sauce and noodles of your choice.

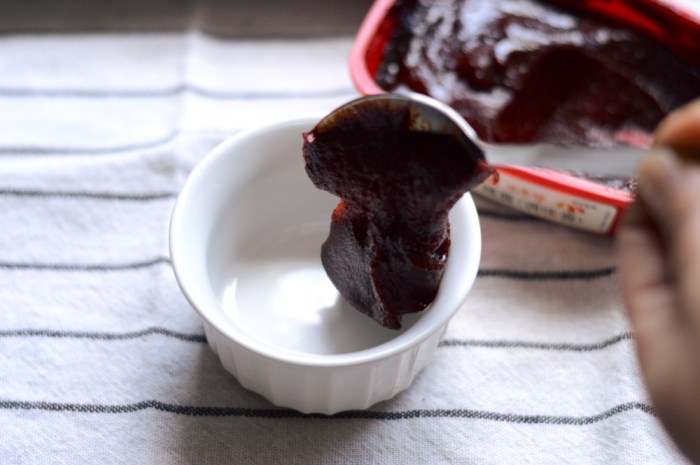
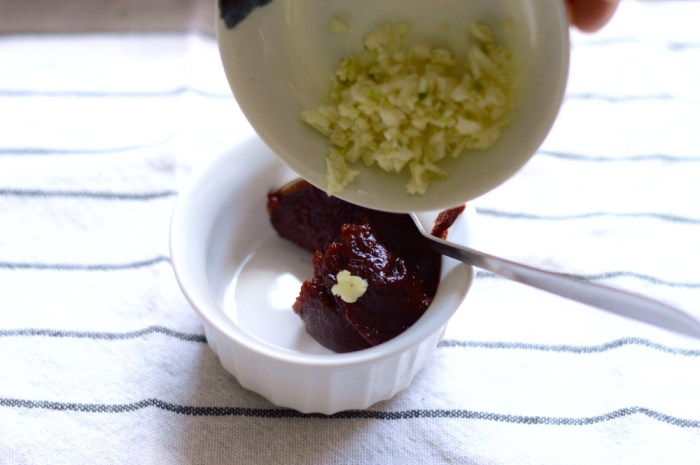
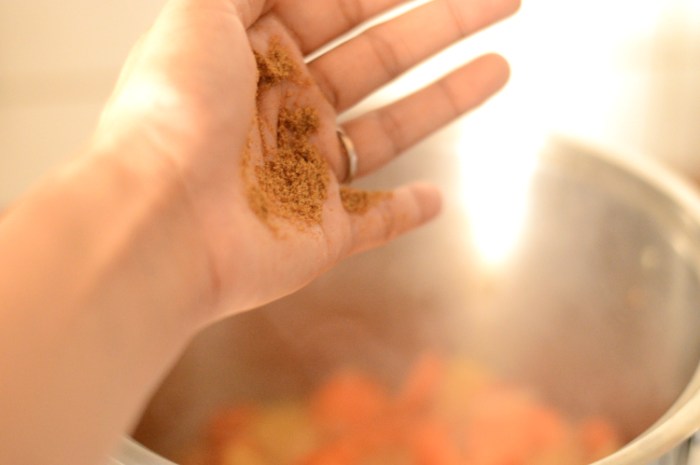
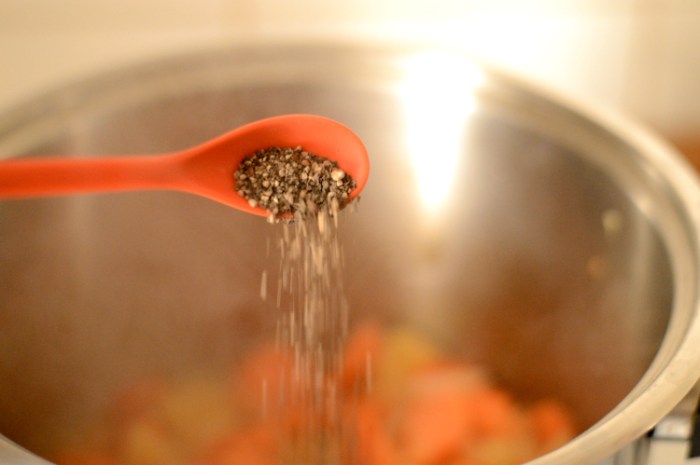
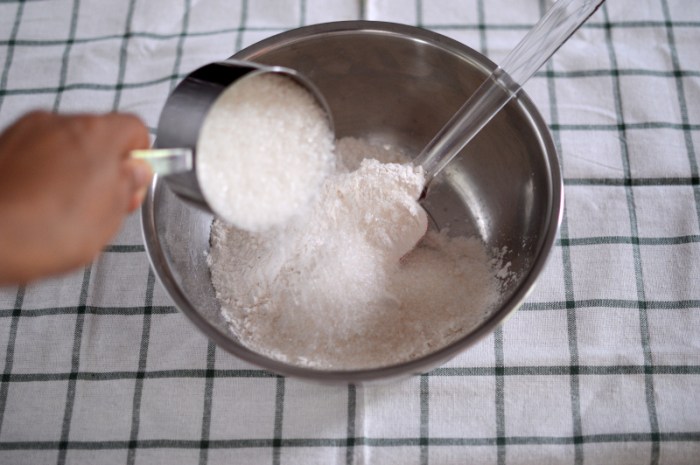
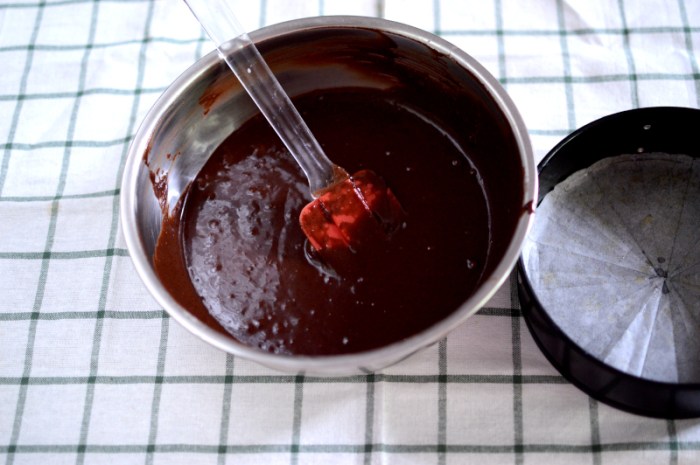
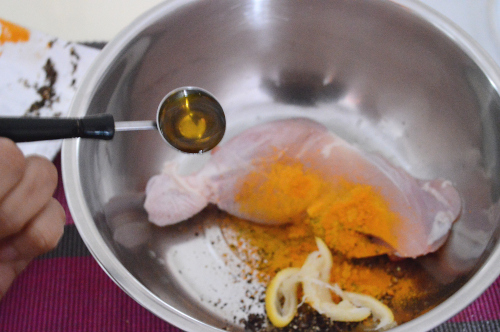
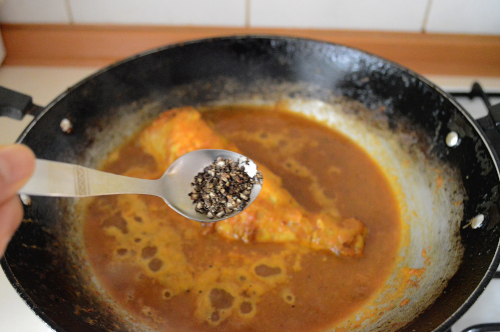
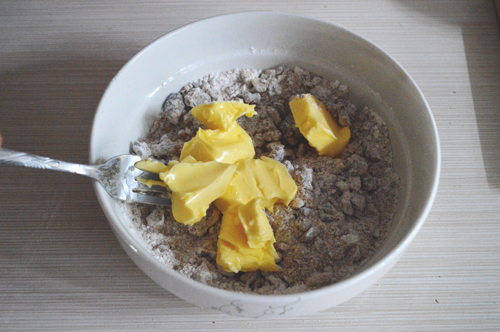
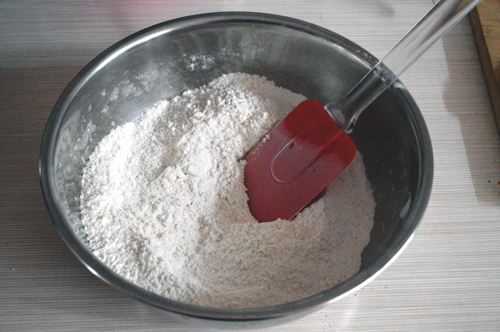
In a clean bowl mix together the crushed garlic with the gochujang and red pepper flakes

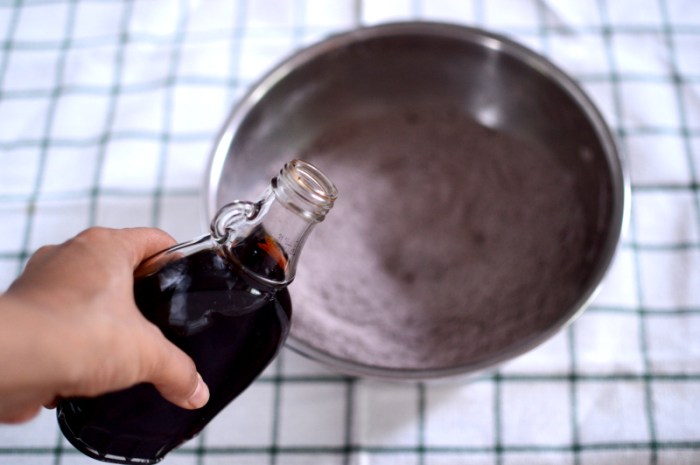
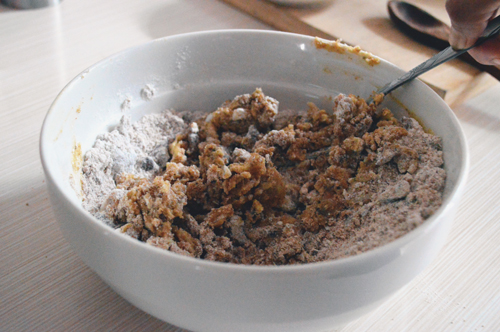
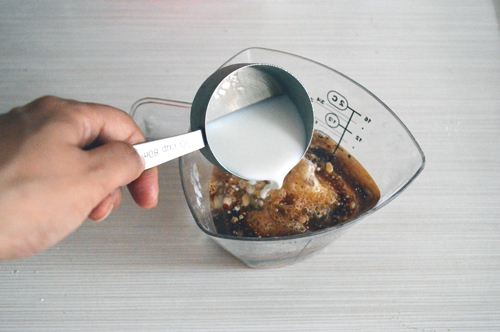
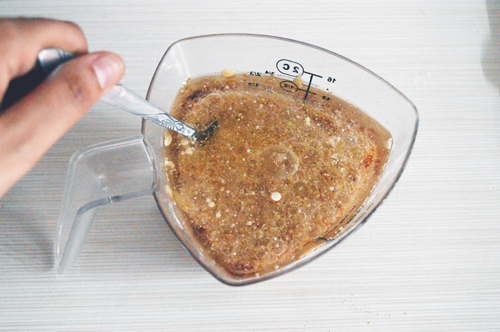
And the soy sauce and fish sauce. Mix well to form a flavour base.

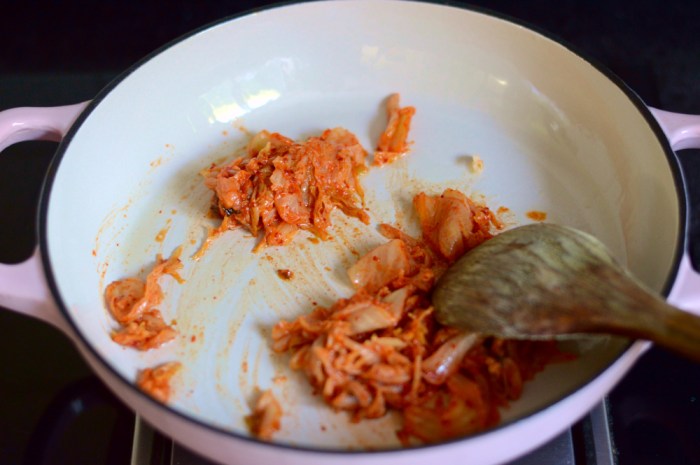
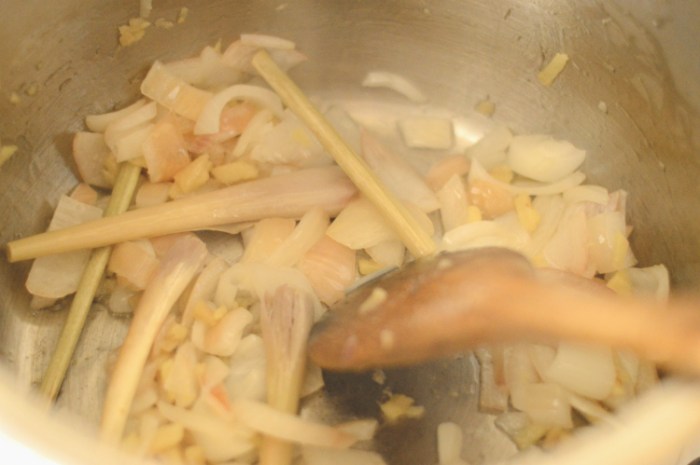
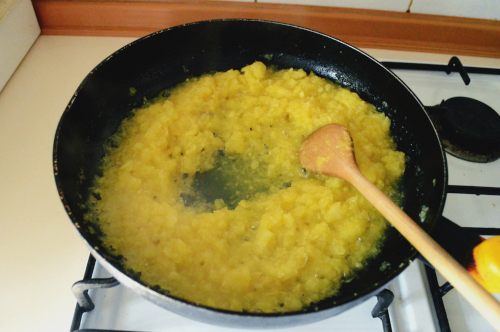
Heat a large pan and add in the kimchi. Stir it about lightly, making sure the pan isn’t very hot.

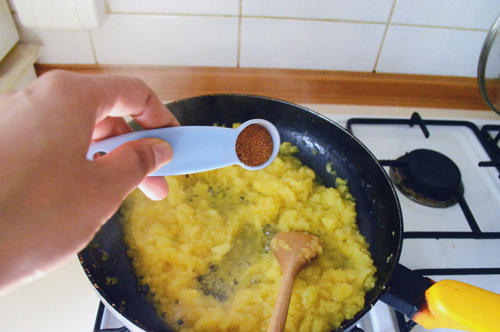
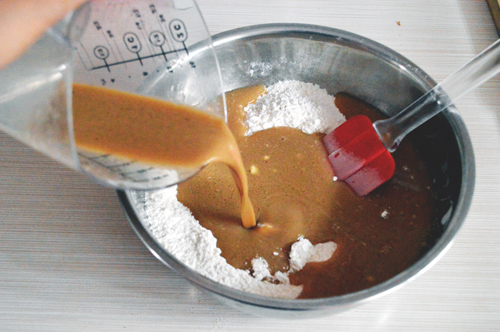
Add the flavour base to the pan and stir

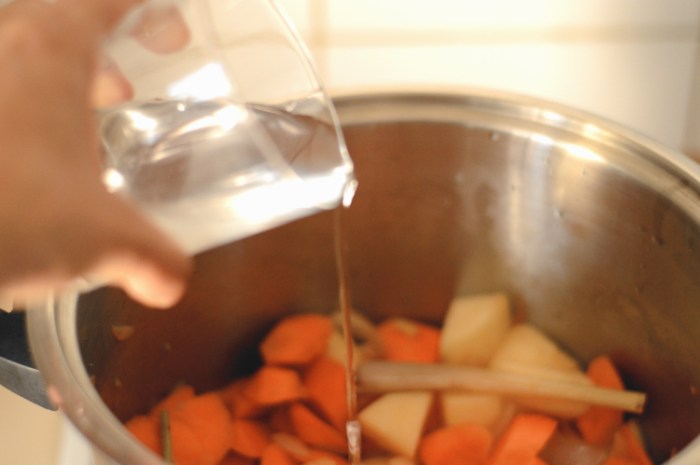
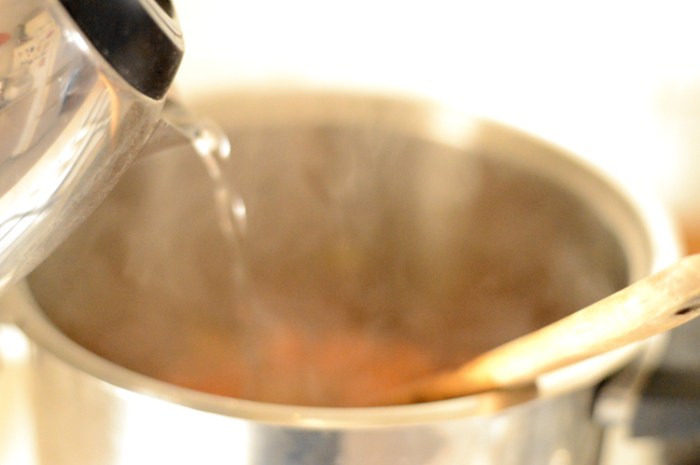
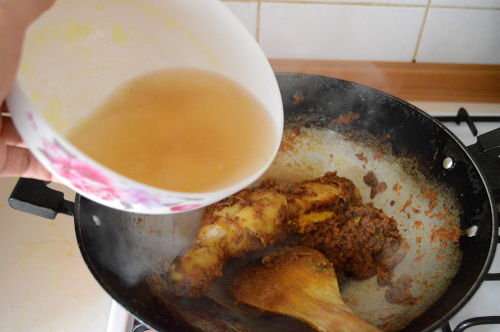
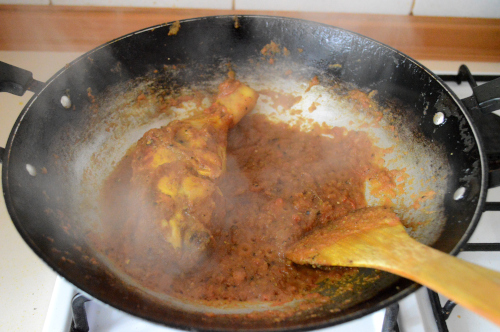
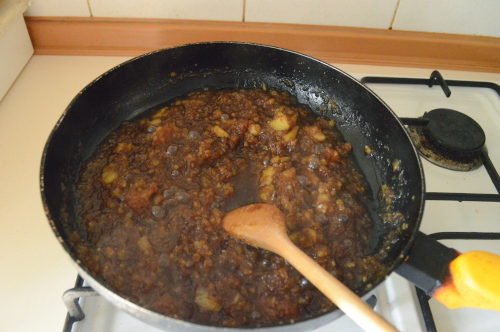
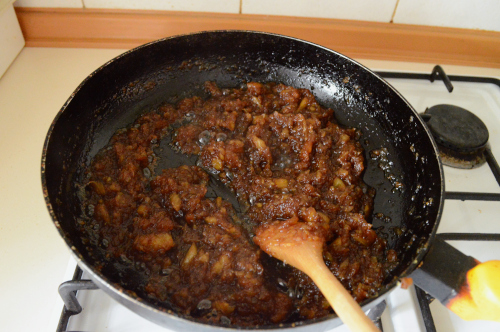
Keep stirring until it begins thickening for about a minute. Then add enough water for the broth

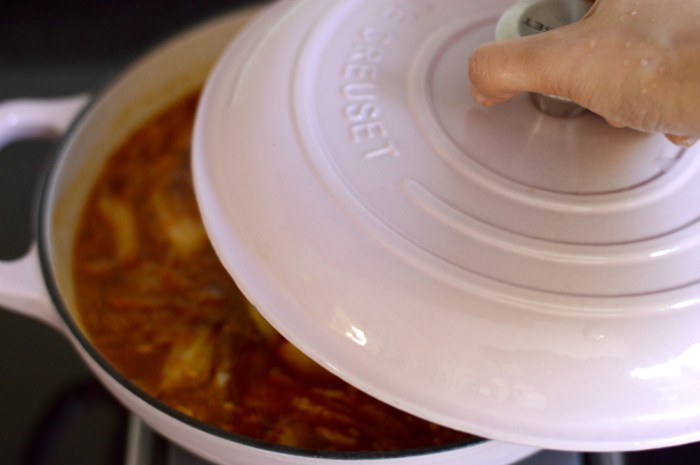
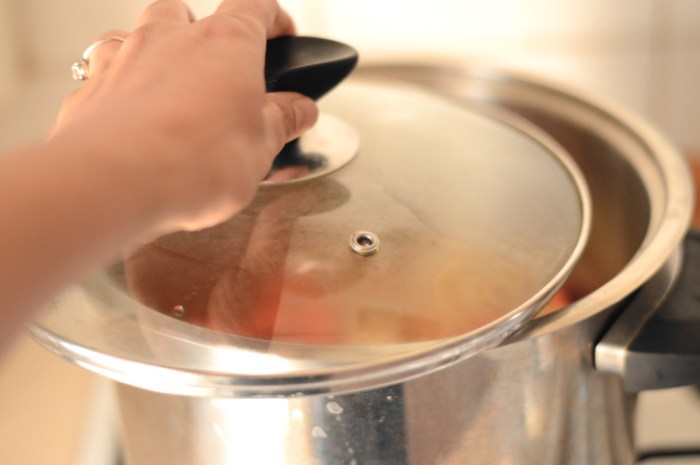
Cover the pot and let it cook for at least ten minutes. Add more water if it gets too thick

After ten minutes add the seafood and the chicken base.

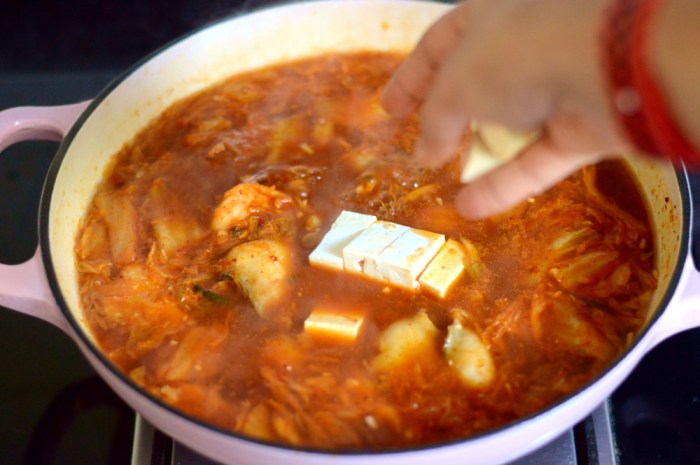
And just as it starts to come up to a bubble add the tofu.

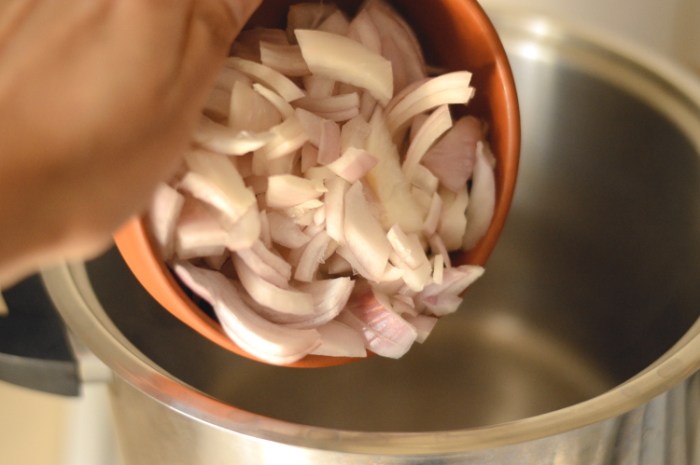
Followed by thinly slices onions, reserving a few for final garnish. Bring it to a boil and let it bubble a few minutes before adding in the noodles.

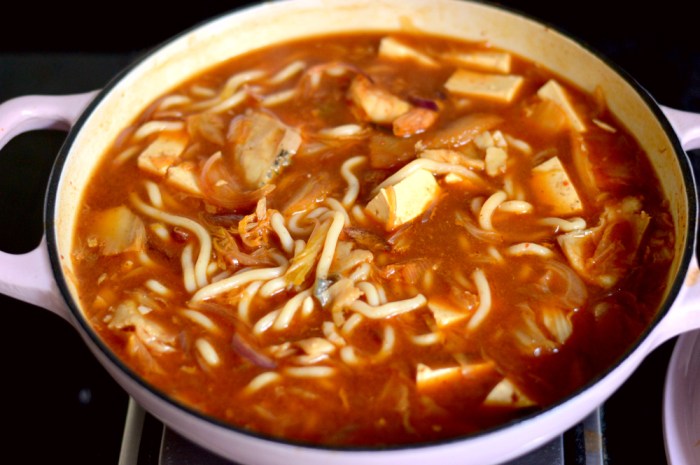
After a few minutes of boiling add in the noodles (preferably cooked noodles). Let it come to a simmer before serving.

Garnish with sliced green chillies and thinly slices onions.
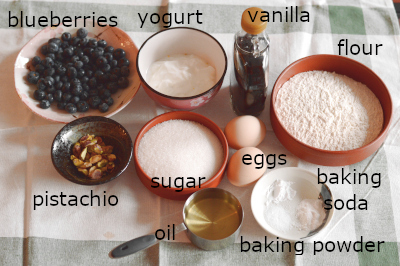
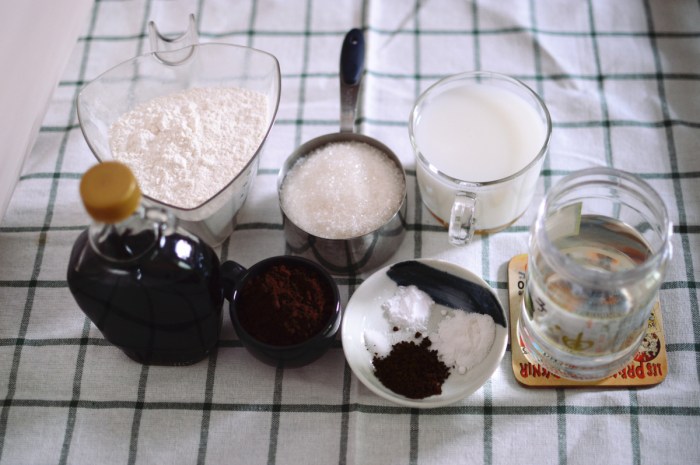

Recipe ingredients

Kimchi: 150g
Gochujang: 50g
Fish sauce: 2 tbsp
Soy sauce: 2 tbsp
Chicken base (optional):1 tsp
Crushed garlic: 1 tbsp
Korean chilli peppers (gochugaru): 1 tbsp
Fish/shrimp/seafood of choice: 100-200g
Tofu: 150-200g
Noodles (cooked): 200g
Onion: 1 small thinly sliced
Green chillies (optional): chopped
Water: 700mls

Recipe instructions

In a clean bowl mix together the gochujang paste with crushed garlic, soy sauce, fish sauce and red peppers to make the flavour base for the stew.

In a large pan on medium heat cook the kimchi lightly for a few seconds until just warmed through. Add the flavour base for the stew and stir it with the kimchi until it begins to thicken. Add water and let it come to a boil. Reduce the heat to low and cover and cook for about ten minutes to let all the flavours mix well.

After ten minutes add the seafood to the broth, followed by the chicken base if using and let it come to a quick bubble before adding in the tofu and finely sliced onions. Reserve a few slivers for garnishing later.

Cover the pot and let it cook for another five minutes after finally adding in the cooked noodles.

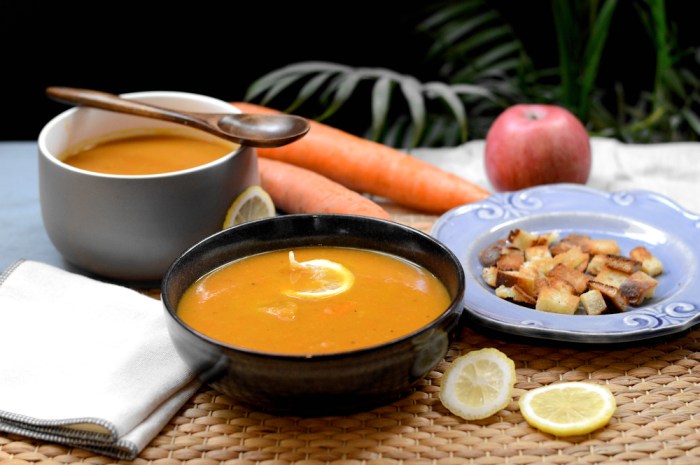
Let everything come to a gentle simmer before finally dishing spicy ladlefuls into bowls and garnishing with green chillies if using and reserved slices of onions.

Serve hot!


Lemongrass scented carrot and apple soup (vegan)


This isn’t just a soup but an absolute sensation, not least because it’s coloured very spring appropriate but also because it’s so fantastically delicious that you’d need excuses to make it over and over again. The earthy sweetness of carrots with the juiciness of apples which is offset every so gently with an undercurrent of lemongrass makes every spoonful a strange delight that though a bit familiar is also something of a mystery. Calming, comforting and almost too easy. This is a soup for all occasions.

the ingredients are apples, carrots, ginger, lemon, lemongrass, black pepper, soy sauce, cumin powder (not pictured), onion(not pictured)

Note: I have used lemongrass stalks here, if however you cannot find them or have no access to them then simply use 1 heaping tablespoonful of Thai yellow/red curry paste.

chop the apples and carrots into bite size pieces

Heat the coconut oil in a large pot and add in the chopped onions. (The onions aren’t pictured, but you need them)

add in the ginger and saute for a minute

before adding in some salt

and lemongrass. If you’re using curry paste then add it after the carrots and apples have cooked down slightly.

Mix in well and saute for a few minutes

finally add in the carrots and apples. Give them a quick turn in with the flavourings and this needs nothing more than cooking down to a soft mush.

The vegetable and fruit will leach out a lot of juice but I’m still adding a bit more water just to let everything simmer gently while I get on with laundry life.

cover the pot and let it cook on a low-medium flame. Keep checking occasionally, giving it a stir to coax the fruit and veg into softening.

After ten minutes of cooking the apples had softened to a pulp but the carrots still had a bite to them and we want to make everything smooth. If you’re using curry paste then this is the right time to add it.

While everything is still cooking and slowly becoming softer, add in the seasonings. Soy sauce

ground cumin. It was not pictured in the ingredients list but it’s an important part of this process.

and black pepper. Mix it all well and cover the pot again to let everything mix and soften. Add more water if needed.

FInally, after almost twenty minutes of cooking everything was as needed. Soft and mushy.

At this stage you can retrieve the lemongrass

and add more water to bring up the quantity that can make it easily blendable and soupy.

I am using a hand blender, but you can use a mixer or even a manual soup strainer as needed.

also add in a big squeeze of lemon.

depending on how you enjoy your soups, you can make it as smooth or as chunky. I like mine somewere in the middle.

and there you have it! Delicious, hearty and sweet with that unique fresh tang distinctly lemongrass which somehow turns into a soft hint of citric note, subtle and deep.


Ingredients

Carrots: 500g - 700g
Apples: 2 large or 3 medium
lemongrass: 2 stalks (if using curry paste then use 1 heaping tablespoon)
onion: 1 medium
Ginger: 1 inch piece
Cumin powder: 2 tsp
Black pepper: to taste
coconut oil: 2 tbsps
lemon juice: 1 tbsp
salt: to taste
water : 500mls + as needed 

Chop the vegetables and fruit into bite sized pieces. You can even grate the carrots for quicker cooking.

Recipe instructions: In a large pot heat the coconut oil and add in chopped onions and ginger. Saute for a minute and add in salt and lemongrass.

Give it a mix and cook for a minute before adding in chopped carrots and onions. Let cook until soft. (Add the curry paste if using once the carrots and apples have softened)

Add in soy sauce, pepper and cumin powder and stir together and let cook before completely softened into a mush.

Retrieve the lemongrass stalks. Add water and blend to form into a soup. Bring to a simmer before finally spritzing with lemon juice.

Serve hot

Yogurt blueberry cake


It was a whole lot of nothing last year and hopefully this year promises to be better and I am not going in an overly celebratory mode with extravagant enthusiasm, however I do wish to welcome all that’s new and encouraging with some sweetness and this cake here which is essentially a yogurt cake has been such a rock solid standby dessert option, not least because it is fuss free, extremely easy and effortlessly gorgeous but also because you can change the fruit to suit your tastes and seasons without changing the recipe of the cake.

the ingredients are blueberries, yogurt, vanilla extract, flour, pistachio, sugar, eggs, baking soda, baking powder, salt and oil
flour
sugar
baking powder, salt and baking soda

In a bowl mix together all the dry ingredients that are the flour, sugar, baking soda, baking powder and salt

give it a thorough mix, ensuring there are no lumps.

add in the eggs
oil
vanilla
and yogurt

You can if you want, mix the wet ingredients into a separate bowl and then mix in with the dry but it’s not necessary.

Mix the wet ingredients into the dry

ensuring there are no lumps.

pour into a well greased cake tin.

and tap it a few time to ensure no air bubbles are trapped before the decorations begin

I drop in a few roasted pistachios and this is totally optional. I do it because I like the light crunch and sligh nutty taste these slivers offer. It’s not an essential and you can either choose to not use it altogether or replace it with another nut. Almonds work really well here, even cashews.

gently drop in the blueberries and bake at 180ºC for at least 40-50 minutes. This cake takes a bit longer than usual but it’s better to start checking once the top gets golden.

Like so. Let it rest and cool a bit before slicing.


Ingredients
Flour: 180g
Eggs: 2
Baking powder: 1 tsp
Baking soda: 1/2 tsp
Salt: 1/2 tsp
Yogurt: 150mls
Vanilla extract: 1 tsp
Oil: 100mls
Sugar: 180g
Blueberries: 90g
Pistachios: 2 tbsp

Recipe instructions

In a clean large bowl mix together flour, sugar, baking powder, salt and soda until there are no lumps.

to the dry ingredients add in the eggs, vanilla, oil and yogurt and mix well.

Pour into a well greased baking tin and top with chopped pistachios (if using) and blueberries.

Bake at 180ºC for 40-50 minutes or until a cake tester comes out clean.

Let cool before slicing.


Simple vegan chocolate cake


Do you want something absolutely chocolate without the fuss, without the beating around in a large bowl and whisking too much? If your answer is yes then perhaps this is the chocolate cake you’d want to try which is absolutely hassle free, easy to make with a fudgy rich center and takes barely moments to put together. The only waiting time is when it bakes and cools down and once that is done it’s ready to be eaten.

It’s something of a cross between a rich brownie and a simple tea time cake where all its chocolateness comes from the cocoa powder, which is why a good quality cocoa powder is a must for this recipe and of course it can be elaborated upon with icing or frosting and that’s why this cake is so perfect because its simple nature makes it so amiable to everything one could possible club it with.

The ingredients are few and basic. Flour, sugar, baking powder and soda, cocoa powder, instant coffee, oil, plant milk, vanilla and some salt.

In a large bowl mix in the flour

sugar

baking powder, salt, baking soda and coffee

and cocoa powder.

Mix it well together.

Now mix in all the wet ingredients. Vanilla, oil

Plant milk. I’ve used soy milk.

Mix it well. The batter will be a bit wet and that’s what makes the cake a very moist disc of chocolate goodness.

Scrape into a well greased baking dish of choice and bake at 180ºc for 40-45 minutes or until the cake starts to pull away from the sides and the center is baked. Check with a knife or toothpick.

Let cool for a bit before slicing.

This cake was deliriously simple and magical in how it tasted. Pair it with a dollop of ice cream of some cream or custard to make it into a richer dessert.

Enjoy!


Ingredients

Flour: 200g
Sugar: 180g
Cocoa powder: 30g
Coffee powder (instant): 1 tsp
Baking powder: 1 tsp
Baking soda: 1/2 tsp
Salt: 1/4 tsp
Oil: 70g (anything flavourless or coconut oil)
Plant milk: 220 mls
Vanilla extract: 1 tsp

Recipe instructions

Into a large bowl whisk together flour, sugar, baking powder, salt, baking soda and coffee powder. Mix well. Make sure there are no lumps.

Add in the vanilla, oil and milk and mix well. Scrape the sides of the bowl to ensure no dry flour is stuck to the edges.

Scrape into a well greased baking tin and bake at 180ºc for 40-45 minutesor until a knife inserted in the center comes out clean.

let rest for ten minutes before serving.


Japanese style potato salad


It was at a Japanese deli that I came across perfectly shaped ice cream scoops which upon further inspection turned out to be made of potatoes with bits of ham, bacon and cucumbers dotted about the perfect potato spheres and I absolutely had to buy some. It was different in a way that there was sweetness, some tang, and bites of chew courtesy the bacon alongside a refreshing crunch from the cucumbers and it was this interesting mingling of textures within the creamy heft of potatoes that made of me a complete convert.

I’d had japanese potato salads before , but perhaps never deconstructed their anatomy the way I did while eating these, mostly in part due to the scooped out shapes or perhaps because of the crunchy cucumber texture, but I knew I had to make these and so here we are.

There is boiled potato, cooked bacon shopped into tiniest possible bits, chopped ham as tiny as can be managed, thin cucumber slices, salt and sugar (not pictured)

and most importantly Japanese mayonnaise which makes this dish what it eventually will be. It’s a lot more different than regular mayonnaise in that it’s sweeter has a peculiar flavour to it which is both tangy and sweetly pungent.

Sprinkle over some salt and sugar on the cucumber slices and wait for them to release water, which then must be thoroughly squeezed out.

Mash the potatoes until it isn’t chunky. Potato ricer works best but if the potatoes are warm then just mashing it with an overzealous intensity will guarantee similar results. Add the japanese mayonnaise to it and mash until well incorporated.

Once the potato is well mashed with the mayo and there are no lumps add in the bacon and ham pieces. I switched to a wooden spoon once everything was well blended because it’s much easier to work with.

Mix well

Finally add in the squeezed and drained cucumber slices and mix well. Check and adjust seasoning. The cucumber slices will retain a lot of the salty sweetness from the previous sprinkling of salt and sugar.

I let mine sit in the fridge for half an hour before scooping out using an ice cream scoop.

Of course this salad can be eaten just as but then you wouldn’t reflect upon the beauty of this salad or ponder over its subtle sweet, salty, chewy, crunchy texture.


Ingredients

Potatoes: 2 large boiled
Bacon: 2 rashers chopped and cooked crisp 
Ham: 2-3 slices chopped fine (2 tbsp)
Cucumber: 1 small
Japanese style mayonnaise: 2 heaped tbsp
Salt: 2 tsp
Sugar: 1 tsp
Recipe instructions 

Add the salt and sugar to the thinly sliced cucumbers and keep aside for ten to fifteen minutes to draw out the water from the vegetable. Squeeze and drain the cucumbers and reserve.
Peel and mash the potatoes until there are no lumps. Add in the mayonnaise and beat it in, Add the chopped bacon, ham and mix well again.
Add in the cucumber slices and mix in. Check for seasoning and refrigerate for half an hour before serving.
can be served just as or can be scooped out using an ice cream scoop.

Cheese chilli scones


These are triangular scones made with little effort and lots of cheese which is why they hardly last as long and taste delicious if a little bit naughty and with every bite they get progressively enjoyable.

These aren’t something I’d eat everyday of my life which is why they’re special, made on days when the mood is light and gym bag out of sight or when it’s rainy, dull and the air is sullen;these cheese chilli scones are just as good as cake at uplifting spirits and go well with tea and coffee and they’re best eaten when hot but that’s not an absolute requirement because they taste just as great when cold.

The ingredients aren’t many and they’re the makings of every good scone. Flour, salt, sugar, baking powder, baking soda, butter, any sharp cheese, paprika and yogurt or buttermilk.

I have already mixed in soda, salt, baking powder and sugar together in with flour.

have the butter fridge cold, cut into cubes and mix in with the flour. I find fork and fingers work best.

One the butter has been worked into the flour, its texture becomes lumpy which is the cold butter clinging on bits of flour.

Pour in the yogurt and briefly mix to form a shaggy dough.

until it looks like this and transfer on the work surface.

Don’t knead the dough because it doesn’t need to form gluten. We just need it to come together with minimal effort.

use your hands and a bench scraper to put it together. It’s not going to be uniform and it will be broken and falling apart but it’ll all come together.

Sprinkle the top with half the cheese paprika mixture and fold both the ends like a book. I forgot to take the picture of the cheese sprinkling part.

Turn it over and around. Sprinkle on some flour and roll it out with a rolling pin.

like so. Some cheese might spill out but it doesn’t matter.

Sprinkle on the rest of the cheese reserving a bit for the topping.

now fold it again like a book and turn it over and roll to the thickness you like.

If you desire tall and thick scones then roll it thickly, if however you don’t mind skinny scones then roll thinner. I rolled mine out to almost 1cm thickness and cut them into square which I further cut into triangles.

Spread on a well floured baking tray and sprinkle the remaining cheese over.

Bake at 200ºC oven for 20-25 minutes until the scones have risen slightly and the cheese has begun to melt and ooze out.

Let cool for only a moment before indulging.


Ingredients

Flour- 250g
Baking powder- 1 tbsp
Baking soda- 1/4 tsp
Butter- 80g
Cheese- 150g
Paprika- 2 tsp
Sugar- 2 tsp
Salt- 1/2 tsp
Buttermilk/yogurt- 120mls

Recipe instructions

Combine the flour, sugar, salt, baking soda and powder and whisk well.

Mix together the cheese and paprika and reserve.

Add the cold cubed butter to the flour mixture and using a fork or fingers rub into the flour until the butter fuses with it to form a grainy buttery texture.

Pour in the yogurt and mix briefly with a spoon before inverting on the work surface. Bring it together without kneading into a rough rectangle. At this stage it won’t matter if the mixture isn’t cohesive.

Sprinkle some flour and roll to form a half inch thick square. Sprinkle half the cheese and fold both the ends of the dough to meet in the center like a book.

Turn it over and around and roll out the dough again.

Sprinkle over the remaining cheese reserving a small handful.

Fold over both ends again and turn it over and around and roll it out again to desired thickness.

Use a round shaped cutter to cut out round scones or simply slice into squares and then triangles with a knife.

Finally sprinkle over the last bit of cheese and bake at 200ºc for 20-25 minutes or until the scones have beautifully puffed up and the cheese has begun to melt and bubble.

Can be enjoyed as a solitary snack or with tea and coffee.

Coconut cake


It could have been the sudden onslaught of summers or the desperate need to eat something sweet or even the fact that my pantry boosted a most comprehensive collection of coconut milk that I suddenly felt this overbearing need within me to bake a coconut cake and not just any coconut cake but beautiful bundt at that and thusly here we have a gorgeously sweet, tropically kissed and easily made coconut cake.

The ingredients are eggs, flour, baking powder, butter, sugar, coconut flakes or dessicated coconut, sugar, lemon zest and coconut milk. Also vanilla extract (not pictured)

I used a food processor to mix the lemon zest in with the sugar just so it’s evenly distributed and renders a more aromatic scent. This step didn’t do much to affect the end result so it’s optional.

crack eggs in a clean mixing bowl

and add in the sugar

and beat well for a few minutes until pale

Heat coconut milk and melt in the butter ensuring it doesn’t get too hot and reserve for later.

Add vanilla extract

followed by the flour and baking powder. Add it in batches. Mixing constantly and scraping the sides of the bowl intermittently.

Once the flour is well mixed add in the coconut flakes and mix again.

and finally pour in the coconut butter mixture.

Beat well ensuring there are no dry lumps in the batter.

Pour into a well greased baking tin. I’m using a bundt pan but feel free to make it into a regular sheet cake or even cupcakes.

Bake at 170ºC for 45-50 minutes in a preheated oven or until a knife inserted in the middle comes out clean.

Let it rest for at least 10 minutes before removing from the pan and let cool on a wire rack.

Dust with powdered sugar or sweetened coconut flakes before serving.


Ingredients

Flour: 240g
Sugar: 250g
Salt: 1/4 tsp
Baking powder: 1 heaped tsp
Butter: 80g
Eggs: 4 
Coconut milk: 200mls
Dessicated coconut: 150g
Vanilla: 1 tsp
Lemon zest: 2 tsps

Note: The picture shows 6 eggs but the recipe uses 4.

Recipe instructions

Mix together the flour, baking powder and salt and keep aside.

In a clean pan heat the coconut milk and melt in the butter. Don’t let the mixture get too hot. Reserve for later.

Crack in the eggs in a large bowl and beat in the sugar and lemon zest until the batter gets well aerated and turns pale. It will take a few minutes and add in the vanilla extract.

Mix the flour, baking powder and salt mixture into the egg and sugar batter in batches until well incorporated. Keep scraping the sides of the bowl to ensure no lumps or dry bits of flour are stuck to the sides.

Once the dry ingredients are mixed in beat the coconut flakes/desiccated coconut followed by the coconut milk and butter mixture.

Mix well until you have a sunkissed pale yellow batter punctuated with grainy bits of coconut flakes.

Scrape the batter in a well greased baking pan and bake at 170ºC for 45-50 minutes or until the top of the cake is copper hued and a knife inserted comes out clean.

Let the cake cool in its pan for at least 10 minutes before inverting on a cooling rack where it needs to cool down for another ten minutes before slicing in.

Finally dust with sugar or sweetened coconut flakes before serving.

Enjoy!

Black pepper chicken curry


The first time I ever had this chicken curry was at my brother’s house and he’d tweaked several version over the years to find a perfect format to cook this delicacy because one bite and I was hooked, so lush and delectable was this particular chicken curry that I had to ask him for the recipe which he most graciously provided and so here I am, trying to do justice by cooking it exactly as he’d asked me, because the point of this whole recipe is the different stages and the precise ways of cooking.

The gravy is a rich velvety emulsion of tomatoes, onions and spices and the consistency can vary according to what one likes to eat it with. Thicker gravy for when you eat it with bread and a bit thinner if eaten with rice, though I must say that it’s rice which brings out, almost helps to bloom each flavour of this curry. Rice provides, in my opinion, a better base than bread for this chicken curry and so I’ve cooked this accordingly.


Spices for chicken marinade. Turmeric, Black pepper and some lemon.

add spices to the chicken

This image has an empty alt attribute; its file name is dsc_1390.jpg

squeeze in the lemon and throw in the rind while marinating and add some oil.

Rub the spices into the chicken and cover to let marinate for an hour.

Ingredients for onion gravy

To make onion gravy, which is really the base of this curry we need a bay leaf, a cinnamon stick, some cardamom seeds sans green shell, a few cloves, some garlic and onions which will go into a blender to get a smooth spice enriched onion paste.

So we have an onion paste made with all the spices and some crushed tomatoes which I made by blending one large tomato.

To make the curry, add some oil to a wok or pan of choice and let it come to near smoking, after which add the now marinated chicken and let sear boldly on one side until deliciously bronzed before turning.

make sure both sides are nicely golden.

Let it sear on the second size and bear with me while I do this because it might come as something odd, but we will make the curry in the wok with the chicken still in it instead of fishing it out.


Add the onion paste and cook continuously taking care that nothing sticks to the bottom of the pan.

the onion paste should begin thickening after a few minutes

Once thickened add garam masala, salt and plenty of black pepper and stir well to combine

Once all the spices are mixed in add the crushed tomatoes and cook for a few minutes until you reach a thickened gravy consistency

Once the tomatoes have cooked in with the onions add some chicken stock or water.

Little by little while continuously stirring

Add some more black pepper and stock/water until you reach the desired consistency and let cook.

Add a half teaspoon of sugar to balance out the tastes. This won’t sweeten the curry. Cook and check for seasonings. Add salt if needed and let bubble away covered for at least 5 minutes.

Serve Hot!


Ingredients

For the marinate

Chicken: 300g
Black pepper: 1 tsp
Turmeric: 1tsp
Oil: 1/2tsp
Lemon: 2 tsp

Marinate the chicken with the spices, lemon and oil and let rest for an hour or overnight in the fridge.

Ingredients for curry

Chicken: 300g bone in
Cicken stock or water: 250-400mls
Onion: 1 large or 2 small
Garlic cloves: 3-4
Bay leaf: 1
Cloves:2-3
Cinnamon stick: 1
Caradmom seeds: from 2-3 pods
Black pepper: 2-3 tsps
Garam masala: 1 tsp
Salt to taste
Sugar: 1/2 tsp
Tomatoes: 1 large or 2 small

Blend together the onions, cinnamon stick, garlic cloves, bay leaf and cardamom pods to a paste and crush tomatoes separately.

Note:  use only the seeds and not the green shells of the cardamom pods.


Recipe instructions

In a large wok heat oil and add the marinated chicken to sear on both sides. Once each side is evenly brown add the onion paste and cook until golden and fragrant.

Sprinkle in garam masala, salt and a teaspoon of black pepper and cook for a minute before adding in the crushed tomatoes and cook until gravy is thickened and the tomatoes aren’t raw anymore.

Add in the stock or water in small batches stirring it in continuously to homogenize with the mixture until the desired consistency has reached and add in the remaining black pepper and sugar and let the curry bubble away another 5 minutes covered.

Finally check for seasonings and add salt if needed.

Serve over a bed of hot rice or with flatbreads.

Taiwanese pineapple cakes


It was a new dimension of desserts for me the first time I ever ate these little cakelets which somehow blur the thin line between shortbread cookies and cakes and in fact these are stuffed in the middle with a sweet pineapple filling, one bite is all it takes get transported into a sweet dreamy land of flaky crust and delicious jam.

These are irresistible if anything and my dear Taiwanese friends who were kind enough to share these treats informed me of their importance in their culture as a staple during coffee, tea or snack time and even shared the recipe which I used to make a version of my own which though not nearly as beautiful as the ones they shared comes decently close in taste. 

The pineapple cakes have a particular mould which one can easily buy but I tried improvising and came to the conclusion that making them in their particular moulds would be a far better option, however, if you want to try them just as then, by all means, use a muffin tin as I did as I’m about to show you.

Ingredients for the pineapple jam filling

 Cook the crushed pineapples on medium hot flame 

until they begin releasing water and add lemon juice

once most of the water is cooked off add cinnamon

and sugar

the pineapple mixture will become wet once again after the addition of sugar so keep cooking and stirring until it’s thickened to a paste. Chill the jam for an hour before forming cakes so that it slightly firms up.

ingredients for shortcrust pastry case

I made this using a processor but you can use these just as easily with a wooden spoon. Mix together the butter and sugar

until evenly combined

add egg yolk and mix

and tip in flour, baking powder, cheese and milk powder mixture and evenly combine

until it comes together and begins to clump

form into a dough without kneading it much and shape into a log

and slice into equal portions. You don’t have to be precise because you can always add or remove some dough during the cake forming process.

Roll each part into a rough circle about 1.5-2 inches in diameter.

and now for the fun part that’s filling each casing with the now cooled pineapple jam. Add about 2 tsp worth in the middle of the pastry.

and fold so that opposite ends meet in the middle. Squeeze them together with thumb and index finger smoothing the seam and form into a ball.

Place into muffin tins if you do not have a mould and press gently before baking at 170º for 10 minutes

and then flipping them over to brown on both sides. Bake again for another 10-15 minutes

until they’re lightly golden. Some of them broke in the process but that didn’t keep them from tasting remarkable. Let them cool for at least 10-15 minutes before eating because they’re hot and extremely soft. Their shortcrust casing gets firmer with time and somehow I like them better when they’re firm so I let mine be for a couple hours.

I also tried making some free-form ones and concluded that these are better off aesthetically in their respective moulds but they taste just as divine even in their unorthodox shapes.

They aren’t as difficult as one would think, just a little time consuming if you are new to their realm which I was and to eat one of these is to know how different these cookie cakes can be and the pure pleasure that something so tiny is capable of imparting in each bite.


Ingredients for the jam filling 

  • Pineapple- 500g (use fresh or tinned)
  • White sugar- 50g (1/4 cup)
  • Brown sugar- 50g (1/4 cup)
  • Lemon juice: 1 Tsp
  • Cinnamon powder- 1/4 tsp (optional)

Ingredients for shortbread dough

  • Butter- 100g
  • Sugar – 45g
  • Parmesan cheese- 10g
  • Milk powder- 10g
  • Egg yolk – 1
  • Baking powder – 1/2 tsp
  • Flour- 130g

Recipe instructions

Make the jam filling by crushing the pineapples in a food processor and cooking over medium heat until the water begins evaporating. Add lemon juice, cinnamon powder if using and brown and white sugar and cook until the jam is thickened.

Chill until further use.

Mix together the flour, parmesan cheese, baking powder and milk powder in a bowl and set aside.

Make the pastry by mixing butter and sugar using a processor or wooden spoon. The butter shouldn’t be cold. Add the egg yolk to the mix and evenly combine before adding the flour mixture. Mix them but do not knead and form a shortcrust pastry until the mixture begins to clump.

Lightly form into a log shape and cut into even pieces.

Roll each piece into a 1.5-2 inch circle and fill the middle of each with 1-2 tsp of the now chilled pineapple jam.

Form into a smooth ball by squeezing together the opposite ends and smoothening the seams.

Press into moulds or muffin tray putting gentle pressure to flatten each cake.

bake at 170ºc for 10 minutes and flip over the cakes to bake on the other side for another 10-15 minutes until evenly browned.

Let cool on a wire rack before serving.

Can be eaten fridge cold or warm.

Enjoy!

Cardamom coffee cake


DSC_0663

It’s been sometime since I posted a cake recipe on this blog and what better to break the monotony than a coffee cake. The thing about coffee cakes is that apart from pairing ‘oh so beautifully’ with a strong cup of caffeine they are scrumptious just on their own for moments when you want to eat something sweet but not overwhelmingly so.

Cardamom is such a rich exotic spice with an almost romantic ring to it with curious undertones of mystery and an enticing allure of the East so rare in cakes and with a crispy crumb on top this cake is two layers of delicious, resonating with cardamom in each bite, hefty with flavours and yet symbiotically submitting when paired with a cup of coffee or even tea, because cardamom does go well with tea.


DSC_0581

these ingredients might seem like a lot but that’s only because there are two parts to this cake. A crispy nutty crumb and a base cake.


DSC_0584

first with the crumb topping. Into a bowl add flour (please excuse the lighting)

DSC_0587

walnuts

DSC_0589

brown sugar

DSC_0591

cardamom

DSC_0592

and mix with a fork until ingredients are equally dispersed.

DSC_0595

finally add room temperature butter to form the crumbs

DSC_0596

mix thoroughly


DSC_0597

until nice fat crumbs or rather buttery nutty lumps are formed. Set aside.


DSC_0602

for the dry ingredients in a separate bowl mix sugar, flour

DSC_0603

baking powder, baking soda

DSC_0604

and cardamom

DSC_0608

mix well and keep aside


DSC_0610

Now we get mixing to wet ingredients and also learn how exactly galaxies came to be formed. In a clean bowl add coconut oil

DSC_0611

vanilla extract and coffee

DSC_0613

milk and eggs

DSC_0614

check out your handywork at creating the universe

DSC_0615

now for some orange liquor

DSC_0617

and a quick whisk to disperse everything

DSC_0618

into a murky reality


DSC_0624

now it’s just a question of adding the wet to the dry, much like life.


DSC_0625

and stirring it all together to form a lovely terracotta mixture of cardamom flavoured dreams.


DSC_0627

pour into a well greased baking tin


DSC_0628

top with buttery crumbs

DSC_0629

take a moment to gaze at the beauty that is this cardamom crumb cake before plunging it into the depths of a furnace that is your oven to bake at 200º for 40-45 minutes or until a knife inserted in the center comes out clean

DSC_0633

after 45 minutes this is what you’ll be rewarded with.  beautifully bronzed looking slab of spiced haven.

DSC_0639

let it rest for at least ten minutes before taking it out of the tin. It’ll be a moist flavourful cake with a rather delicious, even crispy topping. It’s the crumb topping that offsets flavours of this cake, giving it texture that comes in with a surprising cardamom punch.

DSC_0655

serve warm with a strong cup of love.


Ingredients 

For the crumb topping:

Flour: 60g (1/2cup)

Walnuts: 60g (1/3cup)

Butter: 80g  (1/3cup)

Brown sugar: 80g (1/3cup)

Cardamom: 3/4 tsp

Note: I used regular cardamom pods and crushed the seeds to make a rough powdered texture

For the cake:

Flour: 150g (2cups)

Sugar: 145g (3/4cup)

Baking soda: 1/2 tsp

Baking powder: 1 heaped tsp

Eggs: 2

Cardamom: 1 tsp

Vanilla extract: 1tsp

Coconut oil: 120mls (1/2cup)

Coffee: 60mls (double shot)

Milk: 65mls (1/3cup)

Orange liqueur (optional): 30 mls (single shot)


Recipe instructions:

making crumbs: mix together walnuts, flour, brown sugar and cardamom. Add the butter and using either fingers or a fork mix everything together until it forms crumbs.

making cake: Mix together flour, sugar, baking powder, soda and cardamom and keep aside.

In a separate bowl whisk together coconut oil, vanilla, eggs, coffee and orange liqueur if using and once blended well pour into the dry ingredients and mix to form batter. Pour into a greased baking dish and top with crumb toppings. Bake at 200º for 40-45 minutes until a knife inserted in the middle comes out clean.

Let it rest for an additional 10 minutes before serving.

Enjoy!