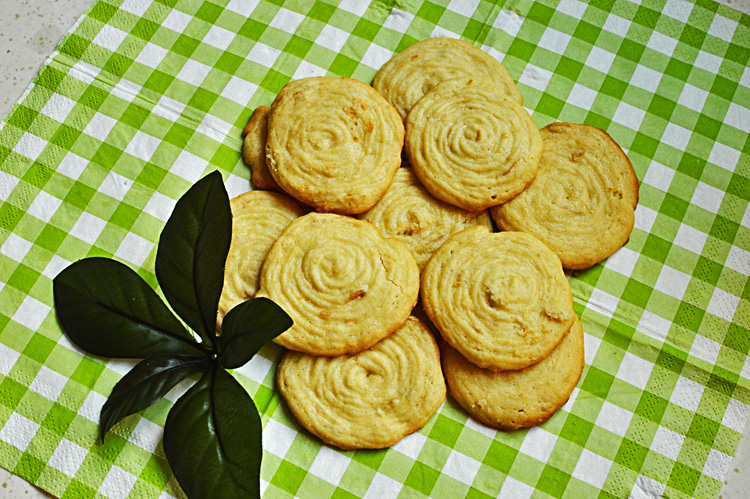
There isn’t any particular fondness for Earl Grey tea that I nurse in my heart, in fact, I never much thought about it but that was before I had an Earl Grey cookie at a speciality speculoos shop and one bite had me converted. The subtlety in its aroma bonded so luxuriously with the flavours of butter and a very slight hint of cinnamon that there was only so much I could do to not go through them like a savage.
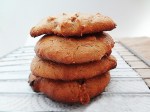
I had tried unsuccessfully after that to recreate the magic of those crunchy bites but almost every time they came out too dense for my liking, until a few weeks ago when finally I found myself biting into one of these and finding them admirably crunchy and deliciously fragrant. Easy to make and all too easy to devour.
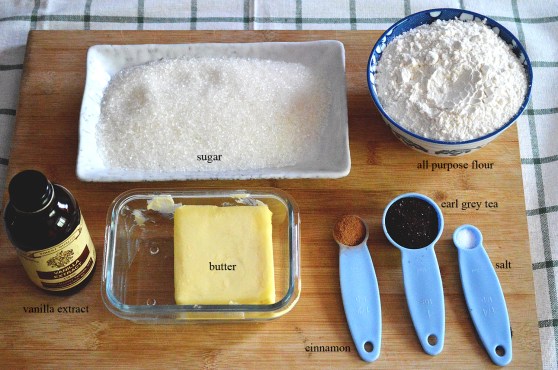
The ingredients are few. Just flour, butter, sugar, salt, earl grey tea, cinnamon and vanilla extract.

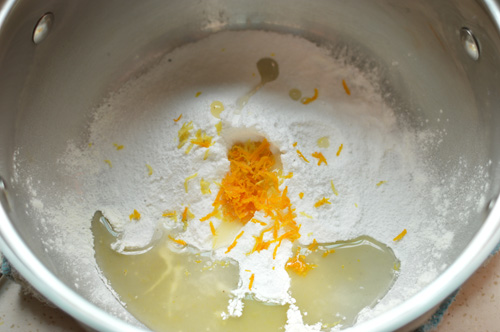
To get the tea to impart maximum flavour it’s best to lightly toast it first on a very low flame. Toss it on a dried pan until fragrant, for a minute or so and then let cool.
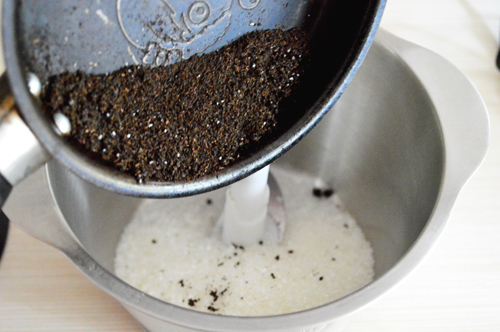
mix it with sugar and pulse it a few times to disperse equally, this enables the sugar to absorb the tea scent.

Like so

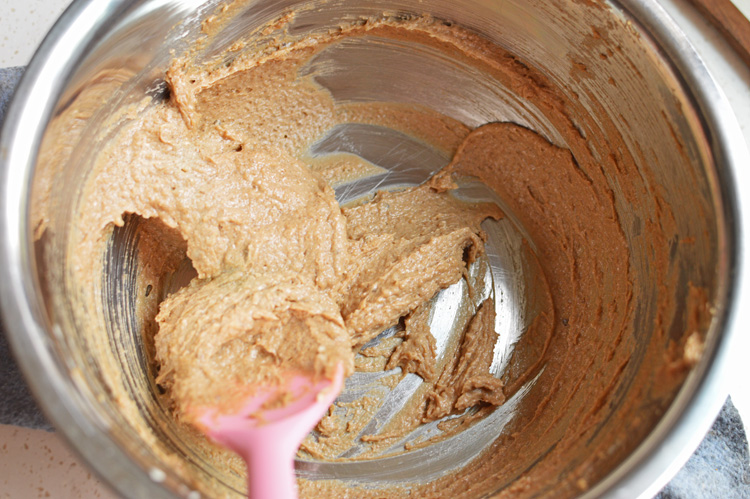
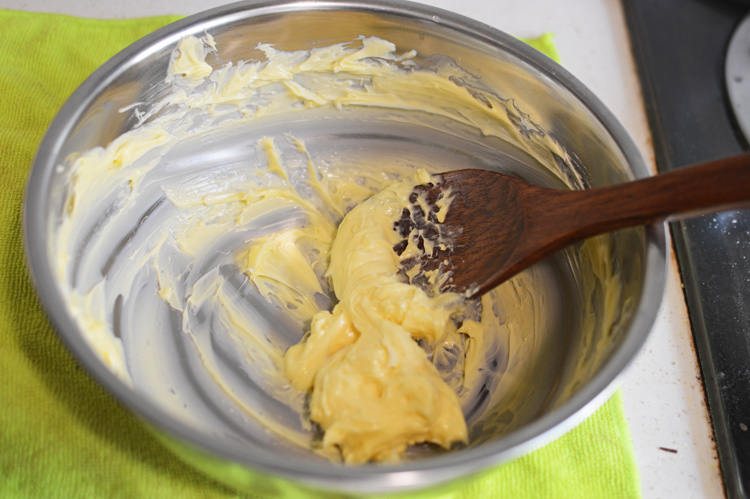
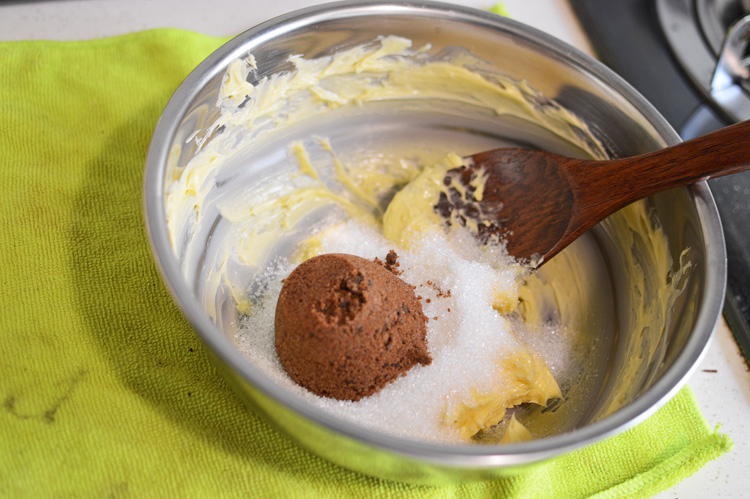
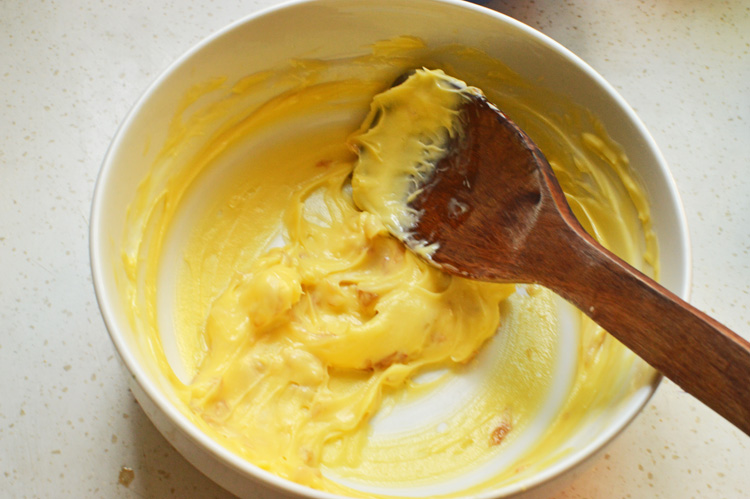
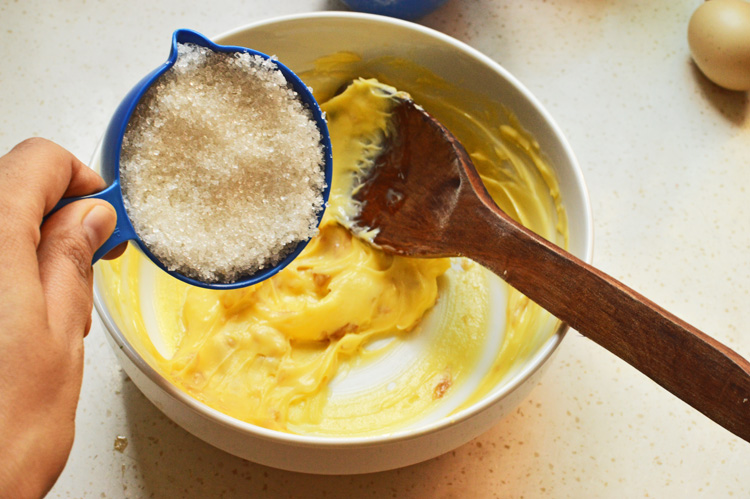
In a separate clean bowl cream the butter
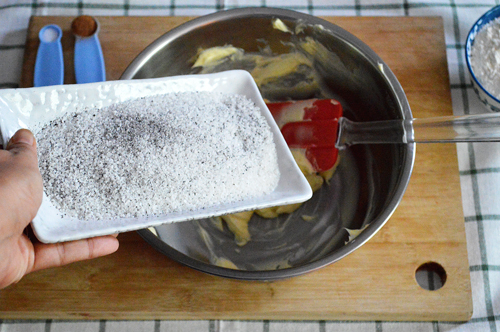
and add in the tea and sugar mixture

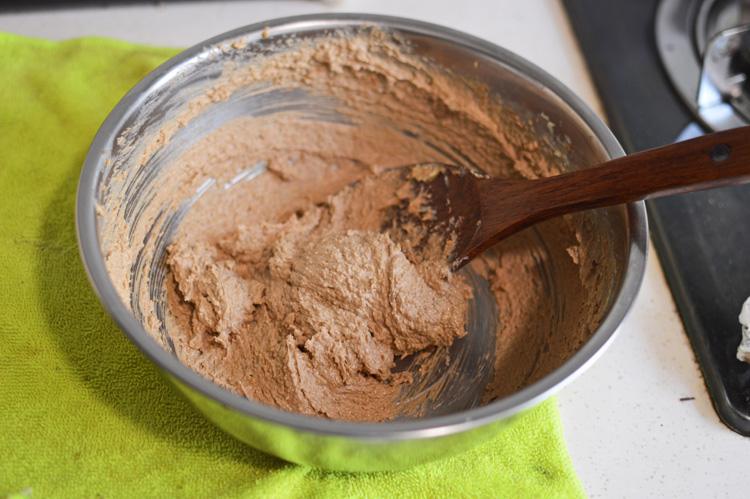
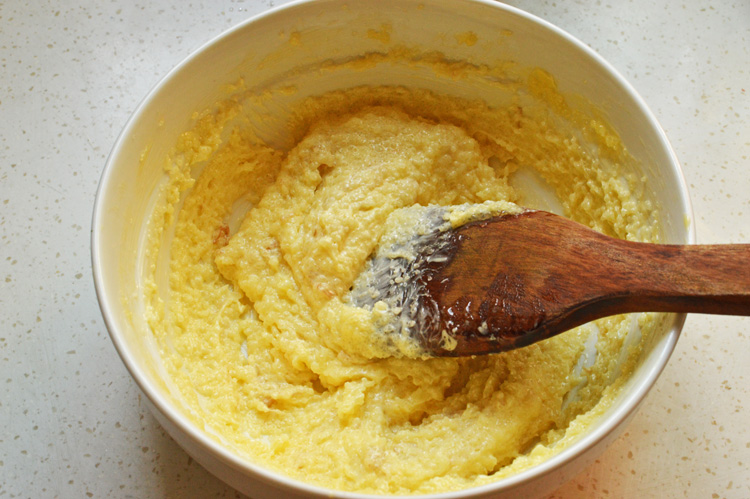
beating it thoroughly

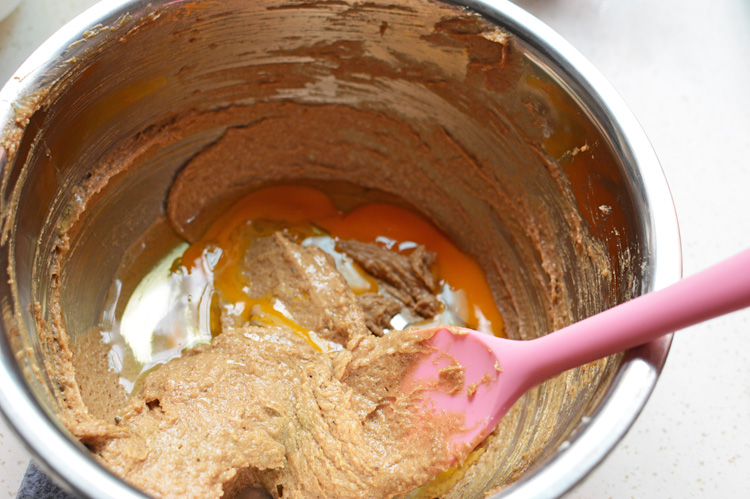
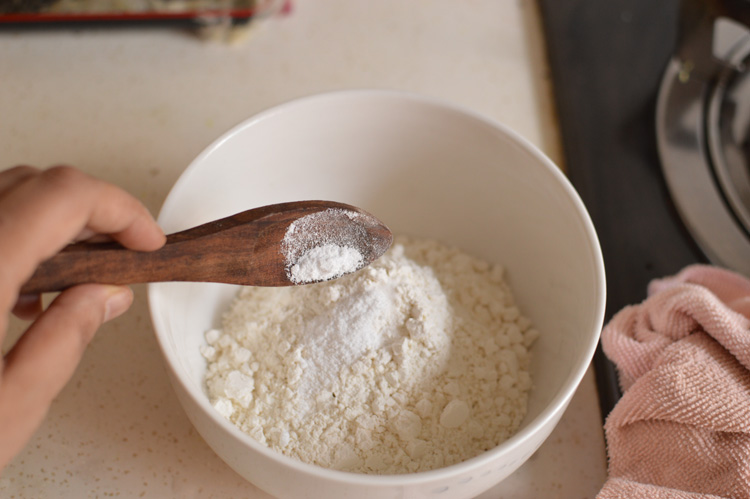
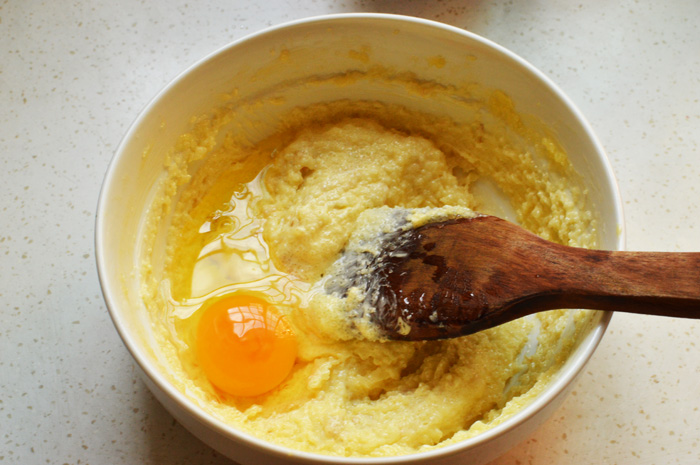
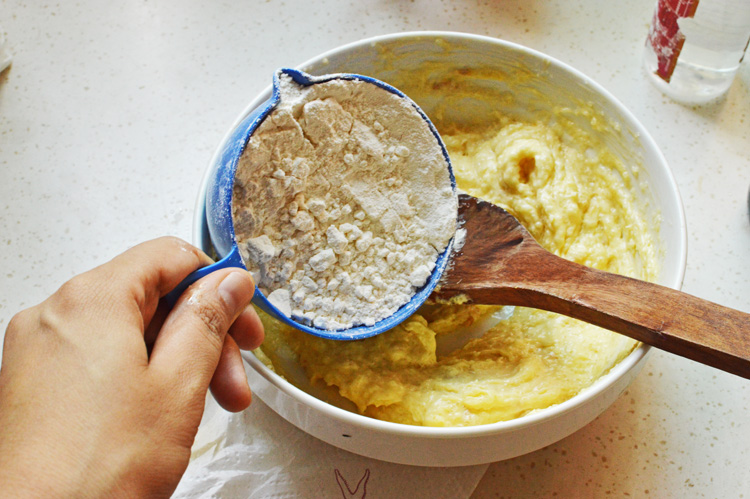
add in the flour

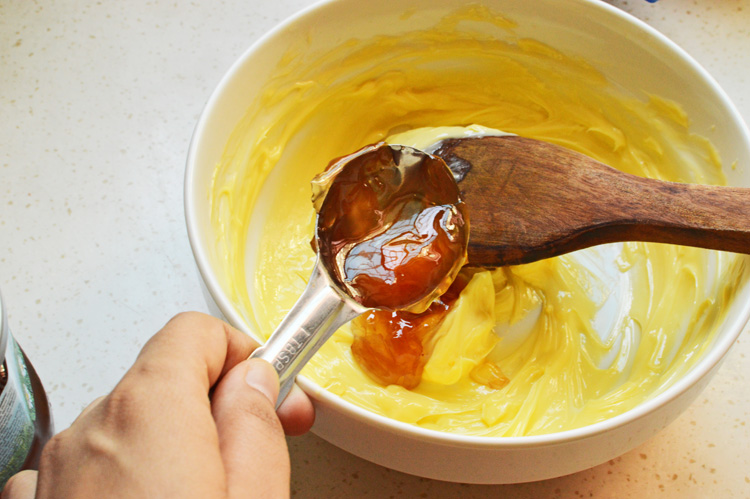
vanilla extract
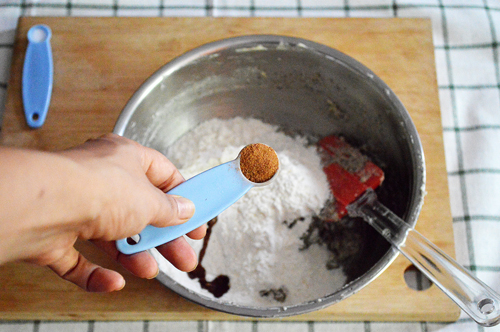
cinnamon (it’s better mixed in with flour)
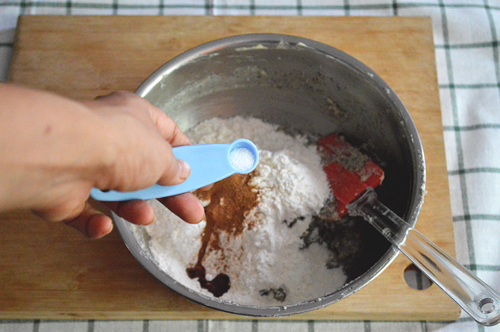
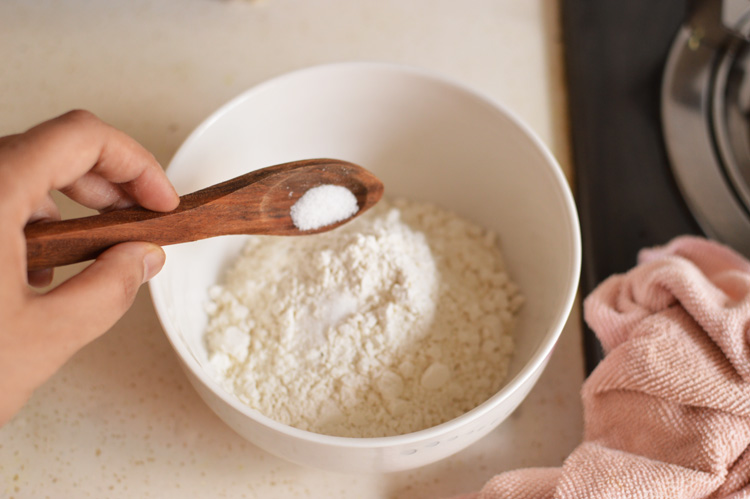
and salt

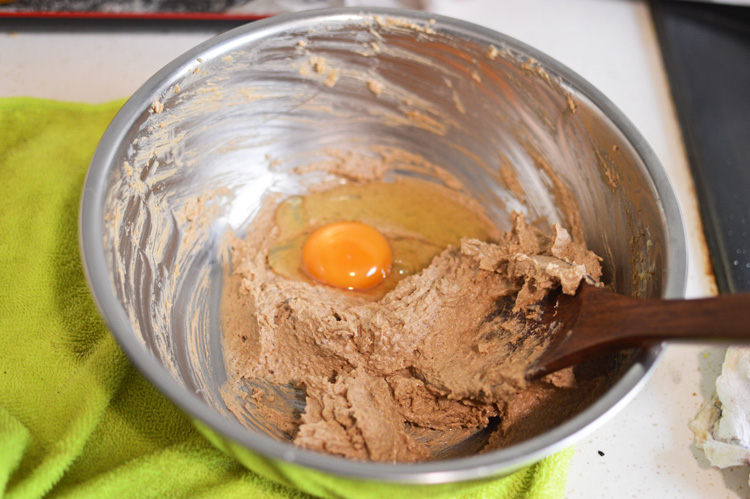
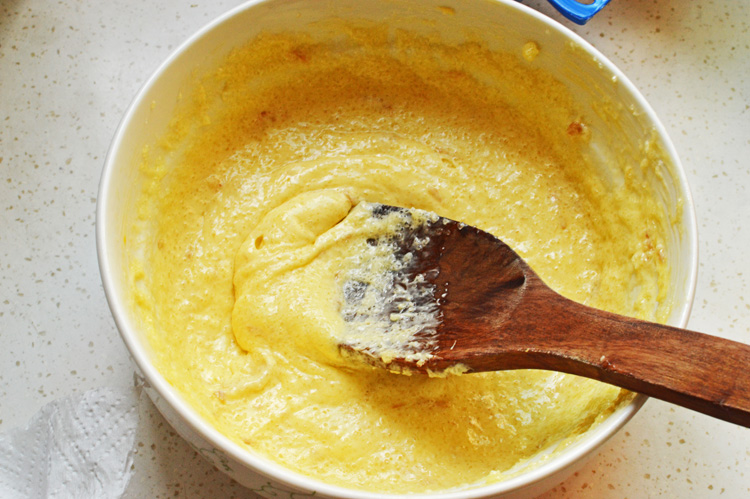
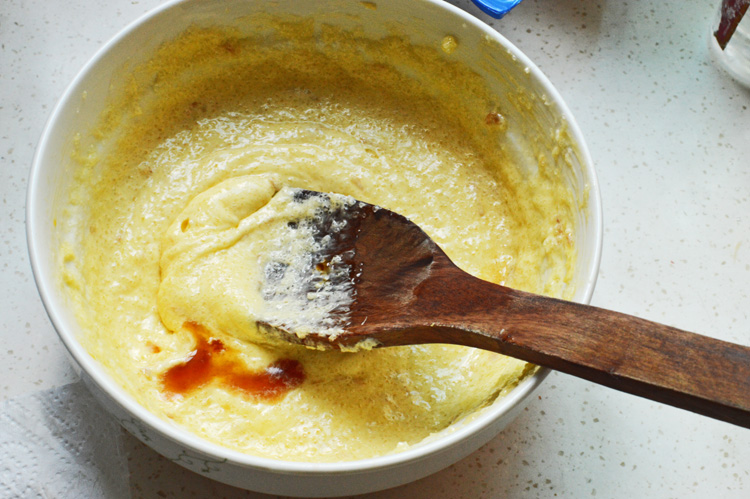
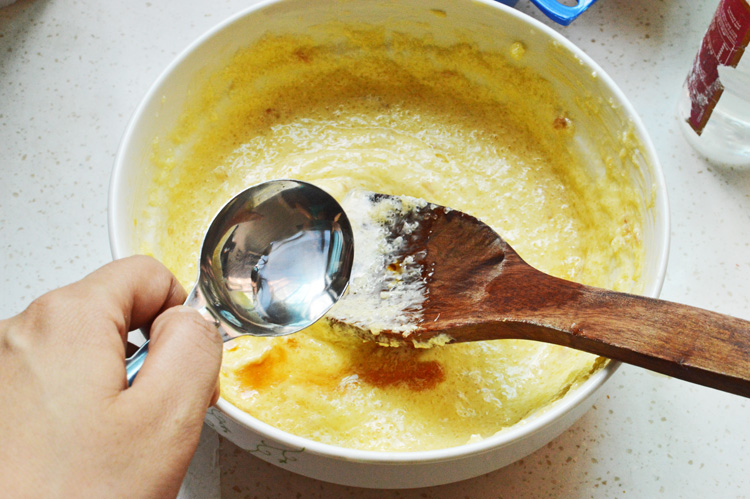
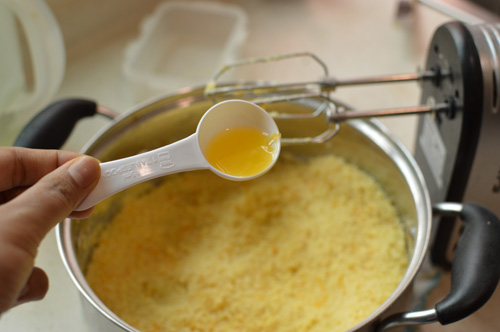
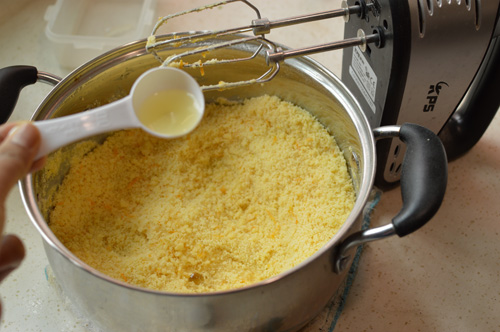
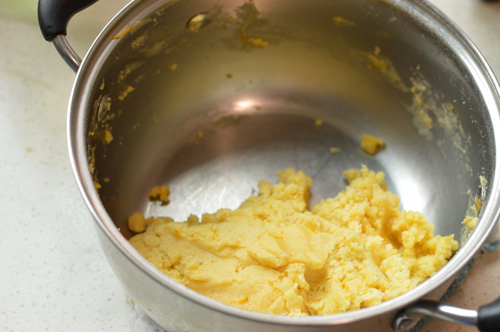
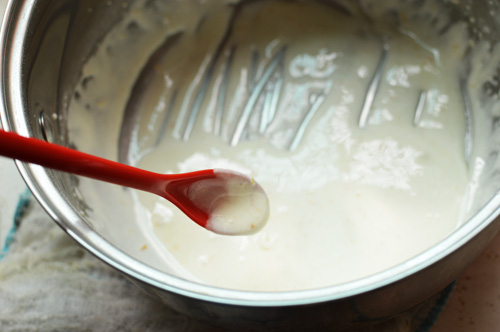
and mix the ingredients. It should begin to clump once everything is well incorporated. This mixture here was still a little crumbly and so I remedied it by adding a spoonful of full-fat milk.

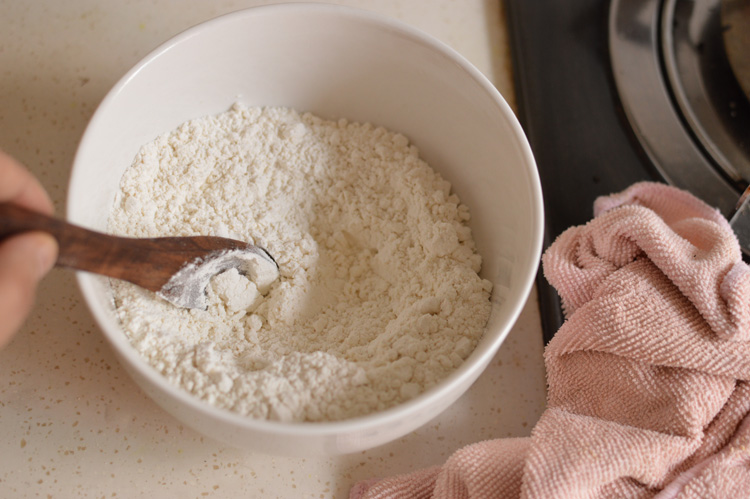
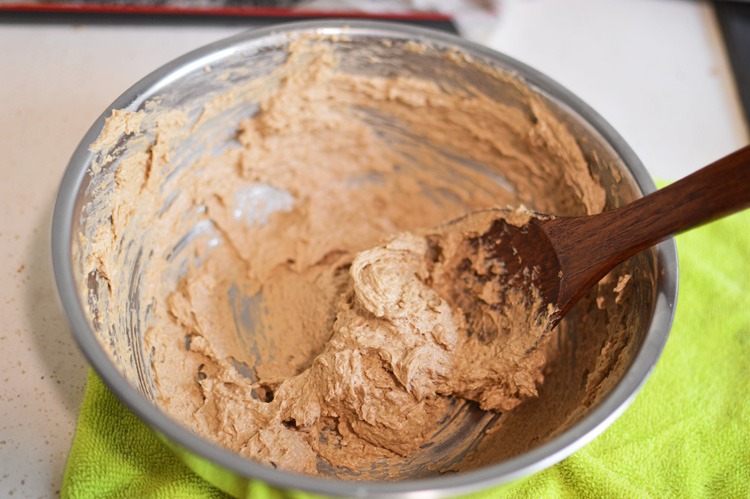
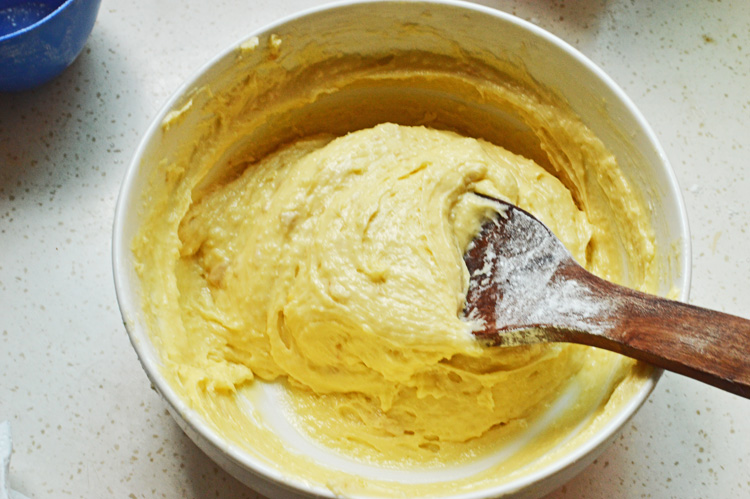
and thoroughly mixing
to get a cohesive mixture

which clumps if you press it together.
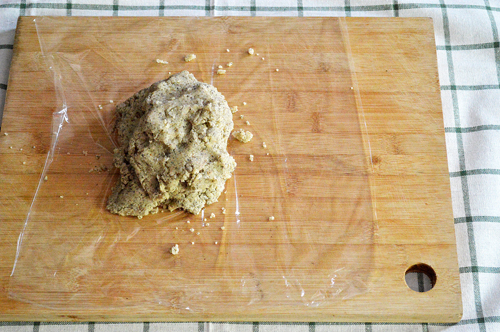
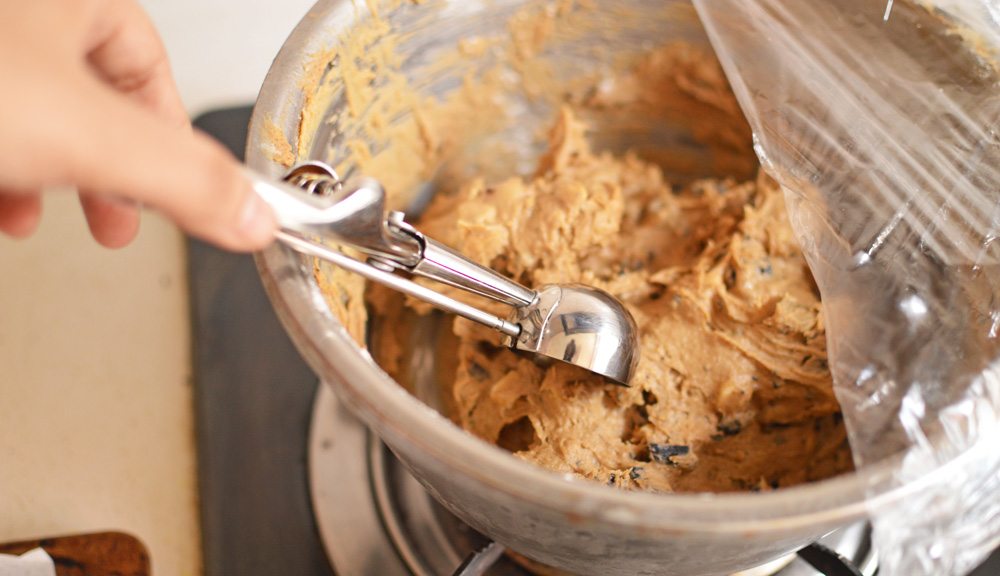
for this mixture to form cookies we need to shape it into a log. Place plastic wraps over the work surface and scrape the cookie dough on it.
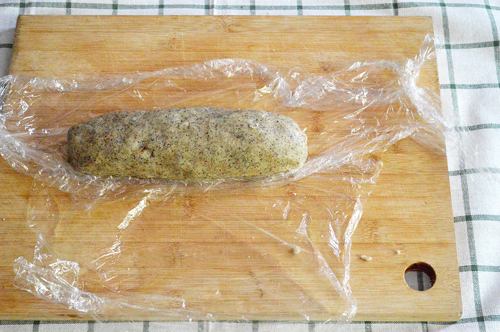
Cover the dough with the wrap and roll it like it were a rolling pin to form a longish log shape which is not too thin because we should be able to slice fat coin shaped cookies out of it.

Once you’re satisfied with the shape and dimensions of the log, refrigerate for an hour until it firms up, making it easier to slice.
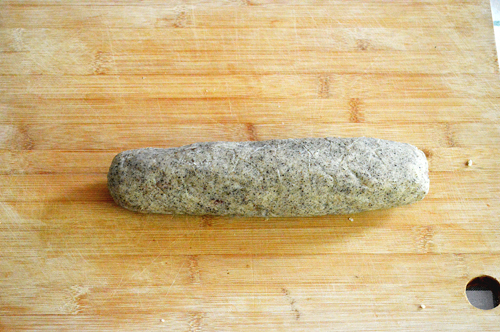
Unwrap and place on chopping board once firm.
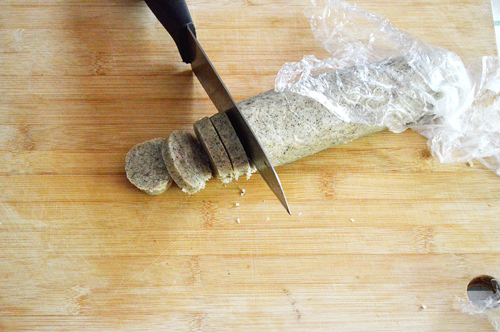
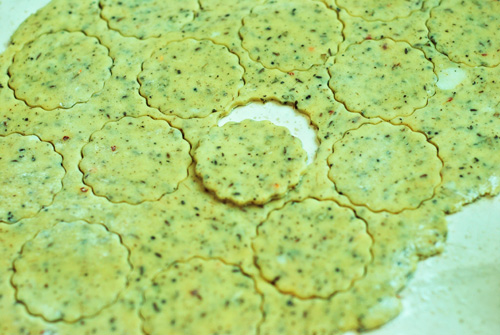
and slice into cookies, ensuring they’re neither too thick nor too thin because the former won’t be that crunchy and the latter might catch too quick.
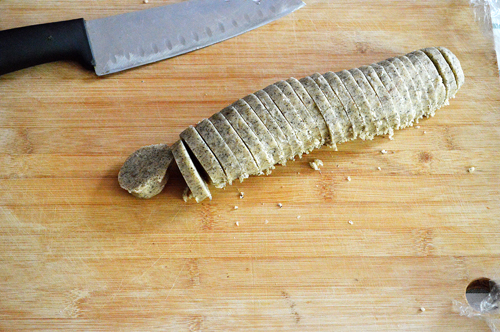
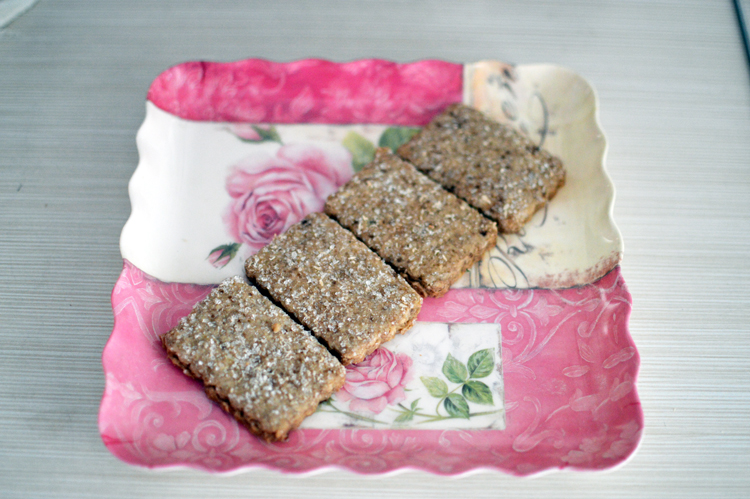
something like this. these are about quarter of an inch thick.
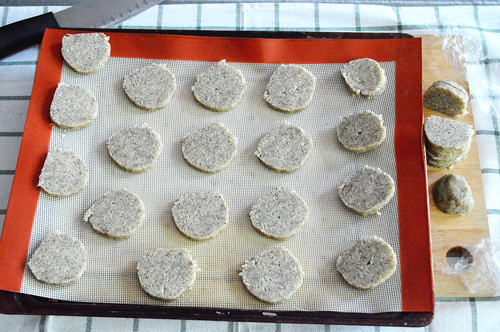
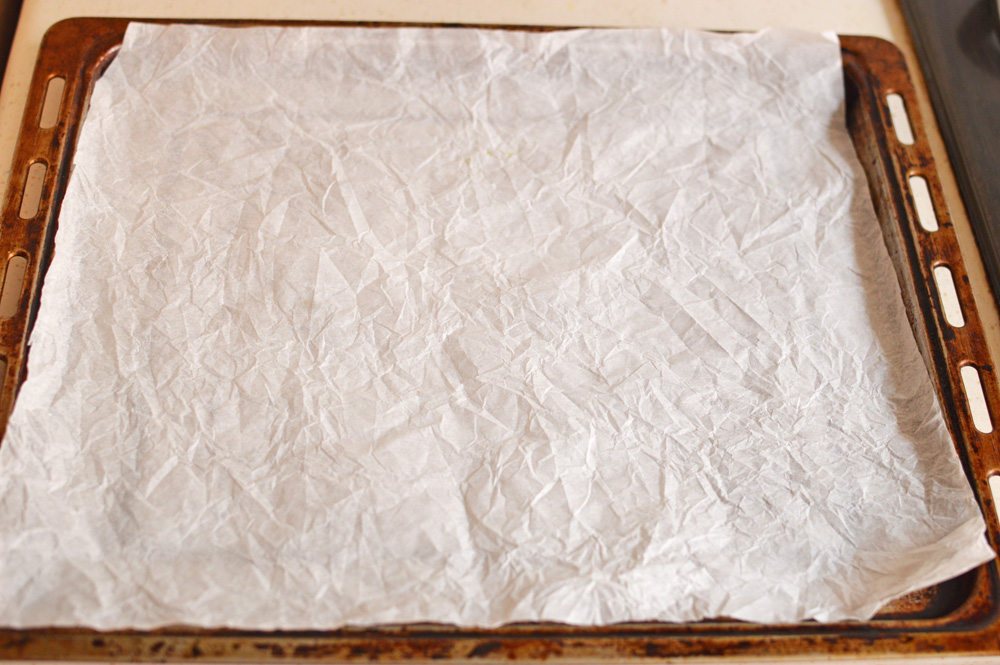
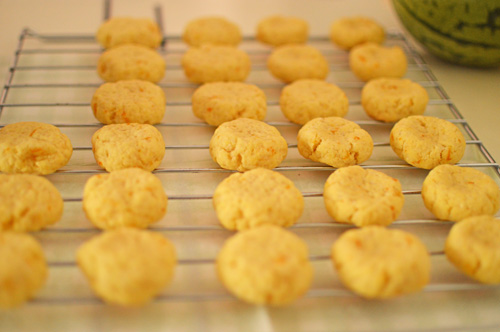
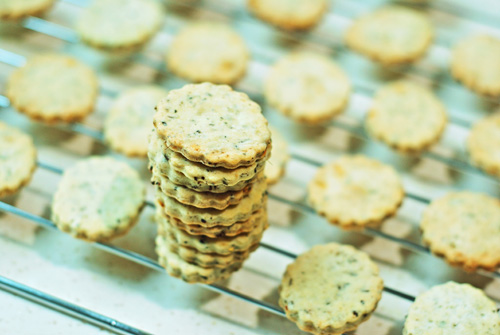
place on baking mat and bake at 180ºC for 12-15 minutes or until the edges turn light gold.
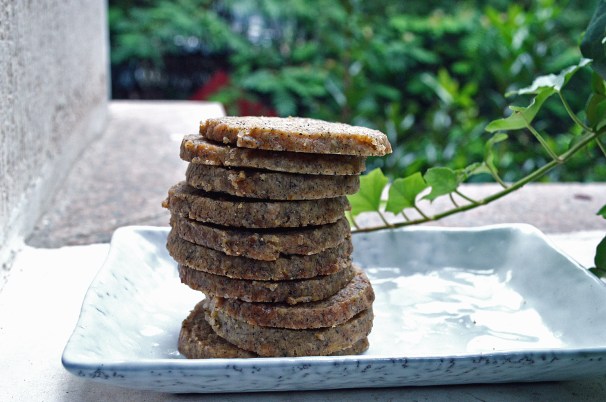
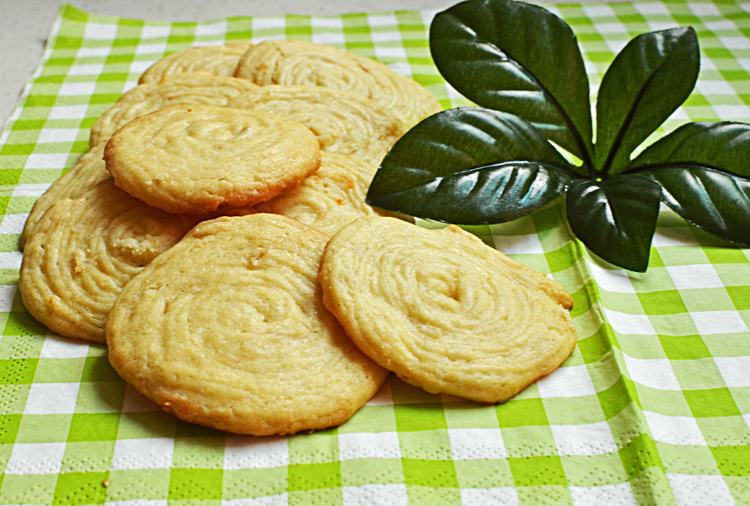
Let cool before serving. These keep well in an airtight jar for up to a week.
Ingredients
Earl Grey tea: 6g
Sugar: 120g
Flour: 160g
Butter: 100g
Vanilla extract: 1tsp
Cinnamon: 1/2 tsp
salt: 1/2 tsp
Milk: 1-2 tbsp (optional)
Recipe instructions:
Lightly toast the tea on a low flame for a minute until lightly fragrant and let cool. Pulse it with sugar until evenly dispersed.
In a clean bowl cream together the butter and sugar and add flour, cinnamon, vanilla and salt and mix to form a dough. The dough should begin to clump together and if it doesn’t then add a spoonful of full-fat milk and mix again.
Form the dough into a log by placing it on a cling wrap sheet and rolling it to an even log shape.
Refrigerate for an hour until firm and slice into even sized cookies.
Bake at 180º for 12-15 minutes until lightly golden on the sides.
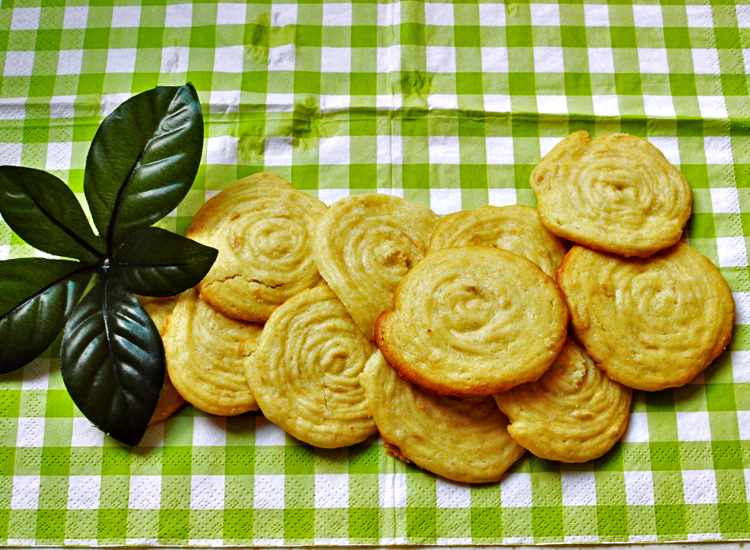
Enjoy.


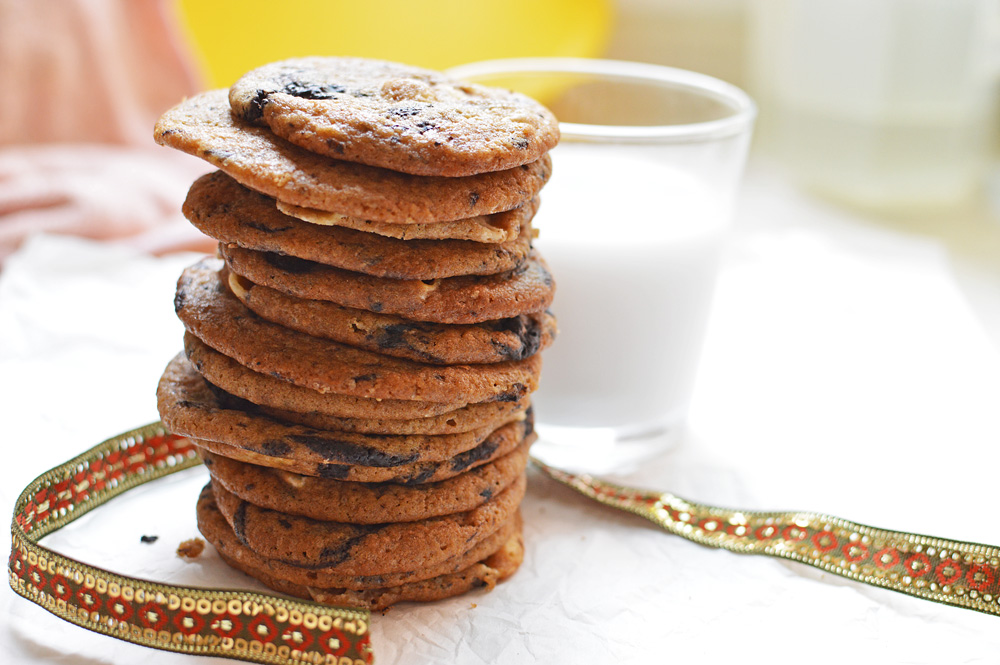
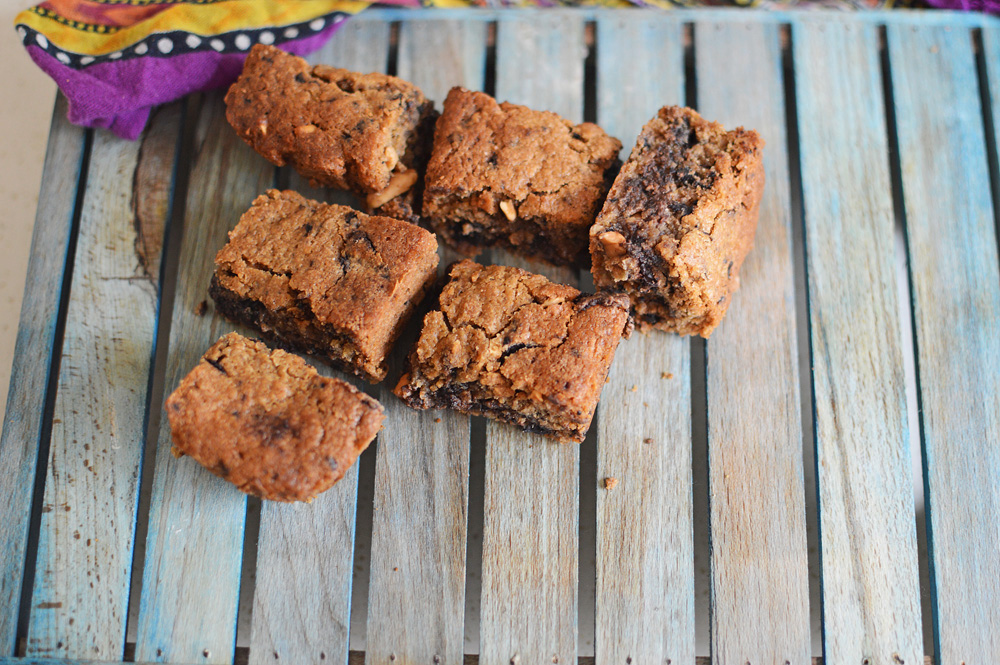
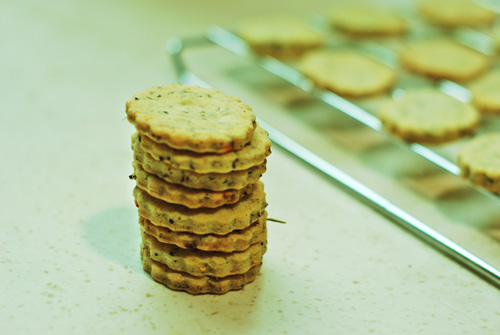
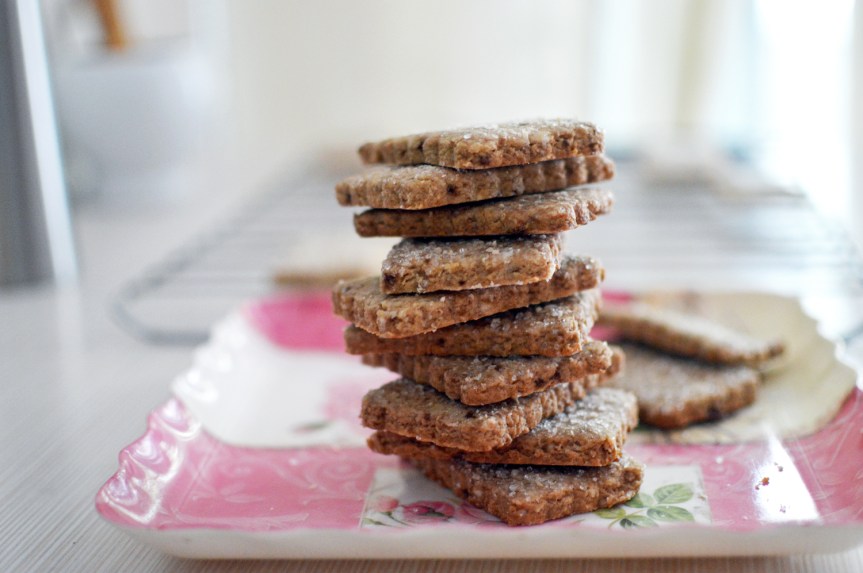 This artistically stacked hillock of brown jenga pieces is in fact an artistically stacked hillock of edible jenga pieces. Alright, it’s not artistically stacked, and these aren’t pieces from a game..these are cookies squares, or rectangles, for you geometrically fastidious lot. Butter coconut cookies to be more precise..the kinds that possess the power to transform your tea time into a festivity—they don’t even need tea as an excuse to be eaten. They have looks, texture and crunch; all the makings of cookie stardom, and yet they stay humble. Modestly unadorned, on your tea table, or your dining table, or your study table, where they’ll sit in quiet obeisance, patiently waiting to be chewed on..one after another.
 The usual suspects, only a lot lesser than usual. Butter, flour, brown sugar, desiccated coconut and coconut extract. If however you do not have coconut extract (and why should you), use vanilla extract.