Citrus butter cake


DSC_0427

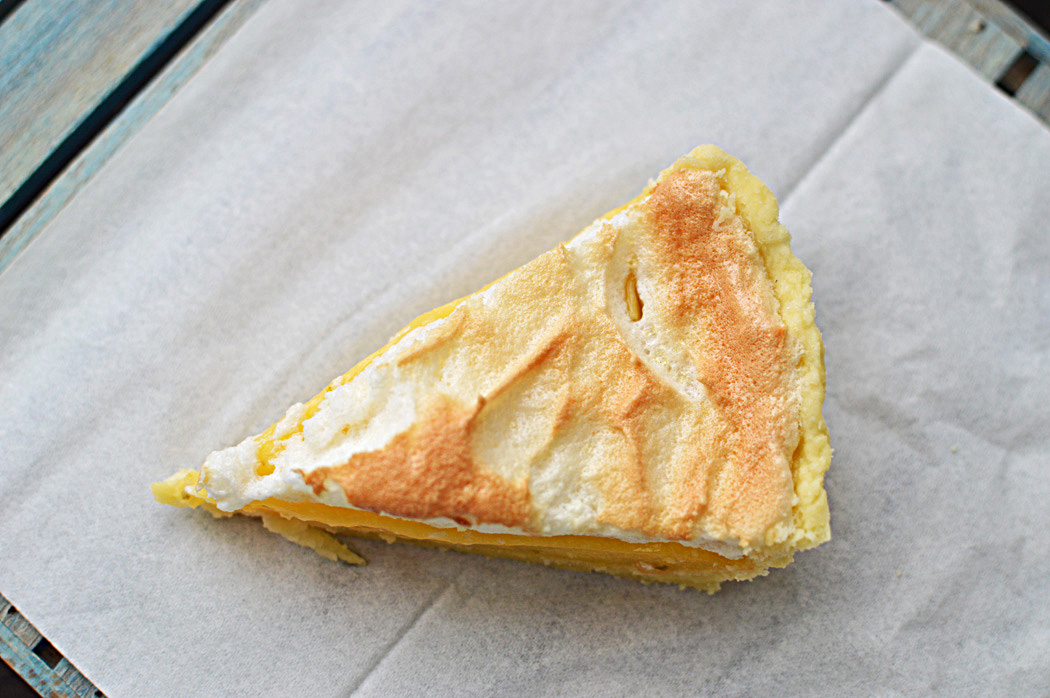
It’s been a while since there’s been any sun in our frigid little Chinese town, but I’m not complaining.Maybe I am because everything is cold and freezing and butter at room temperature is a solid brick and my bread dough doesn’t rise and it’s always raining and everything is wet and it feels like I’m living in a glacier…..but there are moments when there’s plenty sunshine in my kitchen, courtesy this golden cake, that looks like sun-rays and tastes like sunlit oranges bathed in sweet butter and love.

I’m not exaggerating, ’tis true and you know it and not least because you can make this cake at the snap of your fingers and smugly too.

DSC_0390q

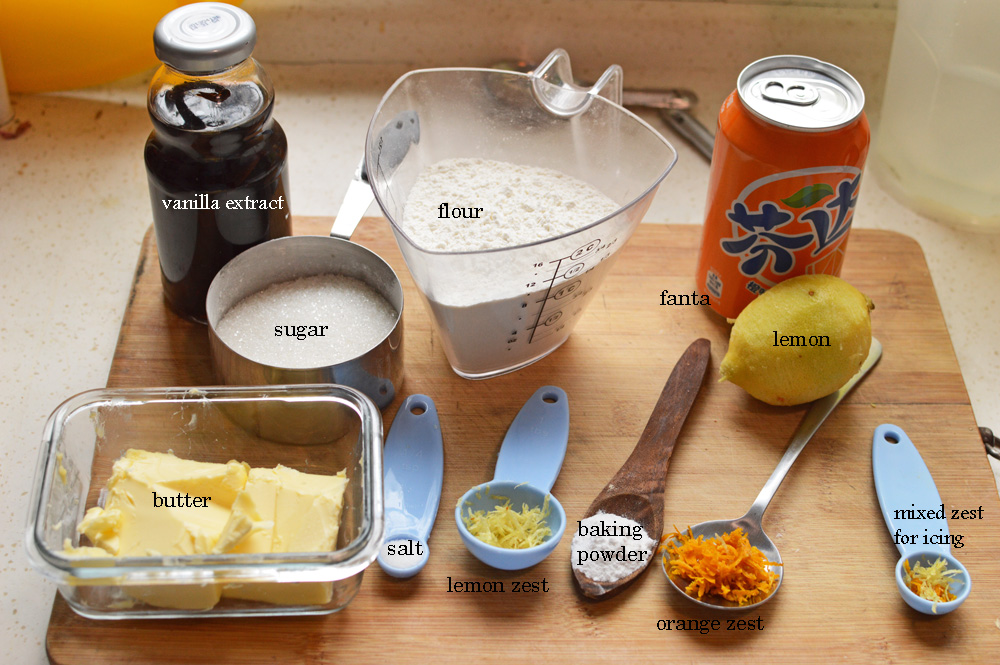
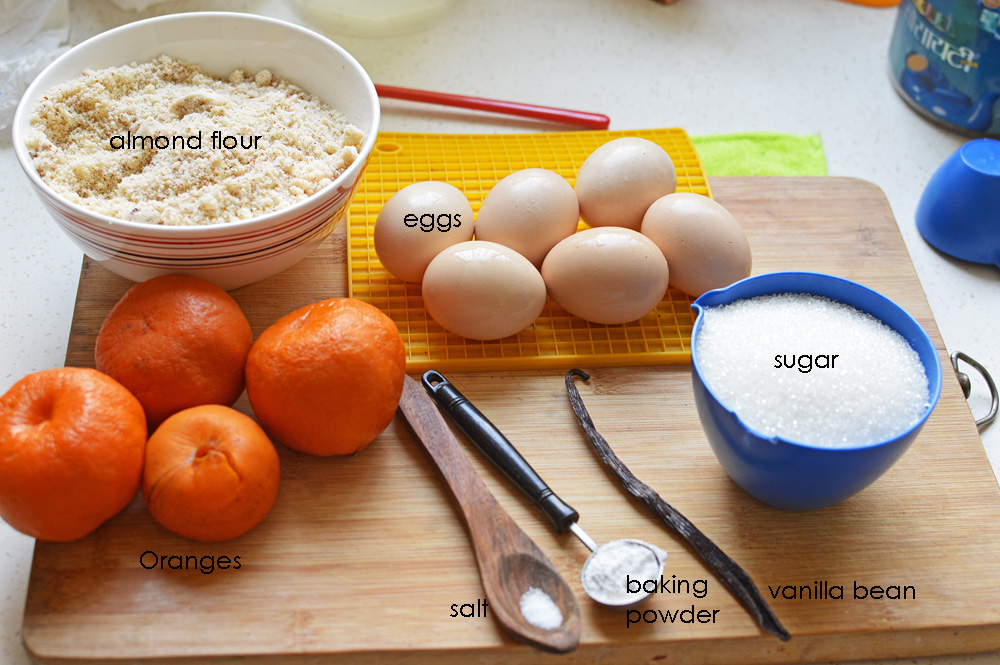
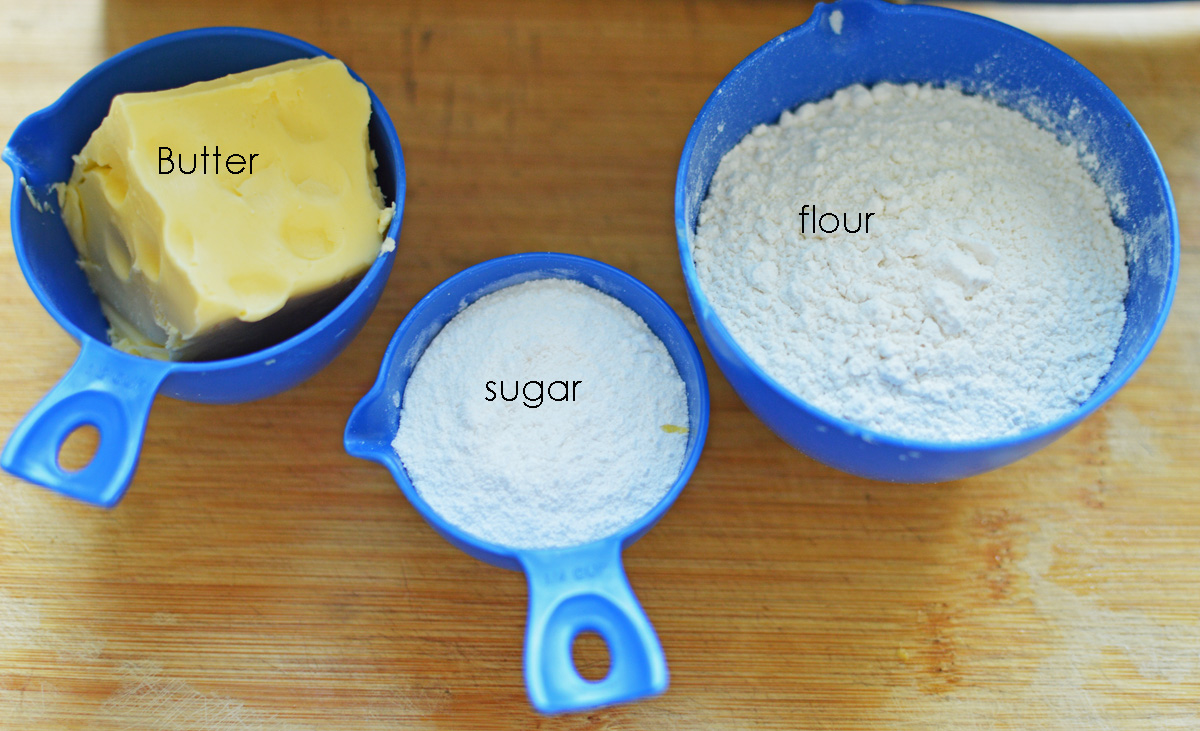
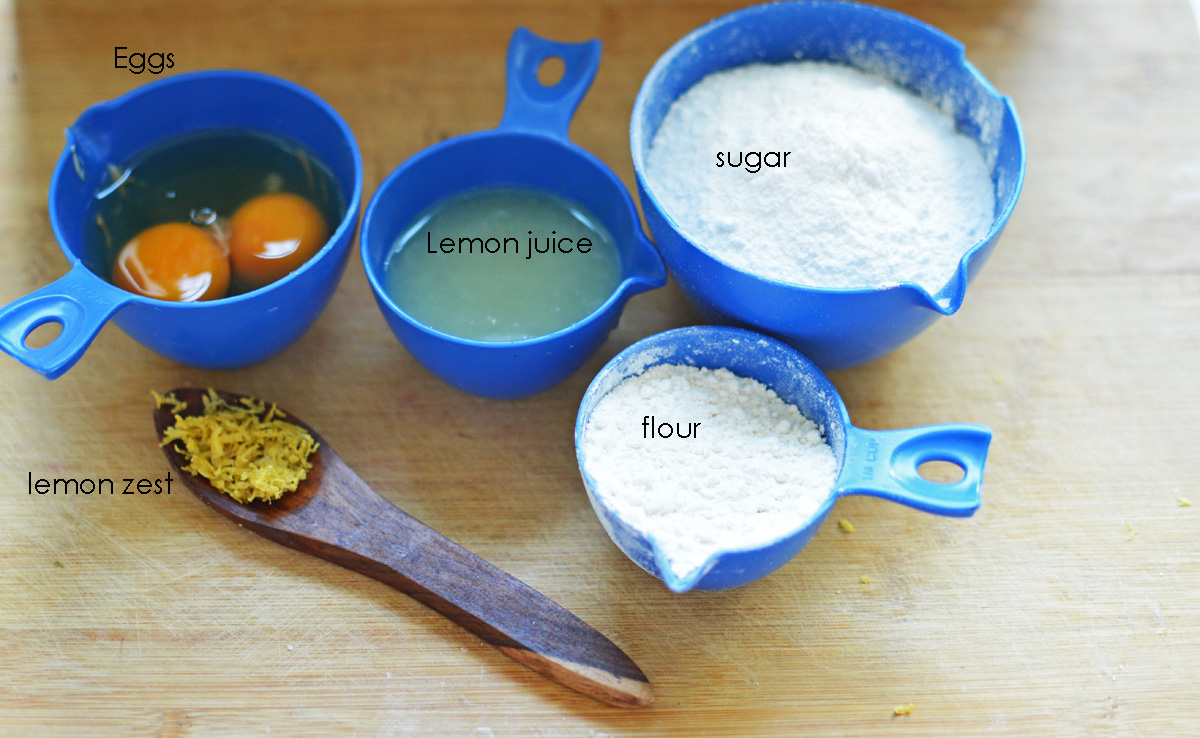
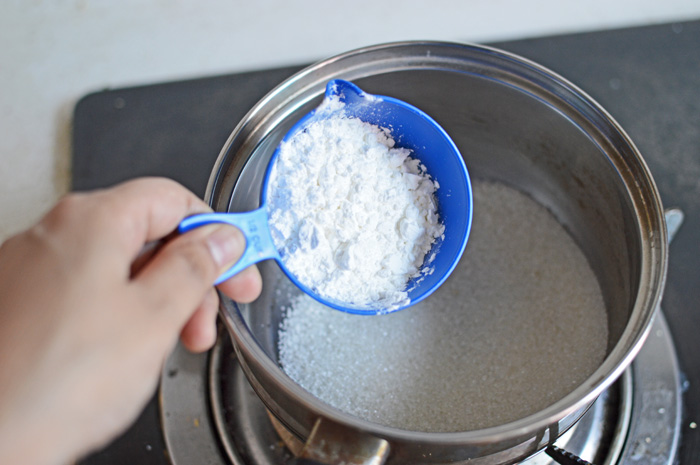
Yes there’s fanta and no shame. Regular stuff that is butter, sugar, vanilla extract, salt, lemon and orange zest plus extra for icing, a whole lemon, fanta, flour, baking powder and

DSC_0402

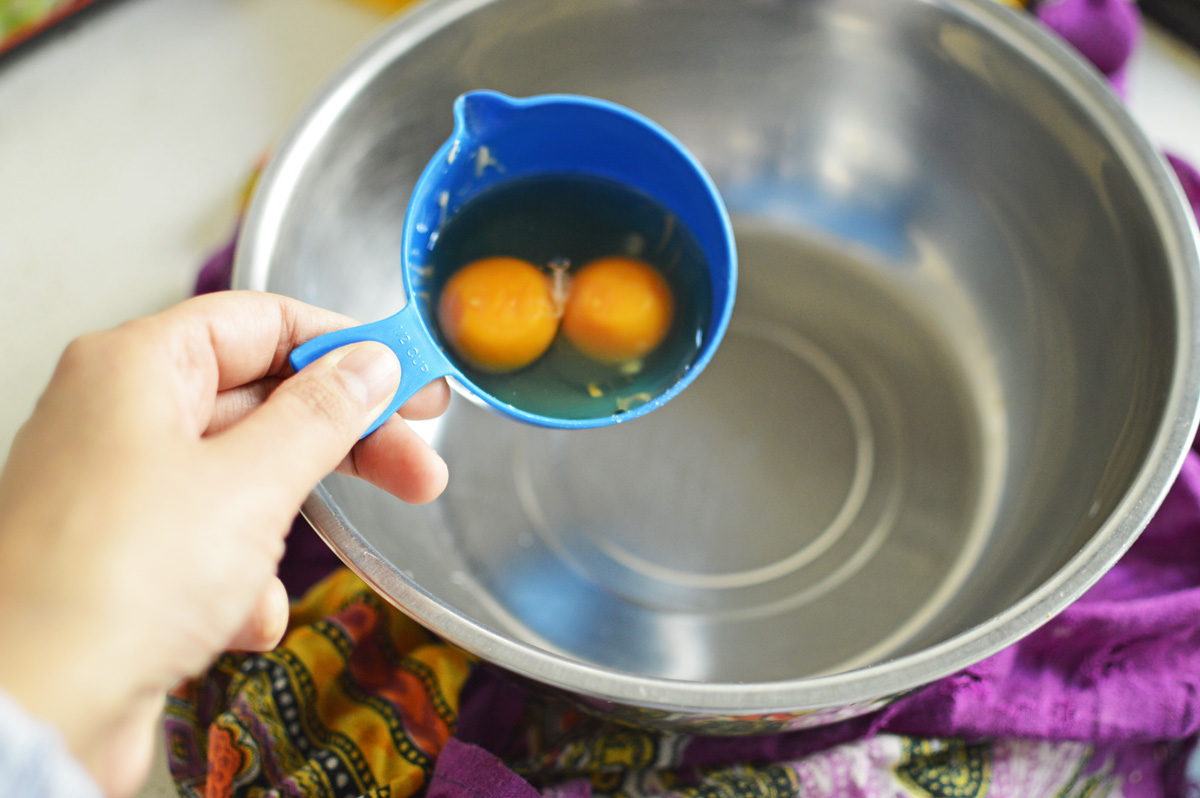
eggs that I forgot to include, but here they are.

DSC_0393

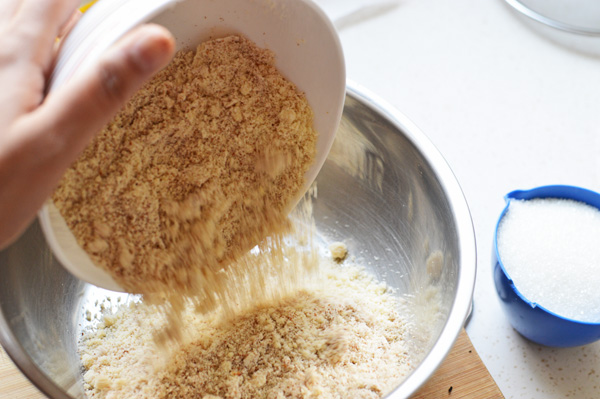
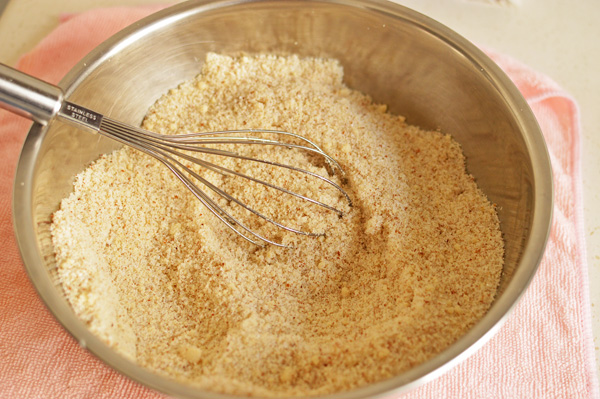
into the flour add salt

DSC_0394

and baking powder and keep aside for a while

DSC_0396

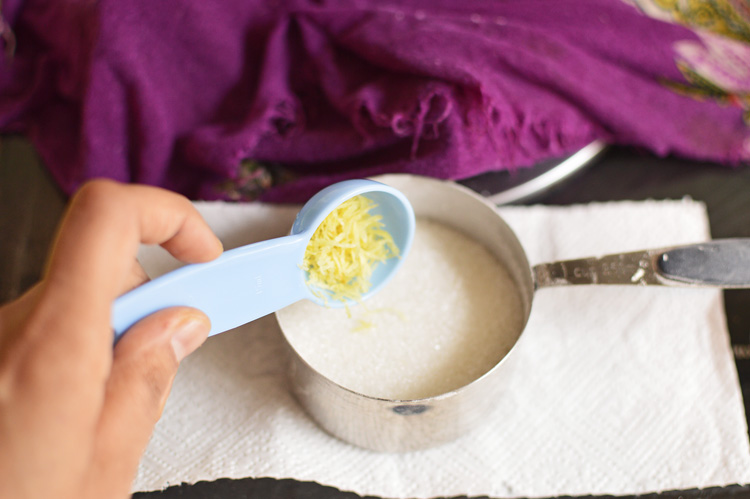
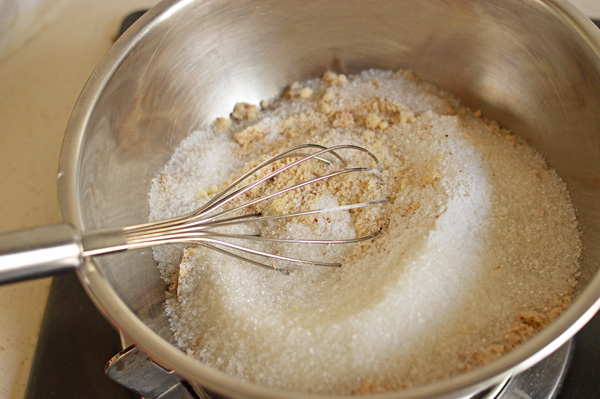
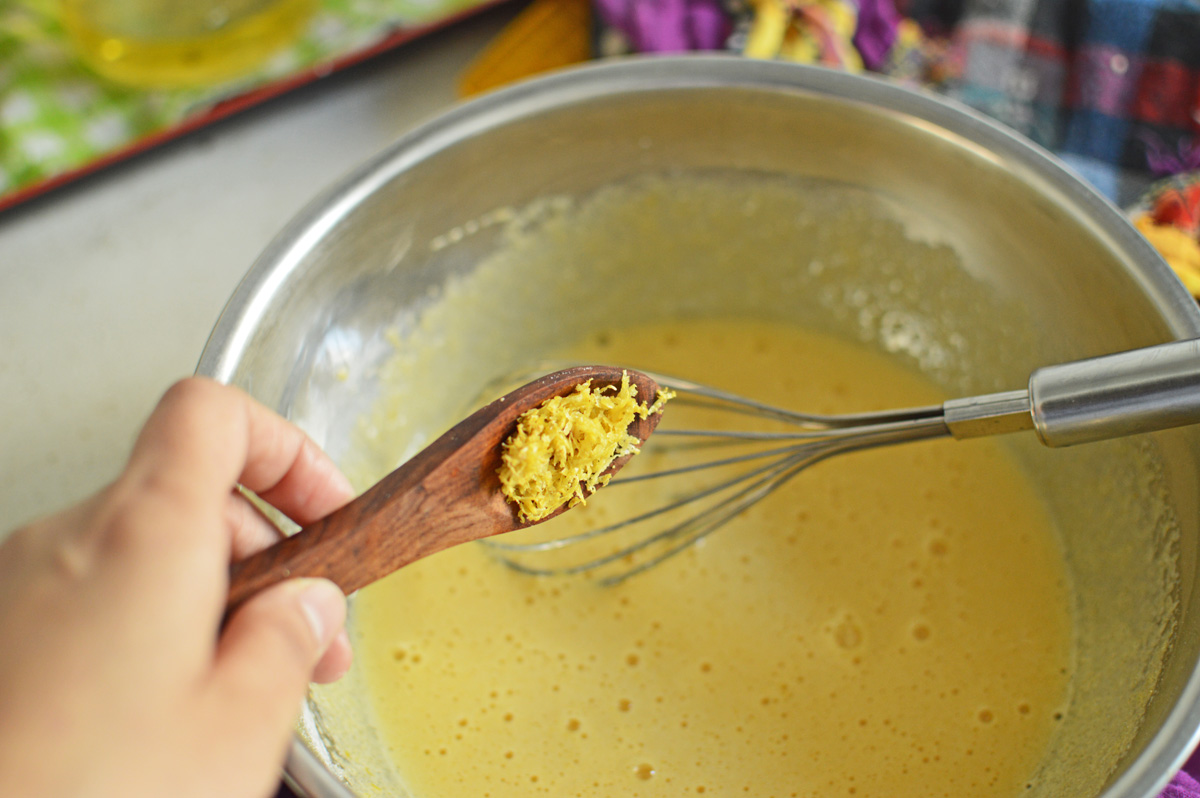
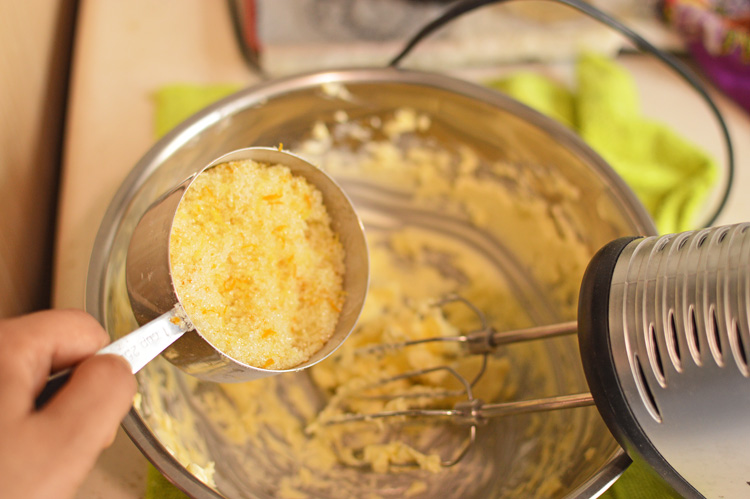
this is a citrus cake and we want every breath to speak of it, which is why into our sugar we mix in the lemon zest
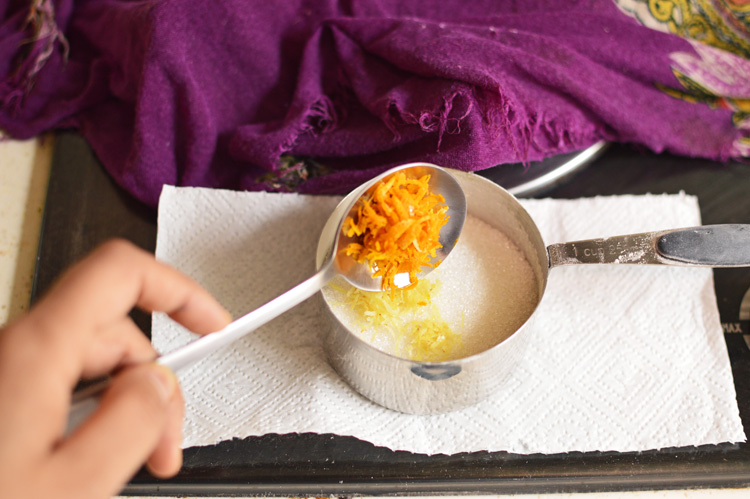
DSC_0397

and orange zest

DSC_0398

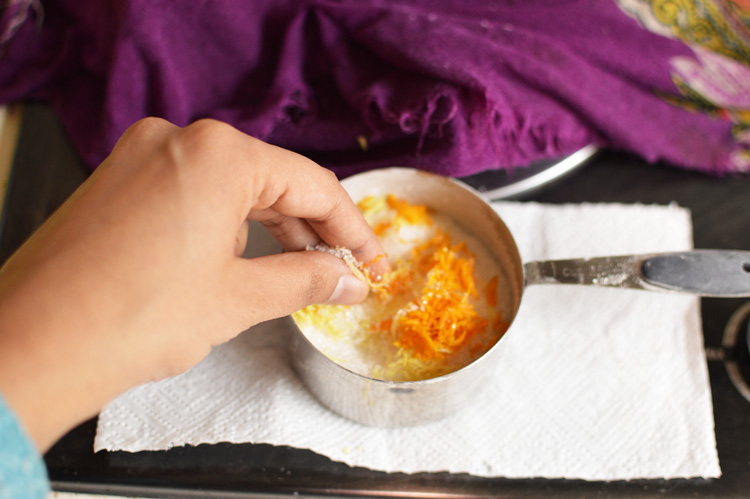
and using our fingers we just mix it all in so every bit of sugar is infused with the citrus twang.

DSC_0400

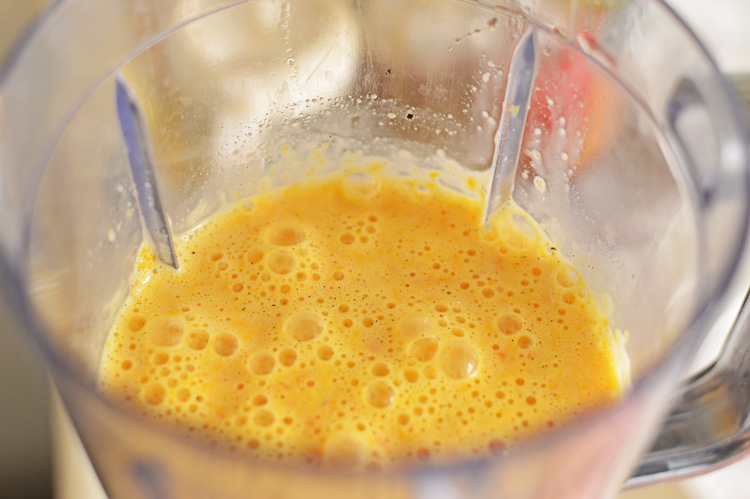
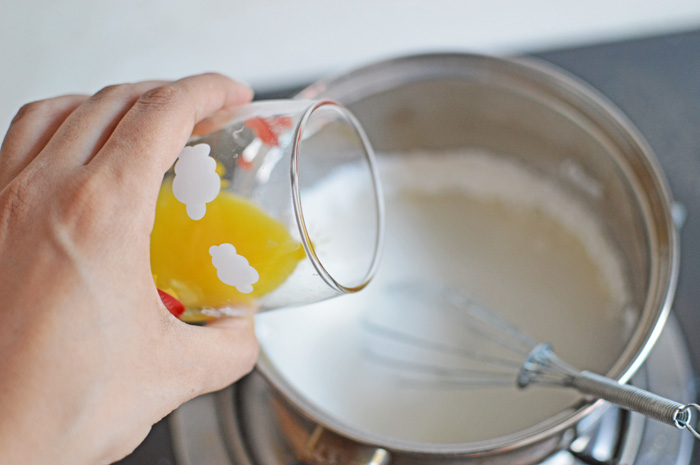
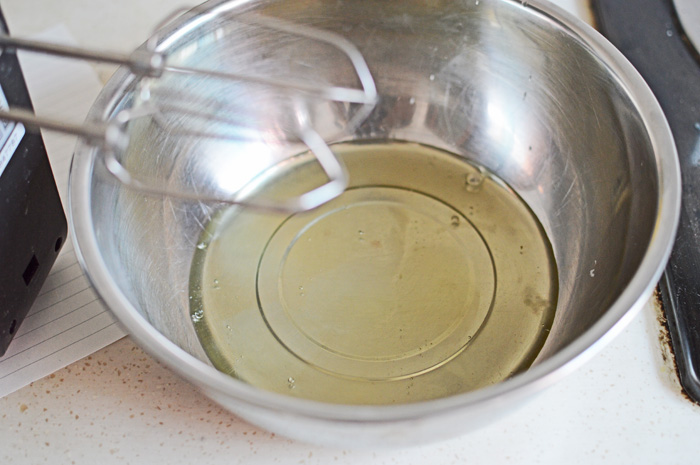
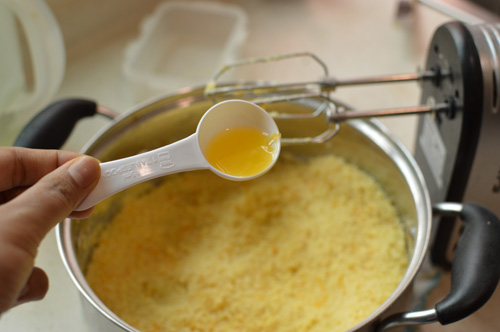
in a separate glass juice your lemon

DSC_0401

and add in the fanta.

DSC_0403

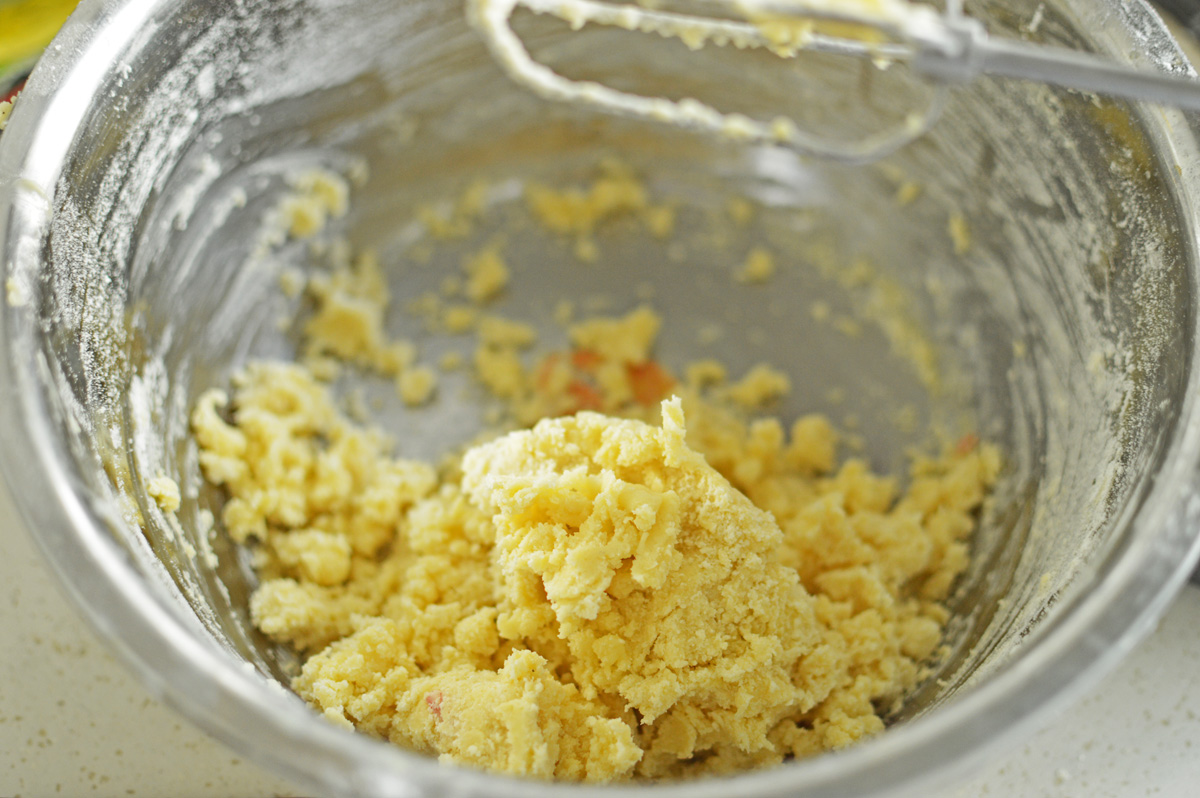
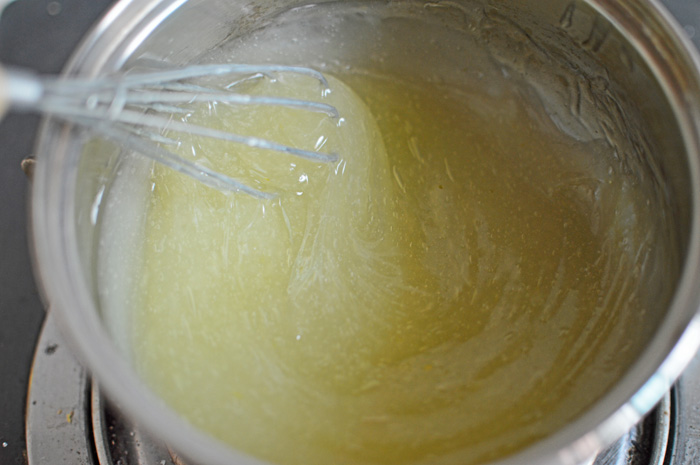
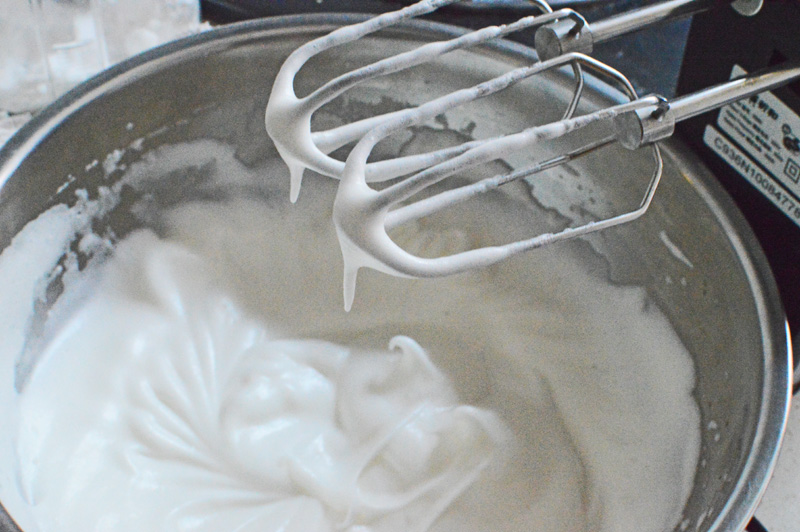
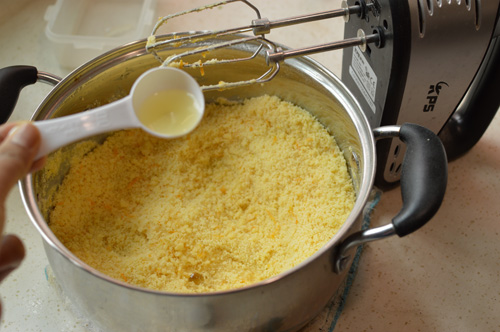
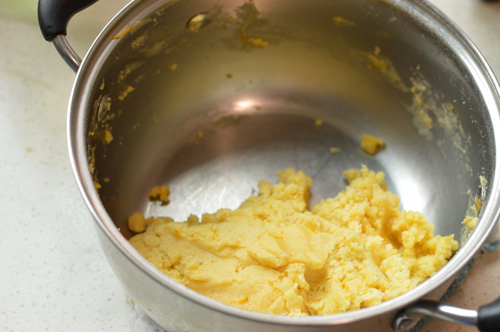
beat together room temperature butter and zest mixed sugar until nicely mixed and kinda fluffy. It’ll only take a couple of minutes.

DSC_0405

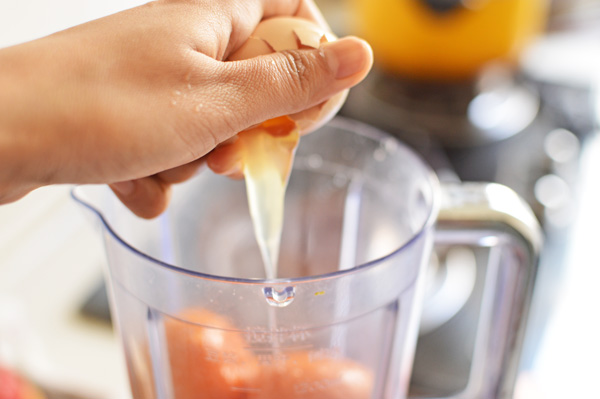
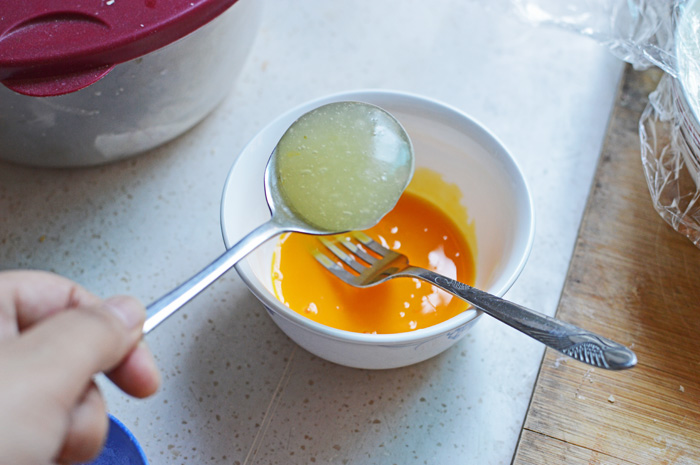
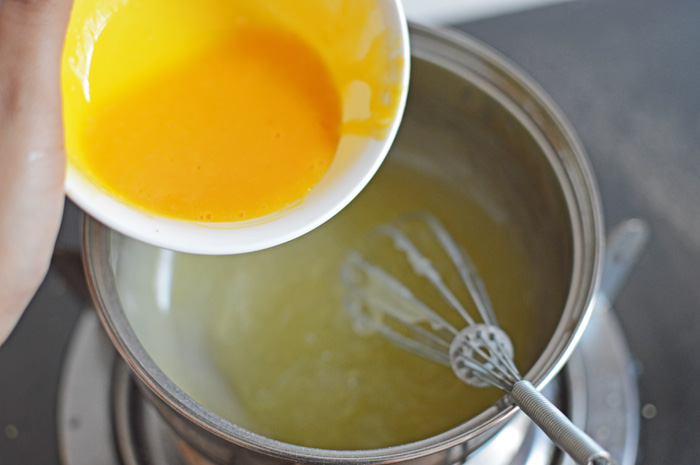
crack in the eggs. one at a time and beat after each addition to mix thoroughly, so here’s the first

DSC_0406

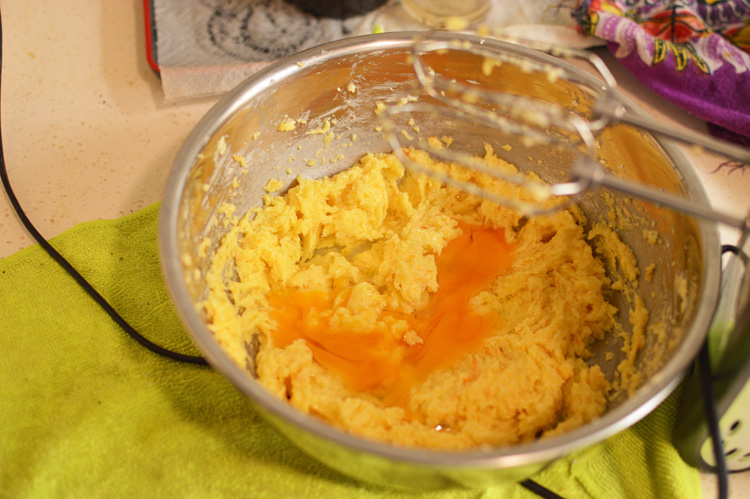
and the second. It turns a fabulous yellow/orange after each addition.

DSC_0408

once it’s all mixed well in add the vanilla extract

DSC_0409

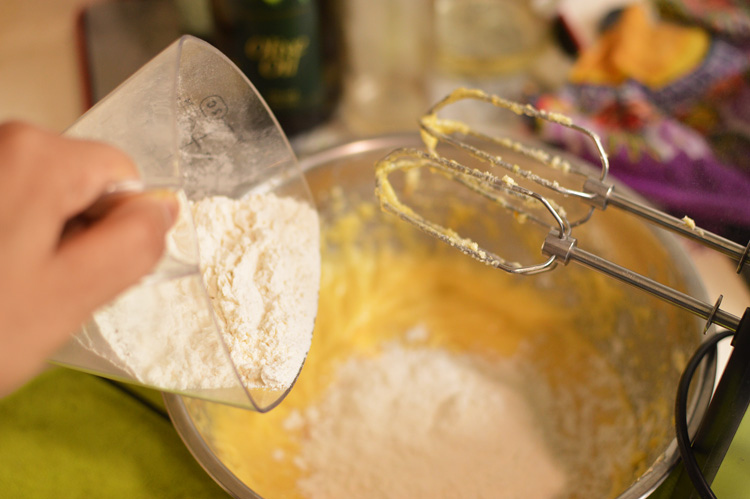
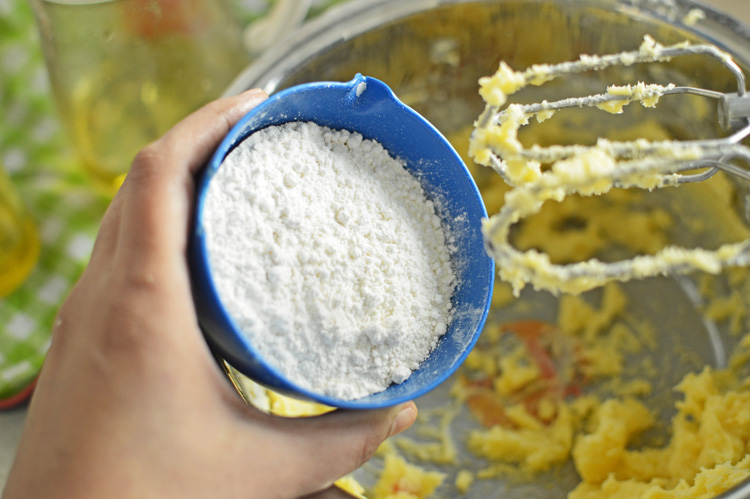
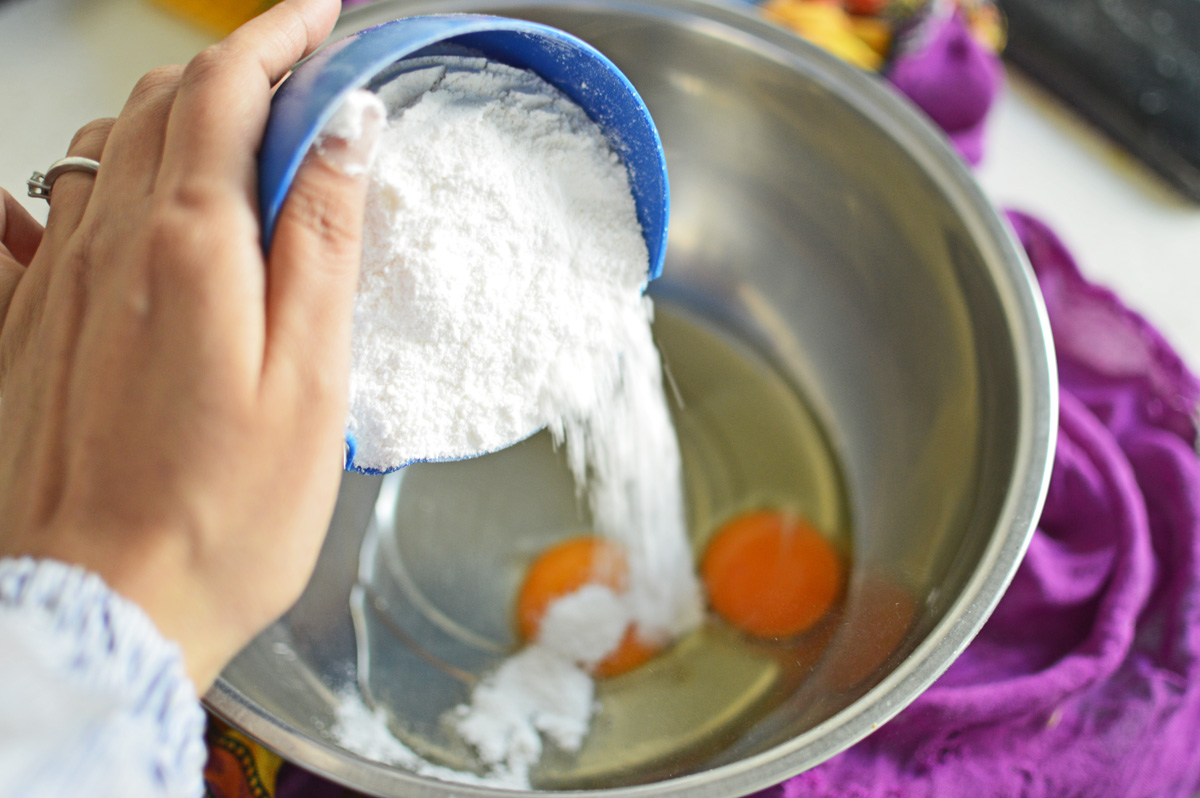
beat again and now it’s time for the flour which we will add in three additions. So here’s 1/3rd of our flour, mix briefly

DSC_0410

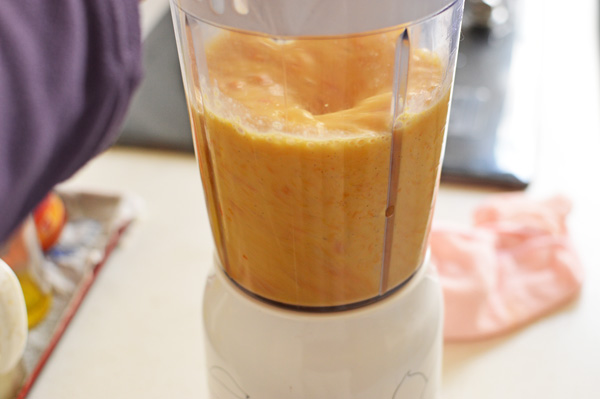
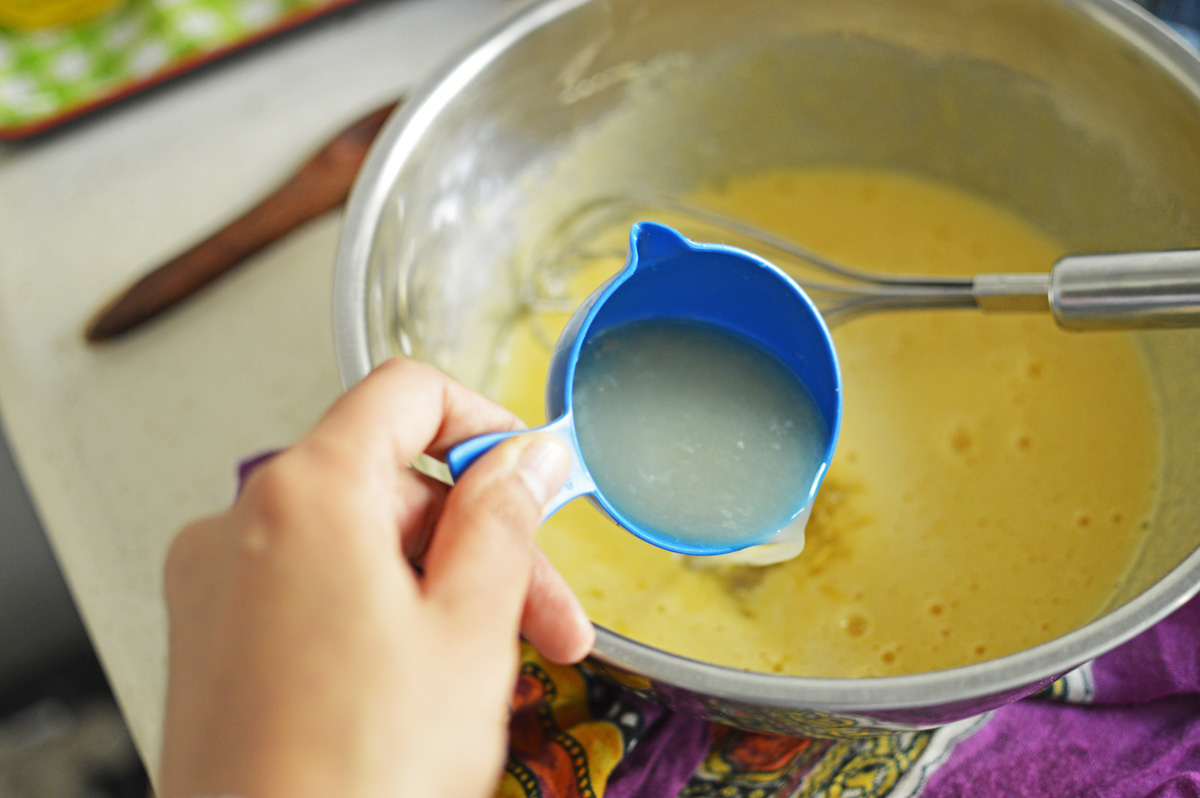
and 1/2 of our magic potion that is fanta and lemon juice. Mix after each addition just until the batter comes together

DSC_0411

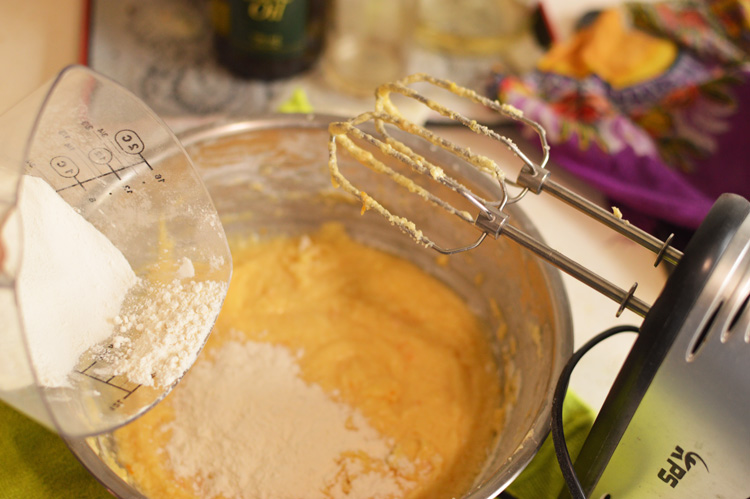
another 1/3rd of flour, beat briefly.

DSC_0413

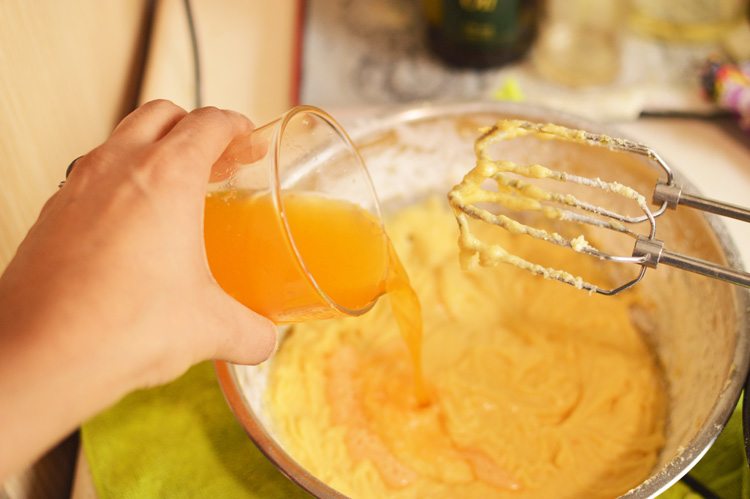
add the remaining fanta, lemon juice, and mix to combine.

DSC_0414

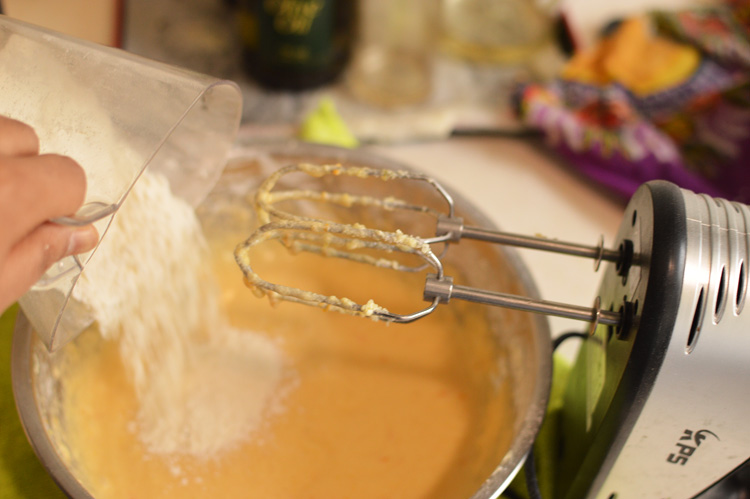
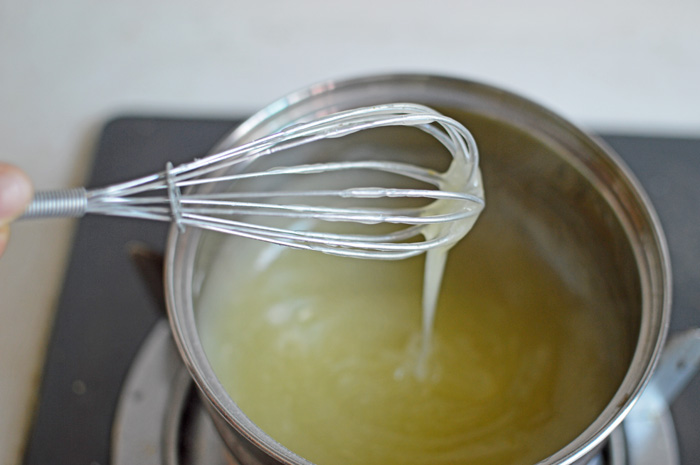
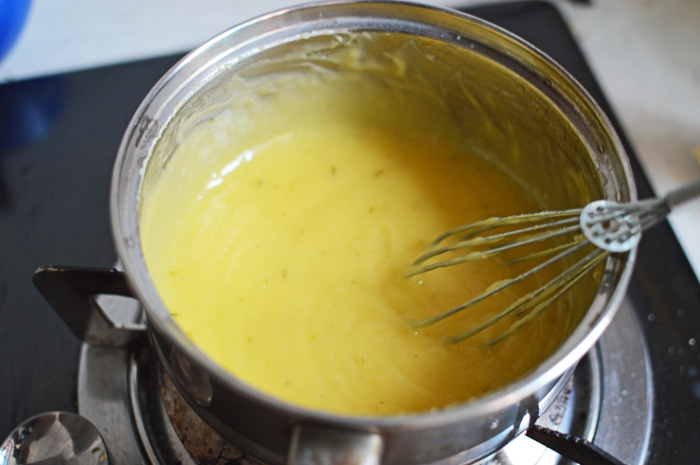
followed by the rest of the flour. Beat to make a smooth batter. It doesn’t take long.

DSC_0415

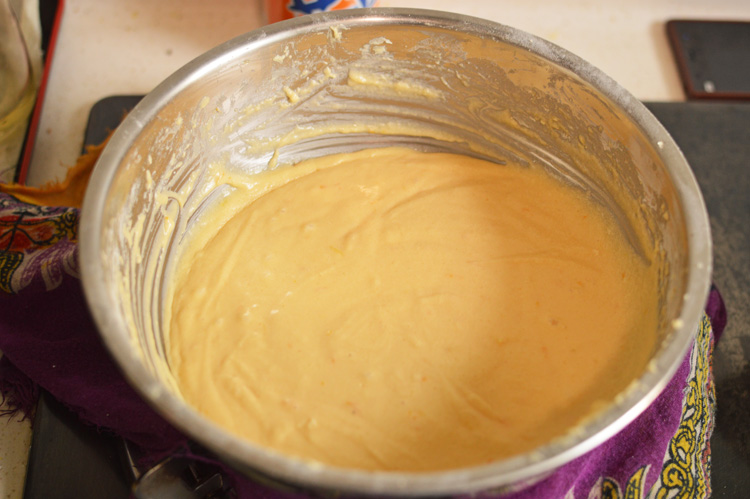
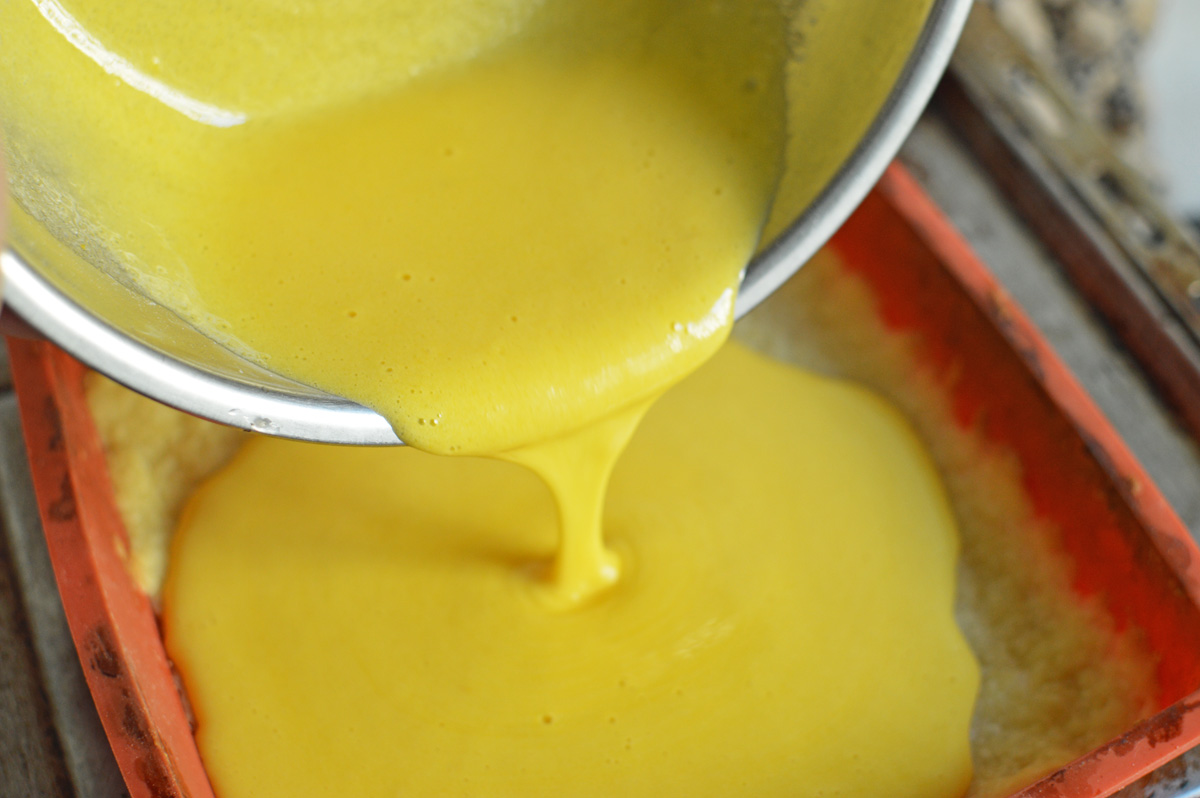
You’ll finally get this. A pool of sun in a steel bowl.

DSC_0416

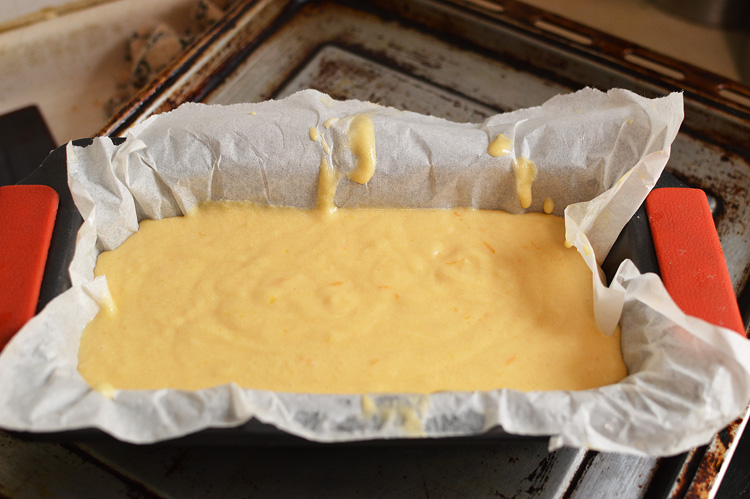
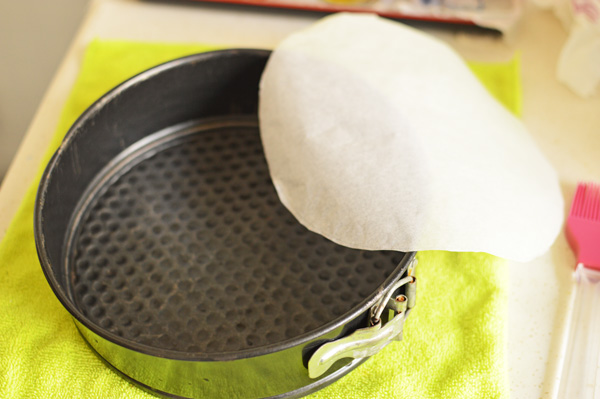
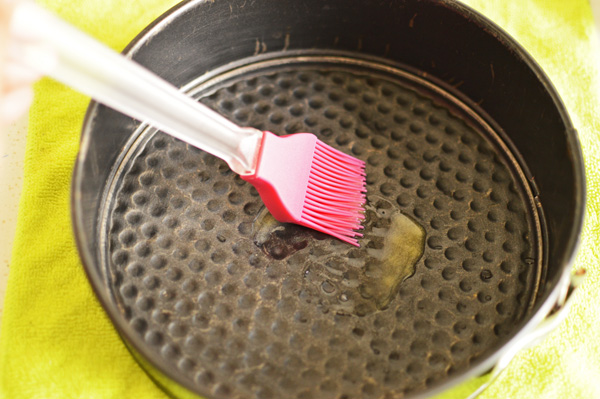
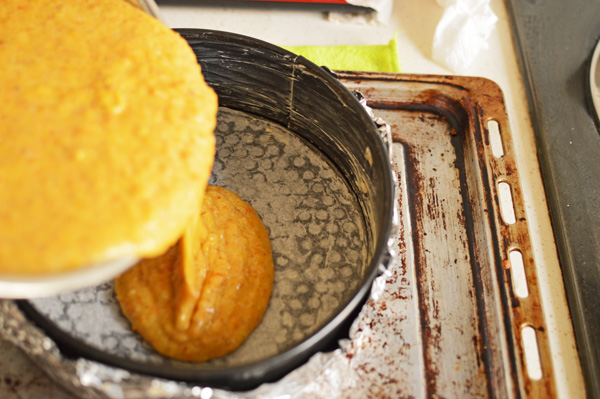
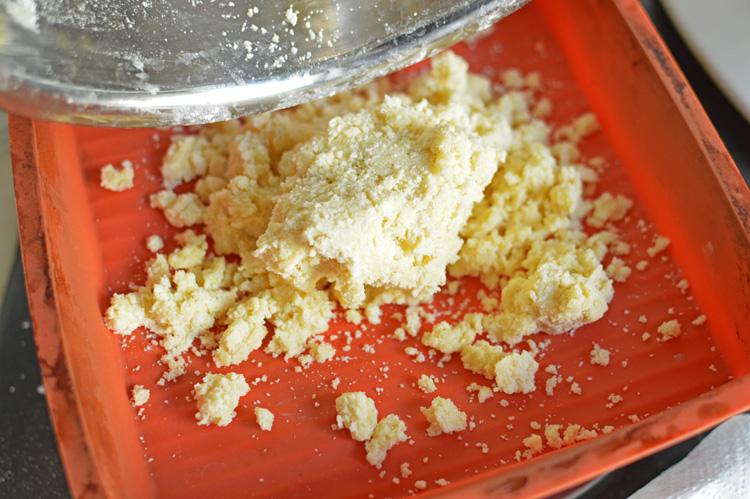
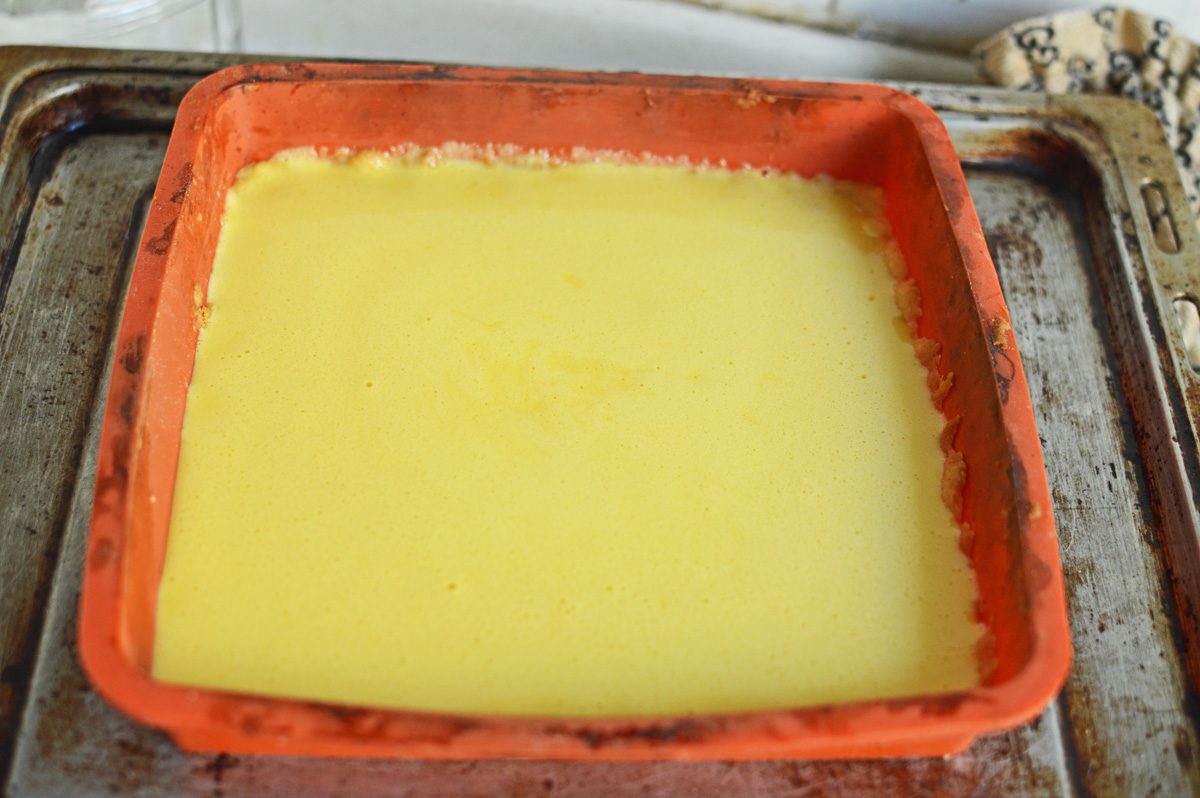
Pour into baking tin of choice. I was too lazy to butter a loaf tin so I lined it with a baking sheet, but please feel free to butter and flour your cake tin. Bake at 180°C for 35-40 minutes or until a toothpick inserted in the center comes out clean.

DSC_0418

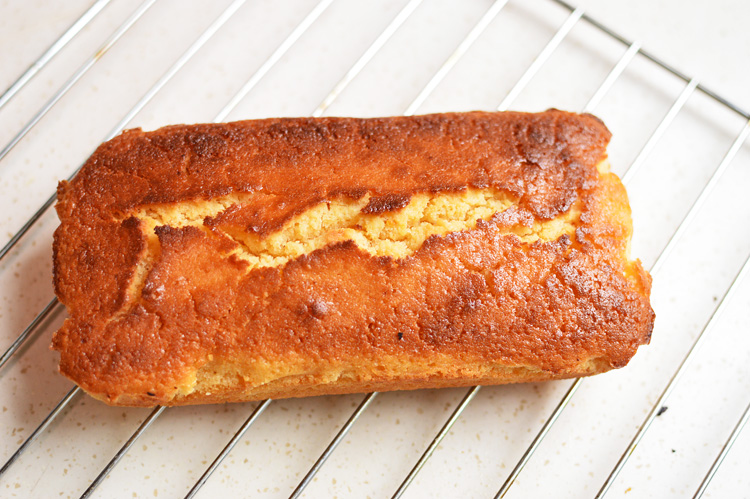
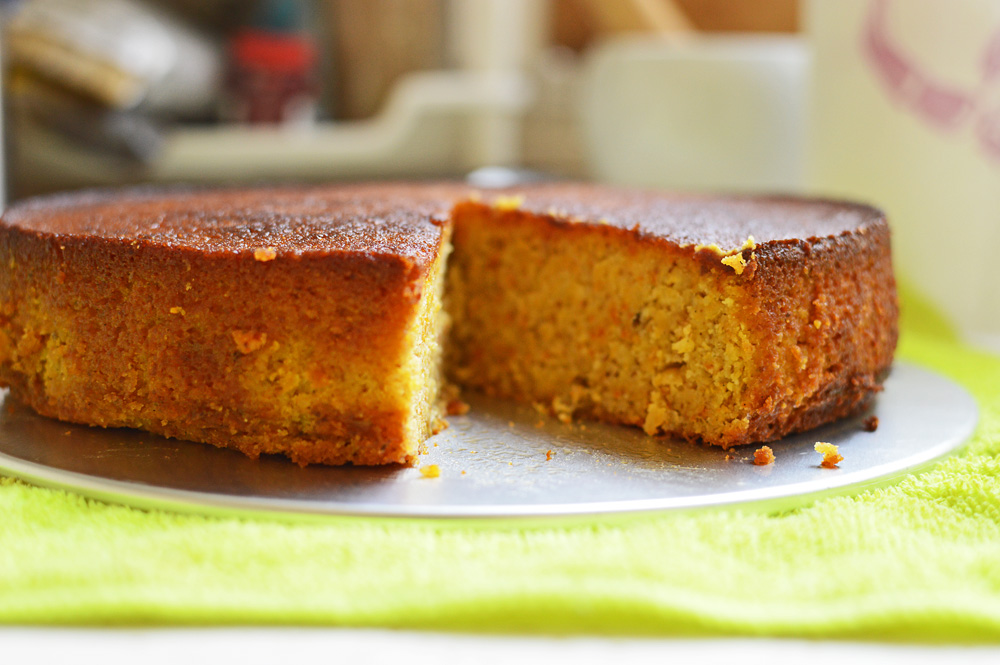
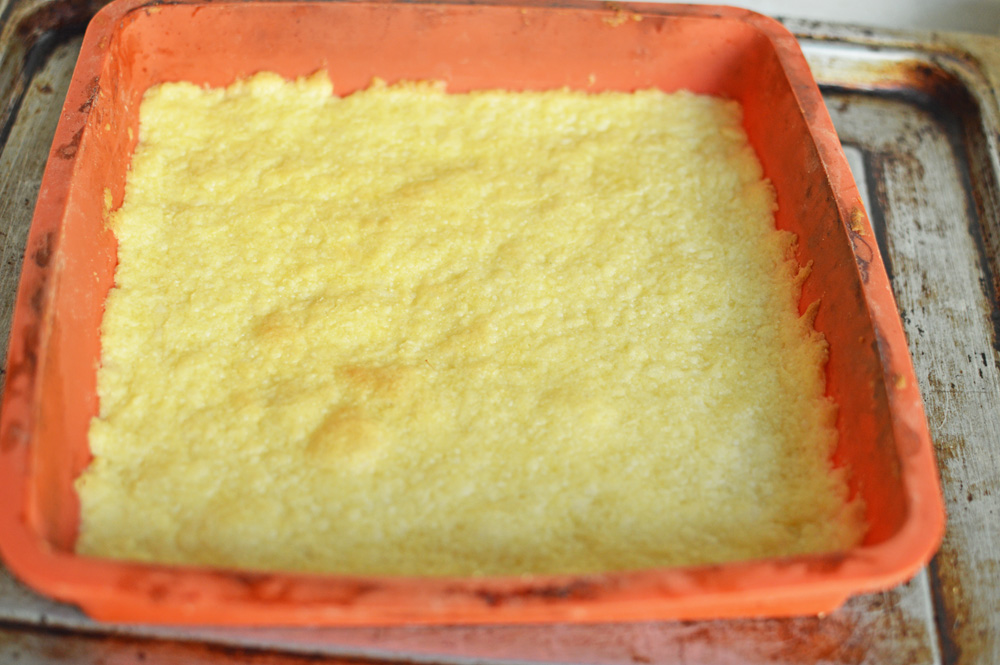
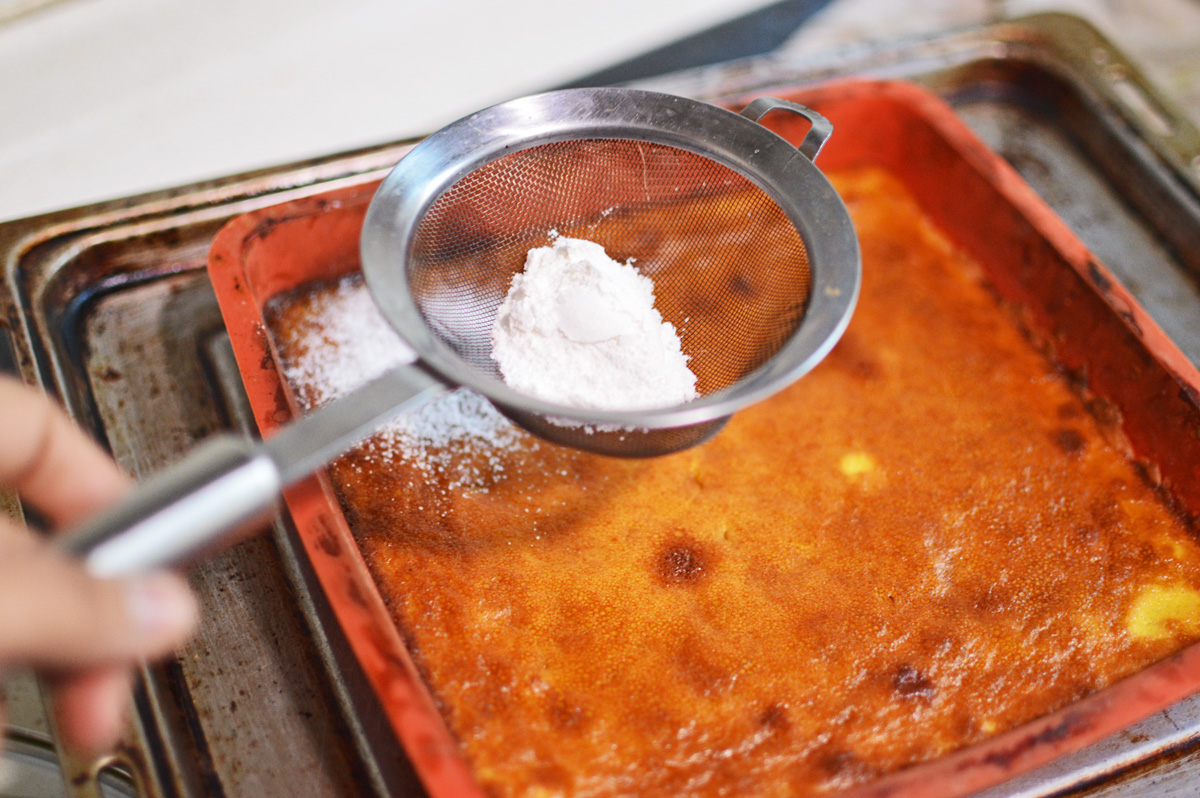
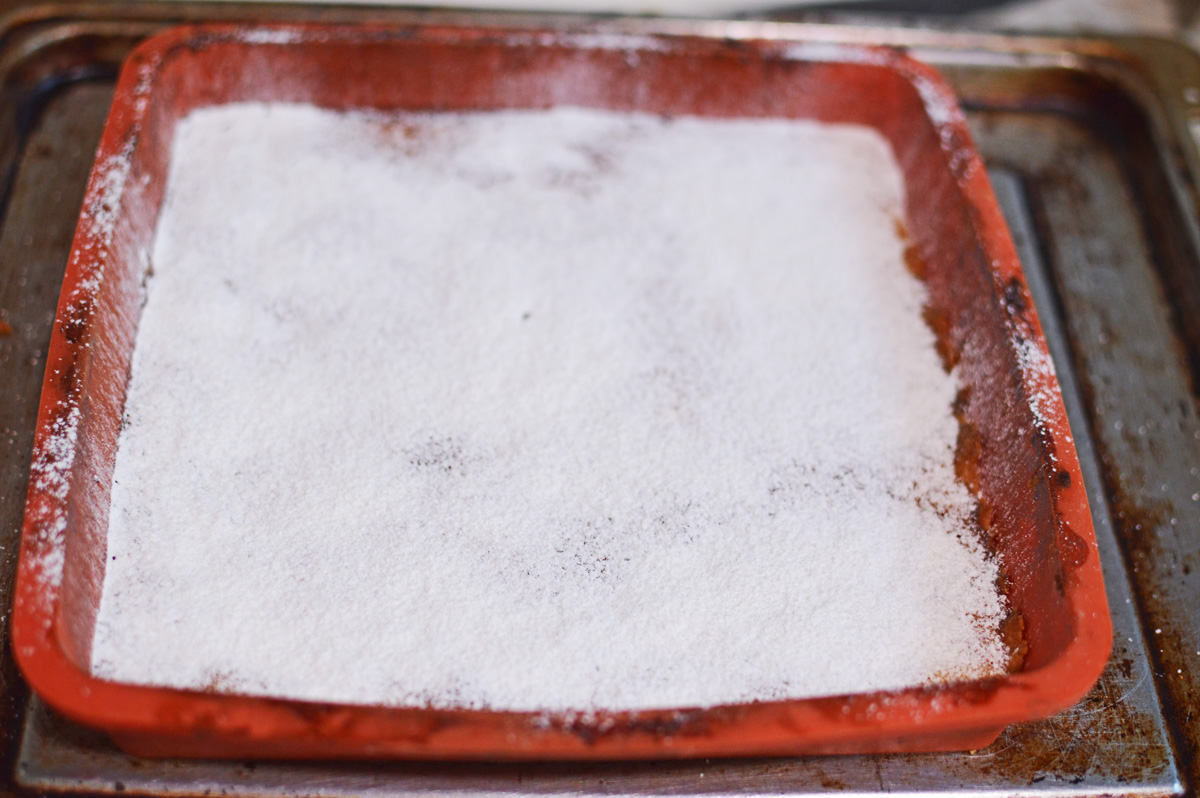
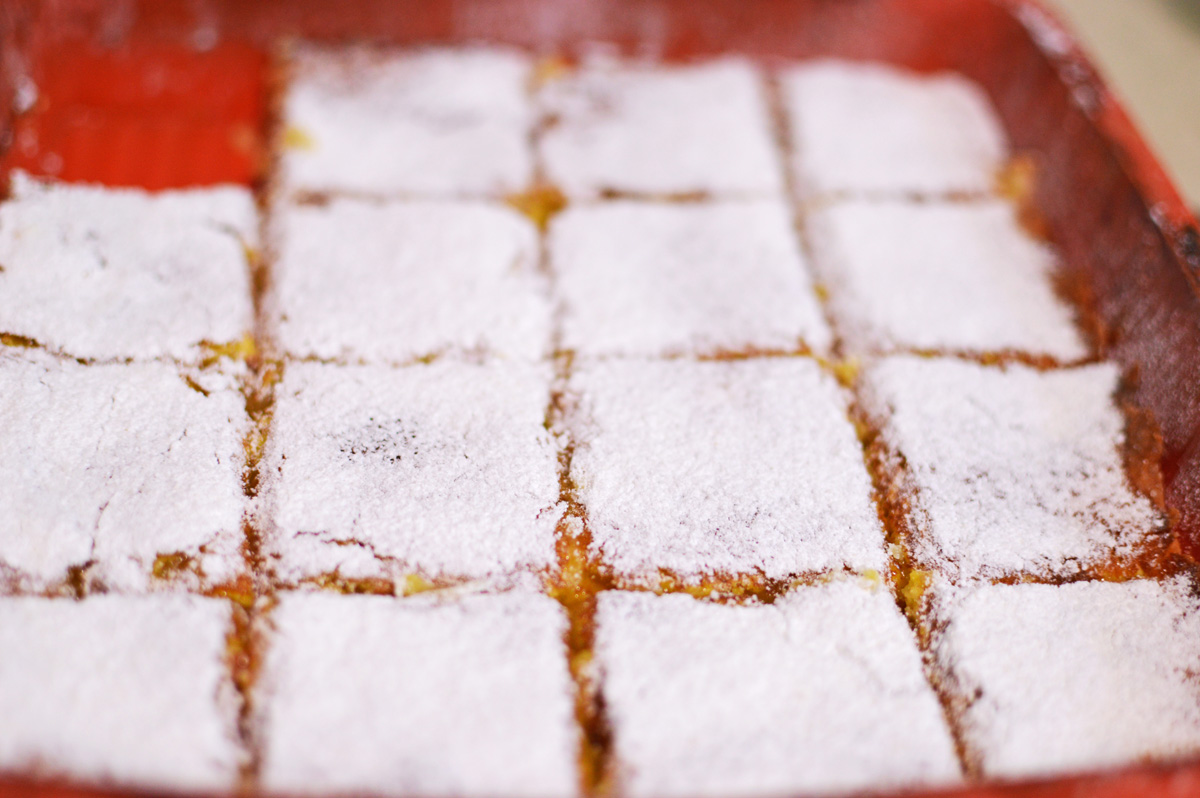
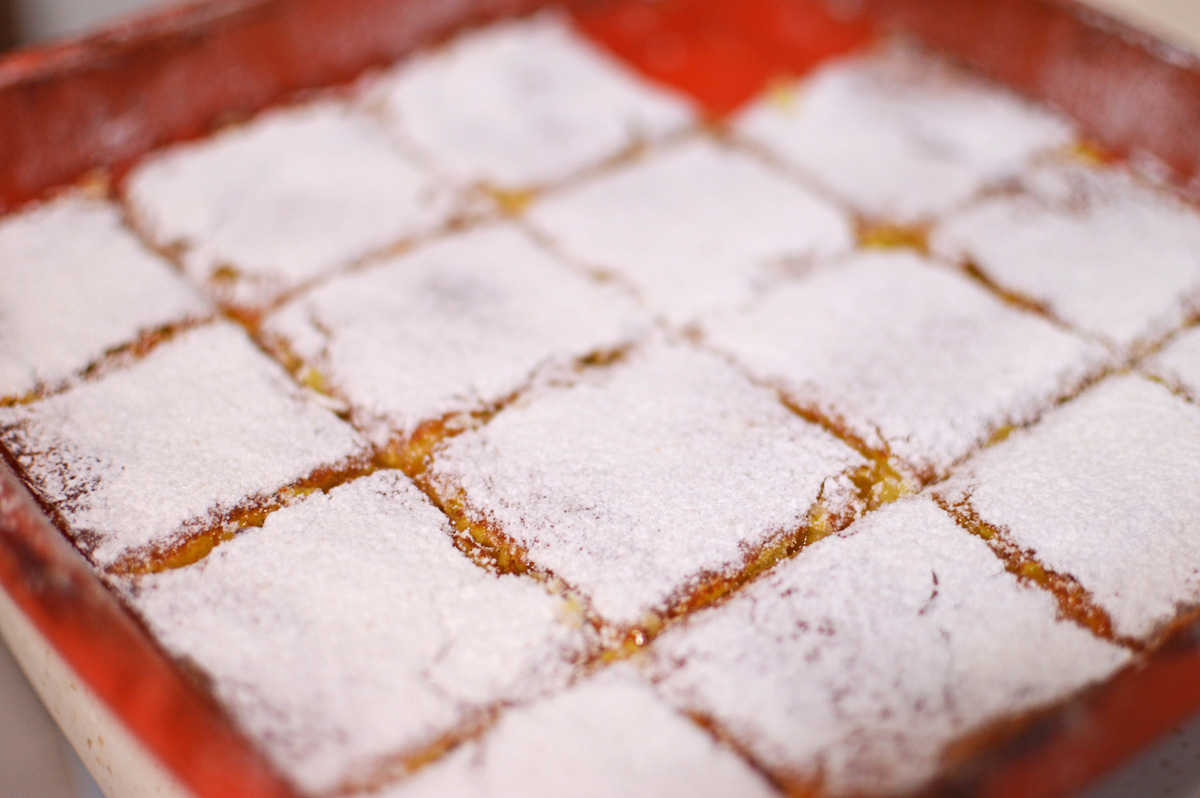
Like so. The kitchen at this point smells like orange marmalade doing a cabaret. You can eat it as it is but a bit of embellishment never hurt anyone.

DSC_0421

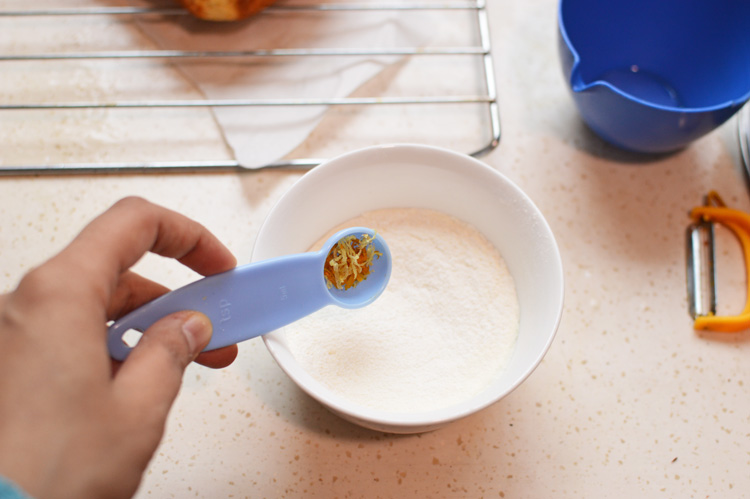
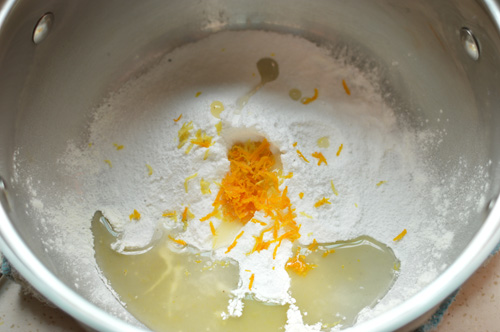
an easy glaze or make up if you prefer. add some reserved zest into icing sugar

DSC_0422

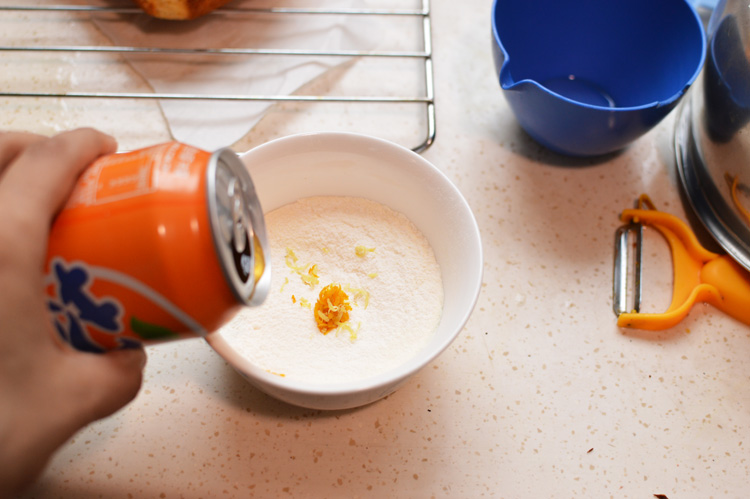
with a spoonful or so of leftover fanta in case you haven’t been too greedy.

DSC_0426

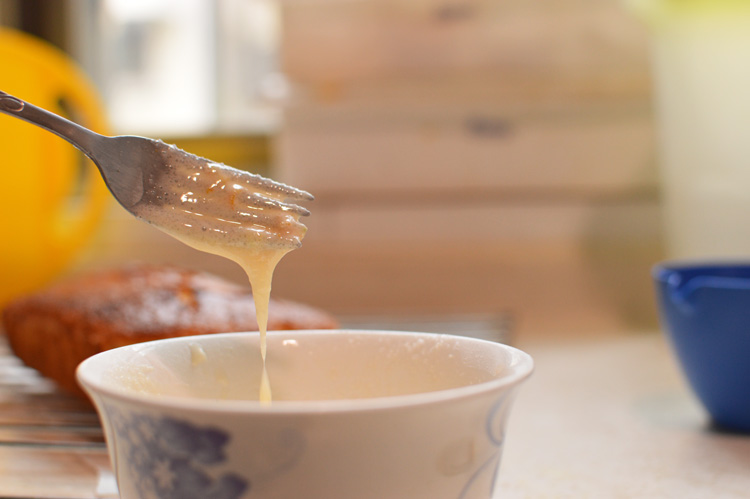
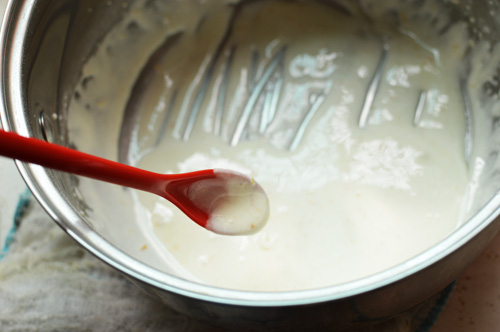
mix to form a pourable consistency like so.

DSC_0427

and let your cake have it, make sure it has cooled down completely.

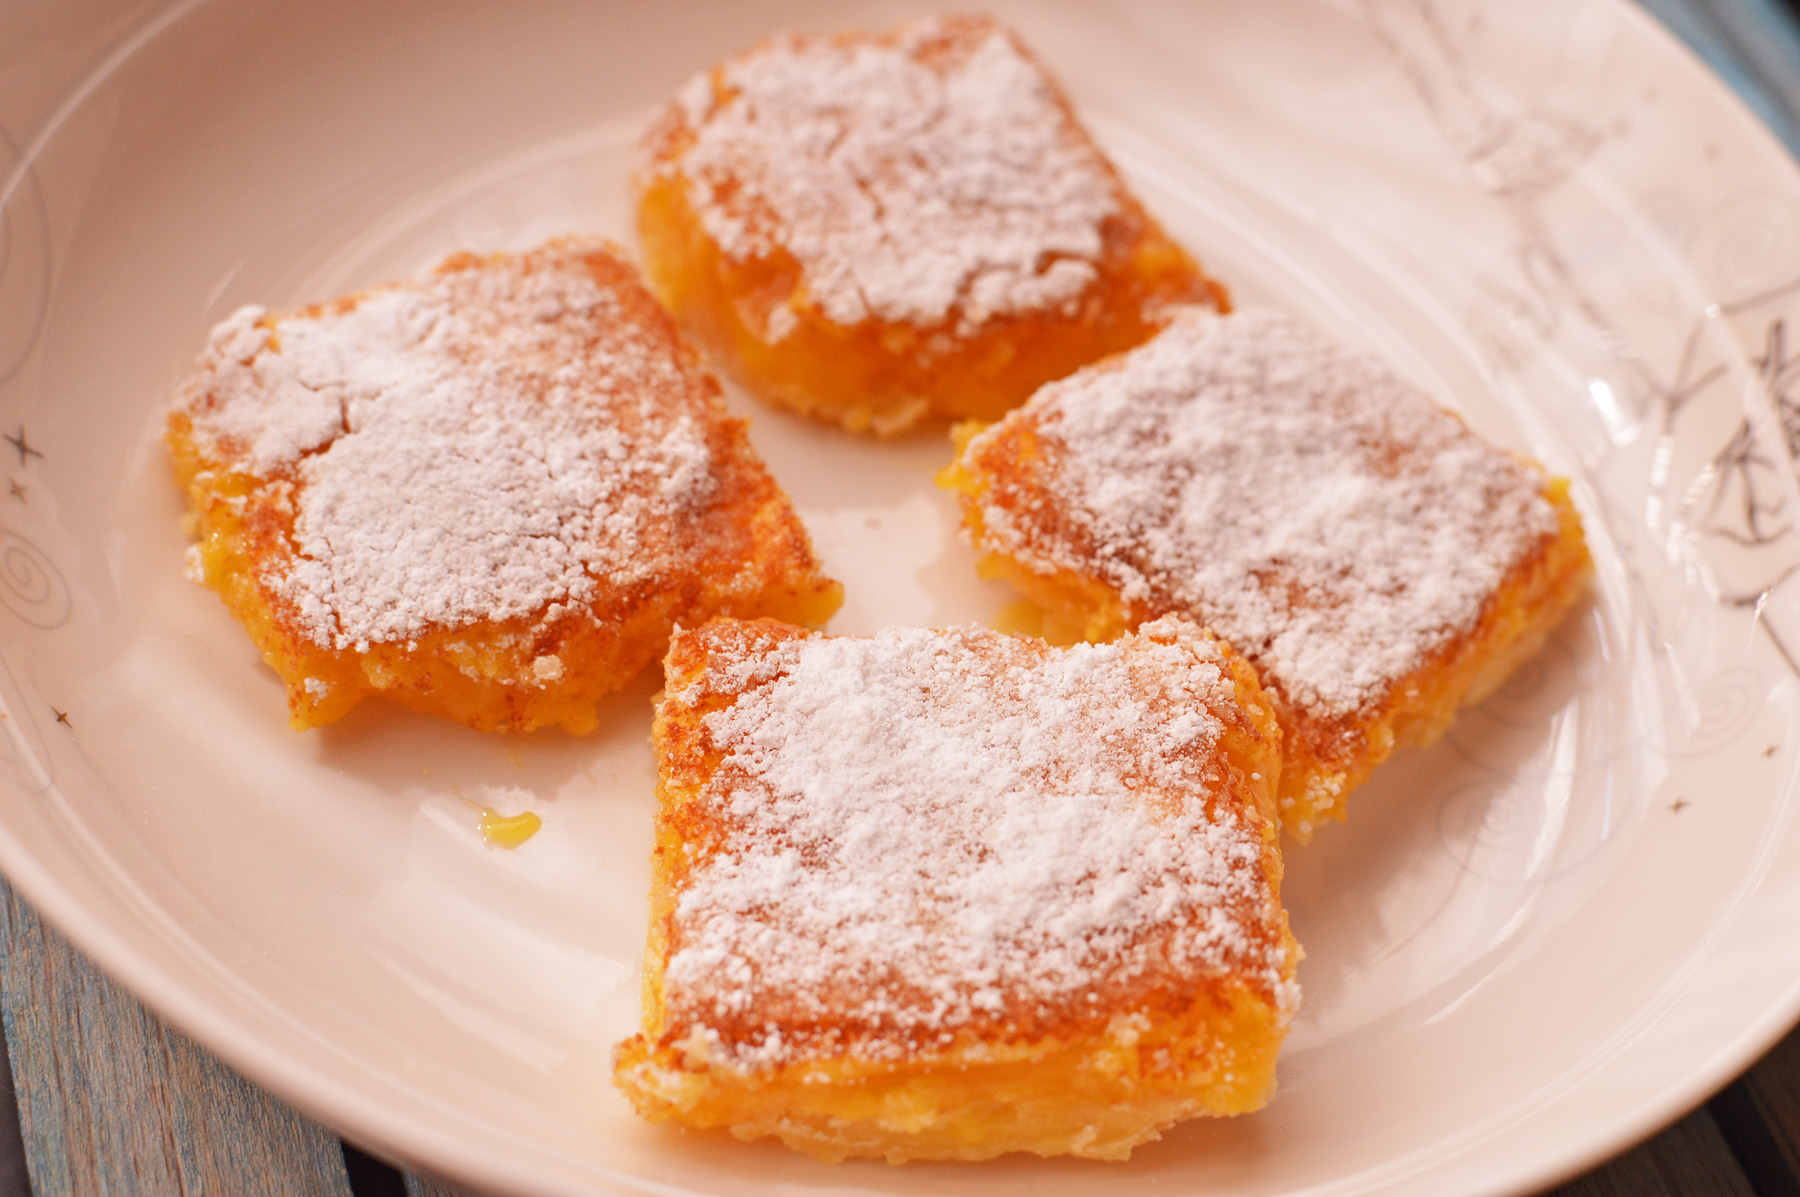
This cake may look sober but it’s oozing with oomph. It smells like sun and tastes like light. Every bite carries a citrus hit and honestly any cake that uses a can of fanta cannot go wrong. it’s easy, delightful and a much desired change from everything boring these winters.

Ingredients

butter: 100 g (1/2 cup)

flour: 170 g (11/2 cup)

sugar: 110 g( about 1 cup)

fanta: 200 mls (3/4cup)

lemon juice: 1 tablespoon

eggs: 2

salt: 1/2 tsp

baking powder: 1 tsp

vanilla extract: 1 tsp

orange and lemon zest: 1 tablespoon + extra for icing.

For icing

icing sugar: 100 g (about 1 cup(

lemon + orange zest (1 tsp)

fanta: 1 tablespoon

Recipe instructions: mix flour, salt and baking powder and keep aside. add the lemon and orange zest in sugar and mix in with fingers until fragrant. In a glass squeeze in one lemon and mix with fanta.

In a separate bowl, beat room temperature butter and sugar until fluffy. Add in the eggs one at a time and beat for a minute after each addition. Add in the vanilla extract and beat again.

Add the flour in three stages alternating with fanta and juice mixture in two, and beat well after each addition until the batter is smooth.

Pour into a baking tin and bake at 180°C for 35-40 minutes or until a toothpick inserted in the center comes out clean.

Let cool completely.

For the icing mix in the zest, fanta and icing sugar until you have pouring consistency. Pour over the cooled cake and let set before serving.

DSC_0433

Make this now!

Orange torte (gluten free)


DSC_0660I was dying to make something citrusy, something with a bright yellow colour, something that would remind me of sunshine and fill the house with summer smells of freshness.

I love desserts that have a citrus note to them and this torte was no exception. This sunny disc of luscious flavours is a gluten-free torte which I adapted from Stephanie Jaworski of joyofbaking.com . she has such a wonderful collection of fabulous recipes and it’s all explained in such perfect details that it’d be impossible to go wrong, and this torte was no exception. I came across her clemetine torte and knew that I had to make it.

I just want to emphasize on the luxuriousness of this cake and that it’s one of the best things to come out of my kitchen. It’s pure tasteporn..I mean it.

DSC_0622cSince this is an orange torte you need oranges, almond flour, salt, baking powder, vanilla extract (I used a vanilla bean), sugar and eggs.

Before I start, I’d like to mention that these oranges need a good boiling because you want these golden beauties soft, soft, soft. I boiled these oranges a day in advance, and boiled them for about 1 hour until they were soft. Let them cool and store in fridge to use next day.

Also a word on almond flour/meal- please don’t get put off or think ‘meh this needs almond meal, who’s got that’? well I didn’t. I simply made it at home by blitzing almonds in a grinder until it resembled flour. It took me about 2 minutes. You can do it and you should, because this cake is extraordinarily delicious and moist and dense and orangey and you’d probably go to hell if you didn’t try this recipe.

ok moving on..

DSC_0623take a clean blender or food processor

DSC_0624throw in your oranges

DSC_0625crack in the eggs in the most clumsy fashion

DSC_0626add in the vanilla (I’m using a vanilla bean, but please use good vanilla extract if you want, I just happen to have a truckloads of these beans)

DSC_0627Once it’s all in

DSC_0628blitz to mix. It will turn into a golden pond of citrus love in a matter of seconds.

DSC_0629admire your handiwork and realize it resembles a milkshake and that you’re lactose intolerant..shed a few tears and get back to work.

DSC_0630in a separate large clean bowl.

DSC_0631dump in your almond flour/meal (whatever you call it)

DSC_0632add the sugar

DSC_0634in with the baking powder

DSC_0635don’t forget the salt

DSC_0638it’s all heaped in. good!

DSC_0639mix using a wire whisk. It’s just easier

DSC_0640mix well like so. I put a spoonful in my mouth and it tasted great already.

DSC_0641Now tip in your orange+egg+vanilla mixture

DSC_0643mix until it all comes together. Don’t be too vigorous.

DSC_0644let that rest a bit and prep the pan. Take a springfoam pan and using its base as guide, cut out a round piece of parchment paper. It’s not geometry, you needn’t be precise. (Again, don’t be put off by this step. It takes a mere minute and it’s important for the cake)

DSC_0645take a bit of melted butter and spread on the base of the tin.

DSC_0646like so.

DSC_0647this enables the parchment to stick better. Flatten it out well so that there are no air bubbles.

DSC_0649Brush the sides as well. I took an extra precaution and lined the base with aluminum foil to prevent any leakages. I have trust issues with this pan, and in return it doesn’t love me back.

DSC_0650Tip in your batter. Tap it a bit and bake @ 190℃

DSC_0652take it out after and hour. Check with toothpick in case it comes out clean and LET IT COOL COMPLETELY! I’m sorry for yelling but this how I yelled at the man who kept trying to eat it.

DSC_0660once completely cooled, very carefully and gently remove the base pan and peel off the parchment paper. Just be a little cautious. It’s a wonderfully moist cake so don’t be too heavy-handed with it.

DSC_0674cut yourself a piece and fall in love.

Note: this cake tastes best after a couple of days of making, and for best results you have to let it be undisturbed overnight.

Ingredients

Oranges : 450g (boiled until soft, best to do a day in advance)

Eggs: 6

vanilla extract : 1 teaspoon or vanilla bean.

Almond flour/meal : 250 g (if you can’t buy it, then grind the same wight of almonds until it resembles flour)

Sugar: 230 g

baking powder: 1 teaspoon

salt: a small pinch

How to: In a blender or food processor, blend in the oranges, eggs and vanilla.

In a separate large bowl mix in the almond flour, salt, baking powder and sugar. Pour in the batter and mix well.

Line your springfoam tin with parchment paper after greasing the base and sides. To prevent leakages line the outside base with aluminium foil.

Pour in the batter and bake at 190℃ for 45-60 minutes. Check with toothpick to see if it’s baked. Mine took one whole hour.

Note: Around the 40 minute mark I covered the top with aluminum foil as it was getting a little brown.

DSC_0672Here’s another delicious picture. Enjoy!!


Lemon bars


DSC_0472These winters when the sun is scarce and sky seems frozen, these lemon bars will inject that bit of sunshine and tang to your day. I had earlier been of the view that chocolate heals all ills, chocolate is the universal answer and that chocolate gives meaning to your life… however once I made these bars I realized It’s actually these sweet lemon bars that can actually bring about world peace. No seriously, its true!! These lemon bars aren’t just good they are dazzling with sexy oomph!

They are super chic, exquisite and the taste is like a mouthful of magnificent citrus love. It makes no sense because these bars make no sense. They are so ridiculously good, very zippy, tart, sweet and rich all at the same time. You have to MAKE THESE to believe it, and you’d say, that crazy internet girl was right about this one.

The best part about these is that they are easy to make. Not fussy like a lemon meringue pie. Easy to put together and easier still to eat. But careful, these yellow babies are rich!!

These bars are made of a shortbread base and a mouth-watering lemon filling. Here is how its done.

For the shortbread base

DSC_0402very easy. Just three ingredients. Butter, sugar and flour.

DSC_0403In a clean bowl with a hand mixer, cream the butter and sugar, until it’s umm creamed. It should resemble something like this or better.

DSC_0405Add in the flour and beat again

DSC_0406until it just starts clumping together. Once it starts coming together we stop.

DSC_0407Tip this shortbread mixture into a baking vessel of choice. Mine happened to be a square silicon mould (7 x 7 inches).

DSC_0409spread it around as well as you can and bake at 180℃ for 15-18 minutes or until the sides just start turning a shade brown.

DSC_0417like so. Leave this to cool and prepare the filling.

DSC_0414The filling is fairly straightforward. Just eggs, lemon juice, sugar, lemon zest and flour.

DSC_0420we start with eggs

DSC_0421followed by sugar

DSC_0423then light mixing.

DSC_0424and some lemon zest

DSC_0427add in the lemon juice

DSC_0428finally in with the flour and a good beat up.

DSC_0431Mix it until it looks something like this, which means stir without caution for a couple of minutes and you’re there.

DSC_0433tip this batter in the now cooled shortbread base

DSC_0435making sure it’s evenly spread and bake at 175℃ for 18-20 minutes

DSC_0439My oven got a little too hot, hence the tan, but if you think the top of the bars is getting browned too quickly then just tent it with silver foil. This tan is not going to affect the final outcome because it’s just pleasantly golden not overly burnished, so don’t worry. You will know the top is done when it’s just set and there’s a slight jiggle to it.

You have to let it cool complete before you do anything to it. Mine took about 45 minutes.

DSC_0441pass some powdered sugar through a sieve.

DSC_0444blanketing completely

DSC_0446cut into squares and thank Ma nature for creating lemons.

DSC_0448I cut mine into fairly small bars, simply because these are so rich and so sweet and citrusy that it’s all too easy to eat them.

You wouldn’t believe the smugness you’d feel after making these, because they come out perfect every single time, even if you’re making these for the first time. They work great as desserts and taste unexpectedly delicious. Make these Now!!


Recipe

For the shortbread

butter 110 g ( a little less than 1/2 cup)

powdered sugar 30 g (about 2 tablespoons)

flour 125 g (about a cup)

– In a clean bowl cream together the butter and sugar using a hand mixer.

add in the flour and beat until it just starts to come together.

Tip into a baking dish and evenly spread to form a base.

Bake at 180℃ for 18-20 minutes or just until the sides lightly brown

allow to cool.

For the lemon filling

Eggs 2

sugar 170 g (a little less than a cup)

lemon juice 70 mls (2.5 tablespoons)

lemon zest 1 tablespoon

flour 30 g (about 2 tablespoons)

– In a clean bowl beat the sugar and eggs until smooth.

add in the remaining ingredients and mix well.

Pour over the now cooled shortbread base making sure it’s evenly spread out.

Bake at 175℃ for 18-20 until just set with a bit of jiggle. If the top starts getting too brown, tint with a foil.

Allow to cool completely and sift some powdered sugar on top before cutting into bars.

DSC_0454You do not want to miss this.

Enjoy!!


Lemon meringue pie


DSC_0990

This is the official dessert served to all sinners in hell. It’s also known as crack for angels! This slice of sunny gold is actually all the happiness in the world bound into a pie. It’s sweet, lemony, buttery and guilt inducing. Guilt you would happily live with, guilt that would never weigh on your conscience, guilt that would force you to commit this sin over and over again. Lemon meringue pie is also a perfect substitute for love and all those carnal pleasure everyone keeps raving about.

This is a time-consuming recipe, but that does not mean it is difficult. It’s easy and the time that takes making this is more than worth it, because time hasn’t eaten this and if it had, time wouldn’t be such an ass at times.

So let’s get the basic first!

DSC_0992this pie has three parts. The bottom pie crust which is like the tissues & the muscle fibres of a body, then it has the lemon filling which is like the soul of a body and finally the meringue which is like skin and makeup. So there you have it. This is easy stuff! let us begin

DSC_0906Pie crust ingredients: flour, water, butter, sugar and salt.

DSC_0908Make sure the butter is very cold and cut into cubes. Then into a bowl with the flour, sugar and salt we need to work the butter into the flour until it resembles fat breadcrumbs. you can either use a food processor/pastry cutter/fork or just use your finger tips and mush the butter and flour together, making sure the butter stays cold at all times.

DSC_0910this is what you want it to look like. Form this into a dough by putting in a tablespoon water at a time until it comes together to form a dough. DO NOT KNEAD!! we don’t want any gluten formation. using a spoon or a butter knife make criss cross actions until you feel the dough starts clumping at which time you shall stop and very gently with your hands form into a ball.

DSC_0913Like so!

DSC_0915Divide into two parts, Wrap them in cling film and stick into the fridge for about 20-30 minutes.

I do not have the rolling out pictures of the dough because my hands were greasy and floury but it’s very easy.

You only need one dough ball for this. Freeze the other one for the next time you want to make a pie.Once you’ve retrieved the dough from the fridge just roll it out on a lightly floured surface and keep rotating it so that it doesn’t stick on the platform. Once it’s the size of your pie tin, you need to lay it on to fit and cut the excess from the edges.

Another simple way it to break small balls off your dough and line them in the pie tray and with the back of a glass just flatten them evenly so that all the sides are covered with the dough.

DSC_0919Once you’ve lined the pie crust in the pie tin, poke some holes into it so that it doesn’t rise while baking. We are going to blind bake this pie crust, which simply means this..

DSC_0920Line your poked pie crust with aluminum foil and fill with beans/rice or pie weights if you happen to have them. This will ensure that there is no silly rising in the oven. Bake for 15 minutes

DSC_0922After 15 minutes let the pie crust out and let cool.

Now for phase 2

DSC_0924The soul of the pie: Lemon filling. You don’t need egg whites for this but you need them for the meringue, also I forgot to mention that you also need some butter (not pictured) because it’s forever alone okay?

DSC_0927Into thick bottomed sauce pan, add the sugar and the corn flour/ corn starch whatever you call in your part of the world.

DSC_0929Mix to combine

DSC_0931add water

DSC_0932lemon juice

DSC_0934On a low flame start mixing without stopping for even a second. Thou shalt not stop, no matter what. Keep stirring with a whisk, your arms will be sore but the pie will be delicious.

DSC_0939After a few minutes of whisking CONTINUOUSLY this is what will happen. It’s called magic. The corn starch/flour will form this..

DSC_0938This is what you want!

DSC_0940Put a spoonful of this hot mess into your egg yolks to temper them. You don’t want lemony scrambled eggs, so do this!

DSC_0942Put these tempered eggs back into the saucepan where we have some weird magic going, and now look at this transform

DSC_0943Very quickly add in the zest and the butter (not pictured, it’s forever alone).

DSC_0945Whisk, whisk and whisk. Keep the flame low.

DSC_0947Lift your whisk and admire your handiwork, Turn off the flame and keep it aside to cool for a bit.

Let’s get on to forming the skin & makeup of this pie.. I mean the meringue. Feel like a god!

DSC_0949Egg whites and a faithful beater

DSC_0950Beat till it’s all foamy, and add in sugar

DSC_0952Keep beating until it looks like this. It resembles whipped cream, but it is actually whipped eggs! The should look nice & shiny ok?

Assembly!!

DSC_0954Lemon filling into the pie crust now completely cooled.

DSC_0955Even it a bit

DSC_0956Top with the meringue.

DSC_0960Take a good look. I made pretty peaks!! Push into an oven and wait patiently.

DSC_0962Once the meringue is nicely browned you know it’s done. Pull it out and let it COOL COMPLETELY! you have to wait for at least 2-3 hours before you push this in your mouth. The cooling step is absolutely essential if you want an awesome pie, and as I mentioned that wait is worth it. I went out for a movie while it cooled. Just giving you some ideas..

DSC_0967And once it’s cooled you can slice it and bathe in it.

DSC_0989This is how it looks from the top

DSC_0994and from the side. If you want to know what it tasted like, then let me tell you that you’d want to take it to bed with you.

Make it this weekend.

Ingredients

For the pie crust

Flour 350 g

Sugar 1 tablespoon

Salt 1 tablespoon

Butter 200 g (cold & cubed)

Cold water 3-4 tablespoon

For the lemon filling

 3 Egg yolks

sugar 100 g

cornflour/corn starch 5 tablespoons

Butter 30 g

Lemon juice 4 tablespoons

Lemon zest 1 teaspoon

Meringue

3 Egg whites

Sugar 50 g

Recipe Into a large bowl sift in the flour, salt and sugar and add the very cold butter and work into the flour until the flour resembles fat crumbs. You can also process it. Add one tablespoon water at a time until the dough just comes together or starts clumping. Do not add too much water to the dough.

Divide the dough into two balls and wrap and refrigerate for 20-30 minutes. I use only one dough ball since my pie tin is 6 inches and freeze the rest for next time.

Roll the dough on a floured surface making sure it doesn’t stick to the surface, rotating every few seconds helps. Line in the pie tin and cut off the extra from the edges.

Make holes all over using a fork and line with aluminum foil weighing down with beans or weights. Bake in a pre heated oven at 180℃ for 15-18 minutes. Remove the foil and let it cool.

Lemon Filling: In a heavy bottomed sauce pan add the sugar, corn starch, water and lemon juice. Whisk continuously over a low flame until it starts coming together and looks weirdly congealed.

Take a spoonful of this mixture and add into the egg yolks to temper them.

Add the now tempered egg yolks into the sugar mixture and whisk again, adding the butter and the lemon zest. keep whisking for another few minutes until the mixture is hot and then remove from the flame and let cool slightly.

Meringue: Into a very clean bowl, beat the egg whites to form a somewhat foamy mixture and gradually add in the sugar and keep beating until it starts resembling shiny whipped cream and holds peaks.

Assembly: Fill the pie crust with the lemon filling and smooth it out evenly. Top with the meringue and bake at 170℃ for 30- 35 minutes or until the top starts browning.

Let cool completely for at least 2-3 hours before slicing.

Enjoy!

Citrus butter cookies


DSC_0241

These citrusy buttery delights were something I’d been longing to make ever since I stumbled upon Pioneer Woman’s recipe (here)

For whatever reason’s I kept postponing because procrastination is one of my super powers. Somehow after my man nagged me for a batch of fresh cookies which weren’t chocolate, I figured this is the time I make these citrus drops.

I altered the original recipe a bit because in my remote Chinese town, where even blogging can become a problem, I didn’t have all the ingredients necessary, but somehow I tweaked a bit and these came out ,oh so fabulous, oh so mouth-watering and oh so citrusy, that I imagine the original recipe must have been absolutely off the charts.

This wasn’t difficult, in fact it was one of the easier cookie recipes and so much fun to make.. so here goes.

DSC_0190

The ingredients really easy and quick to assemble. Butter, sugar, orange juice, orange zest, egg yolk, lemon zest, lemon juice and flour.

DSC_0191

As with most cookies out there, it begins fairly easy by creaming the butter which becomes a lot harder if it isn’t at room temperature. Also you don’t have to cream it’s soul. Just a minute would do, or even less.

DSC_0194

In with the sugar

DSC_0195

followed by the egg yolk

DSC_0196

I’d really hoped the yolk maintained it’s integrity but NO!

DSC_0197

Beat the butter, sugar and egg yolk and add the zest of both lemon and orange, but also reserve a bit for later, which we will come to in a bit.

DSC_0198

now the flour

DSC_0199

beat that all together and you’d probably end up with a bit crumbly mixture. It’s really not a problem, because now you add some orange juice

DSC_0200

and some lemon juice

DSC_0201

Mix well and it shall all clump into this sunny yellow glorious dough. Just a faint whiff and you’d faint.

DSC_0202

Roll into balls. It’s almost as if I’m moulding a sun.

DSC_0203

this is just to let you know how big these were. I scooped out using my melon scooper. These were the prettiest things I saw all week.

DSC_0206

Lay them out on a parchment paper, so as to avoid any stick up that might happen.

DSC_0213

Behold the mighty yellow kisses of sun.. I baked mine for some 15 minutes at 190℃ . I also flattened their tops a bit using the back of a glass before pushing them in the oven. Can you see the orange specks of the zest? Let these cool, while we get on with the icing.

DSC_0214

The icing is simple enough. Lemon and orange zest, meringue powder, lemon and orange juice. It’s actually royal icing, but I’m not too sure about the eggs here, so instead of making them with egg whites, I used meringue powder instead. But if you have your own royal icing recipe using egg whites, please feel free.

DSC_0216

This is just Meringue powder, lemon and orange juice, the zests and powdered sugar, all beaten into a frenzy to create…..

DSC_0218

THIS!!! isn’t this beautiful? the consistency is really up to you, but i like thick fat icing ribbons so I didn’t let it get too thin a drizzle.

DSC_0229

Using a spoon,or a piping bag if you want more elegance, lay on the icing as you wish, however you want.

DSC_0231

Absolutely unsure fat patterns. Also before the icing dries don’t forget to put some more strands of zest on these babies.

DSC_0239

See??

DSC_0241

These are sugary, buttery bites of citrus in your mouth. Your cheeks will feel it, you will love it and your man, well mine kept lurking until the last pictures were taken, and then these were devoured rather mercilessly.

These have to be made to be believed, and you’d feel oh so competent about yourself..

Thanks a lot Pioneer Woman for these full flavoured bites of citrus love.

Ingredients

200 gms Butter

150 gms sugar

1 large egg separated

200 gms all-purpose flour

30 gms of lemon zest and orange zest (roughly 2 tablespoons)

40 mls each of lemon and orange juice

ICING

Meringue powder (as mentioned on the box)

30 gms of orange & lemon zest + extra for decoration.

30 mls tbsp orange and lemon juice

For the consistency I had, I used about 30 gms (around 2 tbsps) of meringue powder, 50 gms powdered sugar, scant amount of water and 30 mls (about 2 tbsps) each of orange and lemon juice. But really it’s up to you. You might want to go thicker or thinner with the icing.

Instructions

Cream the butter (make sure the butter is at room temperature), add in the sugar and egg yolk. Beat again to mix and add in the zest and the flour. Beat until it’s more or less mixed and finally add in the juice and beat to combine.

Scoop out equal sized balls using a melon scooper, or however your MO is and roll them into balls. Line on a parchment paper and slightly flatten their tops using the back of a glass. Bake at 190℃ for 15 minutes and let cool completely before icing.

Meringue icing as per instructions or as I mentioned above for the consistency I got. Decorate your now cooled cookies as you desire, or just go for a not so subtle pattern and drizzle the remaining zest before the icing dries off. Remember to let the icing set before unleashing yourself.