This is the official dessert served to all sinners in hell. It’s also known as crack for angels! This slice of sunny gold is actually all the happiness in the world bound into a pie. It’s sweet, lemony, buttery and guilt inducing. Guilt you would happily live with, guilt that would never weigh on your conscience, guilt that would force you to commit this sin over and over again. Lemon meringue pie is also a perfect substitute for love and all those carnal pleasure everyone keeps raving about.
This is a time-consuming recipe, but that does not mean it is difficult. It’s easy and the time that takes making this is more than worth it, because time hasn’t eaten this and if it had, time wouldn’t be such an ass at times.
So let’s get the basic first!
 this pie has three parts. The bottom pie crust which is like the tissues & the muscle fibres of a body, then it has the lemon filling which is like the soul of a body and finally the meringue which is like skin and makeup. So there you have it. This is easy stuff! let us begin
 Pie crust ingredients: flour, water, butter, sugar and salt.
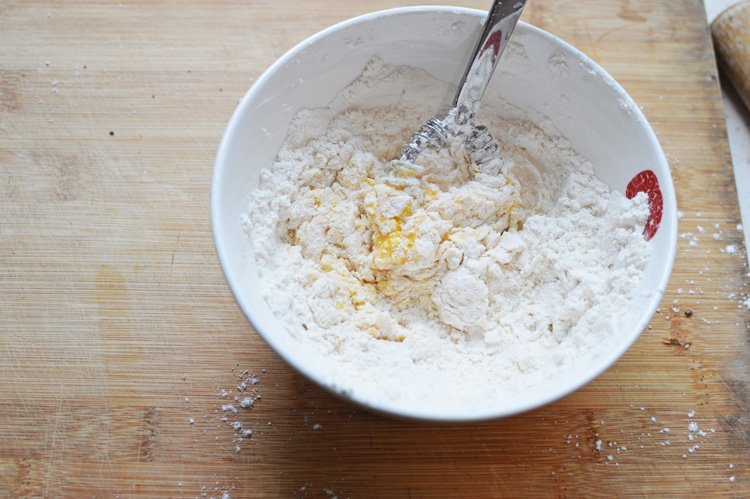
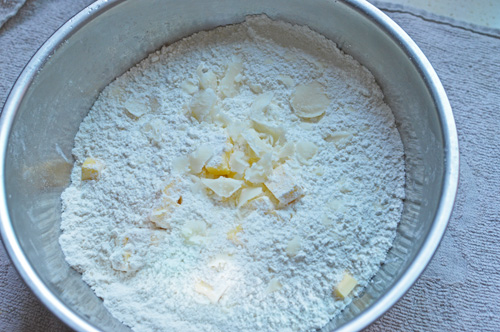
 Make sure the butter is very cold and cut into cubes. Then into a bowl with the flour, sugar and salt we need to work the butter into the flour until it resembles fat breadcrumbs. you can either use a food processor/pastry cutter/fork or just use your finger tips and mush the butter and flour together, making sure the butter stays cold at all times.
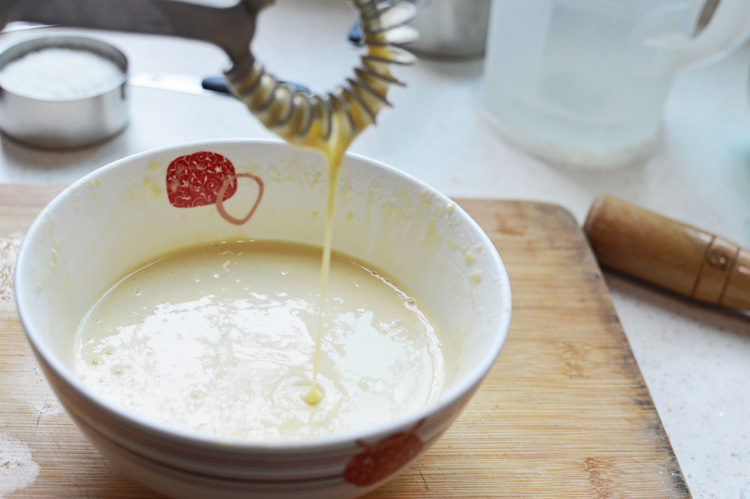
 this is what you want it to look like. Form this into a dough by putting in a tablespoon water at a time until it comes together to form a dough. DO NOT KNEAD!! we don’t want any gluten formation. using a spoon or a butter knife make criss cross actions until you feel the dough starts clumping at which time you shall stop and very gently with your hands form into a ball.
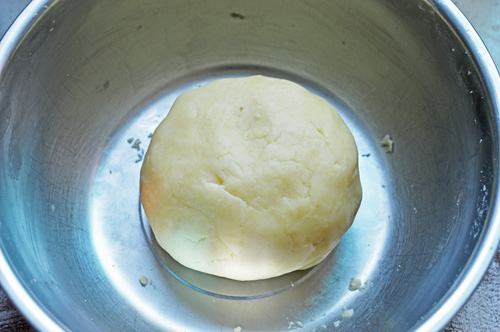
 Like so!
 Divide into two parts, Wrap them in cling film and stick into the fridge for about 20-30 minutes.
I do not have the rolling out pictures of the dough because my hands were greasy and floury but it’s very easy.
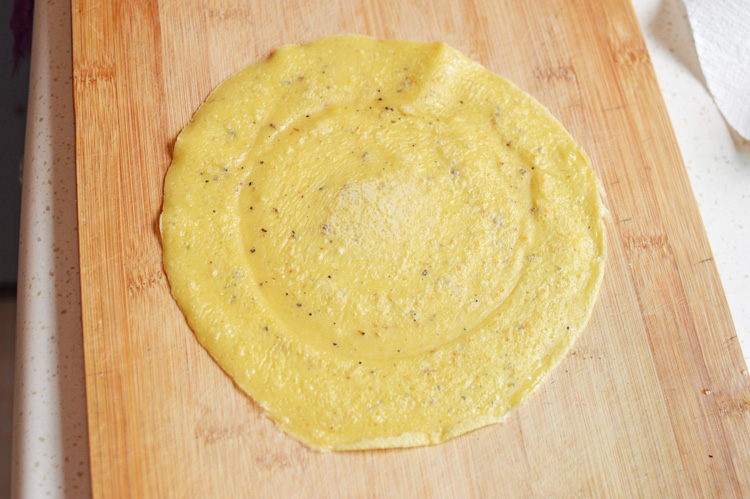
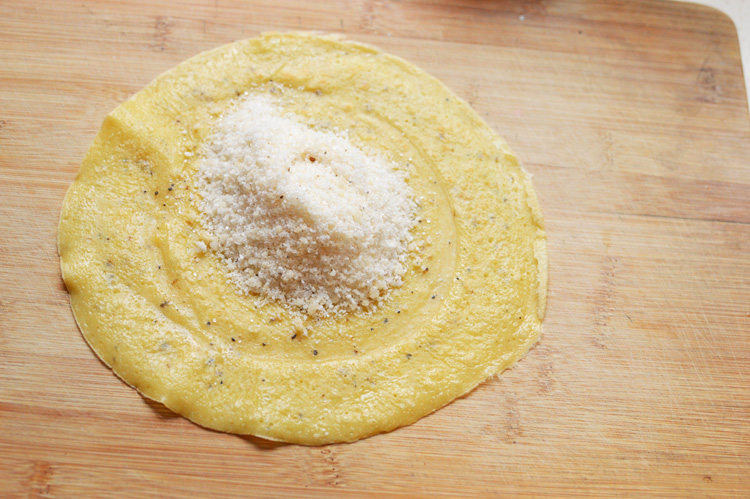
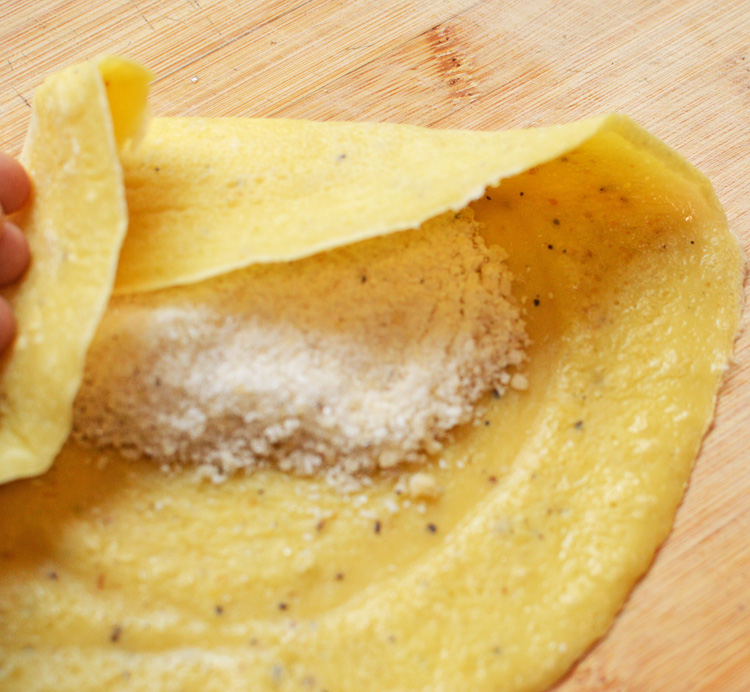
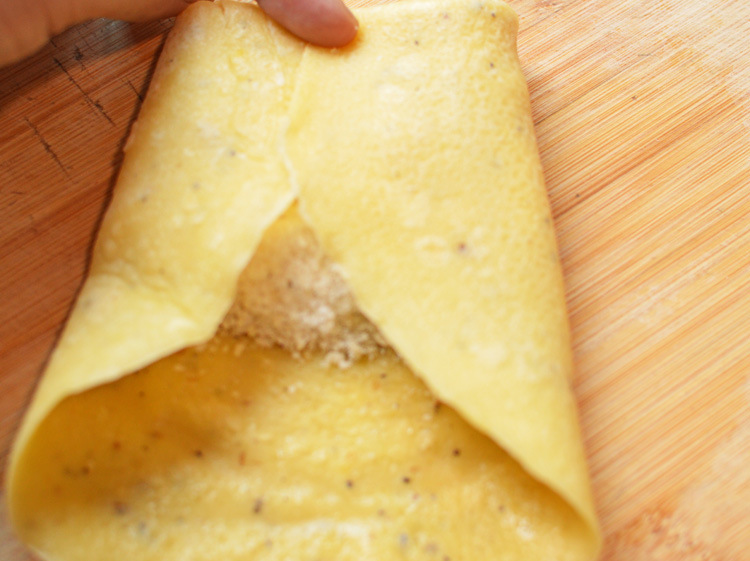
You only need one dough ball for this. Freeze the other one for the next time you want to make a pie.Once you’ve retrieved the dough from the fridge just roll it out on a lightly floured surface and keep rotating it so that it doesn’t stick on the platform. Once it’s the size of your pie tin, you need to lay it on to fit and cut the excess from the edges.
Another simple way it to break small balls off your dough and line them in the pie tray and with the back of a glass just flatten them evenly so that all the sides are covered with the dough.
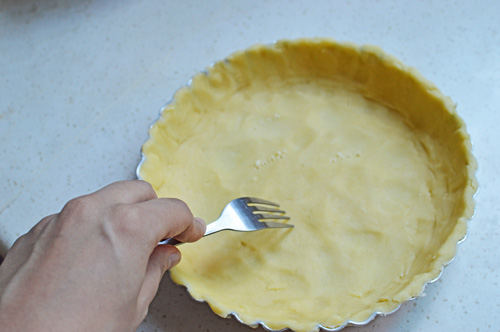
 Once you’ve lined the pie crust in the pie tin, poke some holes into it so that it doesn’t rise while baking. We are going to blind bake this pie crust, which simply means this..
 Line your poked pie crust with aluminum foil and fill with beans/rice or pie weights if you happen to have them. This will ensure that there is no silly rising in the oven. Bake for 15 minutes
 After 15 minutes let the pie crust out and let cool.
Now for phase 2
 The soul of the pie: Lemon filling. You don’t need egg whites for this but you need them for the meringue, also I forgot to mention that you also need some butter (not pictured) because it’s forever alone okay?
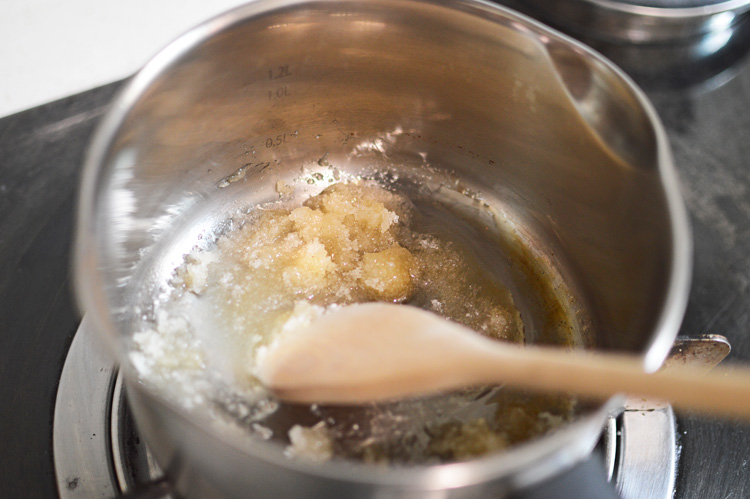
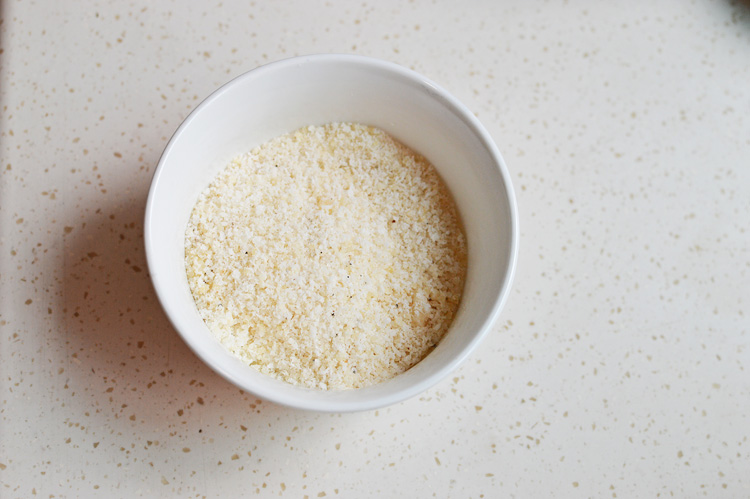
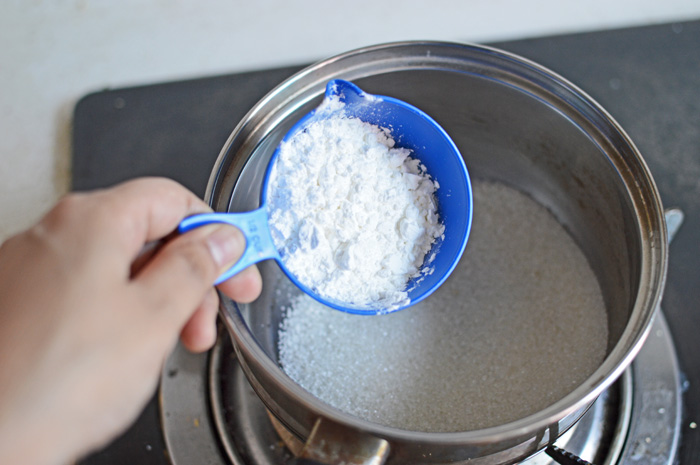
 Into thick bottomed sauce pan, add the sugar and the corn flour/ corn starch whatever you call in your part of the world.
 Mix to combine
 add water
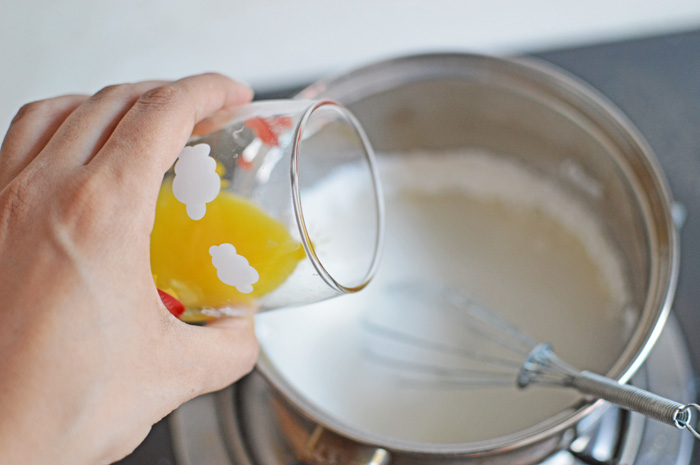
 lemon juice
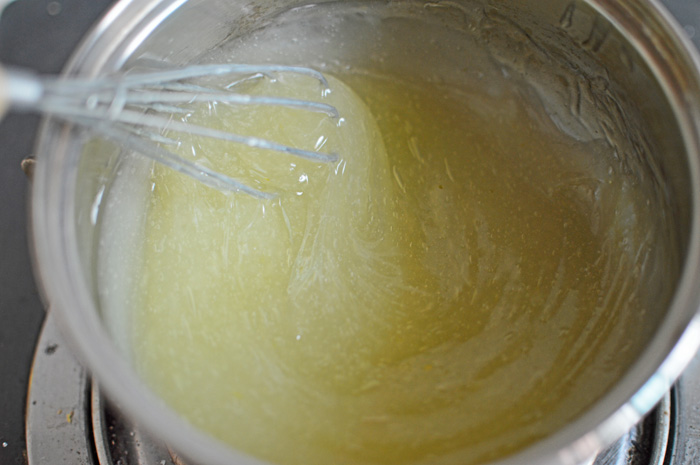
 On a low flame start mixing without stopping for even a second. Thou shalt not stop, no matter what. Keep stirring with a whisk, your arms will be sore but the pie will be delicious.
 After a few minutes of whisking CONTINUOUSLY this is what will happen. It’s called magic. The corn starch/flour will form this..
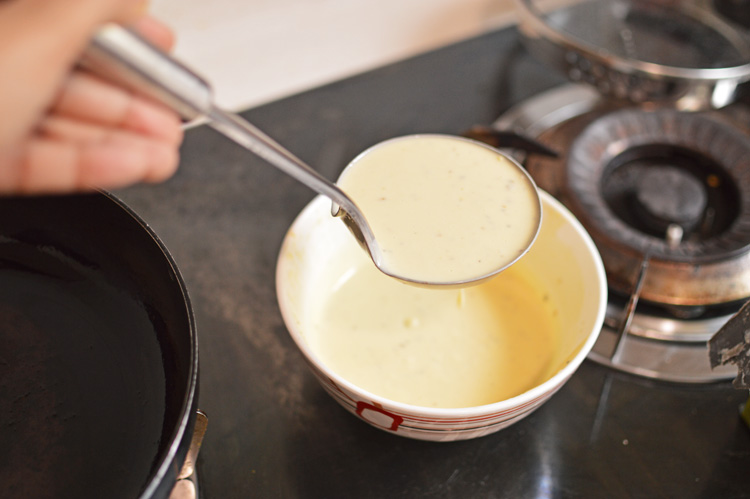
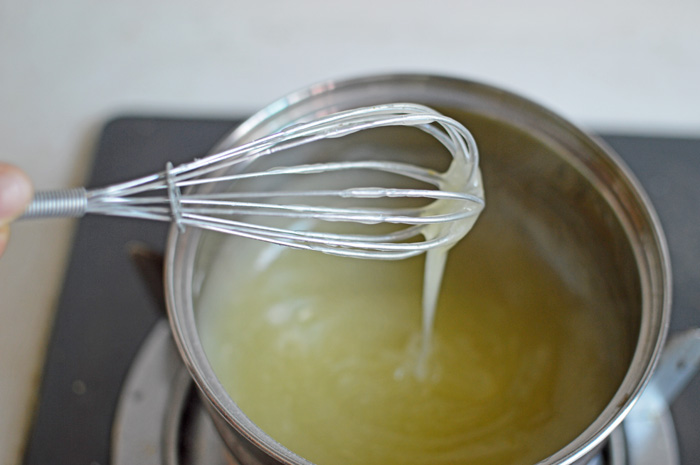
 This is what you want!
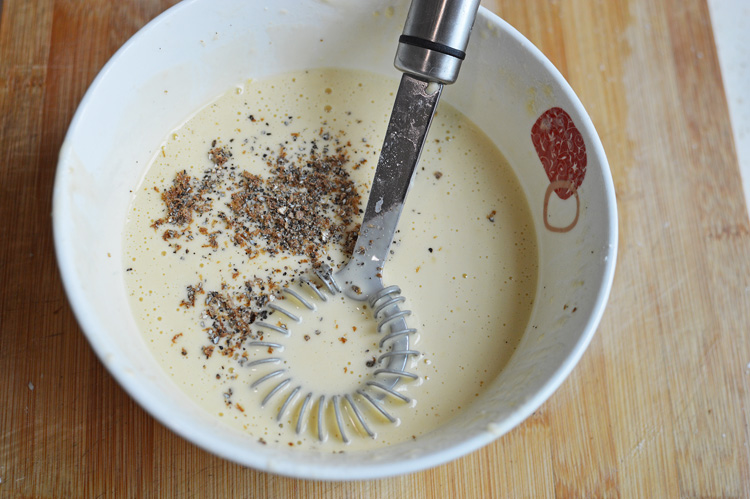
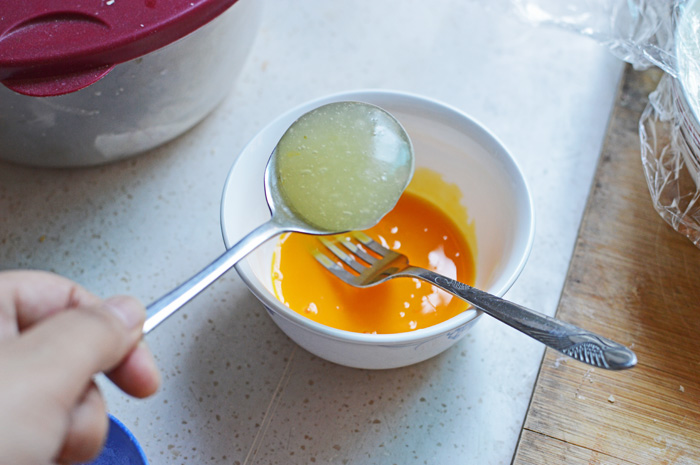
 Put a spoonful of this hot mess into your egg yolks to temper them. You don’t want lemony scrambled eggs, so do this!
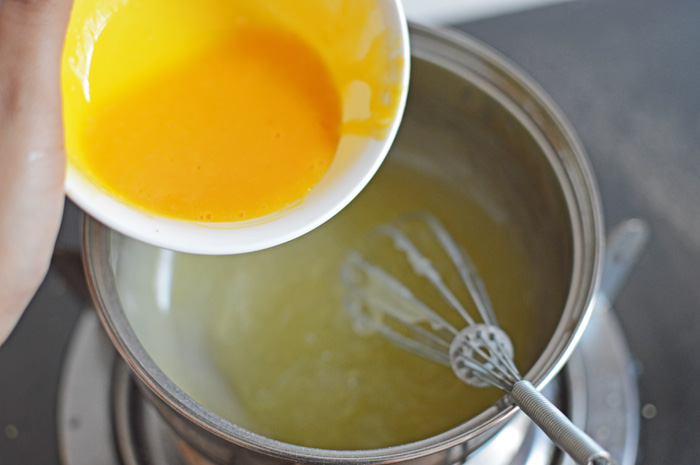
 Put these tempered eggs back into the saucepan where we have some weird magic going, and now look at this transform
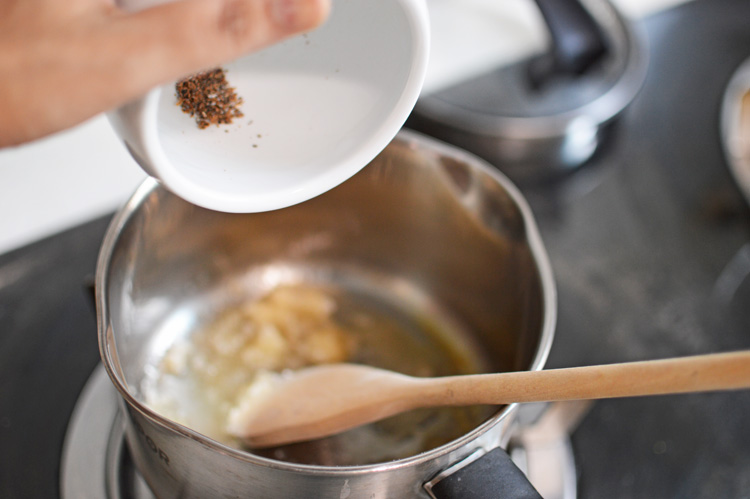
 Very quickly add in the zest and the butter (not pictured, it’s forever alone).
 Whisk, whisk and whisk. Keep the flame low.
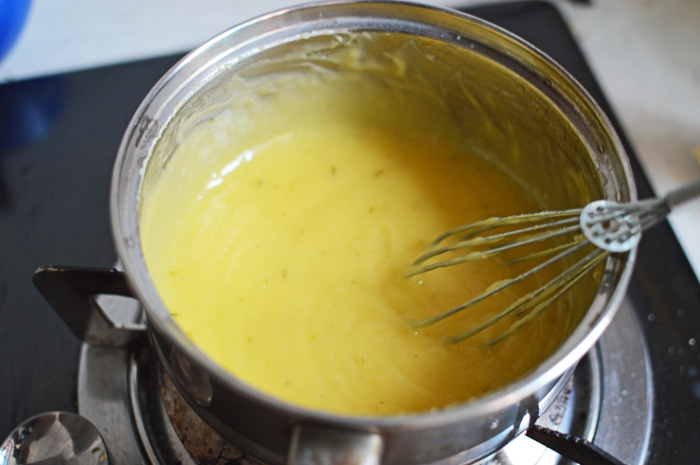
 Lift your whisk and admire your handiwork, Turn off the flame and keep it aside to cool for a bit.
Let’s get on to forming the skin & makeup of this pie.. I mean the meringue. Feel like a god!
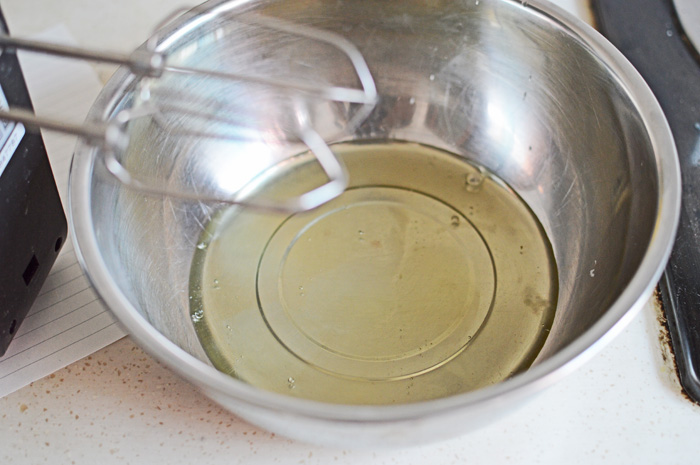
 Egg whites and a faithful beater
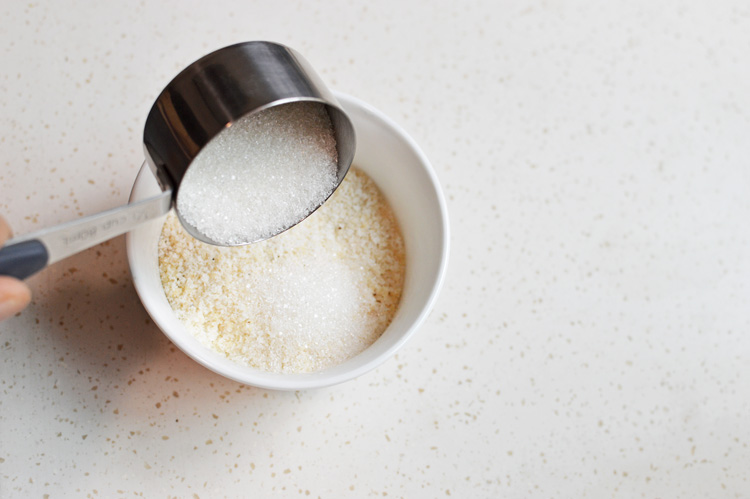
 Beat till it’s all foamy, and add in sugar
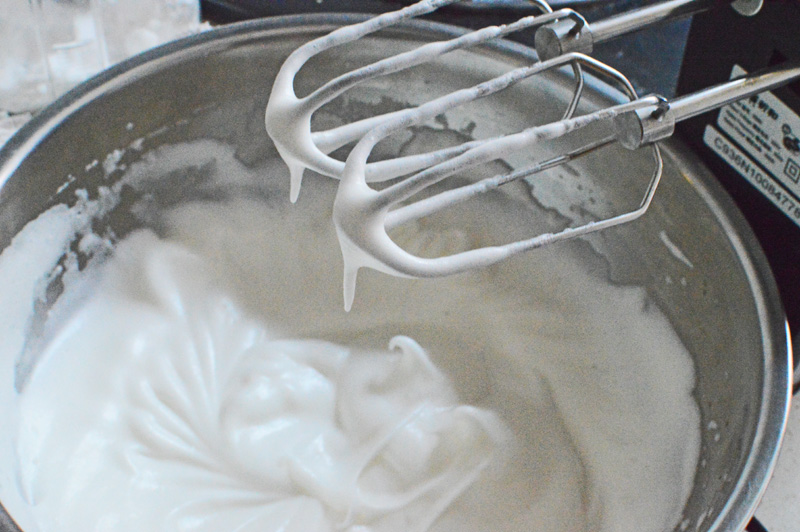
 Keep beating until it looks like this. It resembles whipped cream, but it is actually whipped eggs! The should look nice & shiny ok?
Assembly!!
 Lemon filling into the pie crust now completely cooled.
 Even it a bit
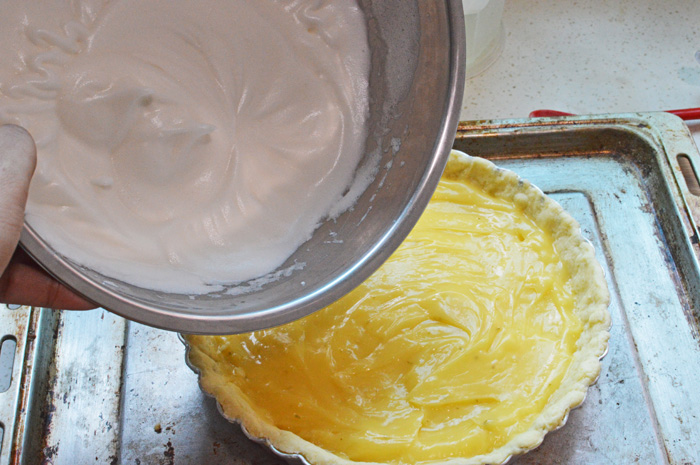
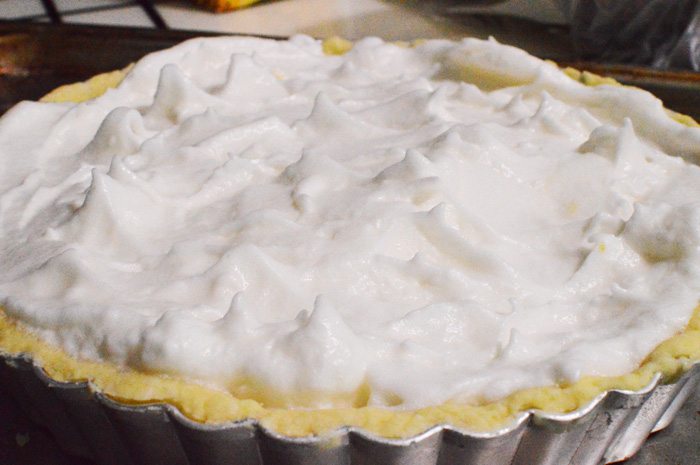
 Top with the meringue.
 Take a good look. I made pretty peaks!! Push into an oven and wait patiently.
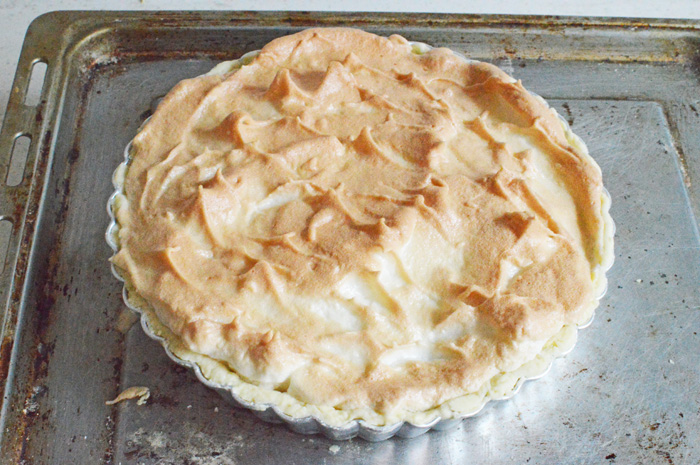
 Once the meringue is nicely browned you know it’s done. Pull it out and let it COOL COMPLETELY! you have to wait for at least 2-3 hours before you push this in your mouth. The cooling step is absolutely essential if you want an awesome pie, and as I mentioned that wait is worth it. I went out for a movie while it cooled. Just giving you some ideas..
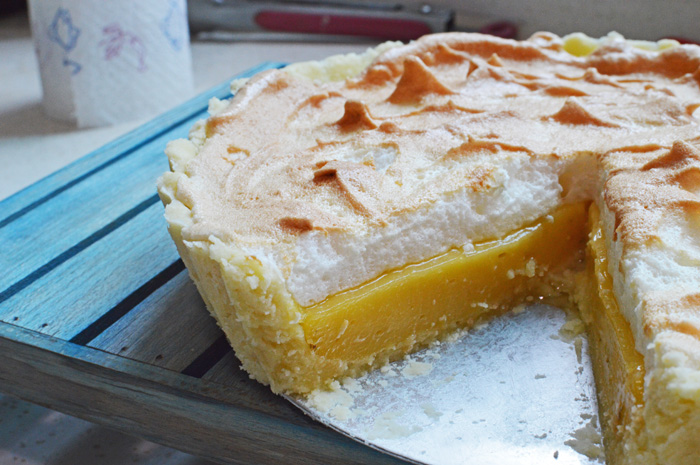
 And once it’s cooled you can slice it and bathe in it.
 This is how it looks from the top
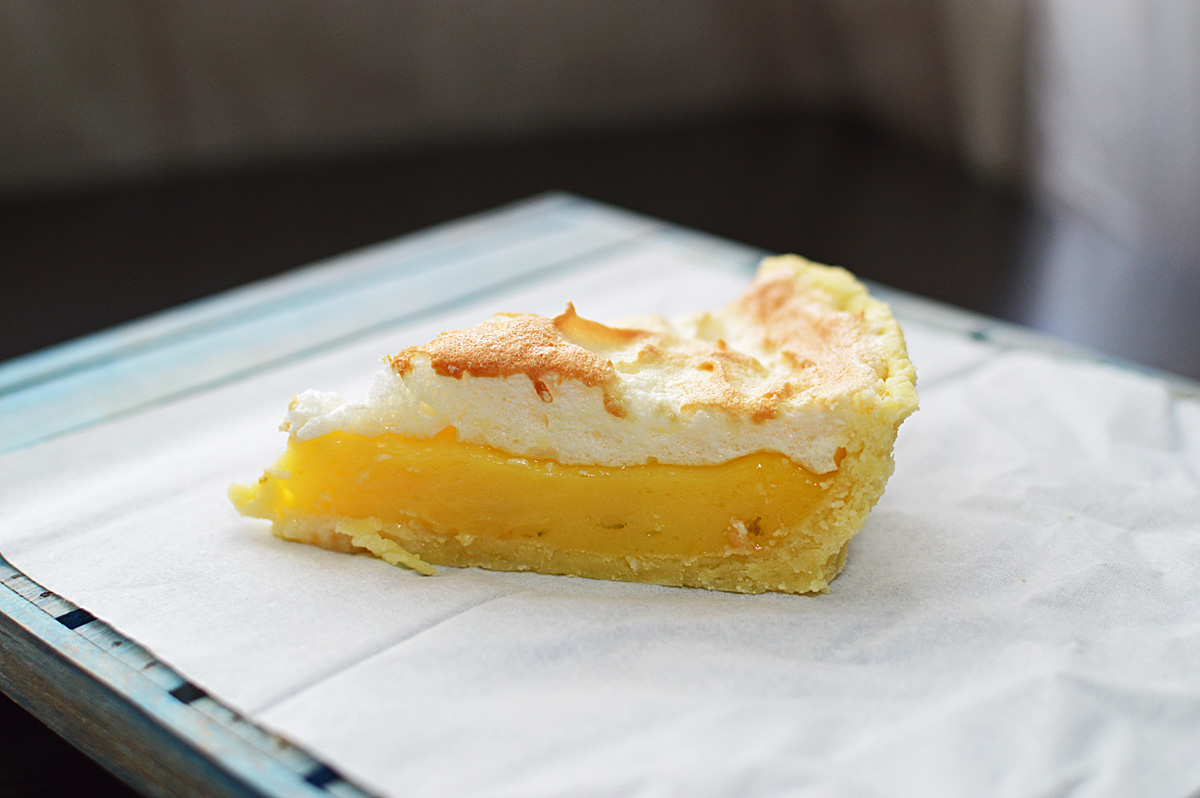
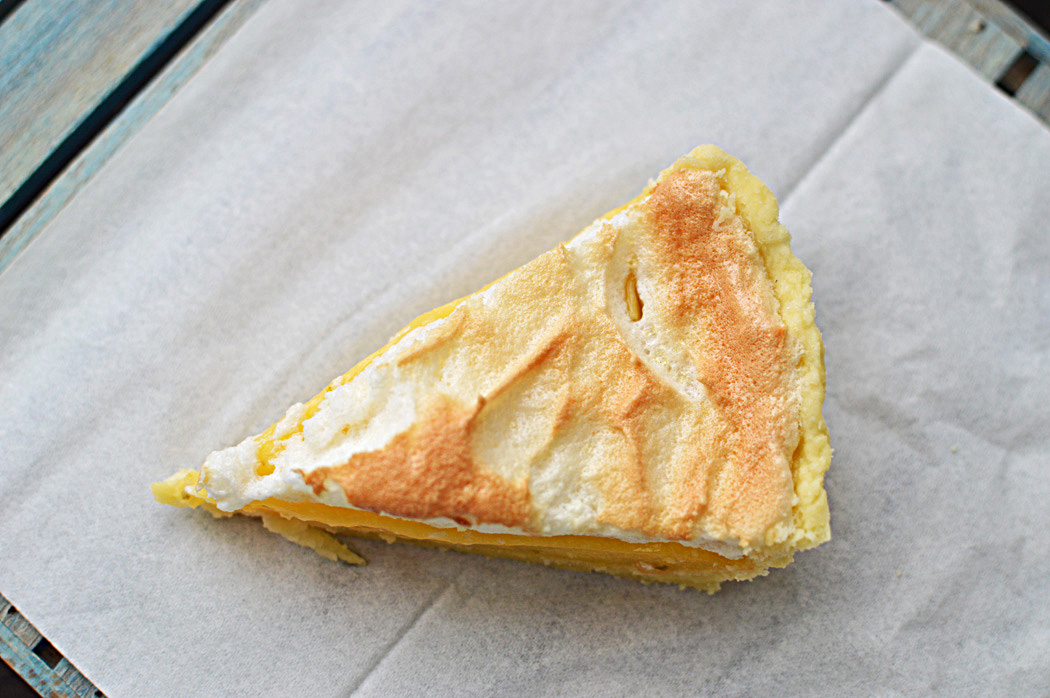
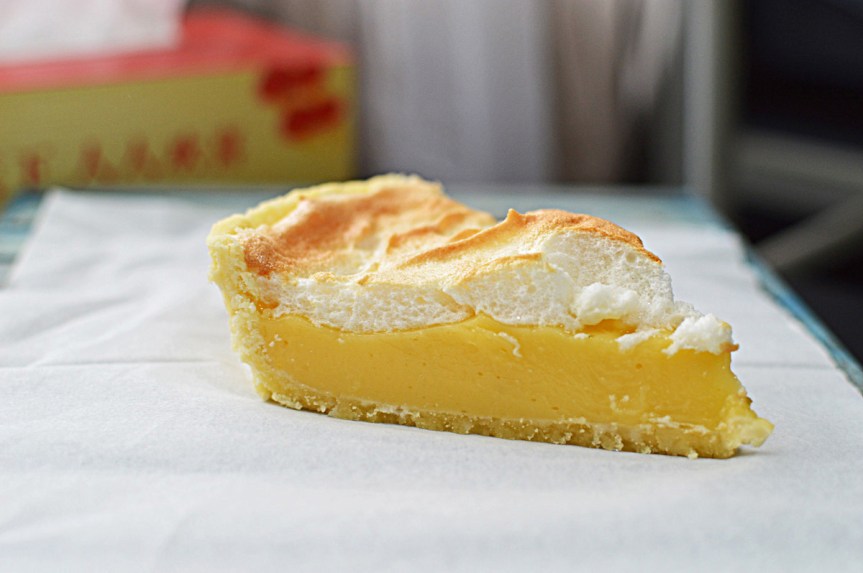 and from the side. If you want to know what it tasted like, then let me tell you that you’d want to take it to bed with you.
Make it this weekend.
Ingredients
For the pie crust
Flour 350 g
Sugar 1 tablespoon
Salt 1 tablespoon
Butter 200 g (cold & cubed)
Cold water 3-4 tablespoon
For the lemon filling
3 Egg yolks
sugar 100 g
cornflour/corn starch 5 tablespoons
Butter 30 g
Lemon juice 4 tablespoons
Lemon zest 1 teaspoon
Meringue
3 Egg whites
Sugar 50 g
Recipe : Into a large bowl sift in the flour, salt and sugar and add the very cold butter and work into the flour until the flour resembles fat crumbs. You can also process it. Add one tablespoon water at a time until the dough just comes together or starts clumping. Do not add too much water to the dough.
Divide the dough into two balls and wrap and refrigerate for 20-30 minutes. I use only one dough ball since my pie tin is 6 inches and freeze the rest for next time.
Roll the dough on a floured surface making sure it doesn’t stick to the surface, rotating every few seconds helps. Line in the pie tin and cut off the extra from the edges.
Make holes all over using a fork and line with aluminum foil weighing down with beans or weights. Bake in a pre heated oven at 180℃ for 15-18 minutes. Remove the foil and let it cool.
Lemon Filling: In a heavy bottomed sauce pan add the sugar, corn starch, water and lemon juice. Whisk continuously over a low flame until it starts coming together and looks weirdly congealed.
Take a spoonful of this mixture and add into the egg yolks to temper them.
Add the now tempered egg yolks into the sugar mixture and whisk again, adding the butter and the lemon zest. keep whisking for another few minutes until the mixture is hot and then remove from the flame and let cool slightly.
Meringue: Into a very clean bowl, beat the egg whites to form a somewhat foamy mixture and gradually add in the sugar and keep beating until it starts resembling shiny whipped cream and holds peaks.
Assembly: Fill the pie crust with the lemon filling and smooth it out evenly. Top with the meringue and bake at 170℃ for 30- 35 minutes or until the top starts browning.
Let cool completely for at least 2-3 hours before slicing.
Enjoy!


 Since the gods are being all sorts of unkind with the sun, what with the blazing rays and scorching heat, it’s only natural to pour in copious amounts of coolants into your body, without skimping on the sugar.