Chicken Pulao (g.f)


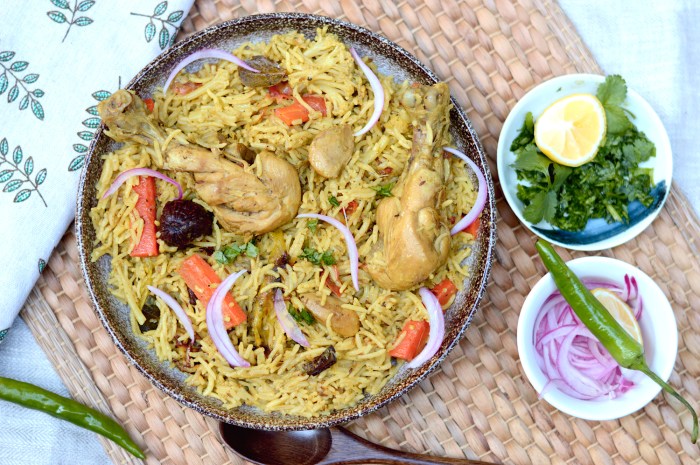
This one-pot meal has everything one could possibly want. It’s got looks, taste, flavour, nutrition, satisfaction and satiation. This is a Bollywood movie of a recipe and all too easy to make, to eat, to love what’s more the leftovers eaten the next day are just as delicious if not better.

The ingredients are bone-in chicken, onions, tomatoes, ginger-garlic, green chilies, vegetables of choice, yoghurt, coriander powder, turmeric, salt to taste, garam masala, black cardamom, cloves, green cardamom, cinnamon, cumin seeds, bay leaves and rice.

The ingredients are a bit much but they’re necessary for this recipe to come a full circle.

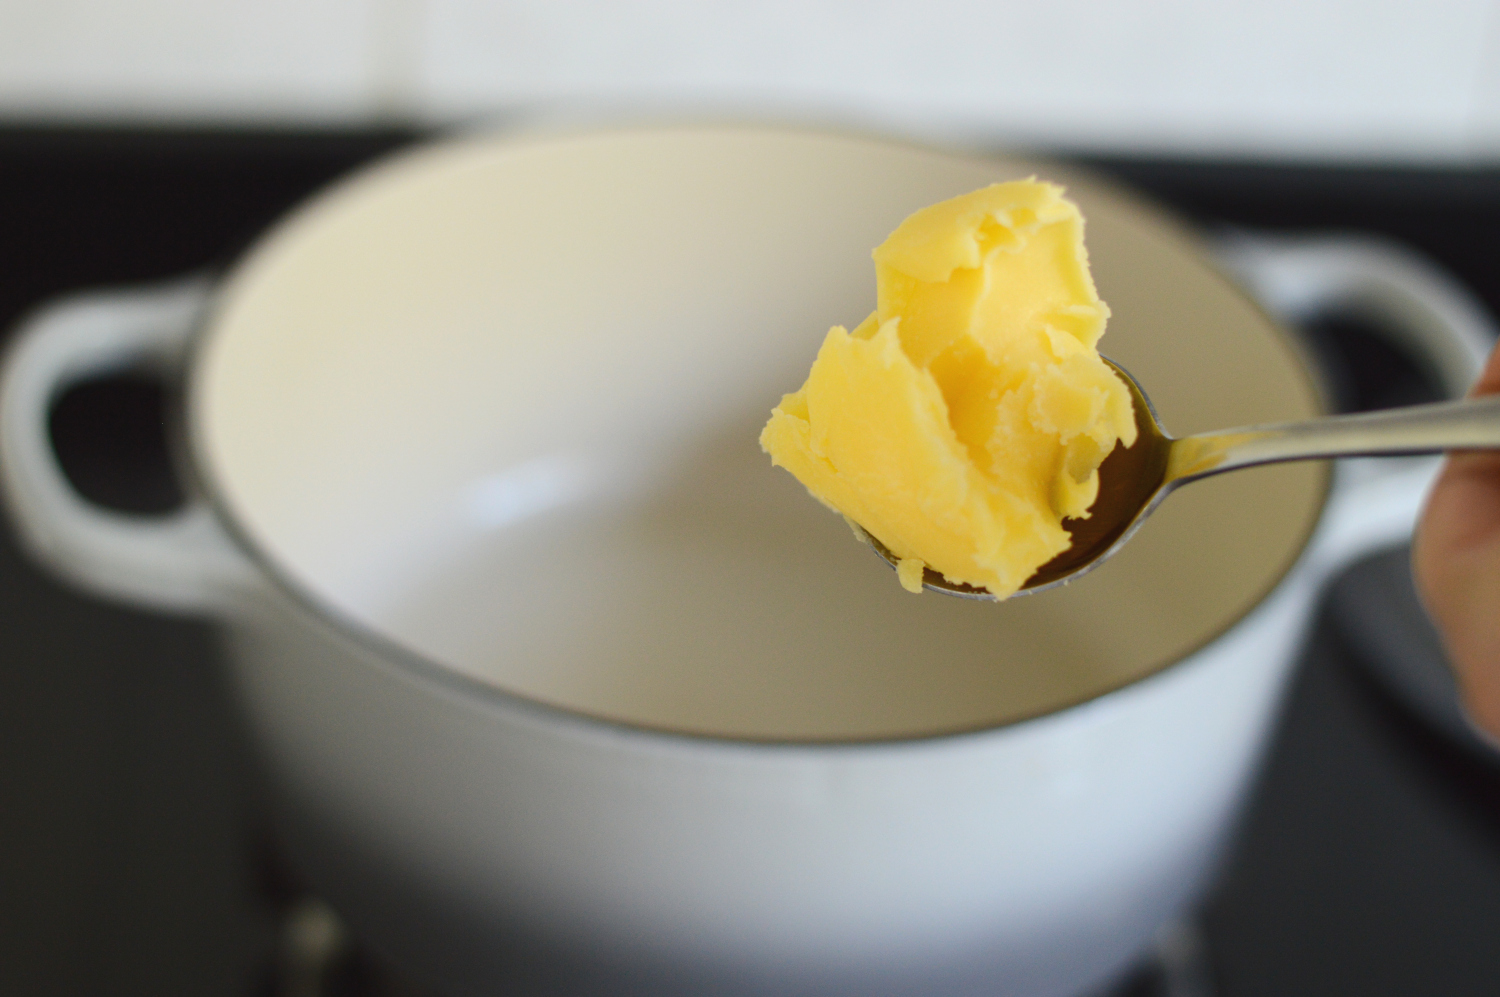
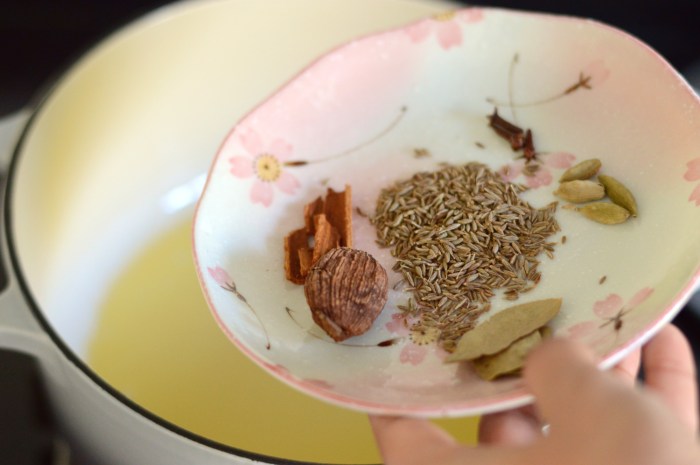
In a large pot of choice add some ghee and just as it melts add in the whole spices.

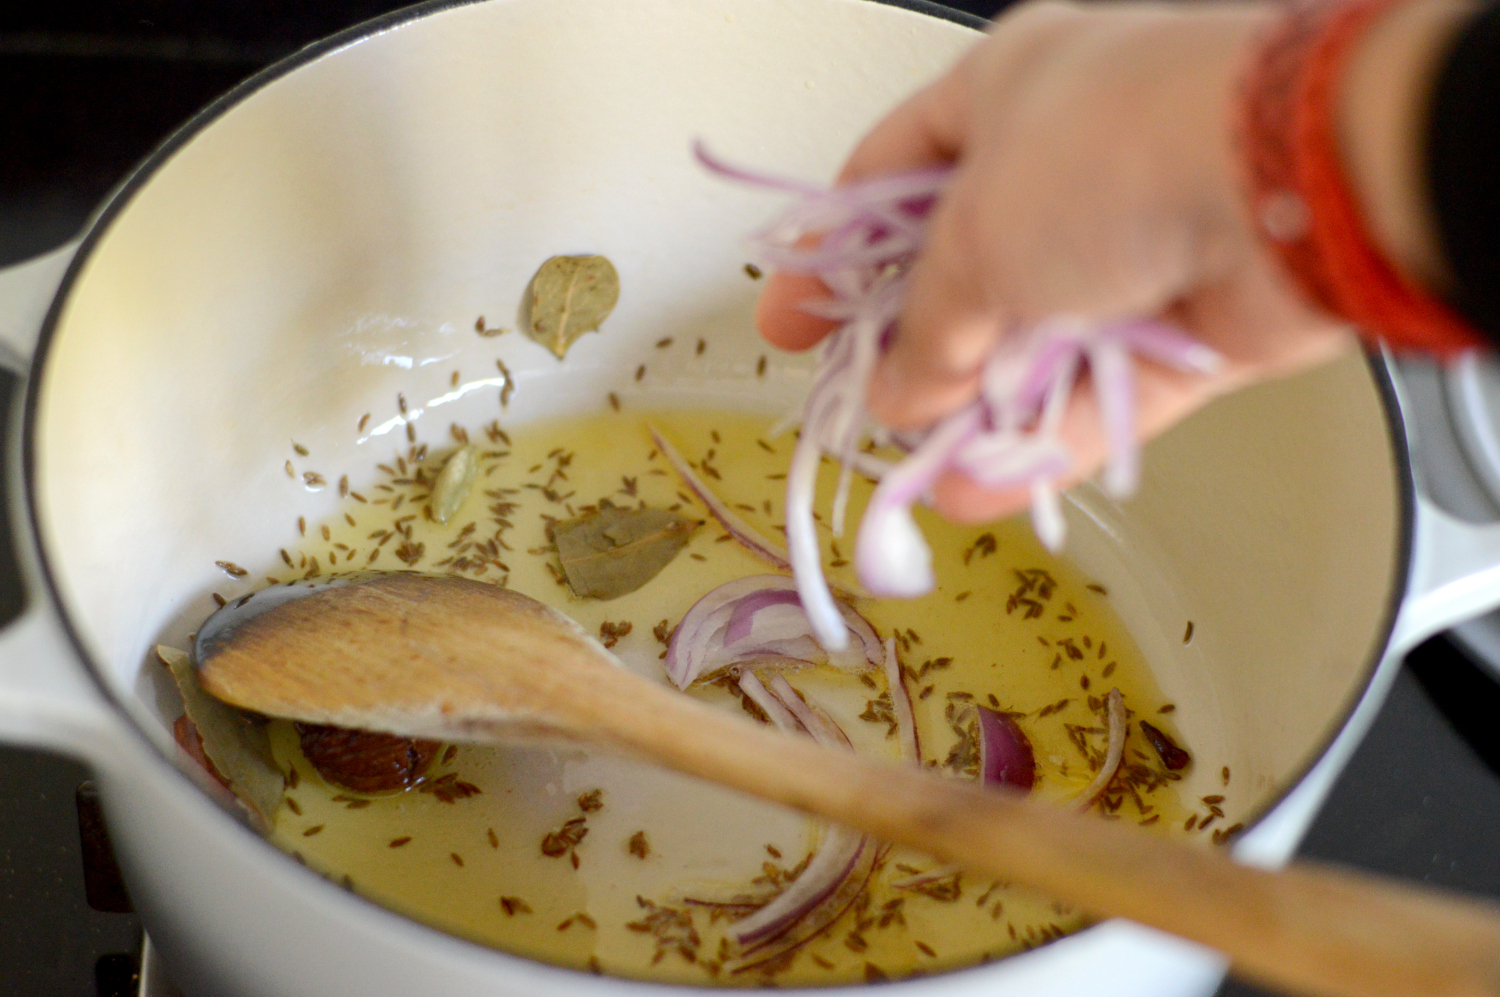
Just as the spices become fragrant add in the thinly sliced onions and the slit green chillies.

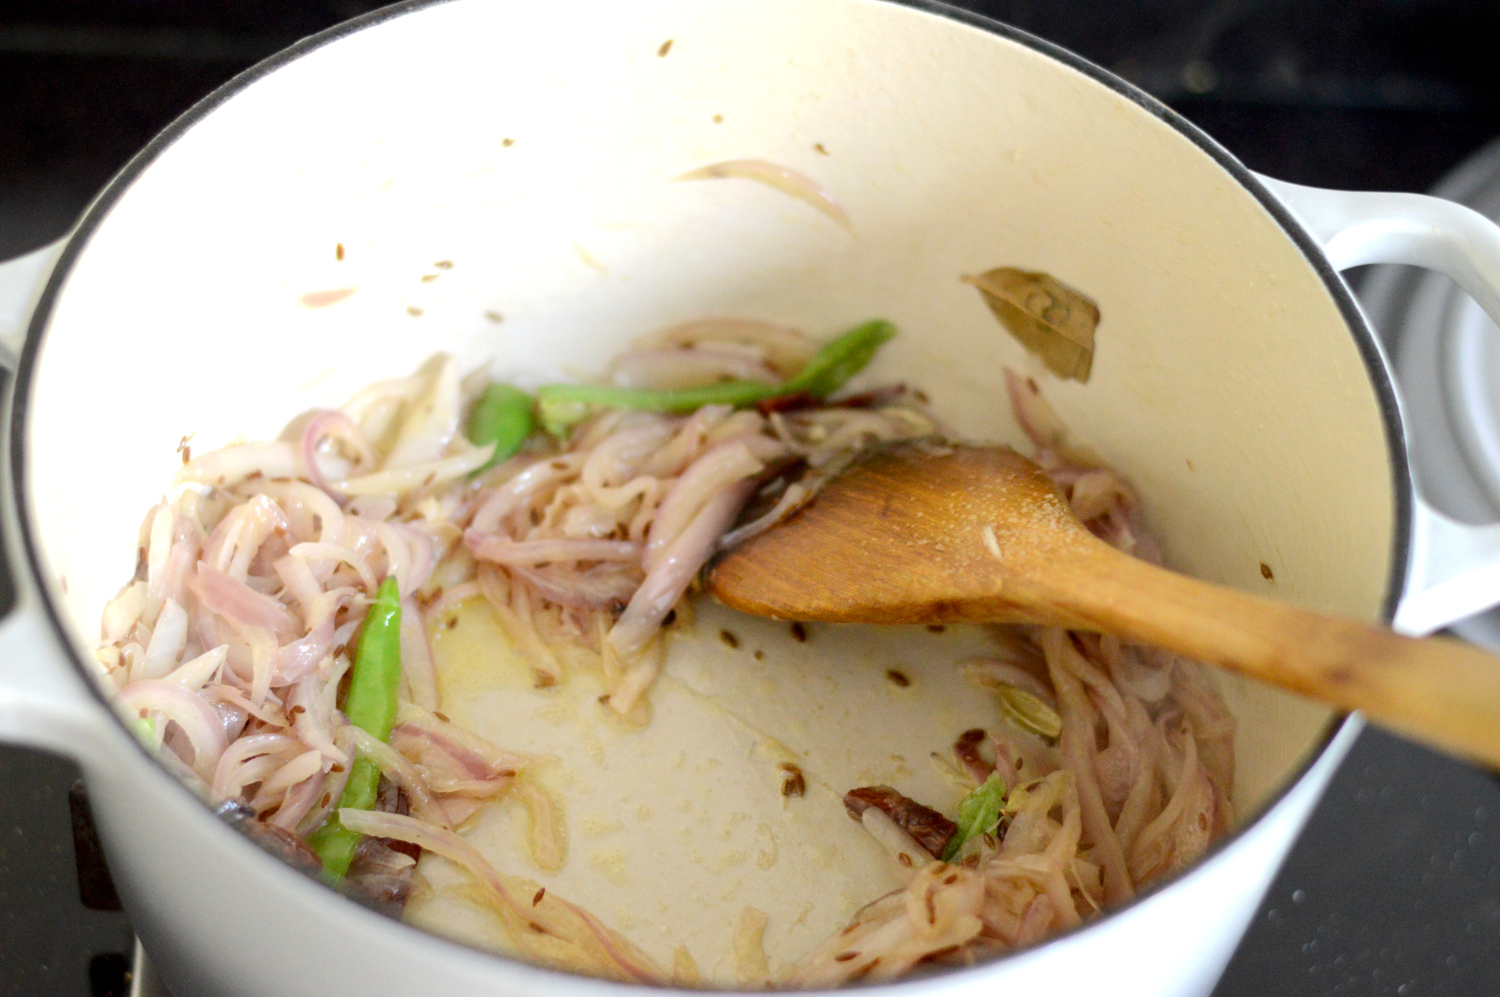
Add some salt and stir together. We want the onions to soften and colour slightly

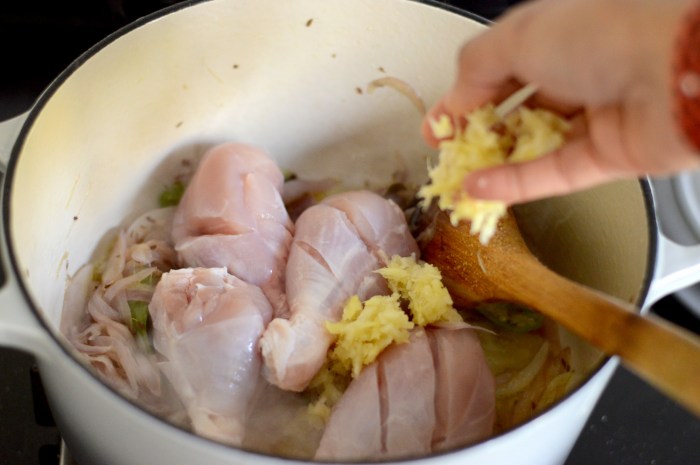
Just as the onions get a slight tan add in the chicken pieces and the ginger garlic.

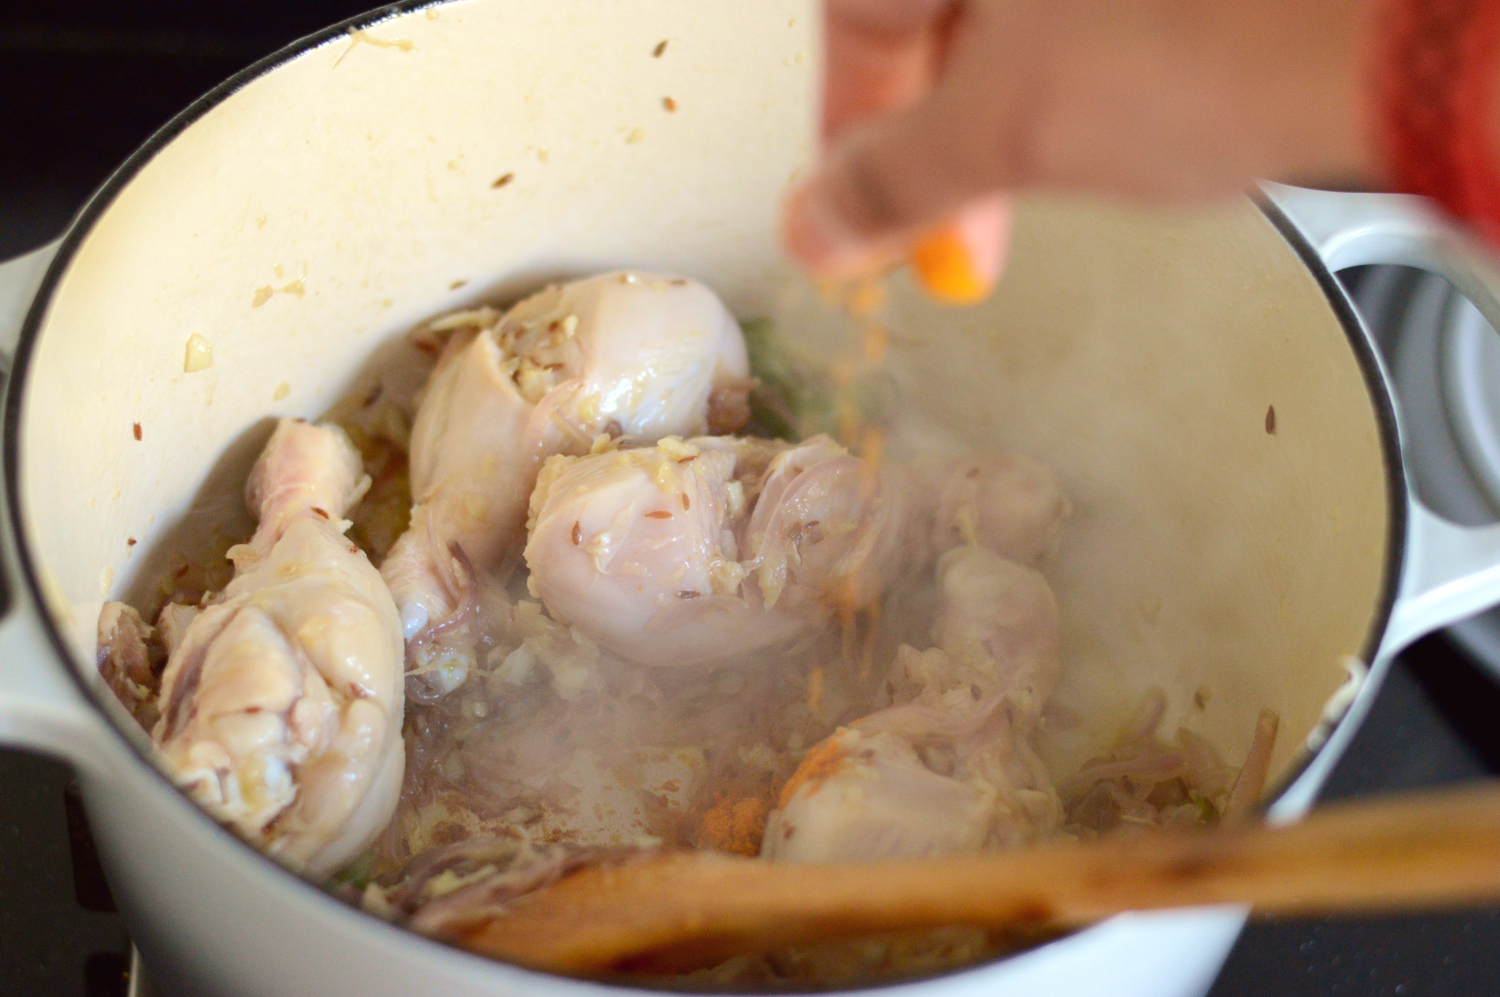
add in the turmeric powder and stir together to combine.

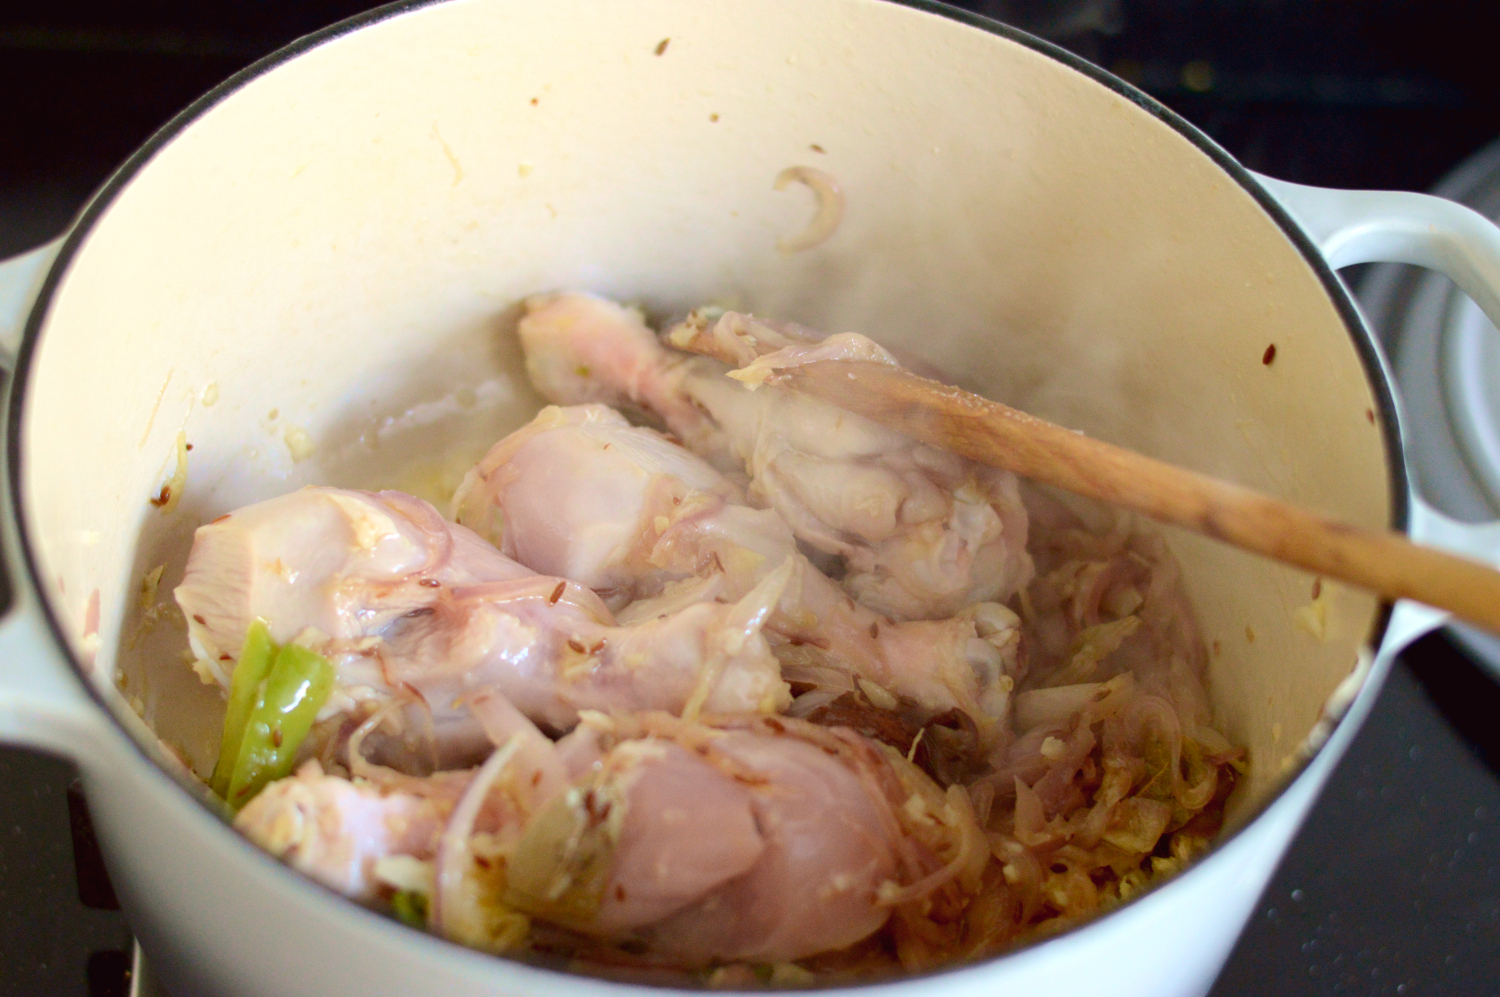
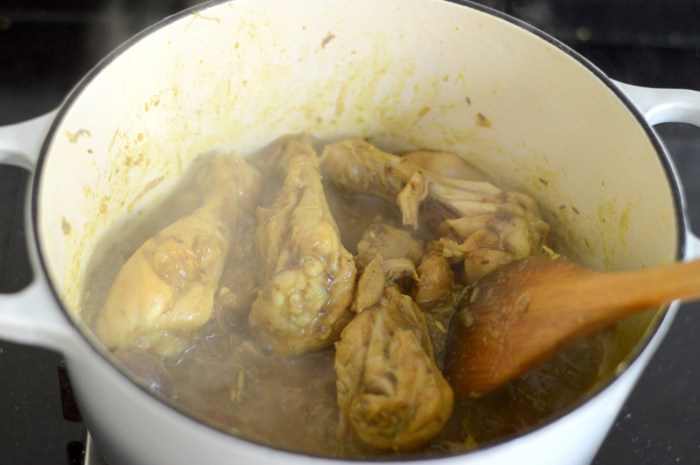
At this stage we want the onions to infuse their flavour with the ginger garlic and chicken and for that, we need to let them all cook together before proceeding. Adding a bit of water prevents the onions and chicken from sticking. Cover the pot and let everything simmer together for 5-8 minutes. Keep checking to see that nothing is sticking to the pot and add some more water if needed. This step is absolutely essential as it fuses all the flavours from the spices into this dish.

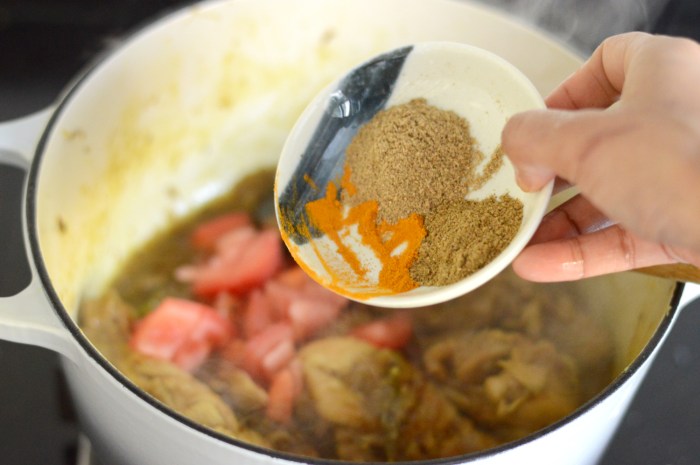
After some time you will see all the onions have cooked down to nothing save their delicious flavour. Now add in the tomatoes and the spices that is coriander powder and garam masala.

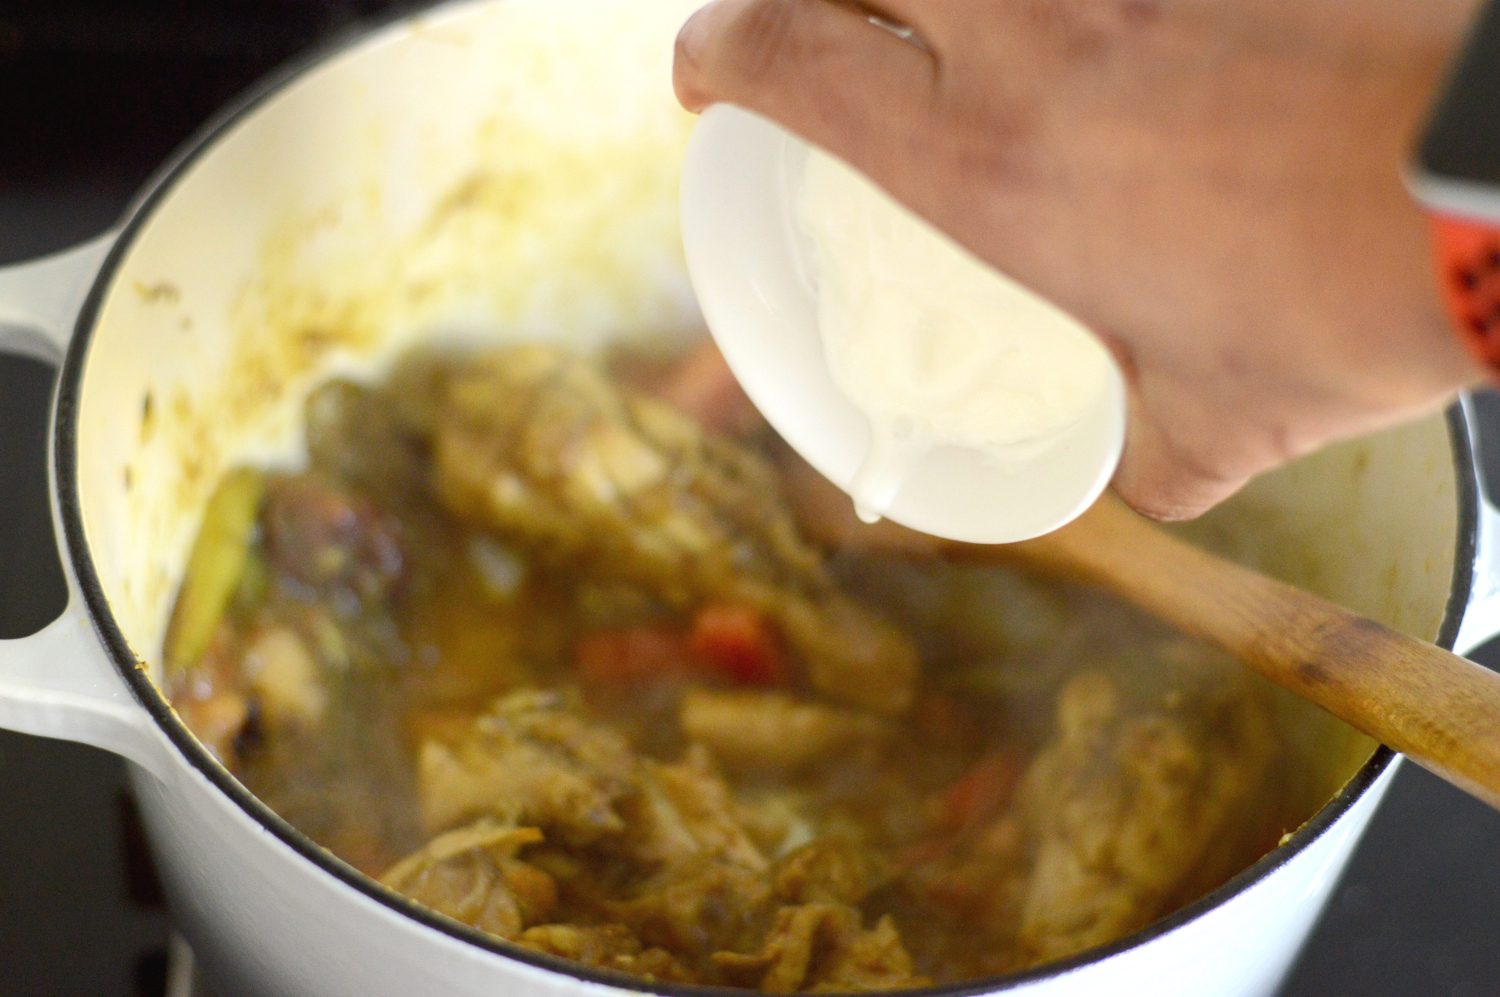
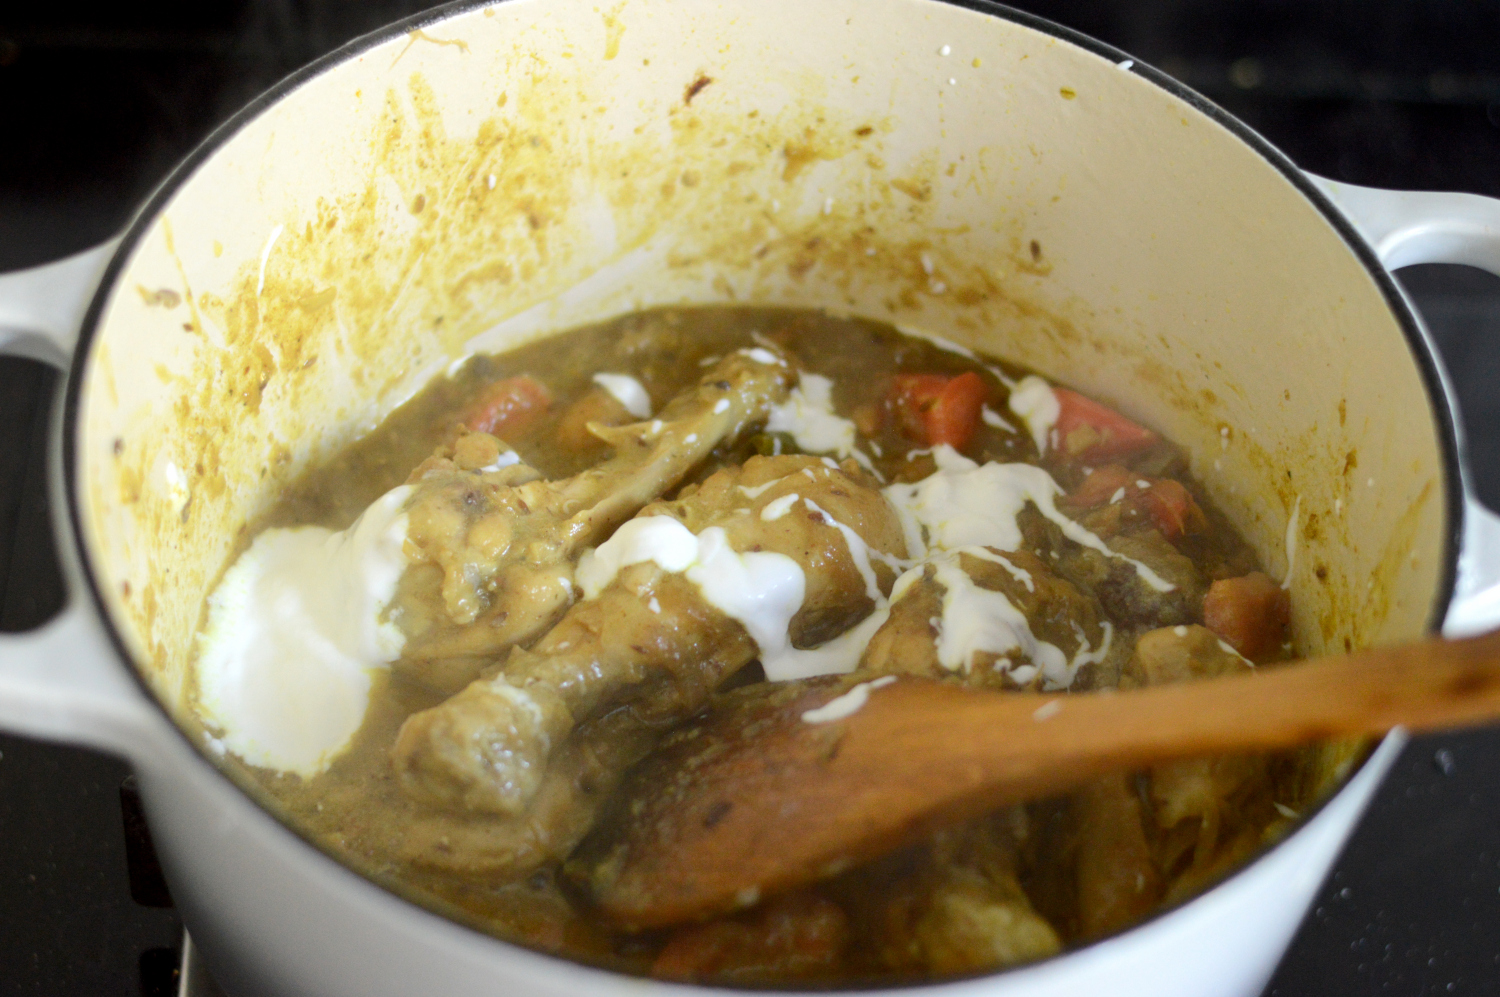
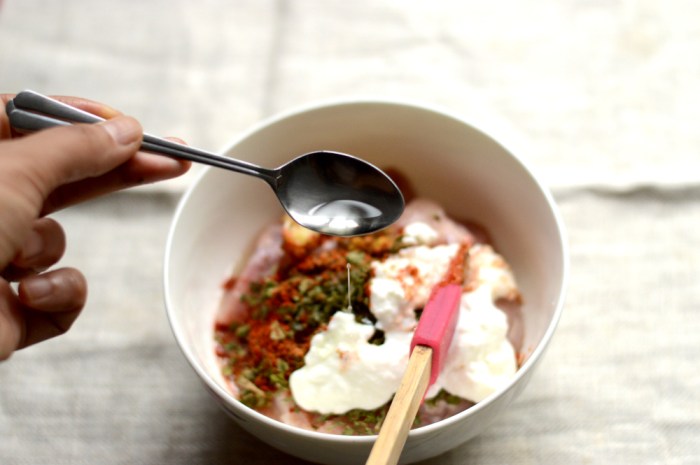
Stir to combine and add in the yogurt. Mix well and once again cover and let everything cook for another 5 minutes on a low flame.

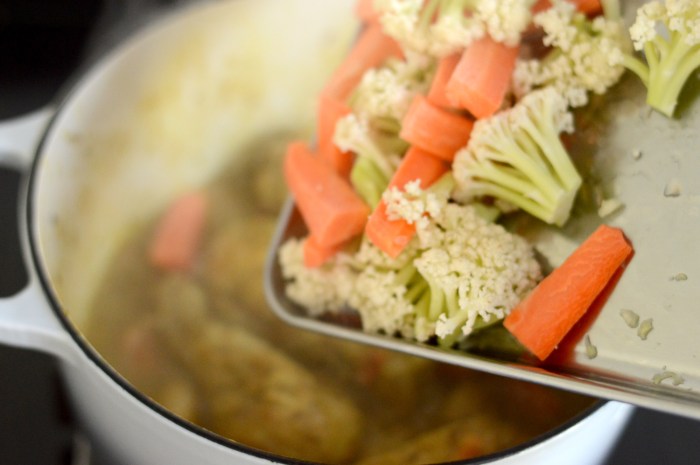
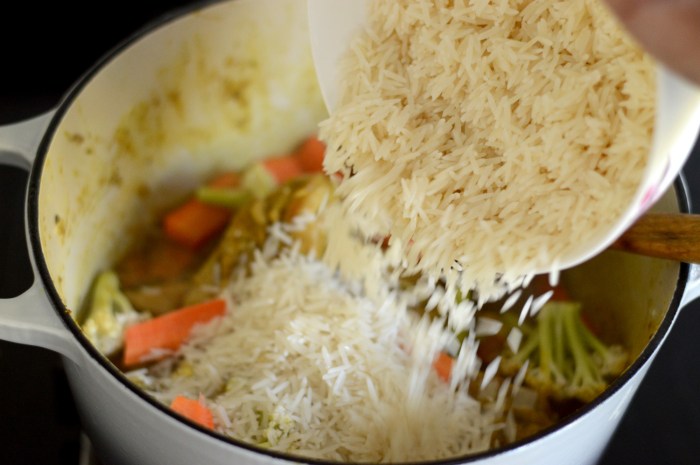
Now we can add in the vegetables and the rice.

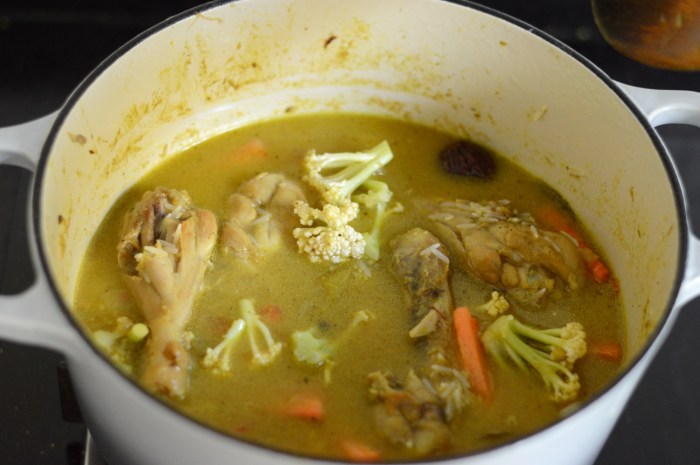
Add some more salt and water and let everything come to a boil before finally covering it and lowering the heat to its lowest possible setting and cooking for about 10-15 minutes or until such time as all the water has evaporated and the rice is cooked.

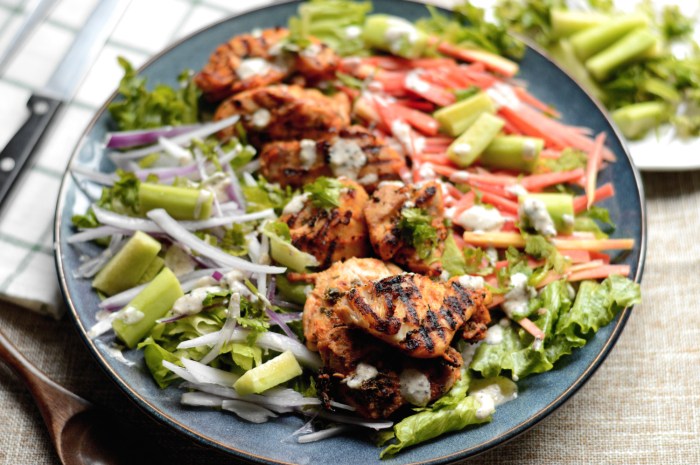
Once cooked let the pot stay covered for a few minutes before serving with some onions and chopped coriander.

This recipe once you’ve assembled all the ingredients is so much fun to cook, as the alchemy of all the flavors unfolds and everything turns into this amazingly unmatched one pot dish which is a must try!


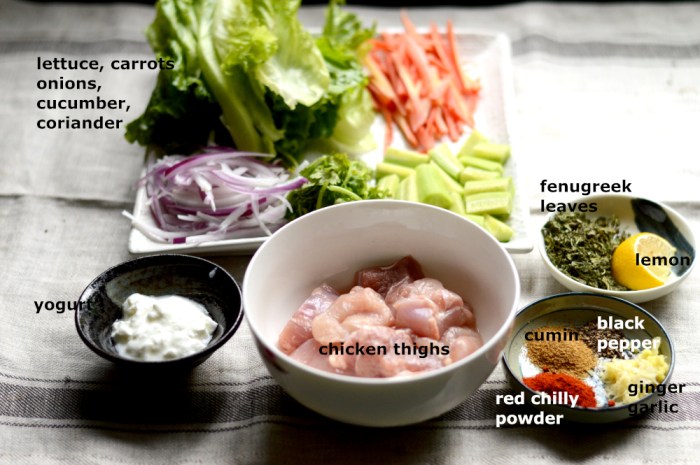
Recipe ingredients

Bone in chicken: 500g
Vegetables of choice : carrots, cauliflower, peas etc 200g
Basmati rice : 200g
Onion: 1 large
Garlic cloves: 5-6
Ginger: 2 inch piece
green chillies: 2-3
Tomato: 1 small
Yoghurt: 50g
Ghee: 40g 
Salt: to taste ( I used 2 tsp)
Water: to cook the rice (I use twice the amount of rice)
 --
Whole Spices
Black cardamom: 1-2 
Cloves: 2-3
Green cardamom: 3-5
Bay leaves: 1 large
Cinnamon: 1 stick
Cumin seeds: 1 tsp
--
Powdered spices
Turmeric: 1 tsp
Coriander powder: 2 tsp
Garam masala: 1 tsp

Recipe instructions

Soak the rice at least 30 minutes before cooking.

Thinly slice the onions and green chillies. Crush or mince together the garlic cloves and ginger. Chop the tomatoes into small cubes.

In a large pot on medium flame heat the ghee and add in the spices just as the ghee melts. Stir them together until fragrant and add in the sliced onions and green chilies with some salt. Cook the onions until softened and just beginning to turn golden.

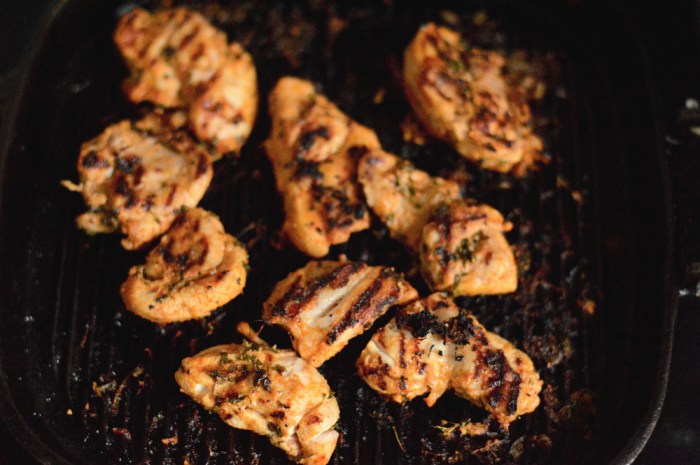
Add in the chicken pieces with ginger garlic and turmeric. Stir and cover the pot and let it cook down for about 5-8 minutes on medium low flame. Add some water if necessary and keep checking to ensure that nothing burns. This step will not only cook the chicken but also fuse its flavours with the spices.

After about eight minutes add in the tomatoes, remaining dried spices which are coriander and garam masala and yogurt and stir together to combine everything before once again letting it all cook for about five more minutes.

Now add in the vegetables, soaked rice, some more salt and water. Let it all come to a bubble before slowly cooking it all covered on a very low flame for about 10-15 minutes.

Check after the 8 minute mark to see if the water has evaporated and the rice is cooked.

Once done, keep the pot covered and let it rest for a few minutes before serving with onions and some chopped coriander or absolutely nothing because this pulao is so delicious on its own you barely need anything else with it.

Enjoy

Chicken tikka salad


This summer had me realizing all my salad dreams. I don’t know how it came to be but I found myself wanting to eat salad almost everyday for lunch and thusly creating all my favourite preparations into salad forms. Maybe it’s the crunch that I wanted or perhaps the effects of the extreme heatwave and unforgiving humidity had me needing all that was abundant and high in water content. Whatever the case maybe, I am delighted to have actually munched my way through hundreds of lettuce heads this year.

This chicken tikka salad is no different. Abundant with fantastical spices of a traditional tikka and light in its delivery, laid on a bed of raw vegetables, this salad has it all, that is the oomph of traditional flavours with a zingy dressing that won’t make you miss the naan.

Of course there are days when these succulent pieces of chicken wrapped in naan or stuffed between a couple slices of bread do the needful, but on days when you’re looking for something light and yet special this tikka salad is an uncompromising substitute.

the ingredients are simple. Chicken, yogurt, cumin, pepper, ginger and garlic paste, red chilly powder, fenugreek leaves, lemon. yogurt and your favourite vegetables for salad.

Slice the chicken into bite sized pieces. In a bowl marinade the chicken with lemon, fenugreek leaves, ginger garlic paste, cumin, pepper, red chilli powder and yogurt. Add some oil and mix.

Once mixed, cover and let rest for at least ten minutes before cooking.

In the meantime we can make some dressing for the salad with some yogurt, black pepper, cumin powder, salt, garam masala and lemon.

Prep the vegetables for the salad by cleaning and chopping them into bite sized pieces. You can use whatever vegetables you like to eat raw.

I like to grill the chicken for tikka only because I love the stripes but it’s not needed. A regular skillet works just as fine if not better. Cook the chicken on both sides until well cooked and slightly charred for the smoky resonance.

The vegetables I’ve used here are lettuce, onions, carrots and cucumber. It’s really up to individual preference here. I have tried substituting shredded cabbage for lettuce and it works just as well.

Drizzle the yogurt dressing on top and enjoy.

This is a simple recipe with such complex flavours that you’d never realize it took you barely thirty minutes to put together this fabulous meal.


Ingredients

Chicken - 200-350g
Yogurt- 50g
Fenugreek leaves- 2 tbsp
Red chilli powder- 1 tsp
Ginger garlic paste- 2 tsp
Salt to taste
Lemon- 2 tsp
Cumin powder- 1 tsp
Black pepper- 1 tsp
Oil-2 tsp

-----

For the dressing

Yogurt- 1 tbsp
Garam masala- 1/2 tsp
Cumin powder- 1/2 tsp
black pepper- 1/4 tsp
salt to taste
Lemon- 1/2 tsp

--
for the salad

lettuce- 1 head
carrots- 1 medium
Cucumber- 1 medium
Onion- 1 small
Coriander leaves

Recipe instructions

Chop the chicken into bite sized pieces and mix into a bowl with lemon, fenugreek leaves, dried spices, yogurt, ginger garlic paste, salt and oil. Mix well and let rest at room temperature for ten minutes.

In a small bowl mix together the yogurt, garam masala, cumin powder, black pepper, salt and lemon to prepare dressing. Refrigerate until ready to serve.

Wash, clean and prepare the vegetables by choppin into bite sized pieces.

Heat a grill or skillet and lay the marinated chicken pieces. Cook on both sides for at least 5 minutes or until completely cooked and slightly charred and smoky. Let cool for a few minutes before adding to the vegetables.

Lay the cooked chicken over vegetables and drizzle with the yogurt dressing.

Serve.


Chicken katsu


DSC_0572

Chicken katsu, one of those exquisitely done Japanese morsels of fried cutlet done just right. Golden, crunchy and juicily subtle. These breaded pieces of fried chicken encompass the elegance that somehow a chicken bucket does not. Either cut into dainty strips or fried in small portions, chicken Katsu is a sure fire easy as breath and quick to jeuje up fantastical dish that everyone can easily have in their repertoire.


DSC_0529 copy

it’s done pretty much the same way you would these fish fingers    . The principles are the same and so is the technique, though you can play around with how you’d like these cutlets to taste.  The usual fare of eggs, garlic powder, salt, pepper, flour, bread crumbs and chicken breasts that I have sliced into fillets.

The one thing to note here is that instead of regular breadcrumbs Panko breadcrumbs would be more appropriate while preparing katsu, but all I could find in the grocery store were ‘Japanese style breadcrumbs’. 


DSC_0530

begin by seasoning the chicken with garlic powder


DSC_0531

pepper


DSC_0532

and salt


DSC_0533

smoosh them together until chicken is well coated and let it rest while we get on with the breading station.


DSC_0536

I used two plastic food bags to coat and bread the chicken because I didn’t think I wanted to wash too many dishes, and this just works.

DSC_0537

Season the breadcrumbs with some paprika because it helps brings out a better colour when fried.

DSC_0538

flour in another plastic food bag.


DSC_0539

so here you have it. the stage is set for frying


DSC_0541

Into the flour

DSC_0542

coat it well

DSC_0543

followed by an egg bath

DSC_0545

after which a casual lay about in grainy crumbs

DSC_0546

you can also scrunch about the plastic bag to make sure it’s all coated.


DSC_0548

It hardly takes time and before you know it, there are three richly swaddled pieces of chicken sitting pretty on your station.


DSC_0549

You can deep fry these if you want, but I’m totally into shallow frying things, because deep frying makes me nervous.


DSC_0550

Lay these gently in a pan once the oil is hot and cook each side for 4-5 minutes depending on the thickness of chicken pieces until the outside is bronzed and crisp while the insides retain their juiciness without being overdone or undercooked.


DSC_0553

fish them out on a paper towel to let them drain


DSC_0554

check for doneness if you want. This one was well done, moist and delightfully flavourful


DSC_0556

serve with fresh vegetables or salad or even fries if you want. I like mine with a bit of steamed broccoli.


Chicken katsu Ingredients

Bread crumbs: 75 g (1 cup)

Flour: 60g (1/2 cup)

Garlic powder: 1 tsp

Pepper: 1/2 tsp

Salt: 1/2 tsp (the image shows 1 tsp, but 1/2 tsp should be enough, or to taste)

Paprika: 1/2 tsp

Eggs: 2

Chicken breast: 150 g either sliced to fillets or flattened out to quicken and ensure even cooking.

Oil for frying


Recipe instructions – Coat the chicken evenly with garlic powder, pepper and salt and let it marinade for a few minutes.

In separate dishes assemble the eggs, flour and breadcrumbs. Add paprika to the breadcrumbs.

Coat the chicken first with flour, followed by eggs and then breadcrumbs.

Heat oil in a pan over medium heat, slowly place the breaded chicken pieces. Cook the chicken for 4-5 minutes on each side until the exterior is crisped up well and the insides are cooked. It’s for this reason you don’t want to use a thick piece of meat.

Drain on a paper towel for a minute and cut through to check for doneness.

Serve hot and crunchy with a cooling salad or steamed vegetables.

Enjoy!


Spicy baked chicken and potatoes


DSC_0275
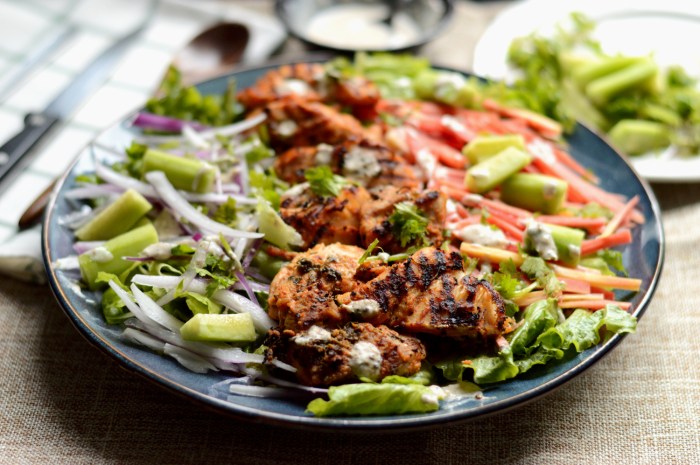
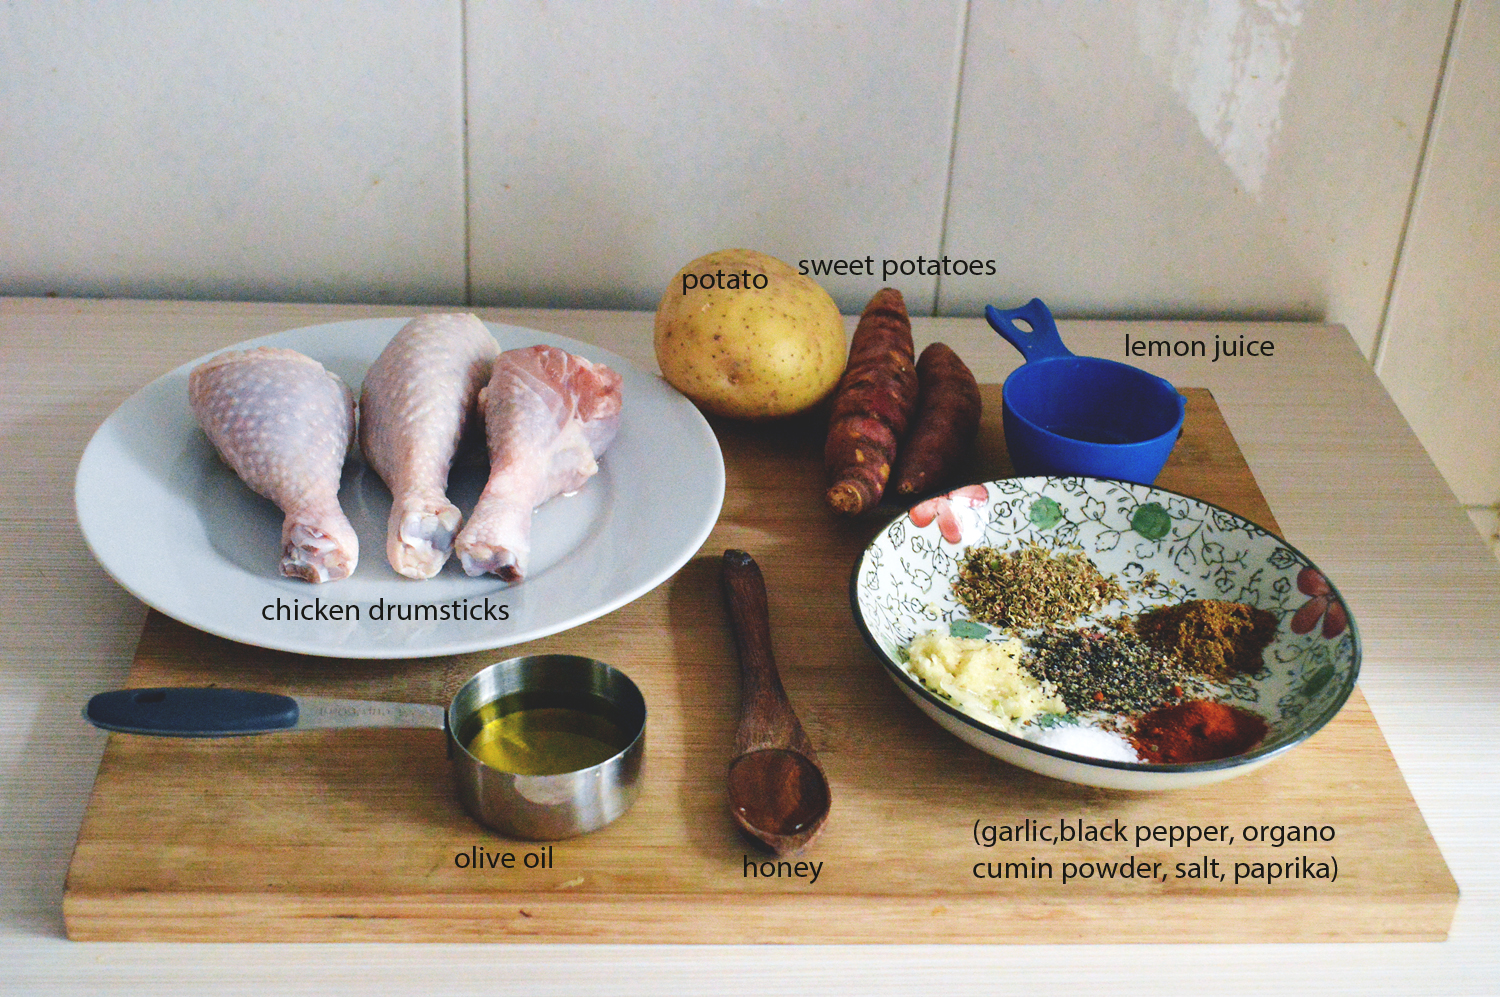
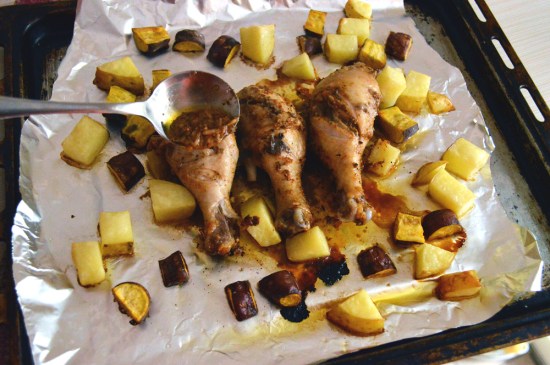
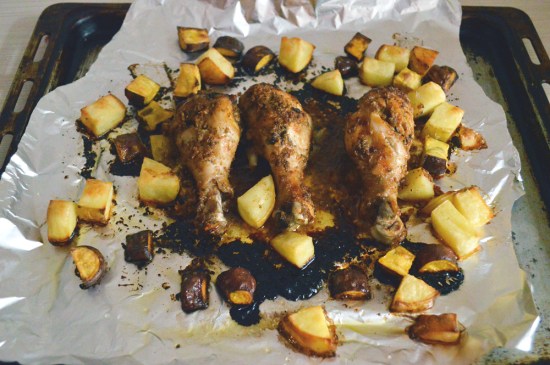
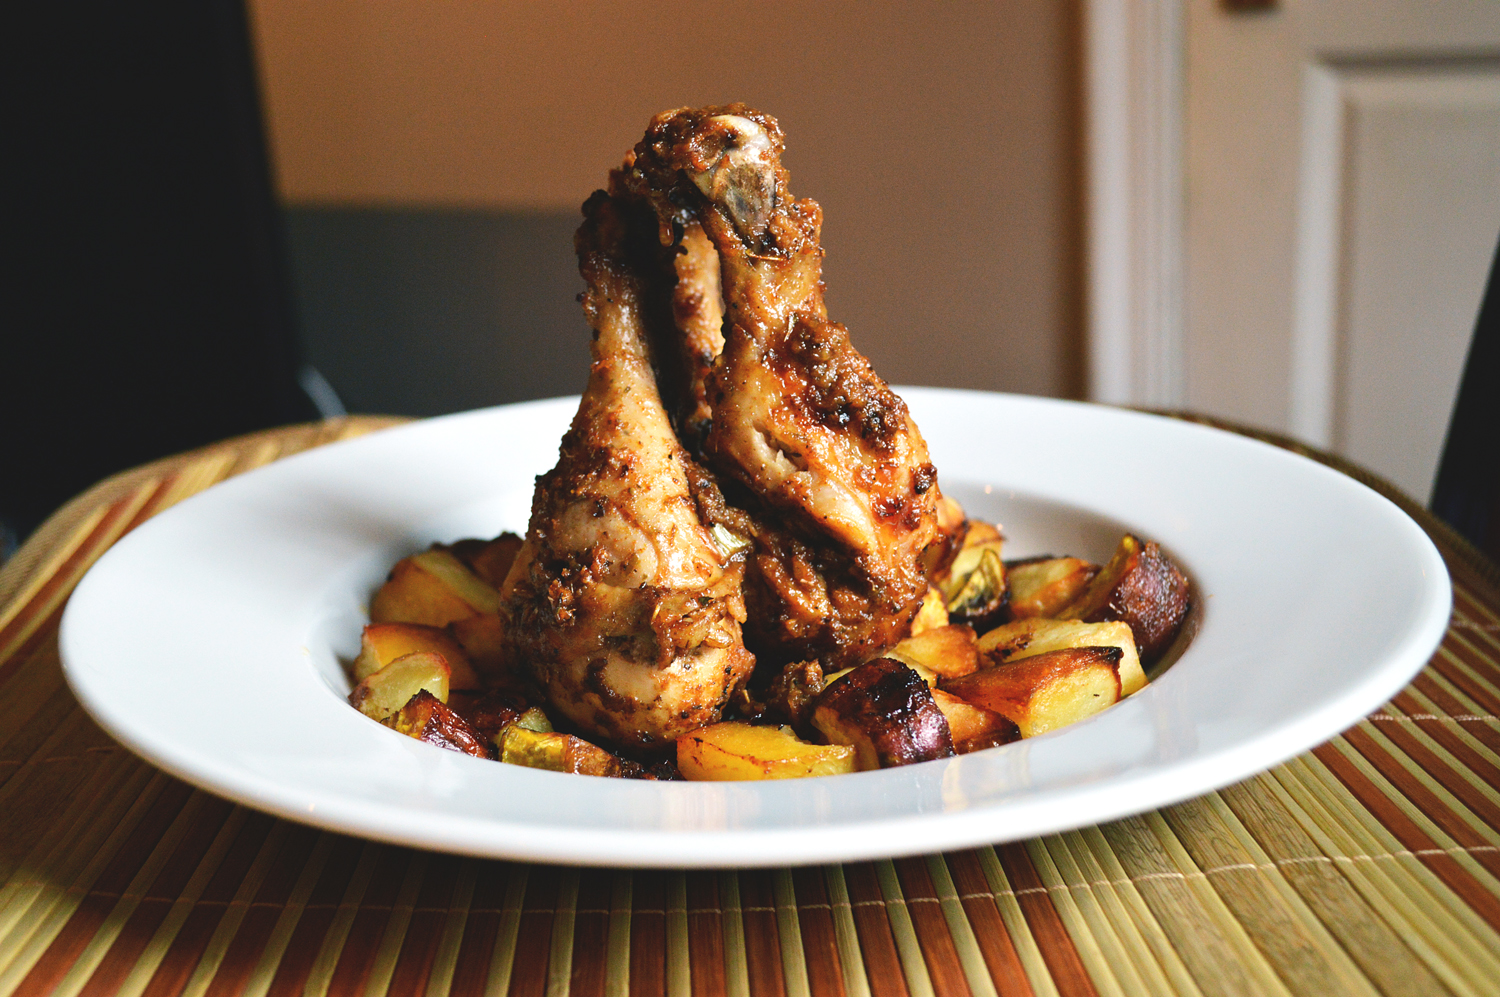
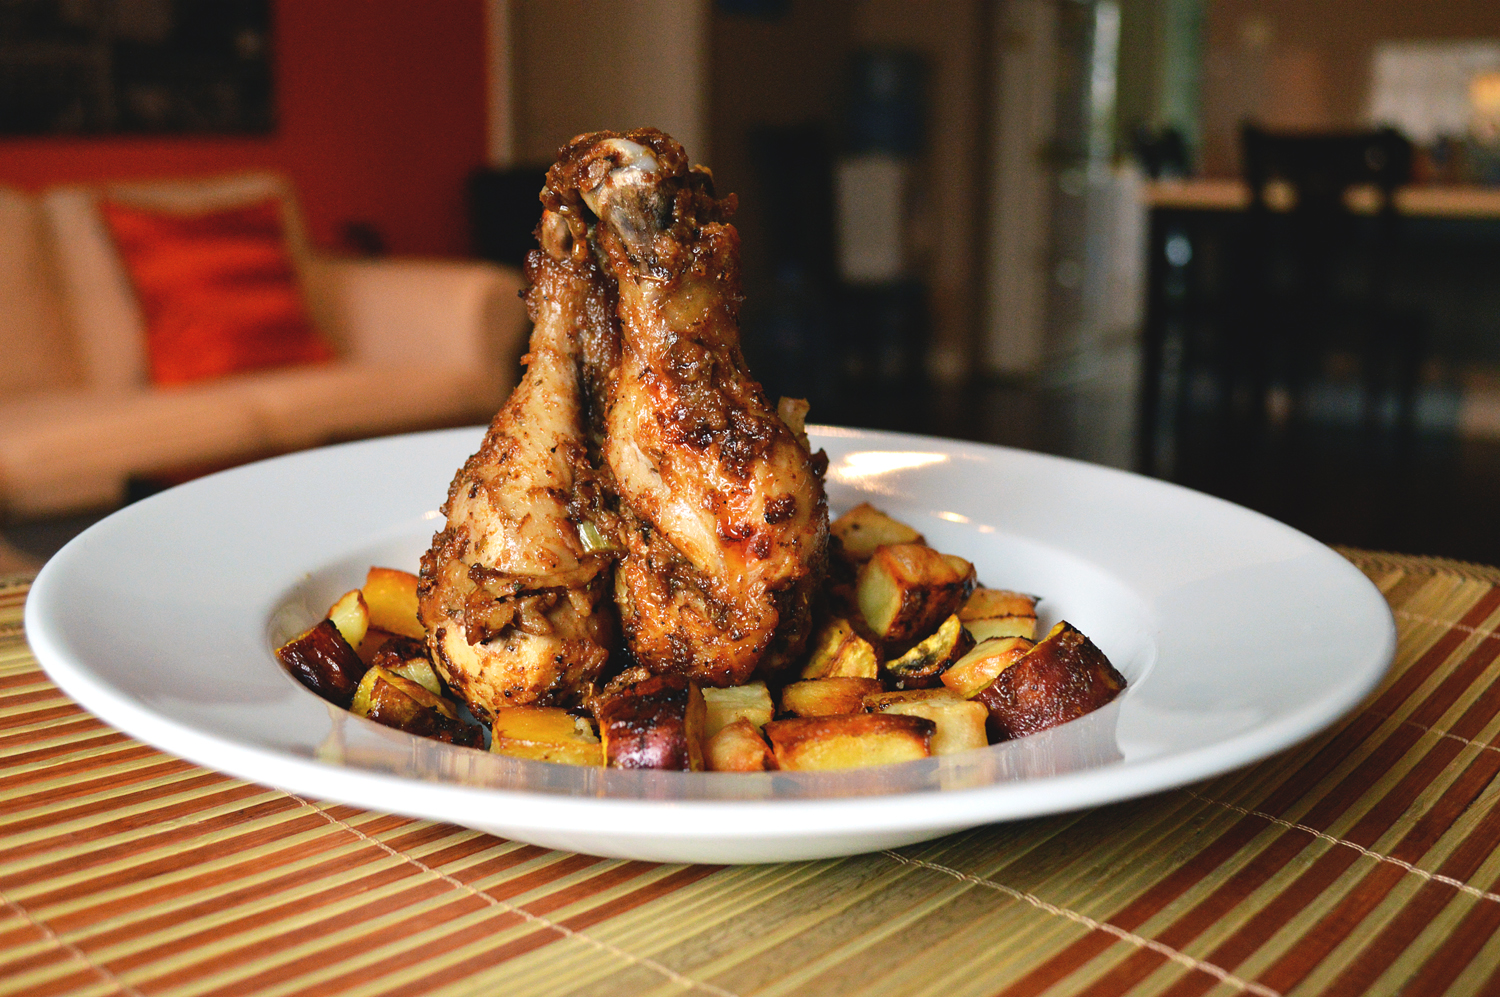
When you can feel the carnivore inside of you bubbling with primal instincts to tear into something meaty, something delicious and spicy, this chicken recipe with potatoes is just the thing. Savagely inoculated with flavours on a loudspeaker, there is nothing remotely subtle about this dish. It’s deliciously loud with mouthwatering piquancy, tender, juicy of flesh and drool inducing. The balance of tastes rendered stupefyingly lush with succulent aromas is so heady that it’ll send your entire house warming with tempting incense of tantalizing proportions.

Cooking it with potatoes just makes it a more complete meal, and there’s nothing more you’d wish for a better lunch.


DSC_0213 copy

It doesn’t involve much in the way of fanfare, and most ingredients are easily available. Chicken drumsticks, olive oil, honey, crushed garlic, oregano, cumin powder, paprika, salt, black pepper, lemon juice and potatoes. I’ve used two different kinds of potatoes, but feel free to use whatever potatoes you like or have on hand.


DSC_0215

for tender, juicier results we want to marinade the chicken for which you begin by slashing said chicken down to the bone. This helps with even cooking, and lets the spices penetrate in deep.


DSC_0217

The marination is easy. Mix all the spices in a bowl


DSC_0220

along with lemon juice


DSC_0222

honey


DSC_0224

and olive oil


DSC_0225

mix it all together to form a sort of paste.


DSC_0226

Coat the drumsticks in the the marinade, making sure it’s seriously coated.


DSC_0227

cover with a cling wrap and let it marinade in the fridge for a couple hours. You can do this bit of activity sometime during breakfast if you want to make it for lunch.


DSC_0229

Prep your potatoes by cutting into bite sized cubes


DSC_0230

drizzle a bit of olive oil


DSC_0231

and a bit of salt. Nothing else needs be done to the potatoes.


DSC_0233

Be sure to take the chicken out of the fridge at least 15 minutes before baking, so as to allow them to come to room temperature.


DSC_0234

give it a final quick mix in the marinade before baking


DSC_0235

place drumsticks on a bed of potatoes and bake at 200° for 30-35 minutes


DSC_0249

about half way between baking time pull out the chicken and slather all the remaining marinade on top and under using tongs to rotate these pieces to get an even marination.

You won’t believe how good it smells.


DSC_0252

This is it! they’re done. Let them rest for a few minutes before chomping in. Tender, moist, juicy, succulent. They’re so delicious you’d have to find another word for delicious, and don’t even get me started on the potatoes that have soaked in the flavours from the marinade and turned into crispy pieces of delectable spuds. YUM!


DSC_0284


Ingredients

Chicken drumsticks: 3-4 in nos.

Potatoes: 2 in nos (1 sweet and 1 regular baking potato)

olive oil: 1 tsp

salt: 1/4 tsp

For the marinade

Crushed garlic: 1 Tbsp (2-3 garlic cloves)

Dried oregano: 1 Tbsp

Cumin powder: 1 Tbsp

Paprika: 1 Tbsp

Crushed black pepper: 1/2 Tbsp

Salt: 1 tsp

Lemon juice: 2 Tbsps

Honey: 1 tsp

Olive oil: 4 Tbsps (60 mls)


Recipe instructions

Make slashes on the chicken drumsticks to the bone, especially on its thickest parts, and make sure the meat has no water sticking to it or dry it with a paper towel. This helps the marinade cling better.

For the marinade, mix all the spices, salt and crushed garlic in a bowl along with lemon juice, honey and olive oil. (the addition of honey doesn’t sweeten anything except balance the tartness and spiciness of the marinade). Give it a good mix until everything is well incorporated and toss in the chicken. Use tongs for even coverage of the mixture on the meat.

Cover and let rest in the fridge for a few hours before baking.

Pull it out of the refrigerator at least 10-15 minutes before baking time to let it come to room temperature, thus ensuring even baking.

Chop potatoes into bite sized cubes and drizzle with olive oil and sprinkle salt. Cover baking tray with aluminium foil and place the potatoes and chicken drumsticks. Bake in a preheated oven at 200° for 30-35 minutes.

Halfway between baking time pull the chicken out of the oven and drizzle all the remaining marinade to coat or rather smother it, using tongs to flip the chicken on all sides to soak up the marinade.

Bake it for remaining time and let rest for a few minutes before serving.

NOTE: To know whether the chicken is done, insert a knife in the thickest part of the drumstick, and if the juices run clear then it’s cooked. If the juices are still red then you need to put it back into the oven.

Serve on a warm plate.

DSC_0280

Enjoy!!