Salmon fried rice


DSC_0265

This is just the kind of food you want to indulge in from keeping your waistline into an ever expanding universe. Healthy, nourishing, nutritious and all too tasty..how often do you even read all these adjectives in the same sentence?

Well my darlings, if you’re still on about healthy eating this year (why?), then this fantastic recipe is the one for you. Packed full on with flavours, yet strangely subtle. This bowl promises to comfort without making you fat. It’s sustenance and all too easy to scarf down in heaping abundance. No guilt, only pleasure. Your taste buds will thank you and your insides will give a content round of applause. It’s so easy and quick to put together that you’ll see yourself tottering in smug satisfaction as you lay this humble yet celestially righteous bowl of gratifying health for all to see and eat.

This does a superb double take as not only a solitary lunch but also as a quick meal for many.


DSC_0224 copy
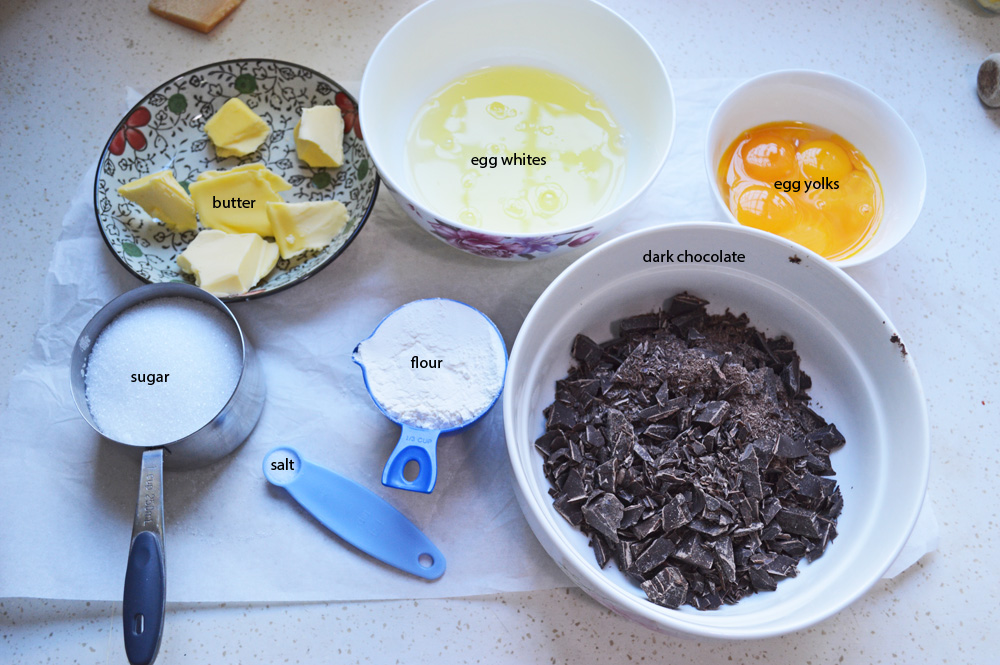
A bit many ingredients, but they’re not a whole lot.paprika, black peppercorns, cumin seeds, salt, lemon zest and lemon juice, chopped onions, ginger and garlic as the flavour base. Salmon, peas and spinach, hard boiled eggs and that’s really it. (psst. use any fish you have available)


DSC_0227
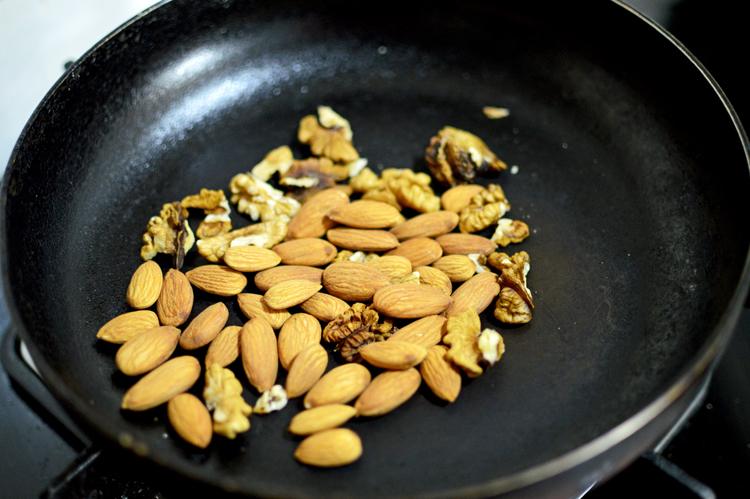
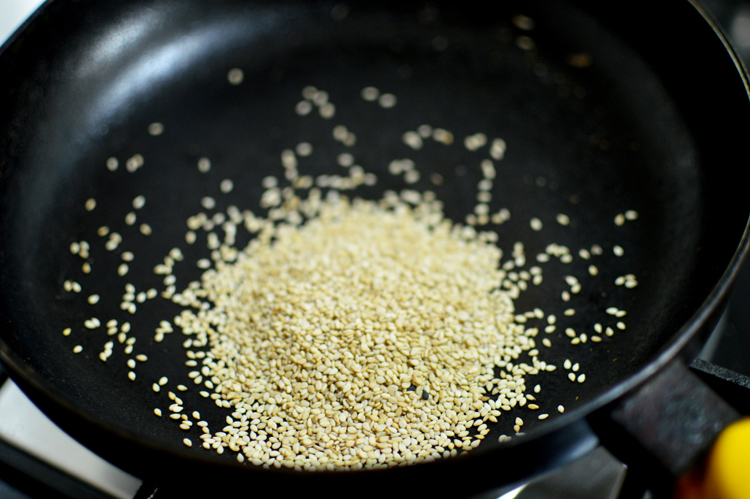
dry roast the cumin and peppercorns, until they’re just fragrant


DSC_0230These need to be crushed along with other spices


DSC_0231

DSC_0232
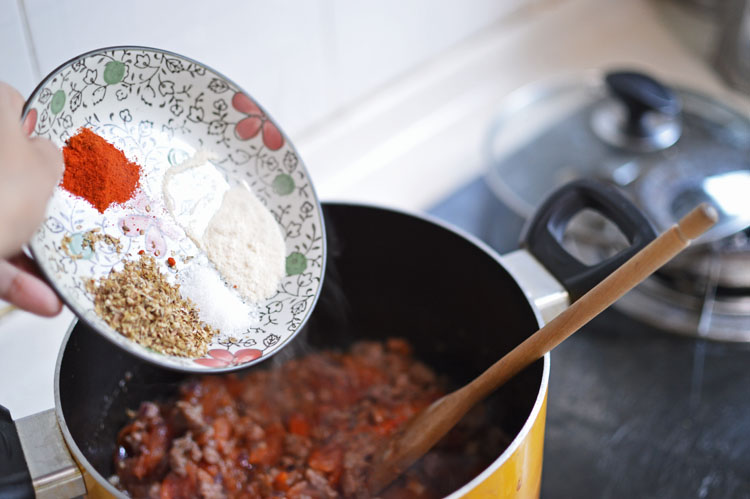
In with the salt and paprika


DSC_0233and you crush it within an inch of their existence, or until they’re nicely crushed


DSC_0235like so..


DSC_0236
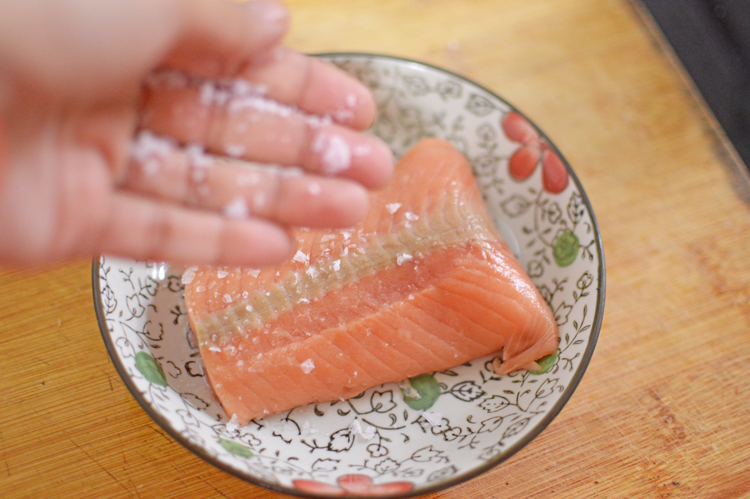
now for a gentle massage or rub..however you prefer


DSC_0238
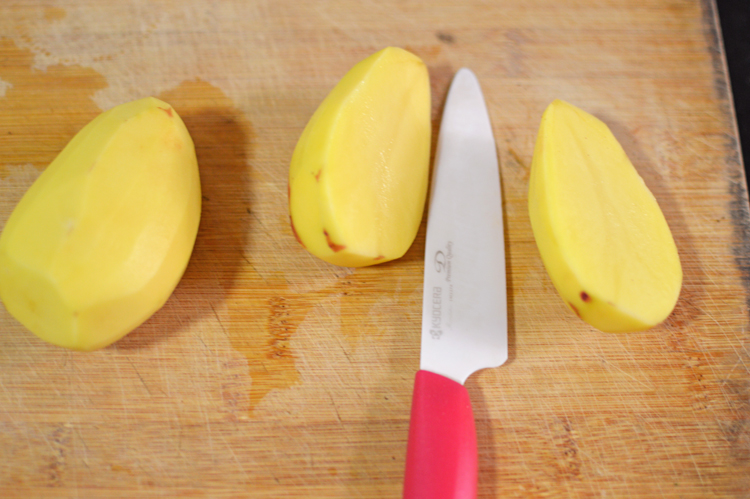
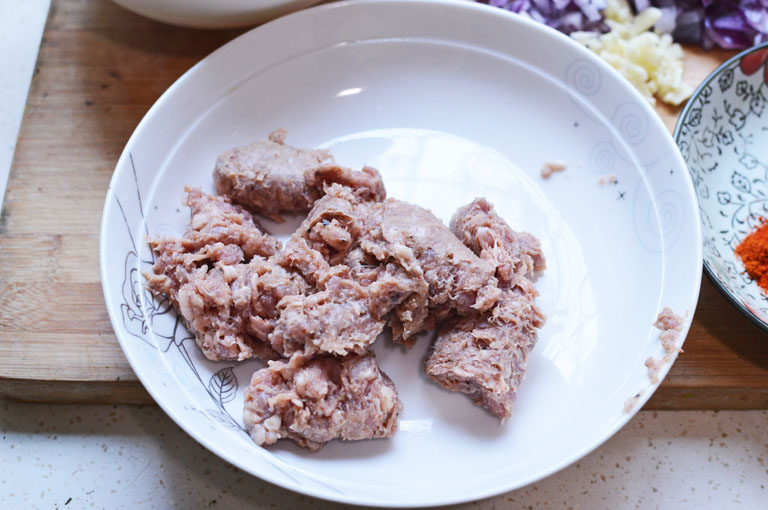
an now for a bit of tasteful dismemberment..or you can just cut in to chunks


DSC_0239
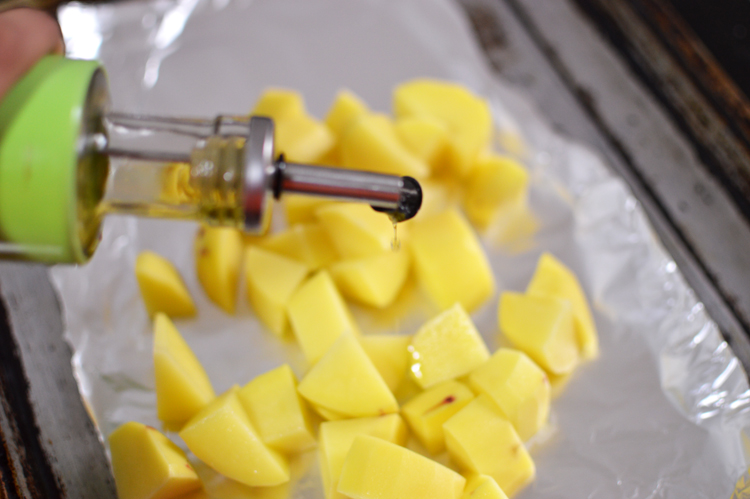
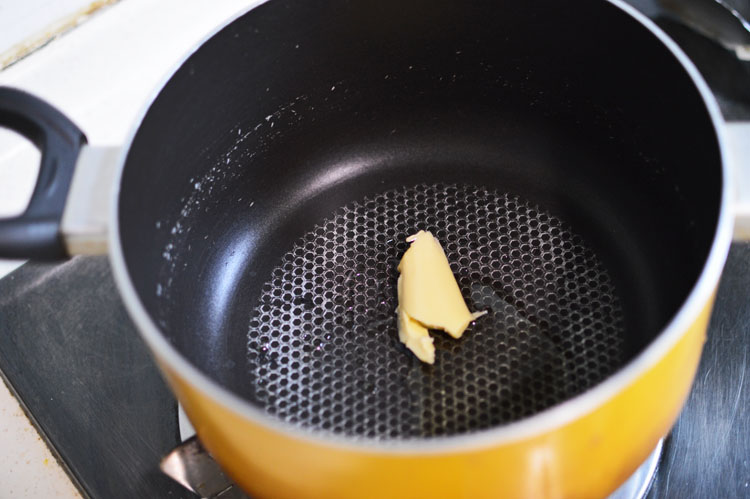
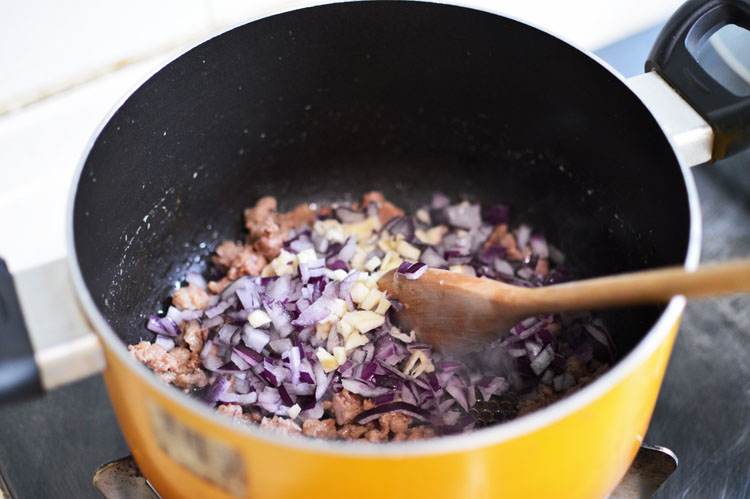
In a pot of choice, heat some oil and add in the chopped onions


DSC_0241casually throw in the chopped ginger


DSC_0244
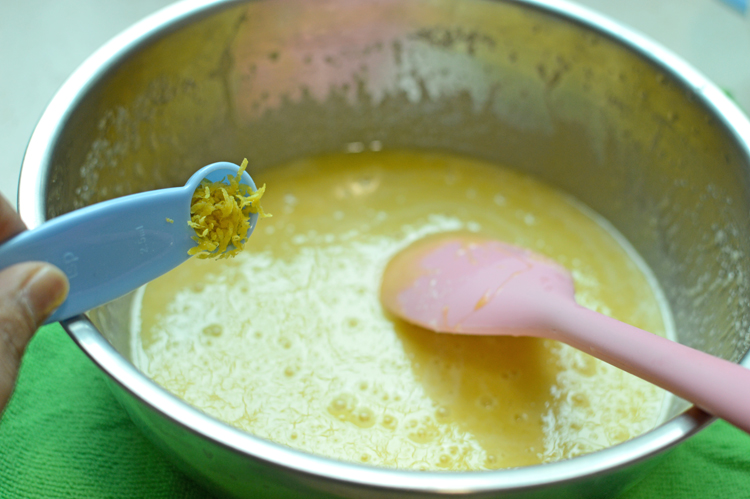
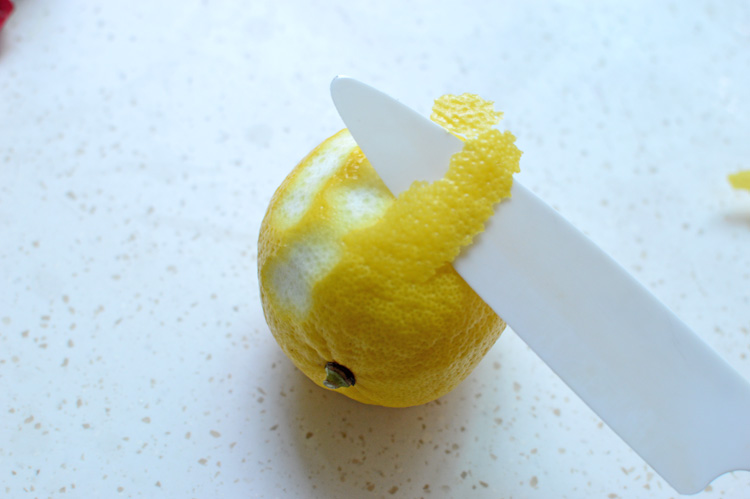
followed closely by lemon zest


DSC_0245
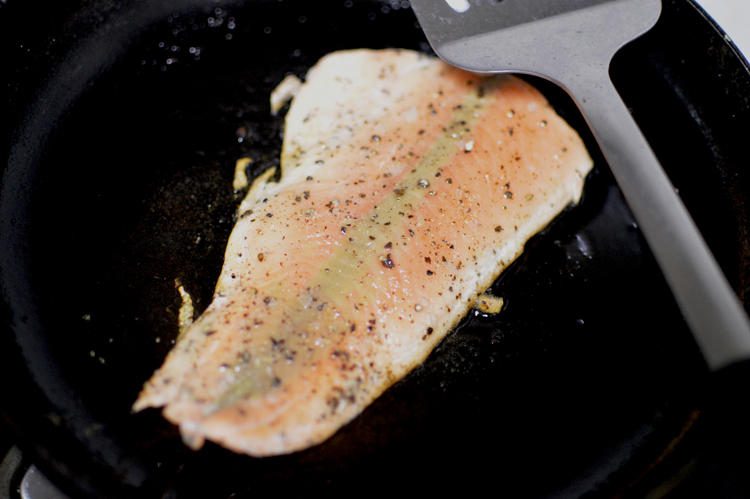
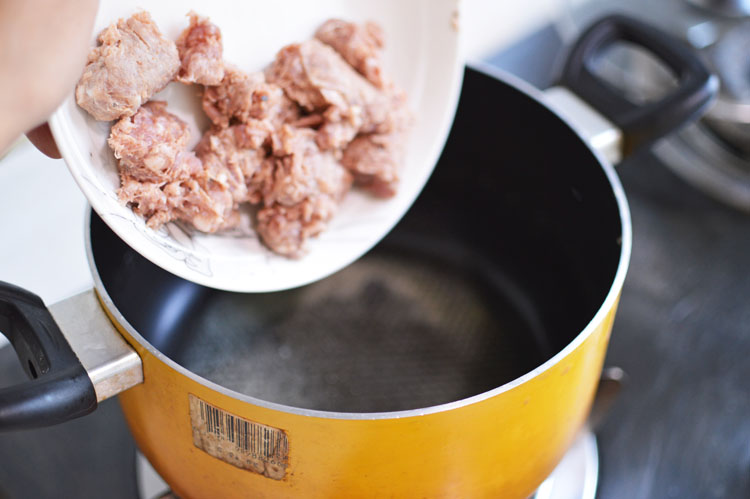
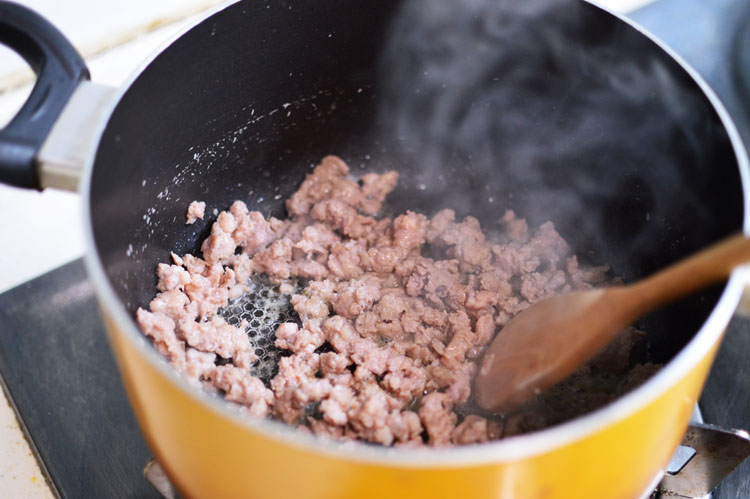
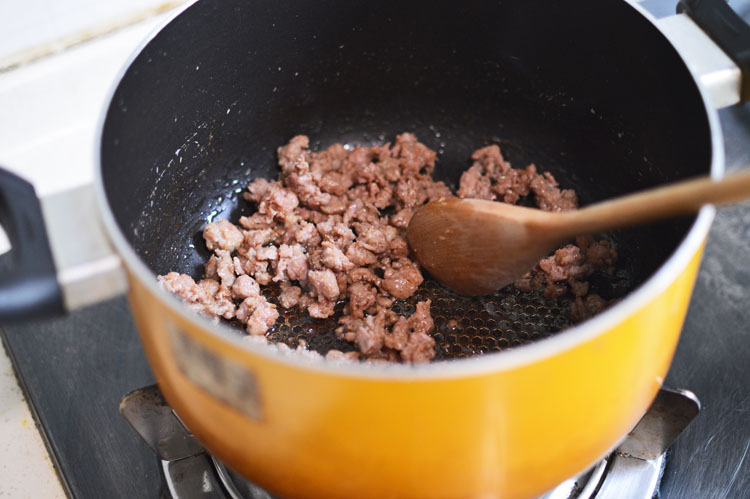
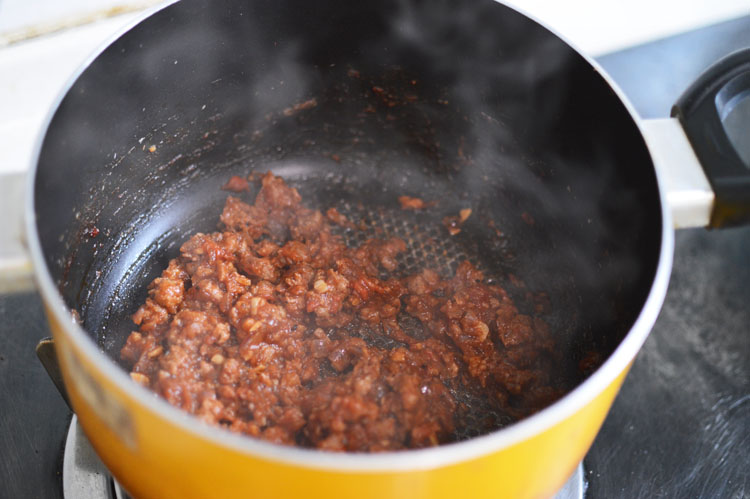
and in with the fish chunks. Cook for a few minutes, until the fish is more or less cooked.


DSC_0247Add in the chopped garlic and stir for a minute more.


DSC_0248
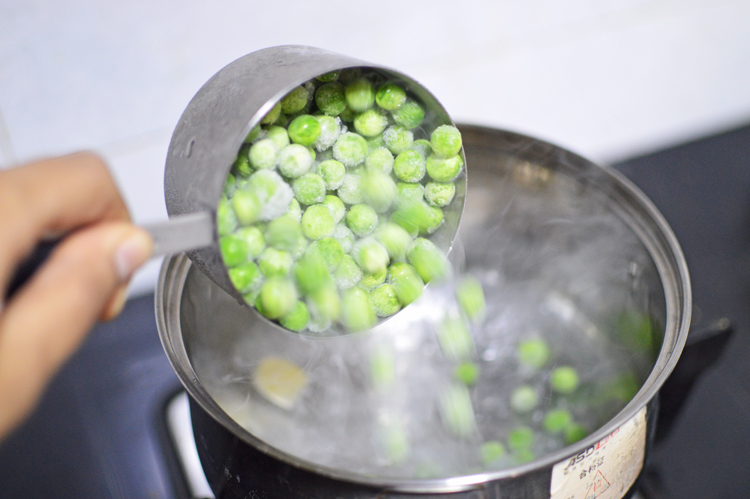
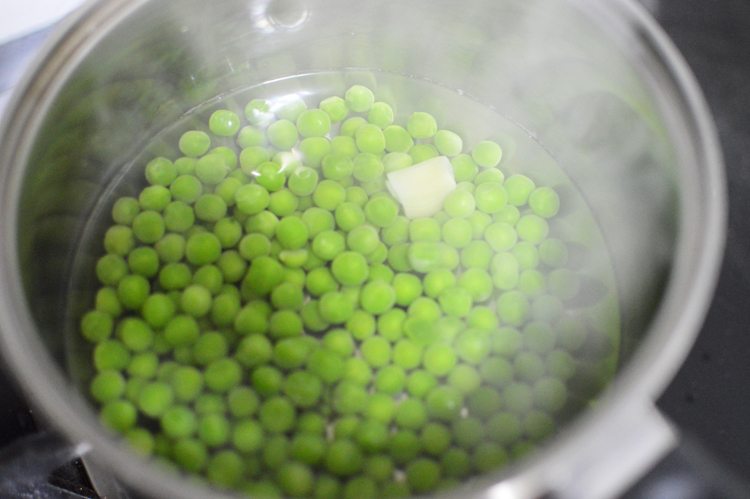
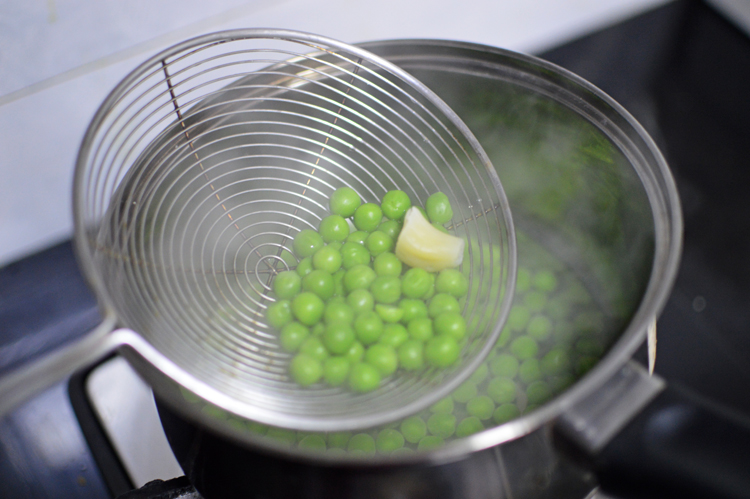
Plonk in all the vegetables (peas and spinach) and stir for just another minute until the spinach wilts. (I’m using frozen peas, so it takes just a minute for them to cook. If you’re using fresh peas, you might want to add them a bit earlier or pre cook them)


DSC_0251
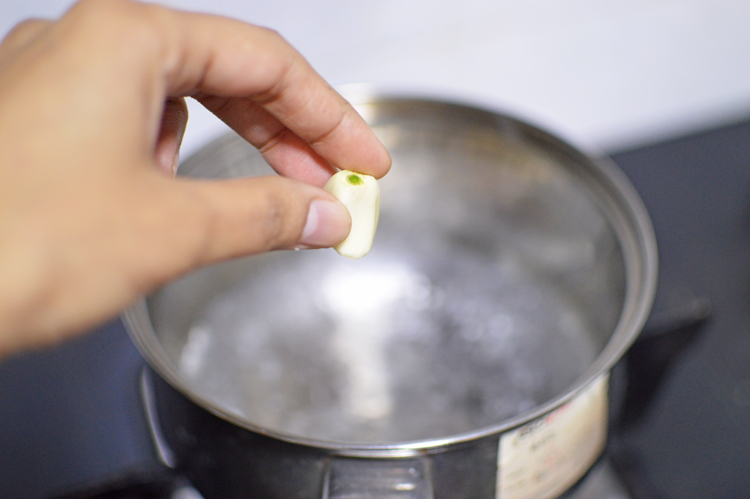
now for the rice. I used a rice cooker and steamed the rice with a clove and black cardamom pod (totally optional)


DSC_0252In they go


DSC_0253

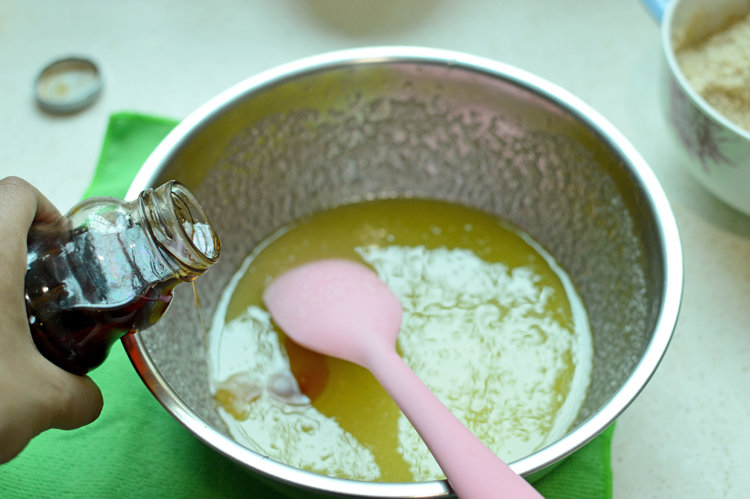
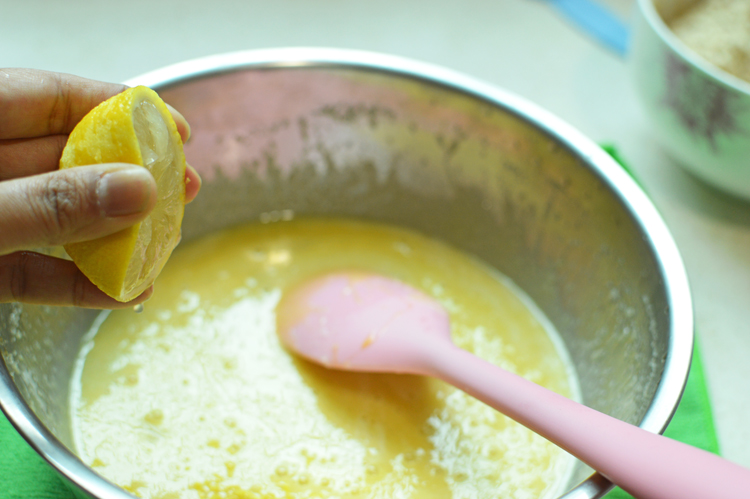
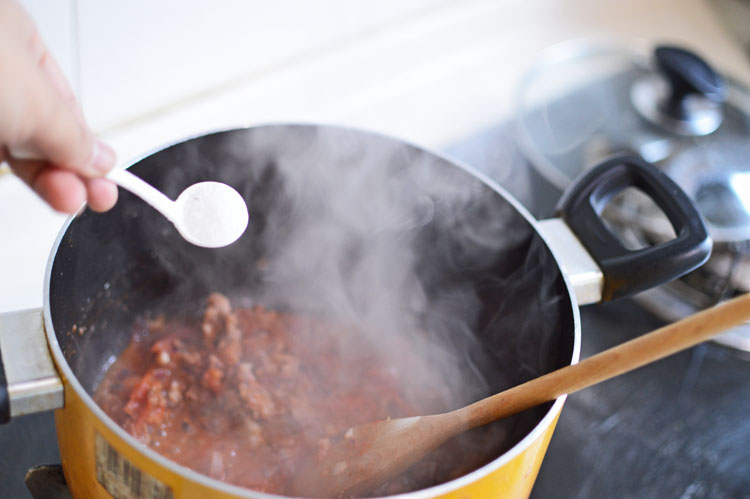
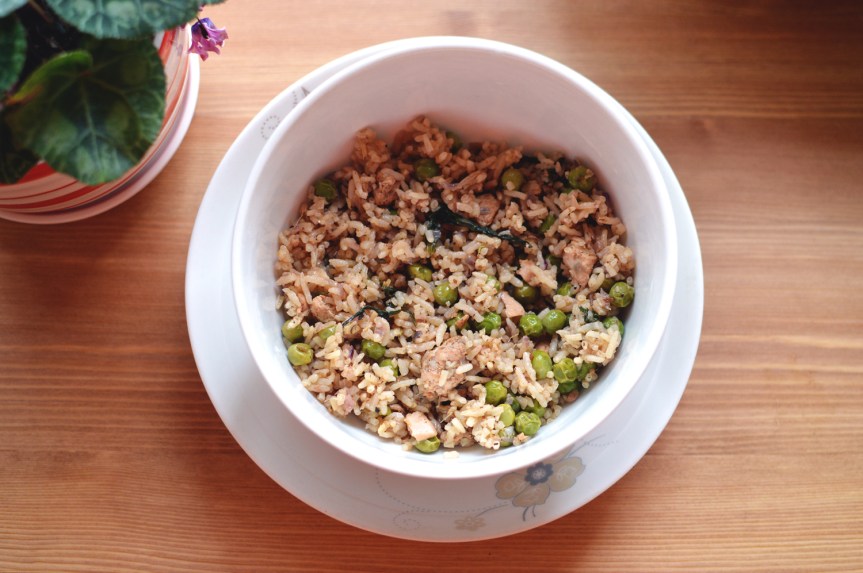
mix it well and add in the lemon juice. taste for seasoning, you might want to add in a touch more salt.


DSC_0269
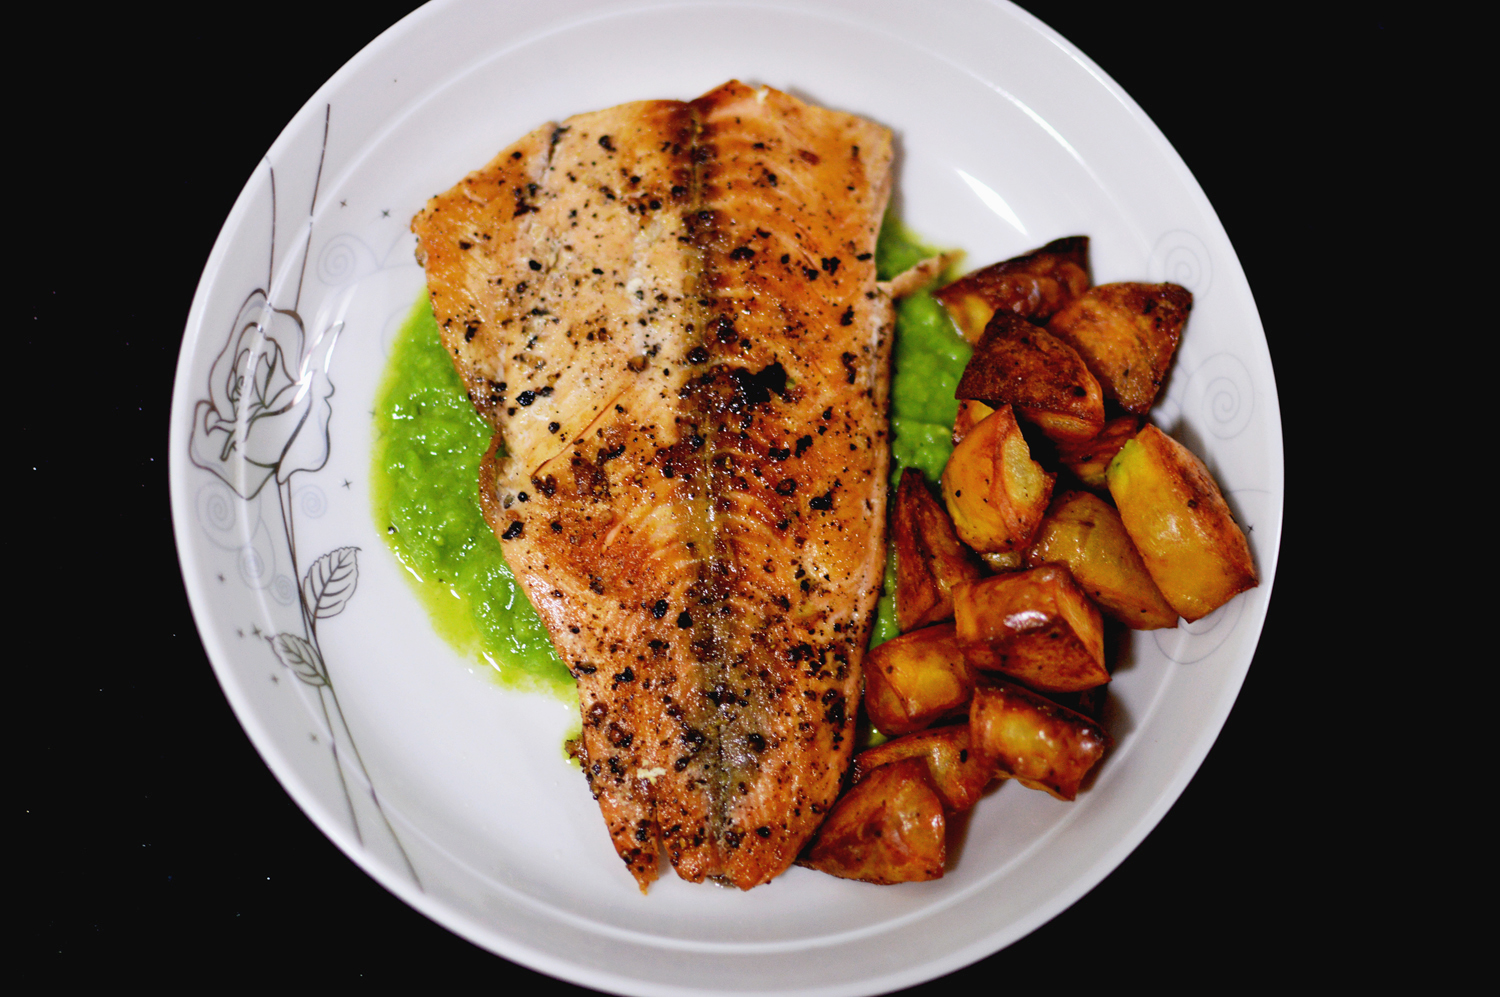
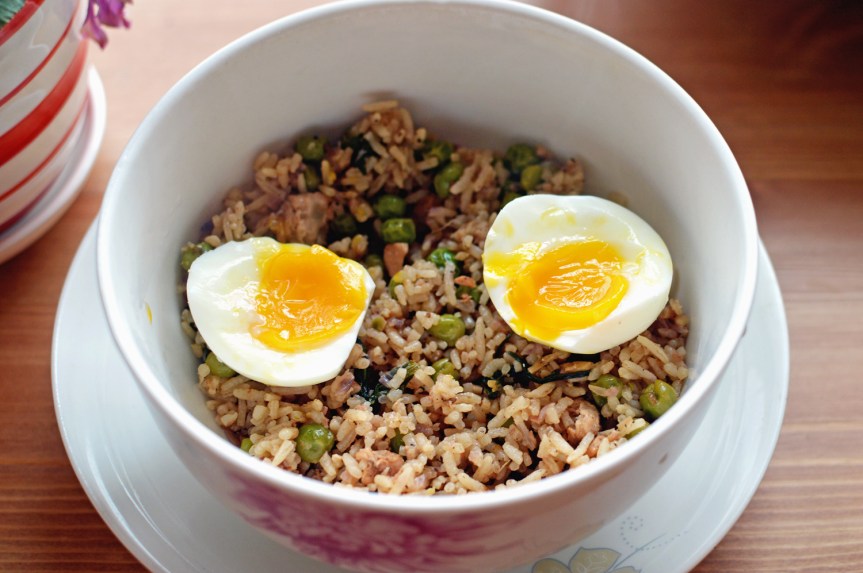
Embellish with eggs if you please. This recipe has real oomph and wow factor. It looks simple, and it is simple, but the flavours manage to hit all the right spots without jarring your senses.

_________________________________

Ingredients

Salmon fillet: 170g

Onion: 1 medium sized. finely chopped

Ginger: 1 inch stem finely chopped

Garlic-2-3 cloves finely chopped

Paprika: 1/2 tsp

Cumin seeds: 1 tsp

Black peppercorns: 1 tsp

lemon:1 (zest+juice)

salt: 1 tsp + more

Cooked rice: 150g-200g (about 1 cup)

Peas: 100g (1/2 cup)

Eggs (optional) : 1-2 (hardboiled or to your preferred doneness)

Spinach: big bunch (it wilts down to almost nothing when cooked. Use a lot if you really want to see it in your dish)

Salmon fillet or fish chunks: 150g

Oil to cook: 1 tbsp

—————————————

Recipe instructions: Dry roast the cumin seeds and black peppercorns for a minute or so and crush along with paprika and salt. Rub the salmon fillet on both sides with this dry mixture and cut into chunks.

In a large pot, heat some oil and add in the chopped onions and ginger. Cook for a few seconds until translucent and add in the lemon zest and stir fry for half a minute. Add in the fish and cook for a couple minutes until fish is almost done. Add in the garlic and stir together for a minute or so.

Add in the peas and spinach and cook for another minute, until the spinach is wilted and fish is completely cooked.

Add in the cooked rice and stir it all together, until all rice is well incorporated throughout the mixture and each grain is coated with flavour.

check for seasoning, add more salt if you prefer.

Finally squeeze in the lemon and briefly stir.

Serve hot, flecked with chunks of hard boiled eggs.

Enjoy!!


No woe brownies


DSC_0375

Brownies as a rule work as devilish little mood elevator charms, and although there never can be one perfect recipe, these chocolate sodden, nuts bejeweled diabolical squares are indeed moan inducing. The reason these are called no woe brownies is because they’re the perfect antidote to many a life’s sads. They will diminish most of your life worries, though these do tend to have a rather crack life after effect, and you might be swayed to do something absolutely indecorous..but that shouldn’t stop you from either committing to that act or making these exquisite squares of forbidden pleasures. Not only do these little babies lusciously gratify your most carnal cravings, they also do double duty as your sinning needs..so if you’re one of those straight-laced, down on your luck decent ones out there, baking and ingesting one of these is guaranteed to write you off as one dirty sinner, because these brownies are in fact the miscreant adulterers of all food groups.

Now these are called no woe brownies and they are but for the little side effect that these will make you fat, and what could be more woeful than that? on the other hand if you eat another one of these, you might not feel so bad after all, and they are the perfect remedy for an aching heart.

Let’s be absolutely clear that these are not the cakey brownie kinds, I mean what’s even the point of a cakey brownie when you might as well just eat a cake. No sir..these are dense, fudgey, and every bite is packed with chunks of sweet divinity, because these have three different kinds of chocolate components.


DSC_0312 copy

bring on all the good stuff..chocolate chunks or chips separated into two heaps, eggs, vanilla extract, flour, cocoa powder, butter, chopped salted pistachios, sugar and coffee granules.


DSC_0313This is an easy easy recipe..all can me made into one bowl, and an oval bowl doesn’t really help much. So butter diced into chunks


DSC_0314and chunks of chocolate part-1. This one is meant for melting purposes with the butter. You can either melt the butter and chocolate over heating water in a heat proof bowl or melt in a microwave, in 30 second bursts.


DSC_0316add in the coffee granules. These make the chocolate more chocolatey.


DSC_0317this is what you get. satan’s swimming pool. Take a dip and salvation..or you can make brownies.


DSC_0319add in the sugar


DSC_0320mix well. You’ll see that the sugar doesn’t really dissolve and that’s alright, because everything will come together just fine.


DSC_0322crack in the eggs, one at a time and mix well before adding another.


DSC_0323make sure to incorporate the eggs well into the batter and you’ll end up with something like this.


DSC_0324add in the vanilla


DSC_0325and the cocoa powder and mix


DSC_0326add in the flour


DSC_0327chocolate chunks that are supposed to stay as chunks in here


DSC_0329and finally in with the salted nuts. It’s the salted nuts that add another dimension and elevate these brownies from fantastic to ecstatic.


DSC_0330mix it all in well. Ah, this marvelous mound of magnificence.


DSC_0331scrape the batter into a buttered baking tray


DSC_0332smooth well and bake at 180°C for 30-35 minutes, or until a knife inserted comes out clean


DSC_0340ah…sigh!!! cut into squares if you care to share, or just dive in with a fork.


DSC_0345here it is..in a rueful light..

____________________________________________________________________

Ingredient amounts

Flour: 70g (1/2 cup)

Butter: 120g (1/2 cup)

Chocolate dark (for melting): 170g (1 heaped cup)

Chocolate chunks (milk or dark): 90g (1/2 cup)

Cocoa powder: 30g (1/4 cup)

Eggs: 3

Vanilla extract: 1 tsp

Coffee granules: 1 tablespoon

Salted pistachio: 70g (heaped 3/4cup)- you can use any salted nuts of your preference. salted peanuts would be great here too.

————————————————–

Recipe instructions:  melt the butter, coffee granules and dark chocolate over a heat proof bowl or into a microwave. Add in sugar and mix briefly. Crack in the eggs, one at a time and mix thoroughly. (Let the mixture cool before adding in the eggs)

Add in the vanilla extract, cocoa powder, flour, chocolate chunks and salted nuts. Mix until well incorporated.

Scrape into a buttered baking tray and bake at 180°C for 30-35 minutes, or until a knife inserted comes out clean

DSC_0369if this doesn’t push you into the kitchen with a slab of chocolate in hand..you don’t deserve to sin.


Salmon, baked potatoes & pea puree


DSC_0220

This might look like a chaotic blip of technicolour profusion, but I promise you it’s wholly edible, and not just edible, but lip smacking zen level scrumptious. Zen because it isn’t overloaded with fat or an orchestra of varied spices, and lip smacking because eating so many different colours will only infuse your insides with digestive rainbows, and since when did that become a bad thing?

If you’re still on the healthy eating bandwagon and haven’t budged yet from your new years resolution then as annoying as you might be, this is the perfect recipe for you. It’s fish, it’s potatoes and peas..just three simple instruments to serenade you into making a fantastical composition that looks good and tastes even better. You can make a solitary meal for one or fancy meal for many, either which way it’s just as easy and delicious.


DSC_0190 copyjust potatoes, peas (I use frozen), a clove of garlic, salmon fillet and olive oil.(salt and pepper not pictured)


DSC_0192let’s prep the potatoes first, since they will take the longest to bake. So peel ’em


DSC_0193halve them


DSC_0194half each half into half or quarter it as some might suggest


DSC_0195dice each quarter into equal pieces.


DSC_0197line on a baking sheet


DSC_0198drizzle oil


DSC_0201salt and peppa!


DSC_0202arrange and bake at 190°C for 30 minutes, or until they turn crisp and golden and gorgeous.


DSC_0203in the meanwhile as the potatoes bake, bring a pot of water to boil, and add a clove of garlic


DSC_0204followed by peas. I use frozen peas, but use whatever you have handy.


DSC_0205let ’em boil until the peas are fully cooked, not just tender but totally absolutely tender.


DSC_0206fish them out and puree them into a blender or food processor along with the now cooked garlic. Don’t make it into a soup, keep the nubbly texture..it should gloop off a spoon, not drip.


DSC_0207finally, salt and pepper on both sides of the fish. (I just have the salt one, but imagine there’s pepper in it too). Try and use a good salt if you can. I’m using Maldon salt.


DSC_0212cook on a very hot pan, about 3-4 minutes each side.


DSC_0213turn it over. Mine took about 3 minutes each side, but depending on the thickness of your fish you might have to decrease or increase the timings.


DSC_0214in the meantime let’s have a look at them potatoes.


DSC_0220plate it as you want. I like the pea puree to form the base for the fish to settle on and potatoes on the side. There isn’t much in terms of seasonings and flavourings, and that’s what makes this taste exactly how it should. The peas are sweet with the slightest hint of garlic, the salmon is light and flaky, just enough salt blending with peppery depth, and the potatoes work as a robust accompaniment to these delicate flavours. All in all, a great light meal for anytime of the day.

____________________________________________________

Ingredients

olive oil : 1-2 tbsp

garlic: 1 clove

potatoes: 2 medium

salmon fillet: 1 (150g)

peas: 150g (1 cup)

salt and pepper to taste

————————————

Cooking instructions:

peel and quarter your potatoes lengthwise. Cut each segment into equal parts. Line on a baking sheet, drizzle with olive oil, add salt and paper, mix well and bake at 190°C for 30 minutes or until crisp and nicely browned.

In a pot of boiling water add garlic and peas and cook until they’re tender. Blend into a nubbly puree.

salt and pepper the salmon on both sides and cook on a very hot lightly oiled pan for about 3-4 minutes until bothe sides are nicely browned and the fish is cooked through.

Arrange on a plate with peas and potatoes and Enjoy!.


Fat free granola


DSC_0127

This one’s for all you new year resolution junkies out there, those who think and believe that promising themselves to eat better for one whole year (gasp) will make them thinner. It will make you thinner if you eat better and healthier, but one whole year..who does that? and we all know these resolutions come with an expiry date, spanning anywhere between few hours to few weeks, so onto the bandwagon we go.. with health food for the new year.

Health food has such eew connotations, as it should and why not, but this fat free or almost fat free granola is really good. For starters it’s extremely easy, not to mention it’s also pretty tasty. So in case you’re a fridge/pantry pirate, looking for booty to snack on (that so didn’t come out right, but my new years resolution is to be wrong and not bother), then this granola is just the thing for you. easy on the waistline, high on the crunch and the best part is, you can fill it up with all your favourite nuts and dried fruits.

So here, we, Go!


DSC_0091 copy

easy peasy ingredients. almonds and walnuts (or nuts of your choice) raisins (or substitute with dry fruits..I tried to keep it fairly simple), vanilla extract, rolled oats (not instant oats), honey and sesame seeds.

  • please feel to use any seeds or nuts or fruits to your liking. You can use sunflower seeds, pumpkin seeds, chia seeds, melon seeds, dried apricots, dried blueberries etc. really up to you. This is the simpler easy to make version..also if you want absolutely no sugar in it, then use stevia instead of honey.

DSC_0095

DSC_0099into a very dry pan, roast the nuts and sesame seeds until the nuts and sesame seeds are just lightly browned and smell nuttier and sesamier (?)


DSC_0100then on a dry board, smash them with a weapon of choice, get rid of your daily stresses..no more tears..just smash these nuts to smithereens, you’ll feel better.


DSC_0101smash them until some is powder, some flakes and some chunks. We need texture.


DSC_0104

Into a large bowl of choice, add in the oats


DSC_0106and the sesame seeds


DSC_0107and the nuts


DSC_0109the raisins


DSC_0110honey


DSC_0111

and finally vanilla.


DSC_0112mix them all together. This will take a couple of minutes until each oat is coated with honeyed goodness.


DSC_0113

it will kind of clump together, maybe stick a bit but all for the greater good.


DSC_0114on a baking sheet lined with parchment paper or foil, spread them as evenly as you can.


DSC_0117something like this, and bake at 180°C for ten minutes


DSC_0119pull it out of the oven, and they’ll be very lightly scorched, but we’re not done.


DSC_0120turn them over as best as you can, and spread again evenly and bake at 180°C, again for ten minutes


DSC_0123you’ll know they’re done because the raisins will looks burnished and plumped up and the oats will assume a rosier hue, and of course your kitchen would be smelling divine. Leave these on the counter for at least ten minutes or until they’re completely cool, because when they’re hot they’ll be soft to the touch and you’d wonder what went wrong.


DSC_0126after they’ve rested, you can just scoop them out


DSC_0125and break into little chunks


DSC_0128and fill in your jars.

These make delicious health snacks, and once you’ve made them, you’d look for excuses to get healthier.

______________________________________________________________________________________

Ingredients

rolled oats: 1 cup

raisins: 1/4 cup

nuts: 1/2 cup

honey: 1/3 cup

sesame seeds: 1/4 cup

vanilla extract: 1/2 tsp

——————

Recipe instructions:

Put all the ingredients in a large bowl and mix together until throughly combined. Spread on a baking sheet lined with parchment paper or foil and bake at 180°C for ten minutes. Pull the tray out of the oven, and using a large spoon turn them over, and spread in an even layer again. Bake at 180°C for ten more minutes and leave them out to cool.

Once cooled, store in airtight containers.

DSC_0131keep a jar where you work, and snack on ’em all day. Enjoy!


Venetian carrot cake


DSC_1379In case anyone was wondering about my exile and the painfully invisible void I’d left in the world of food blogs, then let me tell you, it was only temporary..and though I might not be back with a bang, I am back with a gluten free (gasp) venetian carrot cake, the credit for which as much as I’d like to take isn’t mine to take at all but Nigella Lawson’s, and it’s her recipe I’ve adapted to make this unbelievable sphere (albeit sort of flat) of damp richness.

This is a carrot cake and it’s unapologetically..umm carroty? and absolutely gluten free, which is to say it does not require any flour, and as hipster as it sounds, we can take some solace in that it’s not vegan..though I promise nothing. On days of rage, I’ve been known to torture myself with vegan food stuff. But that’s another story for another torture chamber, because right now let’s marvel in the blistering warmth of this buff coloured cake, which sings to your soul and pleases your senses with such luxurious notes, that you’re left wondering whether you should eat this cake or marry it.

DSC_1328 copy

So without further ado, we’ve the ingredients. Sugar, olive oil, vanilla extract, beaten eggs, almond meal, shredded carrots, pine nuts, lemon, lemon zest, raisins and rum (not pictured)

Just because a cake’s got almond meal which sometimes you don’t readily get at your grocery store, does not mean you put off baking this amber coloured love disc. You’ve only to blitz almonds to get almond meal you know. It’s rocket science, but you can get around to it.

DSC_1331before we get started, put the raisins in with the rum and bring to a boil and let simmer gently for 3 minutes, after which turn off your heat and let the raisins plump up and cool.


DSC_1333 into a bowl of choice, add olive oil and sugar


DSC_1335and beat it for at least a couple of minutes. It’s a thoroughly enjoyable activity, I assure you.


DSC_1336beat until you’ve incorporated the sugar with the oil


DSC_1341mix in the eggs


DSC_1339followed closely by vanilla extract


DSC_1347and the zest


DSC_1348and lemon juice


DSC_1343mix well, until you’ve a summery ripple of golden ooze that speaks radiance in shiny ribbons.


DSC_1344tip in the now cooled swollen raisins along with any rum that’s it’s been standing in.


DSC_1349finally the almond meal


DSC_1350and the grated carrots


DSC_1354mix well, until everything’s incorporated and there’re no dry pockets.


DSC_1356scrape the mixture into a prepared cake tin. This is a springform pan

DSC_1330prepared simply means you’ve oiled the sides and the bottom and stuck a wax/butter/parchment paper on the base and oiled it as well.

DSC_1357now, with the careless abandon of abundance, strew the top with pine nuts


DSC_1358liberally or not..entirely up to you and bake at 180°C for 40 minutes, or until a knife or toothpick inserted in the middle comes out almost clean. As long as it’s sticky and not runny, you’re good.


DSC_1360once done, let it cool before you devour..always a good practice.


DSC_1383and behold! the answer to dreary winter months, the saviour of one too many dinnerless nights..or just a sponge to wipe your tears, while you wallow in the dull ache of loneliness in your bed. A cake of such splendour and sumptuous depths that you’d kick yourself for sharing it. It’ll light you up on the inside, and how can it not?

_________________

Ingredients


  • carrots-2 medium  (about 200g)

  • pine nuts -3 tbsp
  • raisins-75g (1/2 cup)

  • rum- 60ml

  • sugar- 150g (3/4cup)

  • olive oil (regular)- 125ml (1/2 cup)

  • eggs-3
  • vanilla extract- 1 tsp

  • almond meal- 250g (2.5 cup)

  • lemon- 1/2 (zest and juice)

______________________________________________

Preparation

In a saucepan bring to a boil the rum and raisins and let simmer gently. Turn off the heat and let them stand and cool.  Grate the carrots and absorb any excess liquid with a kitchen towel.

Into a bowl, whisk together the oil and sugar until well mixed. add in the eggs, vanilla, lemon zest and juice and the now cooled rum and raisins, and mix well. Finally fold in the almond meal and grated carrots.

Scrape into a prepared cake tin, and cover the top with pine nuts. Bake 180°C for 40 minutes, or until a knife or toothpick inserted in the middle comes out almost clean. As long as it’s sticky and not runny, you’re good. Let it rest for at lest ten minutes before removing it from its cake pan. Let it cool completely and enjoy

DSC_1370


Eggs in a basket


DSC_0084

This my lovelies, is an egg, enshrined in a bread and lovingly called egg in a basket. No gourmet affair mind you, but an affair still, of the wondrous bread and egg..meant to be eaten as a morning staple, after a night of excesses in bar or bed.

This is just the kind of breakfast you make, while groggy from last nights decadence. You want something simple but not too sloppy, and it does not get simpler than this, while still maintaining a bit of rustic chic. I mean what could be better than a buttery golden crisp toast, with a cavity filled with golden ooze of sunlit eggs? This is a miracle cure and a smashing breakfast, especially if you’re in a critical need to nurse your hangover or sore aching parts.

DSC_0047 copy

don’t you love it already? it has only three ingredients. Bread, eggs and butter.

DSC_0049

to make the basket to fit in the eggs, grab a cookie cutter or even a random glass and press into your bread

DSC_0050

to get a basket

DSC_0051

I used two different sized glasses to get two different sized baskets, because sometimes in food and in life you gotta live on the edge.

DSC_0052

check them baskets out..or holes, or voids that is your life if you make these and eat alone.

DSC_0053

over medium heat, melt as much butter in a skillet/pan. This is supposed to be comforting, so if you’re looking at skimping on the fat then you might as well feast on air and call it a day.

DSC_0055

swirl the butter around to coat the pan, and put your basket bread on the melted butter

DSC_0056

gently, lower in the cracked egg. It makes life a lot easier if you crack the egg in a separate bowl.

DSC_0057

see, make sure you slide it gently, and it’ll sit pretty.

DSC_0059

season lightly with salt

DSC_0061

and pepper

DSC_0062

and gently nudge the sides after 30-40 seconds to see if you can flip it.

DSC_0065

flip and let it cook on the other side as well.

DSC_0066

ok, so let’s revise again! this time with the other bread with a smaller basket…so bread atop melting butter on medium low flame

DSC_0067

slide in the egg

DSC_0069

admire your handiwork

DSC_0070

season with salt and pepper

DSC_0075

flip after few seconds and we don’t want the basket covers going waste, so we toast those too.

DSC_0083

oh my my, what do we have here? a perfect breakfast?

DSC_0088

totally optional, but I do it..because life is short and it’s always a good idea to make it shorter..add a slice of ham

DSC_0089

bask in glory

DSC_0087

but just this is absolutely perfect too.


Ingredients

bread- 2 slices

eggs- 2

butter- 2-4 tablespoons


Recipe instructions

cut out cavities from the middle of your bread by sinking in a cookie cutter or proportionately sized glass rim, make sure its diameter isn’t bigger than the surface of the bread.

melt butter in a skillet on medium heat and place the bread on the melting butter, and slide in the cracked egg in the bread cavity. Season with salt and pepper and flip after a 30-40 seconds once the lower side is golden and egg is cooked. Cook the other side until golden and cooked.

Serve hot.

Enjoy!

Mango honey lemonade


DSC_0027

OK, you could keep staring at it all you want, or you could just march into your kitchen and make yourself a serving of this molten sunshine. Even though it looks like a pool of liquid gold, it tastes of aqueous angels, and they do sing a bit of harp filled melody each time you sip into this divine potion of dulcet daylight.

Well, it’s the summers and you need something that looks like sun and tastes like ice, only this is delightfully citrusy, lyrically sweet and fused with the plump golden pulp of voluptuous heat soaked mangoes…and it takes five minutes to conjure up this baby.


DSC_0001 copy

all you really need is love..a couple of fat mangoes, honey, lemon and water. nothing too tedious


DSC_0002

you gotta commit act of loving violence however and disrobe your mangoes ever so tactfully, or not..really it’s up to you how you want to gouge out the flesh.


DSC_0003

then put into a blender of choice


DSC_0004

along with honey, and blend


DSC_0005

to get a pulp of midas proportions


DSC_0007

this is totally optional, but it adds an extra note of citrus. Carefully remove only the yellow part of the lemon. You can zest it if you want, or you can take a sharp knife and slowly peel just the outer yellow skin.


DSC_0008

like so.. and squeeze the lemon into a separate glass. There isn’t a picture for it..sorry folks


DSC_0009

plonk in the lemon rind, and it will slowly keep infusing.


DSC_0010

Now for the grand assembly. This is the complicated part where you can make mistakes, because magically a glass bearing the juice of squeezed lemon has appeared.


DSC_0011

now..lemon juice into the water


DSC_0012

followed by mango pulp into the water


DSC_0013

et voila, a lava lamp!


DSC_0015

mix well, twirl it around with all your might, form a whirlpool if you must.


DSC_0018

stare at it, stagger over speechless and renounce the world.


DSC_0019

pour over crushed ice


DSC_0021

and drink!


Ingredients

Mangoes- 2 large

Lemon juice- 60mls (1/4 cup) you could use 3-4 small lemons or 1 really large one

Honey- 60mls (1/4 cup)

water- 1 litre (4 cups)


Instructions

make sweetened mango pulp by blending together mango flesh and honey and set aside. Peel the lemon rind (optional step) and add to water. Squeeze out the lemon juice and keep aside.

Add sweetened mango pulp and lemon juice to water and mix well.

Serve over crushed ice.

This is easy..

DSC_0029

I  couldn’t resist this top shot

Enjoy!


Blueberry muffin crumble cake


DSC_1502

Are you seeing this? are you feeling it? Behold the rocket science behind making a muffin batter, only to make a cake instead, and top it all off with a crumble. gasp!

Before I begin with the alchemy of innovation and the complicated discoveries of pouring a muffin batter into a cake pan, let me just tell you about the divinity of this blueberry muffin crumble cake.

The rustic golden top, splattered with the ooze of violent violet of tart sweet blueberries, has known to make grown men weep. It’s guaranteed to make a painter out of the most banal harsh hearts, and turn your cold cemented soul into a benevolent rasp of tenderness. It doesn’t masquerade as a sinful dessert, but rather bleeds of such hearty compassion, that you’d want nothing better than to cry your woes to this plate of cake, and promise to turn over a new leaf. It’s seriously that good!…Also it takes no more than mere moments to conjure up this holiness.

DSC_1441 copy

totally basic ingredients involving sugar, oil, lemon zest, baking soda, baking powder, salt, blueberries (obviously), yogurt, egg, vanilla extract, flour and crumble toppings that include flour, sugar & butter.

DSC_1444

so let’s just begin with the crumble topping and that’s one less thing to bother about. So, flour in a bowl

DSC_1447

and sugar

DSC_1448

and butter

DSC_1449

and mix with a fork

DSC_1450

until the mixture resembles coarse breadcrumbs. Now refrigerate this and forget about it for a bit.

DSC_1454

now because this is a muffin cake, we go the basic dry ingredient+wet ingredients way. So this is our wet ingredients bit..lol wet! in a separate clean bowl, crack and egg.

DSC_1455

beat it with some vanilla

DSC_1456

add in the yogurt

DSC_1457

and the oil.

DSC_1458

and mix/beat/whip until it forms a real nice smooth batter..real smooth.

DSC_1460

now for the dry ingredients. In a separate larger bowl, add in the flour.

DSC_1463

and the sugar

DSC_1467

DSC_1466 DSC_1464

and the baking soda, baking powder and salt. and phew!

DSC_1468

in with the lemon zest

DSC_1471

and the blueberries that hardly ever look blue, but whatever!

DSC_1472

and mix! yes sir.

DSC_1477

mix until everything is..umm..mixed. That is to say the blueberries are coated with the flour mixture and all ingredients are evenly dispersed.

DSC_1478

dump in the wet ingredients..you remember..that egg, oil and yogurt batter

DSC_1480

and now you get a mixing..but remember DO NOT OVERMIX!

DSC_1483

mix only until it has just come together..just barely come together..

DSC_1485

scrape the muffin batter into a cake tin/pan/dish. make sure you’ve oiled it first. Even out the top as best as you can

DSC_1487

and sprinkle on the crumble topping that has been resting in the fridge

DSC_1490

like so..bake in a preheated oven at 190ºC for about 25-30 minutes or until a toothpick inserted in the middle comes out clean.

DSC_1492

Can you see the gorgeously golden cracked crumble top?

DSC_1495

see???

DSC_1499

see..sigh! flecked dangerously vivid with blueberries, this muffin cake is a joy to bake and a wonder to eat. Serve just as is, or with ice cream or cream or custard or tears.


Ingredients

egg: 1 large

yogurt: 240 mls (1 cup)

vegetable oil: 80 mls (1/3 cup)

flour: 250g (2 cups)

sugar: 100g (1/2 cup)

baking powder: 1 1/2 tsp

baking soda: 1/4tsp

salt: 1/4 tsp

lemon zest: 1 tsp

blueberries: 320g (about 1 1/4 cup)


for the crumble topping

sugar: 50g (1/4 cup)

butter: 30g (2 heaped tablespoons)

flour: 70g (1/2 cup)


 Blueberry muffin crumble cake: make the crumble topping by mixing in the flour and sugar and using a fork cut in the cold butter, until the mixture resembles coarse breadcrumbs. you can do this using just your finger tips as well.

wet ingredients: In a large bowl mix together egg, vanilla extract, yogurt and oil.

dry ingredients: In a separate bowl mix in the flour, sugar, baking powder, baking soda, salt, lemon zest and blueberries. Mix until the blueberries are well coated with flour and all the ingredients are evenly mixed.

Now gently fold the wet ingredients into the dry ingredients and do not over mix. The batter will be a bit thick, but desirably so. Scrape into a well greased baking dish and even out the top as best as you can.

Sprinkle the crumble topping thickly and bake at 190ºC for about 25-30 minutes in a pre heated oven or until a toothpick inserted in the middle comes out clean.

Let cool for at least 10 minutes before serving.

Enjoy!

Almost – fudge gateau


DSC_1109


In case you ever wondered what gateway to heaven was really made of, then please look no further. The gateway to heaven or even the stairway to one was/is most definitely made of this dense, moist disc of chocolate bliss. I’d love to say that this was something that came out of my kitchen in a moment of godlike inspiration, but sadly it isn’t. This is a recipe I adapted from Dorie Greenspan’s book (baking, from my home to yours), and the moment I made it I knew this would be that moment of magical sin, when I’d plunge headlong into this shiny matt dome of chocolate and wish for no rescue.

The real reason I’d made this cake was because I was in a celebratory mode, as I’d just become a part of this fantastic website put together by a bunch of serious food lovers called Gastronazi.com and that I was doing metaphysical somersaults and driving myself into a food frenzy would be a serious understatement. This website is exactly what it sounds like, and puts not only well researched, well thought food related articles but also comes up with excellent how to videos and recipes that you always thought belonged in a pricey French kitchen. So do check put this website and know more about how to kick it up a notch or two in your home kitchen.

Coming back to this gateau, here’s all you need.

DSC_1062 copy

sugar, good quality dark chocolate, eggs separated, flour, butter and salt.

DSC_1064start with prepping your springform pan by buttering the sides and bottom

DSC_1066lining with a parchment paper

DSC_1067buttering that as well

DSC_1068sprinkle in some flour to coat the entire pan and shake off the excess

DSC_1070something like this

DSC_1072add the butter to your chocolate and melt either using a double boiler or nuking in the microwave

DSC_1074this is what you should end up with. stir it all together to form a chocolate pool, then dive in and forget the world, or just continue making the cake.

DSC_1076to this add sugar

DSC_1077stir well to mix as well as you can

DSC_1078add in the egg yolks, one at a time and stir until all’s well combined.

DSC_1080add in the flour and mix well

DSC_1081to make it look like this.

DSC_1082in a separate, very clean bowl we have to whip up the egg whites to form firm peaks, they should be glossy and not dry

DSC_1083so add a pinch of salt to the egg whites

DSC_1085and whip like a maniac, until they kinda look like this

DSC_1086now the part where you exercise caution. First fold in about a third of the egg white mixture into the batter, to lighten it a bit. I generally do this step by cut and fold method too. Very gently fold in the egg whites to form a part of the batter. I do this by scraping the bottom of the batter and bringing it to the top of the egg whites and keep repeating this step 4-5 times until the egg whites become a part of the batter.

DSC_1087once you’ve lightened the batter, fold in the rest of the egg whites using the same method.

DSC_1088and the batter should look something like this.

DSC_1089scrape the batter into the pan and jiggle the sides just a bit to even the batter (I always use foil on my tray because my springform pan can be slightly dyslexic). Bake at 180°C for 35-45 minutes.  thin knife inserted will come slightly smeared with chocolate when its done.

DSC_1090the cake when done looks something like this. Let it rest for 10 minutes before removing it from the pan. If you think the cake is sticking to the edges, just run a blunt knife around the edges and it will come out easily. The way we’ve buttered and floured the pan, it might be almost impossible to stick.

Let the cake cool completely before glazing it.

DSC_1092for the glaze we need heavy cream, dark chocolate and honey

DSC_1097start by heating the chocolate on low flame until it’s just nearly boiling but not boiling. Turn off the heat and add in the chocolate and let them sit without stirring for a couple of minutes.

DSC_1098after a few minutes, stir together to combine

DSC_1099add in the honey and stir again. Wait for a few minutes until it’s just cool because it has to be pourable, for you to do

DSC_1103this. Yes! slather that cake with that glaze baby..ooh yeah.

DSC_1116cut yourself a piece and watch yourself melt into a pool of luxurious indulgence

Ingredients

Eggs- 5 (separated)

bittersweet chocolate- 250g

sugar- 150g (1 cup)

butter- 70g (5 tbsp)

flour-50g (1/3cup)

salt- pinch

For the glaze

Dark chocolate-100g

heavy cream- 90 mls (about 1/2 cup)

Honey- 2 tsp

Baking instructions

Butter a sprinform pan and line the bottom with parchment paper, butter the paper, dust with flour to ensure the pan is evenly coated on all sides and shake off the excess.

Melt the chocolate and butter and mix in sugar, then add in the egg yolks, one at a time and mix well. Add flour and mix to form a smooth batter.

Add a pinch of salt to the egg whites and whip to form firm peaks. Stir 1/3 of the egg whites into the batter and fold in to lighten, then gently fold the rest of the egg whites, cautiously. Scrape the batter into the pan and jiggle a bit to even out. Bake at 180°C for 35-45 minutes. A thin knife inserted will come slightly smeared with chocolate when its done.

Let the cake cool for at least 10 minutes before removing it from the pan. Once out of the pan and let it cool completely.

For the chocolate glaze: heat the cream to a point when it’s just about boiling, don’t let it come to a boil. Add in the chocolate to the saucepan and let it sit without stirring for a couple of minutes. Stir the mixture after a couple of minutes until smooth and add the honey and keep mixing until it’s shiny. Let it cool a bit before pouting over the cake. Let the glaze set at room temperature for 15-20 minutes before cutting into the cake.

DSC_1108enjoy!


Tomato & chorizo spaghetti


DSC_1231

That time of life when you question the meaninglessness of gyms, stare at your sad plate of wilting salad and hear the lovelorn cries of bread ignored into the icy depths of your freezer.

You stare out at the bleak weather outside, wonder why March is freezing cold and why you can’t break free of your grossly regimented dull routine for just once. You stare at your thighs and get back to pushing salad in your mouth; suddenly it hits you like a brick that you have but one life, and possible reincarnations won’t necessarily bring you back as human because you’ve kind of ignored Karma all your life.

No time to waste, you have a lot of catching up to do. Make peace with yourself and earnestly promise an extra hour of aerobics, that is if you ever shake yourself out of this fabulous food induced slumber.

No laughing matter this, you need to gratify your insides with something comforting, something meaty and something carbs..and this is exactly where this chorizo and tomato spaghetti comes into existence.

Very recently I’d chanced upon some seductive chorizo, beckoning me with their naked meaty plumpness and I had no choice but to give in to their pleas and buy them without a second thought. These were raw and not those paprika coloured cured red ones, but did I care?

This recipe happens to be just one of those miracle cures when even the thought of salad makes you want to hurl, and making a bowl of this is easier than chopping vegetables for your salad.

DSC_1205 copy

the ingredients for this are oh so simple.Just spaghetti or any pasta you love, chorizo sausages, chopped onions and garlic, tomato pulp (or use chopped tomatoes), paprika, garlic powder, salt, sugar and oregano.

note:-  this tomato pulp is really just fresh tomatoes cooked for a few minutes and skinned and mashed.

DSC_1208

Take the chorizo out of their casings .

DSC_1209

like so

DSC_1210

heat some butter and oil

DSC_1211

add in the skinned bits of chorizo

DSC_1214

break them into smaller bits using a wooden spoon

DSC_1215

cook for a couple of minutes until they very lightly brown, you don’t have to bother about cooking them completely at this stage.

DSC_1216

add in the chopped onions and garlic and stir them well, cooking for just about a minute or so

DSC_1217

add in the tomatoes

DSC_1219

followed by paprika, oregano, garlic powder and sugar

DSC_1220

and salt

DSC_1221

cover and let it cook for about 20-25 minutes on medium low heat, keep stirring occasionally and add a tasblespoon of water if it sticks to the bottom.

DSC_1222

look at this fabulous transformation after 20 minutes.

DSC_1223

add in your cooked spaghetti.

DSC_1224

and a bit of this pasta cooking water.

DSC_1225

to not only thin the sauce, but also to ensure that each spaghetti strand is coated with the sauce and the starches in the water helps bind and make a slicker coating for better taste.

DSC_1226

mix well

DSC_1231

and serve!

Ingredients

Chorizo sausages uncooked: 450 g

Tomato pulp/ chopped tomatoes – 350 g (3 medium sized tomatoes)

Onion- 1 medium size

garlic- 3 cloves

paprika- 1 tsp

oregano- 1tsp

garlic powder- 1/2 tsp

sugar- 1 tsp

salt-1 tsp

black pepper- 1/4 tsp

spaghetti

Butter- 1 tsp

olive oil- 2 tsp

Cooking instructions 

Remove the chorizo from their casings and cook in a pan with olive oil and butter. Break the chorizo into smaller pieces using your wooden spoon and after a minute of cooking add in the chopped onion and garlic.

cook for another minute and add in the tomatoes, paprika, salt, garlic powder, oregano, pepper and sugar and stir to combine. Lower the heat and cover and cook for another 20-25 minutes. Keep stirring occasionally and if it gets too dry, add in some water but don’t thin the sauce.

After 25 minutes add the cooked pasta to the chorizo sauce and 200 mls (3/4th cup) of pasta cooking water. Mix well and serve hot.

Note*- if you’re using cured chorizo then you can reduce the cooking time.