Almost – fudge gateau


DSC_1109


In case you ever wondered what gateway to heaven was really made of, then please look no further. The gateway to heaven or even the stairway to one was/is most definitely made of this dense, moist disc of chocolate bliss. I’d love to say that this was something that came out of my kitchen in a moment of godlike inspiration, but sadly it isn’t. This is a recipe I adapted from Dorie Greenspan’s book (baking, from my home to yours), and the moment I made it I knew this would be that moment of magical sin, when I’d plunge headlong into this shiny matt dome of chocolate and wish for no rescue.

The real reason I’d made this cake was because I was in a celebratory mode, as I’d just become a part of this fantastic website put together by a bunch of serious food lovers called Gastronazi.com and that I was doing metaphysical somersaults and driving myself into a food frenzy would be a serious understatement. This website is exactly what it sounds like, and puts not only well researched, well thought food related articles but also comes up with excellent how to videos and recipes that you always thought belonged in a pricey French kitchen. So do check put this website and know more about how to kick it up a notch or two in your home kitchen.

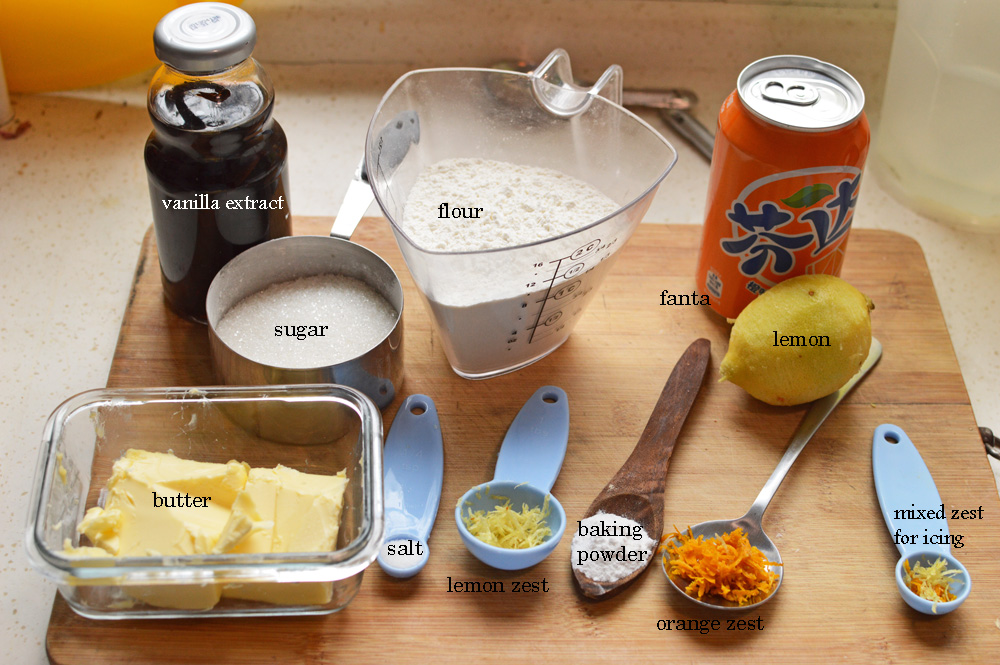
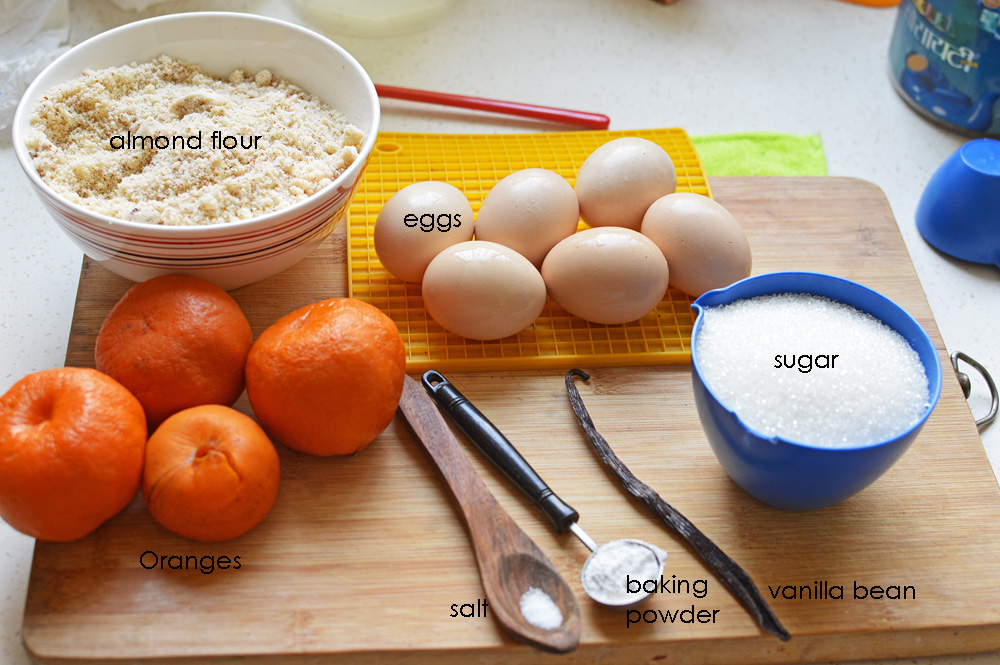
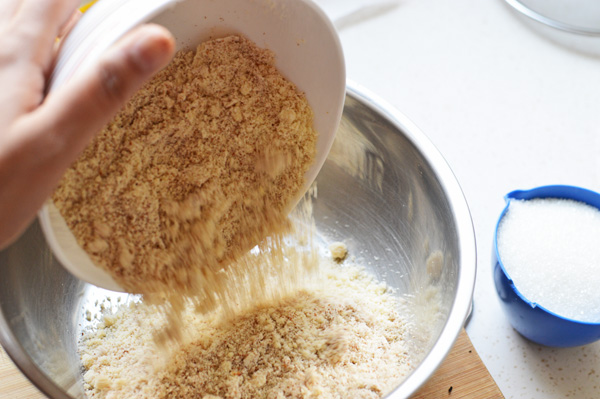
Coming back to this gateau, here’s all you need.

DSC_1062 copy

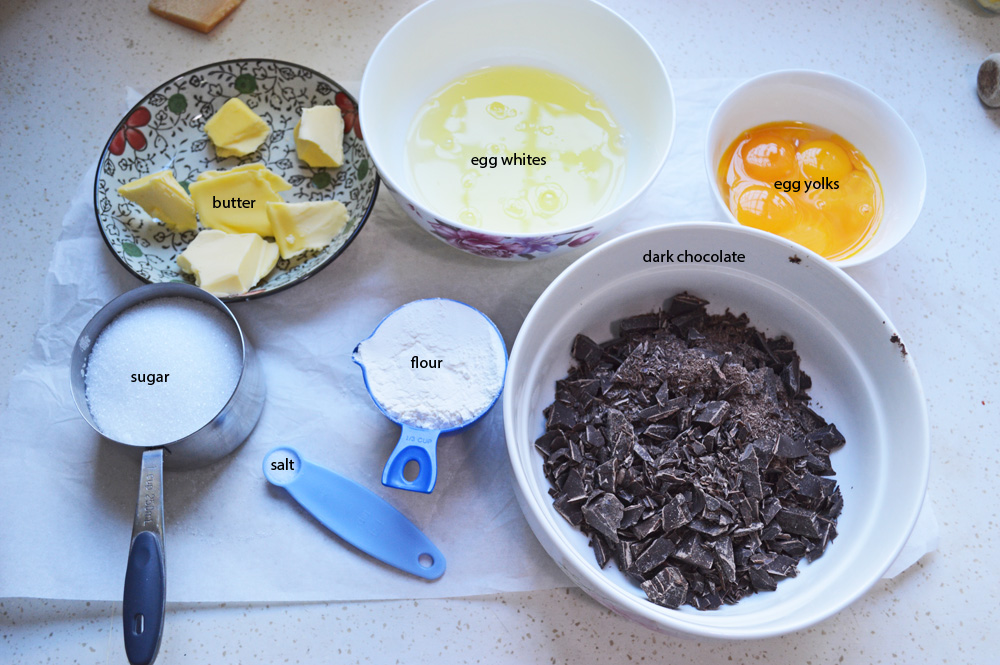
sugar, good quality dark chocolate, eggs separated, flour, butter and salt.

DSC_1064
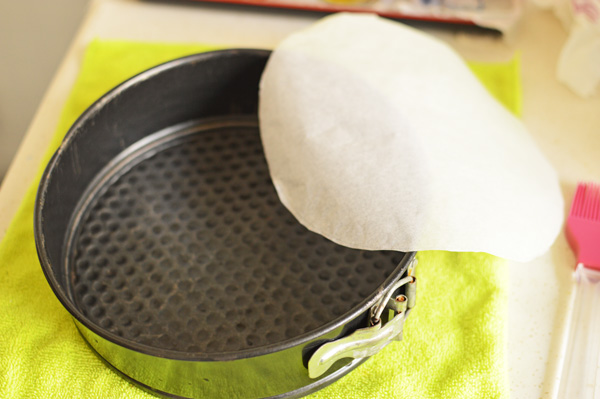
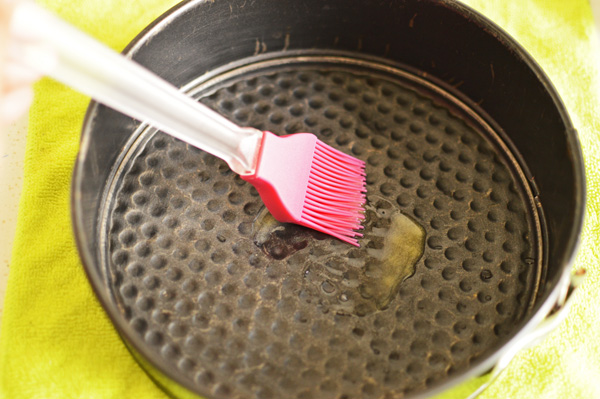
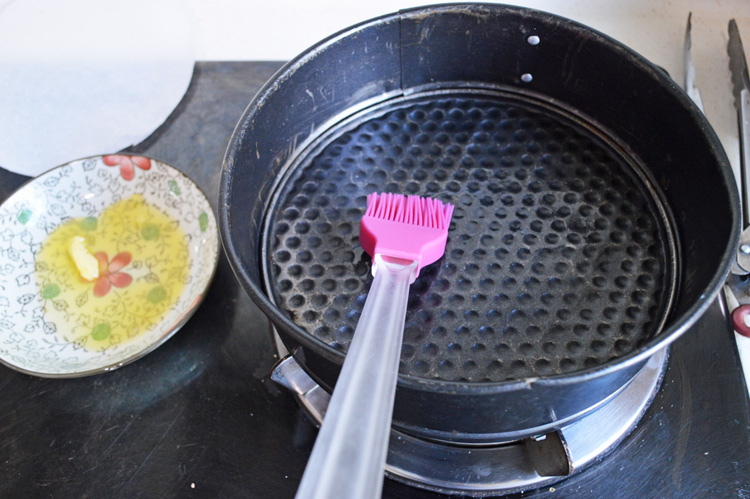
start with prepping your springform pan by buttering the sides and bottom

DSC_1066
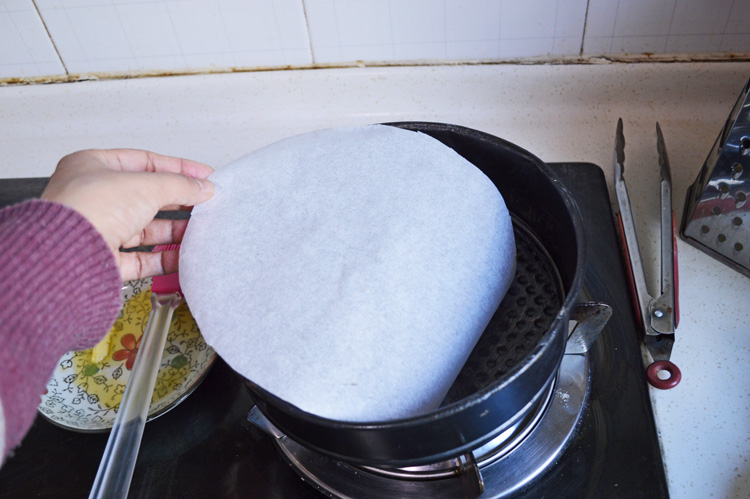
lining with a parchment paper

DSC_1067
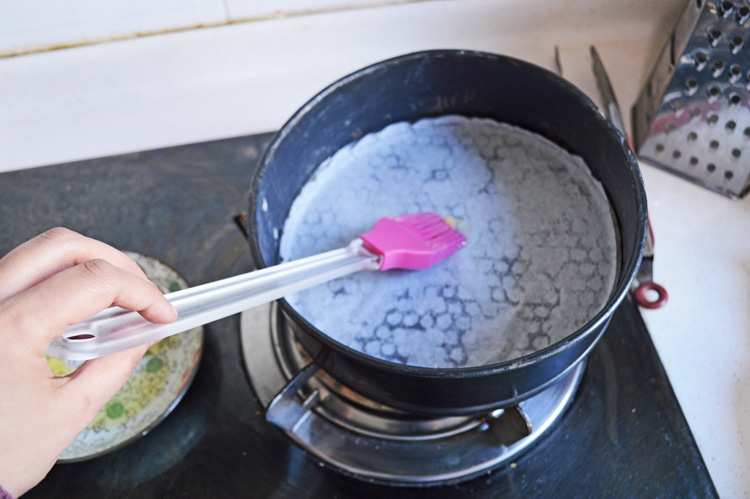
buttering that as well

DSC_1068sprinkle in some flour to coat the entire pan and shake off the excess

DSC_1070something like this

DSC_1072
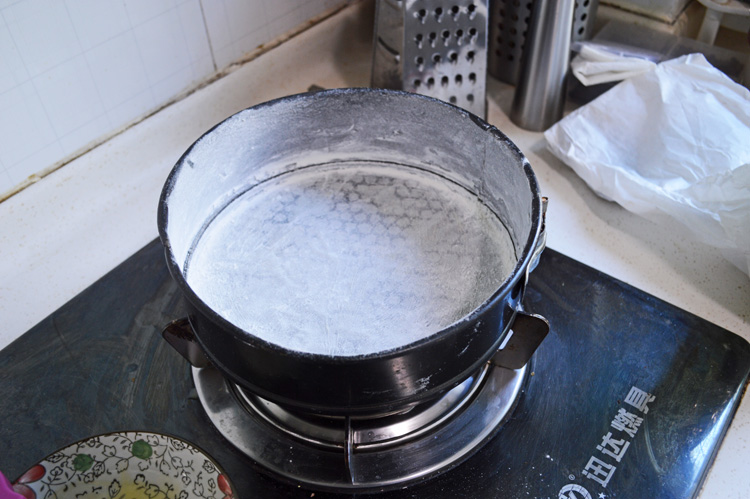
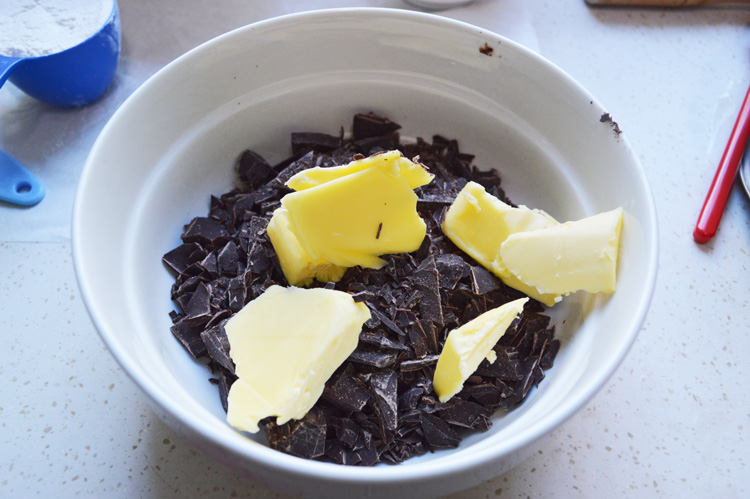
add the butter to your chocolate and melt either using a double boiler or nuking in the microwave

DSC_1074
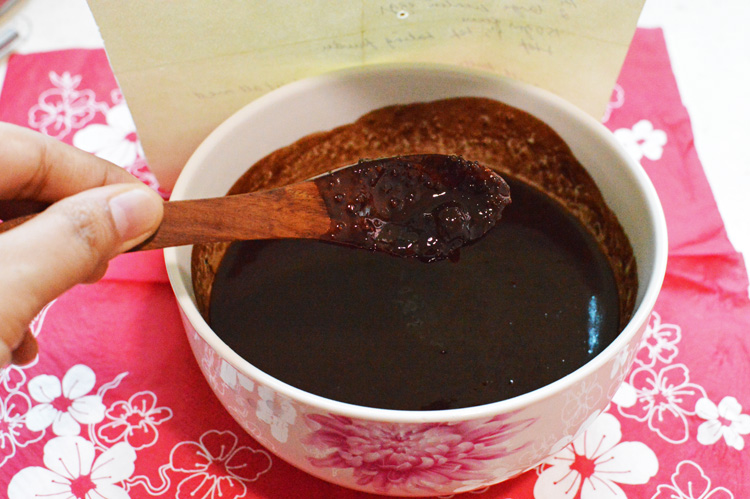
this is what you should end up with. stir it all together to form a chocolate pool, then dive in and forget the world, or just continue making the cake.
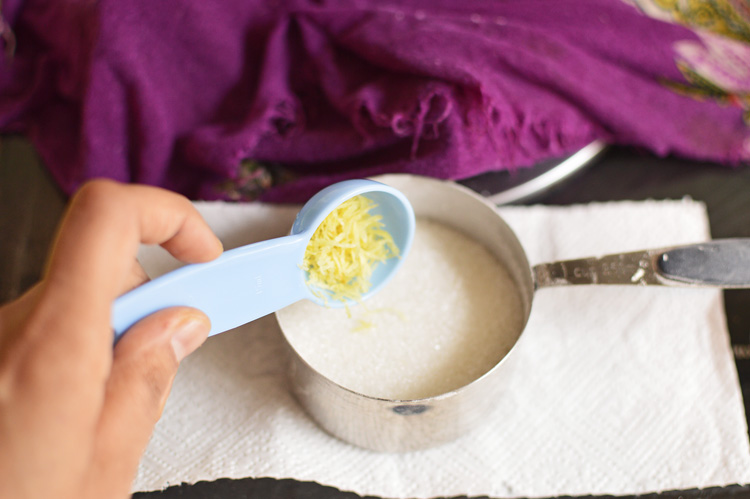
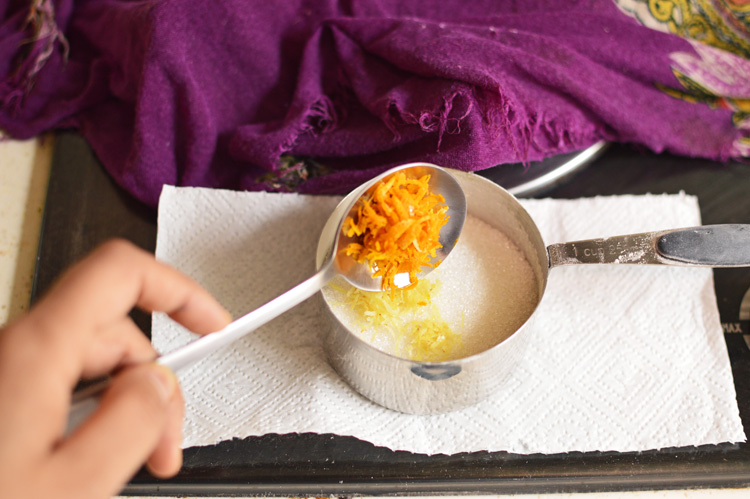
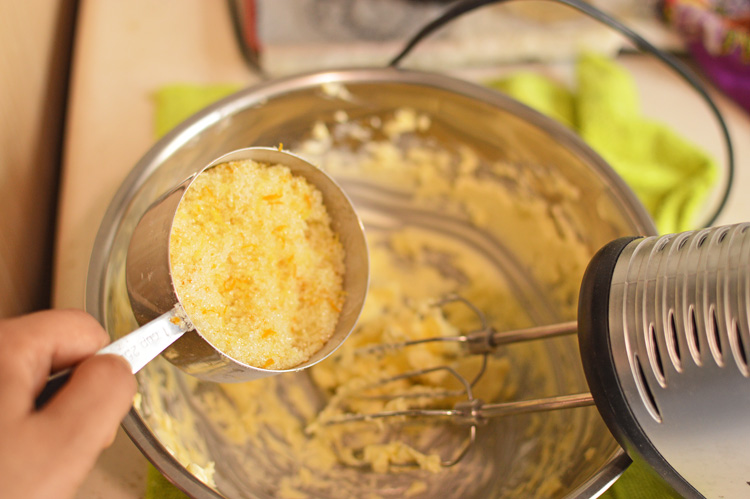
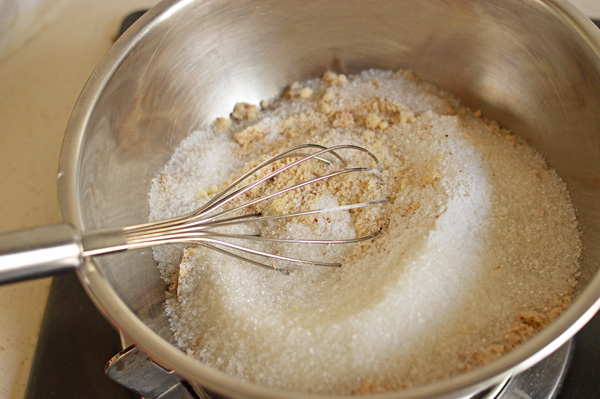
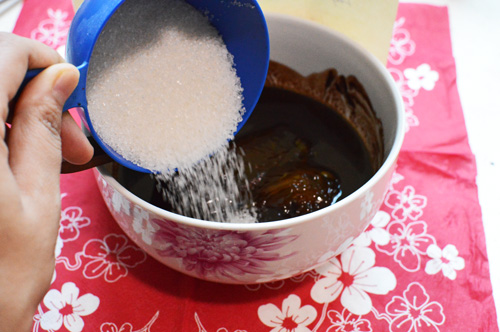
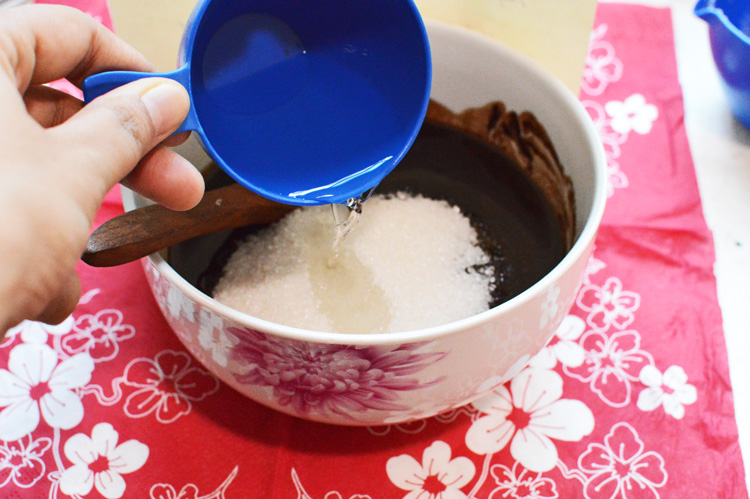
DSC_1076to this add sugar

DSC_1077
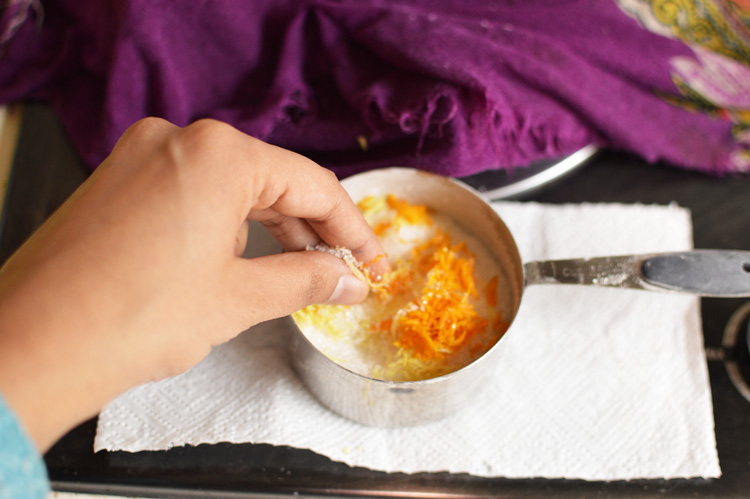
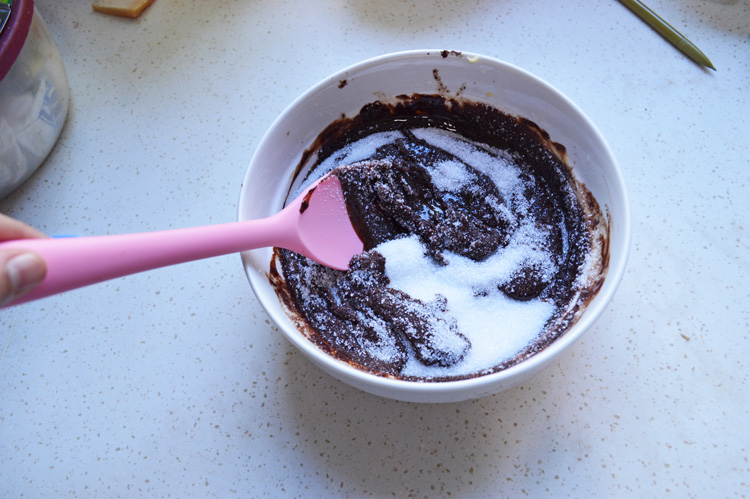
stir well to mix as well as you can

DSC_1078
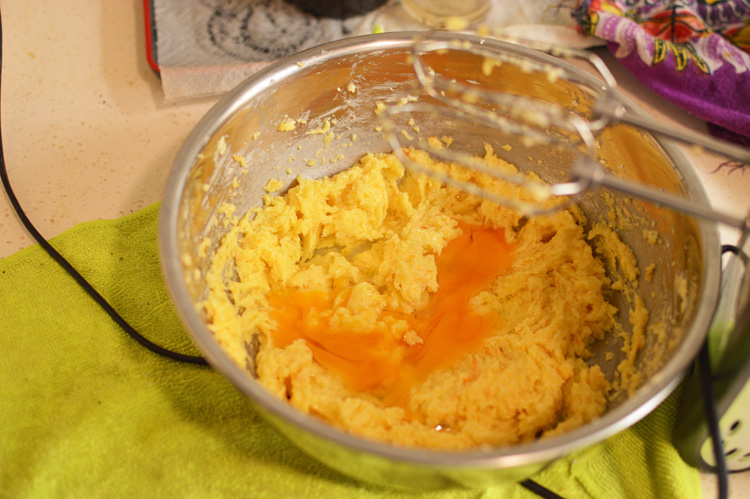
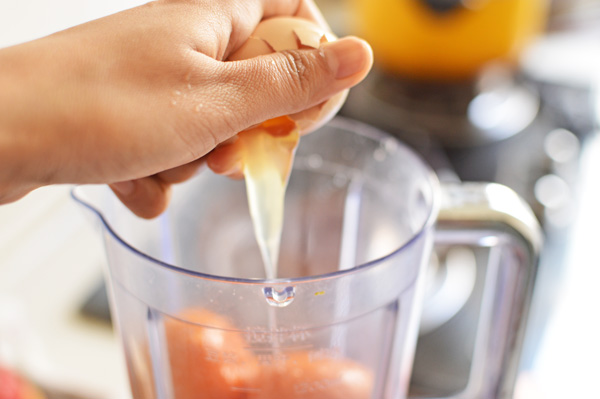
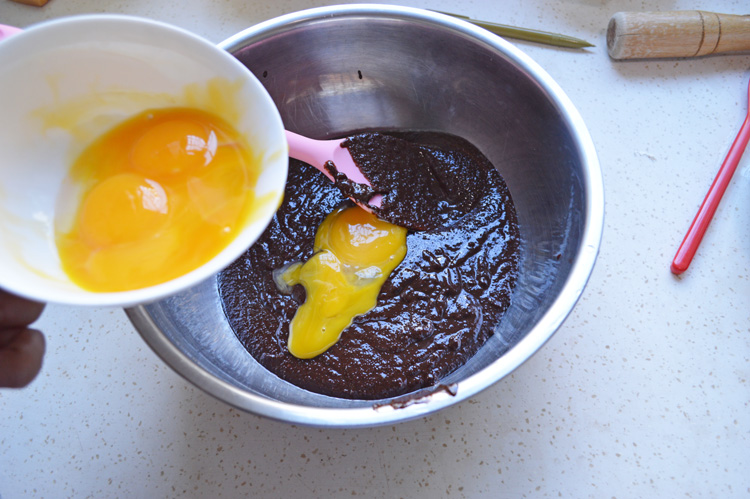
add in the egg yolks, one at a time and stir until all’s well combined.

DSC_1080
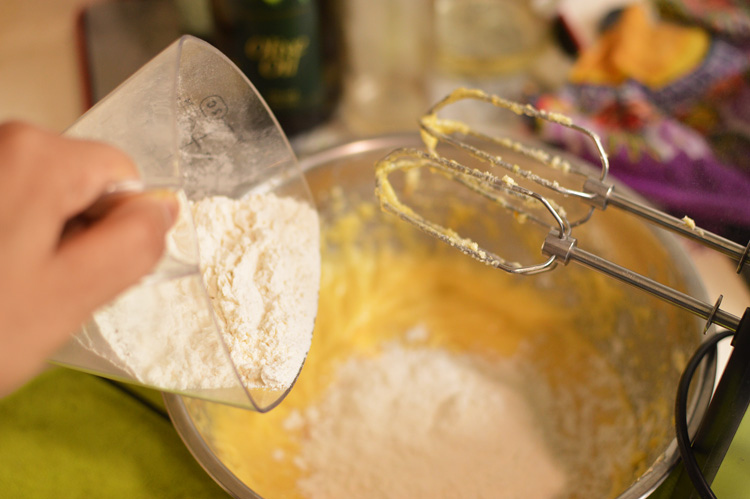
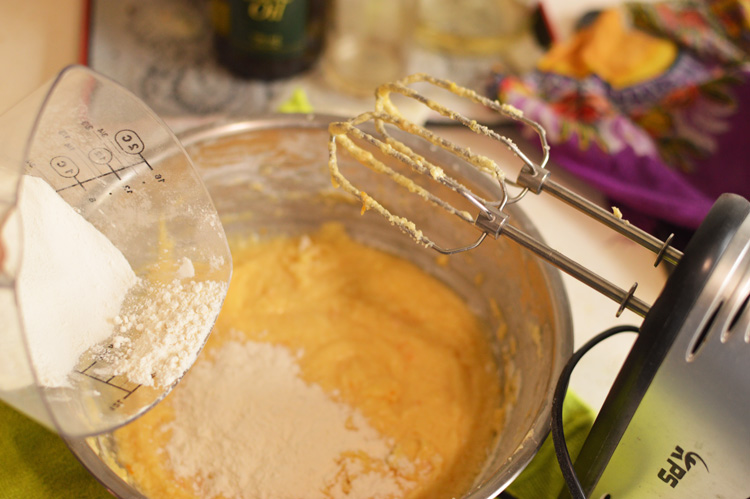
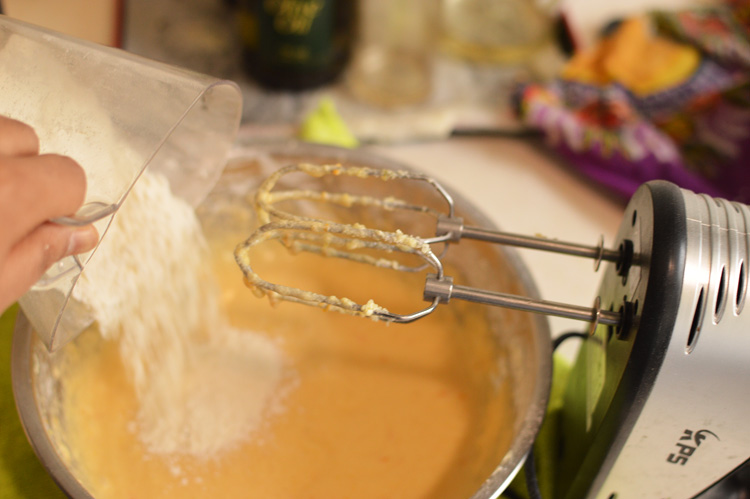
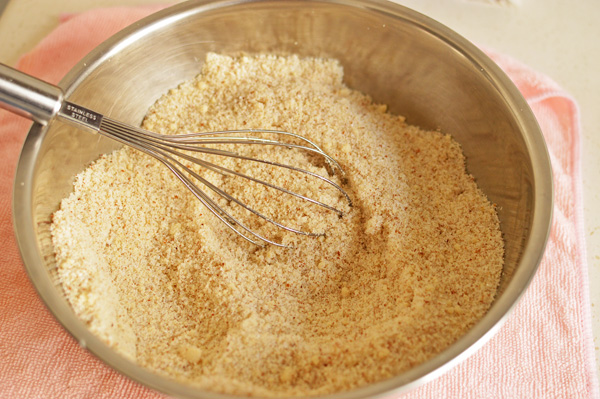
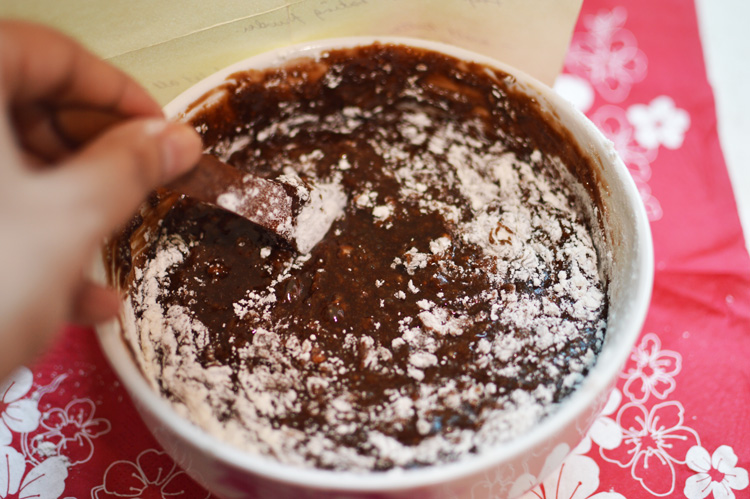
add in the flour and mix well

DSC_1081
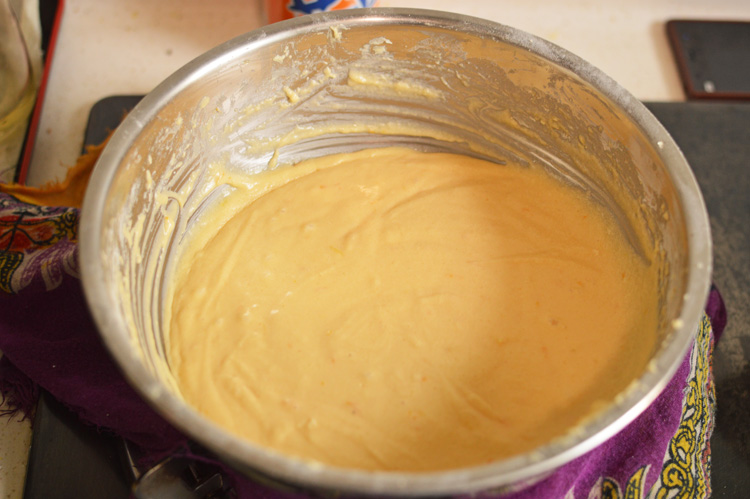
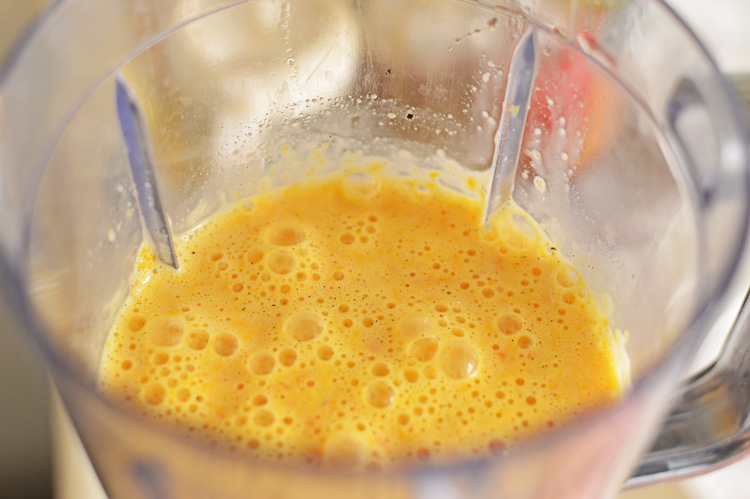
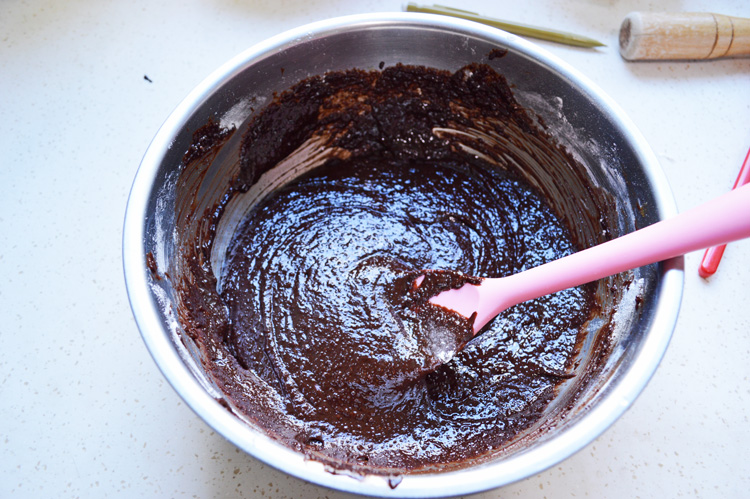
to make it look like this.

DSC_1082
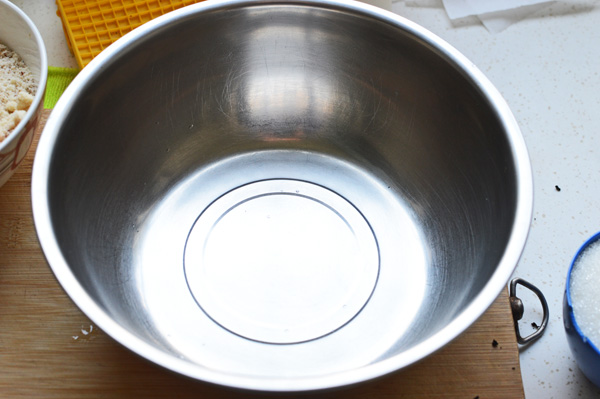
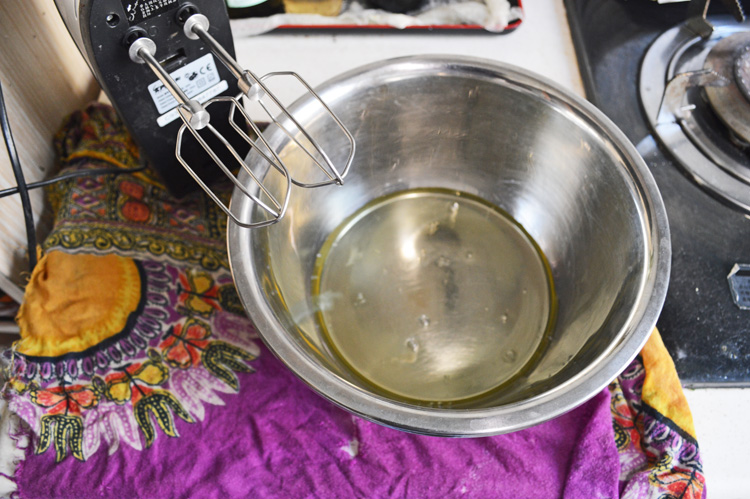
in a separate, very clean bowl we have to whip up the egg whites to form firm peaks, they should be glossy and not dry

DSC_1083so add a pinch of salt to the egg whites

DSC_1085
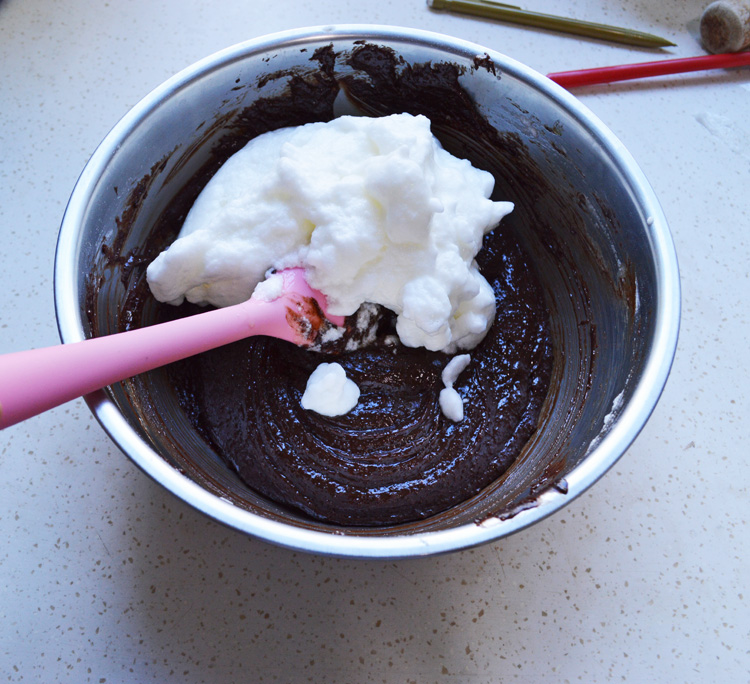
and whip like a maniac, until they kinda look like this

DSC_1086now the part where you exercise caution. First fold in about a third of the egg white mixture into the batter, to lighten it a bit. I generally do this step by cut and fold method too. Very gently fold in the egg whites to form a part of the batter. I do this by scraping the bottom of the batter and bringing it to the top of the egg whites and keep repeating this step 4-5 times until the egg whites become a part of the batter.

DSC_1087once you’ve lightened the batter, fold in the rest of the egg whites using the same method.

DSC_1088
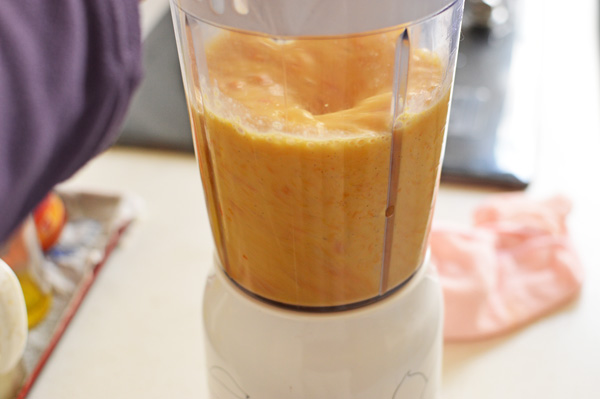
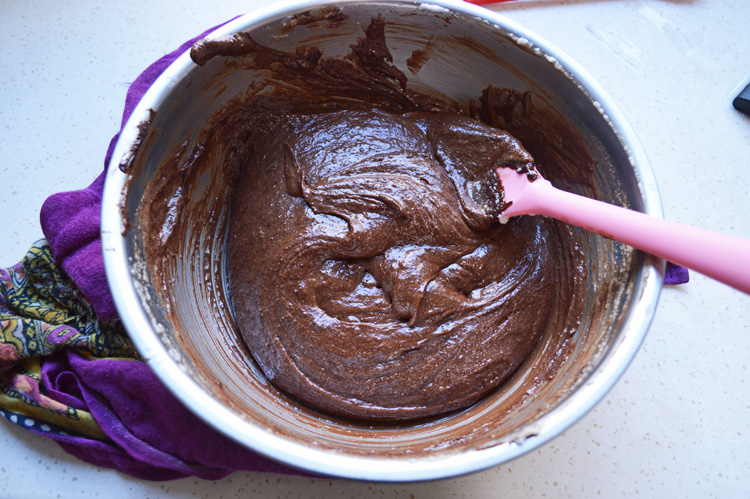
and the batter should look something like this.

DSC_1089
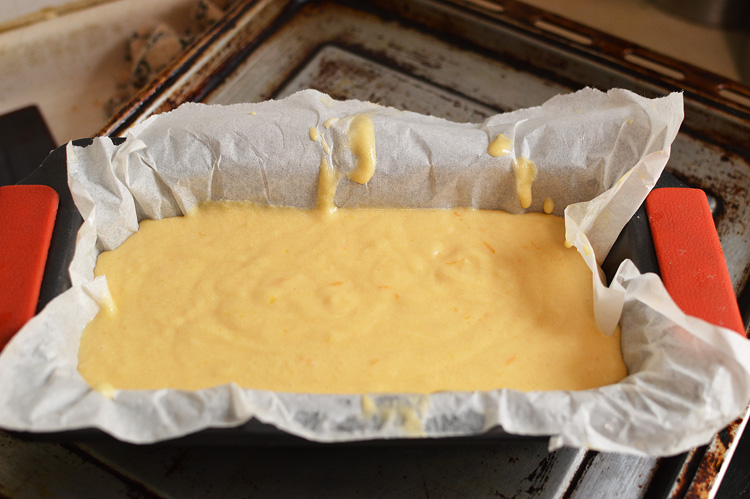
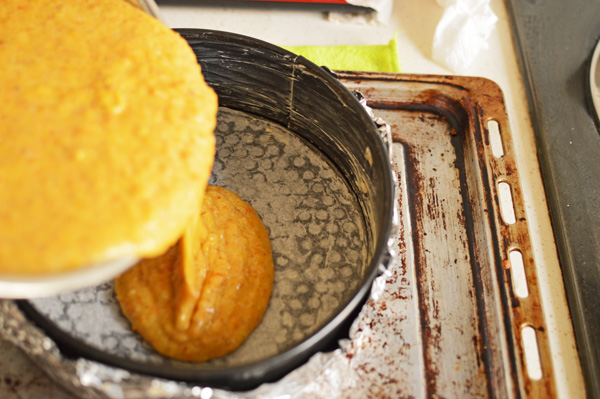
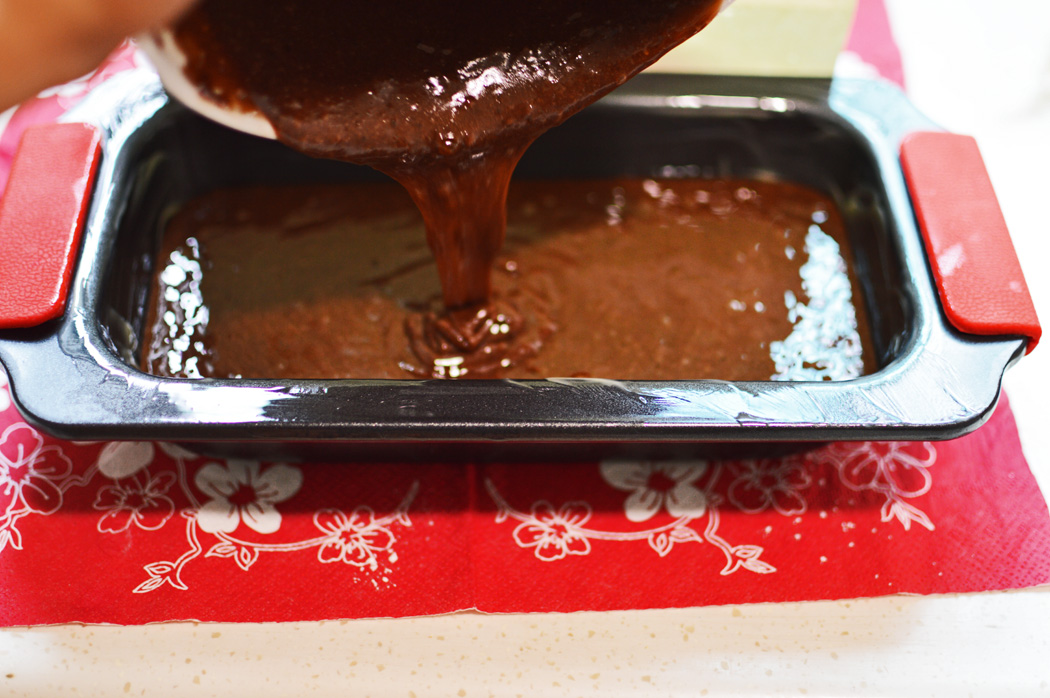
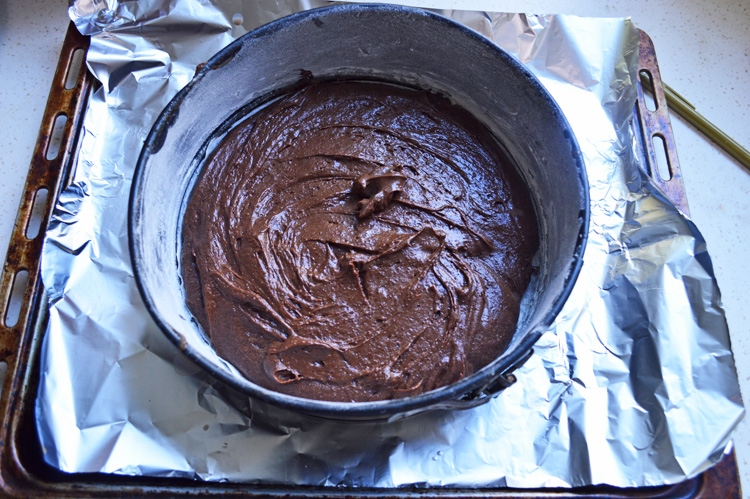
scrape the batter into the pan and jiggle the sides just a bit to even the batter (I always use foil on my tray because my springform pan can be slightly dyslexic). Bake at 180°C for 35-45 minutes.  thin knife inserted will come slightly smeared with chocolate when its done.

DSC_1090
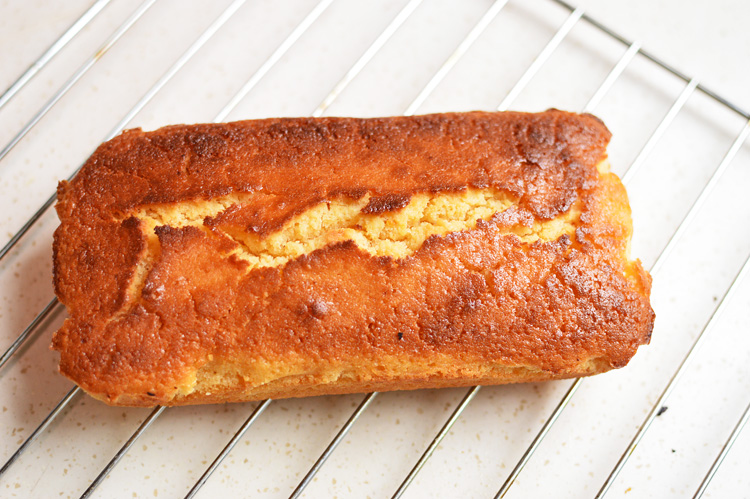
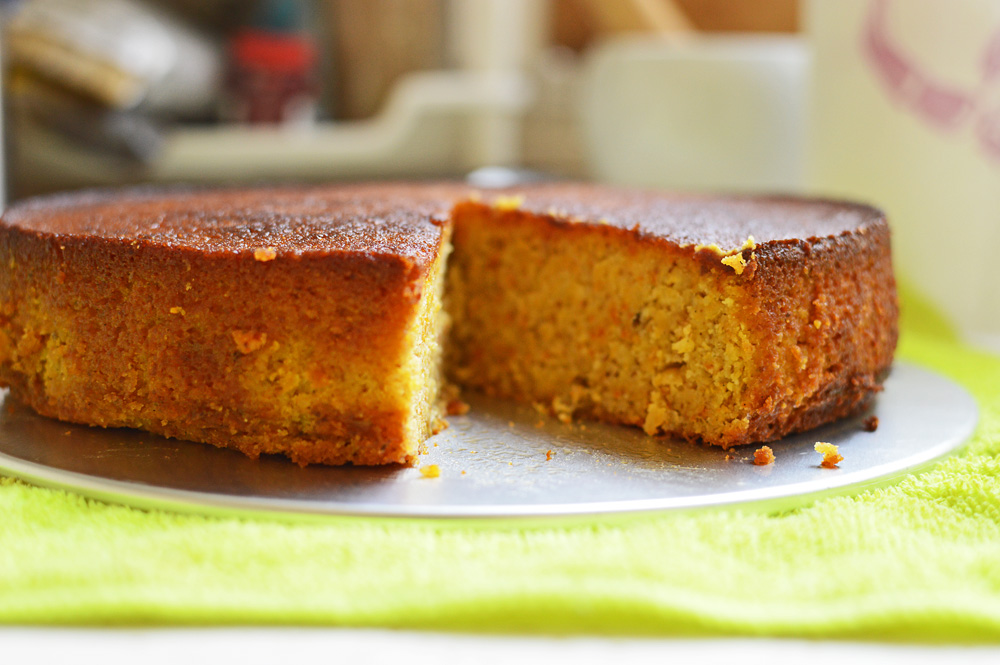
the cake when done looks something like this. Let it rest for 10 minutes before removing it from the pan. If you think the cake is sticking to the edges, just run a blunt knife around the edges and it will come out easily. The way we’ve buttered and floured the pan, it might be almost impossible to stick.

Let the cake cool completely before glazing it.

DSC_1092
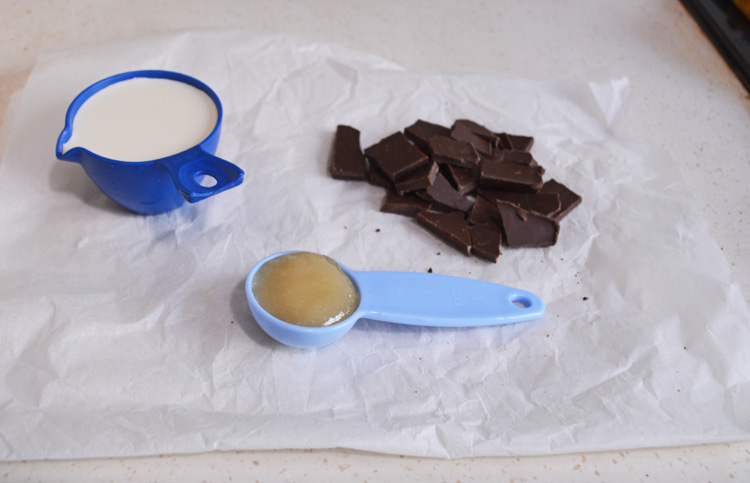
for the glaze we need heavy cream, dark chocolate and honey

DSC_1097start by heating the chocolate on low flame until it’s just nearly boiling but not boiling. Turn off the heat and add in the chocolate and let them sit without stirring for a couple of minutes.

DSC_1098after a few minutes, stir together to combine

DSC_1099
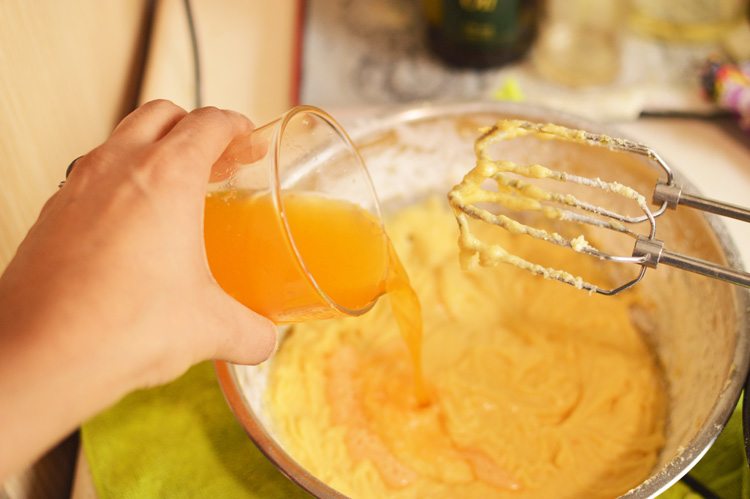
add in the honey and stir again. Wait for a few minutes until it’s just cool because it has to be pourable, for you to do

DSC_1103this. Yes! slather that cake with that glaze baby..ooh yeah.

DSC_1116
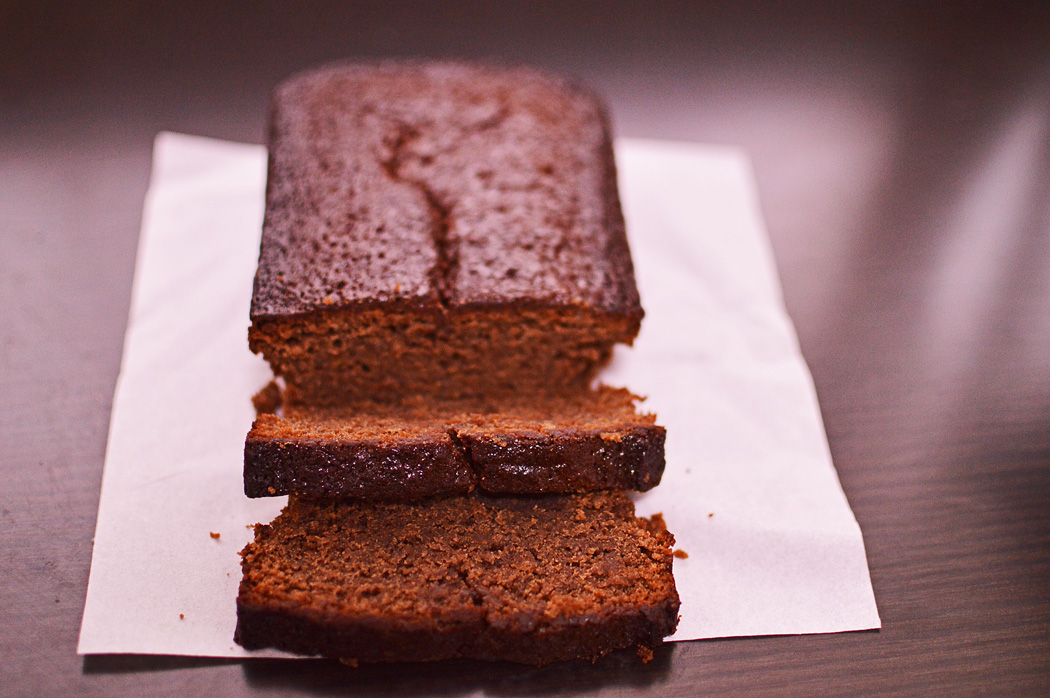
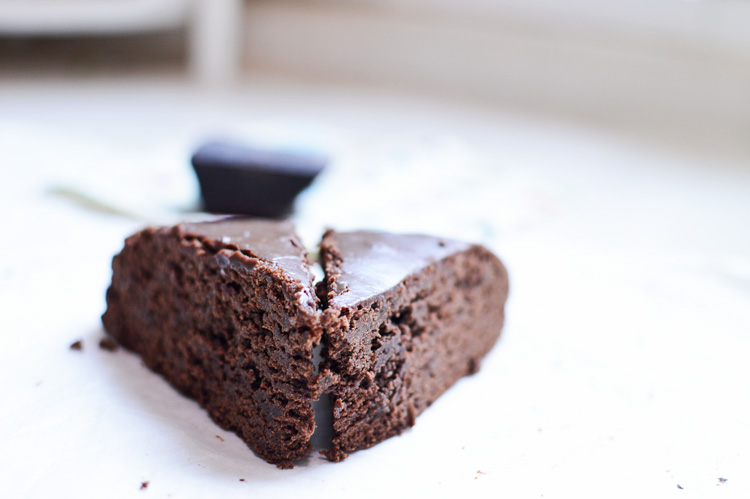
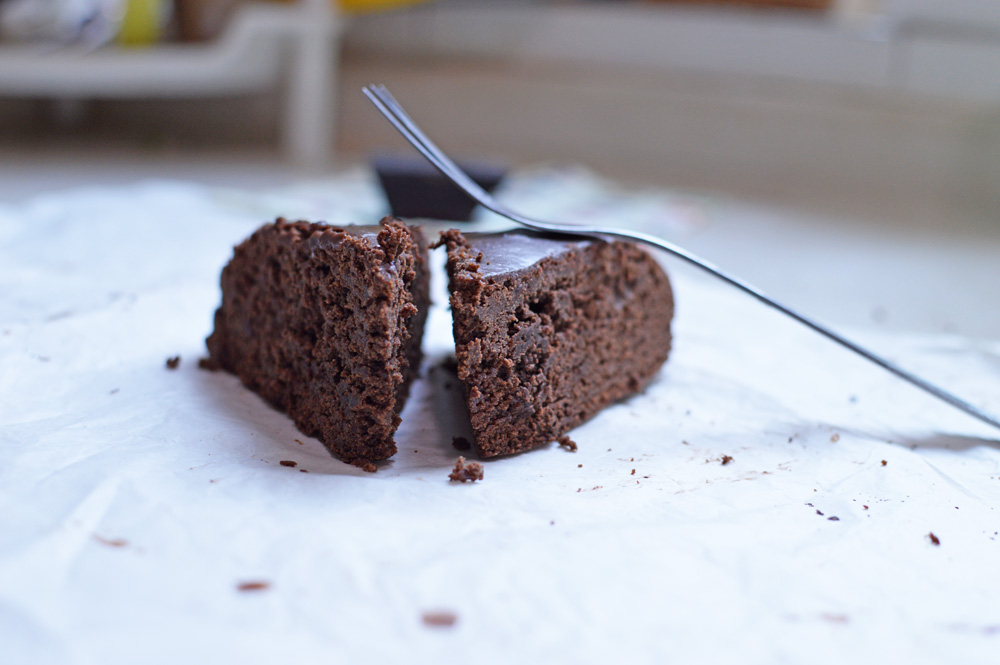
cut yourself a piece and watch yourself melt into a pool of luxurious indulgence

Ingredients

Eggs- 5 (separated)

bittersweet chocolate- 250g

sugar- 150g (1 cup)

butter- 70g (5 tbsp)

flour-50g (1/3cup)

salt- pinch

For the glaze

Dark chocolate-100g

heavy cream- 90 mls (about 1/2 cup)

Honey- 2 tsp

Baking instructions

Butter a sprinform pan and line the bottom with parchment paper, butter the paper, dust with flour to ensure the pan is evenly coated on all sides and shake off the excess.

Melt the chocolate and butter and mix in sugar, then add in the egg yolks, one at a time and mix well. Add flour and mix to form a smooth batter.

Add a pinch of salt to the egg whites and whip to form firm peaks. Stir 1/3 of the egg whites into the batter and fold in to lighten, then gently fold the rest of the egg whites, cautiously. Scrape the batter into the pan and jiggle a bit to even out. Bake at 180°C for 35-45 minutes. A thin knife inserted will come slightly smeared with chocolate when its done.

Let the cake cool for at least 10 minutes before removing it from the pan. Once out of the pan and let it cool completely.

For the chocolate glaze: heat the cream to a point when it’s just about boiling, don’t let it come to a boil. Add in the chocolate to the saucepan and let it sit without stirring for a couple of minutes. Stir the mixture after a couple of minutes until smooth and add the honey and keep mixing until it’s shiny. Let it cool a bit before pouting over the cake. Let the glaze set at room temperature for 15-20 minutes before cutting into the cake.

DSC_1108enjoy!


Citrus butter cake


DSC_0427

It’s been a while since there’s been any sun in our frigid little Chinese town, but I’m not complaining.Maybe I am because everything is cold and freezing and butter at room temperature is a solid brick and my bread dough doesn’t rise and it’s always raining and everything is wet and it feels like I’m living in a glacier…..but there are moments when there’s plenty sunshine in my kitchen, courtesy this golden cake, that looks like sun-rays and tastes like sunlit oranges bathed in sweet butter and love.

I’m not exaggerating, ’tis true and you know it and not least because you can make this cake at the snap of your fingers and smugly too.

DSC_0390q

Yes there’s fanta and no shame. Regular stuff that is butter, sugar, vanilla extract, salt, lemon and orange zest plus extra for icing, a whole lemon, fanta, flour, baking powder and

DSC_0402

eggs that I forgot to include, but here they are.

DSC_0393

into the flour add salt

DSC_0394

and baking powder and keep aside for a while

DSC_0396

this is a citrus cake and we want every breath to speak of it, which is why into our sugar we mix in the lemon zest

DSC_0397

and orange zest

DSC_0398

and using our fingers we just mix it all in so every bit of sugar is infused with the citrus twang.

DSC_0400

in a separate glass juice your lemon

DSC_0401

and add in the fanta.

DSC_0403

beat together room temperature butter and zest mixed sugar until nicely mixed and kinda fluffy. It’ll only take a couple of minutes.

DSC_0405

crack in the eggs. one at a time and beat after each addition to mix thoroughly, so here’s the first

DSC_0406

and the second. It turns a fabulous yellow/orange after each addition.

DSC_0408

once it’s all mixed well in add the vanilla extract

DSC_0409

beat again and now it’s time for the flour which we will add in three additions. So here’s 1/3rd of our flour, mix briefly

DSC_0410

and 1/2 of our magic potion that is fanta and lemon juice. Mix after each addition just until the batter comes together

DSC_0411

another 1/3rd of flour, beat briefly.

DSC_0413

add the remaining fanta, lemon juice, and mix to combine.

DSC_0414

followed by the rest of the flour. Beat to make a smooth batter. It doesn’t take long.

DSC_0415

You’ll finally get this. A pool of sun in a steel bowl.

DSC_0416

Pour into baking tin of choice. I was too lazy to butter a loaf tin so I lined it with a baking sheet, but please feel free to butter and flour your cake tin. Bake at 180°C for 35-40 minutes or until a toothpick inserted in the center comes out clean.

DSC_0418

Like so. The kitchen at this point smells like orange marmalade doing a cabaret. You can eat it as it is but a bit of embellishment never hurt anyone.

DSC_0421

an easy glaze or make up if you prefer. add some reserved zest into icing sugar

DSC_0422

with a spoonful or so of leftover fanta in case you haven’t been too greedy.

DSC_0426

mix to form a pourable consistency like so.

DSC_0427

and let your cake have it, make sure it has cooled down completely.

This cake may look sober but it’s oozing with oomph. It smells like sun and tastes like light. Every bite carries a citrus hit and honestly any cake that uses a can of fanta cannot go wrong. it’s easy, delightful and a much desired change from everything boring these winters.

Ingredients

butter: 100 g (1/2 cup)

flour: 170 g (11/2 cup)

sugar: 110 g( about 1 cup)

fanta: 200 mls (3/4cup)

lemon juice: 1 tablespoon

eggs: 2

salt: 1/2 tsp

baking powder: 1 tsp

vanilla extract: 1 tsp

orange and lemon zest: 1 tablespoon + extra for icing.

For icing

icing sugar: 100 g (about 1 cup(

lemon + orange zest (1 tsp)

fanta: 1 tablespoon

Recipe instructions: mix flour, salt and baking powder and keep aside. add the lemon and orange zest in sugar and mix in with fingers until fragrant. In a glass squeeze in one lemon and mix with fanta.

In a separate bowl, beat room temperature butter and sugar until fluffy. Add in the eggs one at a time and beat for a minute after each addition. Add in the vanilla extract and beat again.

Add the flour in three stages alternating with fanta and juice mixture in two, and beat well after each addition until the batter is smooth.

Pour into a baking tin and bake at 180°C for 35-40 minutes or until a toothpick inserted in the center comes out clean.

Let cool completely.

For the icing mix in the zest, fanta and icing sugar until you have pouring consistency. Pour over the cooled cake and let set before serving.

DSC_0433

Make this now!

Orange torte (gluten free)


DSC_0660I was dying to make something citrusy, something with a bright yellow colour, something that would remind me of sunshine and fill the house with summer smells of freshness.

I love desserts that have a citrus note to them and this torte was no exception. This sunny disc of luscious flavours is a gluten-free torte which I adapted from Stephanie Jaworski of joyofbaking.com . she has such a wonderful collection of fabulous recipes and it’s all explained in such perfect details that it’d be impossible to go wrong, and this torte was no exception. I came across her clemetine torte and knew that I had to make it.

I just want to emphasize on the luxuriousness of this cake and that it’s one of the best things to come out of my kitchen. It’s pure tasteporn..I mean it.

DSC_0622cSince this is an orange torte you need oranges, almond flour, salt, baking powder, vanilla extract (I used a vanilla bean), sugar and eggs.

Before I start, I’d like to mention that these oranges need a good boiling because you want these golden beauties soft, soft, soft. I boiled these oranges a day in advance, and boiled them for about 1 hour until they were soft. Let them cool and store in fridge to use next day.

Also a word on almond flour/meal- please don’t get put off or think ‘meh this needs almond meal, who’s got that’? well I didn’t. I simply made it at home by blitzing almonds in a grinder until it resembled flour. It took me about 2 minutes. You can do it and you should, because this cake is extraordinarily delicious and moist and dense and orangey and you’d probably go to hell if you didn’t try this recipe.

ok moving on..

DSC_0623take a clean blender or food processor

DSC_0624throw in your oranges

DSC_0625crack in the eggs in the most clumsy fashion

DSC_0626add in the vanilla (I’m using a vanilla bean, but please use good vanilla extract if you want, I just happen to have a truckloads of these beans)

DSC_0627Once it’s all in

DSC_0628blitz to mix. It will turn into a golden pond of citrus love in a matter of seconds.

DSC_0629admire your handiwork and realize it resembles a milkshake and that you’re lactose intolerant..shed a few tears and get back to work.

DSC_0630in a separate large clean bowl.

DSC_0631dump in your almond flour/meal (whatever you call it)

DSC_0632add the sugar

DSC_0634in with the baking powder

DSC_0635don’t forget the salt

DSC_0638it’s all heaped in. good!

DSC_0639mix using a wire whisk. It’s just easier

DSC_0640mix well like so. I put a spoonful in my mouth and it tasted great already.

DSC_0641Now tip in your orange+egg+vanilla mixture

DSC_0643mix until it all comes together. Don’t be too vigorous.

DSC_0644let that rest a bit and prep the pan. Take a springfoam pan and using its base as guide, cut out a round piece of parchment paper. It’s not geometry, you needn’t be precise. (Again, don’t be put off by this step. It takes a mere minute and it’s important for the cake)

DSC_0645take a bit of melted butter and spread on the base of the tin.

DSC_0646like so.

DSC_0647this enables the parchment to stick better. Flatten it out well so that there are no air bubbles.

DSC_0649Brush the sides as well. I took an extra precaution and lined the base with aluminum foil to prevent any leakages. I have trust issues with this pan, and in return it doesn’t love me back.

DSC_0650Tip in your batter. Tap it a bit and bake @ 190℃

DSC_0652take it out after and hour. Check with toothpick in case it comes out clean and LET IT COOL COMPLETELY! I’m sorry for yelling but this how I yelled at the man who kept trying to eat it.

DSC_0660once completely cooled, very carefully and gently remove the base pan and peel off the parchment paper. Just be a little cautious. It’s a wonderfully moist cake so don’t be too heavy-handed with it.

DSC_0674cut yourself a piece and fall in love.

Note: this cake tastes best after a couple of days of making, and for best results you have to let it be undisturbed overnight.

Ingredients

Oranges : 450g (boiled until soft, best to do a day in advance)

Eggs: 6

vanilla extract : 1 teaspoon or vanilla bean.

Almond flour/meal : 250 g (if you can’t buy it, then grind the same wight of almonds until it resembles flour)

Sugar: 230 g

baking powder: 1 teaspoon

salt: a small pinch

How to: In a blender or food processor, blend in the oranges, eggs and vanilla.

In a separate large bowl mix in the almond flour, salt, baking powder and sugar. Pour in the batter and mix well.

Line your springfoam tin with parchment paper after greasing the base and sides. To prevent leakages line the outside base with aluminium foil.

Pour in the batter and bake at 190℃ for 45-60 minutes. Check with toothpick to see if it’s baked. Mine took one whole hour.

Note: Around the 40 minute mark I covered the top with aluminum foil as it was getting a little brown.

DSC_0672Here’s another delicious picture. Enjoy!!


Chocolate orange cake


DSC_0162Orange and chocolate when put together, open a portal of another dimension, which leads you into a parallel universe where there is endless happiness, where eating more makes you lose weight and where lemons give you life.

Orange and chocolate form something so deep, so intense and flavourful and so unbelievably delicious that you’d think the person who discovered this was given a nobel prize or at least he should be given one asap.

This cake is so rich, so damp, dense, dark and irresistible that you wouldn’t be able to stop yourself from devouring this completely. It’s almost impossible to put in words but it tastes like a mouthful of happy malevolence. Crazy right? but this cake has to be made to believe and this is one of the best desserts you could serve at a dinner party. It’s gorgeous and it has an air of elegant simplicity with the most aromatic and not so subtle flavours of orange and chocolate.

The other best part about this cake is that it’s easy and it can be made into just one bowl.


DSC_0090Just flour, salt, baking soda, butter, best quality dark chocolate, sugar, orange marmalade, vanilla, orange liqueur (optional), eggs.


DSC_0093I started by melting the butter and the chocolate into a microwavable bowl. You could by all means use a double boiler but this was easier and faster.


DSC_0095Stir together and exercise enough restrain to not dive into this dark pool of melted chocolate and butter. It’s so easy that I’m using a tiny wooden spoon and a bowl two sizes too small to make this cake.


DSC_0098Into this add in the orange marmalade


DSC_0099the sugar


DSC_0100the orange liqueur


DSC_0101the vanilla extract


DSC_0102and stir. You can see lumps of the marmalade I put in and this is what helps the texture of this cake making it moist with small pieces of marmalade studded in the chocolate.


DSC_0111In with the beaten eggs


DSC_0113and gradually adding a bit of flour and stirring to incorporate. Instead of adding in the whole heap, add in a tablespoon at a time and gently mix in without over beating.


DSC_0117like this


DSC_0120to finally get this.


DSC_0125Into a cake mould. You can also make cupcakes out of this and more often when I have a lot of people, I actually make these into small cupcakes and these need absolutely no frosting/icing of any kind… none!!


DSC_0138Now because this cake is damp, it takes a bit longer than usual cakes but this is so glorious and intensely aromatic. It’s fabulous.


DSC_01688You really have to make this cake and see for yourself how easy it is to create something so rich and elegant yet so simple. This cake is a hit and you’d be asked for seconds and thirds. You really have to make this..


Ingredients

  • butter 125 g (unsalted)
  • dark chocolate 100g (at least 60%cocoa)
  • Orange marmalade 150 g
  • Orange liqueur (optional) 30 mls/1 tablespoon
  • sugar 120 g
  • salt 1/4 teaspoon
  • baking soda 1/2 teaspoon
  • eggs 2 large beaten
  • flour 150g
  • vanilla extract 1 teaspoon

Recipe: Melt the butter and the chocolate. Add in the marmalade, sugar, liqueur and vanilla. Stir to combine

add in the eggs and mix thoroughly.

Add the flour slowly or one tablespoon at a time and mix completely without over beating.

The batter will be very moist. Bake at 180℃ for 45-50 minutes. Let cool completely.

This cake needs no icing or frosting at all.

Alternatively you can use this recipe and make cupcakes as well.

Enjoy!!!


Buttery Vanilla Cake.


Not the best picture, I know. This cake was made on a special request, fairly late in the evening, for my younger brother. His demands were simple. A very unpretentious, basic, spongy, no frill vanilla cake, which is easily wolfed down.

This is a recipe I have on my finger tips and it’s so buttery, so luscious and spongy that you don’t feel the need to slather any icing on it. Tea cake, breakfast cake, anytime cake- this will fit the bill.

My photographs have to be excused, I clicked them without any natural lights and edited them a bit on instagram.

Ingredients

Butter 150 gms

flour 250 gms

sugar 180 gms

2 large eggs

milk 200mls

1.5 tsp baking powder

2 tsp vanilla extract

It’s fairly simple as cakes go. Sift the flour and baking powder and keep aside.

Cream the butter and sugar until light and fluffy. (I used a hand mixer for this). Crack in the first egg, beat until well incorporated, now crack in the second egg and mix well.

Add the vanilla extract, keep mixing all through. It’s this addition of air that makes this batter so light and spongy.

add the flour mixture and milk, in 3 alternating additions. Mix well, scraping the sides of the bowl. The batter is done.

Transfer into a well greased baking pan and smoothen the top. I also tap it a bit on the surface so there are no air bubbles and it doesn’t result in a dome shape.

bake at 170℃ for 35 minutes. Ovens may vary sometimes, so you need to check with a toothpick for doneness after 30 minutes.

This cake though easily eaten just as it and in fact tastes best that way can also be iced, filled, frosted to your liking.


Chiffon cake


Image

This is a cake I had made a few days back when I was asked to make a proper cake with a lot of icing. Yes, my husband is a sucker for filled or iced cakes.  Considering the layers of creamy icing I’d have to slather onto the cake, I decided to bake a cake which in itself isn’t heavy at all.

This chiffon cake I think is perfect for a thick icing, since it’s not heavy on its own whatsoever. Also spongy, airy and light, and in fact tastes like one of those store bought cakes which we usually get to eat at kids birthday parties. However this was all fresh, nothing store brought except the ingredients.

The other good thing about this cake is that it only needs a very few ingredients. One can make a fairly large cake out of it too and it’s perfect for gatherings.

I have no step by step pictures this time, but it’s so easy really.

Ingredients

5 large eggs- separated

170 gms sugar

2 tsp vanilla extract

90 gms flour.

For icing

Whipped cream

This is it. These are all the ingredients. No need for any baking powder, butter, nothing. It;s a very light cake.

Okay, first we have to divide the sugar into three parts.

Sift 50 gms sugar with the flour,and keep aside. 50 gms sugar for the egg yolks, and the rest 70 gms if for the egg whites, so keep aside.

Starting with the egg yolks first.

Beat the sugar and the egg yolks till they take on a pale yellow hue. I had to beat mine for about 15 minutes- I was using a hand mixer. You can by all means use whatever you feel necessary. Once you have reached that stage wherein the sugar and eggs are completely mixed and pale eggy yellow, mix in the vanilla and beat until its all incorporated. Into this mixture sieve in the flour and sugar and keep aside. Don’ mix anything right now.

Now we start beating the egg whites. Beat until they form soft white peaks. This is the time we start adding in the sugar, a teaspoon at a time. This is to ensure that the sugar is completely incorporated and that there aren’t any undissolved sugar crystal. The beating has to be vigorous. Beat until all the sugar has been mixed, the eggs are shining white in fact a bit matte by now, and forming stiff peaks when you lift your beater.

For the final folding of the batter. Take 1/3rd of the egg white mixture and gently fold in with the flour and egg yolk mixture. You have to ensure that you fold it well, instead of mixing like a maniac, because it’s the folding that ensures a very risen cake. When the batter gets well mixed, fold in the remaining egg whites.

The Chiffon cake batter will look very very pale yellow, in fact sort of creamy, like the wall pain on my kitchen.

I used a springform pan. It was easy to just take off the sides, but really, use whatever shaped mold you like.

Bake at 160℃ for 45-50 minutes. The cake will rise to extraordinary proportions. It was a joy to just watch it rise every minute.

Let the cake cool before you slather the icing. You can either bake the cake into 2 molds, or be lazy like me and bake into one and divide it into two by using a clumsy hand and a serrated knife.

Enjoy !!!