Wholewheat banana bread


dsc_0810
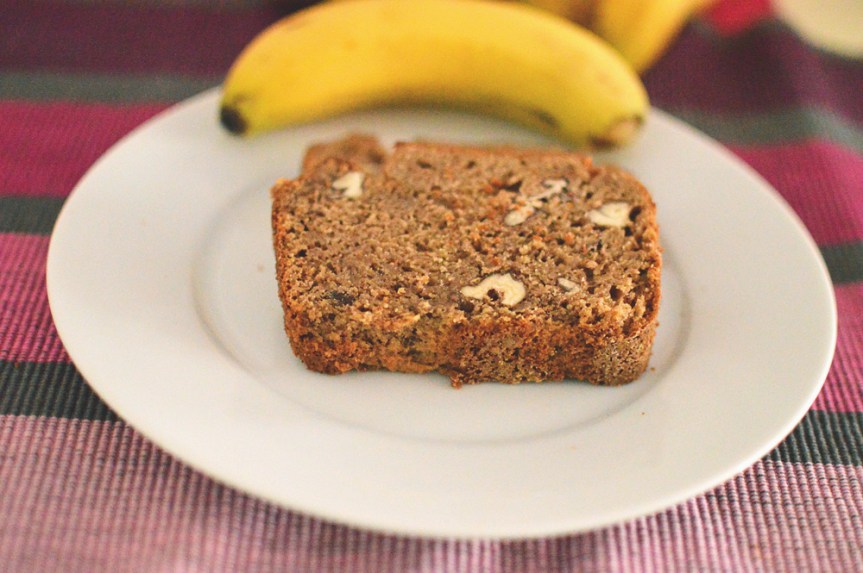
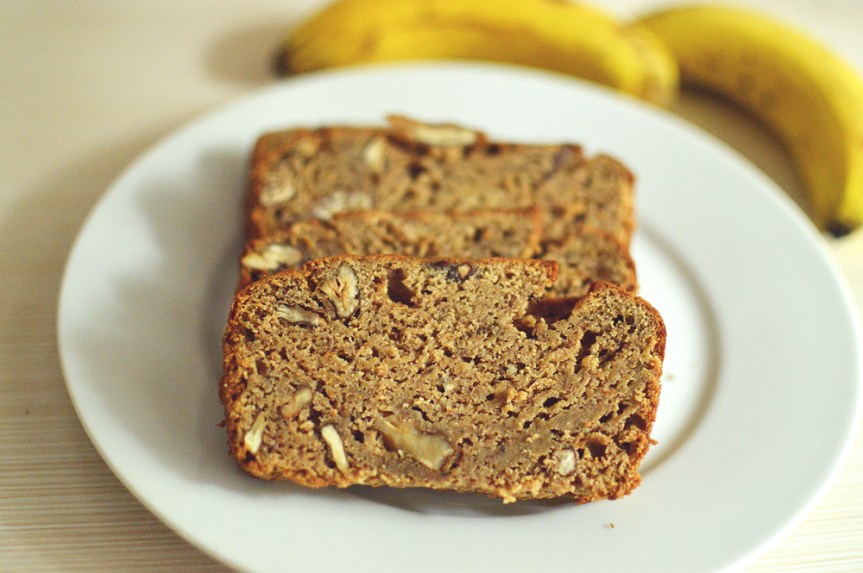
Most beguiling, calling this a bread, when in essence, it actually is a cake. I guess it’s probably called a bread because it’s baked in a loaf tin. Ah, well.. ‘a rose by any other name’ and all that jazz. So indeed, this rather bashful, withdrawn looking cake/bread is exactly that. An air of polite modesty about its person, this cake doesn’t pretend to be a showstopper, or a stunner, gracing the high tables of a luxurious dinner party.

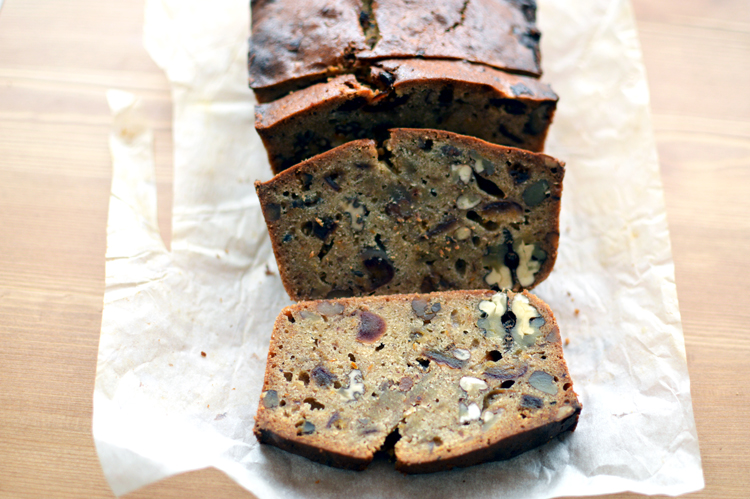
It’s in fact a quiet, simple and courteous nibble as opposed to the rich, opulent, cloying tastes of other thickly decadent cakes. This, in effect, is the anti thesis of sinful tastes, and bears such depth of resonant flavours that one slice or even two wouldn’t suffice. A perfect accompaniment for coffee, or as breakfast. This wholewheat banana cake  makes up in flavours, what it lacks in appearances, and isn’t that all that really matters?

Flecked with nuts, tinged with spices encasing a positively astounding banana soul. This wholewheat banana bread is moist with a nuttier wholewheat taste that totally trumps ones with made with regular flour..and if that wasn’t enough, it’s healthier too.


dsc_0770-copy
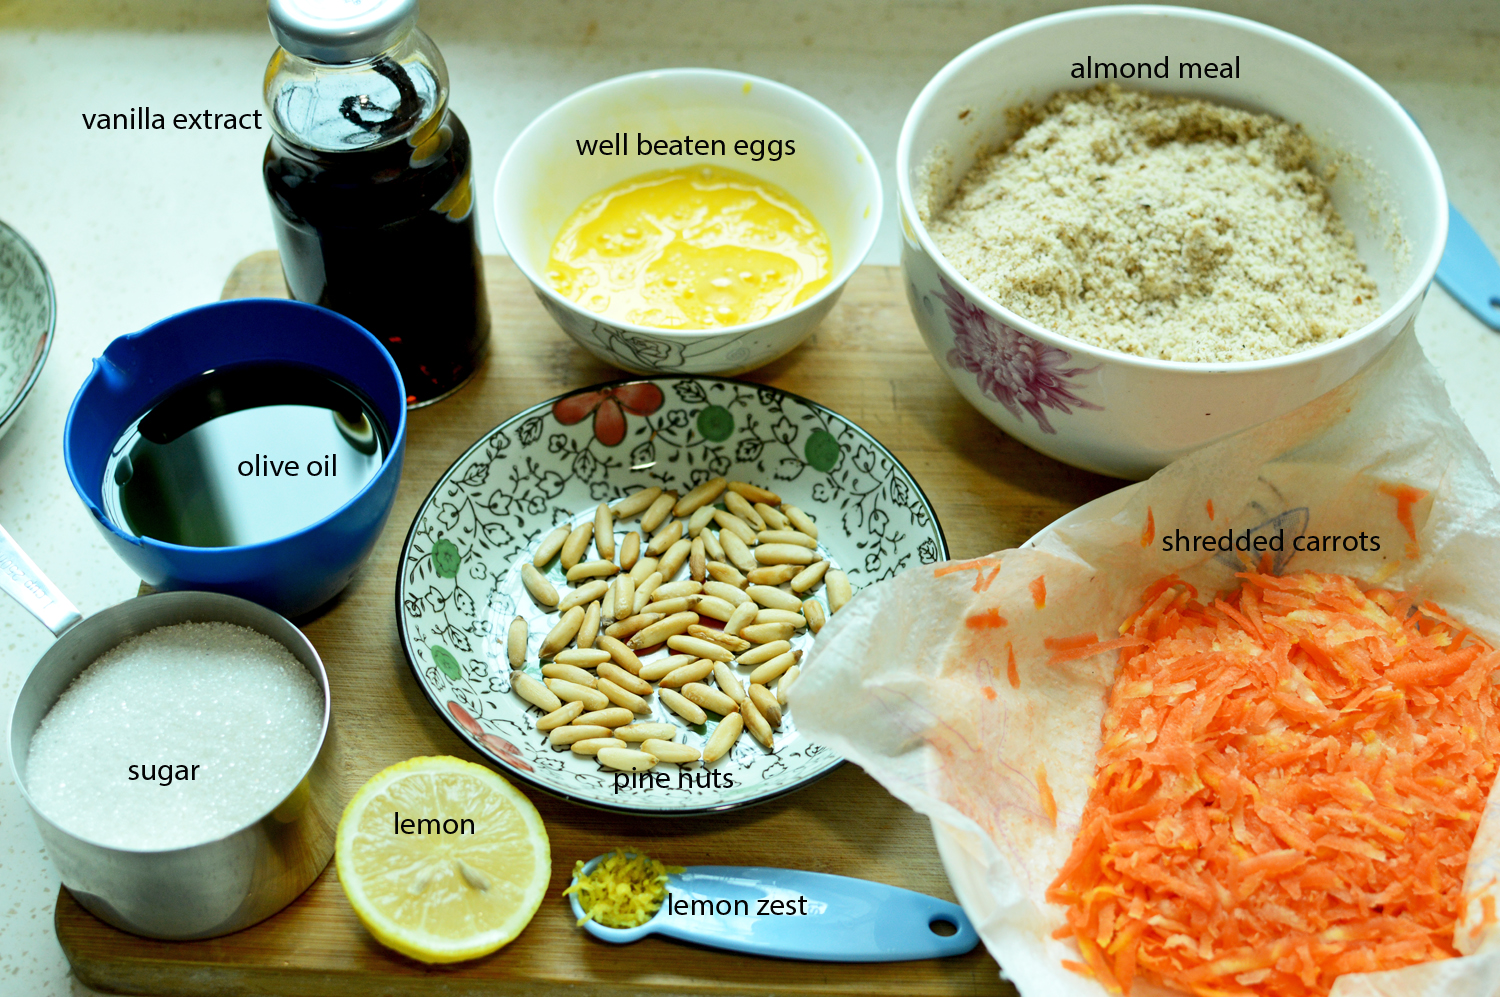
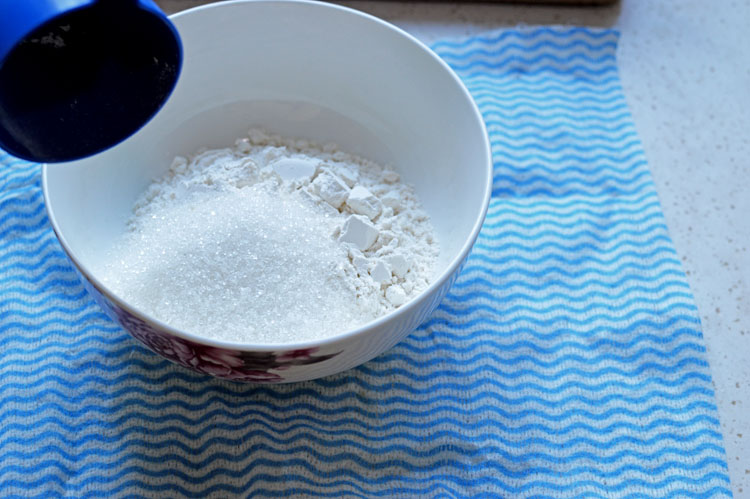
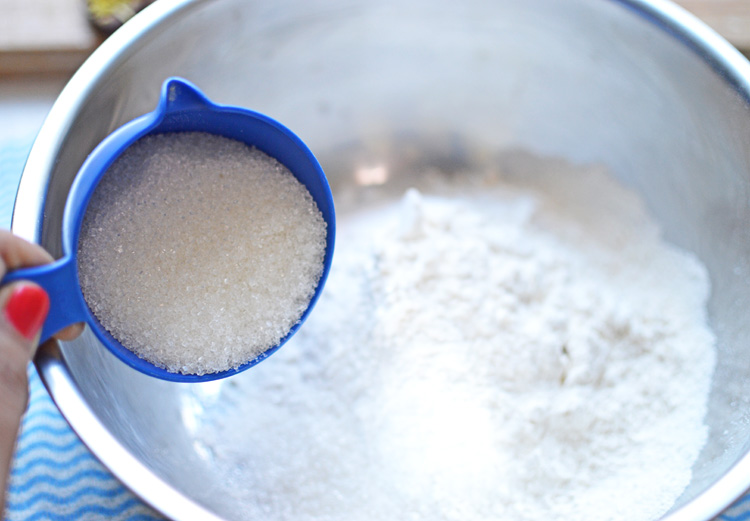
The ingredients are simple enough. mashed bananas, brown sugar, coconut oil, soy milk, eggs, wholewheat flour, vanilla, ground spices and nuts.


dsc_0773

dsc_0774

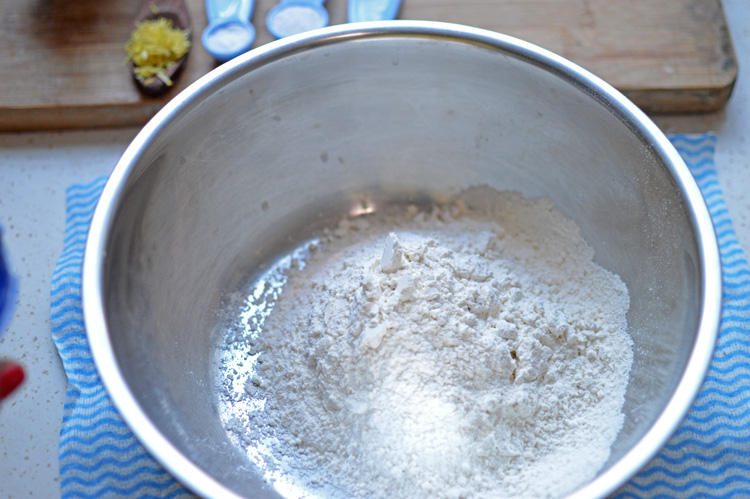
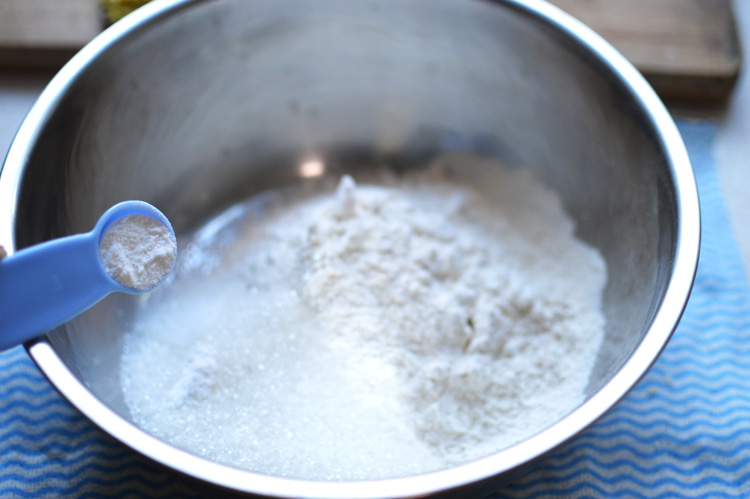
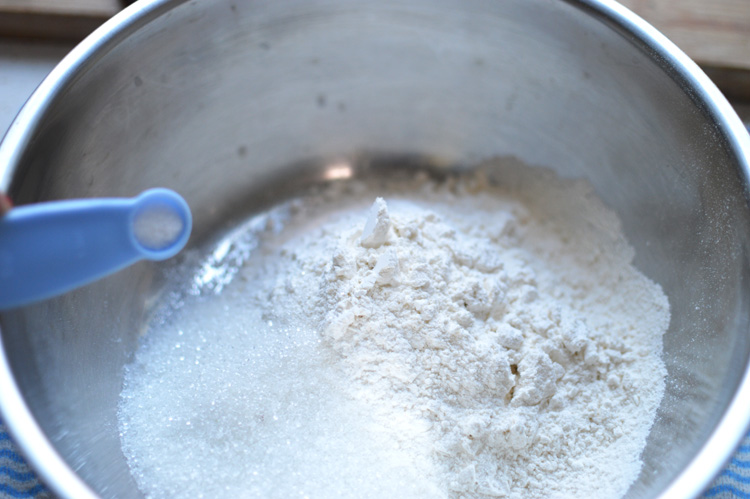
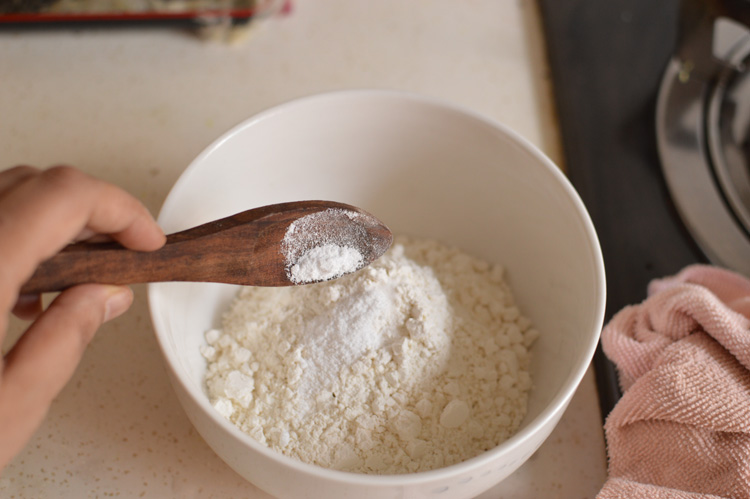
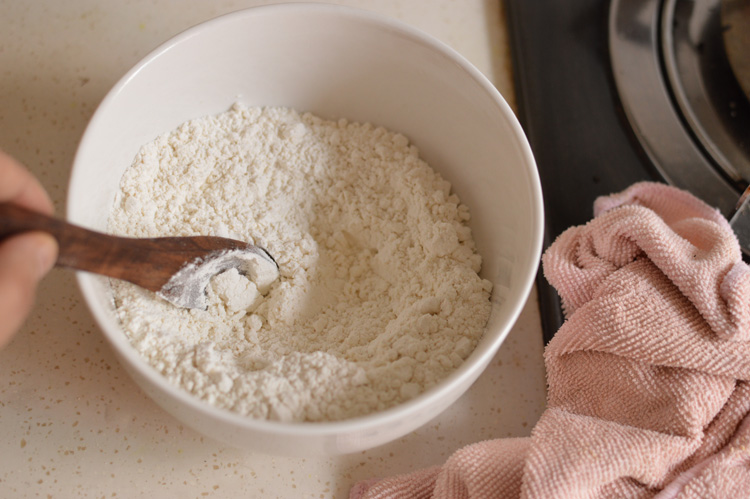
mix baking soda and baking powder in with wholewheat flour. (these ingredients were not pictured)


dsc_0776

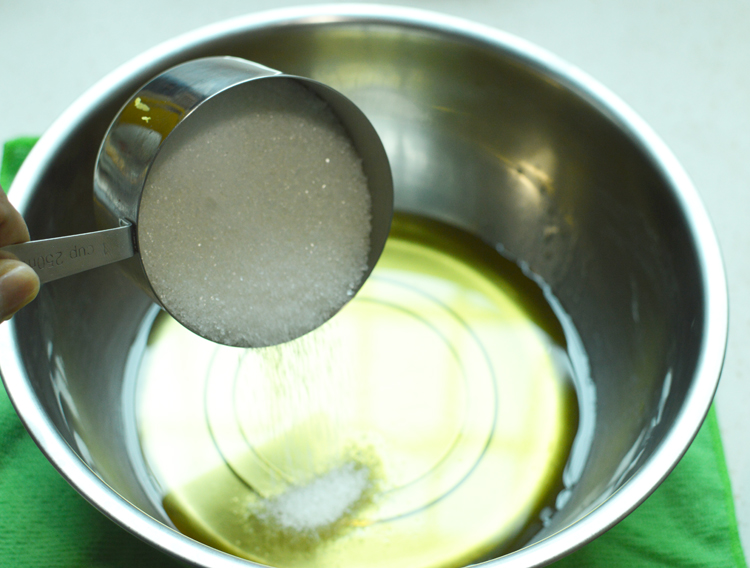
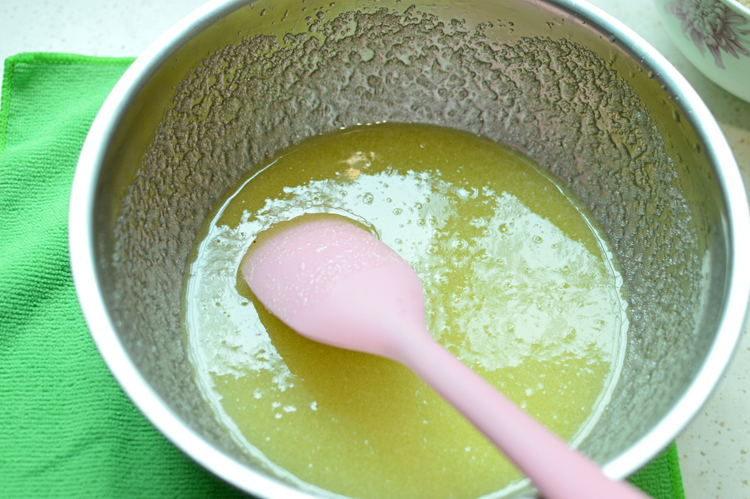
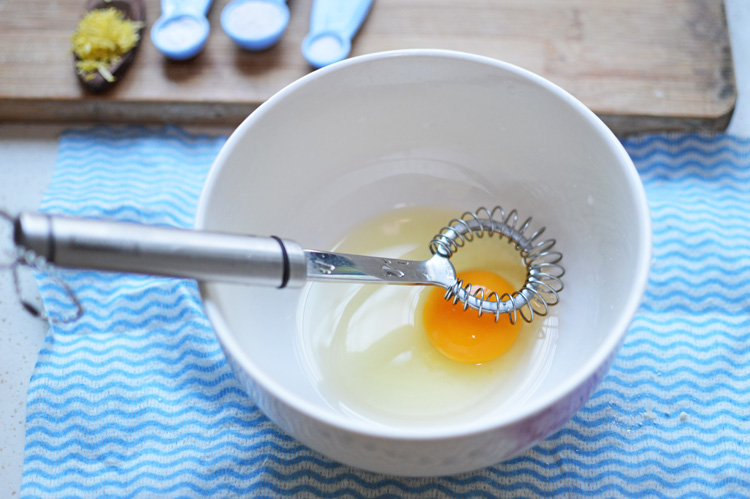
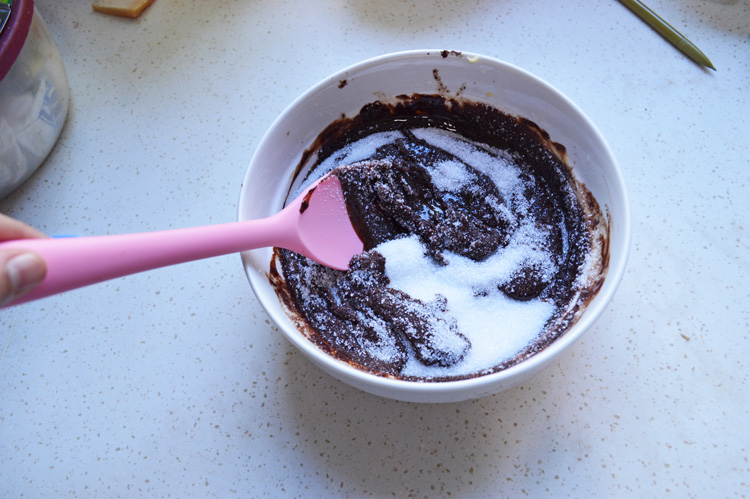
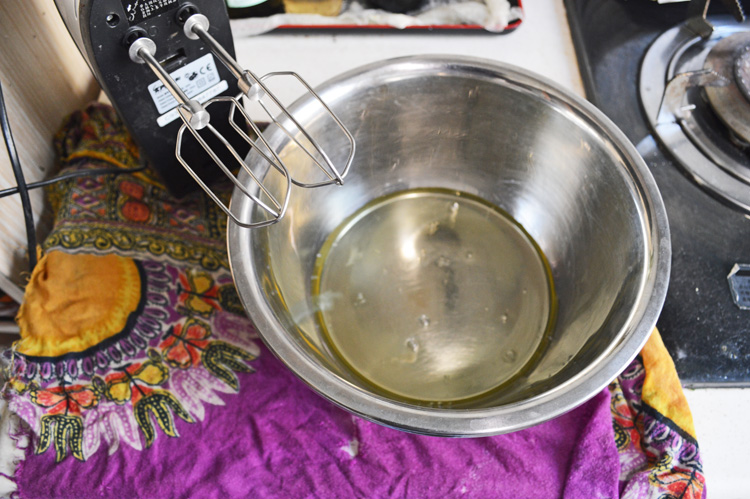
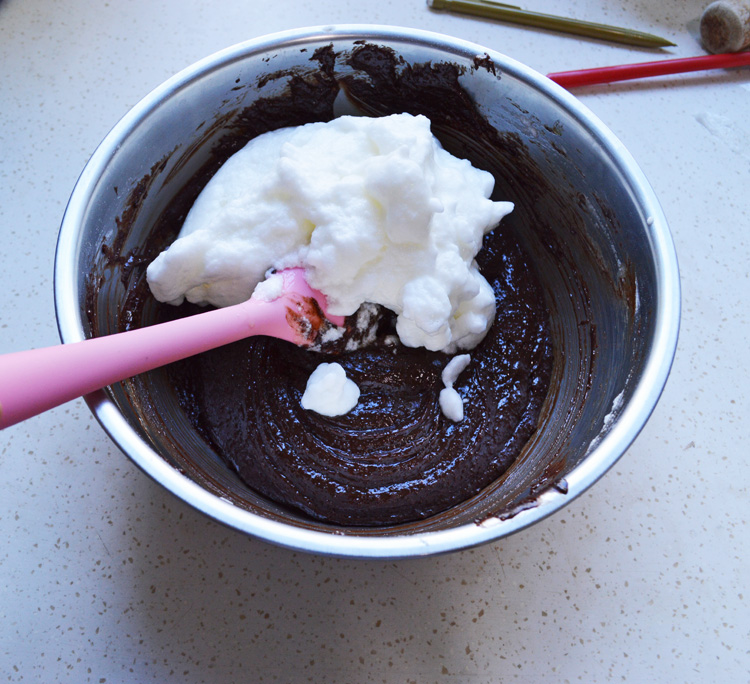
In a clean mixing bowl, add in the oil and brown sugar


dsc_0778

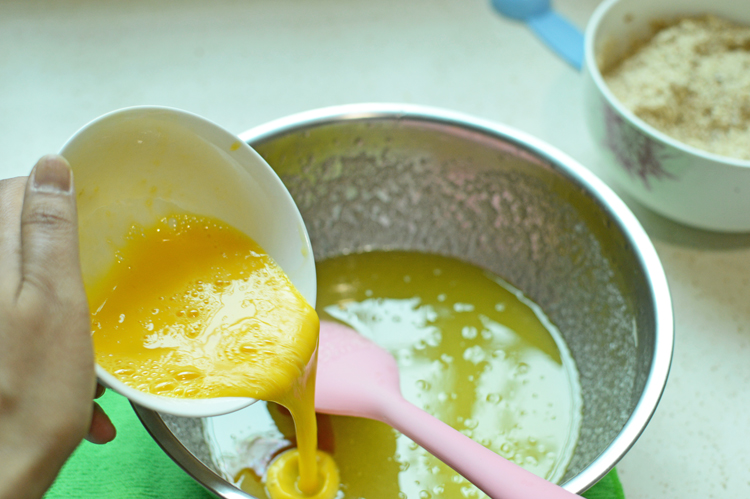
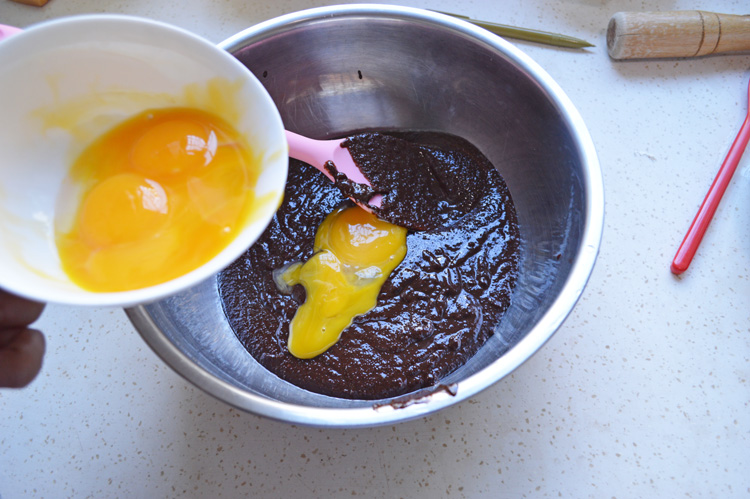
Mix briefly and crack in the eggs, and beat again, until the eggs are evenly combined.
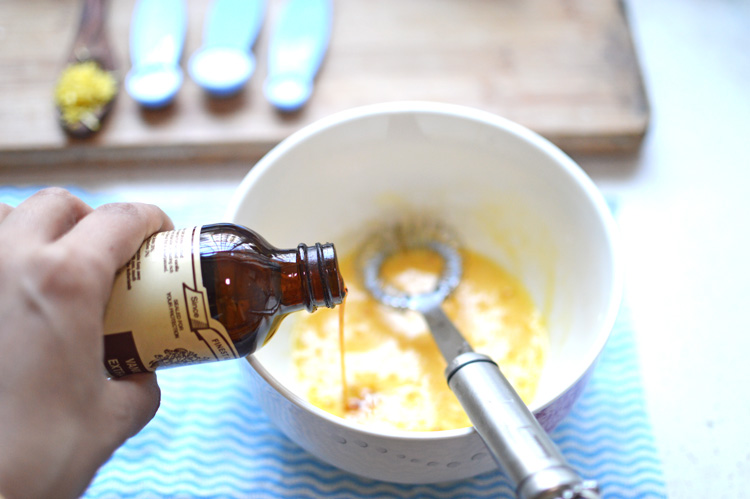
 

dsc_0779

add vanilla


dsc_0782

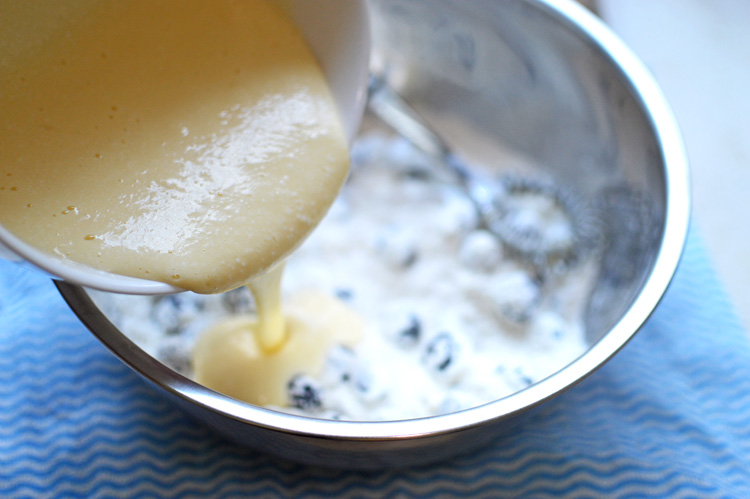
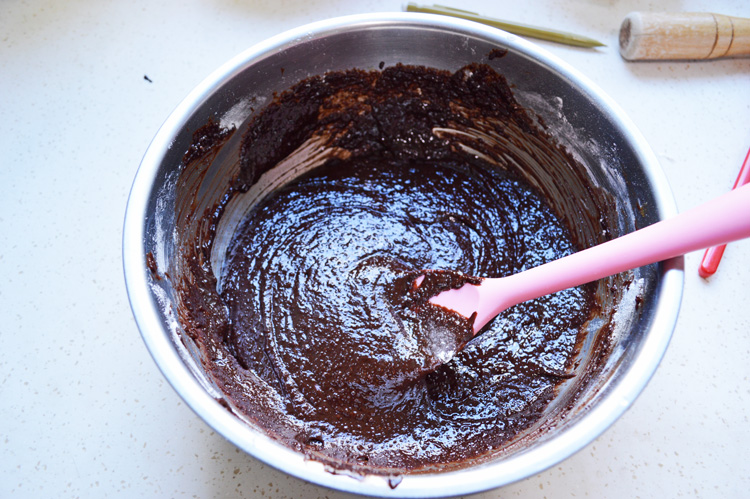
mashed bananas and mix


dsc_0785

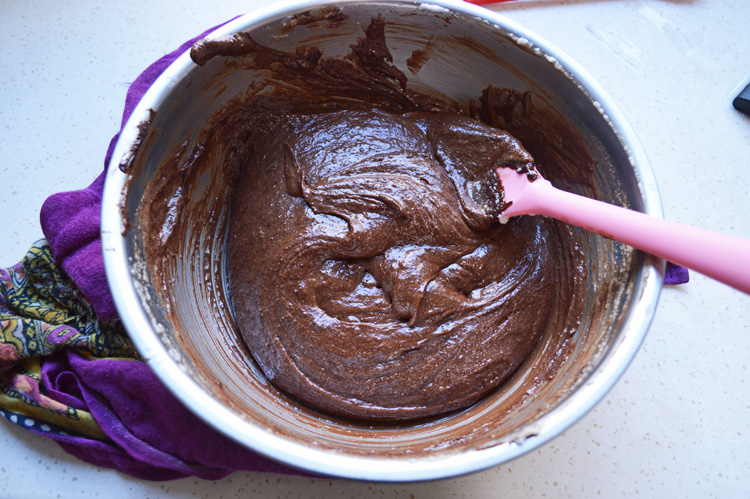
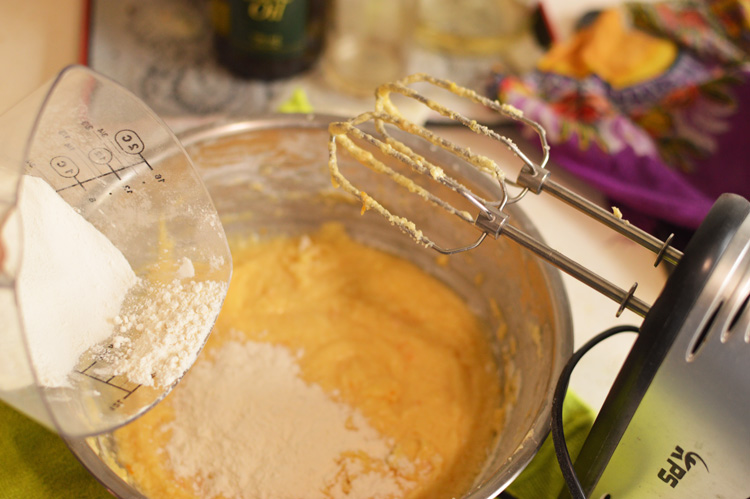
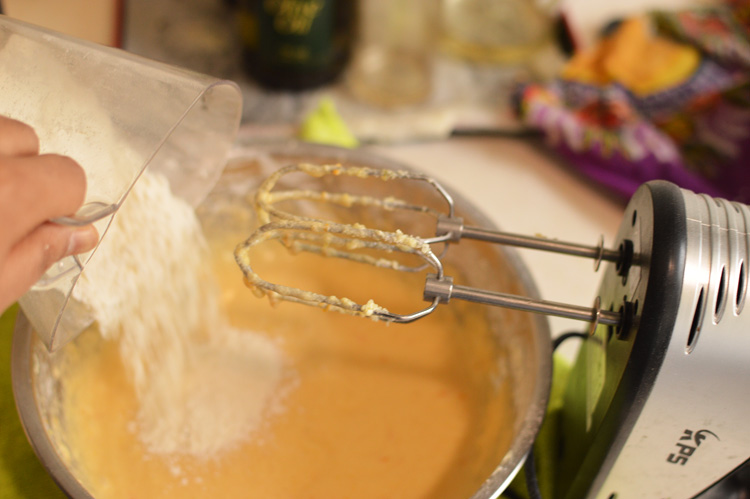
once the ingredients are well combined, tip in the flour. As you can see I’ve traded my whisk for a spatula, and mix very briefly.


dsc_0786

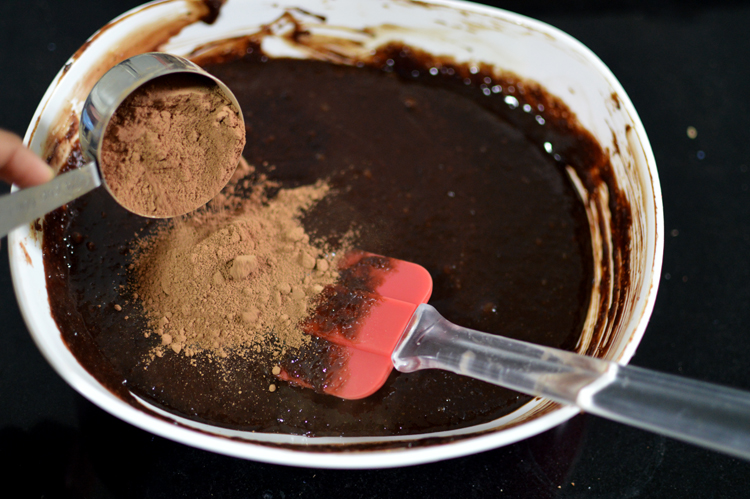
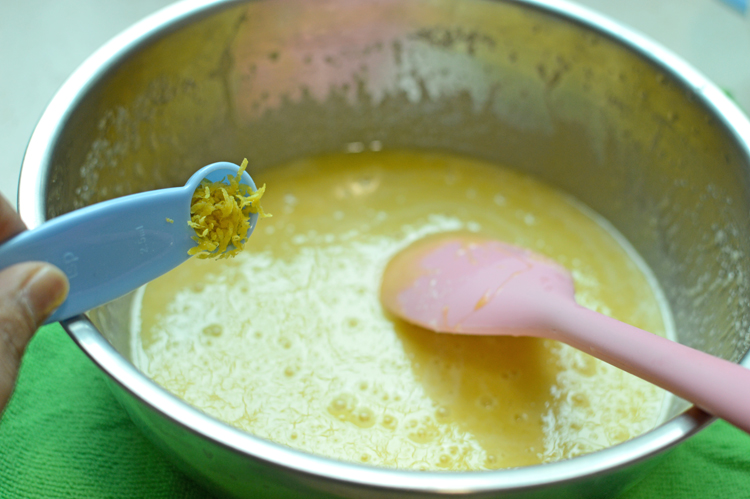
add in the ground spices


dsc_0787

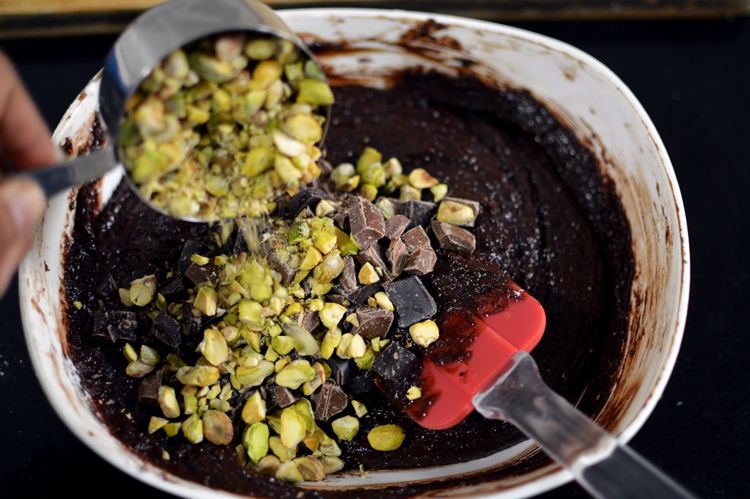
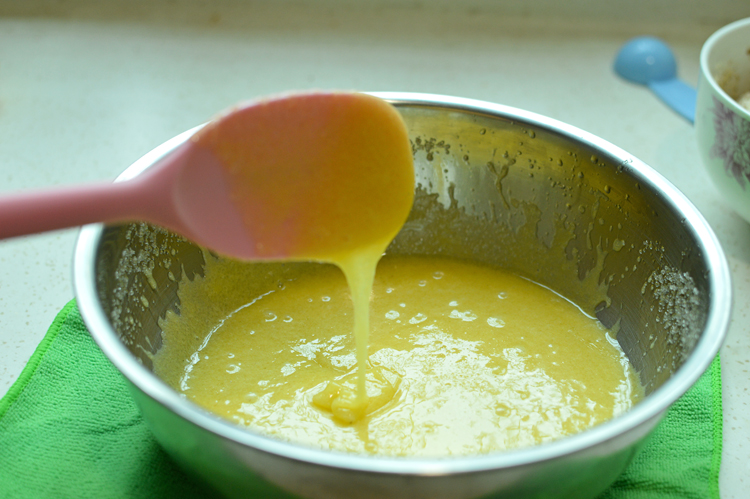
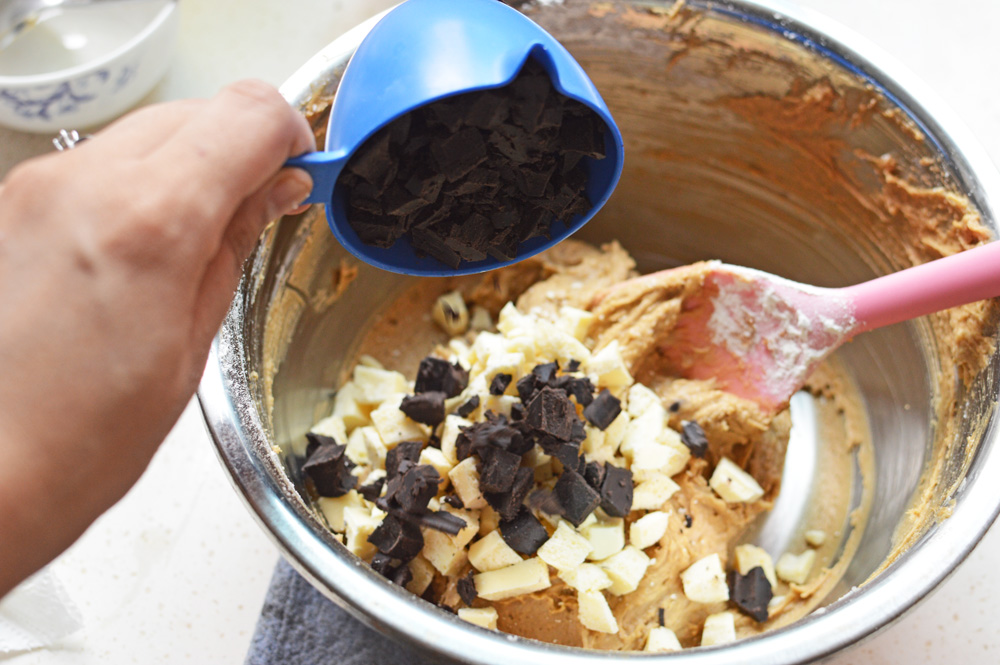
followed by nuts, and combine well, without over mixing the batter.


dsc_0790

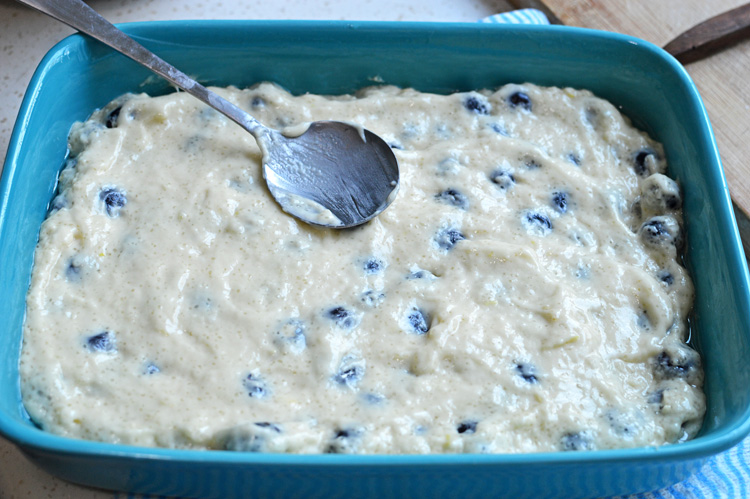
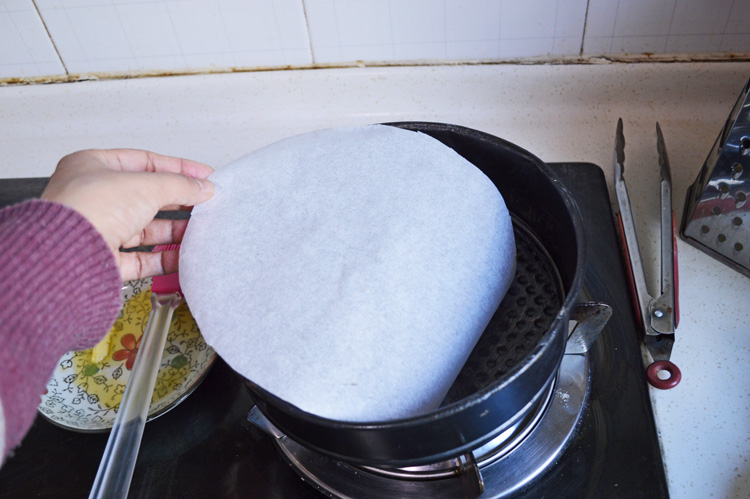
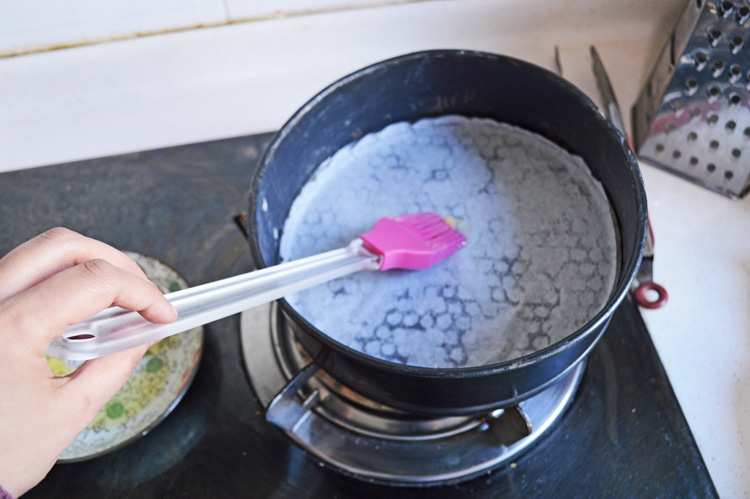
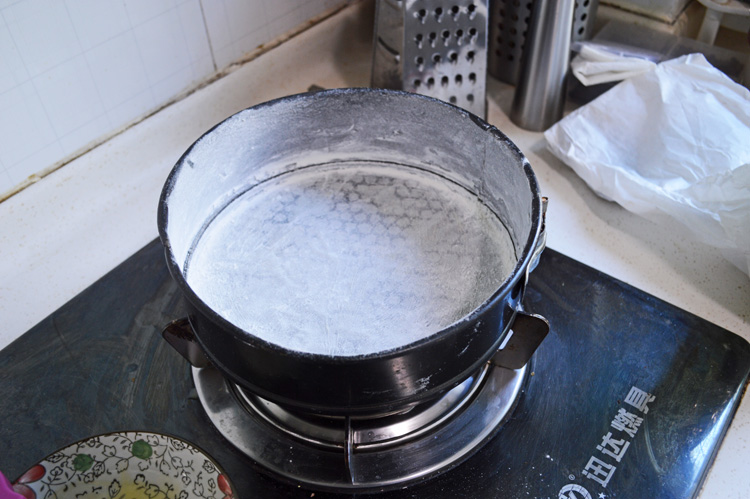
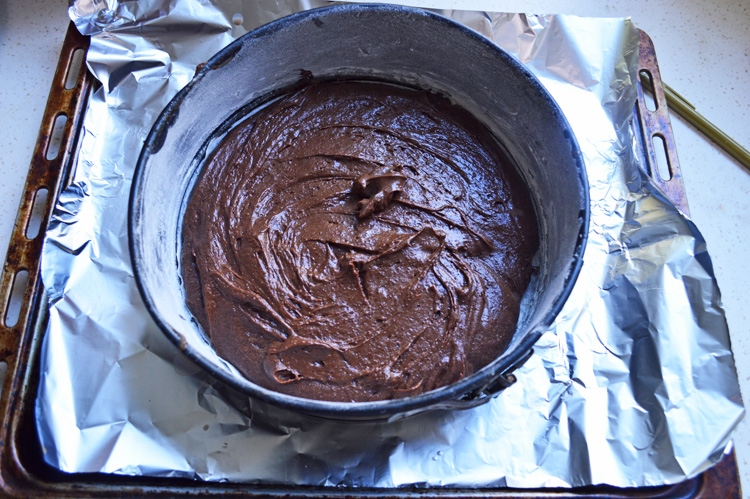
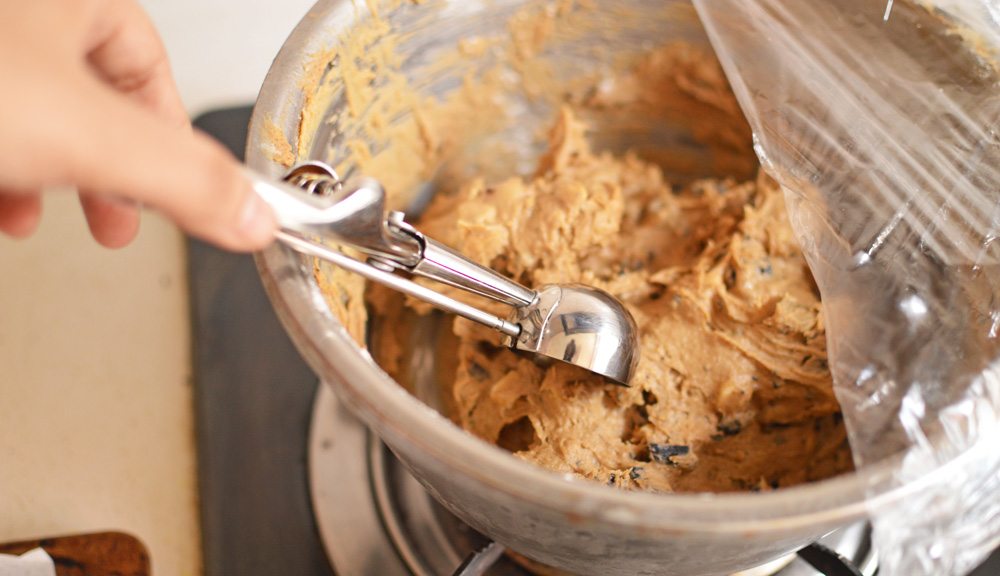
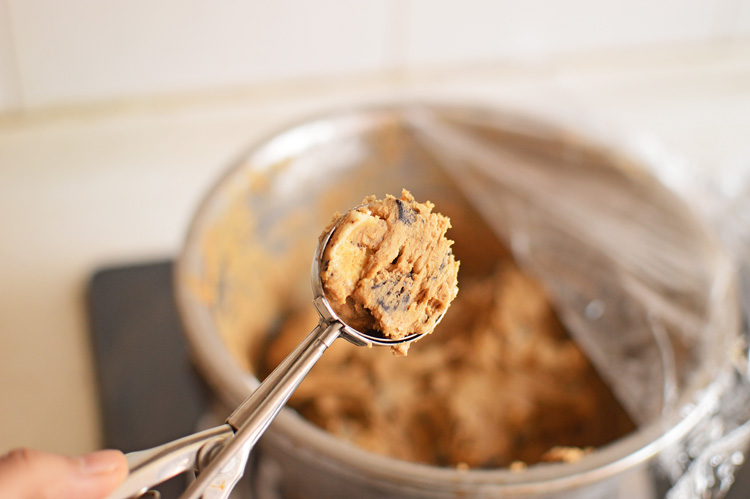
scrape into a well greased and floured tin of choice, or loaf tin if you wish to call this a bread.


dsc_0794

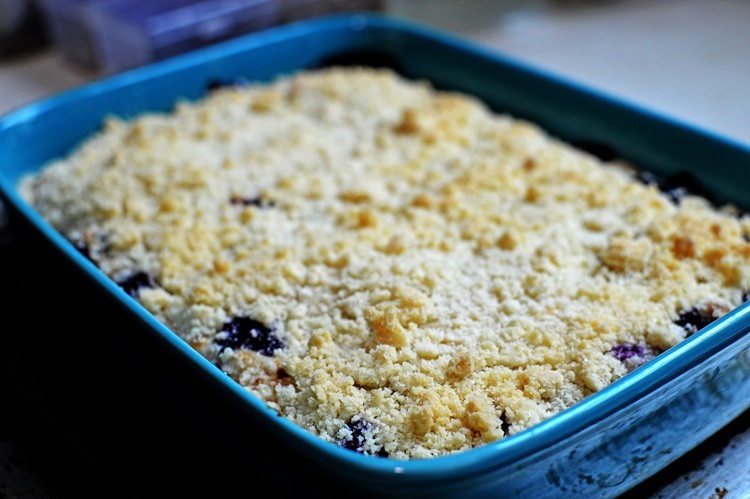
and bake at 170°C for 50-55 minutes or until a toothpick inserted comes out clean.
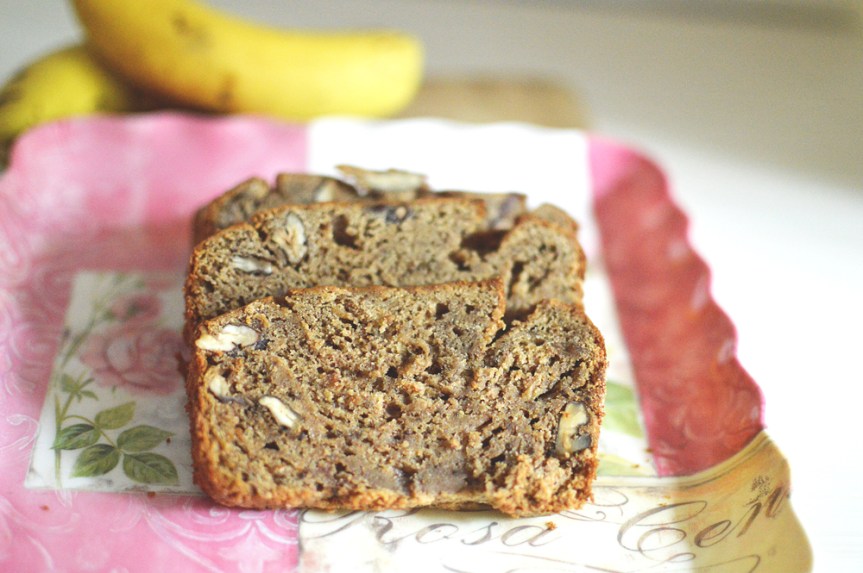
 

dsc_0824and Voila!!

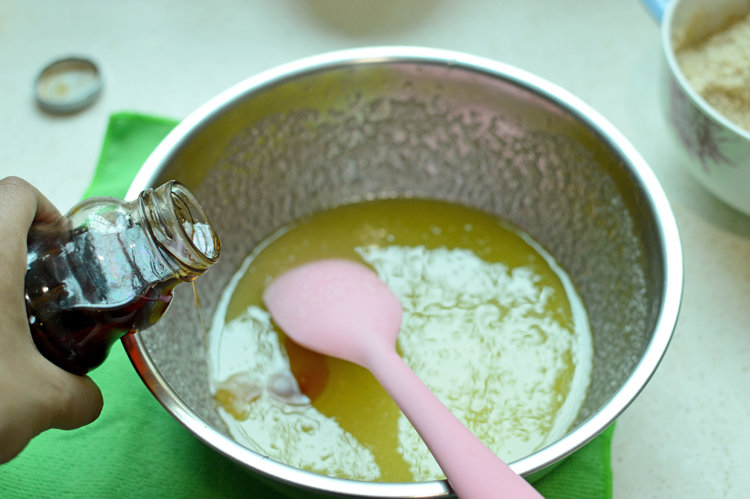
Note:  before baking I’d tasted the batter which didn’t taste as sweet as I’d have liked, so I added in two tablespoons of honey.


INGREDIENTS

Bananas: 2 large mashed (1 cup)

Coconut oil: 80 mls (1/3cup) (feel free to use any oil of choice, or even  melted butter)

Brown sugar: 100g (1/2 cup)

Honey: 2 tablespoons

Milk: 60 mls ( use soy milk or any milk or even water)

Wholewheat flour:  160g (roughly 1.5 cup)

Eggs: 2

Chopped nuts: 80g (1/2 cup)

Vanilla extract: 2 tsp

Baking powder: 1 tsp

Baking soda: 1/2tsp

Spice mix: 

1 tsp cinnamon

1/4 tsp crushed pepper

1/4 tsp crushed cloves


RECIPE INSTRUCTIONS

Mix the baking powder and baking soda into wholewheat flour.

In a clean mixing bowl beat together coconut oil, sugar, honey and eggs until evenly combined. Add in mashed bananas, vanilla and beat well. Stir in the flour and spice mixture and nuts and fold until just mixed.

Scrape into a baking tin and bake at 170°c for 50-55 minutes, until a toothpick inserted comes out clean.

Let rest before unmoulding.

dsc_0818Enjoy


Mint & tea sorbet


DSC_0722Since the gods are being all sorts of unkind with the sun, what with the blazing rays and scorching heat, it’s only natural to pour in copious amounts of coolants into your body, without skimping on the sugar.

This is where sorbets come into existence. Like feathery ice, kissing the insides of your mouth ever so daintily, melting softly on your tongue; sending shivers of exquisite chill to your temples. The flavours are so delicate that you’re forced to down a few dozen scoopfuls, before you realize you’re a being surreptitiously iced. Lighter than air, frozen sweets, they are like the elegant cousins to boisterous ice creams and much too easy to make.

Easier still if you have an ice cream/sorbet machine/maker, because making these sans modern contraptions takes away the chill factor from the sorbets, and you’re left churning semi frozen liquid every hour of the day, and we are not here for that. NO!

It’s about making life comfortable sometimes, and summers aren’t for survival of the self righteous. Summers are to chill, and that’s exactly what this sorbet is about. Accentuated with cool vibes of mint and earthy tones of tea, this is easier than going out to buy a frozen ice treat.


DSC_0684

I didn’t lay out ingredients this time, because this is much too easy. This is the beginning of a simple syrup. Sugar + water that you bring to a boil till all sugar is dissolved.


DSC_0685

like so. It’s hot, really hot so don’t go around poking your fingers in.


DSC_0688

throw in a pinch of salt.


DSC_0690

and fistfuls of mint, and a tea bag.

DSC_0691

cover and let it steep for half an hour


DSC_0695

fish out the tea bag and add in some lemon juice. Let it cool completely and transfer to a fridge for a few hours or overnight. The flavours mingle and intensify in the syrup.


DSC_0696


I let mine stay in the fridge overnight and the next day the mint leaves were weepy and the liquid was a fabulous murky brown.


DSC_0698

sieve into a clean bowl


DSC_0699

bring out the heavy machinery and we are en route to making joy


DSC_0700

turn on the machine, pour in the minty tea syrup (as per your machine instructions)


DSC_0703

a few seconds in and you can see the early beginnings of snow


DSC_0704

churning into polar beginnings of your personal sorbet


DSC_0707

twelve minutes in, and the syrup was a sweet scrunched ice berg


DSC_0708

the glacial quality of this bowl was an indication enough to stop. Took about fifteen minutes.


DSC_0709

This sorbet right here, in its most sherbet form is good enough to eat, but not quite frozen to the point you could scoop.


DSC_0710

transfer to a freezer safe container for a firmer consistency and freeze for a few hours. I let mine gestate for about four hours.


DSC_0715

scoop and serve.


Ingredients

Water: 800 mls (3 cups)

Sugar: 350 g (1.1/5 cup)

Mint leaves : 1 cup

lemon juice: 90mls (5 tbsp)

1 tea bag

_________________________

Recipe

Prepare a simple syrup with water and sugar by dissolving them in a sauce pan over medium heat until sugar has dissolved into the water.

To the syrup add in mint leaves and tea bag. Cover and let steep for half an hour.

Discard the tea bag and add lemon juice into the mixture. Once its completely cooled, transfer to a fridge for a few hours or overnight.

Strain the now chilled mixture and pour into ice cream maker according to machine to instructions.


Transfer sorbet into a freezer safe container for firmer consistency.

DSC_0727

enjoy!


Butter coconut cookies


DSC_0634
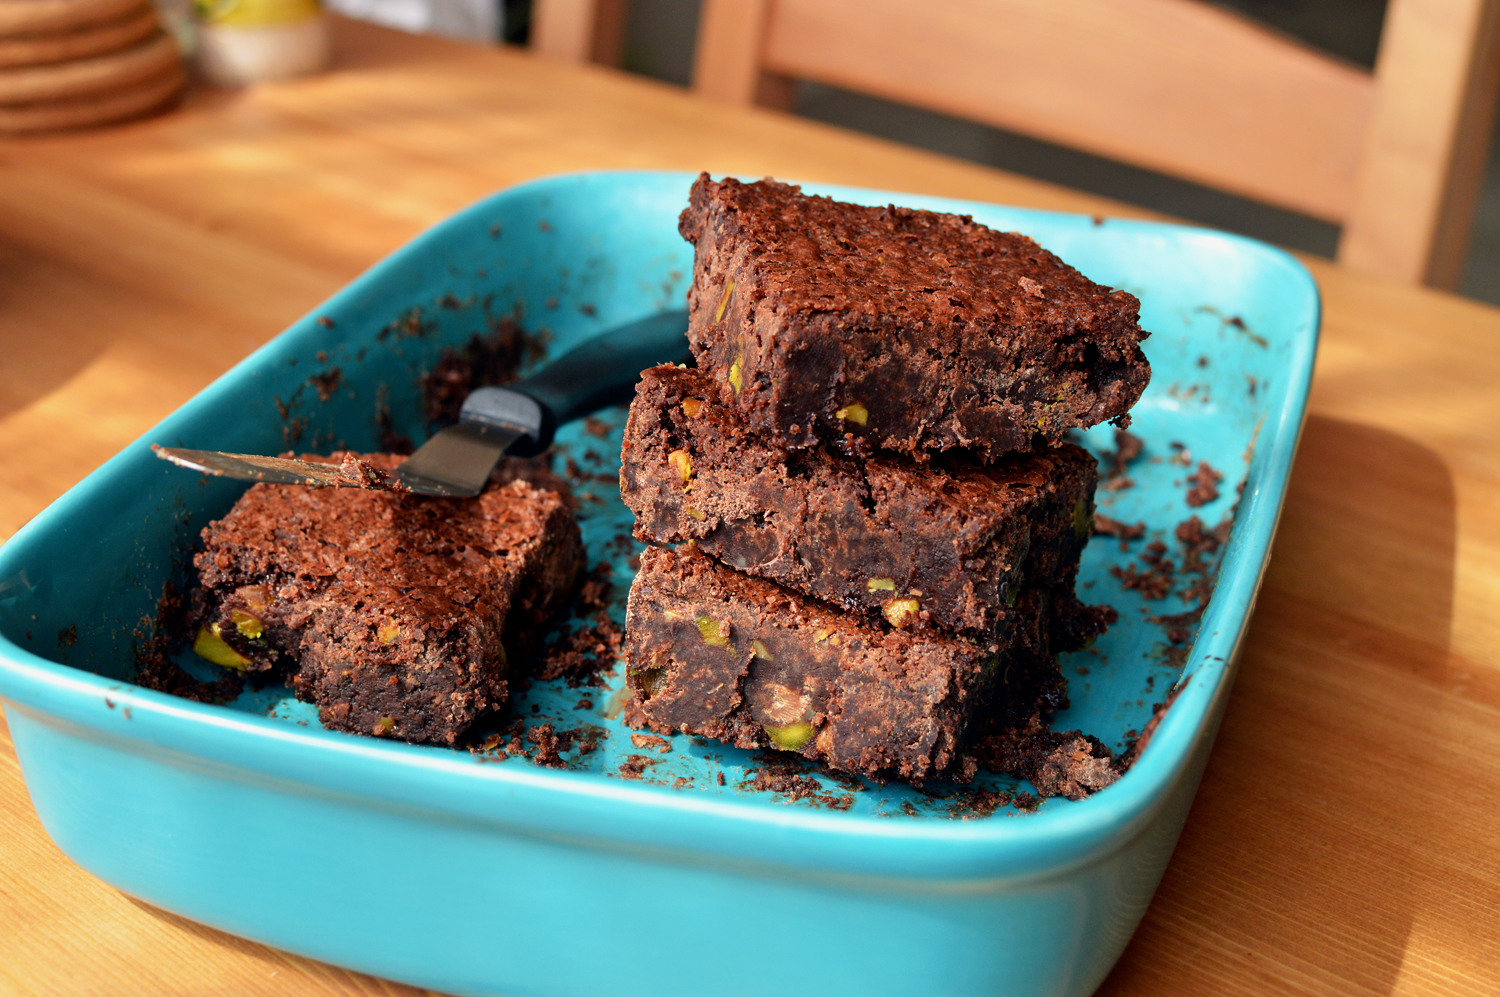
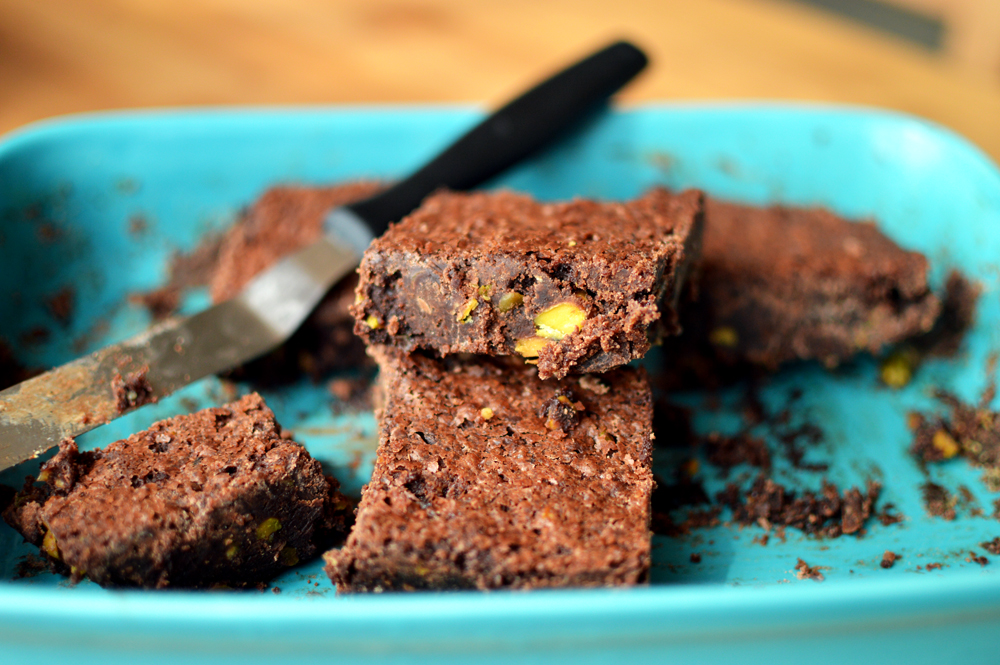
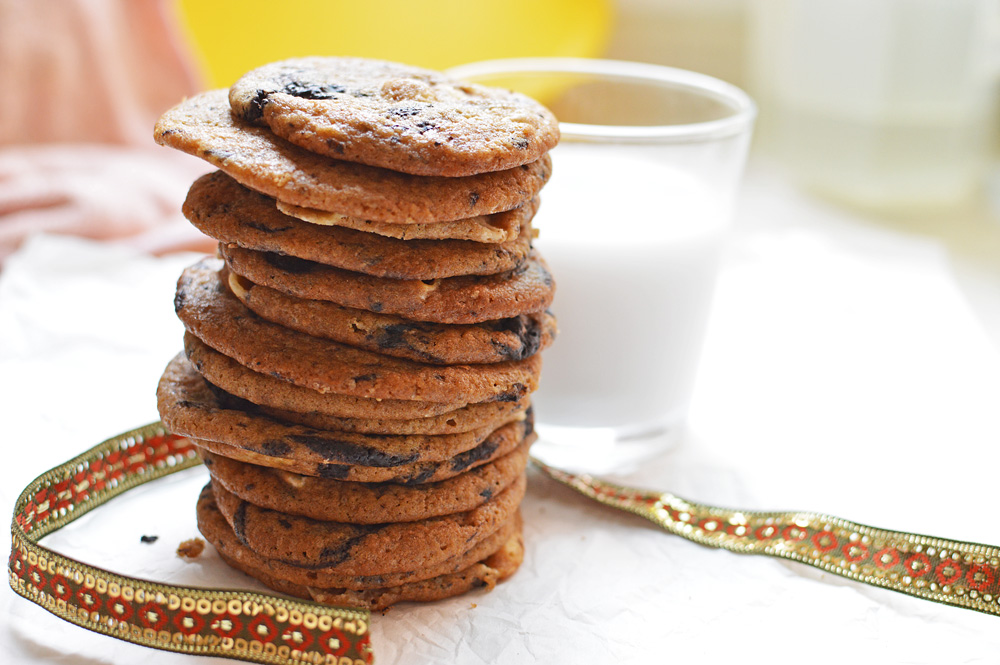
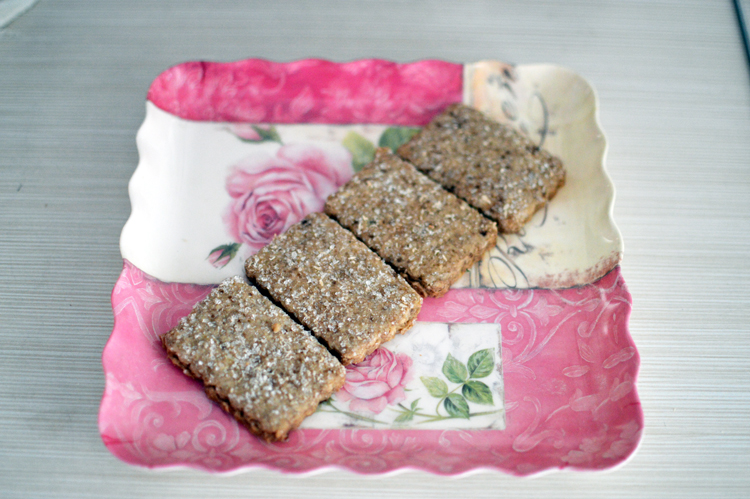
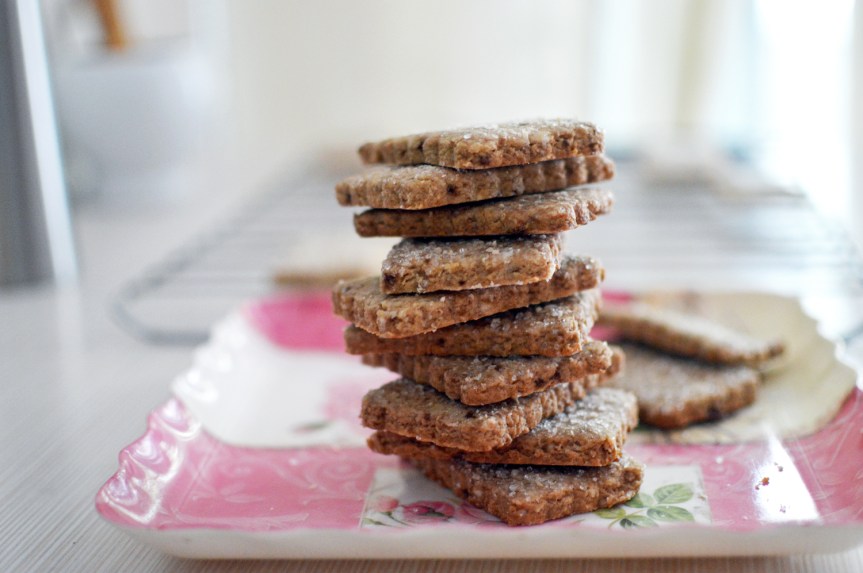
This artistically stacked hillock of brown jenga pieces is in fact an artistically stacked hillock of edible jenga pieces. Alright, it’s not artistically stacked, and these aren’t pieces from a game..these are cookies squares, or rectangles, for you geometrically fastidious lot. Butter coconut cookies to be more precise..the kinds that possess the power to transform your tea time into a festivity—they don’t even need tea as an excuse to be eaten. They have looks, texture and crunch; all the makings of cookie stardom, and yet they stay humble. Modestly unadorned, on your tea table, or your dining table, or your study table, where they’ll sit in quiet obeisance, patiently waiting to be chewed on..one after another.

You didn’t think you could stop after just one, did you? No! you cannot. Not only is it against cookie eating rules, but also because you sure as all hell couldn’t resist these tan little fellas, exuding coconut fragrance and tropical desires.

And would you believe it, despite their come-hither look,  they’re rather incomplex. You could tszuj up these coconutty babies in moments.


DSC_0565 copy
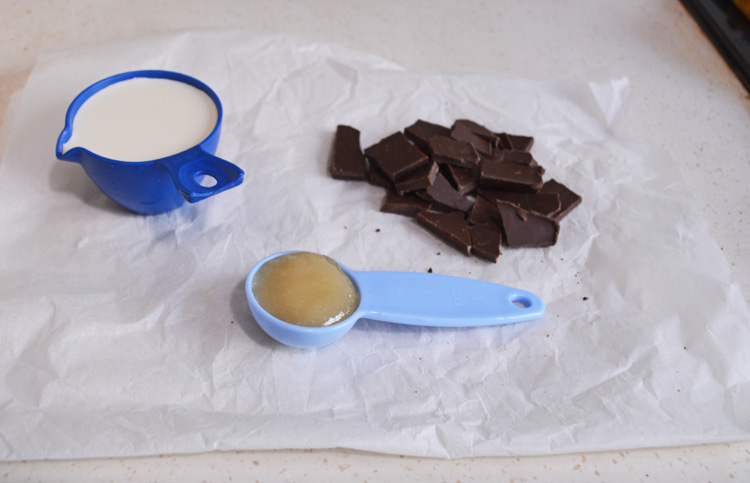
The usual suspects, only a lot lesser than usual. Butter, flour, brown sugar, desiccated coconut and coconut extract. If however you do not have coconut extract (and why should you), use vanilla extract.


DSC_0566

There’s a picture of a blender because I felt like making life difficult for me, by putting ingredients into a blender instead of creaming them the usual way. It’s more convenient to use a food processor, but I was not disappointed with the outcome of this contraption. Let me not speak in riddles any further.


DSC_0568

it puts the lotion into the basket, or cubed up cold butter along with flour into the blender, and whizz ’em mercilessly. Actually you gotta pulse it. a few second pulse a few times, and you’re there.


DSC_0569

the butter and flour will get mixed, and the flour will begin to clump.


DSC_0570

like so.. (you can also use the good old creaming method. You know, where you beat the butter and add in sugar, so on and so forth. This is just easier and less fussier and your muscles stay relaxed.


DSC_0572

add in the sugar and pulse again, a few times


DSC_0573

you will end up with the most fabulous sweet edible sand. But we’re yet to add a few more ingredients to the alchemy.


DSC_0575

so, in with the coconut


DSC_0577

a few drops of coconut extract, and a good mix.


DSC_0579

almost there, but it’s still a bit crumbly. Not quite together.


DSC_0582

nothing that a couple tablespoons of milk won’t rectify.


DSC_0584

mix it a bit together.


DSC_0585

and there you have it. Serious clumpage.


DSC_0586

using your hands, roll it into a ball.


DSC_0588

stick it in a cling film, and let sit in the fridge for 30 minutes. Makes it easier to handle.


DSC_0589

generously flour your board. The point is to not let it stick when you roll. Don’t skimp on the flour.


DSC_0590

roll the dough out. It will break on the edges but that’s not a bad thing, nor difficult to manage. Just keep putting things in place and perspective using a spatula or palette knife. and keep running it under the dough as well, to ensure that it doesn’t stick to the board.


DSC_0591

like so.


DSC_0592

DSC_0593

once the dough is rolled out, sprinkle over some more desiccated coconut and white sugar. The top will retain the coconutty, sugary granules and look all the more alluring. It’s a vanity thing.


DSC_0594

you can cut these into any shape or form. The easiest would be into squares using your knife, just slice through the dough and form easy rustic squares..but I was itching to try out these Japanese cookie cutters that I’d recently bought in a fit of idle need, and proceeded to fall in love with them.


DSC_0595

oh so pretty did they look —their rectangular fluted edges with an air of serene uniformity.


DSC_0597

I couldn’t help but click them in different lights and angles.


DSC_0599

bake at 180°C for 18-20 minutes, for the desired crunch. Let them rest for a few minutes on the baking sheet before transferring on a cooling rack


DSC_0617

they get crunchier every sitting moment.


DSC_0619

Eat as many

______________________________________

Ingredients

Flour: 200g (1, 1/4 cup)

Brown sugar: 100g (1cup)

Butter: 100g (1/2 cup)

desiccated coconut: 50 gm (1/2 cup)+ 2 tbsp (for sprinkling)

coconut/vanilla extract: 1 tsp

milk: 2 tbsp (if needed)

granulated white sugar: 2 tbsp ( for sprinkling)


Recipe:

Pulse together the butter, flour and sugar in a food processor until it starts clumping together. Transfer into a bowl and add in desiccated coconut and extract and mix. If the dough doesn’t come together, add in the milk and mix.

forem into a ball, wrap in cling film and let it rest in the fridge for 30 minutes.

Roll into a neat square on a generously floured board. make sure the dough doesn’t stick to the board. sprinkle coconut and granulated white sugar on top and cut into squares.

bake at 180°C for 18-20 minutes in a pre heated oven and let cool on a cooling rack.

Serve with tea, or just as is.

DSC_0632

stack em high and apply to face.


Date & nut cake


DSC_0515
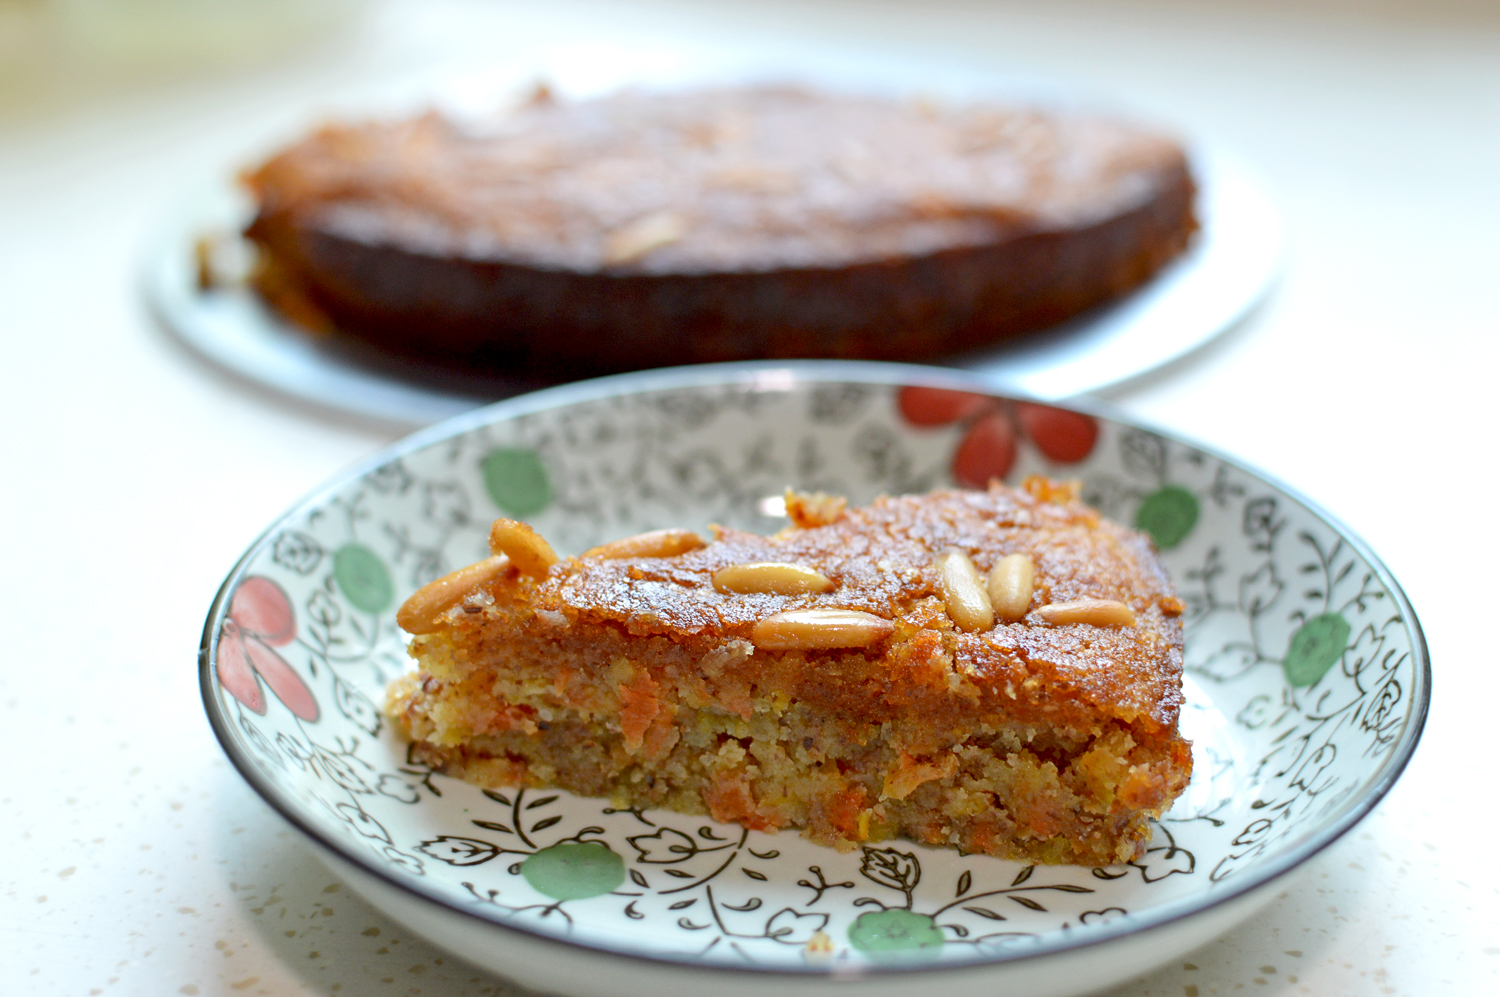
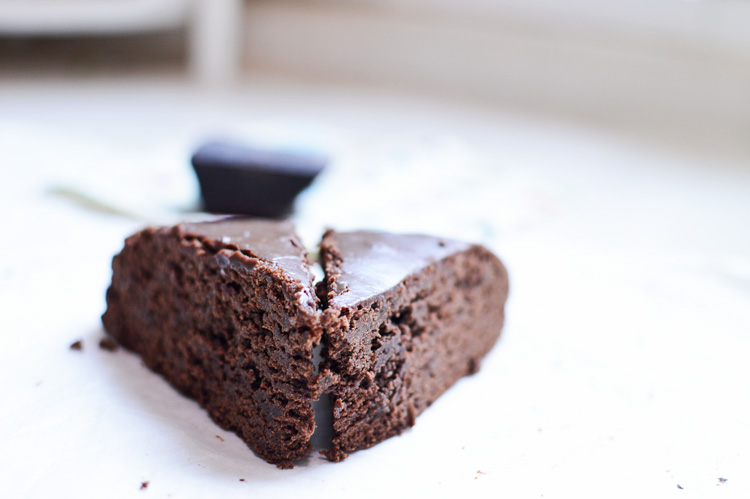
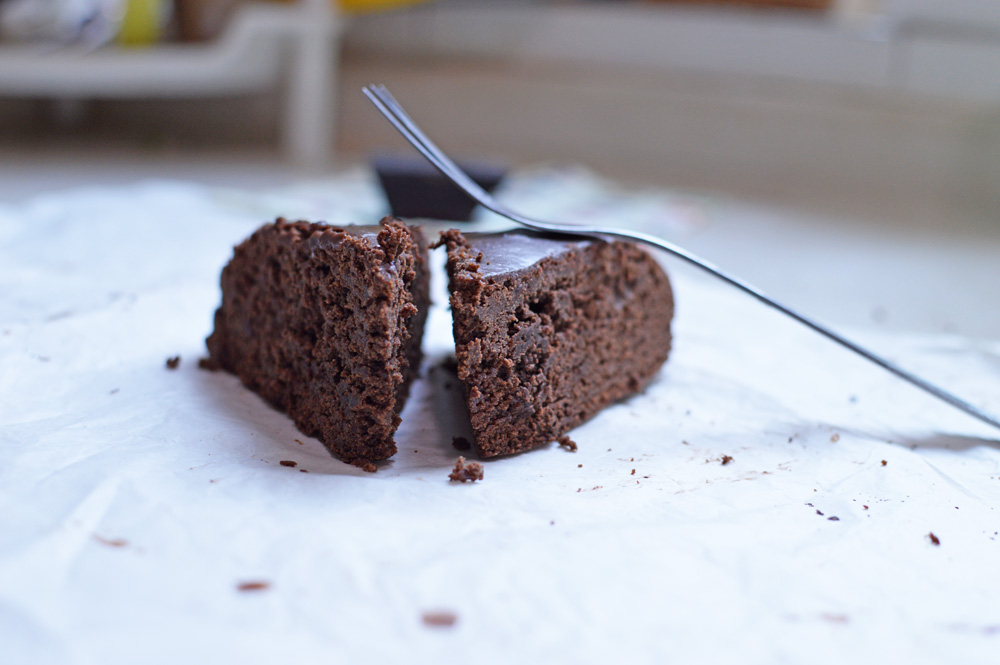
Oh this cake. I could sing songs, write sonnets and do a bit of dance and tell you how unbelievably heavenly this cake was. Instead I’m just going to do a bit of unhinged prose and explain with all the emphasis at my disposal about the fabulousness that is this Date & nut cake.  It’s appearance as humble as it might seem is most beguiling and hides the delectable reality of this exquisite cake.

You might be tempted to write off this cake at the merest first glance as any old fruit cake, but one bite and you’d be lost. You’d be lost and in a labyrinthine maze of cake heaven realize with each chewy/crunch/crumbly/flavoursome bite that this cake is indeed one of the most tasteful, scrumptious cake ever to have floated out of your oven.

It’s the orchestra of soft sweet dates contrasting with nut crunch and underlined with a medley of sublime spice flavours that makes this cake an addictive must.

DSC_0486 copy
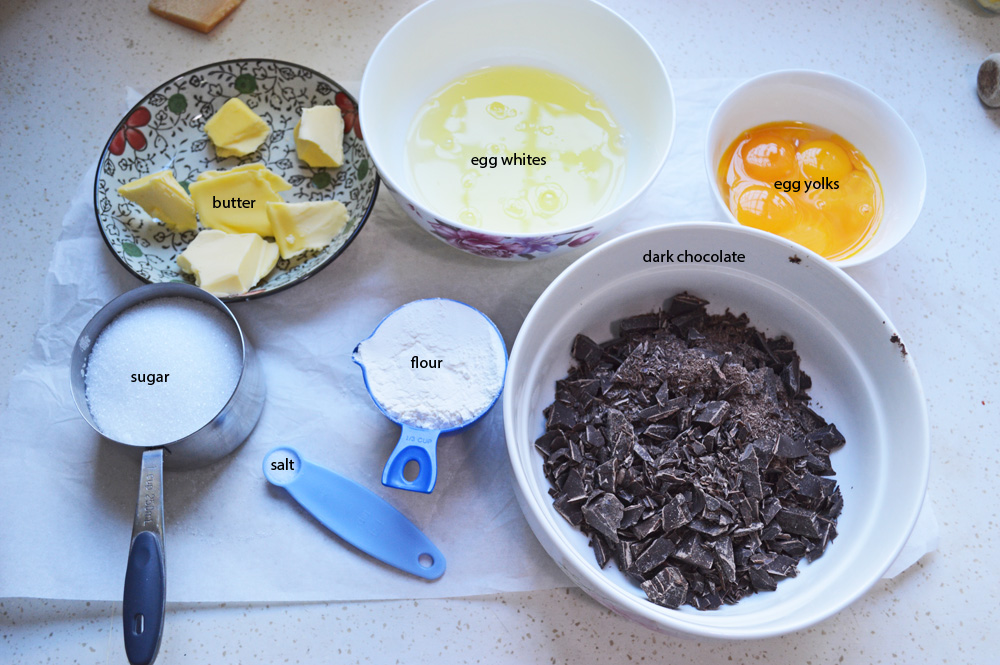
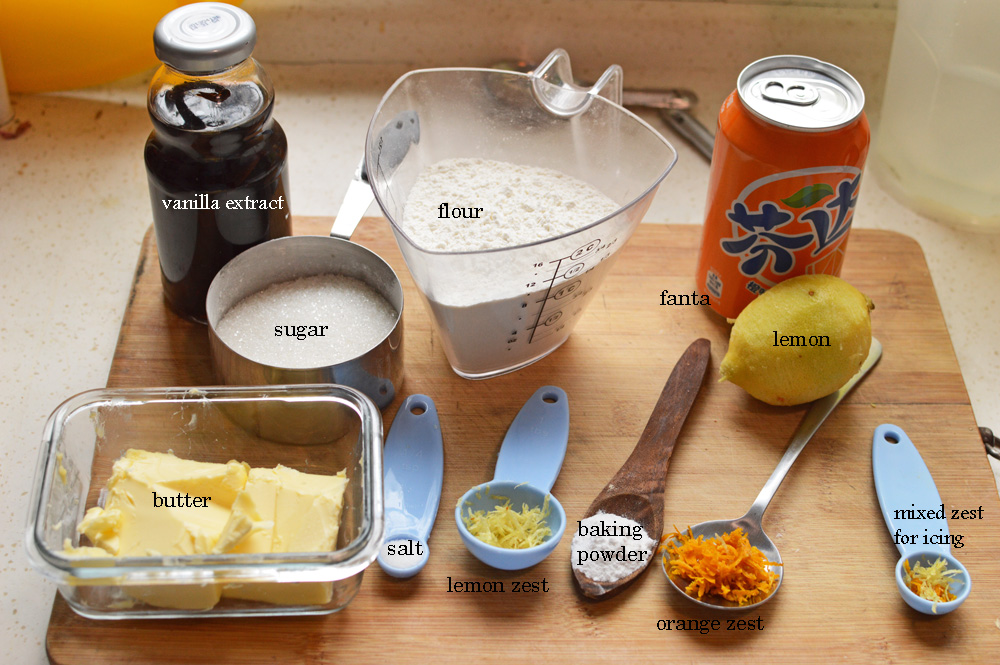
it’s a date & nut cake, so it has dates and nuts and milk, sugar, egg, flour, butter, vanilla extract, clove powder (ground cloves), orange zest, cinnamon, baking powder, crushed pepper.


DSC_0487
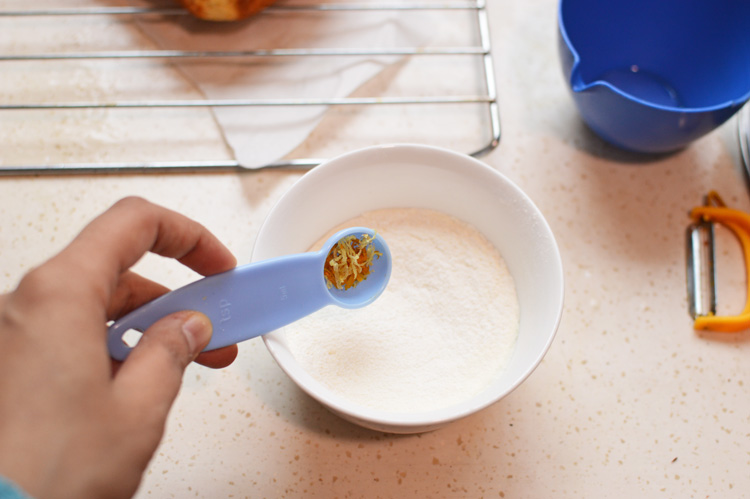
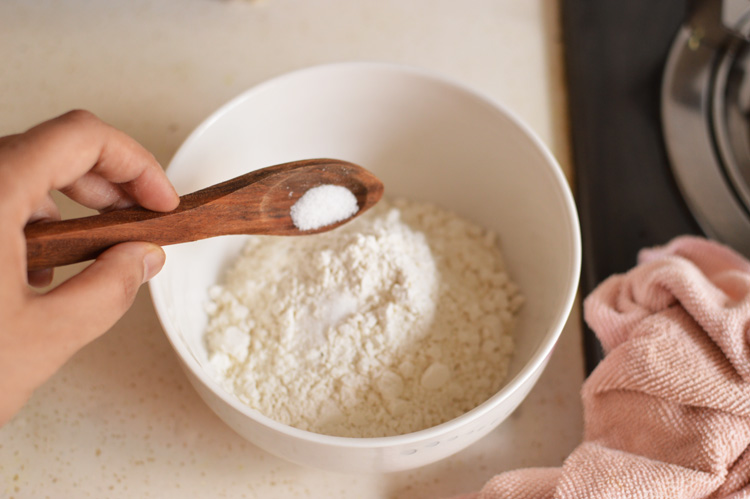
start by adding baking powder to the flour and mixing it thoroughly. Keep it aside.


DSC_0488
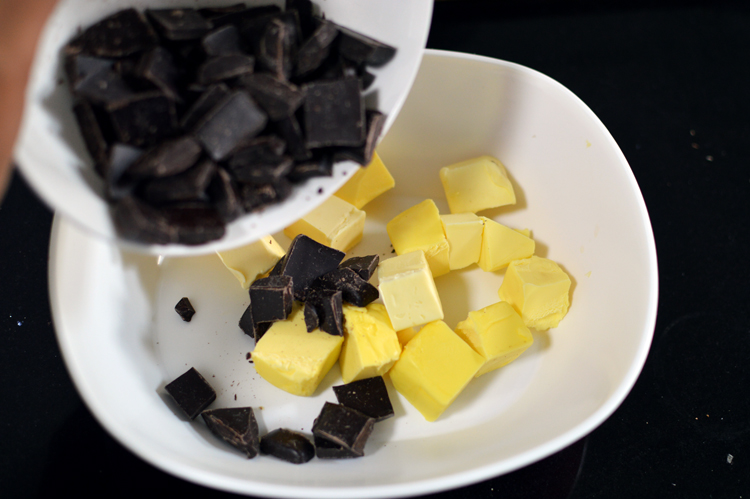
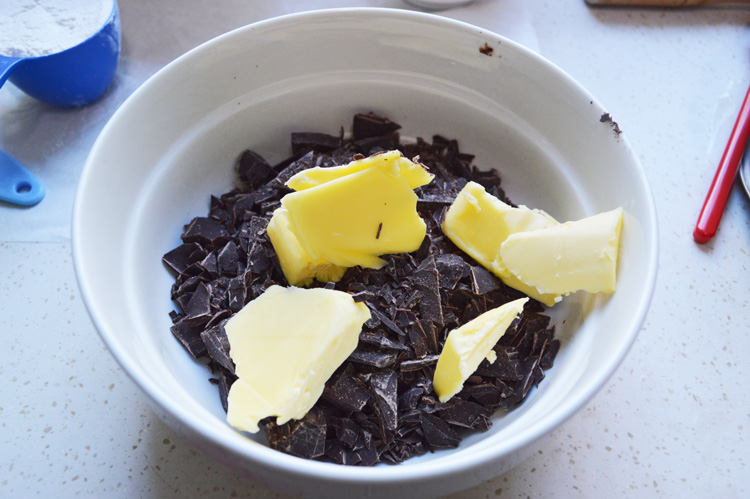
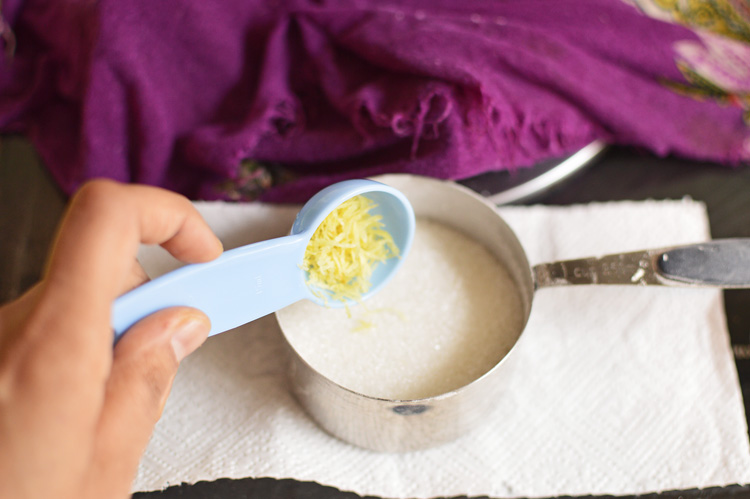
As with most cake recipes this one starts with creaming the butter and sugar in a bowl. Make sure the butter is at room temperature. Mine was not 😦


DSC_0490
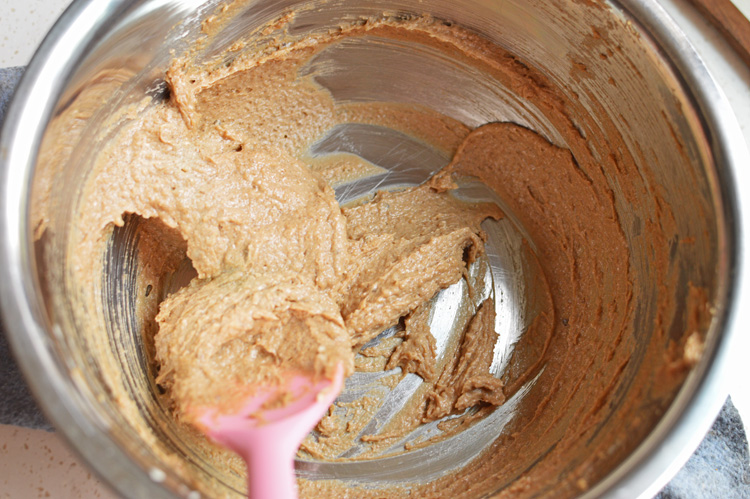
beat or cream the butter, add in the sugar
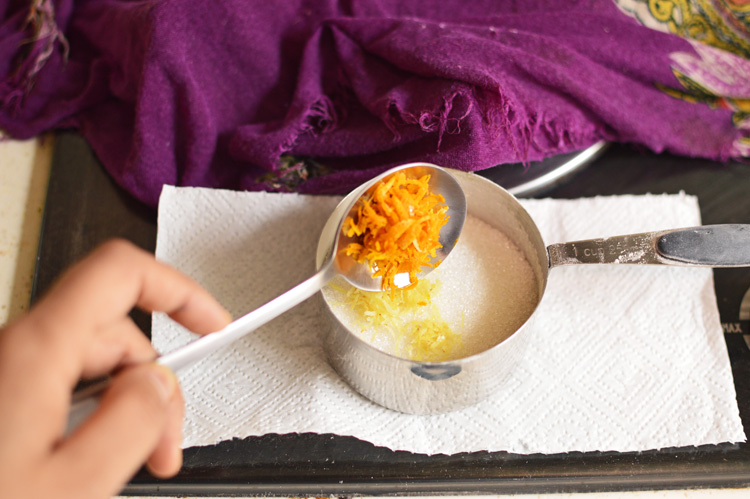
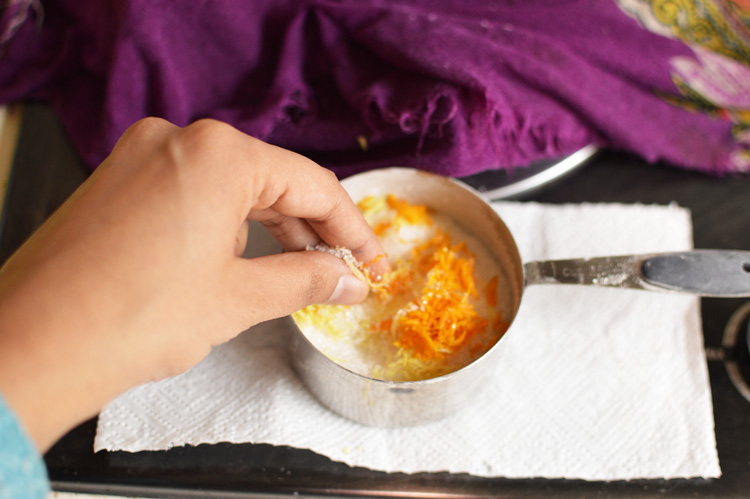
 

DSC_0491add the orange zest


DSC_0492
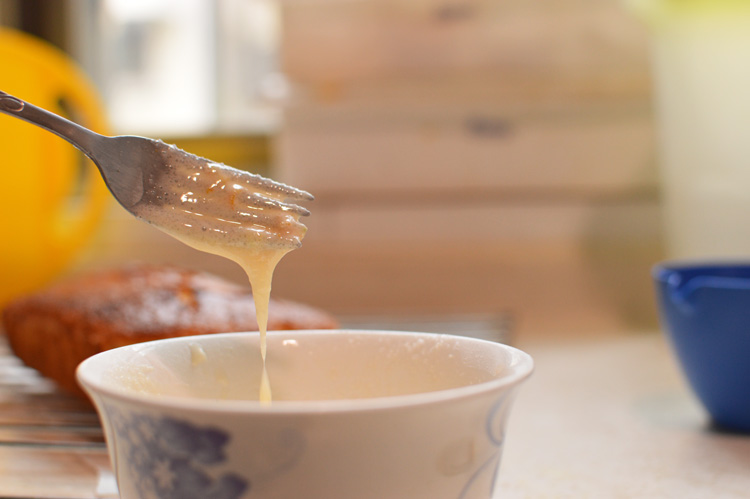
beat until it sort of looks like this, or you can do a better job if the butter is room temperature.
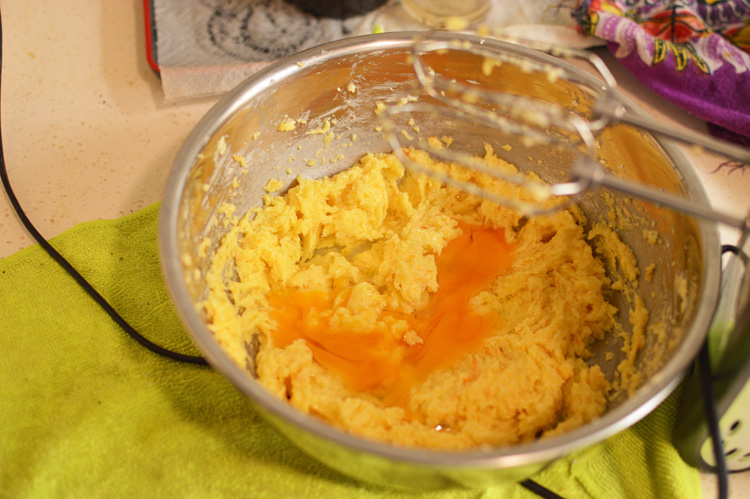
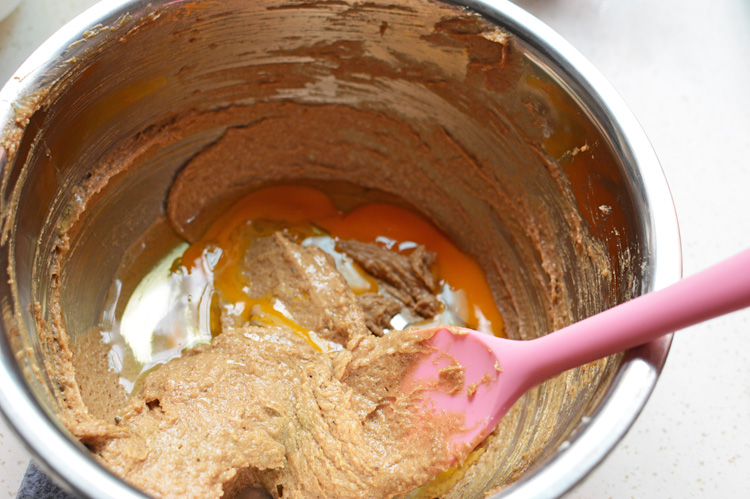
 

DSC_0493crack in an egg


DSC_0495splash in some vanilla


DSC_0496and beat again until well mixed. My batter looks a bit curdled and that’s because I didn’t use r
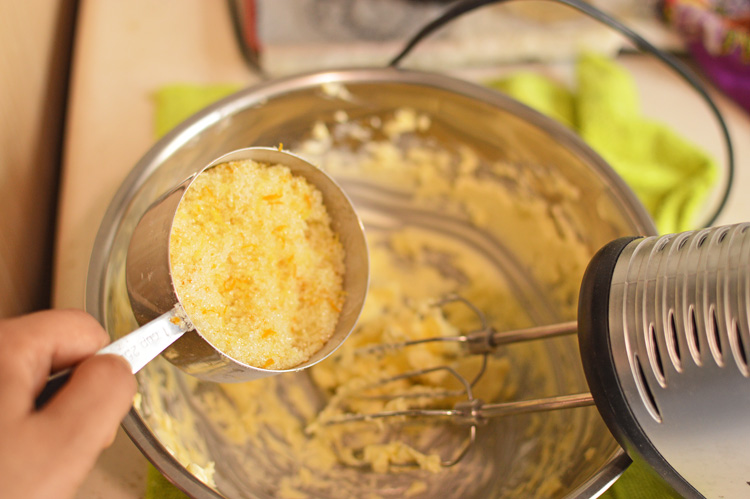
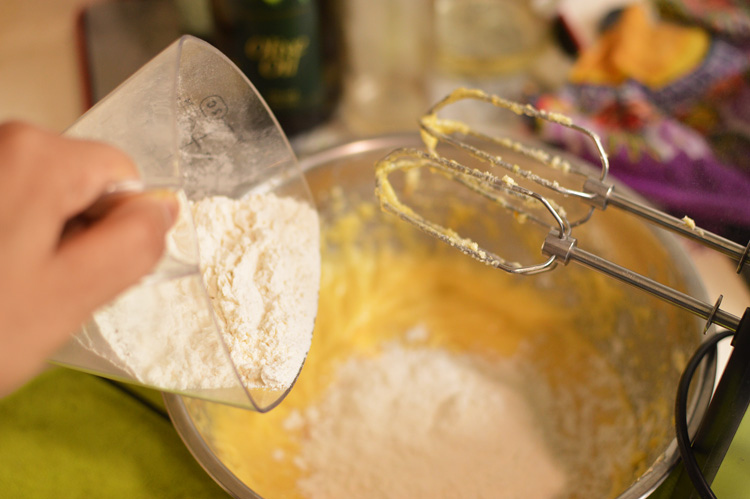
oom temperature butter. It’s too cold here for anything to be room temperature..but this curdling won’t matter..and you’ll see.


DSC_0497add in the flour


DSC_0498followed by spices..cinnamon, ground cloves


DSC_0499crushed black pepper


DSC_0501
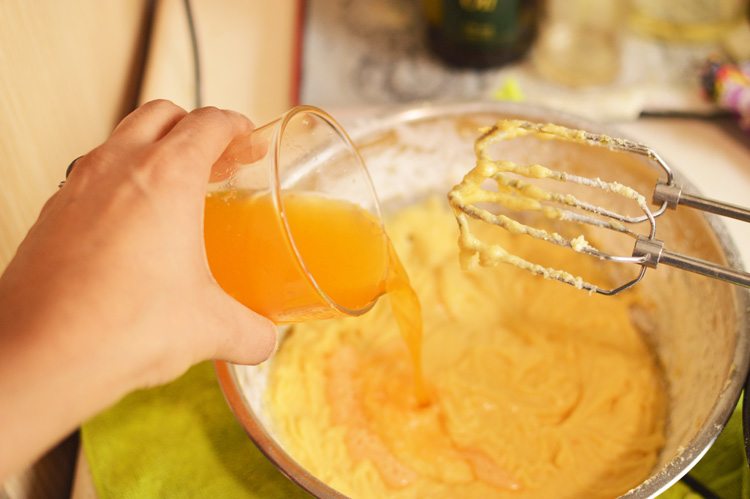
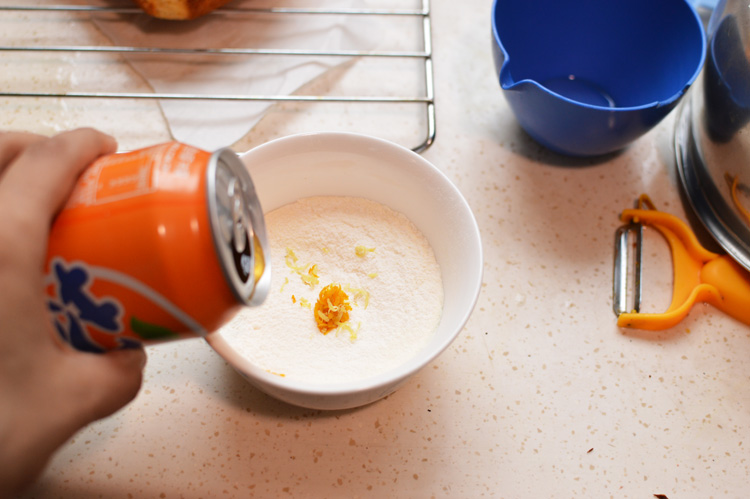
mix a bit and add milk


DSC_0503followed by chopped dates
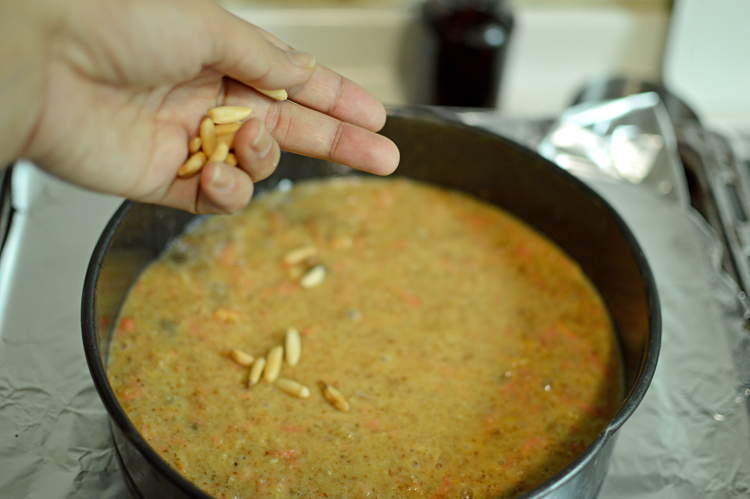
 

DSC_0504chopped nuts


DSC_0506
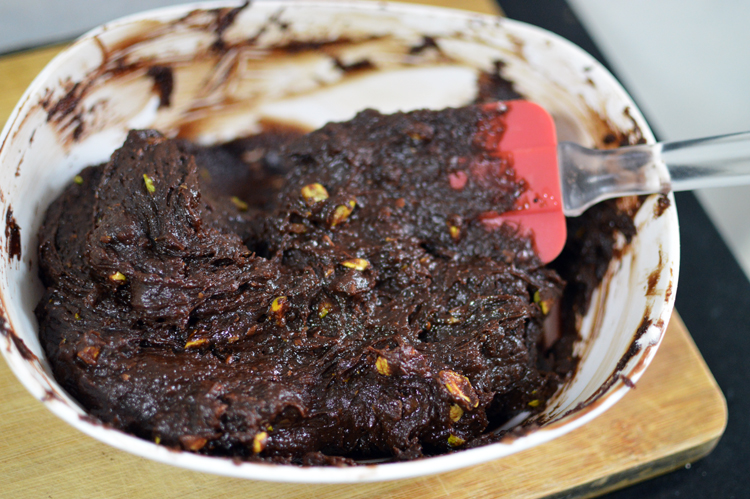
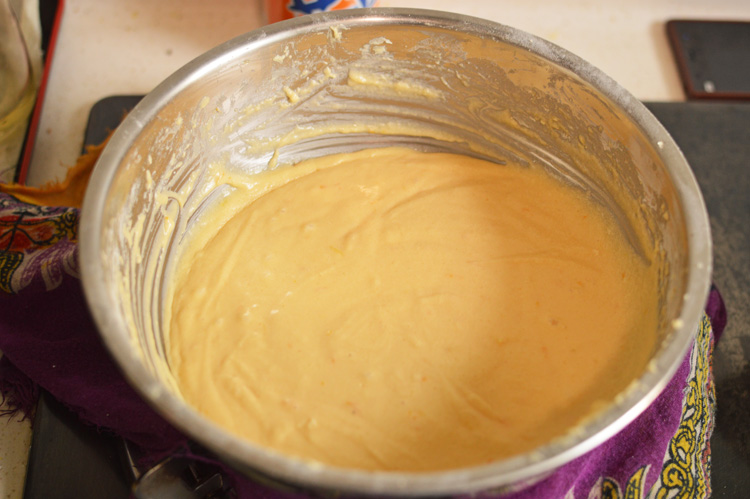
and mix until just barely mixed. Do Not overmix the batter.


DSC_0508
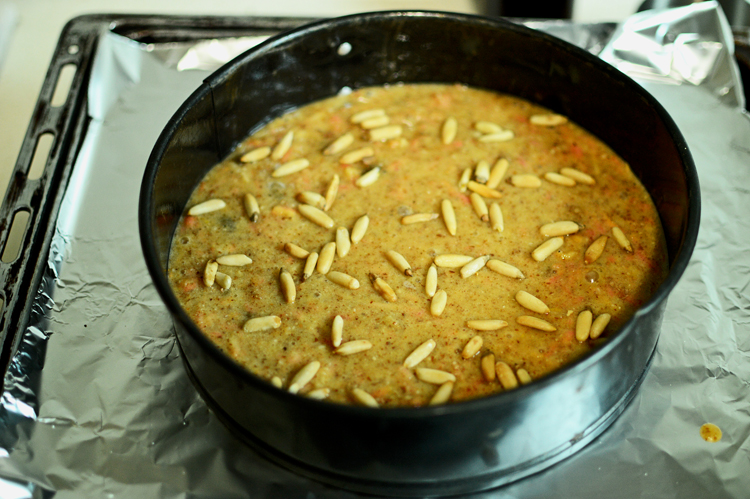
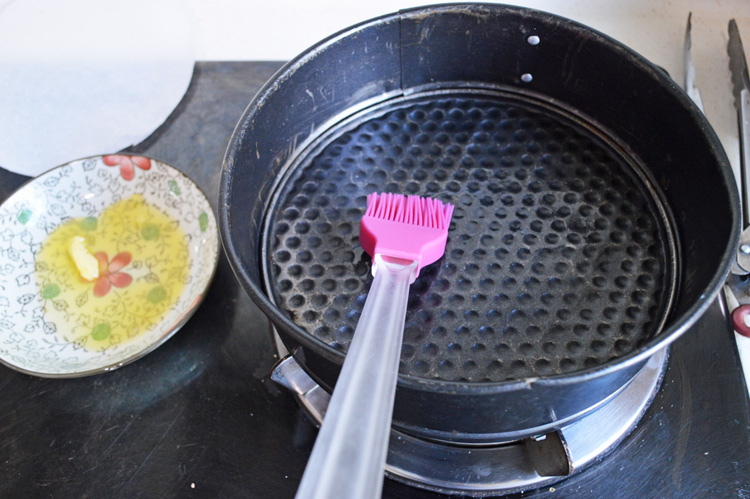
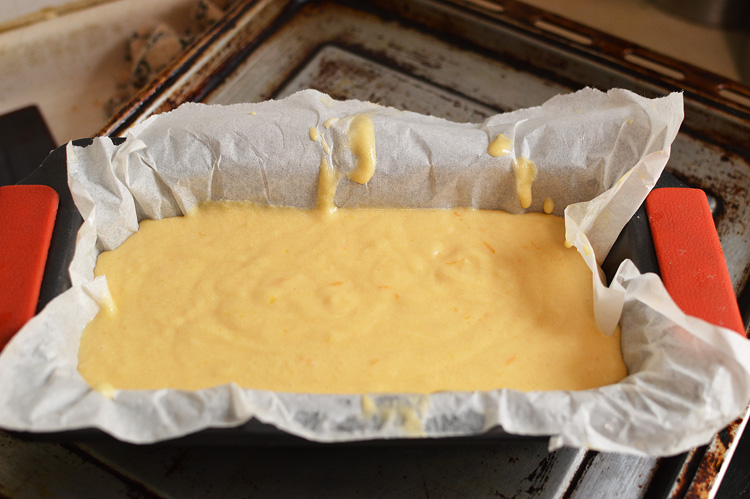
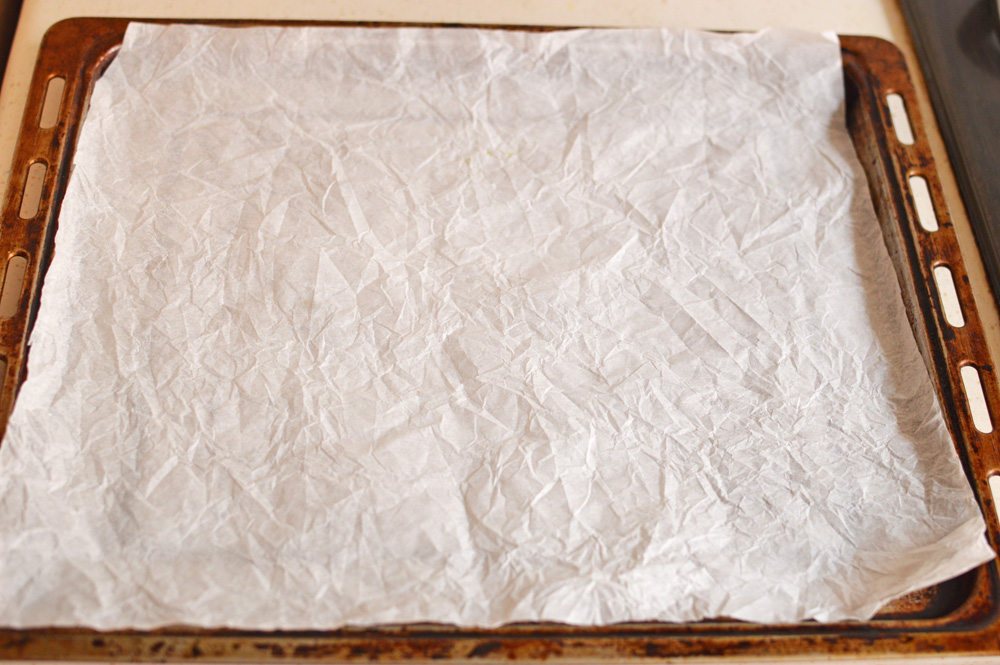
scrape batter into a baking tin of choice. I’ve lined mine with some baking paper.


DSC_0509
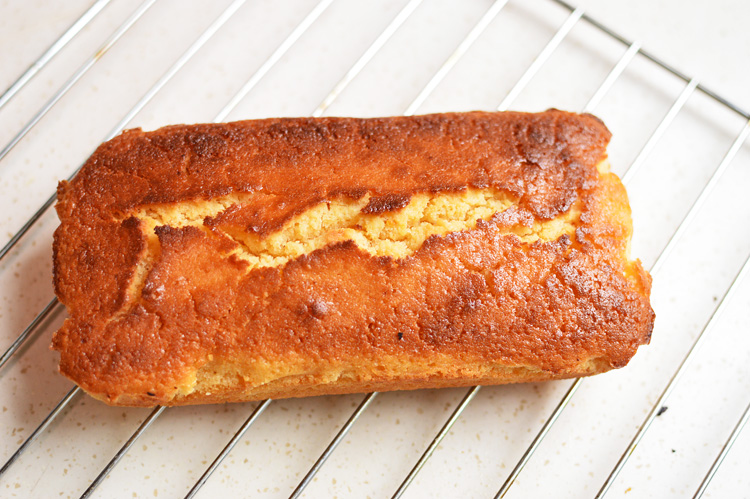
smoothen the top and bake at 180°C for 55-60 minutes, or until a skewer inserted comes out completely clean


DSC_0522
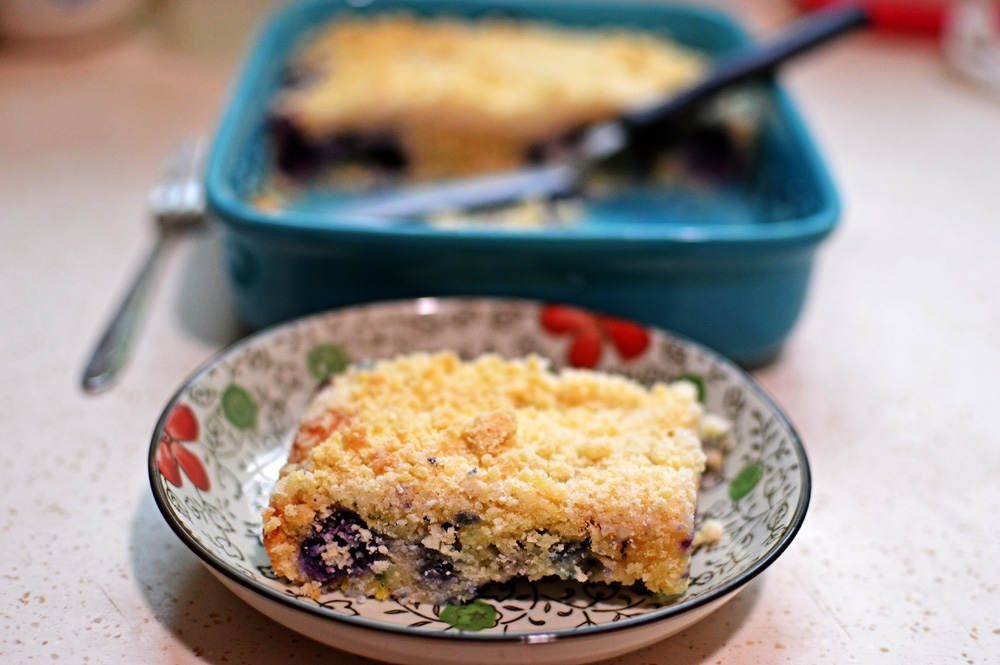
let it cool. Slice and enjoy!

_______________________

Ingredients

Dates: 170g (1 overflowing cup)

Nuts: 130g (1 cup). I used a mix of pecans and walnuts, but you can use whatever is easily available.

Sugar: 100g (1/2 cup)

Flour: 120g (1 cup)

Butter: 100g (1/2 cup)

Milk: 50 mls (1/4cup)

Eggs: 1

Vanilla extract: 1 tsp

baking powder: 1.5 tsp

Orange zest: 1 tbsp

black pepper (crushed): 1/4 tsp

Cinnamon: 1/2 tsp

crushed cloves: 1/4 tsp

——————–

Recipe instructions: Chop the dates and soak in 1 cup of hot water to soften them and keep aside.

Add the baking powder into the flour and mix well and keep aside.

Cream the room temperature butter with the sugar and orange zest until light and fluffy. Crack in the egg, add vanilla extract and beat for another minute until well combined. Add in the flour, followed by spices. Mix roughly and add in the milk until just mixed.

Drain the dates and add into the batter, followed by nuts and do not over mix the batter.

Scrape the batter into a well greased baking tin and bake at 180°C for 55-60 minutes, or until a skewer inserted comes out completely clean.

Let cool before slicing.

Enjoy!


No woe brownies


DSC_0375

Brownies as a rule work as devilish little mood elevator charms, and although there never can be one perfect recipe, these chocolate sodden, nuts bejeweled diabolical squares are indeed moan inducing. The reason these are called no woe brownies is because they’re the perfect antidote to many a life’s sads. They will diminish most of your life worries, though these do tend to have a rather crack life after effect, and you might be swayed to do something absolutely indecorous..but that shouldn’t stop you from either committing to that act or making these exquisite squares of forbidden pleasures. Not only do these little babies lusciously gratify your most carnal cravings, they also do double duty as your sinning needs..so if you’re one of those straight-laced, down on your luck decent ones out there, baking and ingesting one of these is guaranteed to write you off as one dirty sinner, because these brownies are in fact the miscreant adulterers of all food groups.

Now these are called no woe brownies and they are but for the little side effect that these will make you fat, and what could be more woeful than that? on the other hand if you eat another one of these, you might not feel so bad after all, and they are the perfect remedy for an aching heart.

Let’s be absolutely clear that these are not the cakey brownie kinds, I mean what’s even the point of a cakey brownie when you might as well just eat a cake. No sir..these are dense, fudgey, and every bite is packed with chunks of sweet divinity, because these have three different kinds of chocolate components.


DSC_0312 copy

bring on all the good stuff..chocolate chunks or chips separated into two heaps, eggs, vanilla extract, flour, cocoa powder, butter, chopped salted pistachios, sugar and coffee granules.


DSC_0313This is an easy easy recipe..all can me made into one bowl, and an oval bowl doesn’t really help much. So butter diced into chunks


DSC_0314and chunks of chocolate part-1. This one is meant for melting purposes with the butter. You can either melt the butter and chocolate over heating water in a heat proof bowl or melt in a microwave, in 30 second bursts.


DSC_0316add in the coffee granules. These make the chocolate more chocolatey.


DSC_0317this is what you get. satan’s swimming pool. Take a dip and salvation..or you can make brownies.


DSC_0319add in the sugar


DSC_0320mix well. You’ll see that the sugar doesn’t really dissolve and that’s alright, because everything will come together just fine.


DSC_0322crack in the eggs, one at a time and mix well before adding another.


DSC_0323make sure to incorporate the eggs well into the batter and you’ll end up with something like this.


DSC_0324add in the vanilla


DSC_0325and the cocoa powder and mix


DSC_0326add in the flour


DSC_0327chocolate chunks that are supposed to stay as chunks in here


DSC_0329and finally in with the salted nuts. It’s the salted nuts that add another dimension and elevate these brownies from fantastic to ecstatic.


DSC_0330mix it all in well. Ah, this marvelous mound of magnificence.


DSC_0331scrape the batter into a buttered baking tray


DSC_0332smooth well and bake at 180°C for 30-35 minutes, or until a knife inserted comes out clean


DSC_0340ah…sigh!!! cut into squares if you care to share, or just dive in with a fork.


DSC_0345here it is..in a rueful light..

____________________________________________________________________

Ingredient amounts

Flour: 70g (1/2 cup)

Butter: 120g (1/2 cup)

Chocolate dark (for melting): 170g (1 heaped cup)

Chocolate chunks (milk or dark): 90g (1/2 cup)

Cocoa powder: 30g (1/4 cup)

Eggs: 3

Vanilla extract: 1 tsp

Coffee granules: 1 tablespoon

Salted pistachio: 70g (heaped 3/4cup)- you can use any salted nuts of your preference. salted peanuts would be great here too.

————————————————–

Recipe instructions:  melt the butter, coffee granules and dark chocolate over a heat proof bowl or into a microwave. Add in sugar and mix briefly. Crack in the eggs, one at a time and mix thoroughly. (Let the mixture cool before adding in the eggs)

Add in the vanilla extract, cocoa powder, flour, chocolate chunks and salted nuts. Mix until well incorporated.

Scrape into a buttered baking tray and bake at 180°C for 30-35 minutes, or until a knife inserted comes out clean

DSC_0369if this doesn’t push you into the kitchen with a slab of chocolate in hand..you don’t deserve to sin.


Venetian carrot cake


DSC_1379In case anyone was wondering about my exile and the painfully invisible void I’d left in the world of food blogs, then let me tell you, it was only temporary..and though I might not be back with a bang, I am back with a gluten free (gasp) venetian carrot cake, the credit for which as much as I’d like to take isn’t mine to take at all but Nigella Lawson’s, and it’s her recipe I’ve adapted to make this unbelievable sphere (albeit sort of flat) of damp richness.

This is a carrot cake and it’s unapologetically..umm carroty? and absolutely gluten free, which is to say it does not require any flour, and as hipster as it sounds, we can take some solace in that it’s not vegan..though I promise nothing. On days of rage, I’ve been known to torture myself with vegan food stuff. But that’s another story for another torture chamber, because right now let’s marvel in the blistering warmth of this buff coloured cake, which sings to your soul and pleases your senses with such luxurious notes, that you’re left wondering whether you should eat this cake or marry it.

DSC_1328 copy

So without further ado, we’ve the ingredients. Sugar, olive oil, vanilla extract, beaten eggs, almond meal, shredded carrots, pine nuts, lemon, lemon zest, raisins and rum (not pictured)

Just because a cake’s got almond meal which sometimes you don’t readily get at your grocery store, does not mean you put off baking this amber coloured love disc. You’ve only to blitz almonds to get almond meal you know. It’s rocket science, but you can get around to it.

DSC_1331before we get started, put the raisins in with the rum and bring to a boil and let simmer gently for 3 minutes, after which turn off your heat and let the raisins plump up and cool.


DSC_1333 into a bowl of choice, add olive oil and sugar


DSC_1335and beat it for at least a couple of minutes. It’s a thoroughly enjoyable activity, I assure you.


DSC_1336beat until you’ve incorporated the sugar with the oil


DSC_1341mix in the eggs


DSC_1339followed closely by vanilla extract


DSC_1347and the zest


DSC_1348and lemon juice


DSC_1343mix well, until you’ve a summery ripple of golden ooze that speaks radiance in shiny ribbons.


DSC_1344tip in the now cooled swollen raisins along with any rum that’s it’s been standing in.


DSC_1349finally the almond meal


DSC_1350and the grated carrots


DSC_1354mix well, until everything’s incorporated and there’re no dry pockets.


DSC_1356scrape the mixture into a prepared cake tin. This is a springform pan

DSC_1330prepared simply means you’ve oiled the sides and the bottom and stuck a wax/butter/parchment paper on the base and oiled it as well.

DSC_1357now, with the careless abandon of abundance, strew the top with pine nuts


DSC_1358liberally or not..entirely up to you and bake at 180°C for 40 minutes, or until a knife or toothpick inserted in the middle comes out almost clean. As long as it’s sticky and not runny, you’re good.


DSC_1360once done, let it cool before you devour..always a good practice.


DSC_1383and behold! the answer to dreary winter months, the saviour of one too many dinnerless nights..or just a sponge to wipe your tears, while you wallow in the dull ache of loneliness in your bed. A cake of such splendour and sumptuous depths that you’d kick yourself for sharing it. It’ll light you up on the inside, and how can it not?

_________________

Ingredients


  • carrots-2 medium  (about 200g)

  • pine nuts -3 tbsp
  • raisins-75g (1/2 cup)

  • rum- 60ml

  • sugar- 150g (3/4cup)

  • olive oil (regular)- 125ml (1/2 cup)

  • eggs-3
  • vanilla extract- 1 tsp

  • almond meal- 250g (2.5 cup)

  • lemon- 1/2 (zest and juice)

______________________________________________

Preparation

In a saucepan bring to a boil the rum and raisins and let simmer gently. Turn off the heat and let them stand and cool.  Grate the carrots and absorb any excess liquid with a kitchen towel.

Into a bowl, whisk together the oil and sugar until well mixed. add in the eggs, vanilla, lemon zest and juice and the now cooled rum and raisins, and mix well. Finally fold in the almond meal and grated carrots.

Scrape into a prepared cake tin, and cover the top with pine nuts. Bake 180°C for 40 minutes, or until a knife or toothpick inserted in the middle comes out almost clean. As long as it’s sticky and not runny, you’re good. Let it rest for at lest ten minutes before removing it from its cake pan. Let it cool completely and enjoy

DSC_1370


Blueberry muffin crumble cake


DSC_1502

Are you seeing this? are you feeling it? Behold the rocket science behind making a muffin batter, only to make a cake instead, and top it all off with a crumble. gasp!

Before I begin with the alchemy of innovation and the complicated discoveries of pouring a muffin batter into a cake pan, let me just tell you about the divinity of this blueberry muffin crumble cake.

The rustic golden top, splattered with the ooze of violent violet of tart sweet blueberries, has known to make grown men weep. It’s guaranteed to make a painter out of the most banal harsh hearts, and turn your cold cemented soul into a benevolent rasp of tenderness. It doesn’t masquerade as a sinful dessert, but rather bleeds of such hearty compassion, that you’d want nothing better than to cry your woes to this plate of cake, and promise to turn over a new leaf. It’s seriously that good!…Also it takes no more than mere moments to conjure up this holiness.

DSC_1441 copy

totally basic ingredients involving sugar, oil, lemon zest, baking soda, baking powder, salt, blueberries (obviously), yogurt, egg, vanilla extract, flour and crumble toppings that include flour, sugar & butter.

DSC_1444

so let’s just begin with the crumble topping and that’s one less thing to bother about. So, flour in a bowl

DSC_1447

and sugar

DSC_1448

and butter

DSC_1449

and mix with a fork

DSC_1450

until the mixture resembles coarse breadcrumbs. Now refrigerate this and forget about it for a bit.

DSC_1454

now because this is a muffin cake, we go the basic dry ingredient+wet ingredients way. So this is our wet ingredients bit..lol wet! in a separate clean bowl, crack and egg.

DSC_1455

beat it with some vanilla

DSC_1456

add in the yogurt

DSC_1457

and the oil.

DSC_1458

and mix/beat/whip until it forms a real nice smooth batter..real smooth.

DSC_1460

now for the dry ingredients. In a separate larger bowl, add in the flour.

DSC_1463

and the sugar

DSC_1467

DSC_1466 DSC_1464

and the baking soda, baking powder and salt. and phew!

DSC_1468

in with the lemon zest

DSC_1471

and the blueberries that hardly ever look blue, but whatever!

DSC_1472

and mix! yes sir.

DSC_1477

mix until everything is..umm..mixed. That is to say the blueberries are coated with the flour mixture and all ingredients are evenly dispersed.

DSC_1478

dump in the wet ingredients..you remember..that egg, oil and yogurt batter

DSC_1480

and now you get a mixing..but remember DO NOT OVERMIX!

DSC_1483

mix only until it has just come together..just barely come together..

DSC_1485

scrape the muffin batter into a cake tin/pan/dish. make sure you’ve oiled it first. Even out the top as best as you can

DSC_1487

and sprinkle on the crumble topping that has been resting in the fridge

DSC_1490

like so..bake in a preheated oven at 190ºC for about 25-30 minutes or until a toothpick inserted in the middle comes out clean.

DSC_1492

Can you see the gorgeously golden cracked crumble top?

DSC_1495

see???

DSC_1499

see..sigh! flecked dangerously vivid with blueberries, this muffin cake is a joy to bake and a wonder to eat. Serve just as is, or with ice cream or cream or custard or tears.


Ingredients

egg: 1 large

yogurt: 240 mls (1 cup)

vegetable oil: 80 mls (1/3 cup)

flour: 250g (2 cups)

sugar: 100g (1/2 cup)

baking powder: 1 1/2 tsp

baking soda: 1/4tsp

salt: 1/4 tsp

lemon zest: 1 tsp

blueberries: 320g (about 1 1/4 cup)


for the crumble topping

sugar: 50g (1/4 cup)

butter: 30g (2 heaped tablespoons)

flour: 70g (1/2 cup)


 Blueberry muffin crumble cake: make the crumble topping by mixing in the flour and sugar and using a fork cut in the cold butter, until the mixture resembles coarse breadcrumbs. you can do this using just your finger tips as well.

wet ingredients: In a large bowl mix together egg, vanilla extract, yogurt and oil.

dry ingredients: In a separate bowl mix in the flour, sugar, baking powder, baking soda, salt, lemon zest and blueberries. Mix until the blueberries are well coated with flour and all the ingredients are evenly mixed.

Now gently fold the wet ingredients into the dry ingredients and do not over mix. The batter will be a bit thick, but desirably so. Scrape into a well greased baking dish and even out the top as best as you can.

Sprinkle the crumble topping thickly and bake at 190ºC for about 25-30 minutes in a pre heated oven or until a toothpick inserted in the middle comes out clean.

Let cool for at least 10 minutes before serving.

Enjoy!

Almost – fudge gateau


DSC_1109


In case you ever wondered what gateway to heaven was really made of, then please look no further. The gateway to heaven or even the stairway to one was/is most definitely made of this dense, moist disc of chocolate bliss. I’d love to say that this was something that came out of my kitchen in a moment of godlike inspiration, but sadly it isn’t. This is a recipe I adapted from Dorie Greenspan’s book (baking, from my home to yours), and the moment I made it I knew this would be that moment of magical sin, when I’d plunge headlong into this shiny matt dome of chocolate and wish for no rescue.

The real reason I’d made this cake was because I was in a celebratory mode, as I’d just become a part of this fantastic website put together by a bunch of serious food lovers called Gastronazi.com and that I was doing metaphysical somersaults and driving myself into a food frenzy would be a serious understatement. This website is exactly what it sounds like, and puts not only well researched, well thought food related articles but also comes up with excellent how to videos and recipes that you always thought belonged in a pricey French kitchen. So do check put this website and know more about how to kick it up a notch or two in your home kitchen.

Coming back to this gateau, here’s all you need.

DSC_1062 copy

sugar, good quality dark chocolate, eggs separated, flour, butter and salt.

DSC_1064start with prepping your springform pan by buttering the sides and bottom

DSC_1066lining with a parchment paper

DSC_1067buttering that as well

DSC_1068sprinkle in some flour to coat the entire pan and shake off the excess

DSC_1070something like this

DSC_1072add the butter to your chocolate and melt either using a double boiler or nuking in the microwave

DSC_1074this is what you should end up with. stir it all together to form a chocolate pool, then dive in and forget the world, or just continue making the cake.

DSC_1076to this add sugar

DSC_1077stir well to mix as well as you can

DSC_1078add in the egg yolks, one at a time and stir until all’s well combined.

DSC_1080add in the flour and mix well

DSC_1081to make it look like this.

DSC_1082in a separate, very clean bowl we have to whip up the egg whites to form firm peaks, they should be glossy and not dry

DSC_1083so add a pinch of salt to the egg whites

DSC_1085and whip like a maniac, until they kinda look like this

DSC_1086now the part where you exercise caution. First fold in about a third of the egg white mixture into the batter, to lighten it a bit. I generally do this step by cut and fold method too. Very gently fold in the egg whites to form a part of the batter. I do this by scraping the bottom of the batter and bringing it to the top of the egg whites and keep repeating this step 4-5 times until the egg whites become a part of the batter.

DSC_1087once you’ve lightened the batter, fold in the rest of the egg whites using the same method.

DSC_1088and the batter should look something like this.

DSC_1089scrape the batter into the pan and jiggle the sides just a bit to even the batter (I always use foil on my tray because my springform pan can be slightly dyslexic). Bake at 180°C for 35-45 minutes.  thin knife inserted will come slightly smeared with chocolate when its done.

DSC_1090the cake when done looks something like this. Let it rest for 10 minutes before removing it from the pan. If you think the cake is sticking to the edges, just run a blunt knife around the edges and it will come out easily. The way we’ve buttered and floured the pan, it might be almost impossible to stick.

Let the cake cool completely before glazing it.

DSC_1092for the glaze we need heavy cream, dark chocolate and honey

DSC_1097start by heating the chocolate on low flame until it’s just nearly boiling but not boiling. Turn off the heat and add in the chocolate and let them sit without stirring for a couple of minutes.

DSC_1098after a few minutes, stir together to combine

DSC_1099add in the honey and stir again. Wait for a few minutes until it’s just cool because it has to be pourable, for you to do

DSC_1103this. Yes! slather that cake with that glaze baby..ooh yeah.

DSC_1116cut yourself a piece and watch yourself melt into a pool of luxurious indulgence

Ingredients

Eggs- 5 (separated)

bittersweet chocolate- 250g

sugar- 150g (1 cup)

butter- 70g (5 tbsp)

flour-50g (1/3cup)

salt- pinch

For the glaze

Dark chocolate-100g

heavy cream- 90 mls (about 1/2 cup)

Honey- 2 tsp

Baking instructions

Butter a sprinform pan and line the bottom with parchment paper, butter the paper, dust with flour to ensure the pan is evenly coated on all sides and shake off the excess.

Melt the chocolate and butter and mix in sugar, then add in the egg yolks, one at a time and mix well. Add flour and mix to form a smooth batter.

Add a pinch of salt to the egg whites and whip to form firm peaks. Stir 1/3 of the egg whites into the batter and fold in to lighten, then gently fold the rest of the egg whites, cautiously. Scrape the batter into the pan and jiggle a bit to even out. Bake at 180°C for 35-45 minutes. A thin knife inserted will come slightly smeared with chocolate when its done.

Let the cake cool for at least 10 minutes before removing it from the pan. Once out of the pan and let it cool completely.

For the chocolate glaze: heat the cream to a point when it’s just about boiling, don’t let it come to a boil. Add in the chocolate to the saucepan and let it sit without stirring for a couple of minutes. Stir the mixture after a couple of minutes until smooth and add the honey and keep mixing until it’s shiny. Let it cool a bit before pouting over the cake. Let the glaze set at room temperature for 15-20 minutes before cutting into the cake.

DSC_1108enjoy!


Citrus butter cake


DSC_0427

It’s been a while since there’s been any sun in our frigid little Chinese town, but I’m not complaining.Maybe I am because everything is cold and freezing and butter at room temperature is a solid brick and my bread dough doesn’t rise and it’s always raining and everything is wet and it feels like I’m living in a glacier…..but there are moments when there’s plenty sunshine in my kitchen, courtesy this golden cake, that looks like sun-rays and tastes like sunlit oranges bathed in sweet butter and love.

I’m not exaggerating, ’tis true and you know it and not least because you can make this cake at the snap of your fingers and smugly too.

DSC_0390q

Yes there’s fanta and no shame. Regular stuff that is butter, sugar, vanilla extract, salt, lemon and orange zest plus extra for icing, a whole lemon, fanta, flour, baking powder and

DSC_0402

eggs that I forgot to include, but here they are.

DSC_0393

into the flour add salt

DSC_0394

and baking powder and keep aside for a while

DSC_0396

this is a citrus cake and we want every breath to speak of it, which is why into our sugar we mix in the lemon zest

DSC_0397

and orange zest

DSC_0398

and using our fingers we just mix it all in so every bit of sugar is infused with the citrus twang.

DSC_0400

in a separate glass juice your lemon

DSC_0401

and add in the fanta.

DSC_0403

beat together room temperature butter and zest mixed sugar until nicely mixed and kinda fluffy. It’ll only take a couple of minutes.

DSC_0405

crack in the eggs. one at a time and beat after each addition to mix thoroughly, so here’s the first

DSC_0406

and the second. It turns a fabulous yellow/orange after each addition.

DSC_0408

once it’s all mixed well in add the vanilla extract

DSC_0409

beat again and now it’s time for the flour which we will add in three additions. So here’s 1/3rd of our flour, mix briefly

DSC_0410

and 1/2 of our magic potion that is fanta and lemon juice. Mix after each addition just until the batter comes together

DSC_0411

another 1/3rd of flour, beat briefly.

DSC_0413

add the remaining fanta, lemon juice, and mix to combine.

DSC_0414

followed by the rest of the flour. Beat to make a smooth batter. It doesn’t take long.

DSC_0415

You’ll finally get this. A pool of sun in a steel bowl.

DSC_0416

Pour into baking tin of choice. I was too lazy to butter a loaf tin so I lined it with a baking sheet, but please feel free to butter and flour your cake tin. Bake at 180°C for 35-40 minutes or until a toothpick inserted in the center comes out clean.

DSC_0418

Like so. The kitchen at this point smells like orange marmalade doing a cabaret. You can eat it as it is but a bit of embellishment never hurt anyone.

DSC_0421

an easy glaze or make up if you prefer. add some reserved zest into icing sugar

DSC_0422

with a spoonful or so of leftover fanta in case you haven’t been too greedy.

DSC_0426

mix to form a pourable consistency like so.

DSC_0427

and let your cake have it, make sure it has cooled down completely.

This cake may look sober but it’s oozing with oomph. It smells like sun and tastes like light. Every bite carries a citrus hit and honestly any cake that uses a can of fanta cannot go wrong. it’s easy, delightful and a much desired change from everything boring these winters.

Ingredients

butter: 100 g (1/2 cup)

flour: 170 g (11/2 cup)

sugar: 110 g( about 1 cup)

fanta: 200 mls (3/4cup)

lemon juice: 1 tablespoon

eggs: 2

salt: 1/2 tsp

baking powder: 1 tsp

vanilla extract: 1 tsp

orange and lemon zest: 1 tablespoon + extra for icing.

For icing

icing sugar: 100 g (about 1 cup(

lemon + orange zest (1 tsp)

fanta: 1 tablespoon

Recipe instructions: mix flour, salt and baking powder and keep aside. add the lemon and orange zest in sugar and mix in with fingers until fragrant. In a glass squeeze in one lemon and mix with fanta.

In a separate bowl, beat room temperature butter and sugar until fluffy. Add in the eggs one at a time and beat for a minute after each addition. Add in the vanilla extract and beat again.

Add the flour in three stages alternating with fanta and juice mixture in two, and beat well after each addition until the batter is smooth.

Pour into a baking tin and bake at 180°C for 35-40 minutes or until a toothpick inserted in the center comes out clean.

Let cool completely.

For the icing mix in the zest, fanta and icing sugar until you have pouring consistency. Pour over the cooled cake and let set before serving.

DSC_0433

Make this now!

Double chocolate chunk cookies


DSC_1022

This isn’t the first chocolate chip/chunk cookie post on this blog, and most certainly not the last. But before you roll your eyes and dismiss these sweet little discs of joy, at least stare at them for a while, and notice that there are two kinds of demonic babies in there. I meant dark chocolate and white chocolate; a pairing made in gluttonous heaven of sweet sin.

These golden halos of chewy rapture are sweet, rich, and sometimes responsible for stealthily increasing your waistline..but that’s a different story for a boring day. Make a big batch and freeze some for later I say.

These need no heavy machinery, or special equipments or even muscle power. The ingredients are few and it takes moments to conjure these lovers

DSC_098h2


just butter (softened to room temperature), dark brown sugar, white sugar, flour, an egg, salt, baking soda, vanilla extract, and of course chocolate chunks both dark and white. Feel free to use chocolate chips instead (only they won’t be as awesome)

DSC_0983add the softened butter to a bowl of choice. Ahem! notice my gorgeous new pink spatula?

DSC_0984rain in the white sugar

DSC_0985and the brown sugar and simply beat it together. It shouldn’t take long if the butter is nicely soft.

DSC_0987a minute of creaming together and it comes to look like this.

DSC_0996crack in the egg

DSC_0997splash in the vanilla

DSC_0998and beat again, until it looks something like this.

DSC_0990in a separate bowl, add in the flour and salt

DSC_0991and the baking soda

DSC_0992and mix to combine

DSC_1000and stir it into the butter sugar mixture.

DSC_1001mix until it just about comes together.

DSC_1002clatter in the chunks..the white

DSC_1003and the dark,  and mix until just barely there. Do not over-mix the cookie dough. Please!

DSC_1004this is how it comes together. Now cover with a cling film and let it sit in the refrigerator for 30-45 minutes.

DSC_1006in the meantime, line your baking tray with parchment or butter paper, ignore that this is full of creases.

DSC_1007after 45 minutes, we’re ready to bake. It’s easiest with an ice cream scoop.

DSC_1008like so

DSC_1009like so.. bake at 180℃ for 12-14 minutes, until the edges just start to slightly brown

DSC_1011tadaa!! do not attempt to transfer the hot cookies immediately onto a cooling rack, they will all too easily tear. let them rest for at least 2-3 minutes.

DSC_1021

and finally this!

Dunk into milk, crumble over ice cream or just apply to face as is, they’re fantastic either way..and..and oh so gorgeous. The sides are slightly crispy, the center chewy, the chocolate chunks absolutely blowing these darlings into another dimension.

Ingredients

butter:  110g

white sugar: 70g (about 1/3rd cup)

brown sugar: 80g (a little less than 1/4 cup)

egg: 1

vanilla: 1 tsp

flour: 150g (1 and 1/4 cup)

baking soda: 1/2 tsp

salt: 1/4 tsp

dark chocolate (at least 60% cocoa): 70g (1/2 cup)

white chocolate : 70g (1/2 cup)

Preparation instructions:

Mix the dry ingredients (flour, salt, baking soda) into a separate bowl and set aside.

In a clean bowl, add in the softened butter and the sugar and cream until they’re light and fluffy. Crack in the egg and add in the vanilla extract and beat again for about a minute.

Add in the flour mixture and mix until just combined. Tumble in the chocolate chunks and stir again until all chunks are just incorporated into the mixture.

Cover with a cling film and let it sit in the fridge for at least 30-45 minutes.

layer your baking tray with parchment paper, and using an ice cream scoop place them at least an inch apart, since these cookies will spread.

bake at 180℃ for 12-14 minutes, until the edges just start to slightly brown.

Let them rest for a few minutes before you transfer them to cool on a cooling rack.

Store in an airtight container and they should disappear by the end of day.

DSC_1024now you seriously gotta make these. Enjoy!