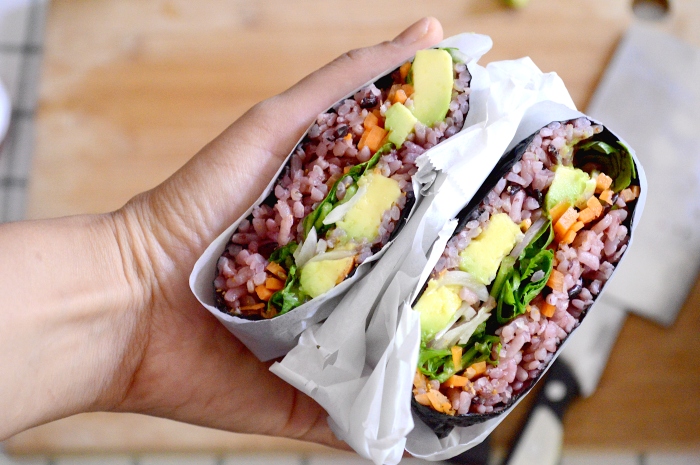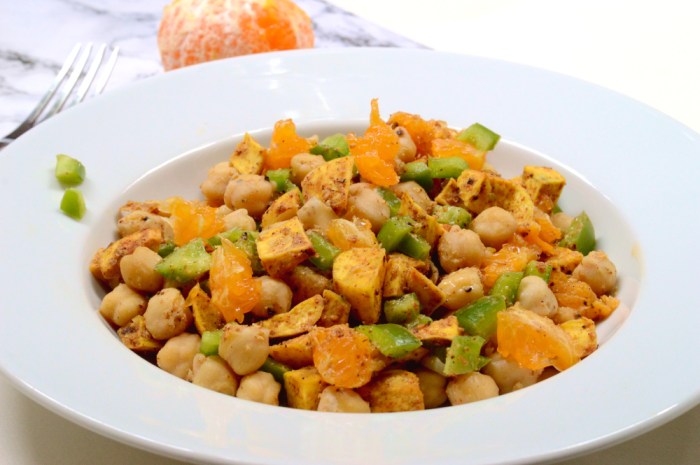
This sounds most odd, this flavour combination of oranges with chickpeas and sweet potato but I promise you it isn’t. Its taste falls somewhere between the realm of spicy and fruity, lightly sweet dusted with faint hues of exotic vibrance which comes in part with the addition of cinnamon and cumin powered with sweet citrusy tang brought together with a thin sesame dressing. This salad is fabulously different and makes for a lovey accompaniment to meals if not eaten as a meal in itself.


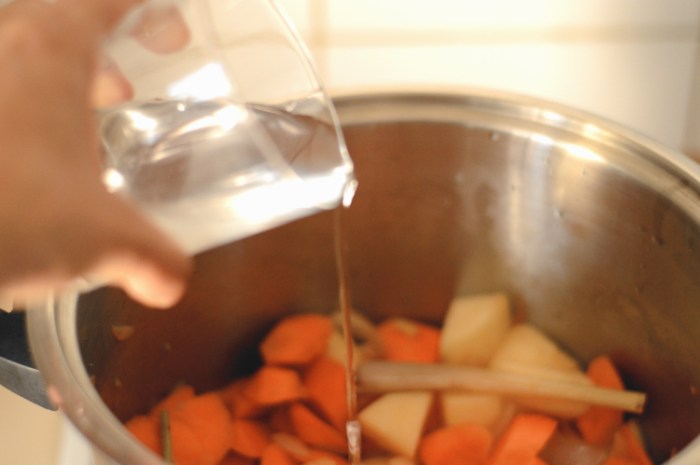
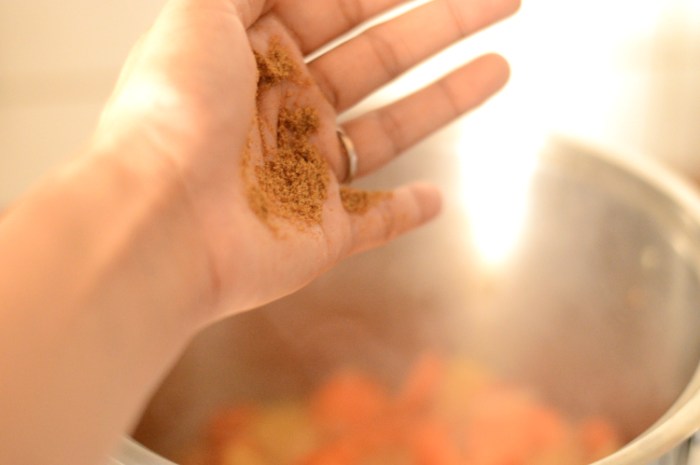
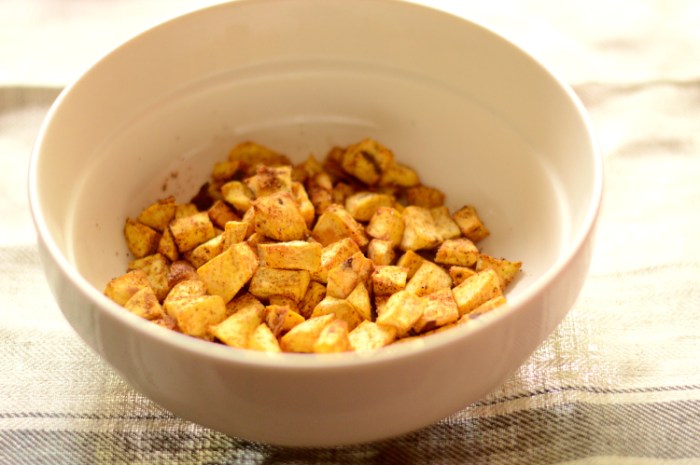
Chop the sweet potatoes into bite sized pieces, add in the cumin and cinnamon powder with some salt and bake at 180ºC for 20-25 minutes until cooked.

Roast the sesame seeds and pound to a fine powder.

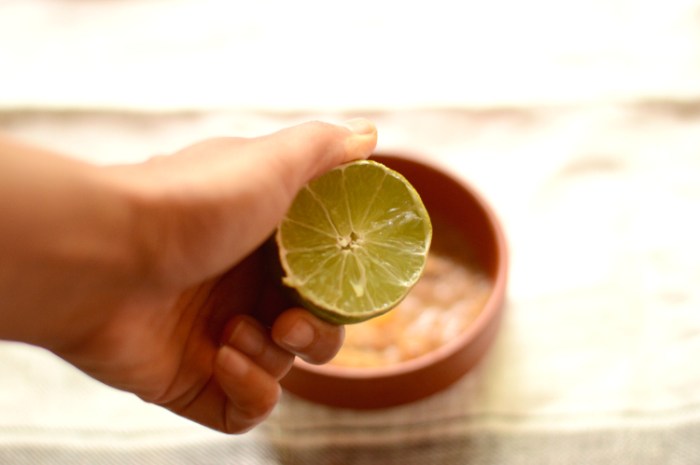
In a bowl mix together the powdered sesame seeds with juice of half an orange with some lemon
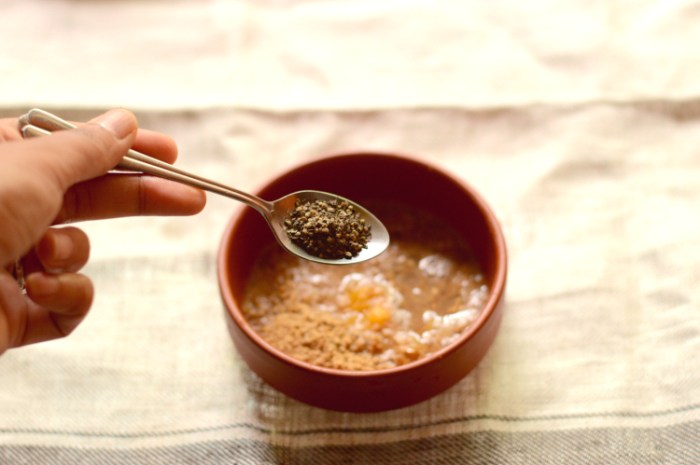

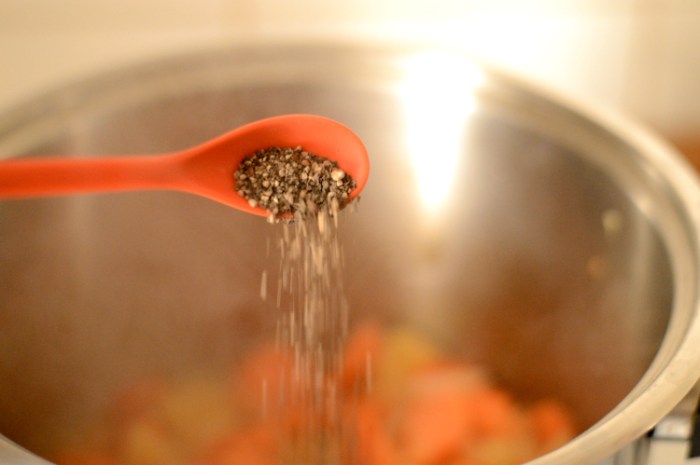
Add in some salt, pepper and mustard and mix well to make a dressing.
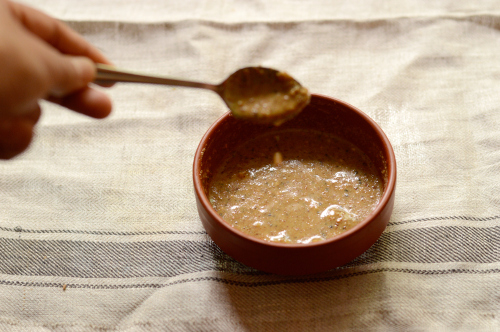
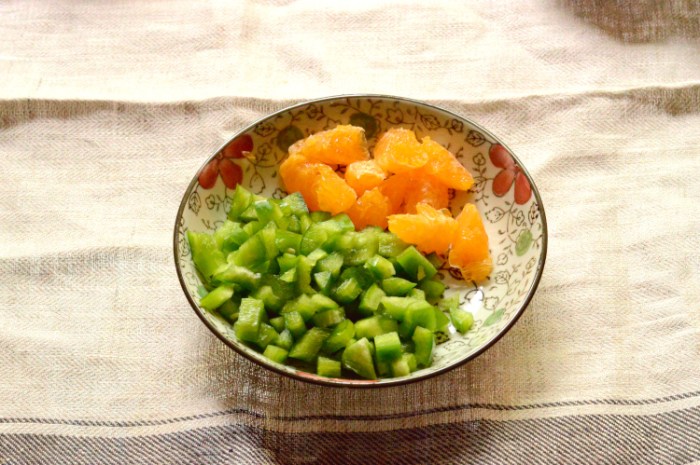
the dressing should be of thin consistency. Chop the peppers and deseed+skin and devein the remaining half of orange, slicing it into segments.
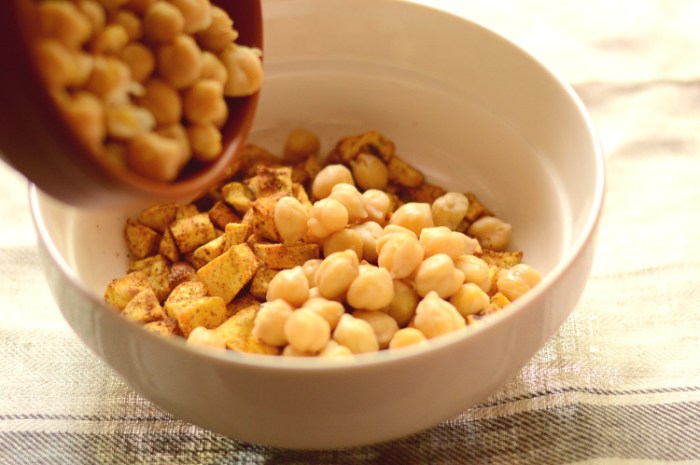
To the bowl of baked sweet potatoes add boiled chickpeas

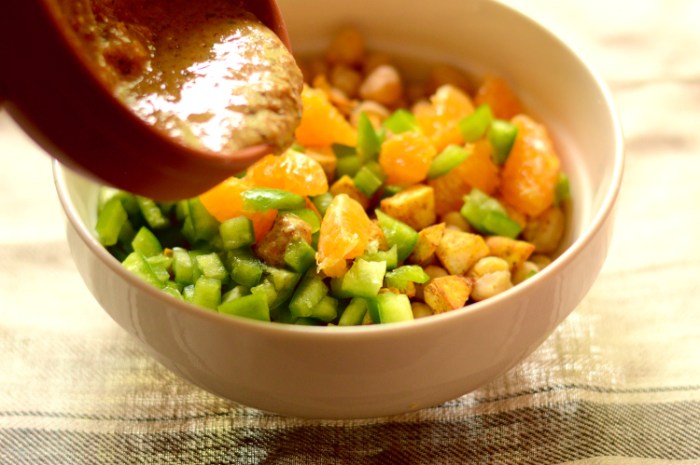
Add in the chopped casicum and orange slices along with the sesame dressing. Mix well and serve.

Ingredients

Sweet potatoes: 200 gms
Cooked chickpeas: 210 gms
Capsicum/Bell pepper: 1 small
Orange: 1/2 medium size
Salt : to taste
Cinnamon powder: 1 tsp
Cumin powder: 1.5 tsp
__________________________

For the dressing

Orange juice: 1/2 orange
Roasted sesame seeds: 2 tbsps
Mustard: 1 tsp
Lemon juice: 1 tsp
salt to taste
pepper: 1/2 tsp (or more according to taste)
Oil: 1/2 tsp (optional)
Recipe instructions : Cube the sweet potatoes and add salt, cumin powder and cinnamon powder. bake at 180ºC for 20-25 minutes or until fully cooked. Set aside.
Chop the capsicum and devein+segment the orange.
Make the dressing by pounding sesame seeds to a powder and mixing in it the freshly squeezed orange juice from the remaining orange with lemon juice, salt, pepper and mustard. Add in the oil if using and mix to form a thin dressing.
In a large mixing bowl toss together the sweet potatoes with chickpeas, chopped capsicum, orange and the dressing.
Enjoy!