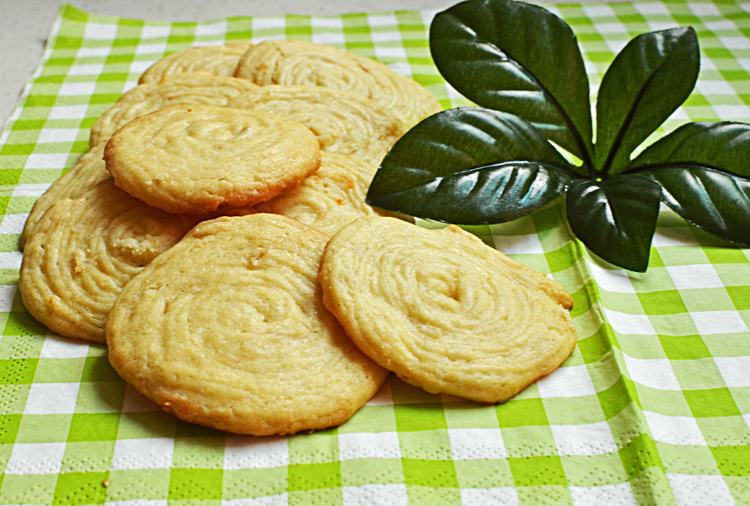
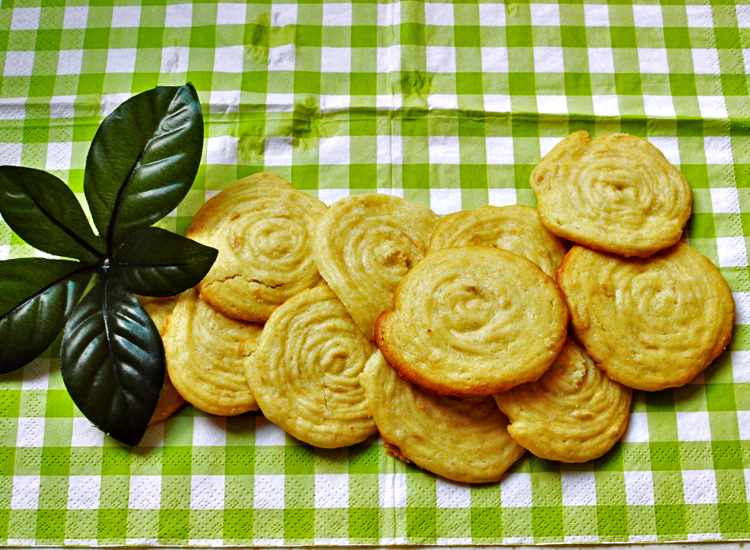
 How could you ever go wrong eating something so melodiously lyrical and so dramatically picturesque? These bountiful babies are rather romantically called love letters, and why not! Gracefully golden and poetically charged as they are, these fattened cigars are also tastefully sublime.
These happen to be a very popular Keralan tea time snack, of which rather embarrassingly though, I got to know of very recently through a dear friend I met on twitter called Febin Mathew, who also happens to be a fantastic writer and runs a wonderfully whimsical blog called (epicfaildotcom.wordpress.com) or you can check out his writings here
Love letters, as gorgeous as they sound are really just thin crepes that are filled in with coconuts and sugar.
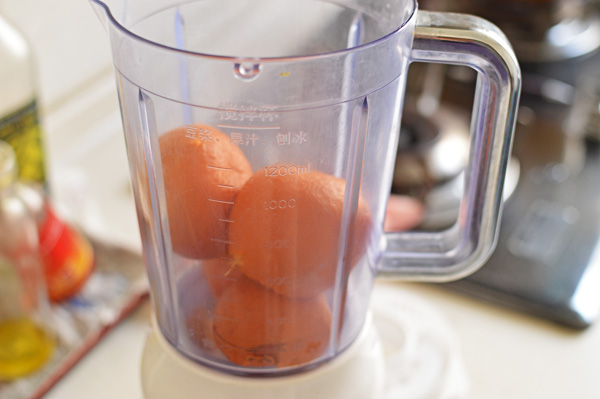
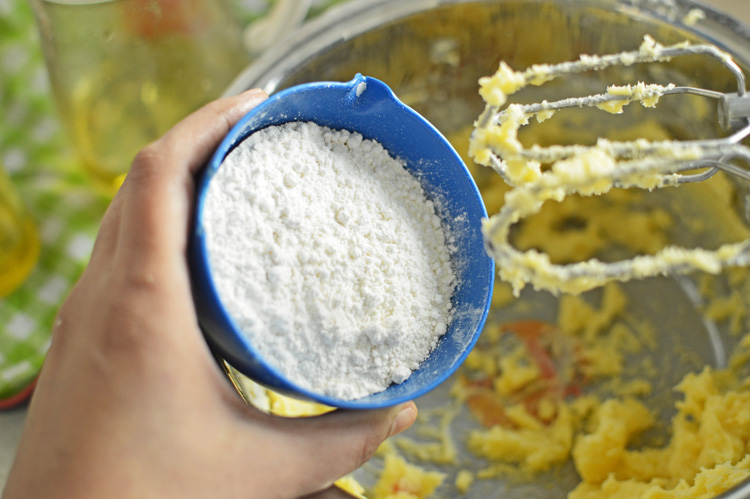
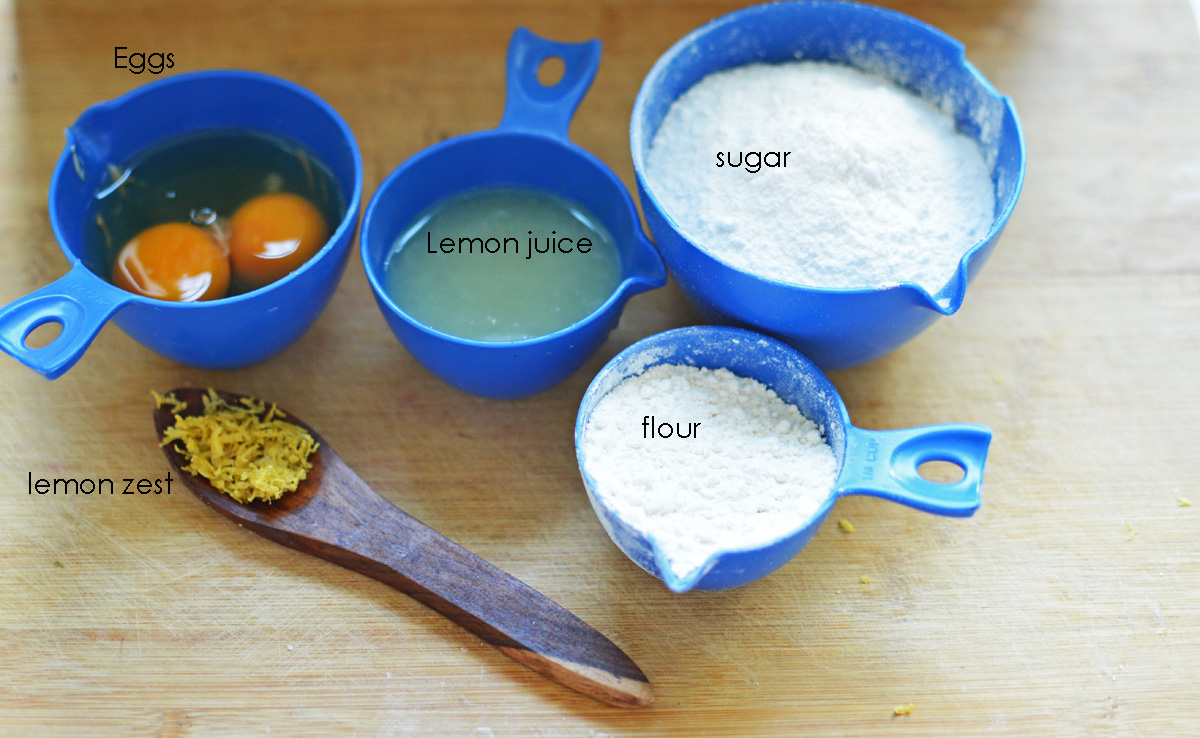
 the ingredients are simple enough. Sugar, desiccated coconut. flour, egg and cardamom pods.
 this recipe requires cardamom powder and its a good practice to make some from scratch rather than buying the dried up bottled stuff. All you really need is a mortar and pestle.
 to make a somewhat fine powder.
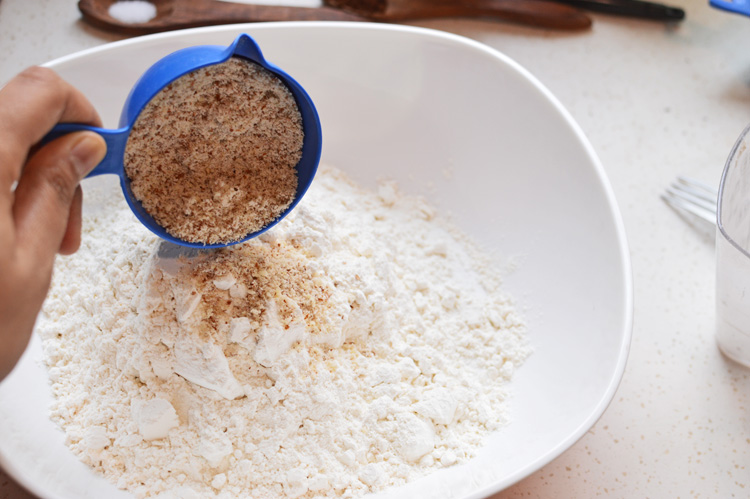
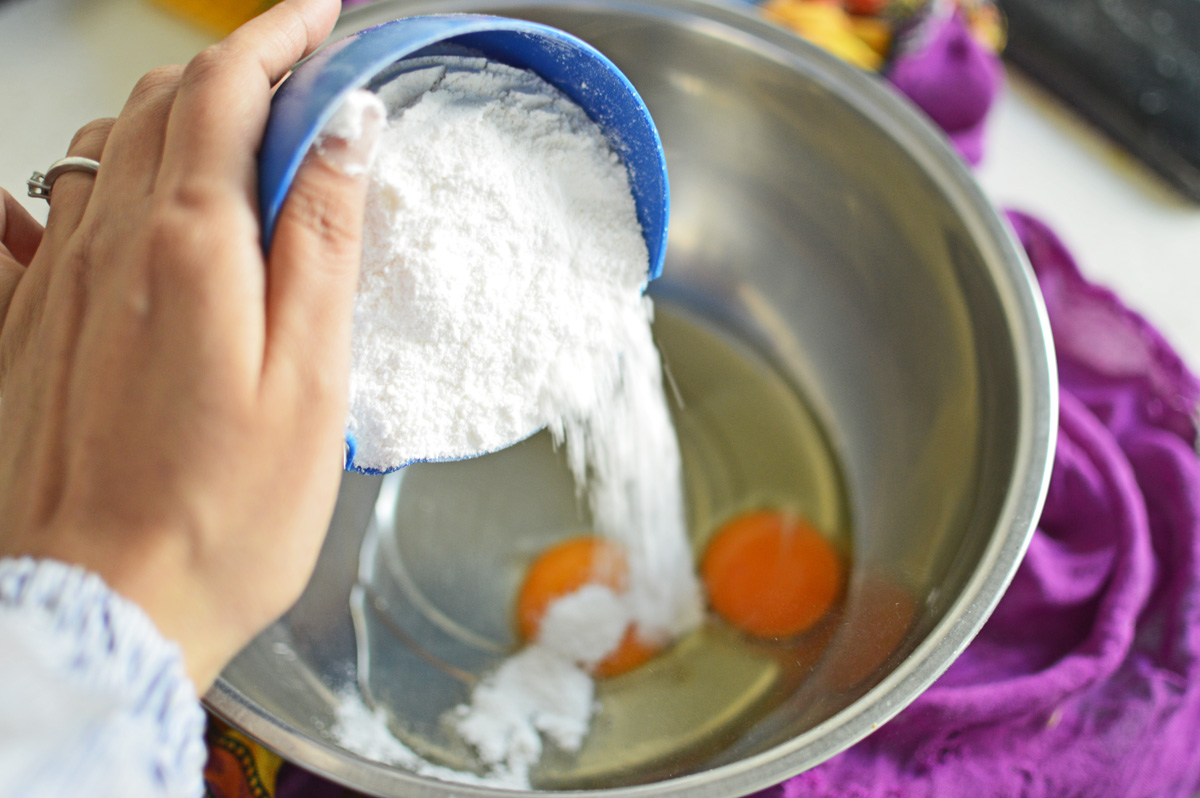
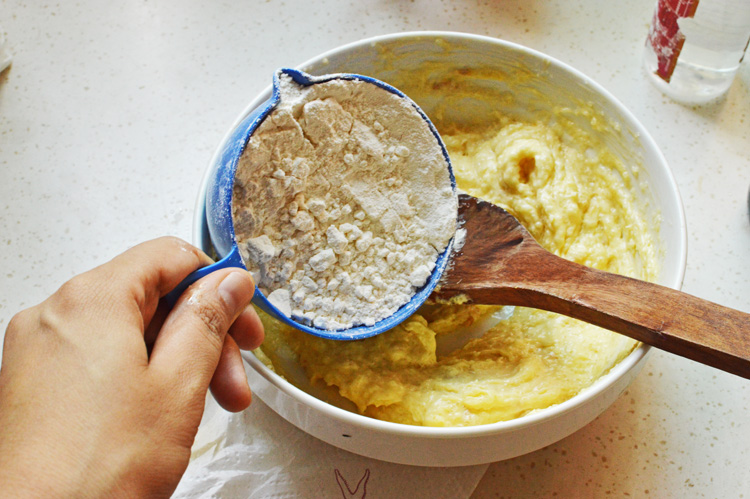
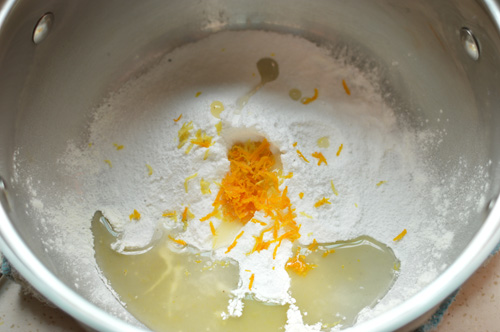
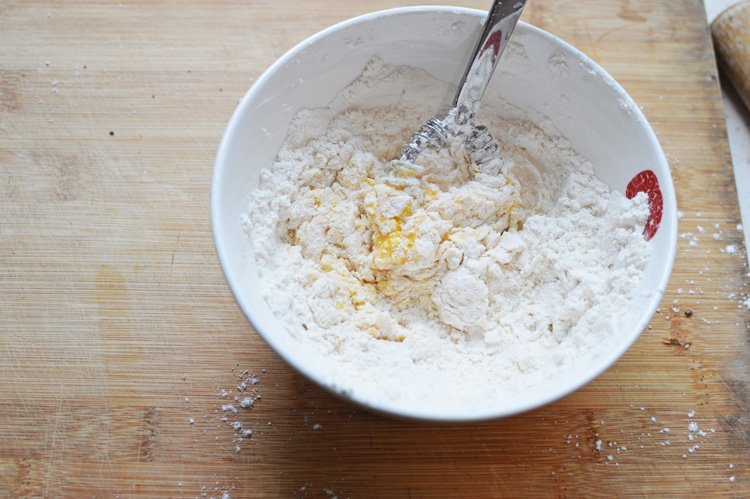
 into a bowl, dump in your flour
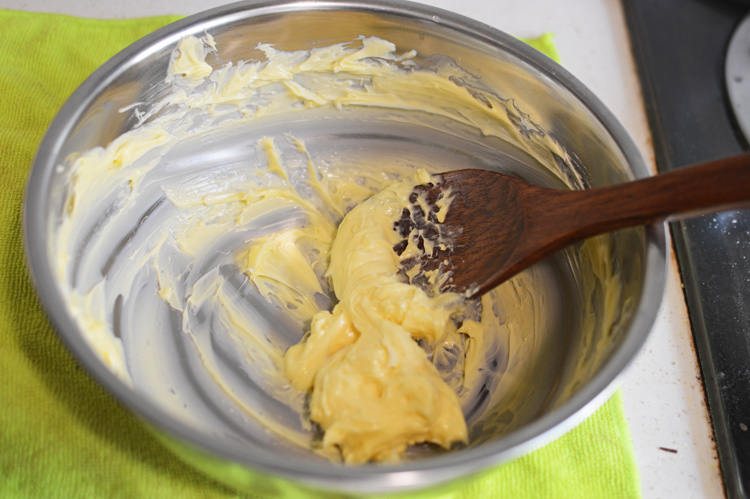
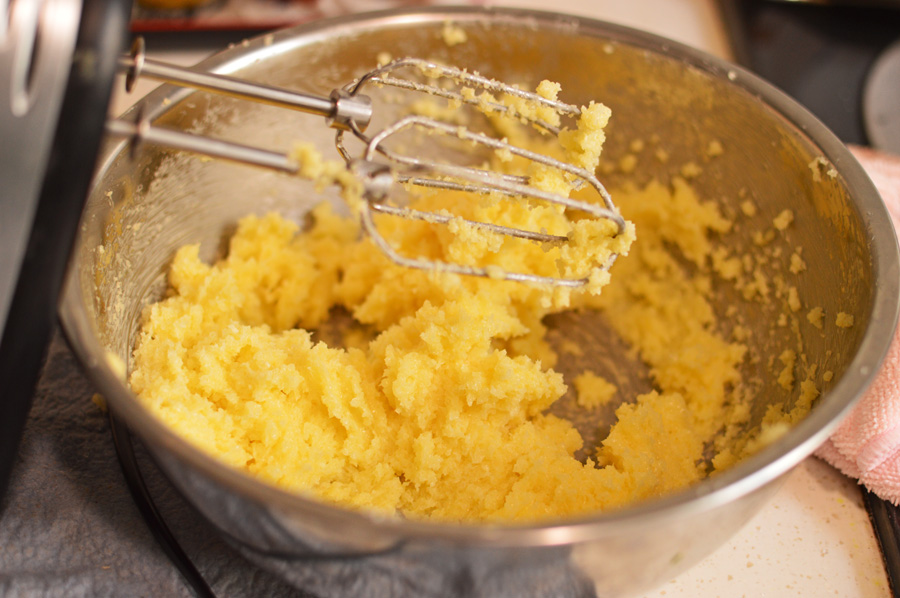
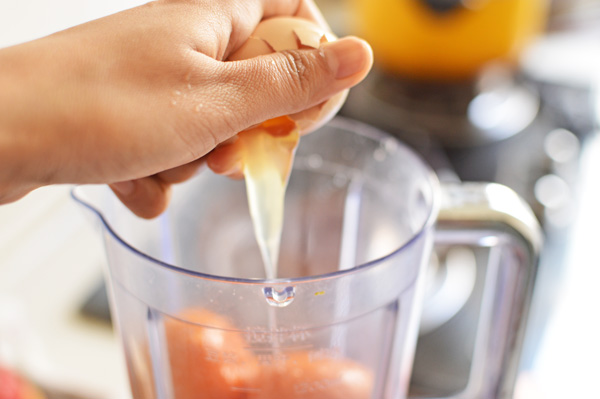
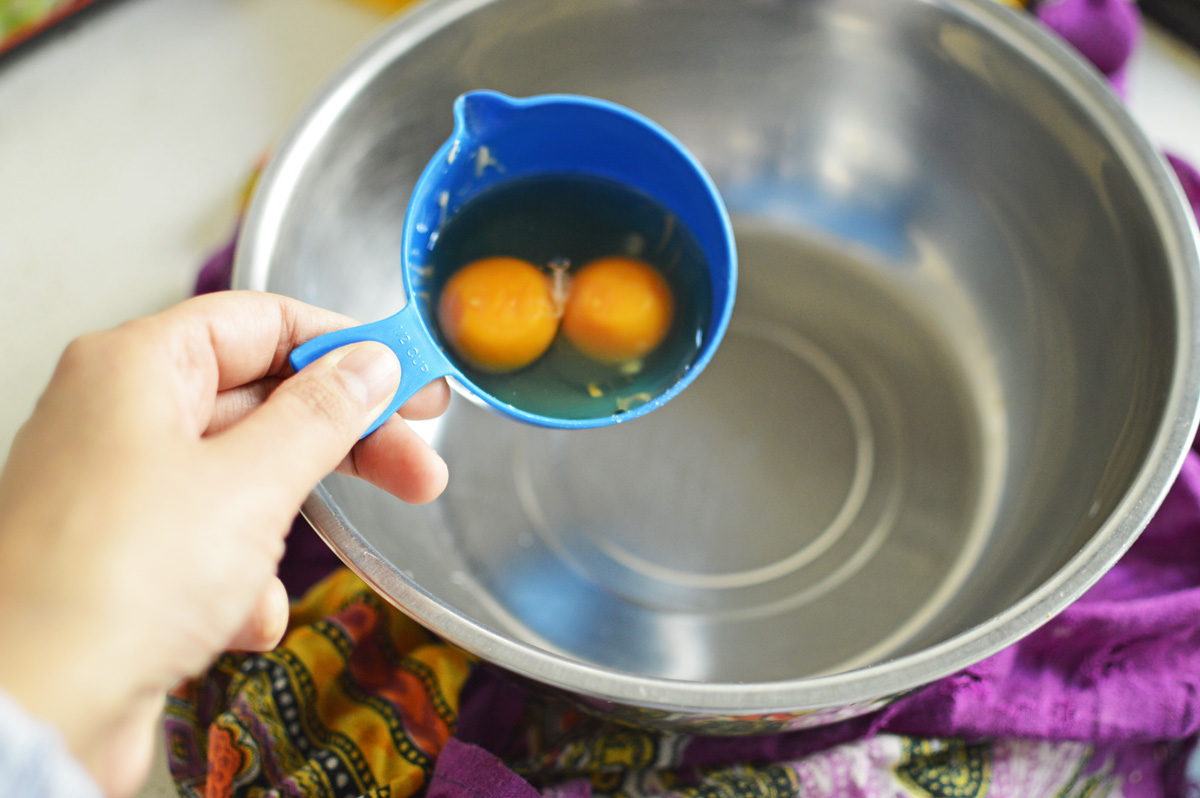
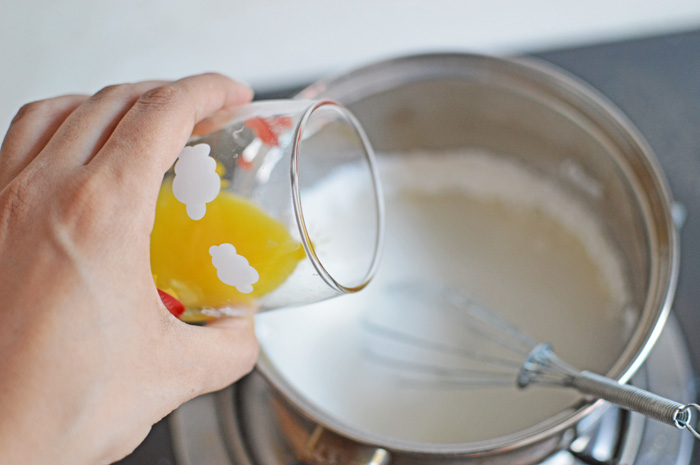
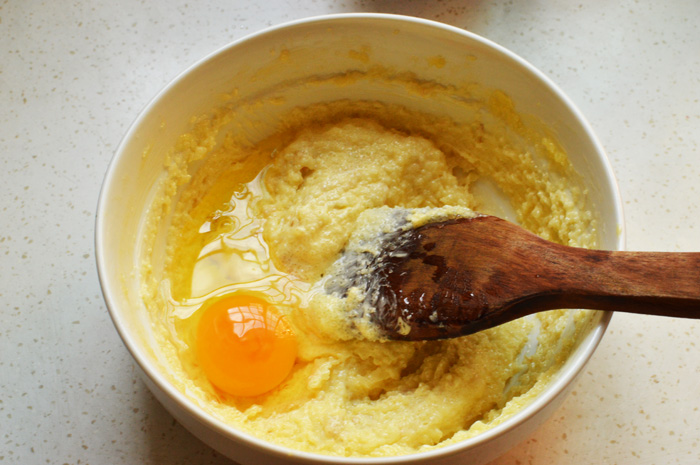
 crack in the egg and get mixing.
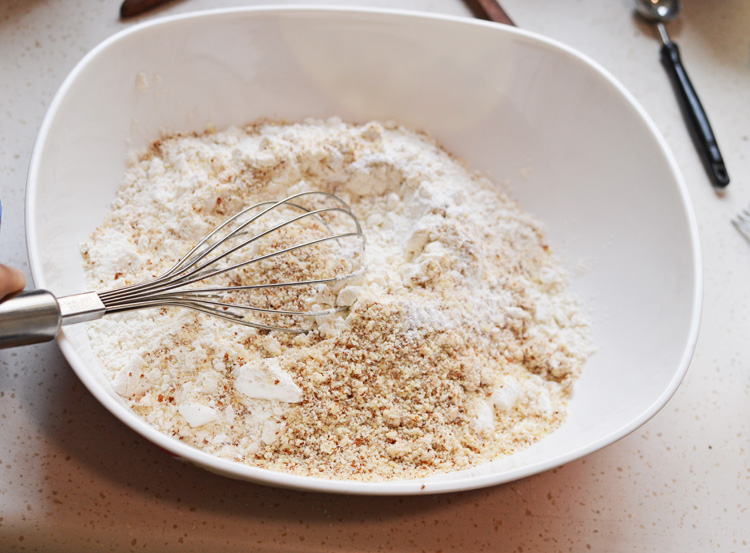
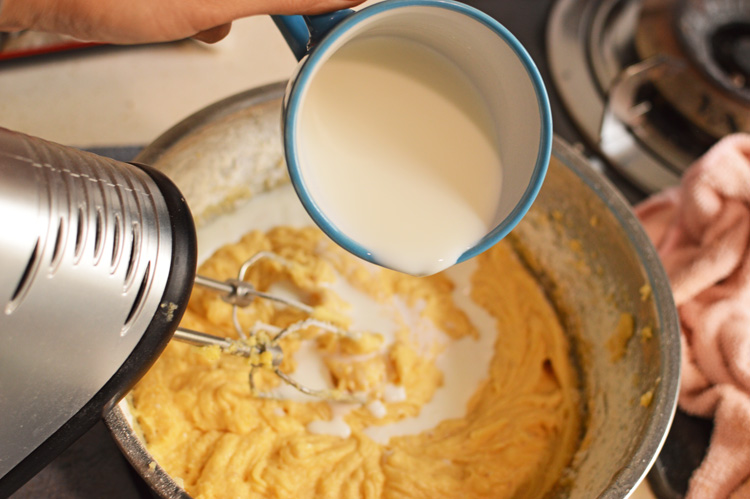
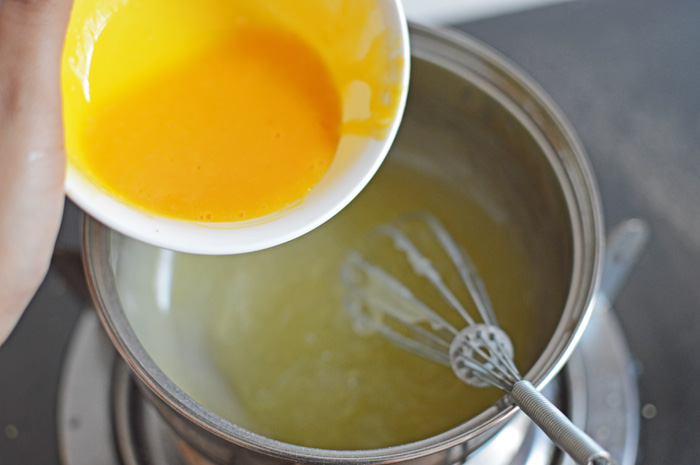
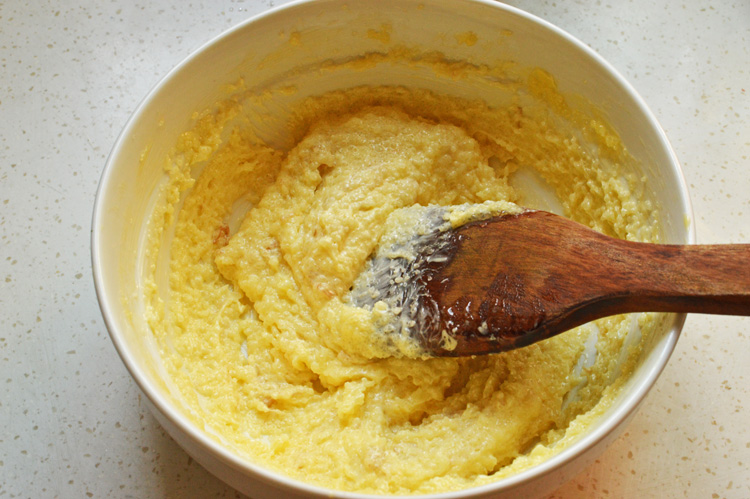
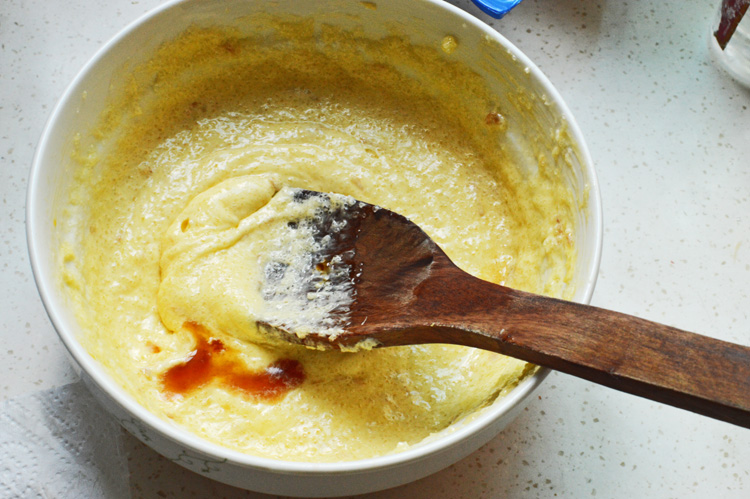
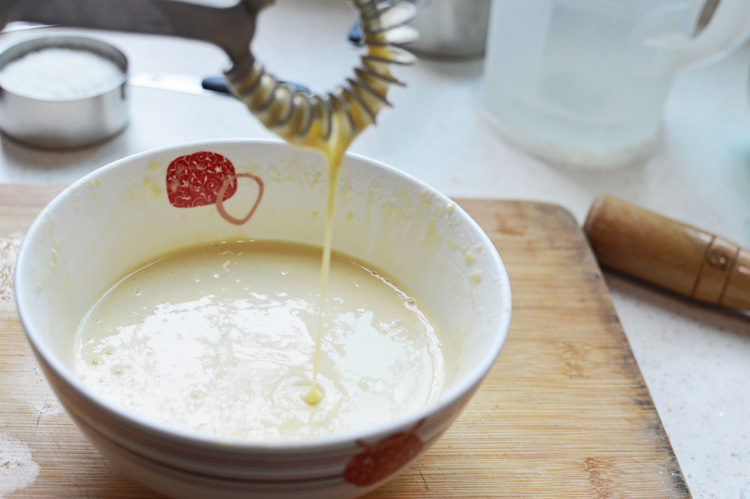
 somewhere here I realized I should have used a bigger bowl, but a bit of mess never hurt anyone. we need a thin batter and an egg alone won’t thin it.
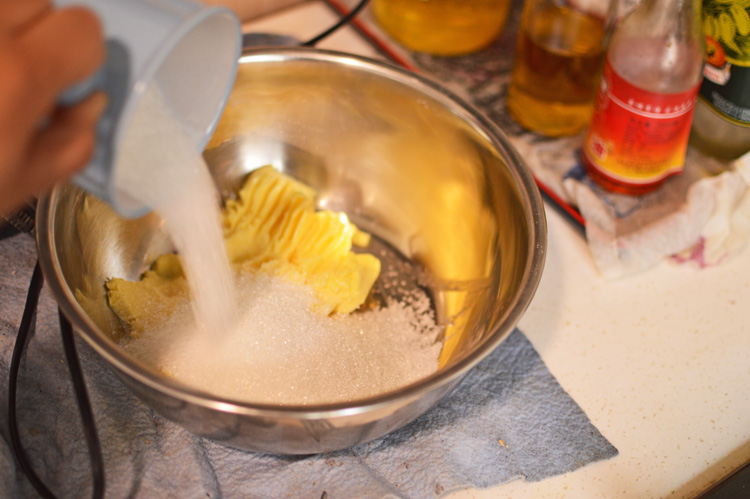
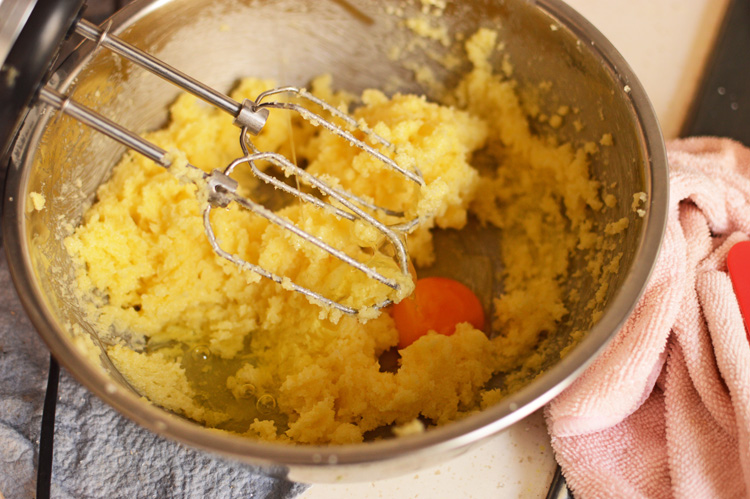
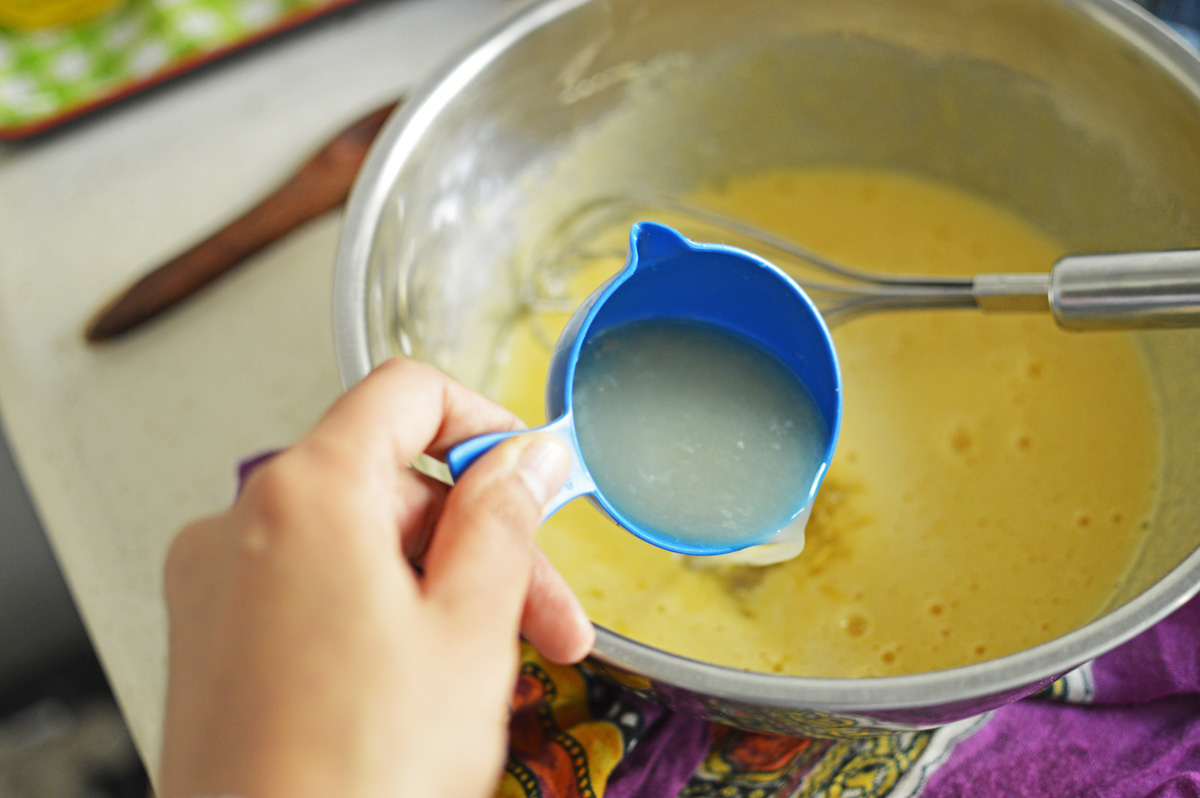
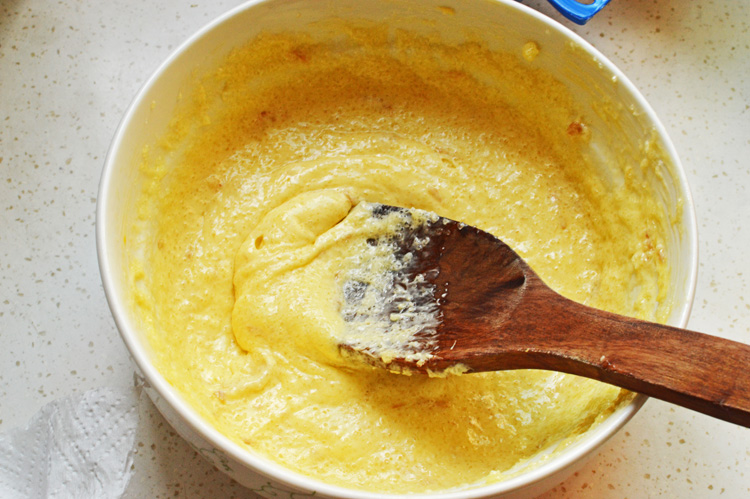
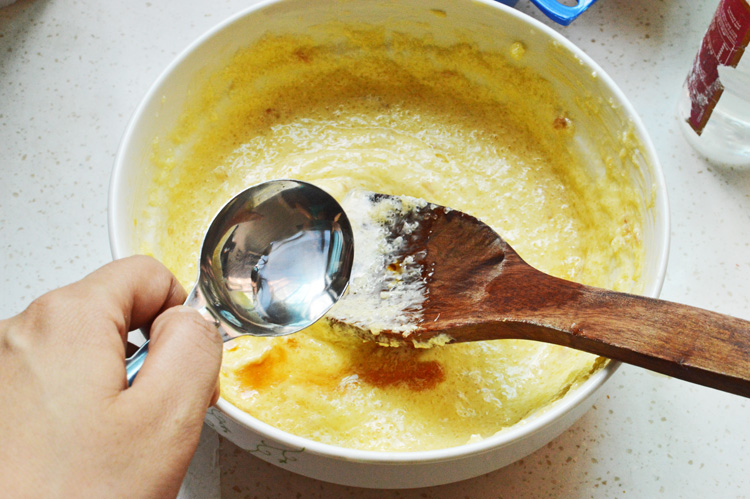
 add in water, a little at a time to make a thin consistency. I ended up adding about 100mls of water, that is about 6-7 tablespoons
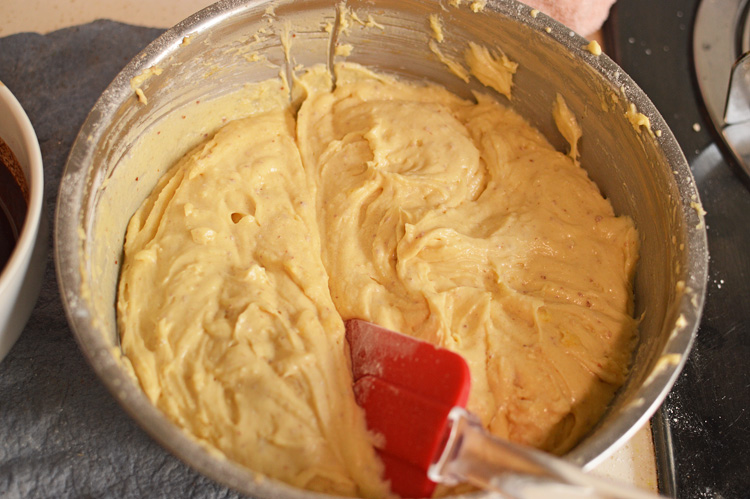
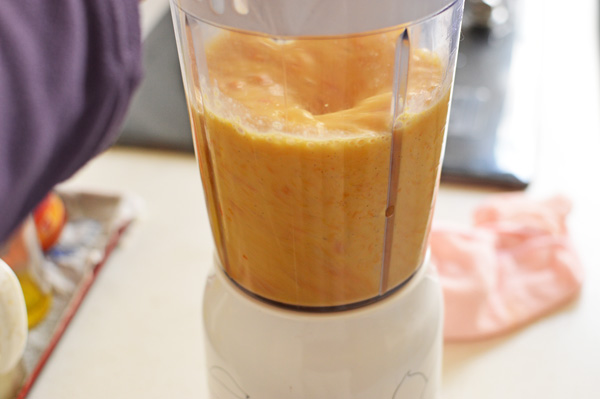
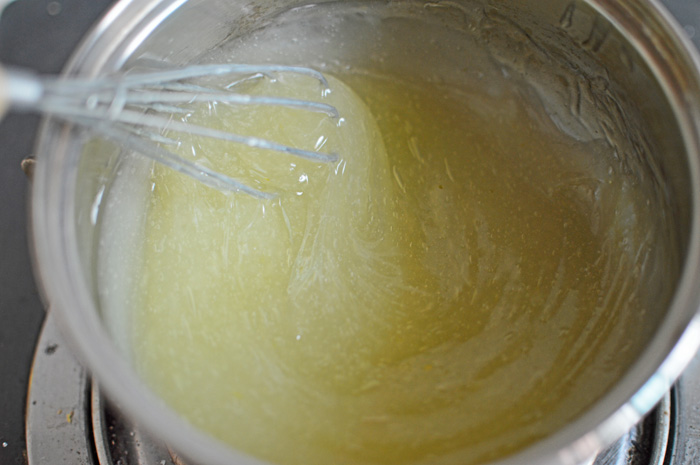
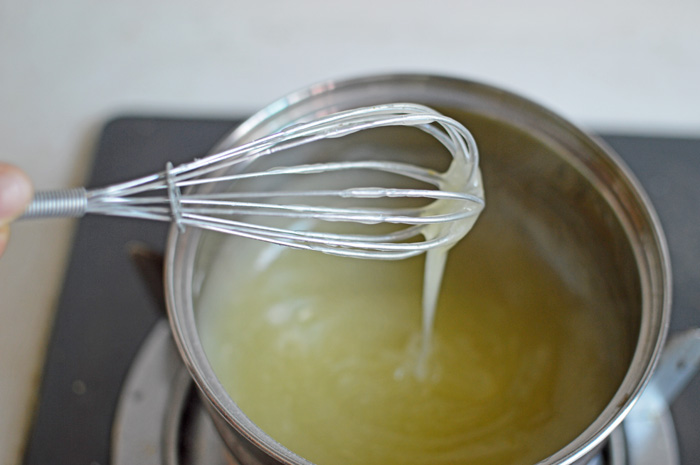
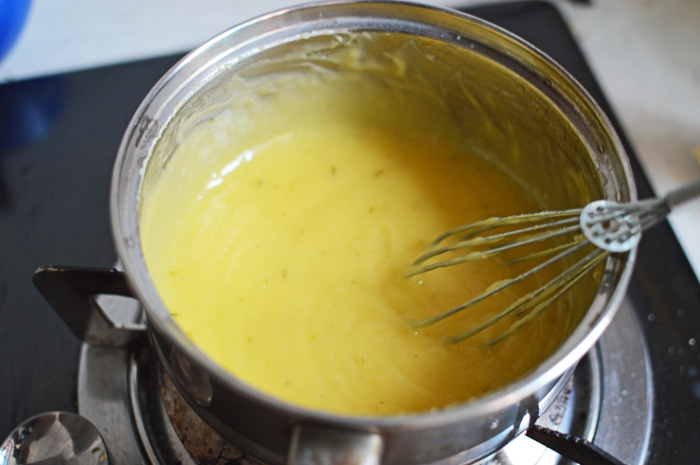
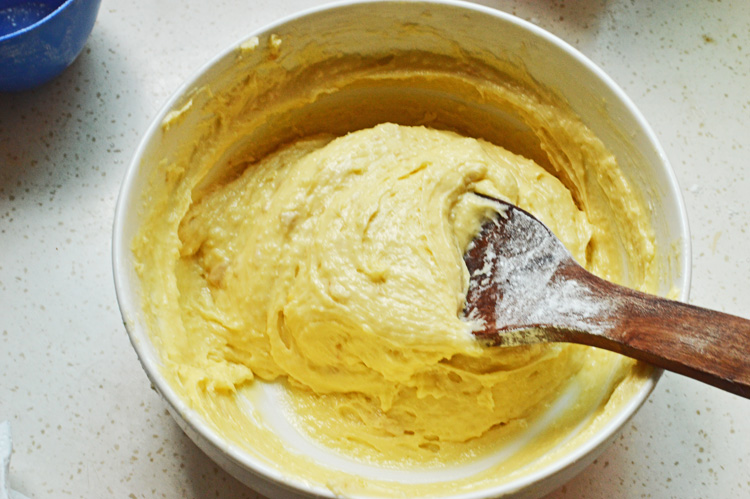
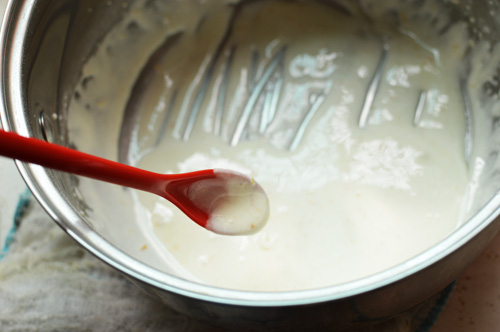
 this is the consistency we are looking for. It should be thin and pourable, with no visible lumps.
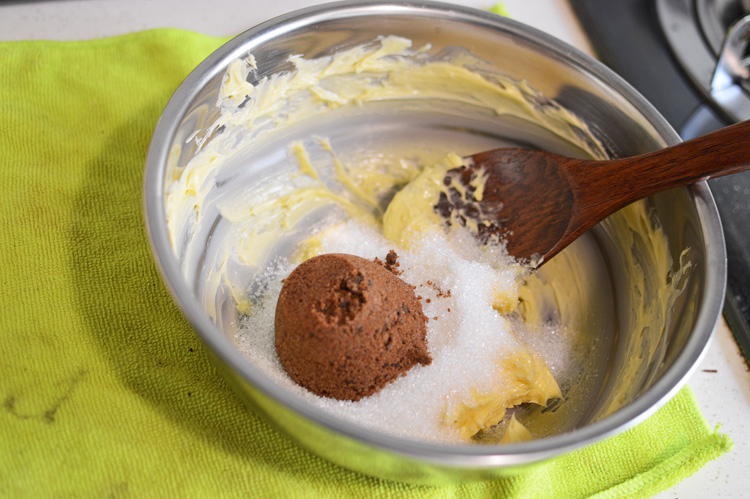
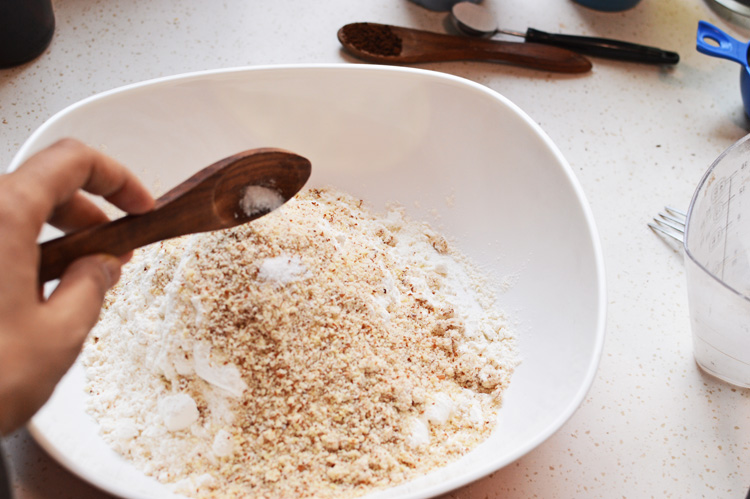
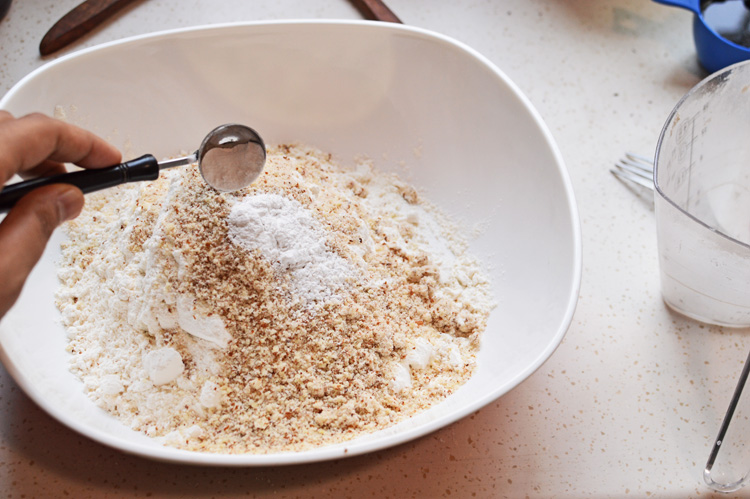
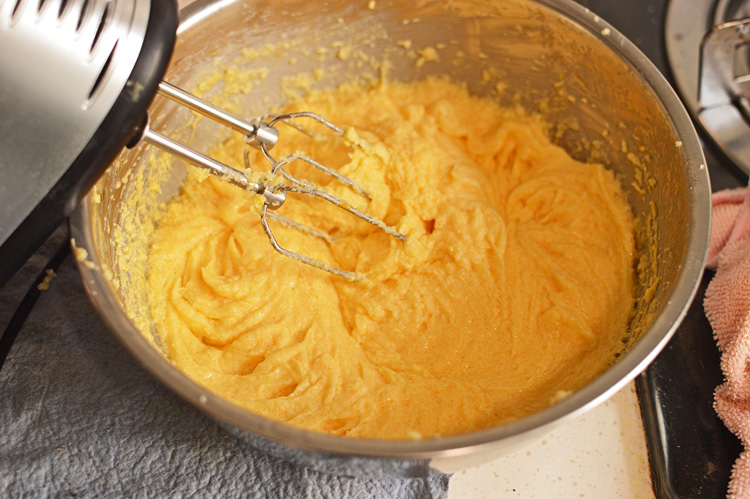
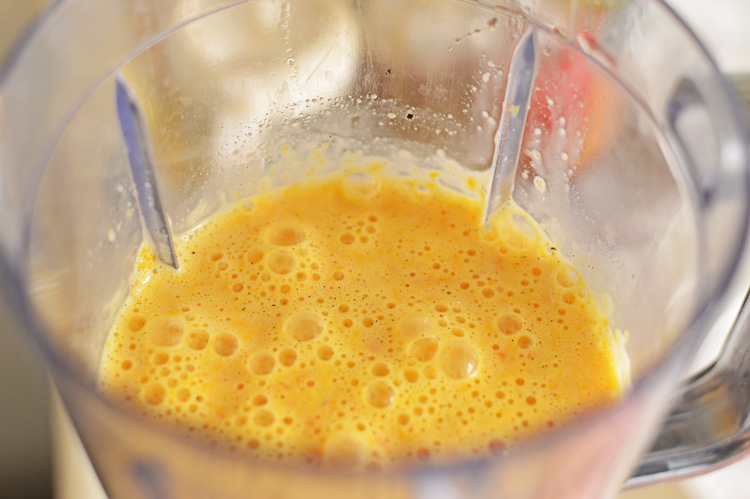
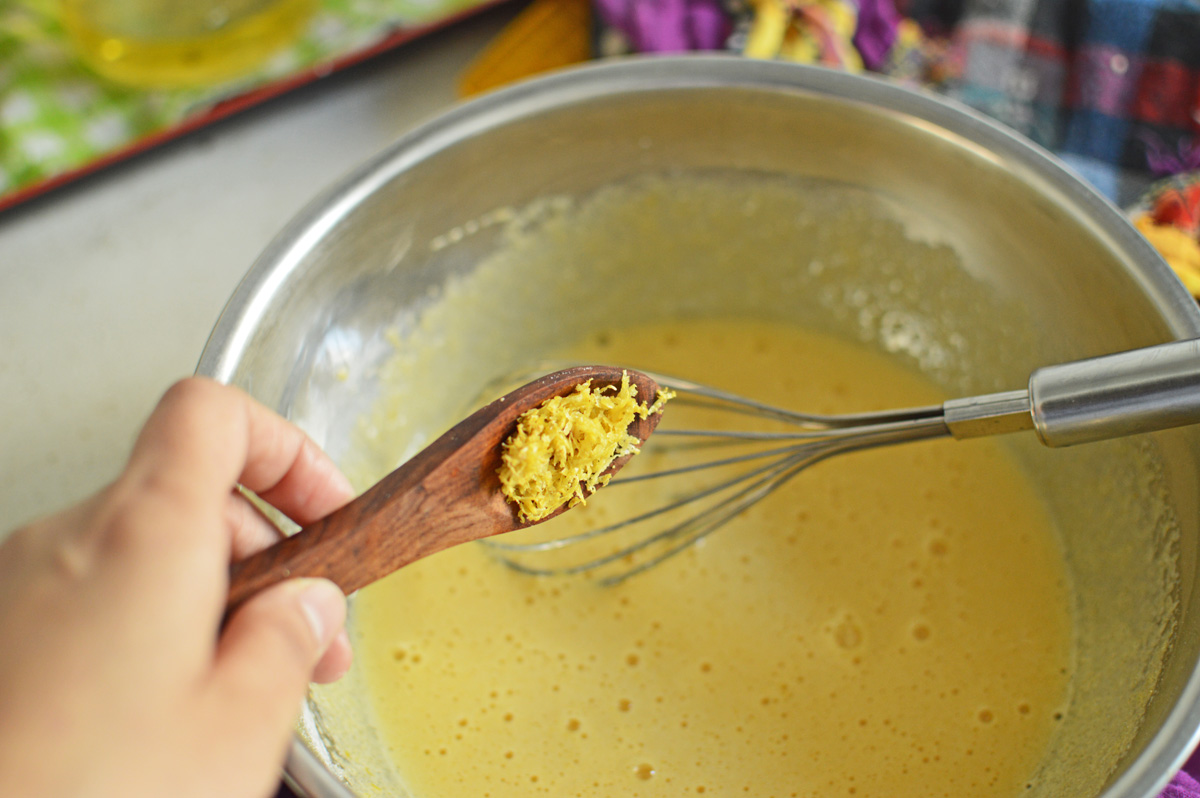
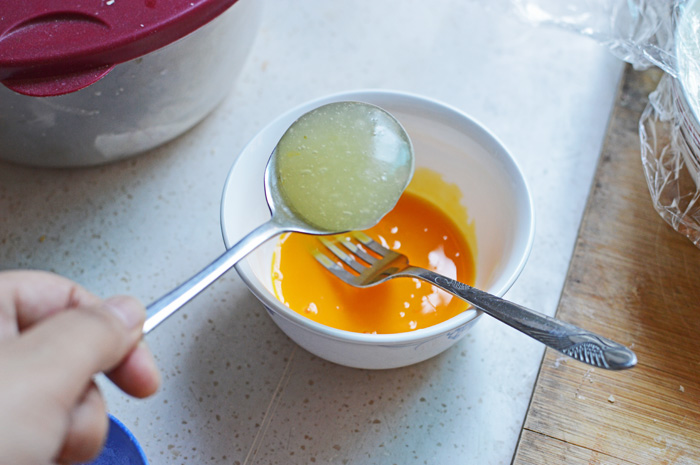
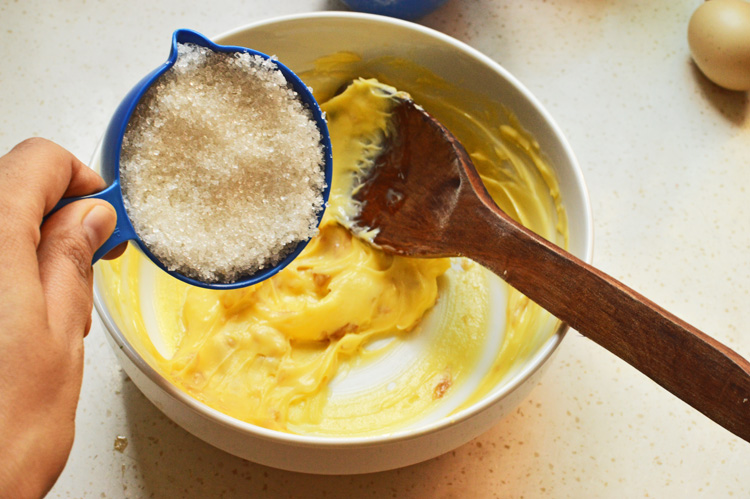
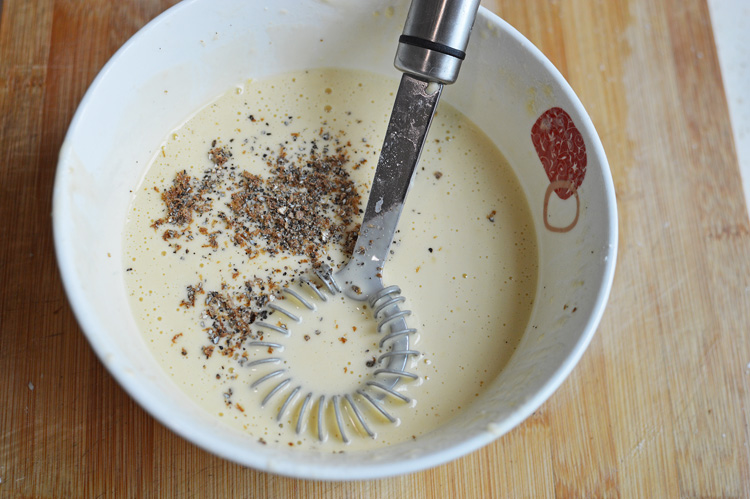 add in about 3/4ths of the cardamom powder. Mix well and keep aside.
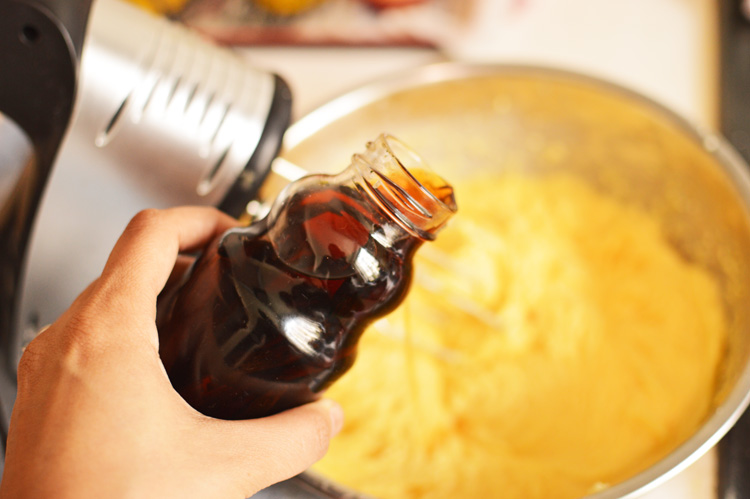
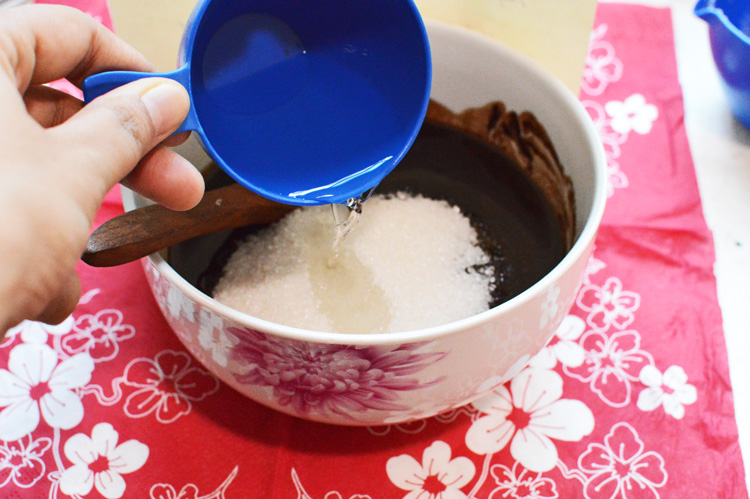
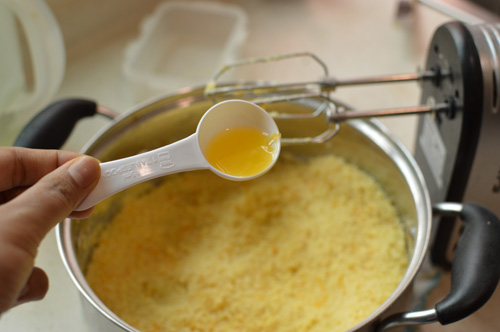
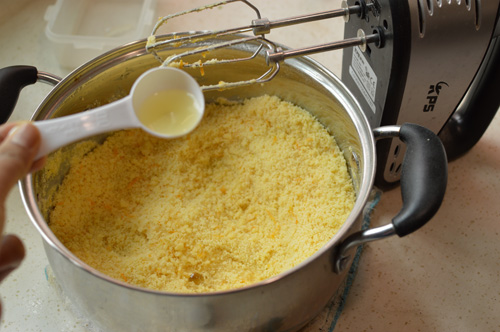
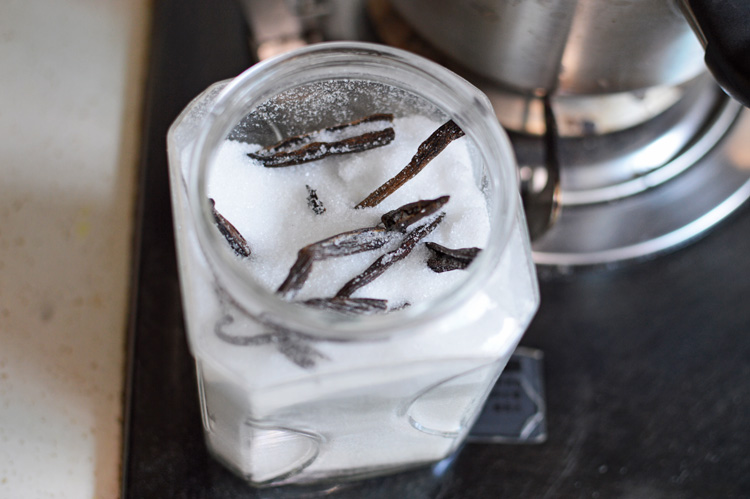 now this step is entirely optional and not a part of the authentic recipe, but I like to do it. Take a good heaping tablepsoon of vanilla sugar.
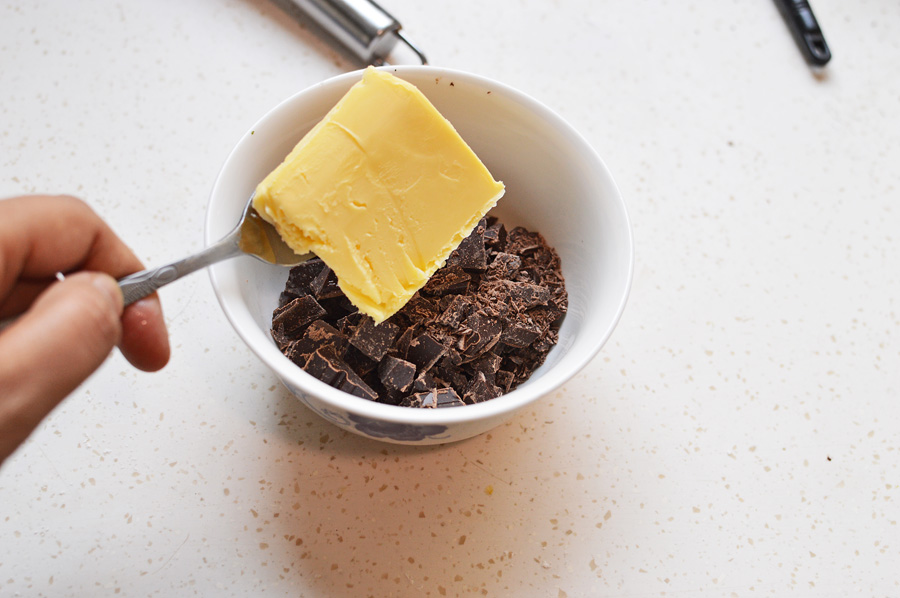
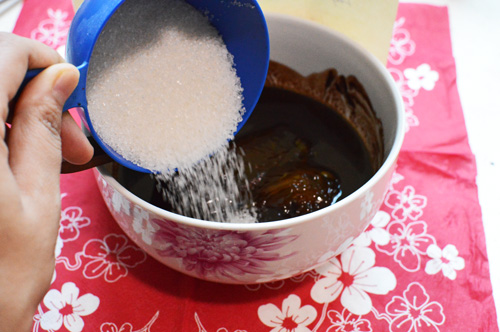
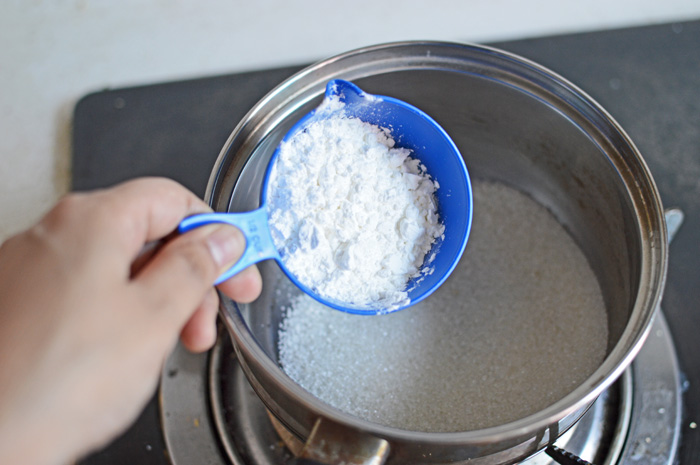
 and half the sugar of this recipe and put it in a pot over slow flame.
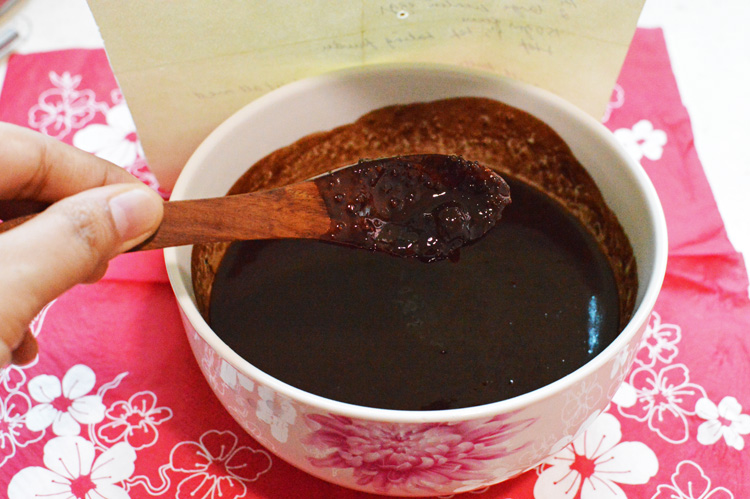
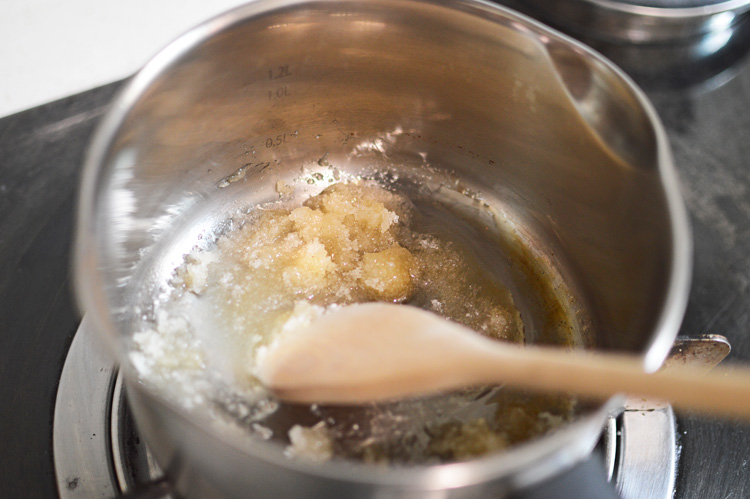 until it very lightly caramelizes and just starts turning golden.
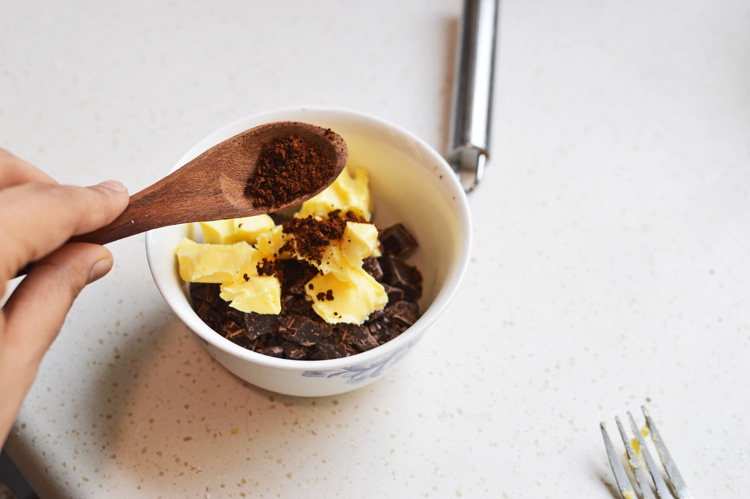
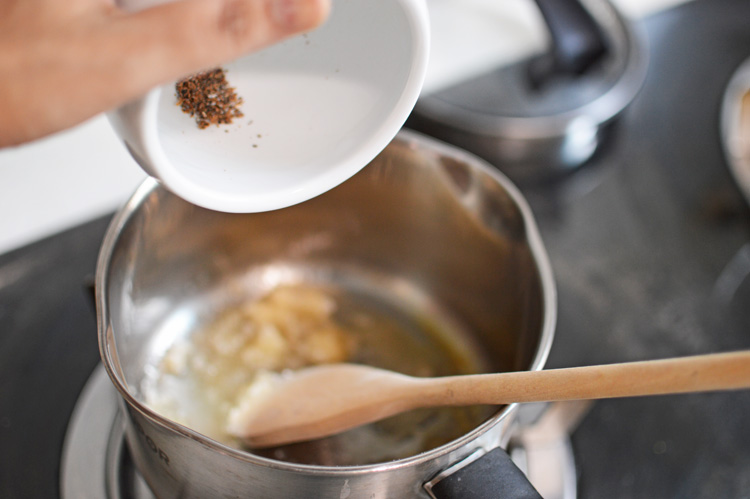 at which point we add in the remaining cardamom powder.
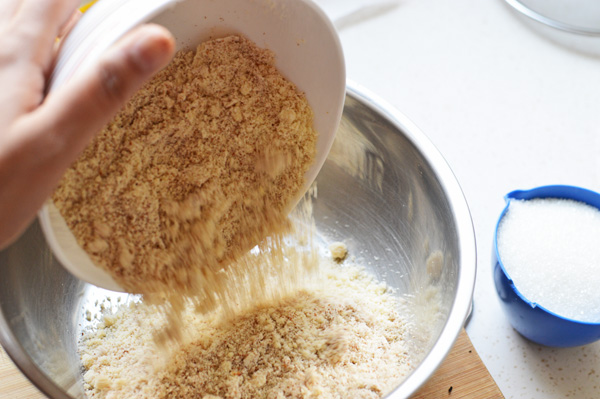
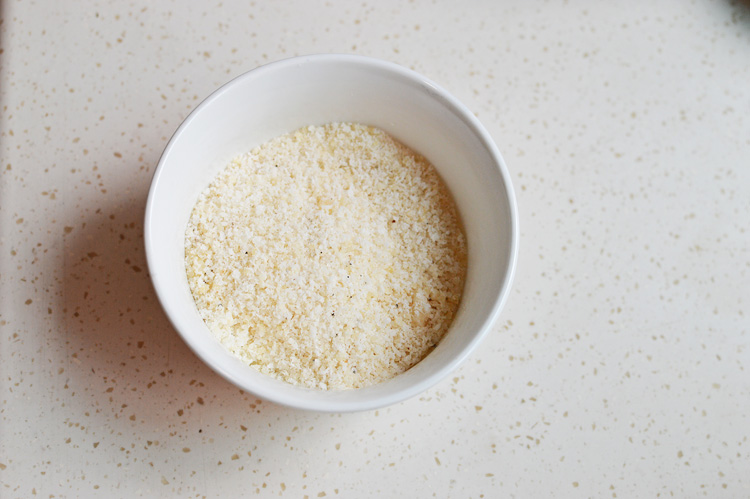
 and all the desiccated coconut
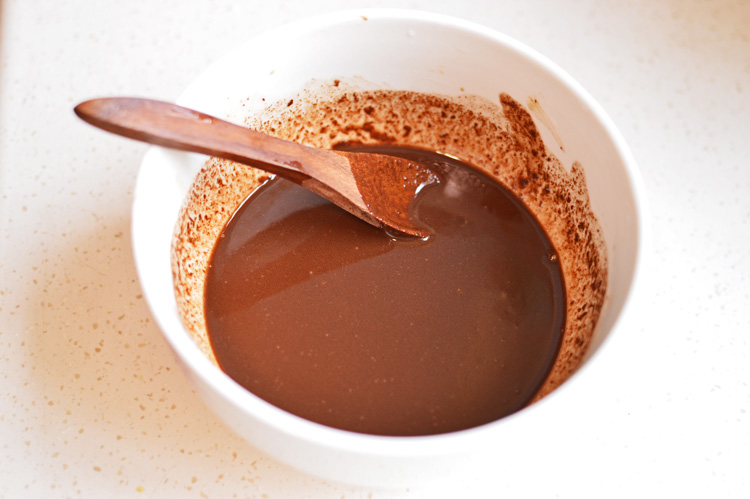
 turn off the flame and stir it all in. Put this mixture in a grinder and grind it for a couple of seconds.
 and you’ll get this. It’ll have faint whiffs of caramel, vanilla and cardamom.
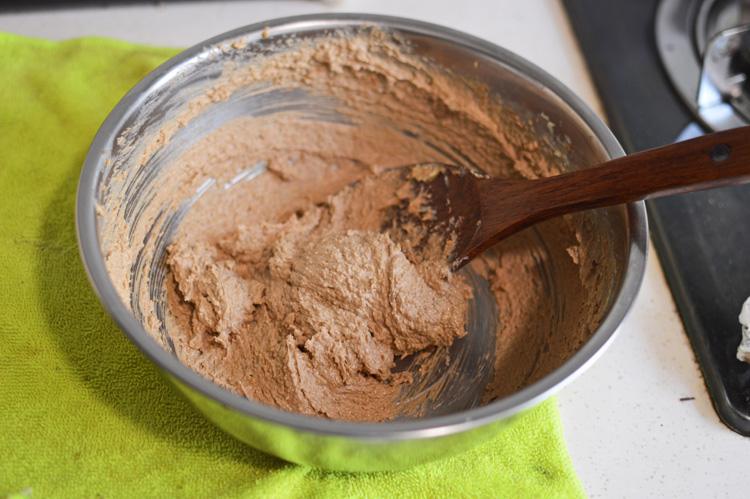
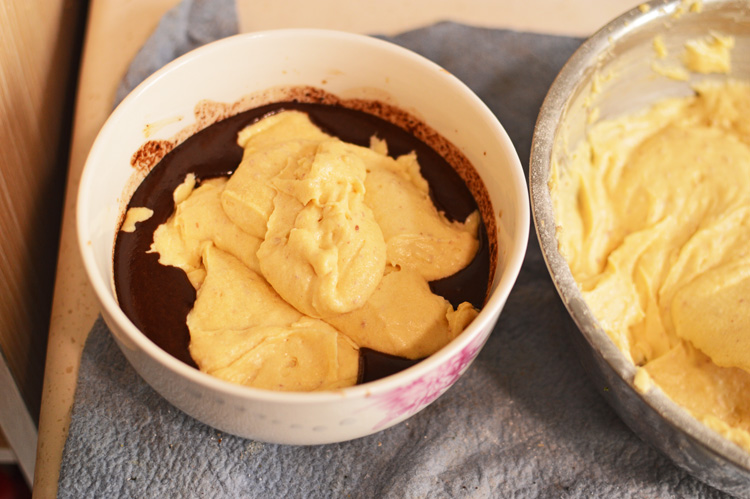
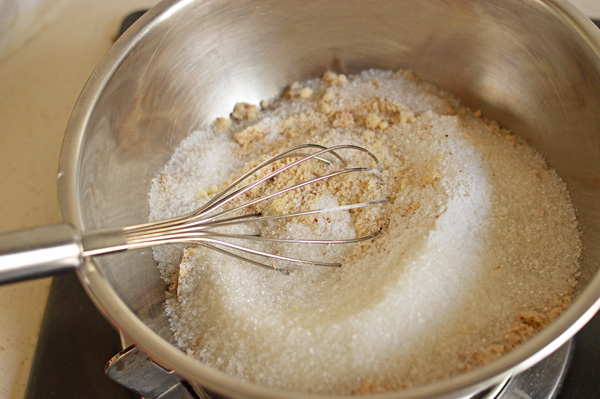
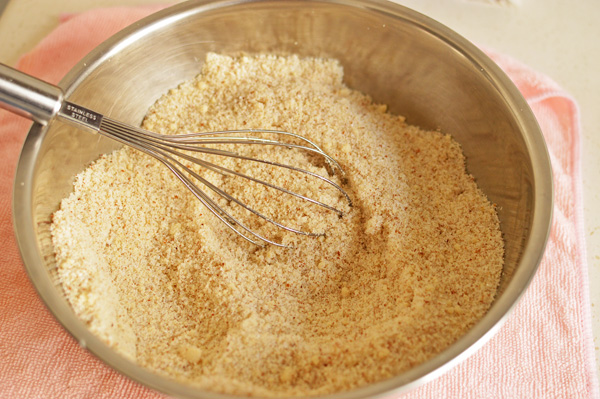
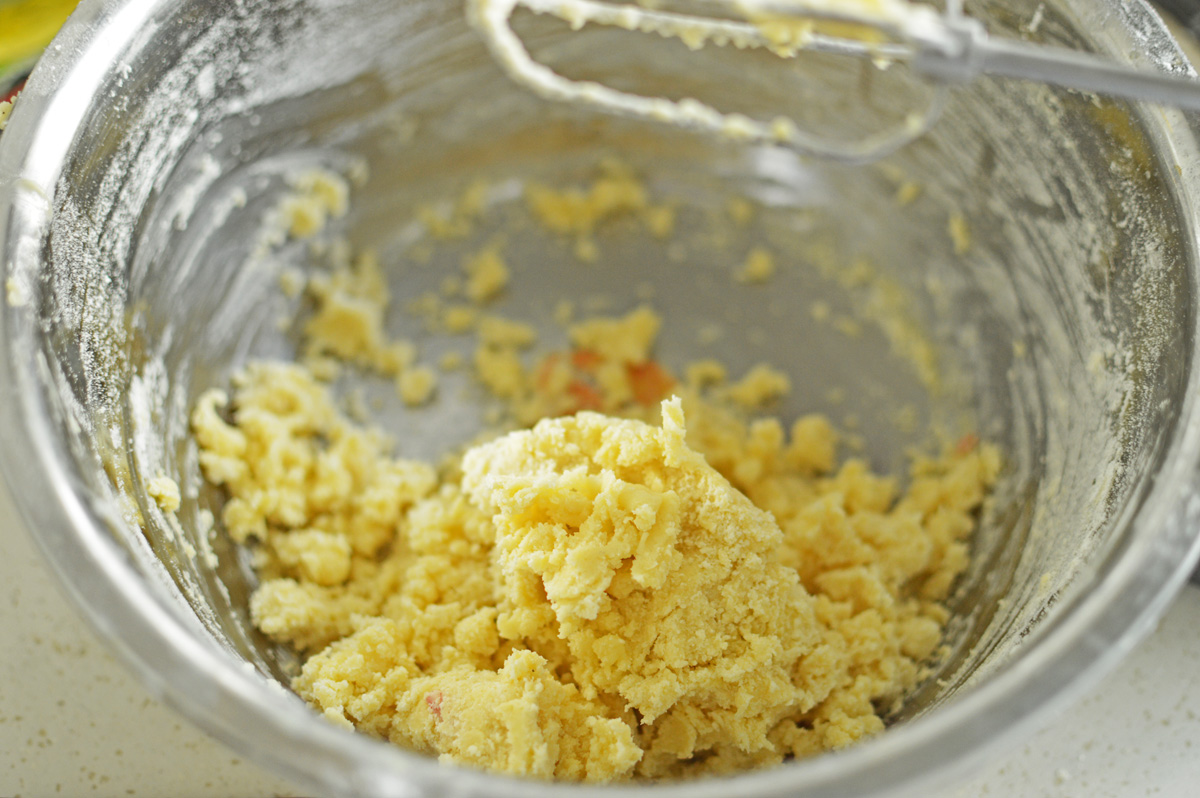
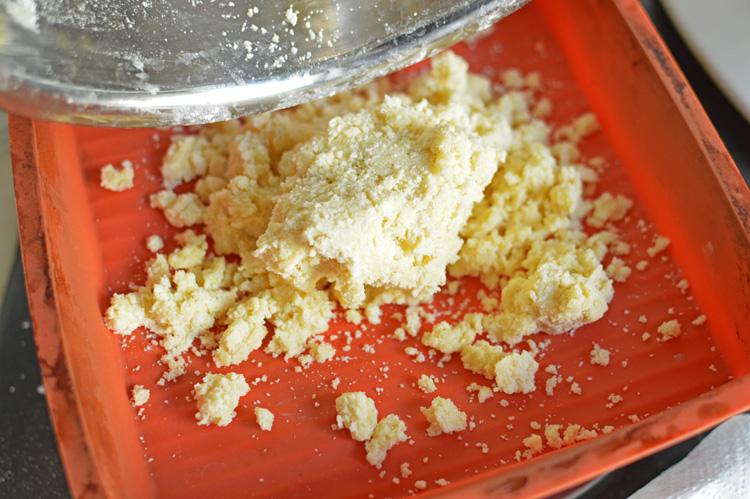
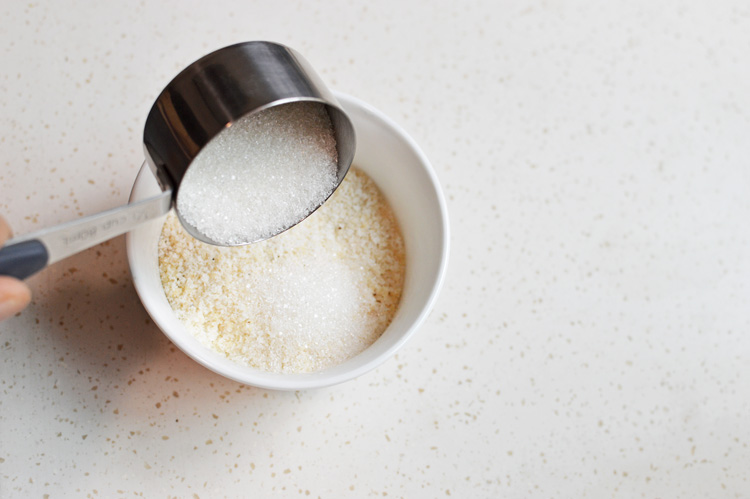 mix in the remaining sugar and reserve for stuffing.
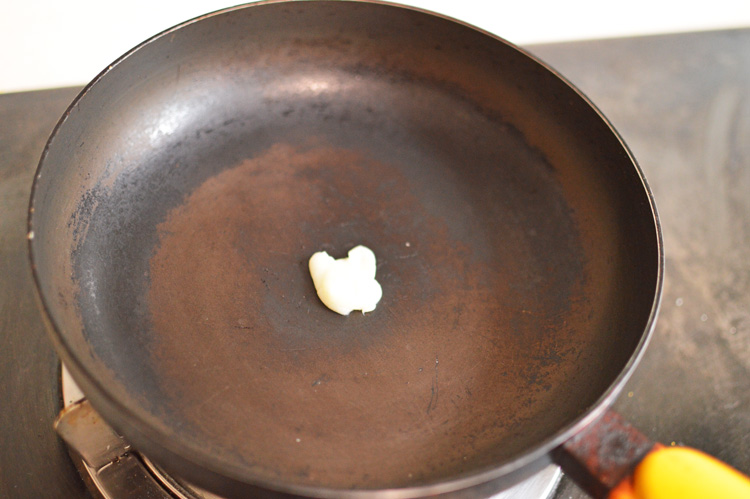 put your pan on a low medium flame and add a dollop of butter/ghee. I’ve added ghee as per the recipe.
 tilt it well to coat evenly.
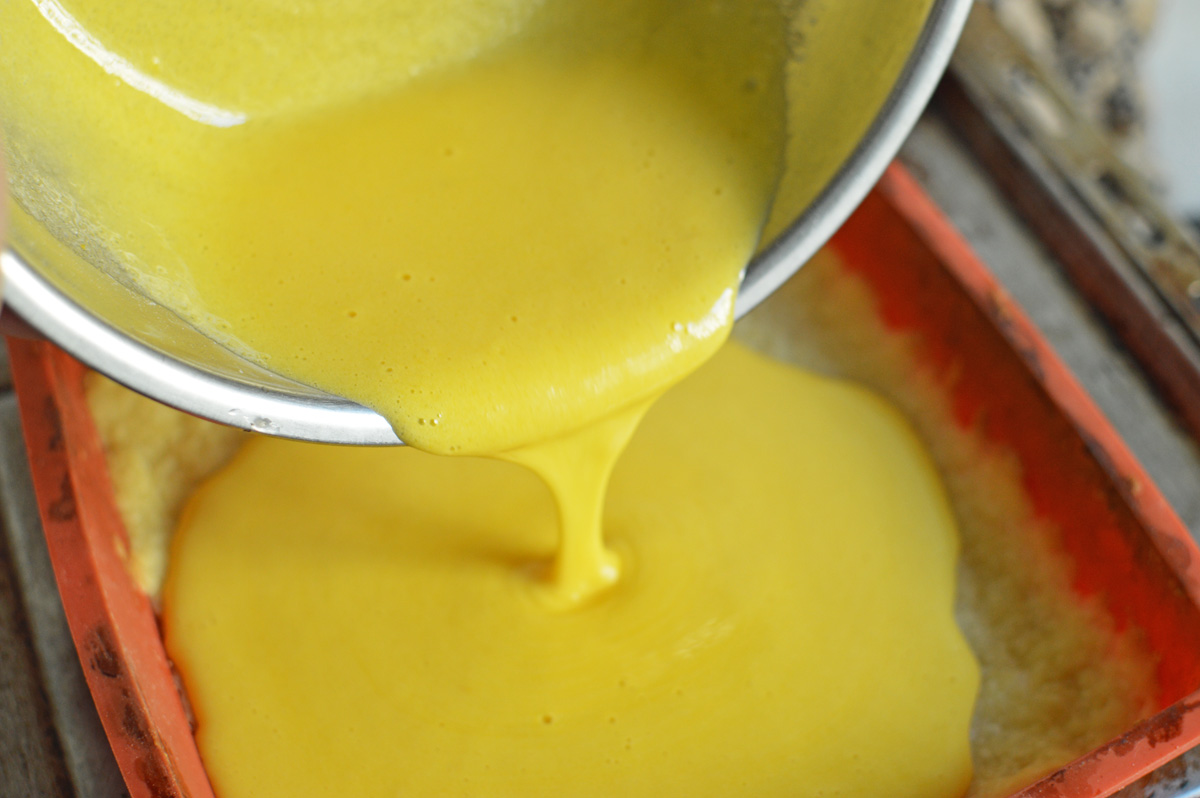
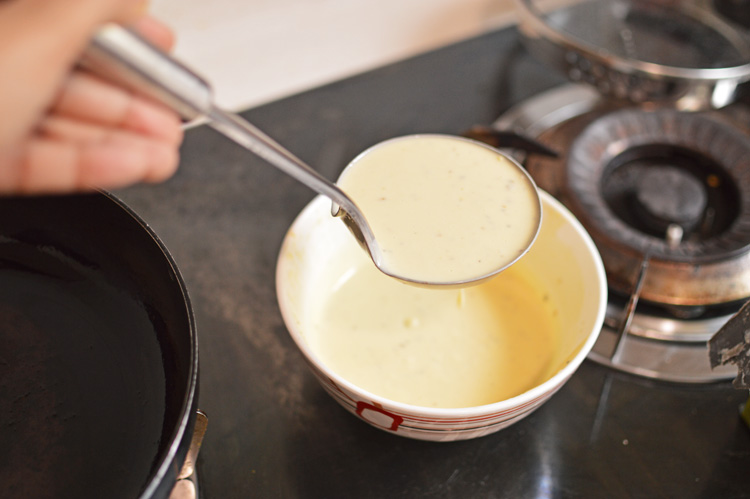 take a ladle full of your batter.
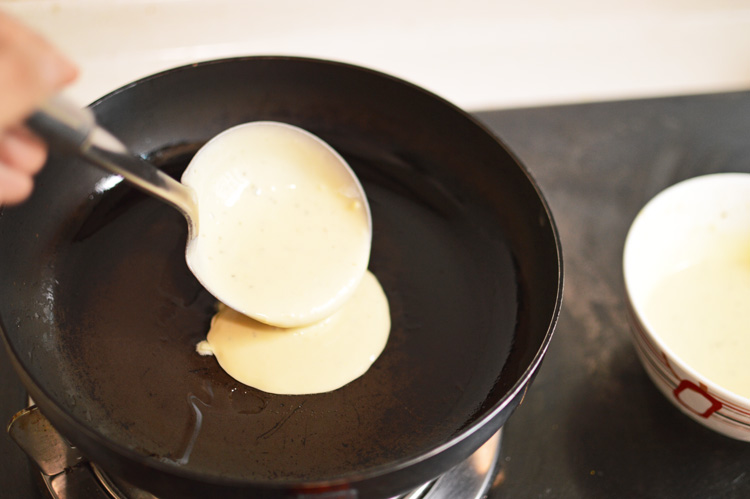 gently on to the pan
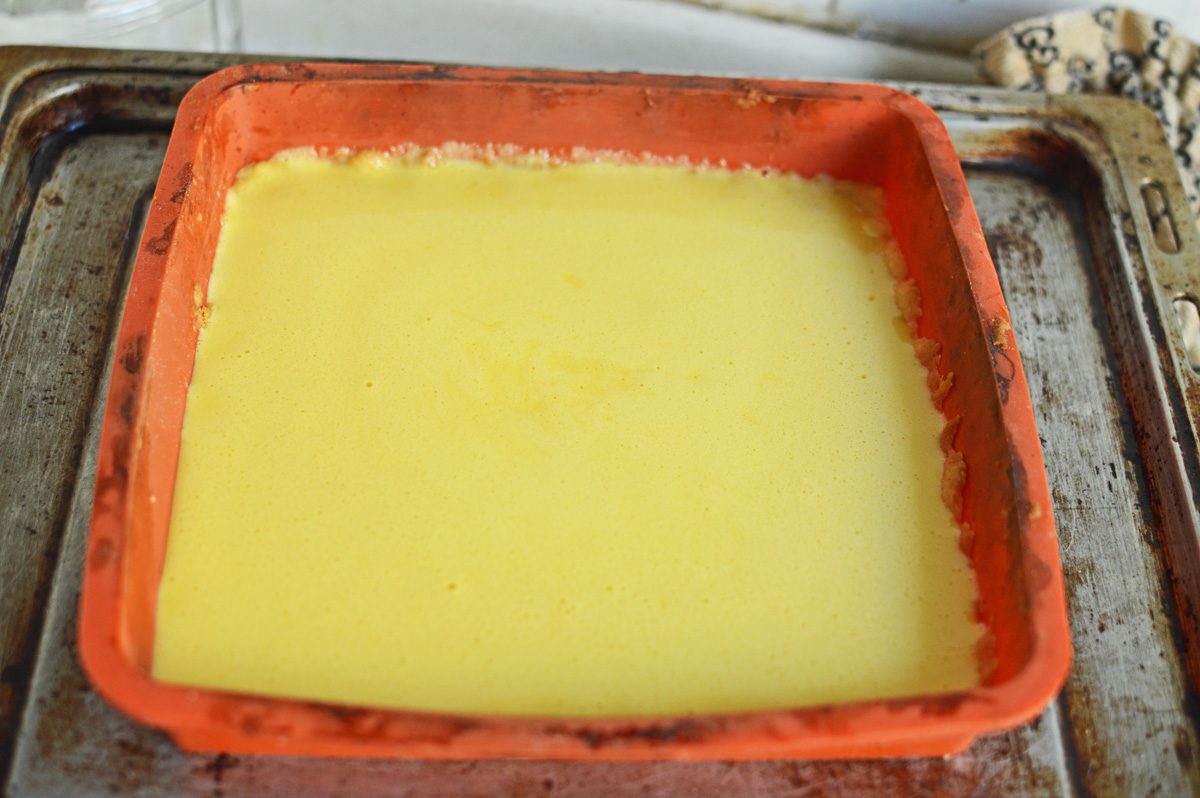
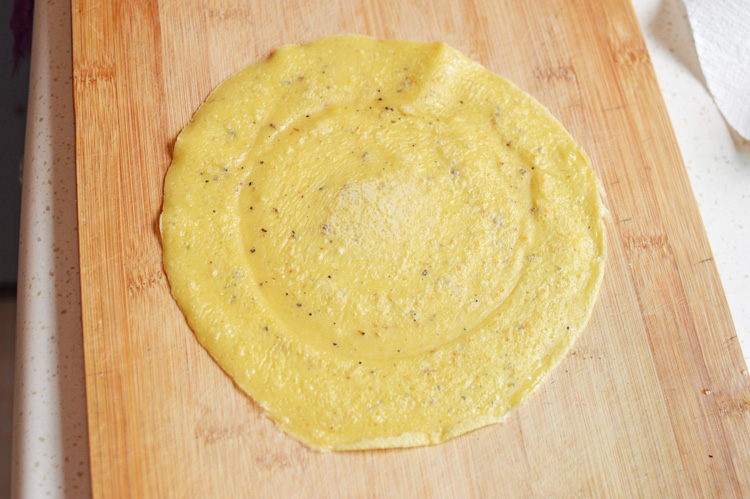
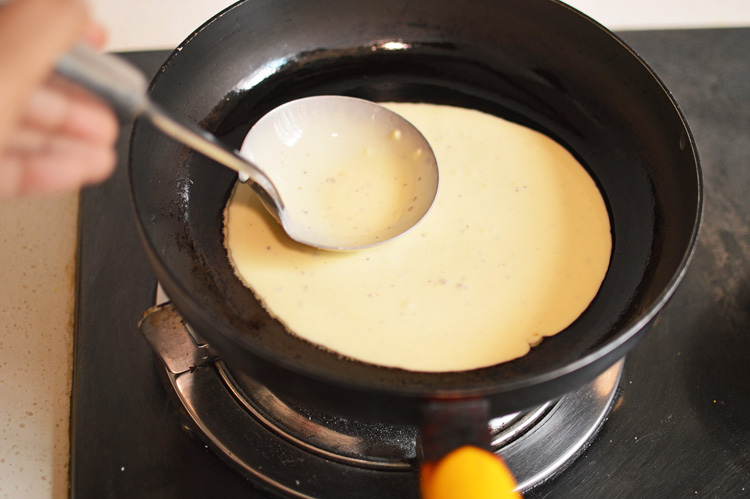 spread as thinly as possible.
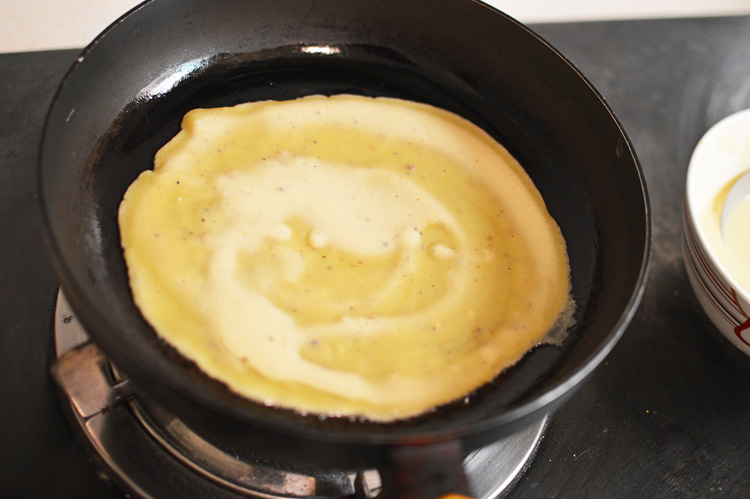 it will start cooking the moment it touches the surface
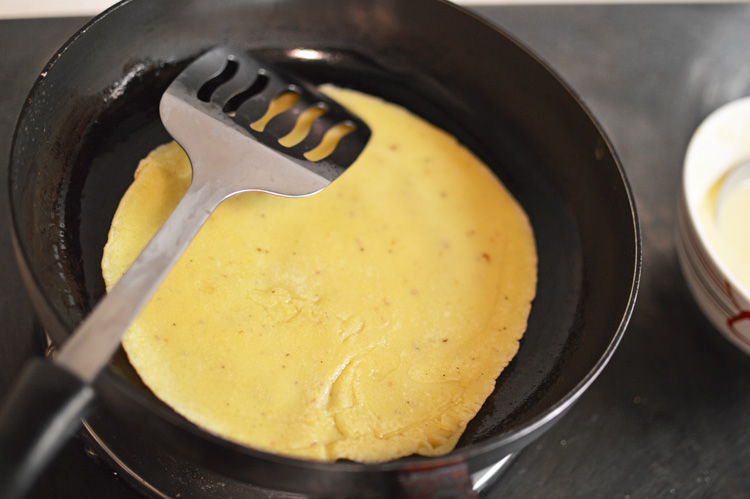 flip to cook the other side.
 filling these crepes is fairly simple.
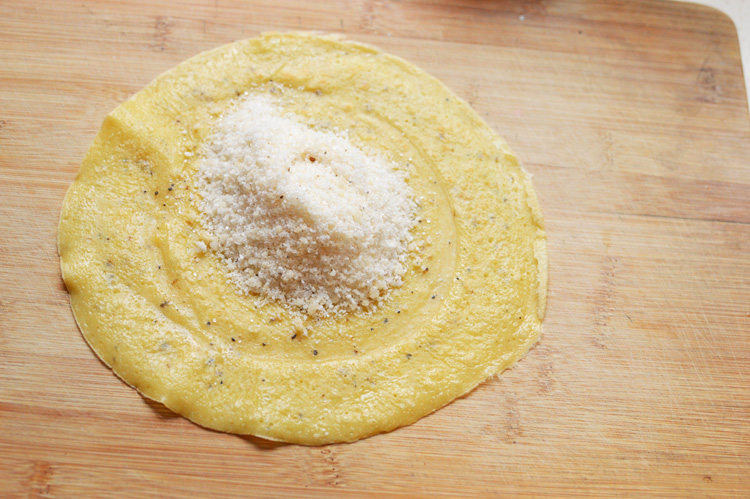 put a good heaping mound in the middle
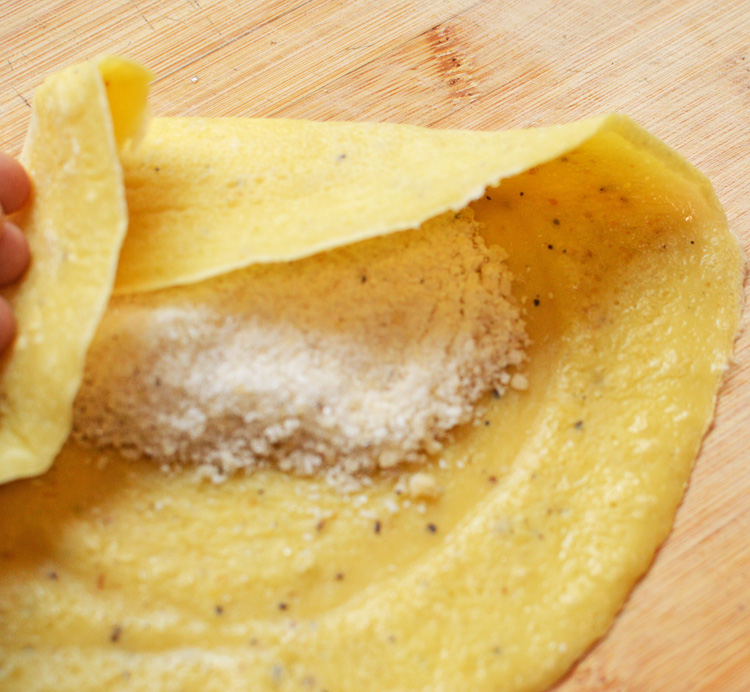 fold over from the top and from the sides, like so
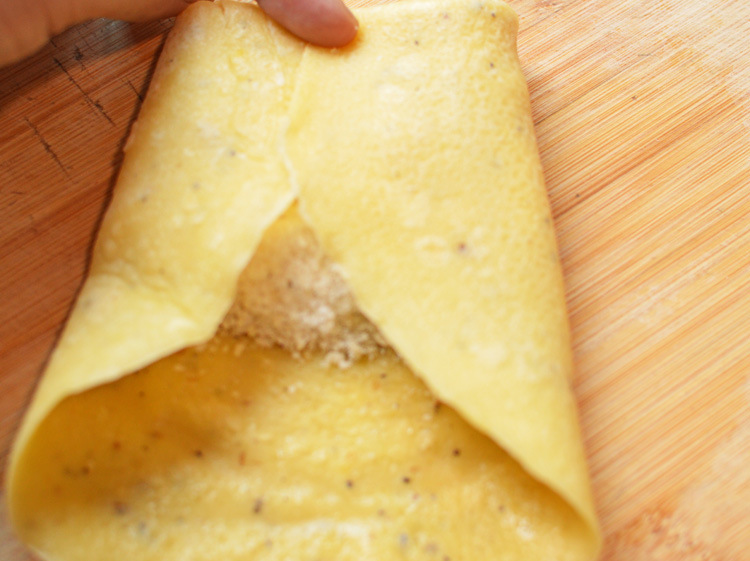 and like so.
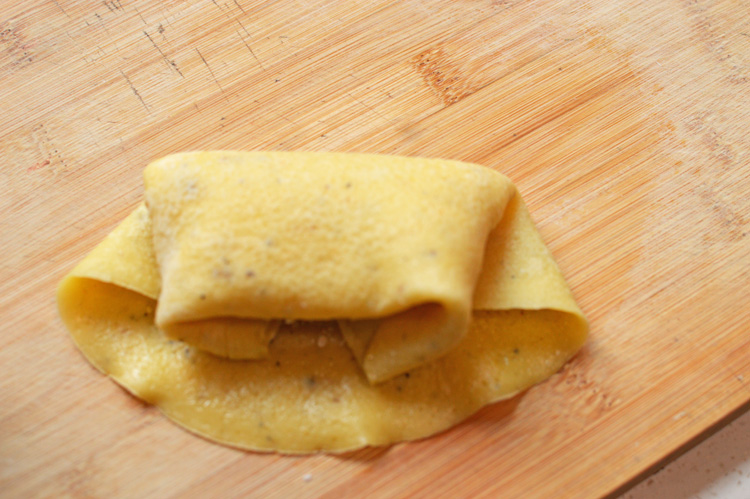 and finally fold over to make neat little packages.
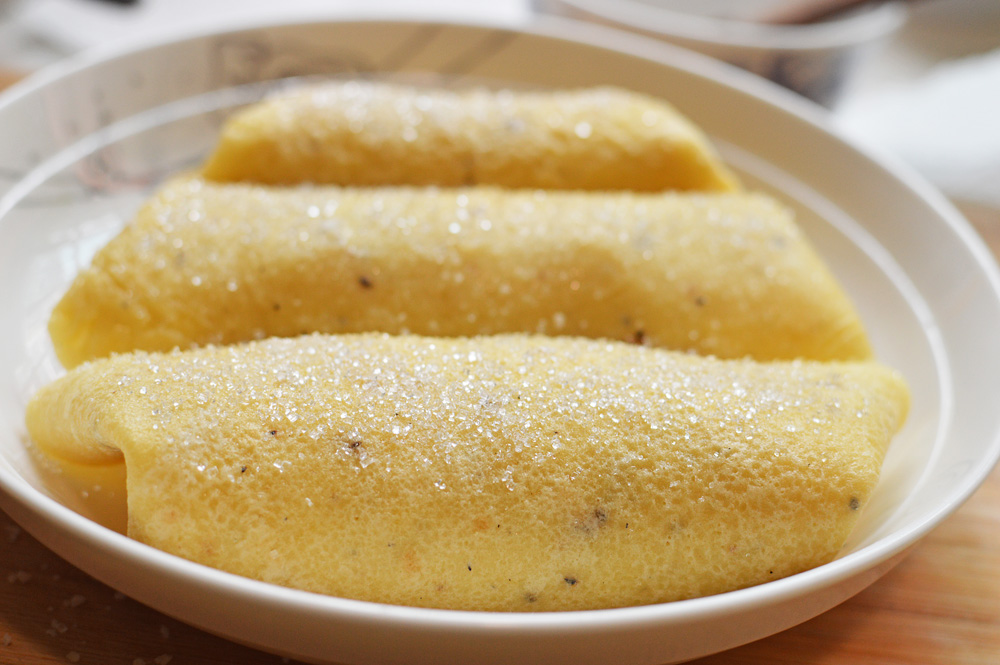
 arrange on platter of choice.
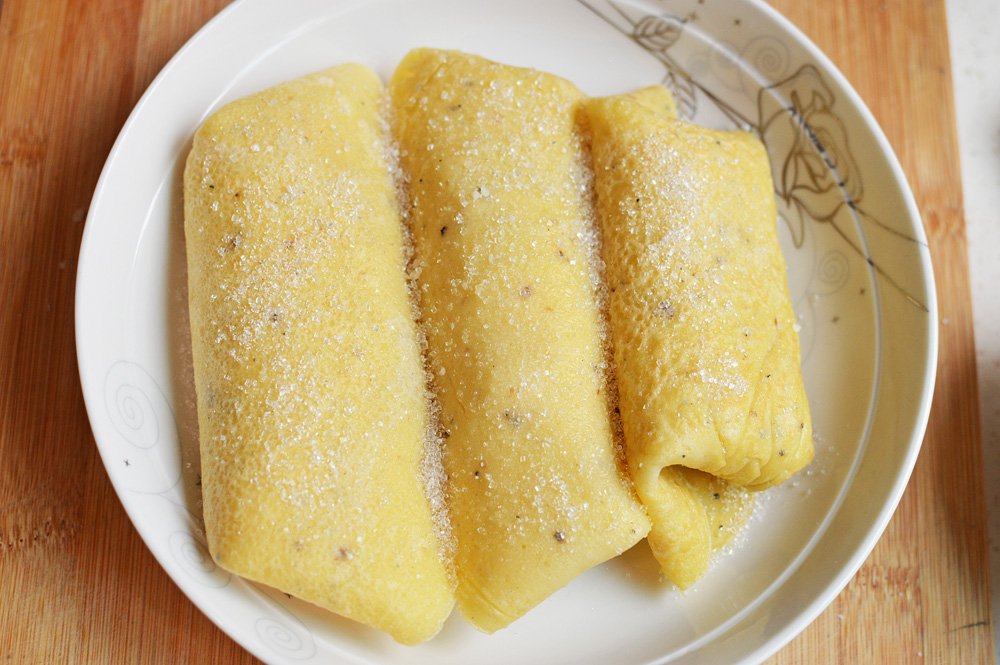 sprinkle on some castor sugar and sigh a little, because this might be your only chance at receiving any love letters, and devour them with milk, coffee, tea or just plain.
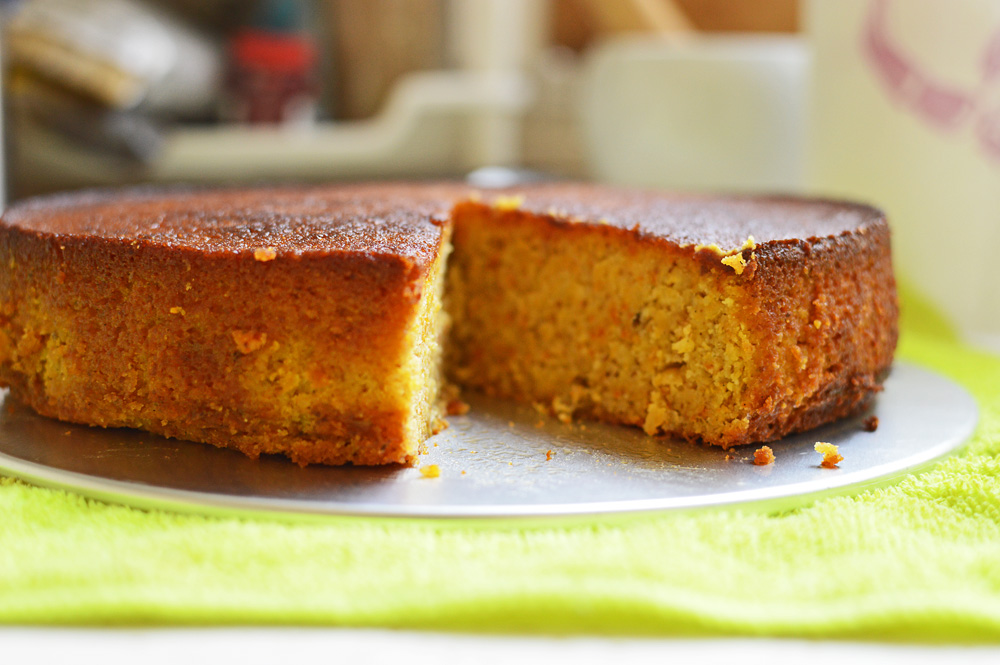
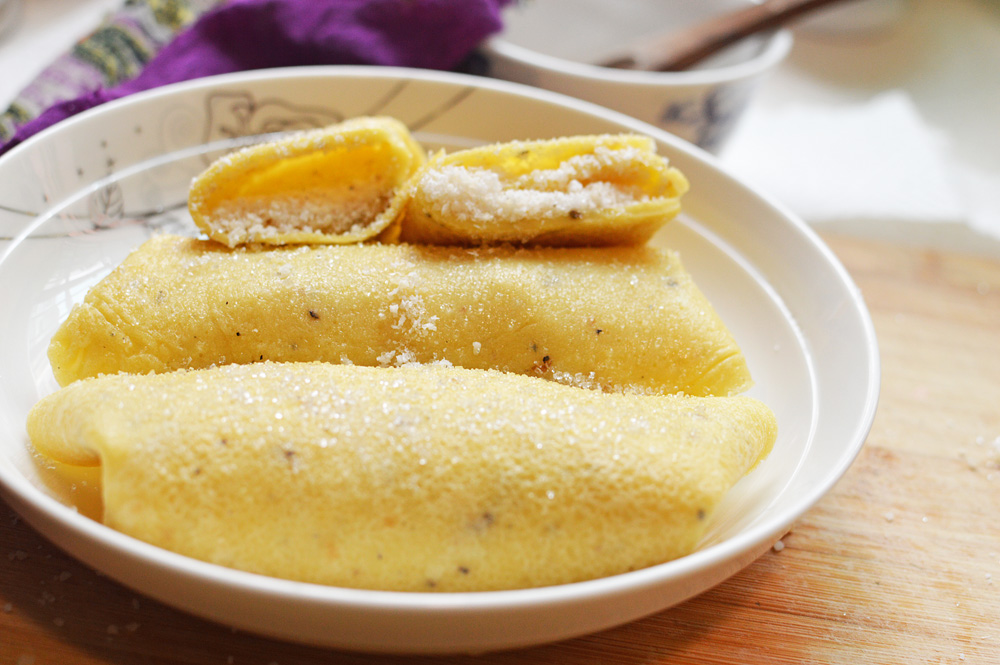 this is what the insides look like.
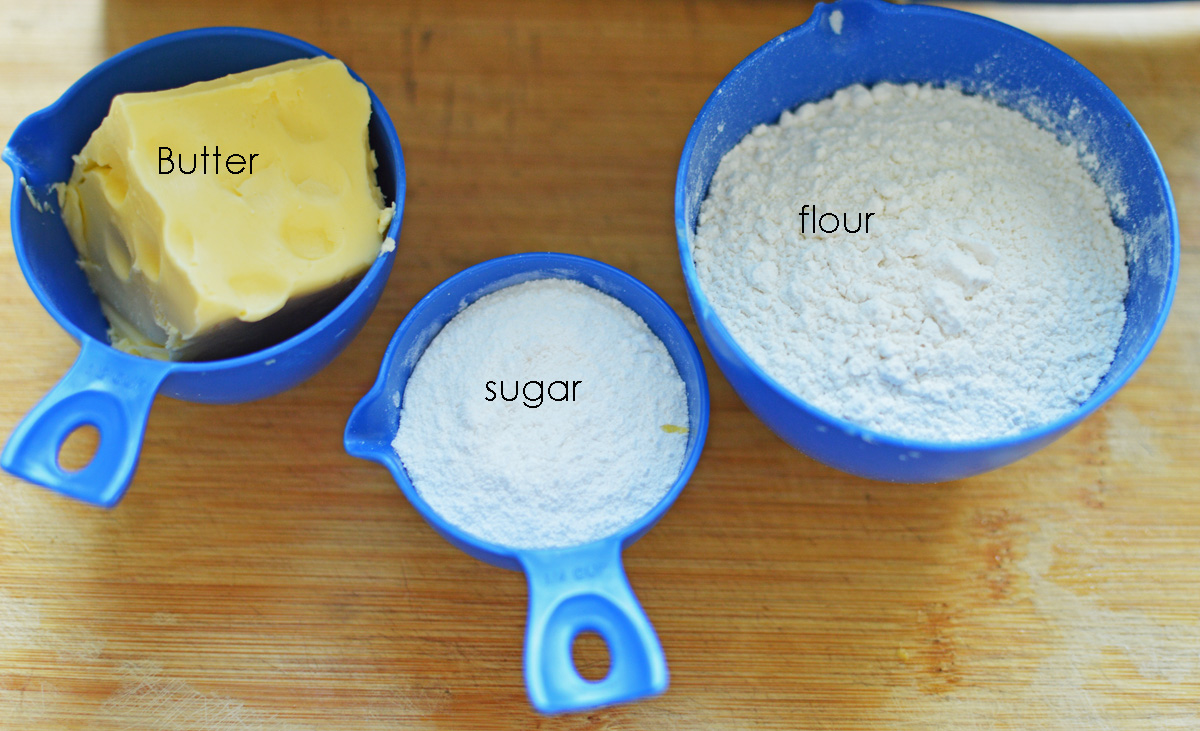
Ingredients
all purpose flour : 100g or 3/4 cup
cardamom powder: 2 teaspoons
sugar: 80g or 1/3 cup + 1 tablespoon vanilla sugar
desiccated coconut: 100g
water: 100mls about 1/2 cup
butter/ghee: 1 tablespoon
Preparation instructions: make a thin batter from flour, egg and milk. Add in 3/4ths the cardamom powder and reserve.
In a saucepan, lightly caramelize the vanilla sugar and half of the sugar from the recipe. Just as it starts melting and turns light golden, turn off the flame and in remaining cardamom powder, and the desiccated coconut and mix. Grind this mixture and reserve.
In a non stick pan, melt the butter/ghee over a low medium flame and pour a ladle full of the prepared batter. Spread evenly to form a thin crepe and flip to cook the other side.
For filling, lay out the crepe and put a heaping mound in the middle. Fold over 1/4 of the top, then fold from both sides to pack and finally fold over from the top again to make a roll.
Sprinkle with castor sugar and serve warm.
enjoy!