


When this world feels like a rotting dump of methane filled sewage, there are few comforts you turn to. A loving voice, a soothing touch, a reassuring moan.. and all these things are impossibly hard to come by; why else would this world have turned into a venomous pit of hate infected flies? You need something restorative, with the potential to remedy some aches and provide warm succour.
You need a cup of hot chocolate and not just any ol’ hot chocolate but a homemade version. One that’s a pre mix, which needs nothing save pouring in hot water or milk if you think you need it. But it’s a mix, which means there’s milk present already, so really just hot water is all you need.
There’s a sort of whimsical poetry, like a fluttering tune about ‘hot chocolate’. The fact that it’s chocolate in pourable form that can be drunk warm. Wisps of chocolatey fog hitting your face and thick sweetness with all the richness of terra cotta cocoa pouring into your system provides instant calmness and an upbeat feeling of general wellness.

Unlike store brought hot chocolate mixes that are doused to the teeth with chemicals that you couldn’t pronounce, this is one is fairly docile. Just sugar, vanilla pods, milk powder, cocoa powder, corn starch and salt.

Split the belly of vanilla pods to extract all the wonderful flavour of the seeds. Sometimes it’s also called vanilla caviar. hmm.

add it to the sugar. Don’t throw away these emptied out vanilla pods. Stick them in a jar of sugar to make vanilla sugar. ah, the wonderful fragrance.
also- if you do not have vanilla pods or you’d rather not bother with vanilla in this recipe, simply omit this step.

add in the corn starch to this mix

whisk it about. Though it’s not needed because the next step will take care of the mixing.

whizz it in a blender or a processor, whatever you have on hand to make this coarse sugar vanilla corn starch mixture into a powdery mix.

something like this. See how it’s flecked with vanilla beans.

add milk powder to the now powdered sugar+vanilla+corn starch

in with the cocoa powder.

and sea salt

use a whisk to mix it well. Get rid of any lumps. And it’s done.

there you have it. Your very own homemade hot chocolate mix. Store it in a jar and have fun with it.

this is how you make it. Scoop out 3 heaped spoonfuls into a mug.

add hot not boiling water.

there you have it. Hot chocolate in the comforts of your own home. Made in lesser time than it would take for you to go out and have some. This mix is not only easy but so convenient. Anytime you need a fix just scoop out and pour.
_________________________________________________________________
Ingredients
Sugar: 180g (2 cups)
Vanilla pods: 2
Corn starch: 30g (1/4cup)
Powdered milk: 200g (2 cups)
Cocoa powder: 70g (1 cup)
Salt: 1/2 tsp
Recipe instructions
Split the vanilla beans and scrape out their seeds and mix with sugar. add in corn starch and blend in processor or blender to make it into a fine powdered form.
Note: if you’re using fine powdered sugar then simply whisk in these ingredients until there are no lumps present.
Into the powdered sugar mixture add in milk powder, cocoa powder and salt. Whisk well and ensure there are no lumps. Once well mixed store in a jar.
To make hot chocolate scoop 3 tablespoons into 3/4 cup of hot water. Alternatively you can even using milk and also use the mix to create many shakes or desserts of choice.


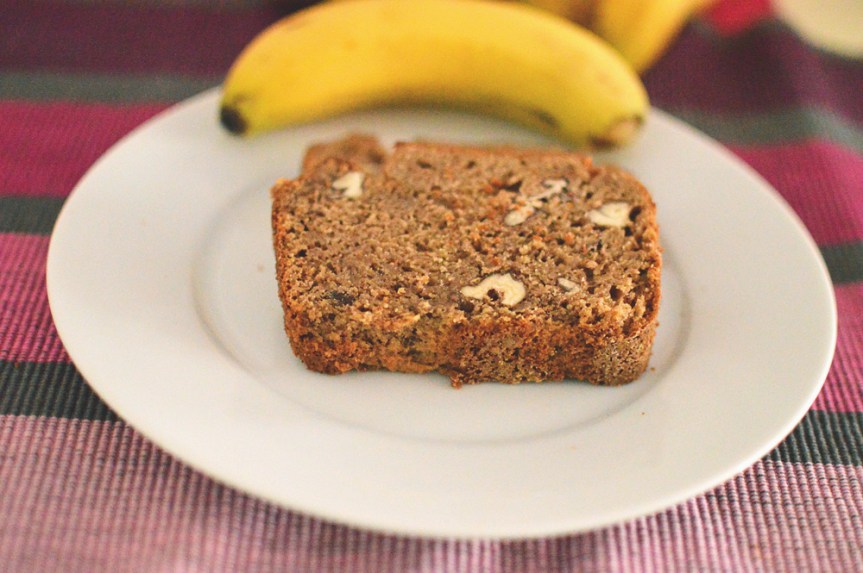 Most beguiling, calling this a bread, when in essence, it actually is a cake. I guess it’s probably called a bread because it’s baked in a loaf tin. Ah, well.. ‘a rose by any other name’ and all that jazz. So indeed, this rather bashful, withdrawn looking cake/bread is exactly that. An air of polite modesty about its person, this cake doesn’t pretend to be a showstopper, or a stunner, gracing the high tables of a luxurious dinner party.
 The ingredients are simple enough. mashed bananas, brown sugar, coconut oil, soy milk, eggs, wholewheat flour, vanilla, ground spices and nuts.


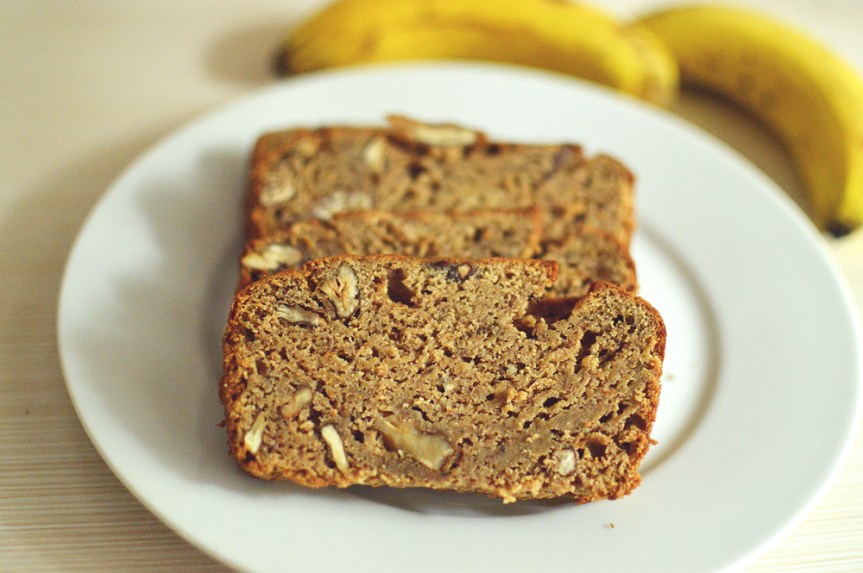 and Voila!!
 Enjoy
Enjoy

 There’s no reason to call this an ‘awesome breakfast sandwich’ when this can be as easily called an ‘awesome brunch sandwich’, and does in fact serve as a fantastic brunch idea. It’s fast, filling and satisfying. Monstrously heaped with all things good, it’s indulgent, comforting and a fantastic fuel for moments when your body craves a morning laden with carbs and greasy crisp bacon.
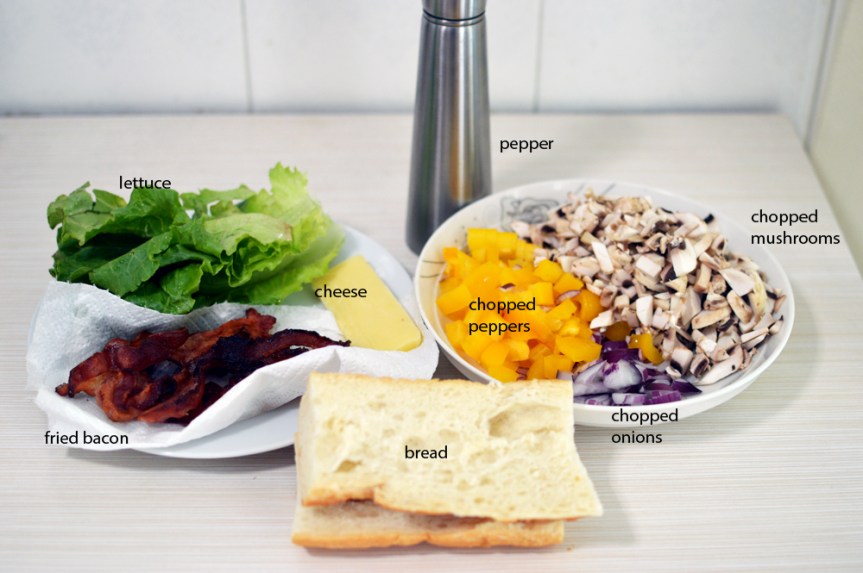 if you were to edit bacon out of this picture, you’d have the ingredients for a a very veggie sandwich. There’s also mustard and mayonnaise but they’re working behind the scenes.


 Since the gods are being all sorts of unkind with the sun, what with the blazing rays and scorching heat, it’s only natural to pour in copious amounts of coolants into your body, without skimping on the sugar.


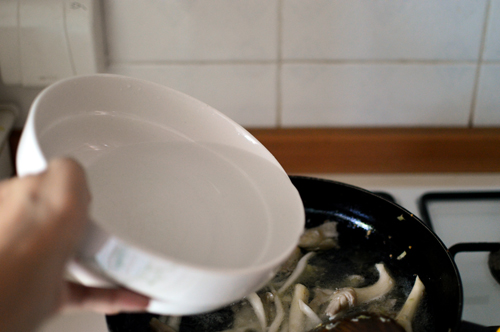
 This isn’t the first noodle soup recipe on this blog, and most assuredly, not the last; this however is (as immodest as it may sound) the alpha and the omega of soupy noodle world. Meatless magic in all its crimson glory. The red blush that stains this fantastic broth is courtesy ‘Gochujang’; that vividly red Korean paste of hot peppers, easily available at your nearest Asian grocery store.
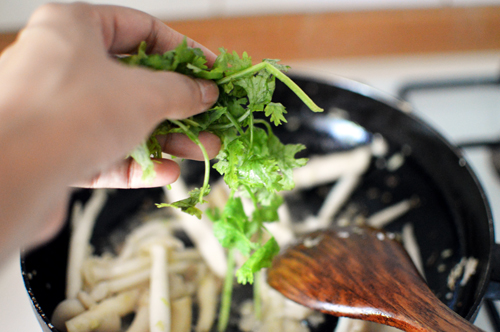
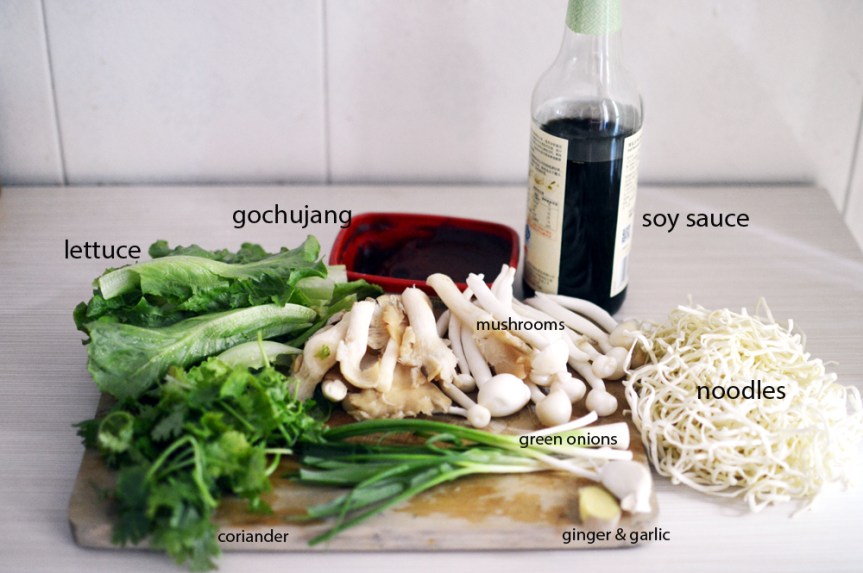 Greens of choice. I’m using Chinese lettuce here. Coriander, mushrooms, green onions, ginger and garlic, noodles, soy sauce and gochujang.


 Enjoy!

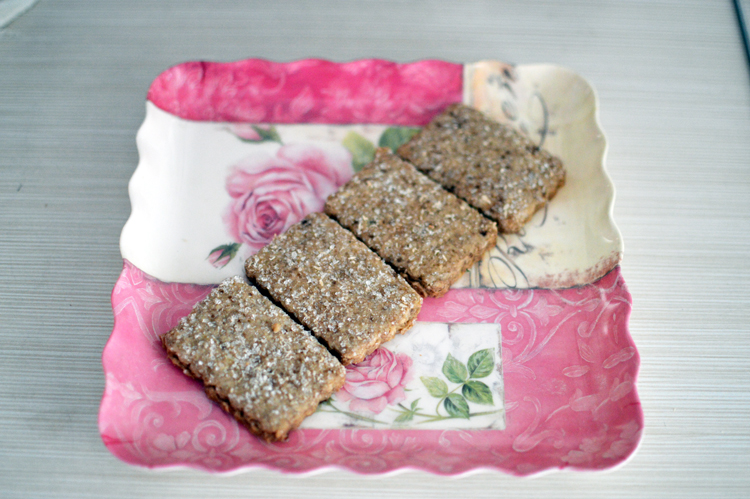
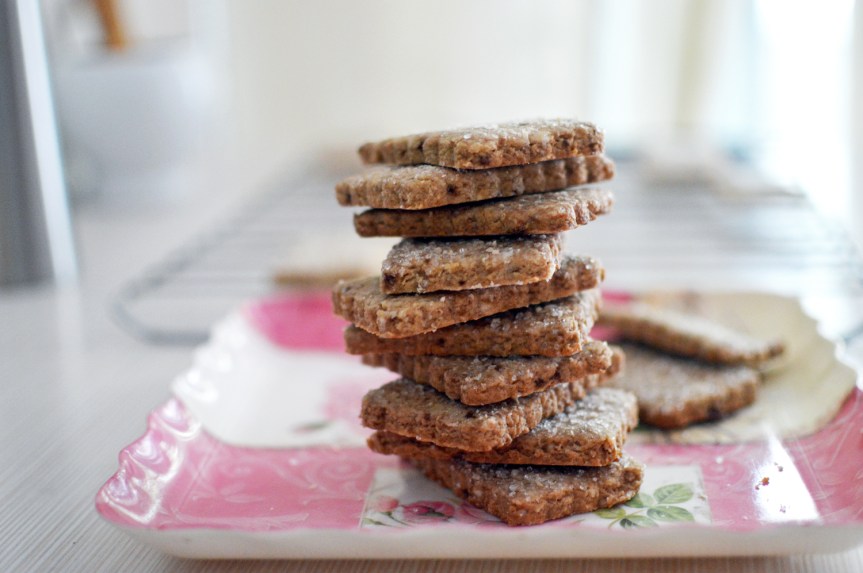 This artistically stacked hillock of brown jenga pieces is in fact an artistically stacked hillock of edible jenga pieces. Alright, it’s not artistically stacked, and these aren’t pieces from a game..these are cookies squares, or rectangles, for you geometrically fastidious lot. Butter coconut cookies to be more precise..the kinds that possess the power to transform your tea time into a festivity—they don’t even need tea as an excuse to be eaten. They have looks, texture and crunch; all the makings of cookie stardom, and yet they stay humble. Modestly unadorned, on your tea table, or your dining table, or your study table, where they’ll sit in quiet obeisance, patiently waiting to be chewed on..one after another.
 The usual suspects, only a lot lesser than usual. Butter, flour, brown sugar, desiccated coconut and coconut extract. If however you do not have coconut extract (and why should you), use vanilla extract.


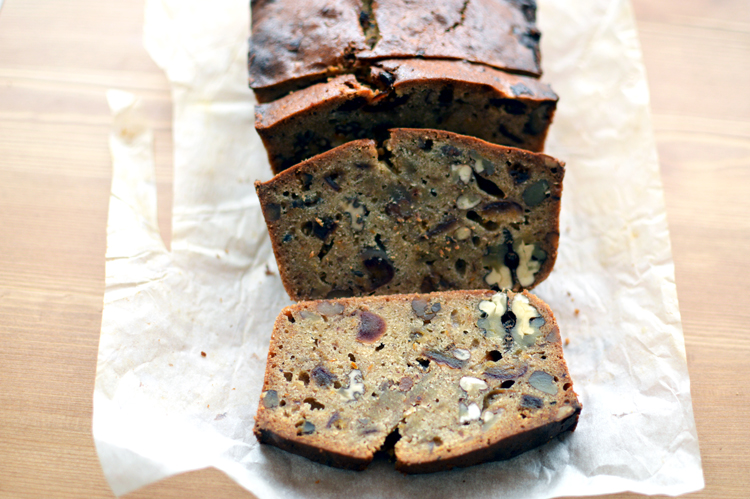 Oh this cake. I could sing songs, write sonnets and do a bit of dance and tell you how unbelievably heavenly this cake was. Instead I’m just going to do a bit of unhinged prose and explain with all the emphasis at my disposal about the fabulousness that is this Date & nut cake. It’s appearance as humble as it might seem is most beguiling and hides the delectable reality of this exquisite cake.
 it’s a date & nut cake, so it has dates and nuts and milk, sugar, egg, flour, butter, vanilla extract, clove powder (ground cloves), orange zest, cinnamon, baking powder, crushed pepper.
 start by adding baking powder to the flour and mixing it thoroughly. Keep it aside.
 As with most cake recipes this one starts with creaming the butter and sugar in a bowl. Make sure the butter is at room temperature. Mine was not 😦
 beat or cream the butter, add in the sugar
 add the orange zest
 beat until it sort of looks like this, or you can do a better job if the butter is room temperature.
 crack in an egg
 splash in some vanilla
 and beat again until well mixed. My batter looks a bit curdled and that’s because I didn’t use r
 add in the flour
 followed by spices..cinnamon, ground cloves
 crushed black pepper
 mix a bit and add milk
 followed by chopped dates
 chopped nuts
 and mix until just barely mixed. Do Not overmix the batter.
 scrape batter into a baking tin of choice. I’ve lined mine with some baking paper.
 smoothen the top and bake at 180°C for 55-60 minutes, or until a skewer inserted comes out completely clean
 let it cool. Slice and enjoy!

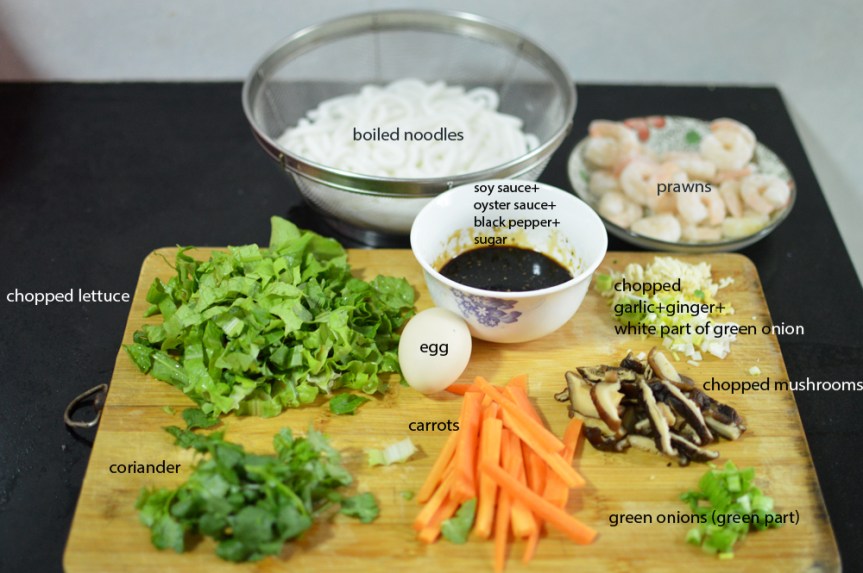 The ingredints do look like a lot to take in but they can be as many or as few as you want. For the flavour base-chopped garlic, ginger and white part of spring onions. For the sauce-soy sauce+oyster sauce+black pepper+sugar. Vegetables -lettuce, mushrooms, carrots. Cooked noodles of your choice, prawns (optional), egg. For garnishing-coriander leaves and green part of spring onions.
 First, lets just scramble that egg in a bit of oil and set aside.
 Once that’s done..heat some more oil in a pan on medium high heat.
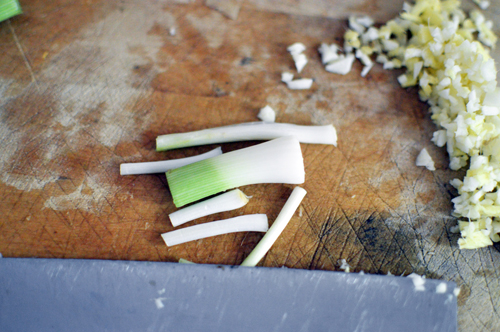
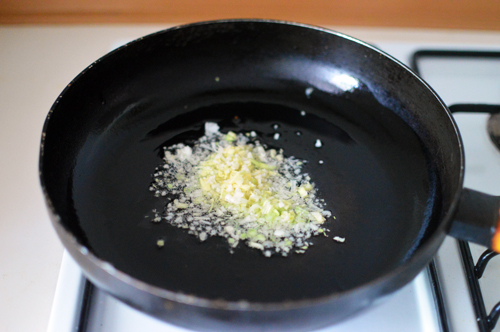
 and add in the chopped garlic, ginger and white part of the spring onion
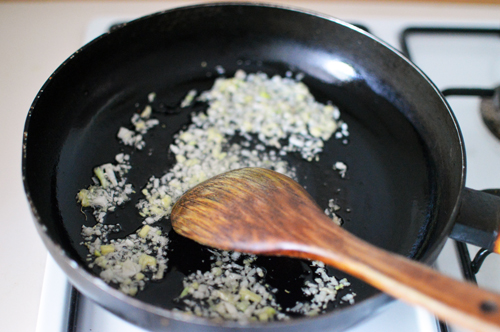
 stir it around a bit till its fabulously fragrant, but not brown.
 in with the prawns and stir them around for a minute
 add in the carrots and mushrooms and saute for another minute
 and finally in with the lettuce. They’ll wilt in seconds
 add in a bit of salt (not pictured) and stir it around till the lettuce wilts and the vegetables are nicely coated with fragrant oil.
 add in the sauce mixture
 and stir around a few seconds until all’s coated with these lovely salty sweet juices
 finally, tip in the noodles. I’m using potato noodles and stir them around
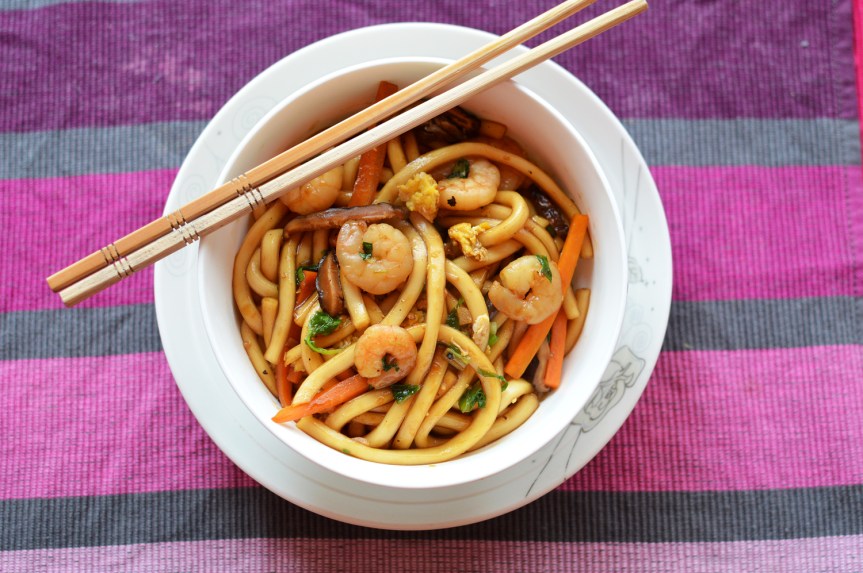
 That’s it, nearly done. Top with chopped greens of the green onion and coriander.
 oh and don’t forget to add in the scrambled eggs.
 Voila. Breakfast noodles!

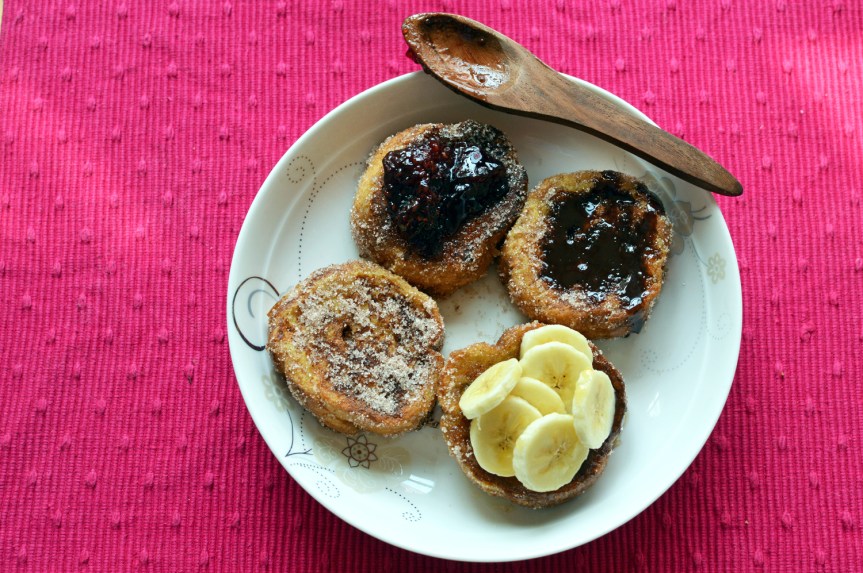 That’s right my darlings..doughnuts for breakfast, except these are actually French toasts masquerading as doughnuts..but do you care? They’re hot, coated thickly with cinnamon sugar and doused with your favourite toppings to make one heck of a breakfast meal.
 Eggs, milk, vanilla, cinnamon, salt, sugar and bread. That’s it. High rewards for such few ingredients.
 This step doesn’t apply to those who live in a world of pre sliced breads. I used a stale baguette, and it does help a lot if you’ve a stale bread lying about the house dying to be used up.
 Crack in the eggs and add milk
 vanilla
 and salt
 mix, smear, whisk, besmirch the calm
 and proceed to making the sugary coating with sugar
 and cinnamon
 and lo! cinnamon sugar. Alchemy I tell you.
 melt a fat knob of butter in your pan over medium heat
 and dunk the bread in eggy pool of golden promises.Let it stay in there for at least half a minute. It’ll start drinking in the eggs.
 Turn them over to let the other side soak up the sun.
 and whoa! all the egg’s been absorbed by these little babies
 the butter should be nicely frothing
 transfer the eggy toast to the pan to cook to a nice golden tan.
 just a couple minutes
 Mmm..golden and gorgeous.
 once these are cooked on both sides, let them cool for a few seconds before transferring them or rather slathering them with the cinnamon sugar mixture.
 Coat all sides, roll them into the sugar if you have to. Be barbaric about it.
 et voilà..we have doughnut french toast. These are fantastic to eat just as they are, but if you want to add a bit of luxury to the richness then please do not restrain yourself as you go totally berserk.
 bathe it with chocolate syrup
 cloak it with your favourite fruit jam/marmalade or preserve
 or how about chunks of banana drowned in maple syrup?


 This gorgeous piece of yellow green slab that’s seductively prying your mouth open is in fact just an omelette, with a twist. Frittata just sounds so much more deliciously exotic..probably something about the way how the T’s roll out your tongue, or maybe how the layers of yellow egg mixed with cheese and veggies beckon you to dive in face first. There’s nothing about this dish that isn’t deserving a round of applause. The sunshine glint of eggs, the golden ooze of cheese and healthy chew of vegetables is what makes this frittata a breakfast must..and I didn’t even mention how easy it is to put this baby together.
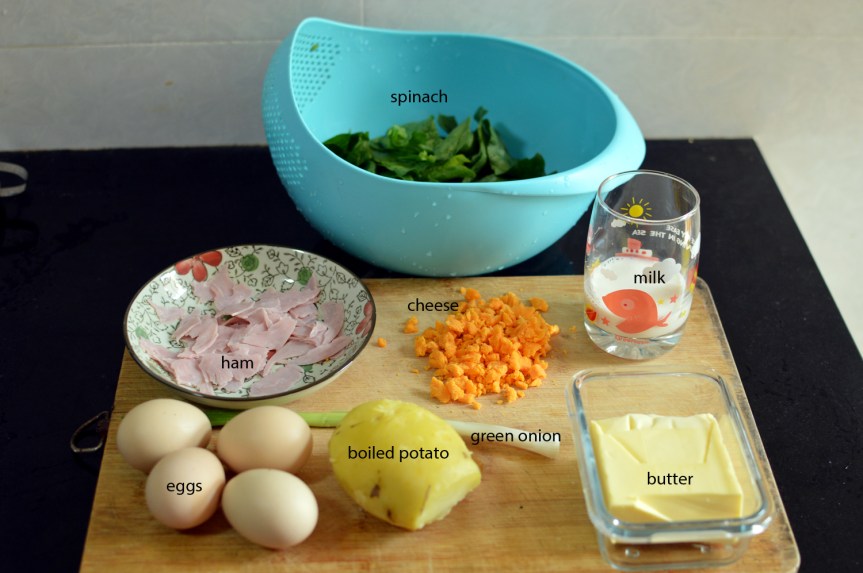 I’m calling this a spinach frittata because I realized my refrigerator needed a quick bit of deforestation. I’d bought an obscene amount of spinach a day earlier and didn’t end up using them all in a recipe. I was left with pretty hefty bunch and decided to roll with it. But you can make this into an onion, mushroom, pepper or any imaginable frittata you fancy. The premises stay the same no matter what the ingredients..so here they are. Eggs, ham (optional), boiled potato, green onion, some milk, butter, spinach, cheese and salt and pepper (not pictured)
 I wanted to give the pallid potato a bit of colour and more flavour by cooking it in some melted butter, just so that it gets bronzed. So, melt a knob of butter in a pan.
 Dice or cube the potato in bite sized pieces, and when the butter begins to froth, tumble them in a single layer and let cook for 3-4 minutes over medium heat.
 flip on the other side and repeat treatment until both sides are nicely blushing.
 like so..and that’s the end of cooking.
 crack the eggs and add in the milk
 season with salt and pepper
 add in the chopped green onions
 and whisk
 until it’s…umm..whisked.
 now for the grand assembly. A layer of potatoes..
 followed by a layer of ham that you tore into uneven shreds because you were too lazy to chop them into equal pieces. (keep this completely meatless by adding in some other vegetables of choice)
 a healthy sprinkling of cheese of choice (I used cheddar)
 and a quick bit of rainforest, also torn into uneven shards of leafy green mess. (why didn’t you cook the spinach first you ask? – well, because It’s breakfast time, and quick prep and brisk efficiency isn’t exactly one of our morning hallmarks..also it really won’t matter. I promise!)
 and finally a rain of sunshine bliss in the form of perfectly whisked eggs.
 and (drumroll), it’ll look like this. What? you’ll wonder..where are the perfectly whisked eggs? They’ve taken root under all that greenery..but have faith my darlings. bake at 190°C for 15-20 minutes
 what? where? I know you’re still wondering.. but lemme give you a sneak peak.
 Look how gracefully it has puffed up, minus the bloat. The spinach has elegantly shriveled into a thin carpet of green perfection giving just a hint of its existence. The Sunlit eggs have puffed to form a thick slab of such moulting tenderness that you’d be ever so willing to pop this hot piece into your salivating mouth, be it at the expense of burning your lovely tongue. Let it rest for a couple minutes before you dive in.
 and then what do you do? You cut a generous portion, slather it with ketchup and balance it on a fiercely toasted bread. It’s breakfast!
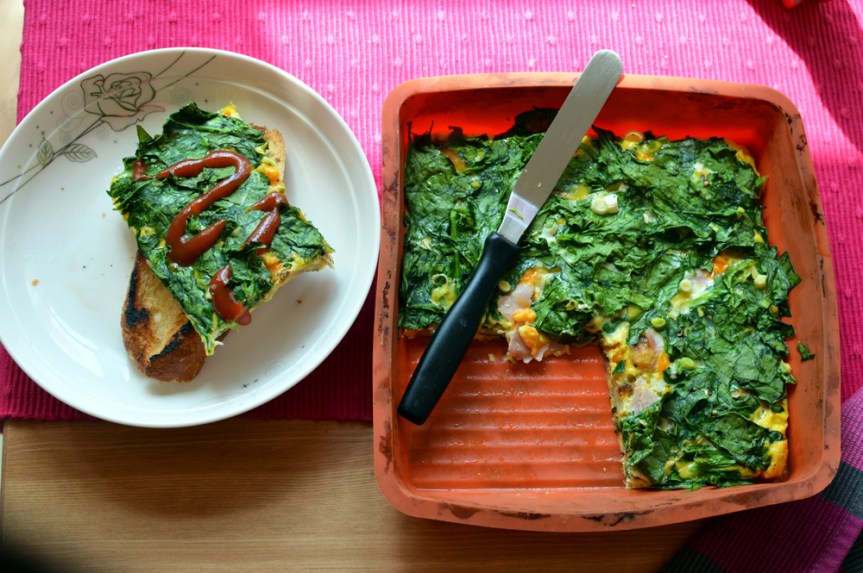 Isn’t it just lovely?
 Enjoy.
