

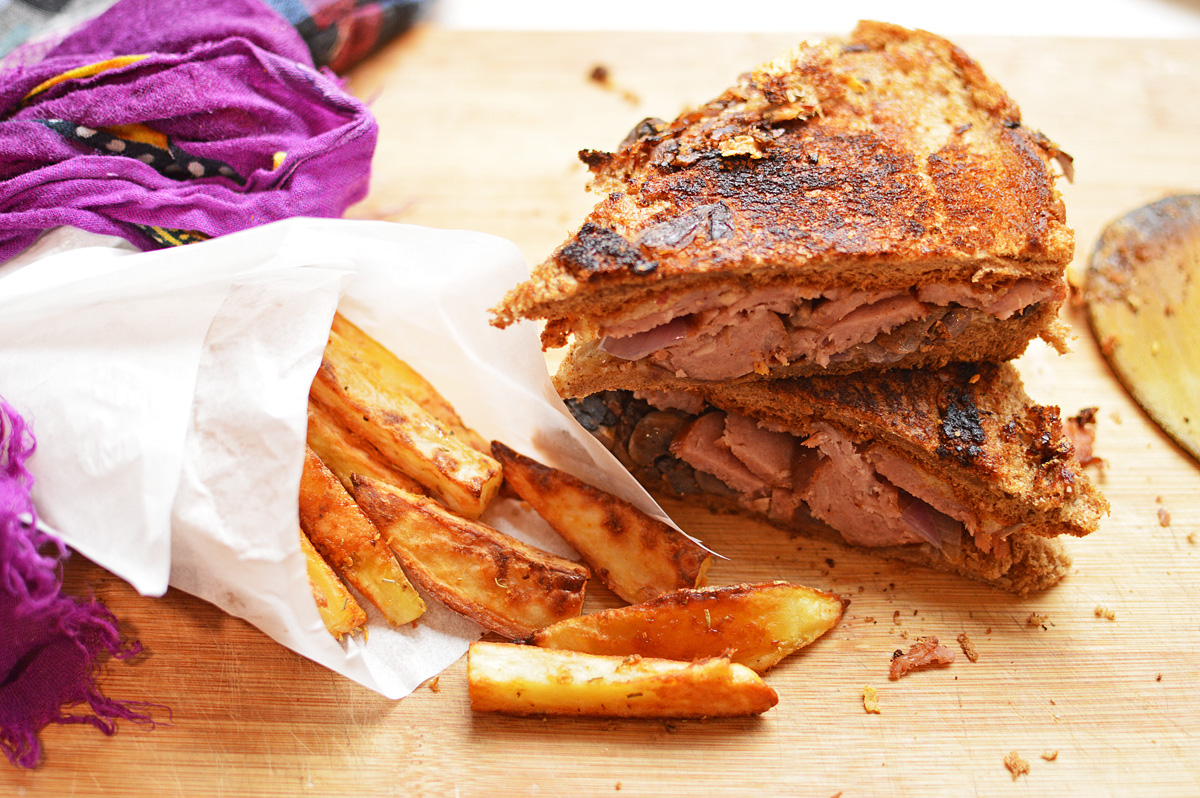
These are triangular scones made with little effort and lots of cheese which is why they hardly last as long and taste delicious if a little bit naughty and with every bite they get progressively enjoyable.
These aren’t something I’d eat everyday of my life which is why they’re special, made on days when the mood is light and gym bag out of sight or when it’s rainy, dull and the air is sullen;these cheese chilli scones are just as good as cake at uplifting spirits and go well with tea and coffee and they’re best eaten when hot but that’s not an absolute requirement because they taste just as great when cold.

The ingredients aren’t many and they’re the makings of every good scone. Flour, salt, sugar, baking powder, baking soda, butter, any sharp cheese, paprika and yogurt or buttermilk.
I have already mixed in soda, salt, baking powder and sugar together in with flour.

have the butter fridge cold, cut into cubes and mix in with the flour. I find fork and fingers work best.

One the butter has been worked into the flour, its texture becomes lumpy which is the cold butter clinging on bits of flour.
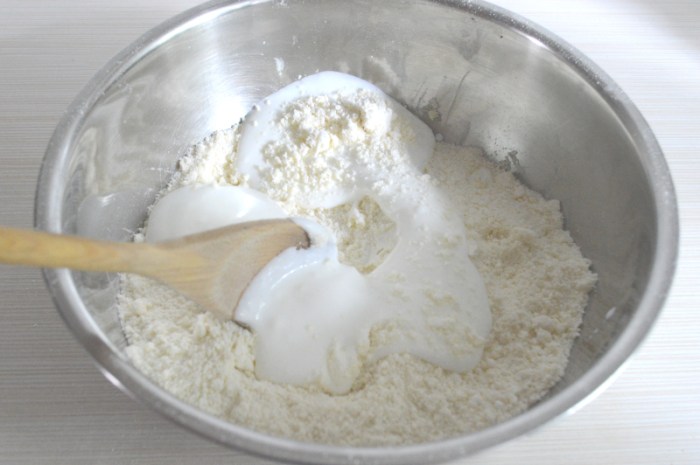
Pour in the yogurt and briefly mix to form a shaggy dough.

until it looks like this and transfer on the work surface.

Don’t knead the dough because it doesn’t need to form gluten. We just need it to come together with minimal effort.
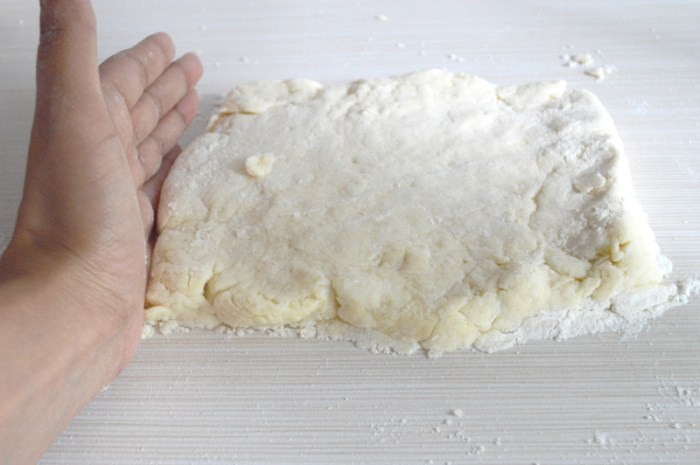
use your hands and a bench scraper to put it together. It’s not going to be uniform and it will be broken and falling apart but it’ll all come together.
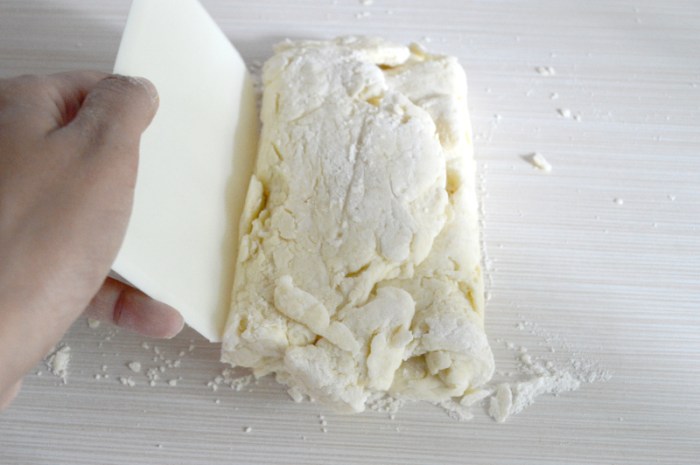
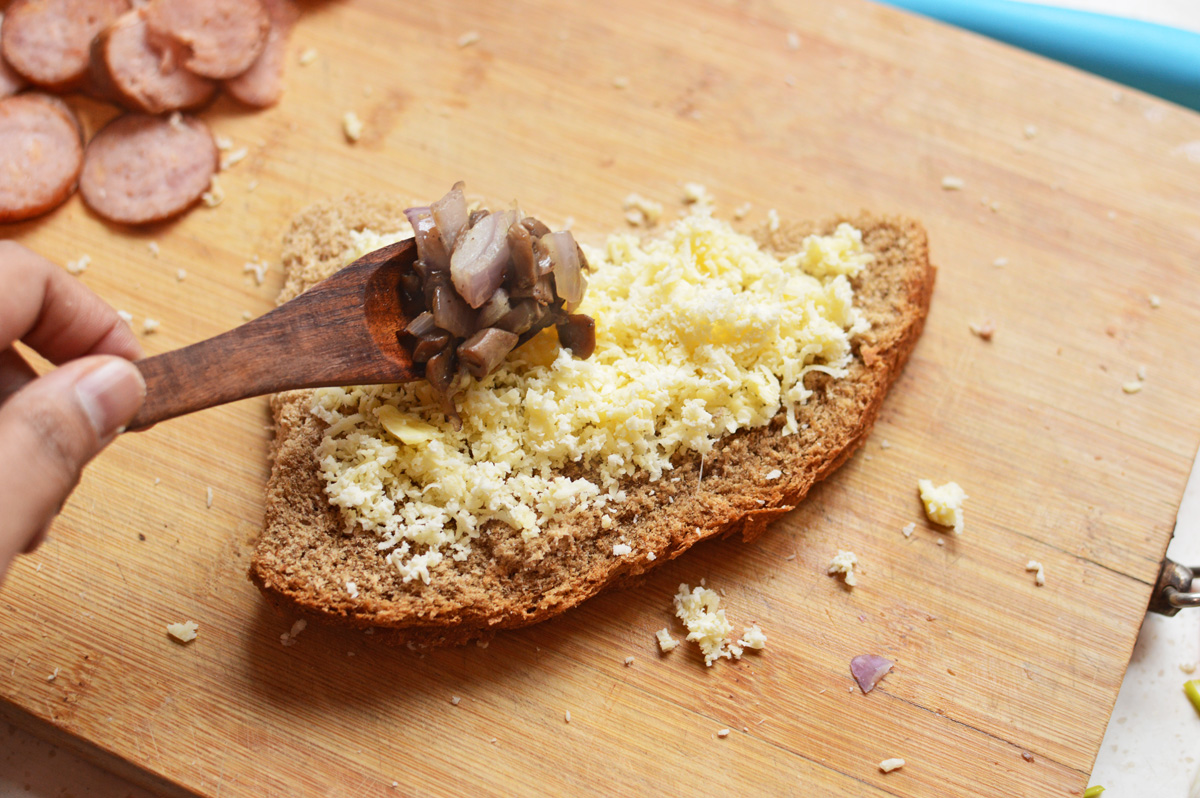
Sprinkle the top with half the cheese paprika mixture and fold both the ends like a book. I forgot to take the picture of the cheese sprinkling part.

Turn it over and around. Sprinkle on some flour and roll it out with a rolling pin.

like so. Some cheese might spill out but it doesn’t matter.
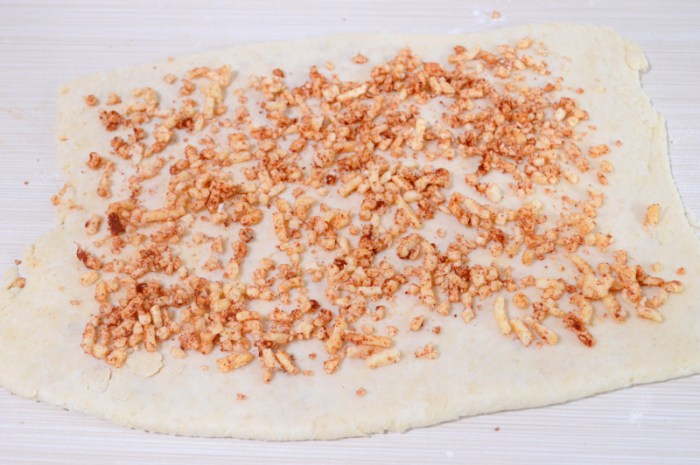
Sprinkle on the rest of the cheese reserving a bit for the topping.

now fold it again like a book and turn it over and roll to the thickness you like.
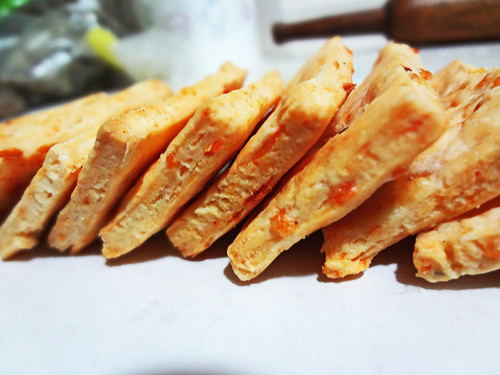
If you desire tall and thick scones then roll it thickly, if however you don’t mind skinny scones then roll thinner. I rolled mine out to almost 1cm thickness and cut them into square which I further cut into triangles.
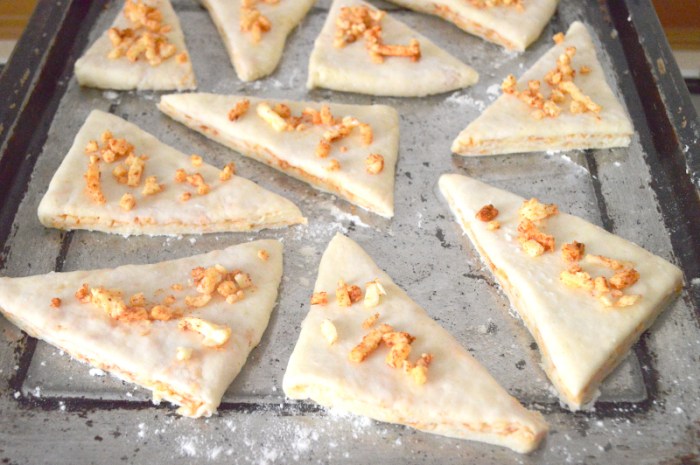
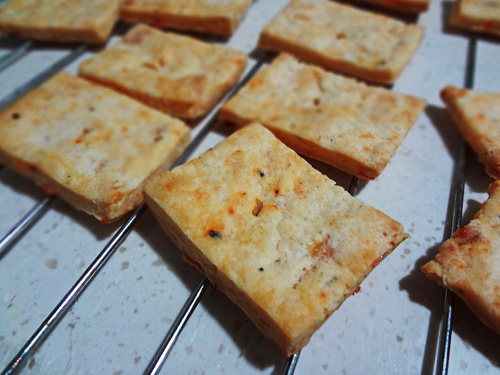
Spread on a well floured baking tray and sprinkle the remaining cheese over.
Bake at 200ºC oven for 20-25 minutes until the scones have risen slightly and the cheese has begun to melt and ooze out.
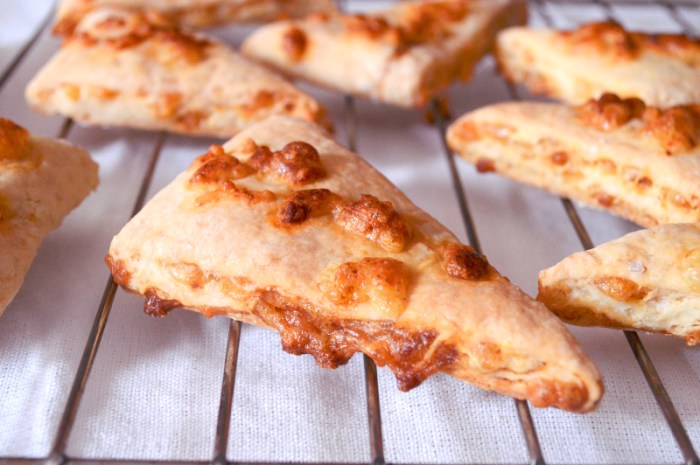
Let cool for only a moment before indulging.
Ingredients

Flour- 250g
Baking powder- 1 tbsp
Baking soda- 1/4 tsp
Butter- 80g
Cheese- 150g
Paprika- 2 tsp
Sugar- 2 tsp
Salt- 1/2 tsp
Buttermilk/yogurt- 120mls
Recipe instructions
Combine the flour, sugar, salt, baking soda and powder and whisk well.
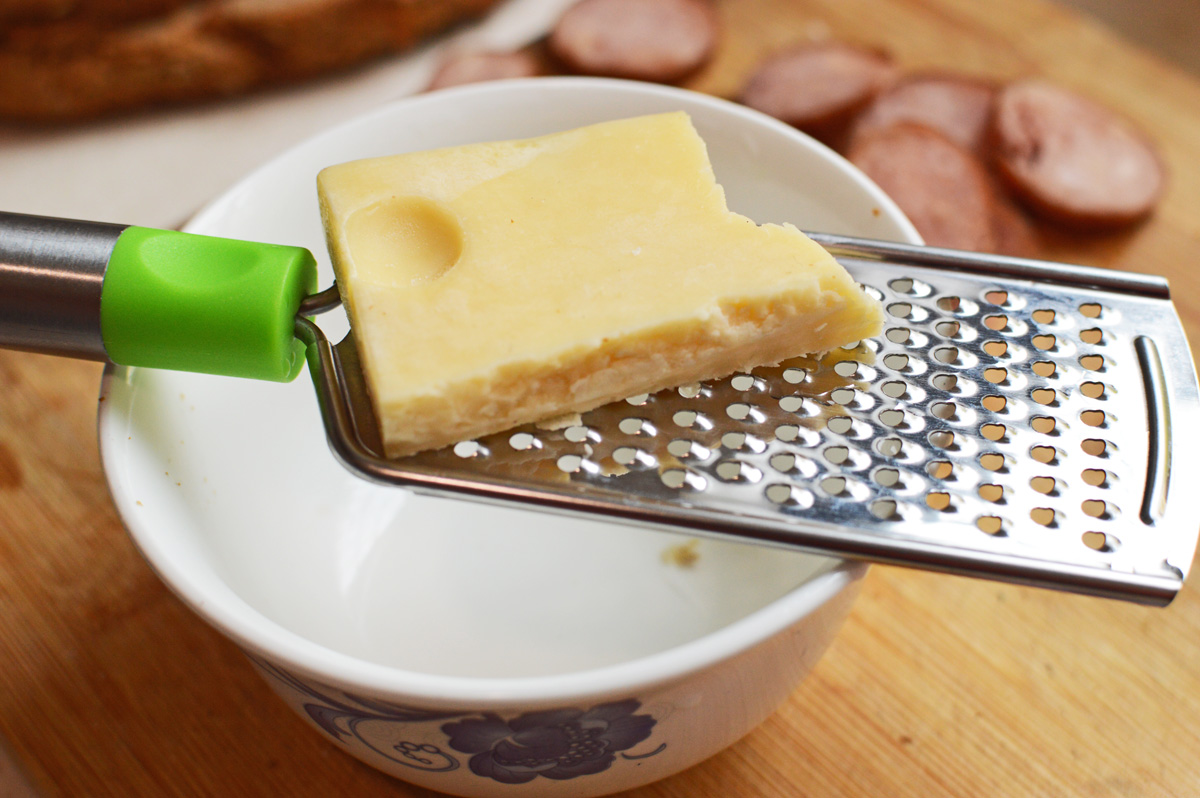
Mix together the cheese and paprika and reserve.
Add the cold cubed butter to the flour mixture and using a fork or fingers rub into the flour until the butter fuses with it to form a grainy buttery texture.
Pour in the yogurt and mix briefly with a spoon before inverting on the work surface. Bring it together without kneading into a rough rectangle. At this stage it won’t matter if the mixture isn’t cohesive.
Sprinkle some flour and roll to form a half inch thick square. Sprinkle half the cheese and fold both the ends of the dough to meet in the center like a book.
Turn it over and around and roll out the dough again.
Sprinkle over the remaining cheese reserving a small handful.
Fold over both ends again and turn it over and around and roll it out again to desired thickness.
Use a round shaped cutter to cut out round scones or simply slice into squares and then triangles with a knife.
Finally sprinkle over the last bit of cheese and bake at 200ºc for 20-25 minutes or until the scones have beautifully puffed up and the cheese has begun to melt and bubble.
Can be enjoyed as a solitary snack or with tea and coffee.


 Paneer: the immaculate white cubes of milk, while largely known as Indian cheese is in fact not much like cheese at all.. It’s milk that has been curdled, separated from the whey and compacted. The whole process doesn’t last anything more than 15 minutes. Beautifully adapted into any dish of choice and eaten just as it is with salad- Paneer is unanimously loved by each and every Indian in every form, shape and dish. vegetarians thrive on it because it can be prettied up and made into the richest of dishes, and in fact be made into a bajillion dishes if you ever were to count.
 Pour milk into a saucepan (try and use full fat milk) and let it come to a boil.. don’t grow impatient and dont keep playing with the gas knobs like me.
 Once it’s come to a boil and make sure it has, add in the white vinegar 1 tsp.. increase the amounts only slightly whence you increase the milk.. we don’t want out paneer vinegary.
 Please don’t stare at my kitchen walls.. take a moment and watch paneer making in process. This is the curd separating from the whey which btw is extremely rich in proteins.
 Well, this is what it should all look like.. we have yet to separate the whey.
 take a really fine cloth, cheesecloth or in my case a stolen kerchief from a stack of my husband’s white and soft kerchief piles.
 You can see the whey is separated. Discard it and put the cloth back in try squeezing it out once it has cooled down a bit, this is very very hot right now. You can even hang it and let all the whey slowly drip out, if you have the time. I’m impatient and I always burn my palms.. but such is life.
 This is after burning my palms and squeezing out all the whey.. let it rest awhile.. if you want: put something heavy on top of it and let it be for some time, until it has finally cooled down and is ready for the unraveling..
 Behold !!! the conversion of milk into this beautiful, springy, soft and almost crumbly paneer. You can cut it into cubes or mash it or just eat it with a salad, or sprinkle some salt n pepper or your favourite dressing and have it with your drinks..
