This isn’t the first chocolate chip/chunk cookie post on this blog, and most certainly not the last. But before you roll your eyes and dismiss these sweet little discs of joy, at least stare at them for a while, and notice that there are two kinds of demonic babies in there. I meant dark chocolate and white chocolate; a pairing made in gluttonous heaven of sweet sin.
These golden halos of chewy rapture are sweet, rich, and sometimes responsible for stealthily increasing your waistline..but that’s a different story for a boring day. Make a big batch and freeze some for later I say.
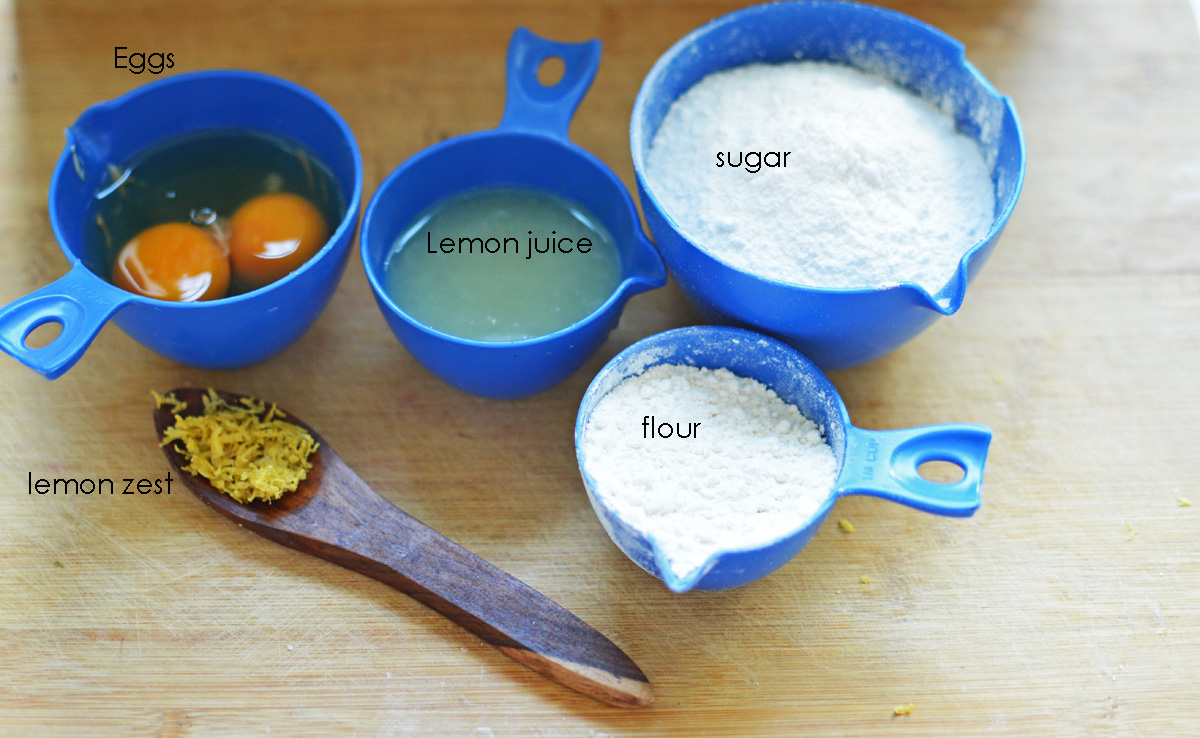
These need no heavy machinery, or special equipments or even muscle power. The ingredients are few and it takes moments to conjure these lovers

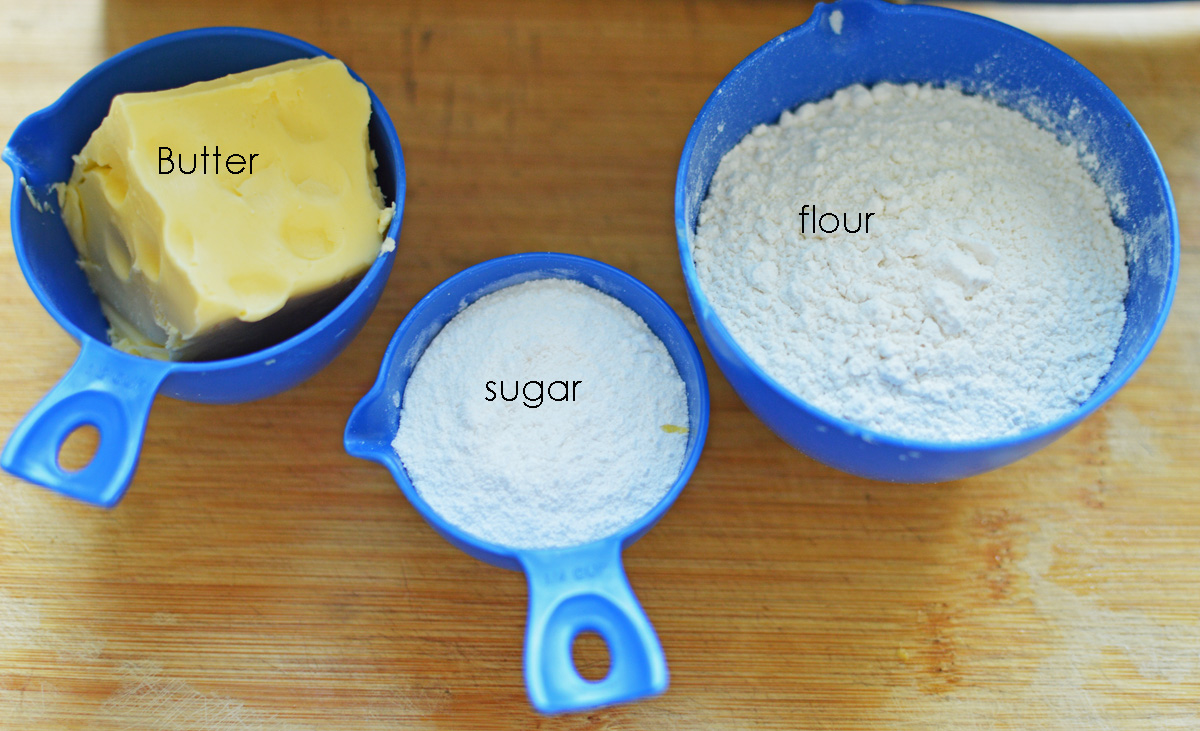
just butter (softened to room temperature), dark brown sugar, white sugar, flour, an egg, salt, baking soda, vanilla extract, and of course chocolate chunks both dark and white. Feel free to use chocolate chips instead (only they won’t be as awesome)
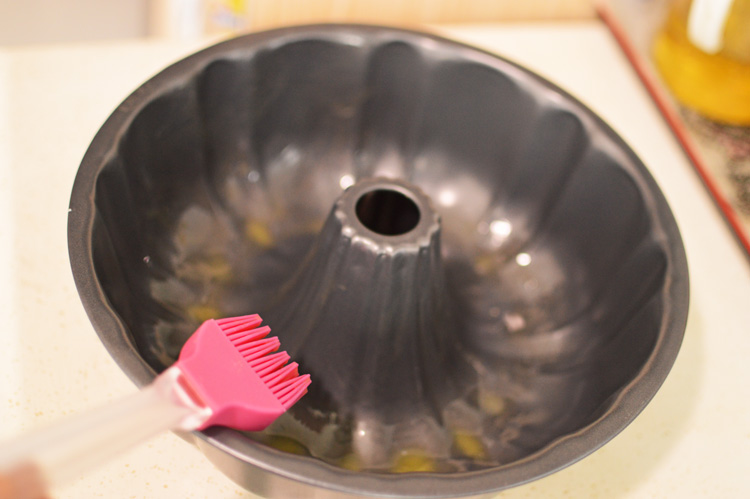
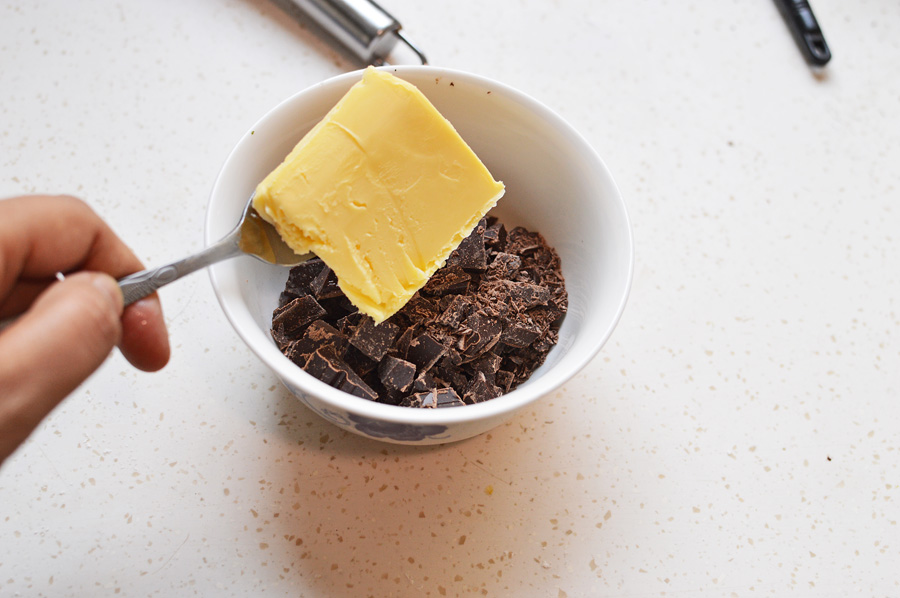
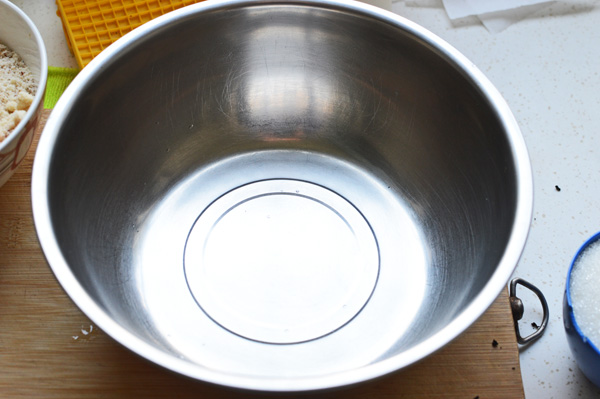
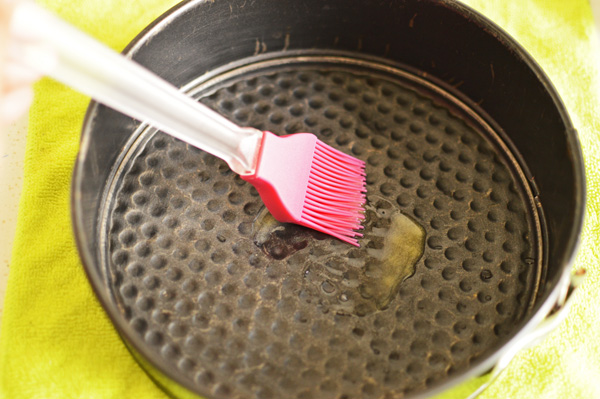
 add the softened butter to a bowl of choice. Ahem! notice my gorgeous new pink spatula?
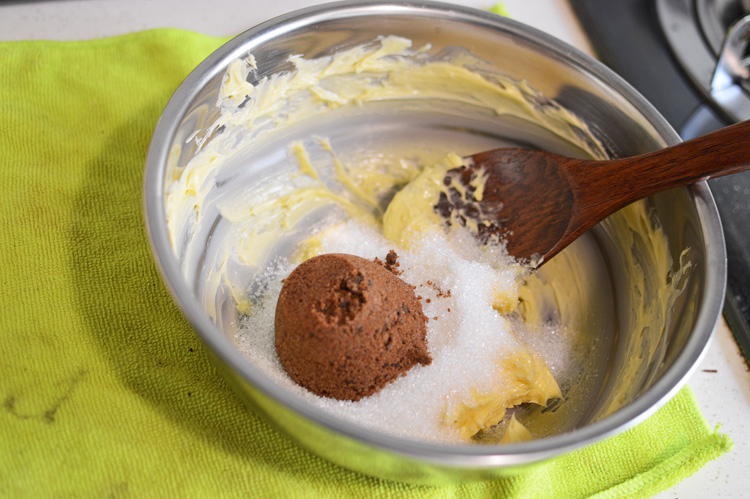
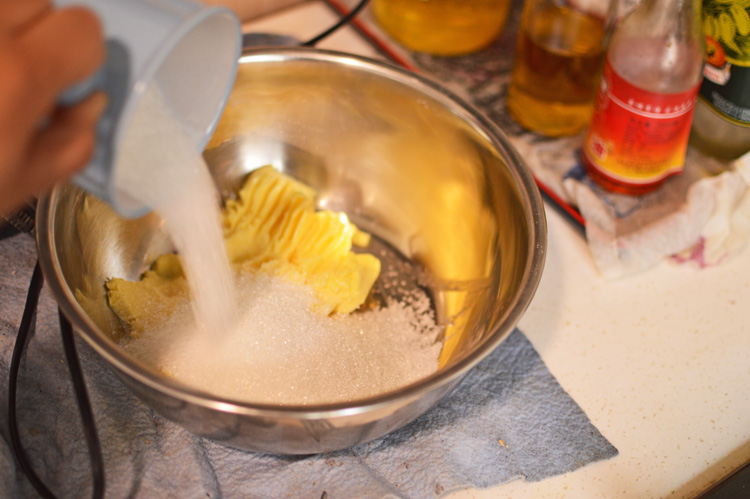
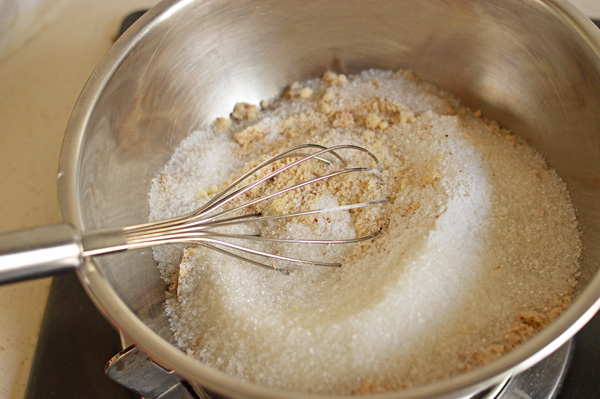
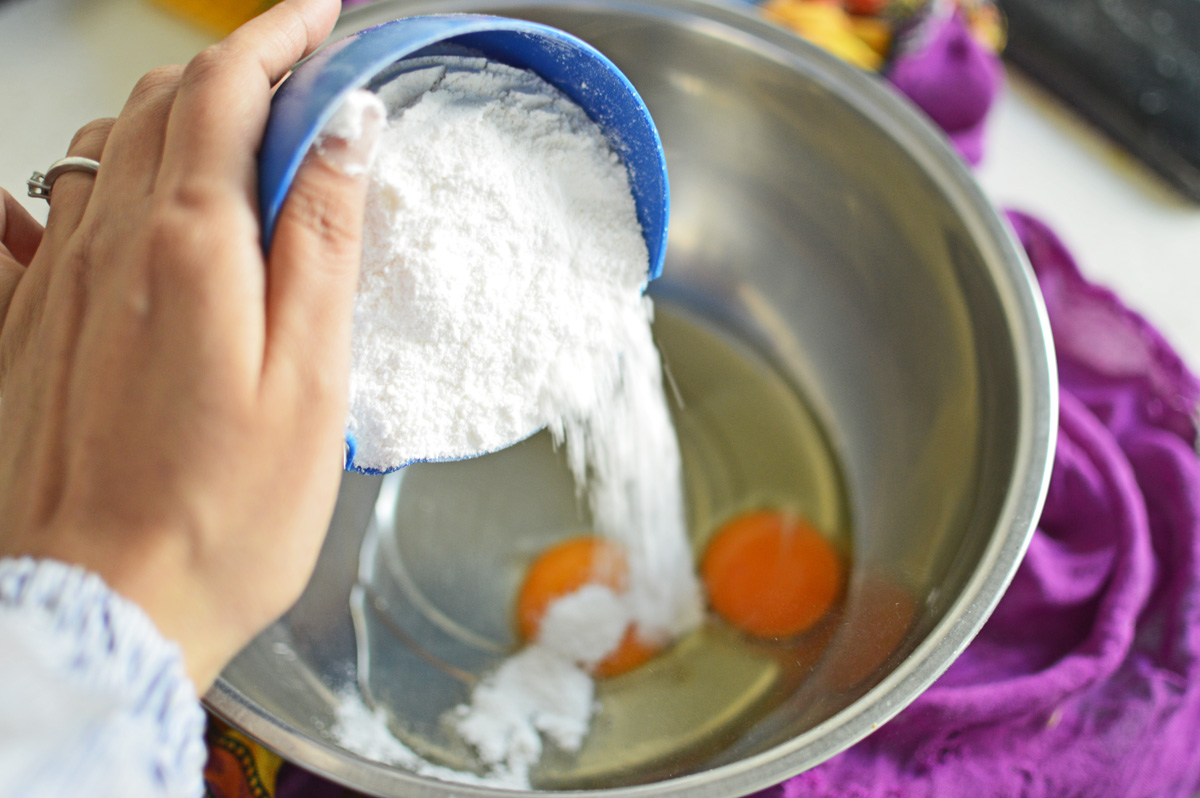
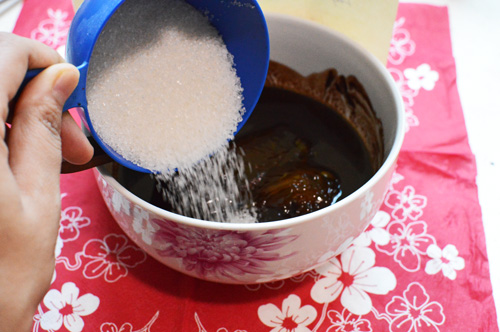
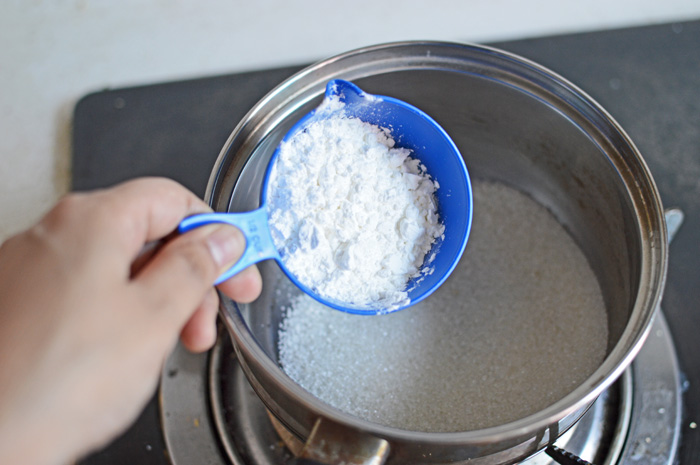
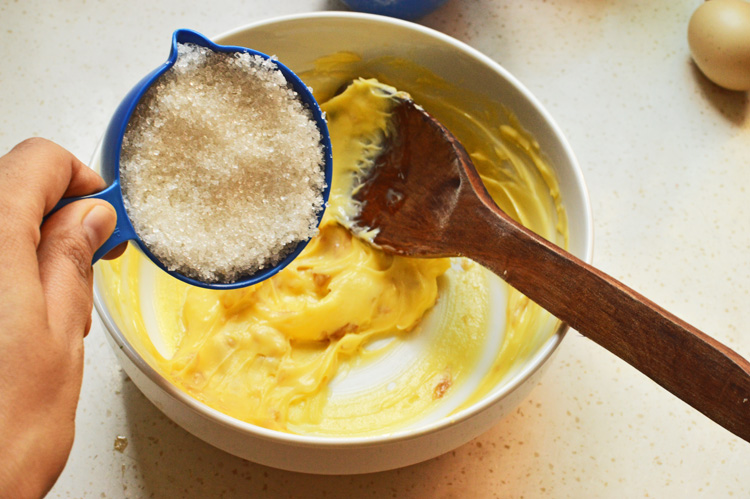
 rain in the white sugar
 and the brown sugar and simply beat it together. It shouldn’t take long if the butter is nicely soft.
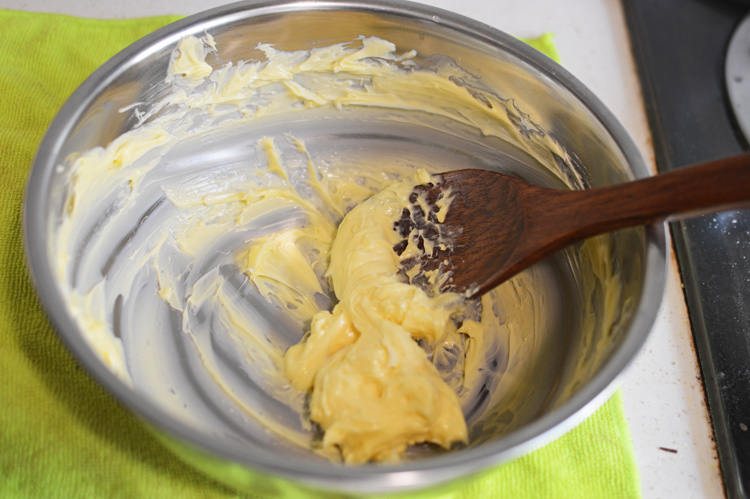
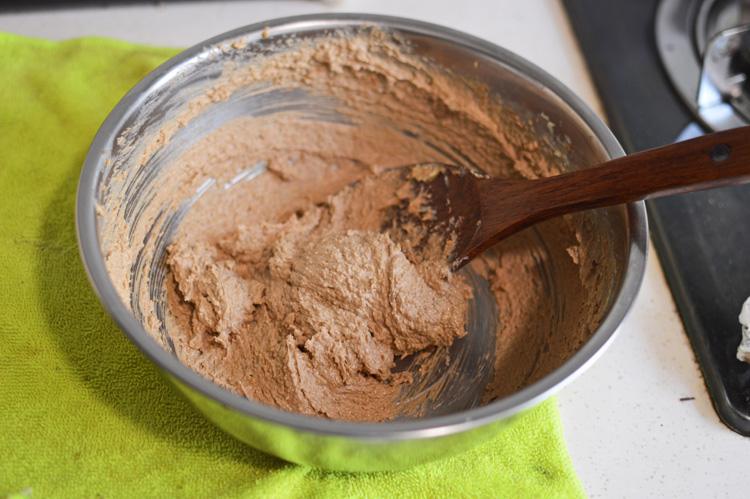
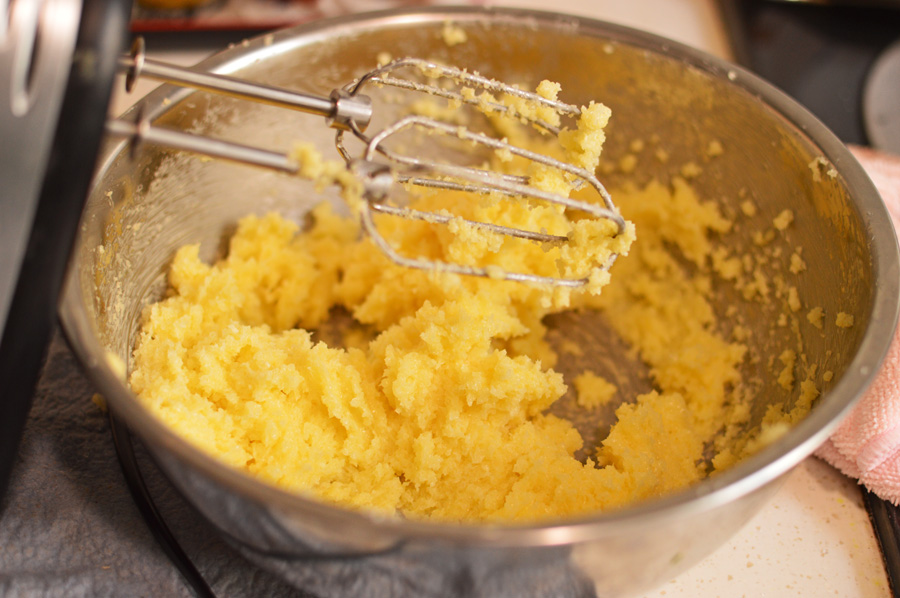
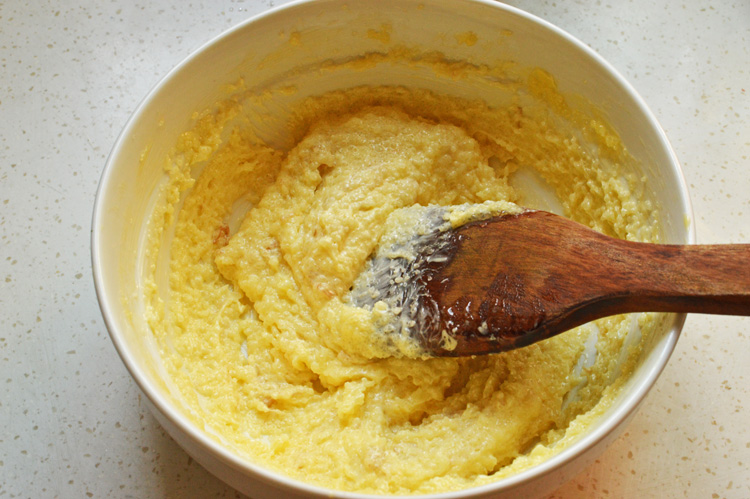
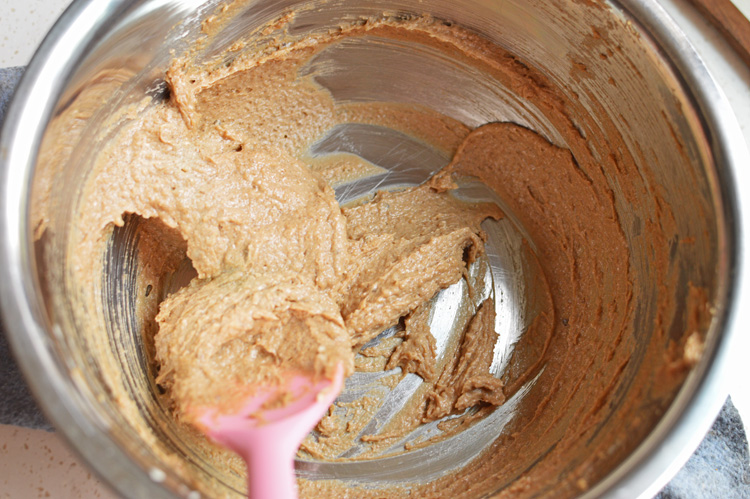 a minute of creaming together and it comes to look like this.
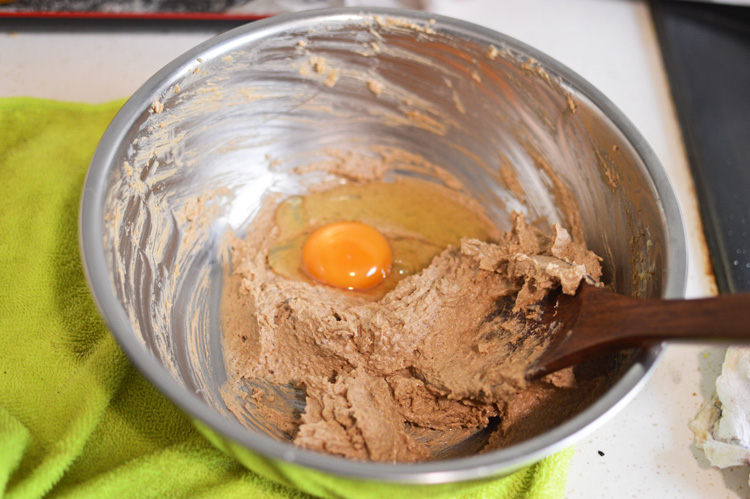
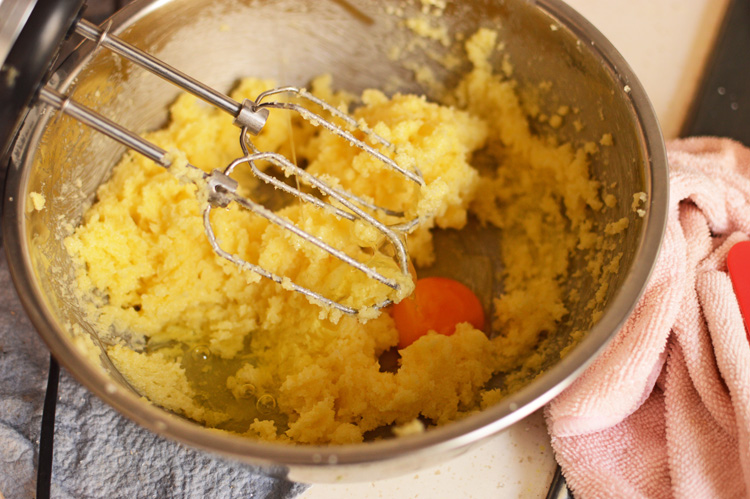
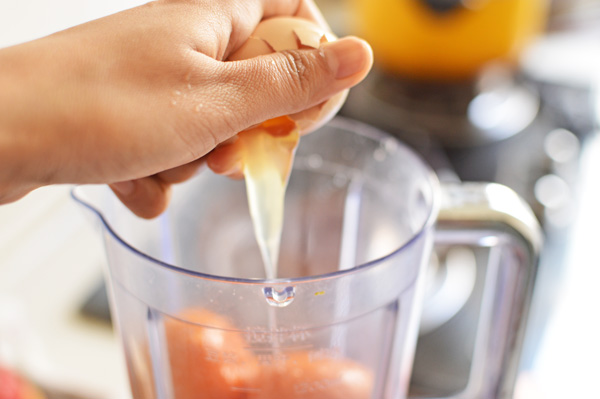
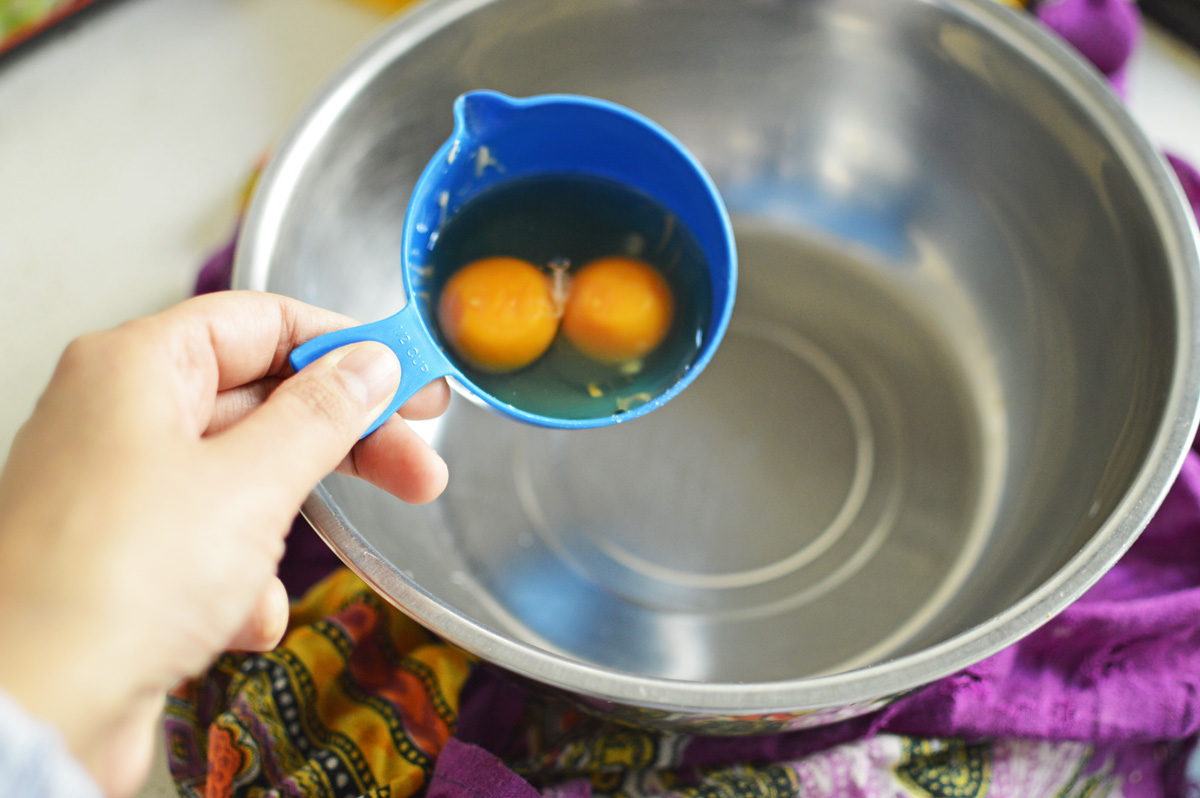
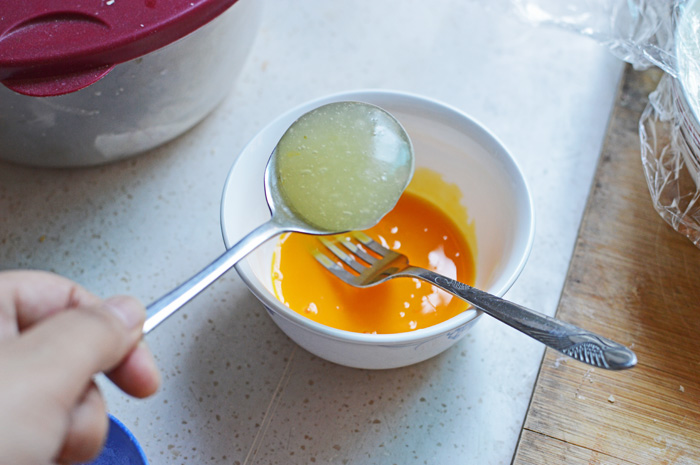
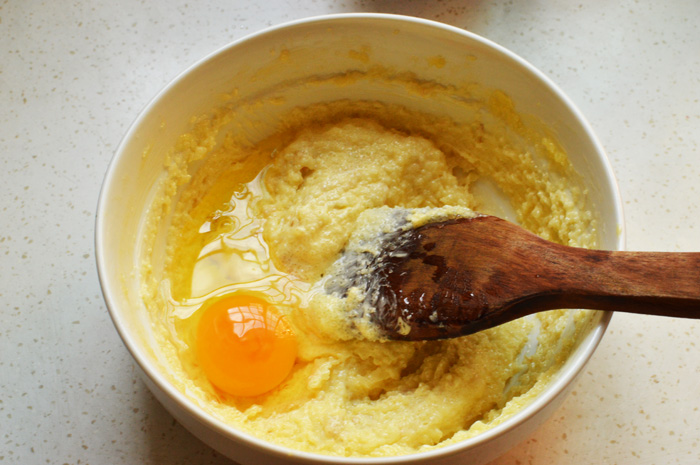
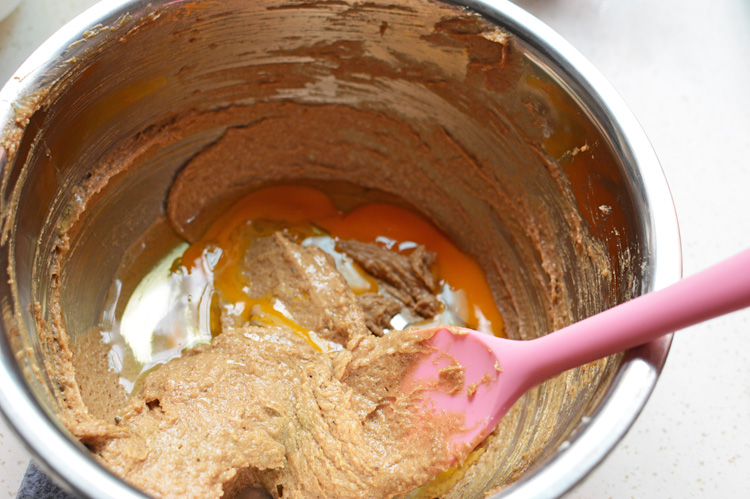 crack in the egg
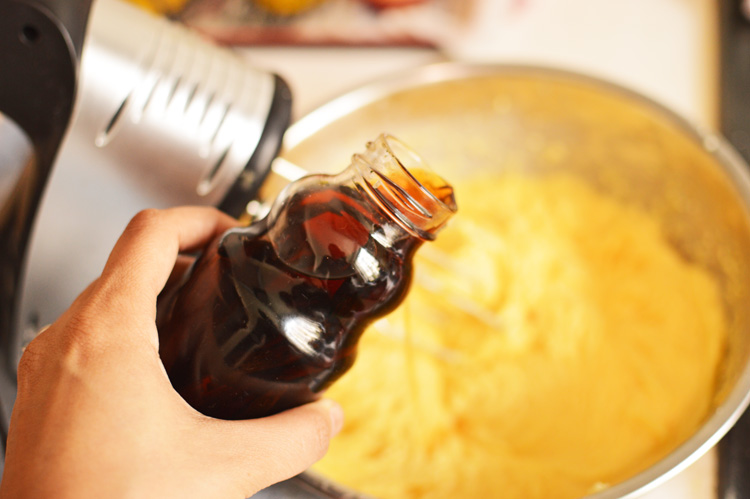
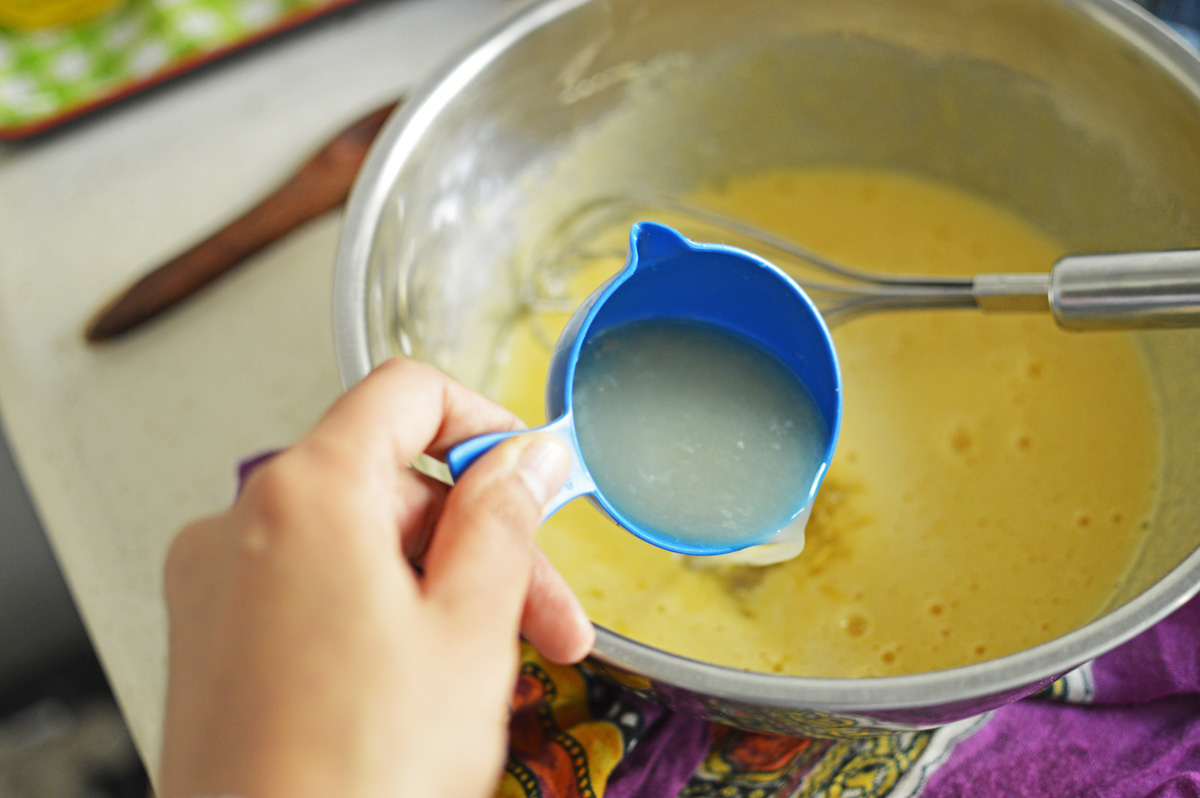
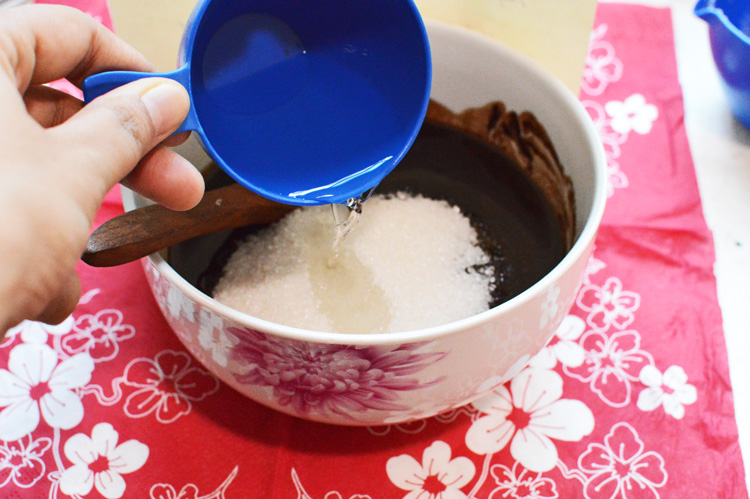
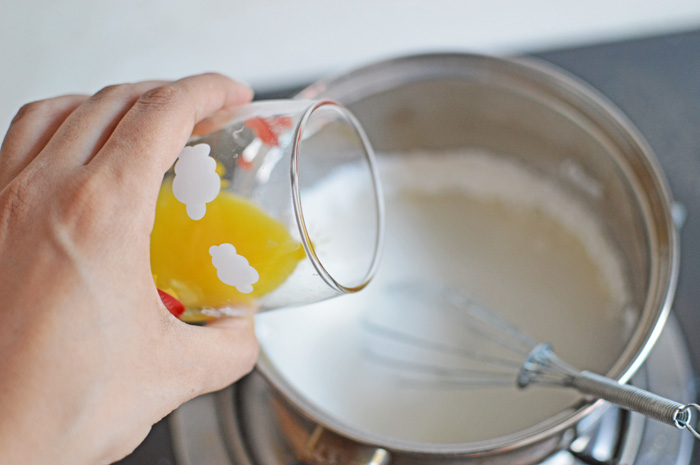
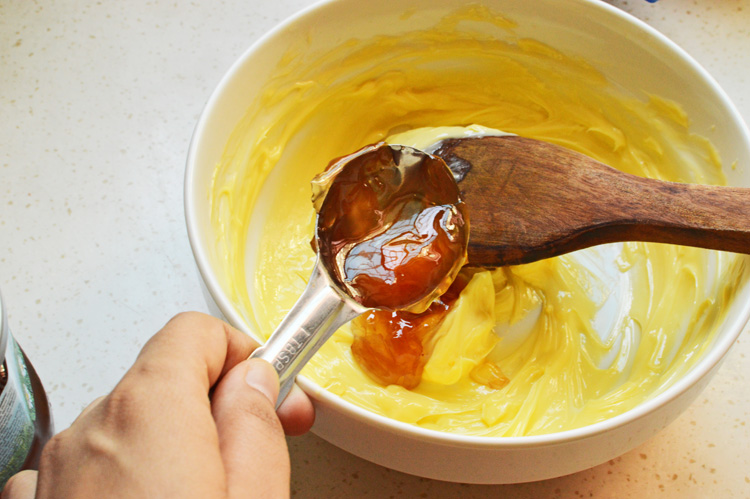
 splash in the vanilla
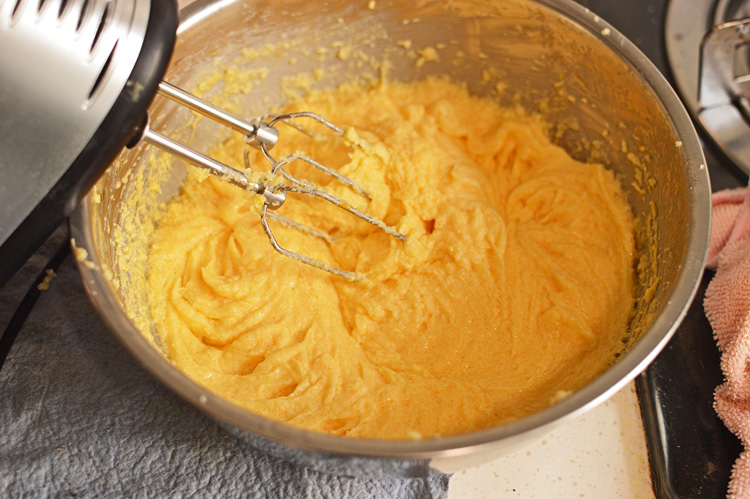
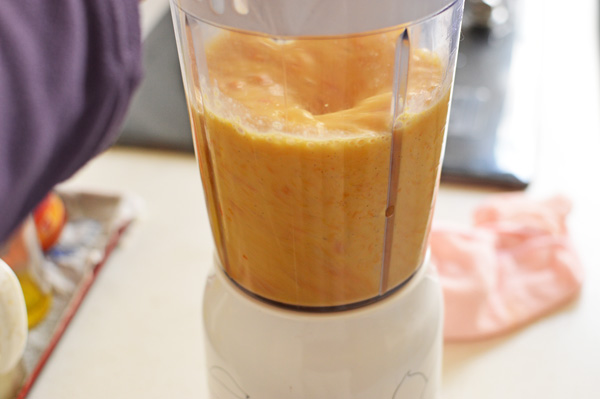
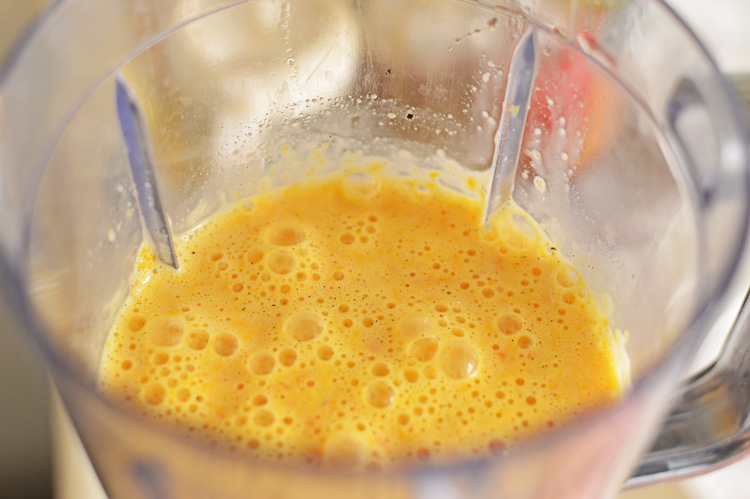
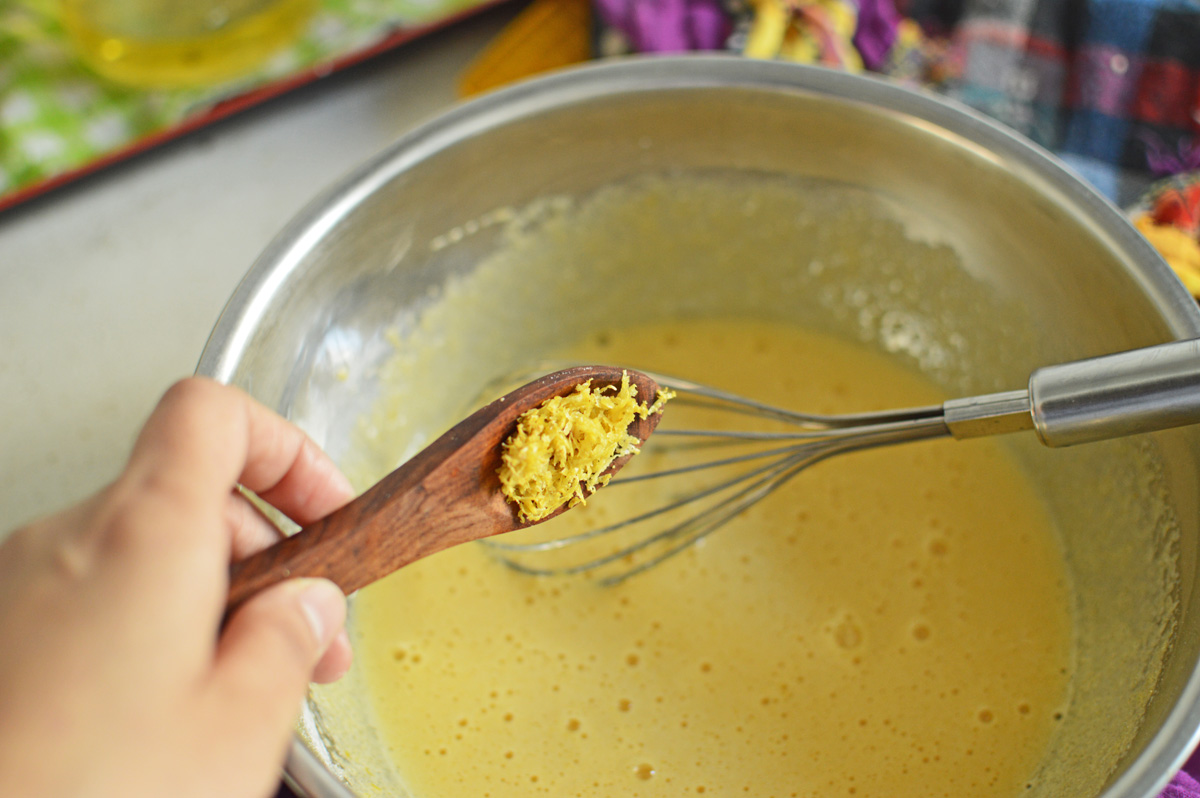
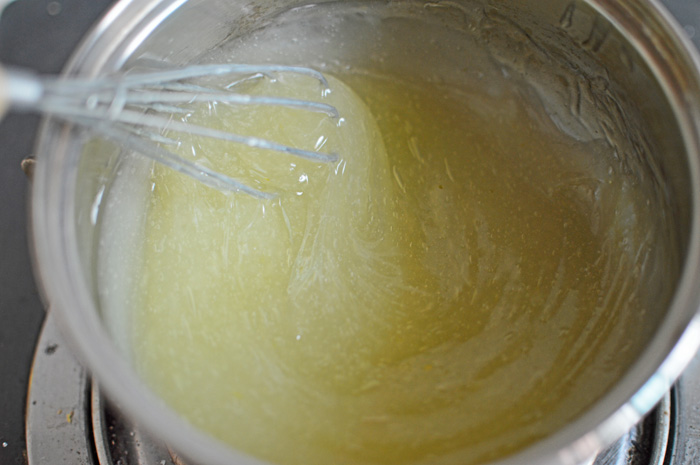
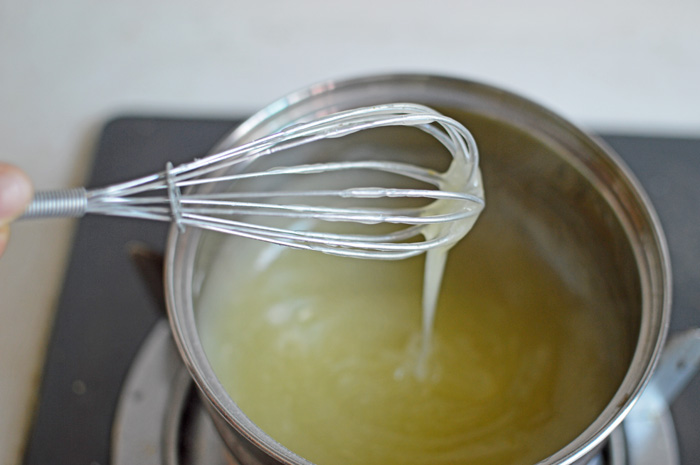
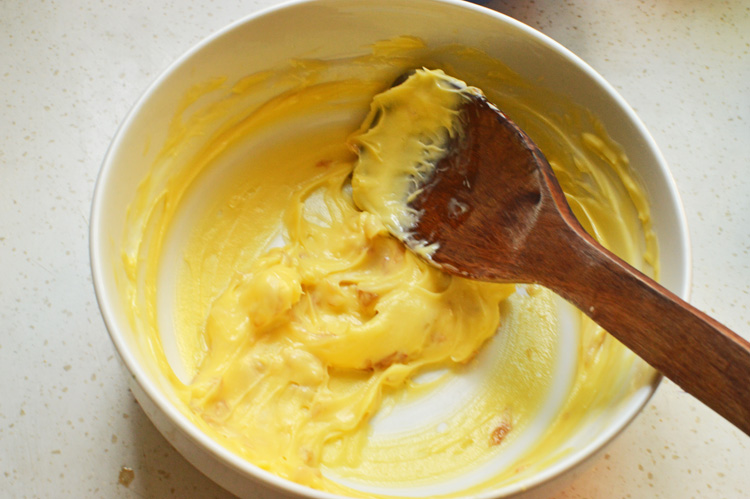
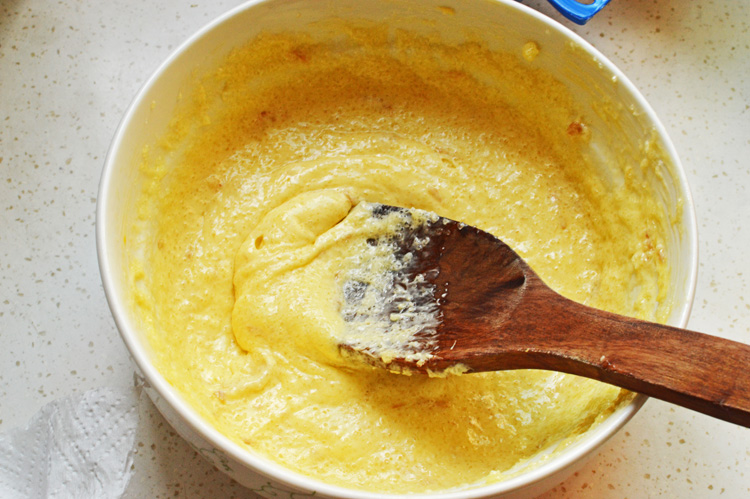
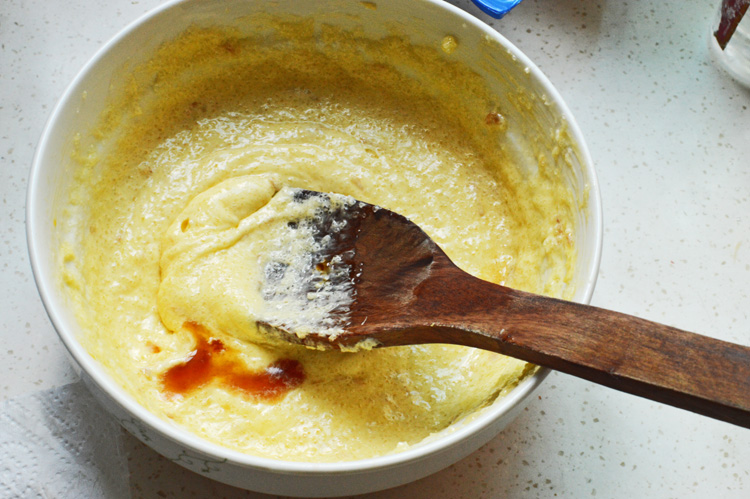
 and beat again, until it looks something like this.
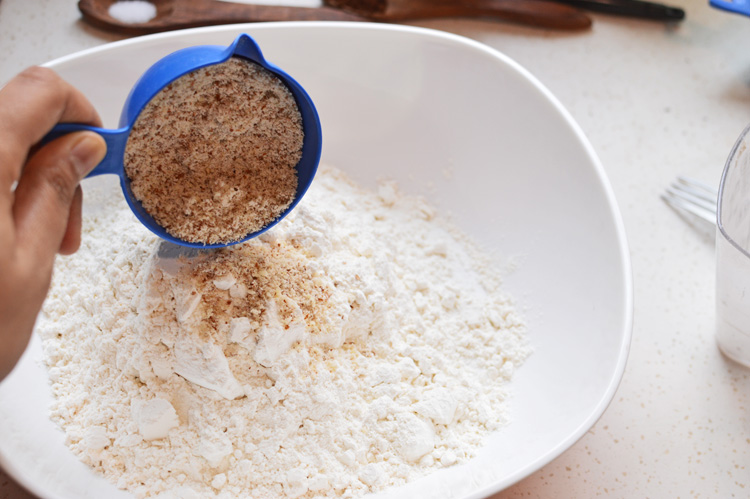
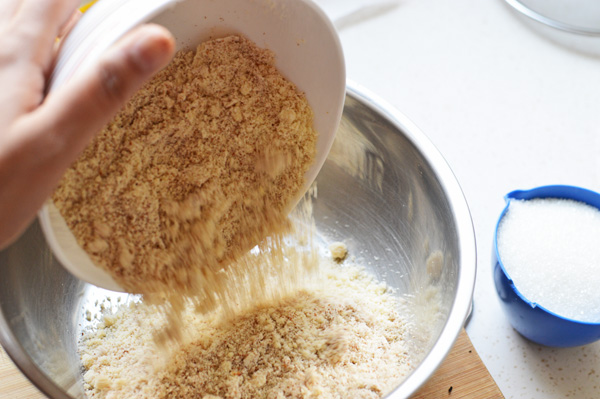
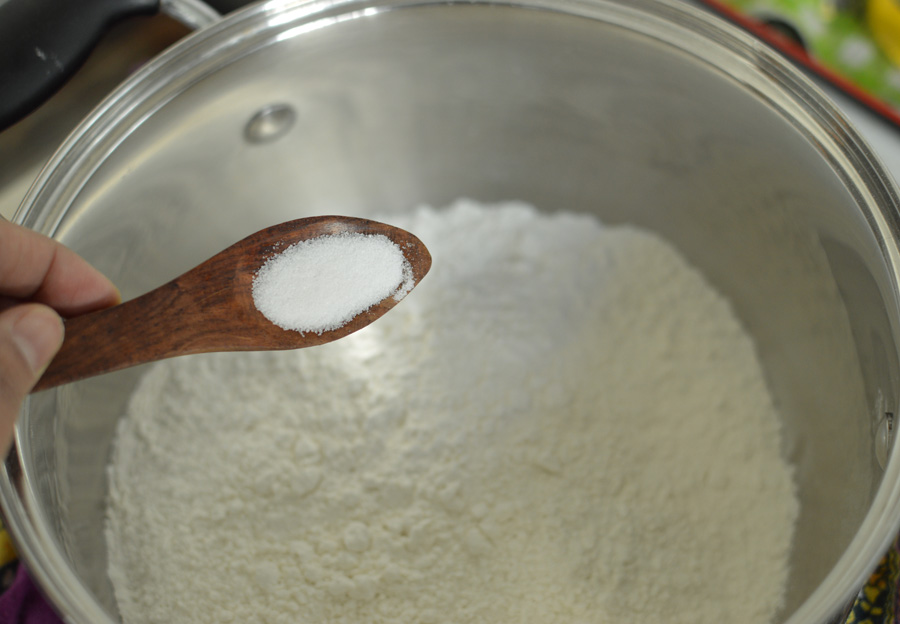
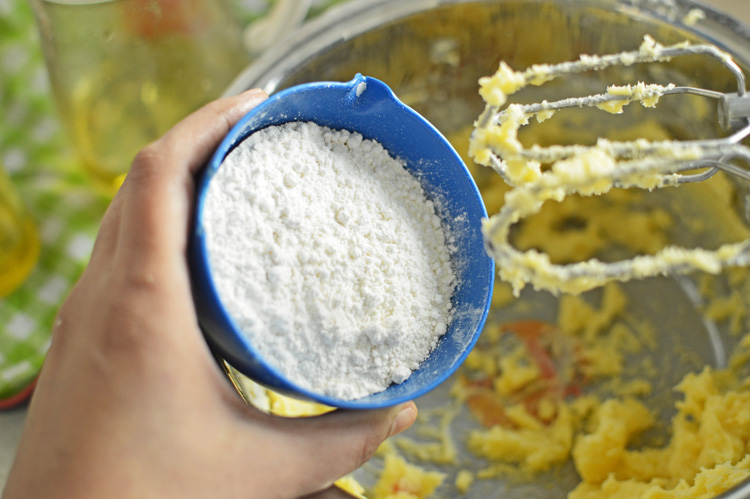
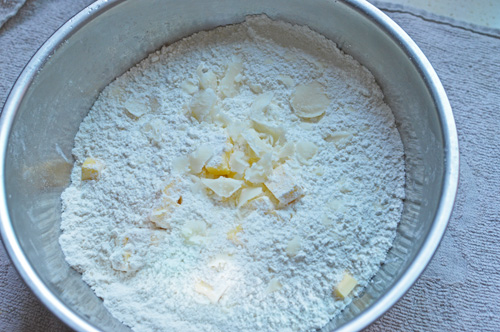
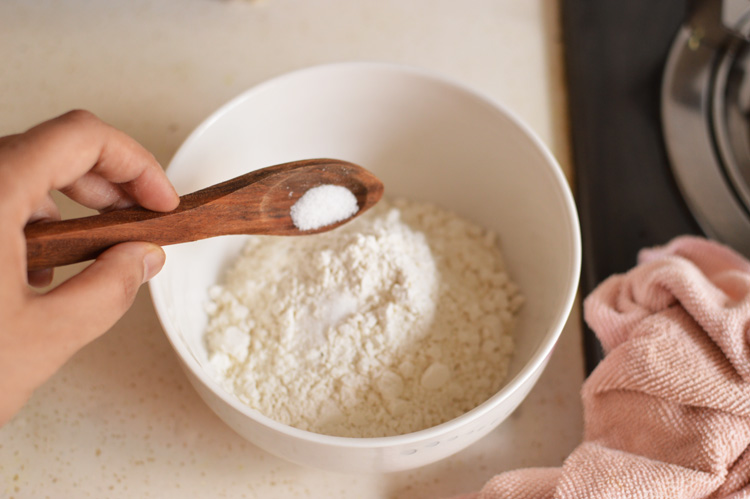 in a separate bowl, add in the flour and salt
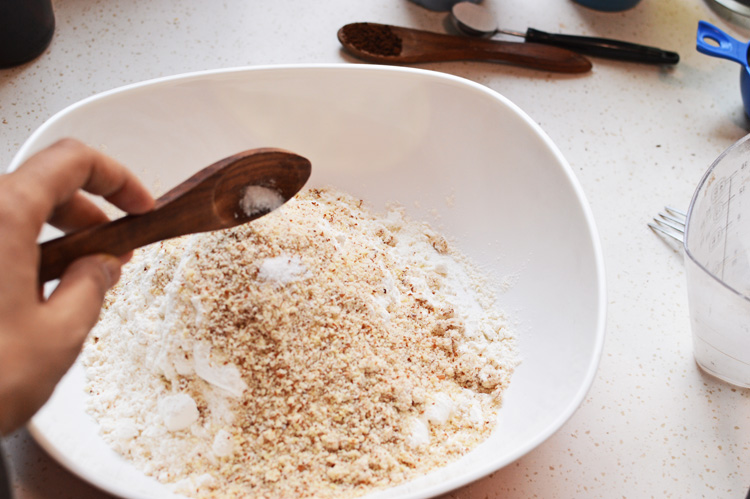
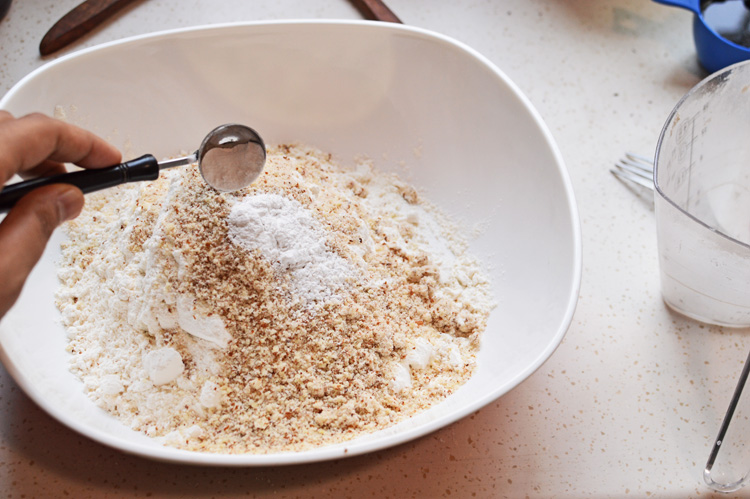
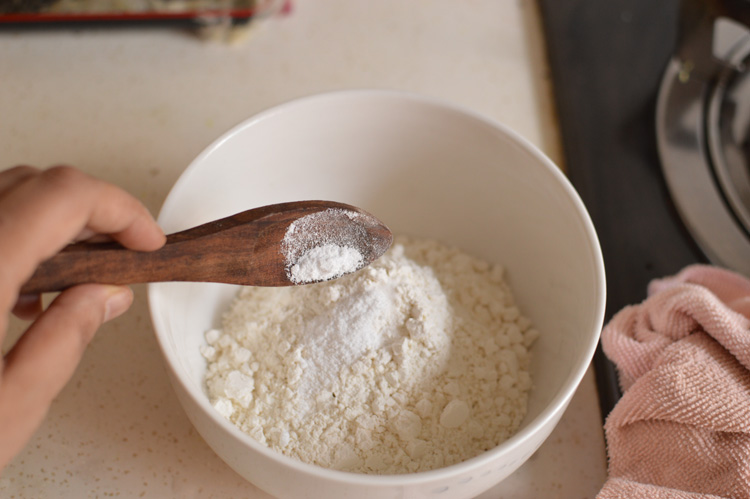 and the baking soda
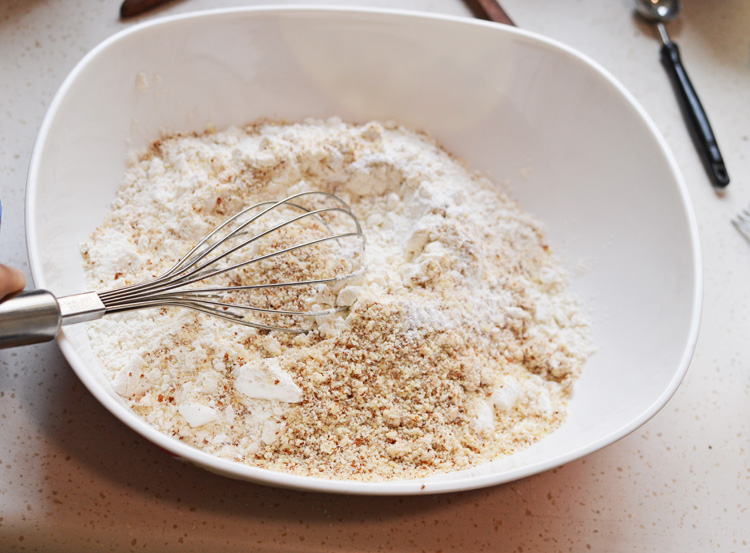
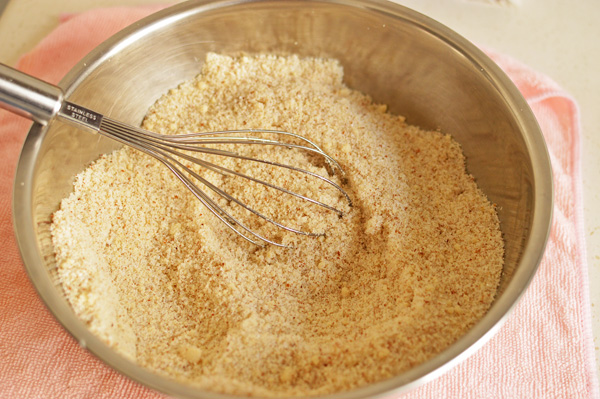
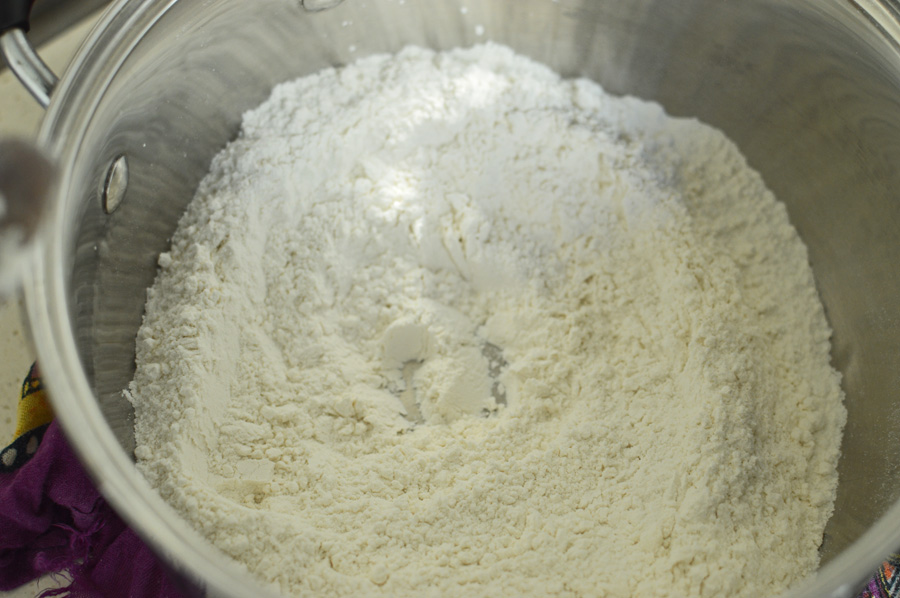
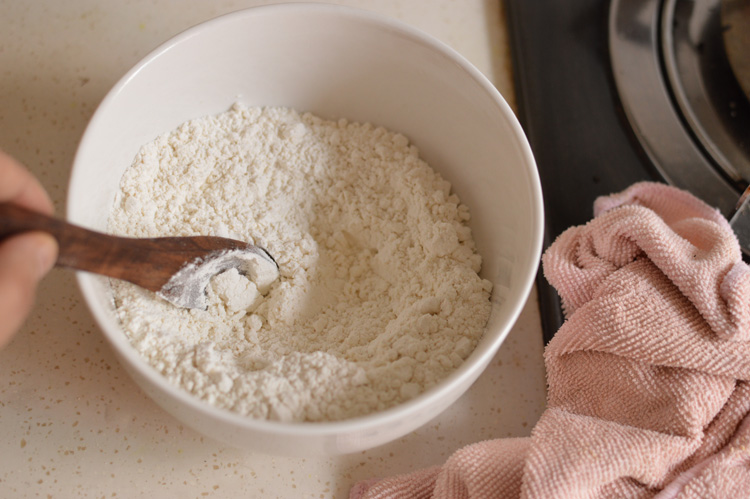 and mix to combine
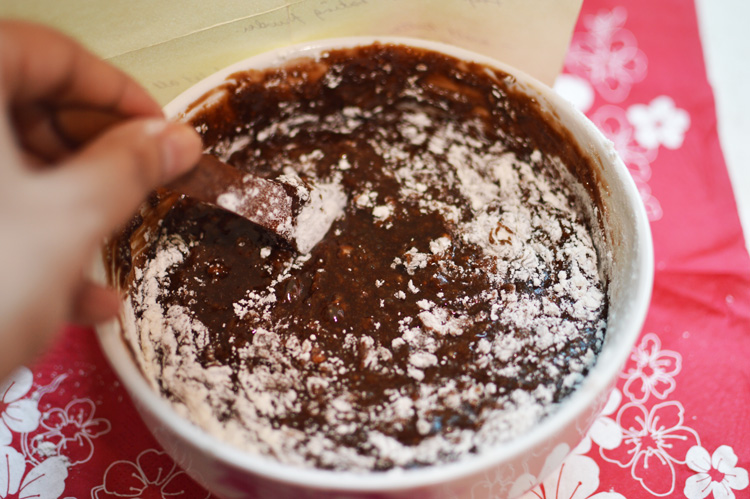
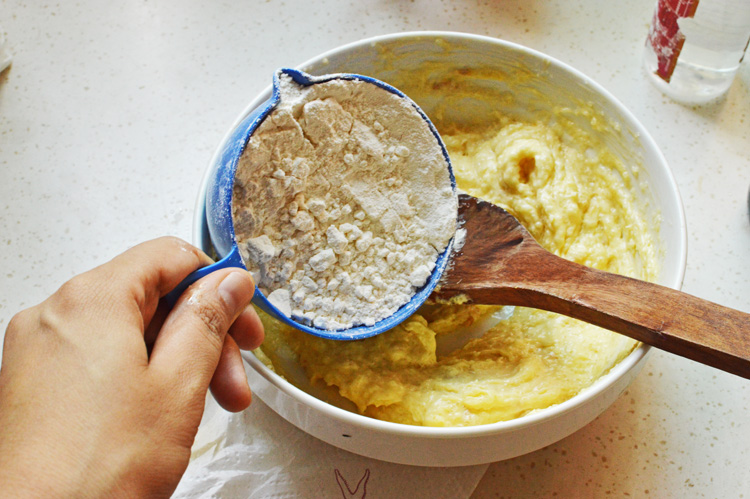
 and stir it into the butter sugar mixture.
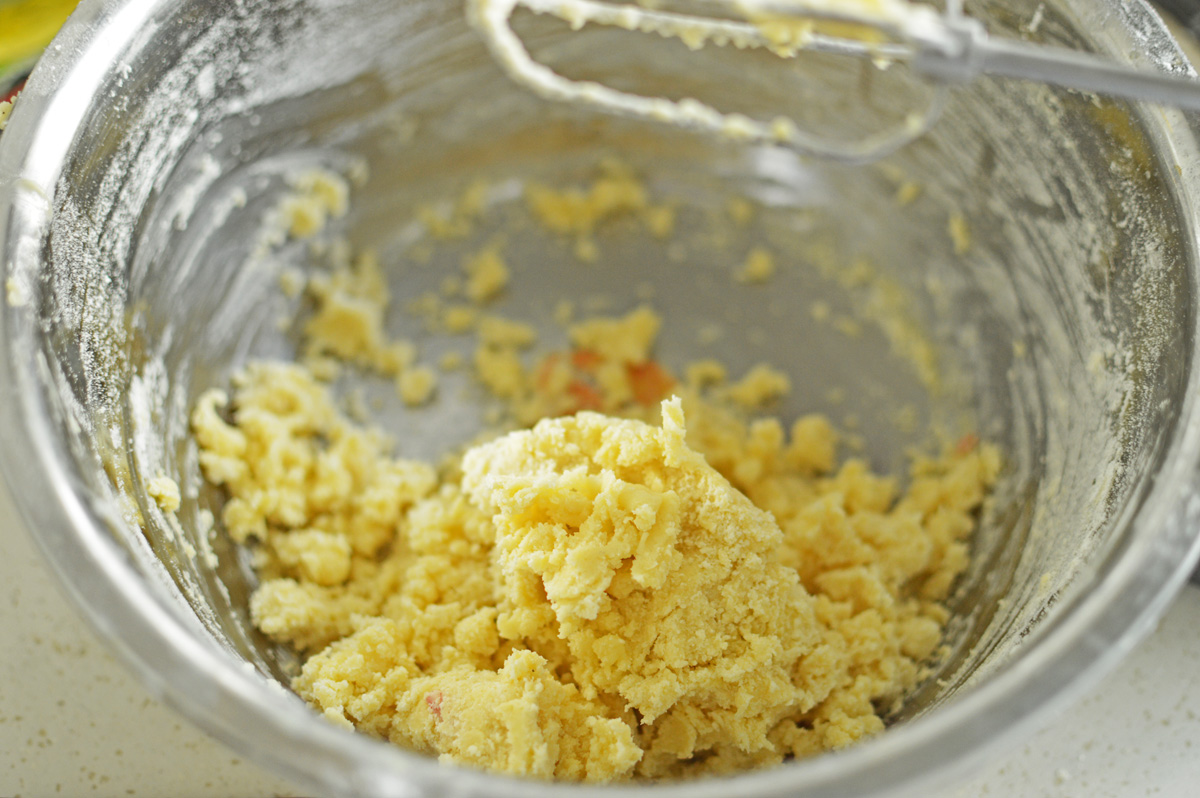
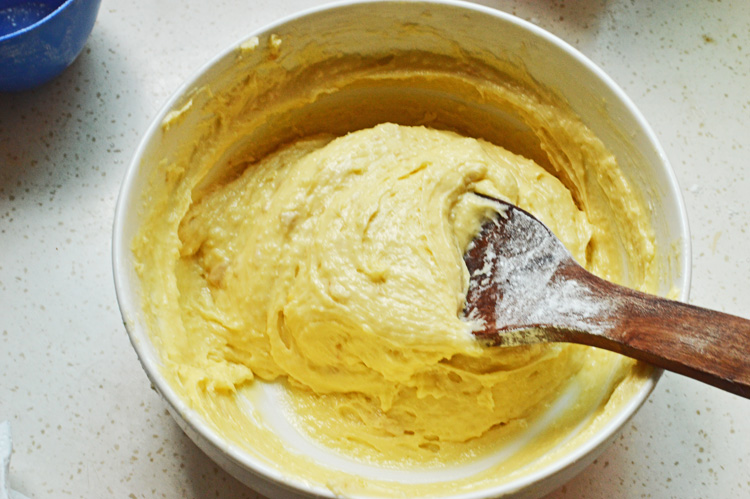
 mix until it just about comes together.
 clatter in the chunks..the white
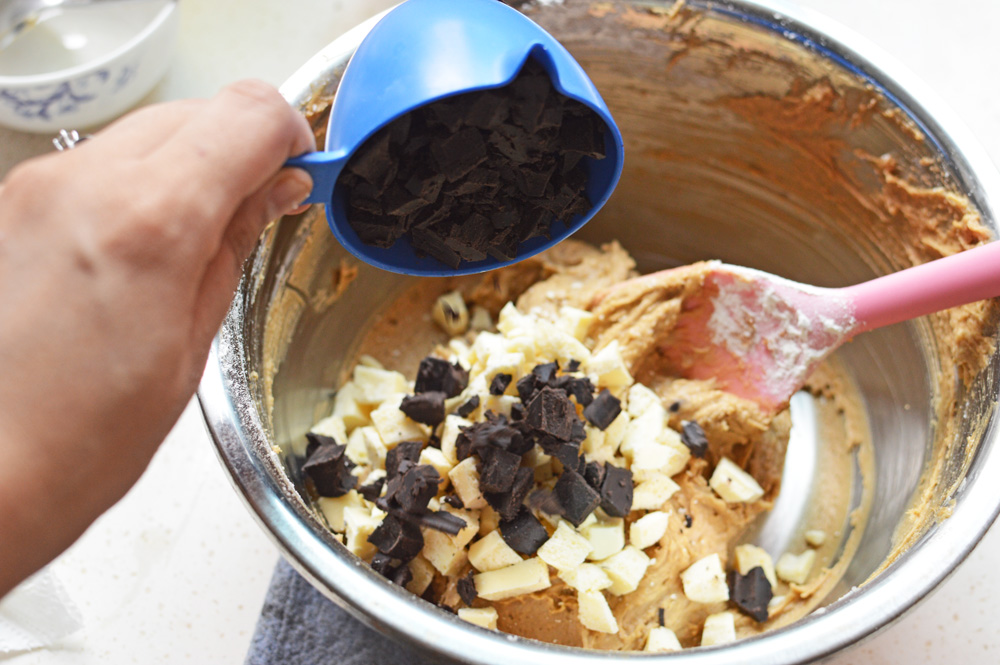 and the dark, and mix until just barely there. Do not over-mix the cookie dough. Please!
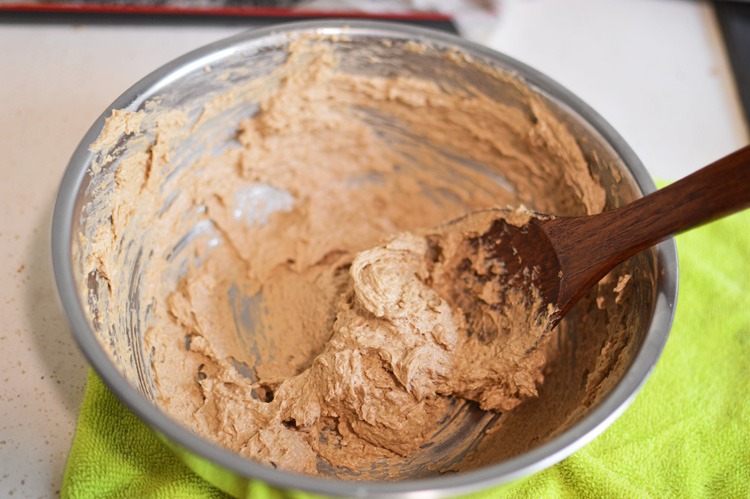
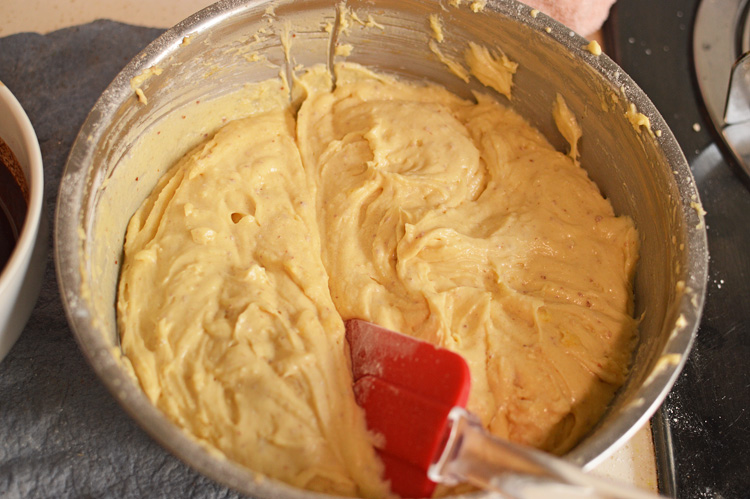
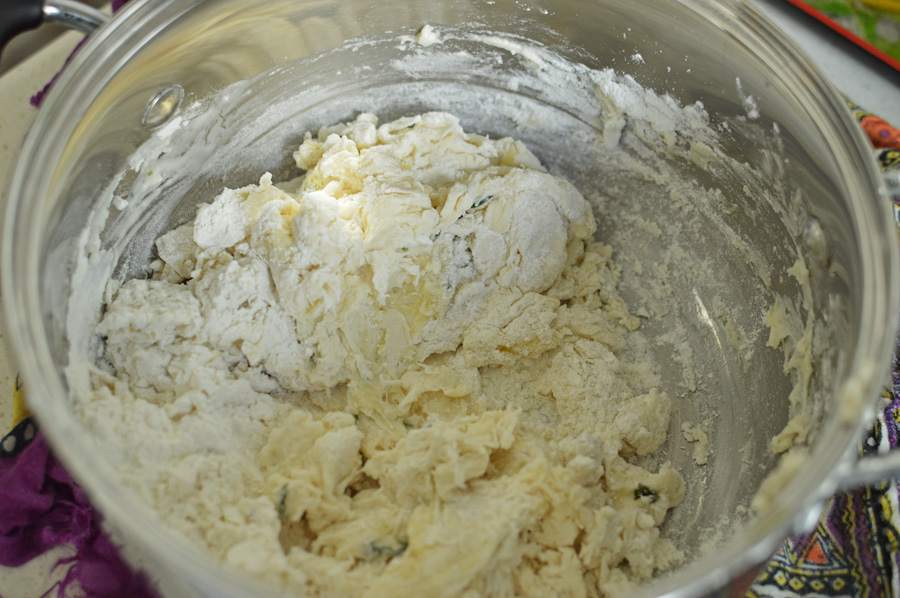
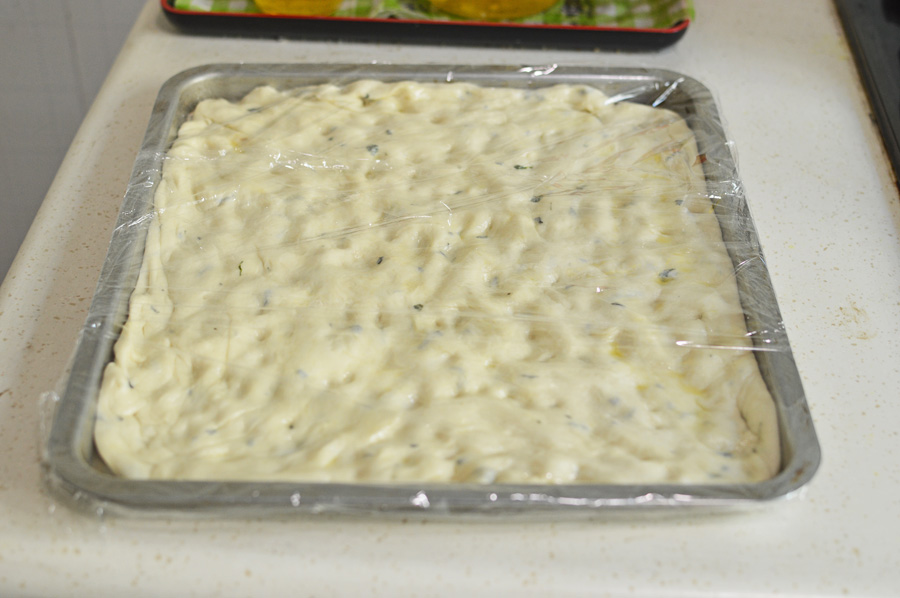
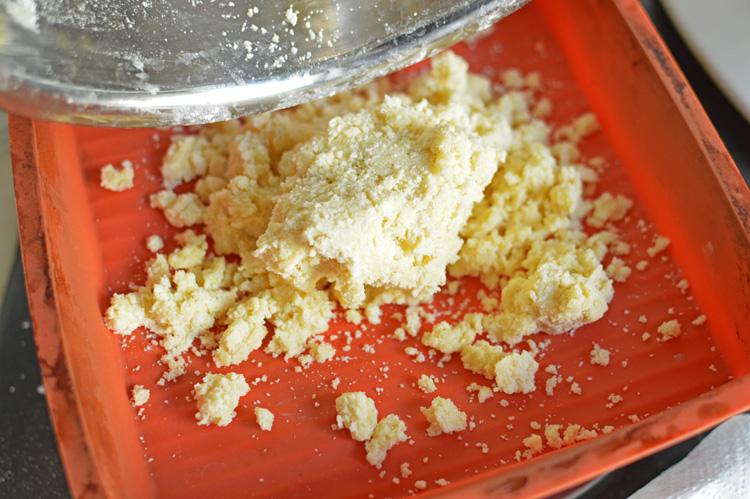
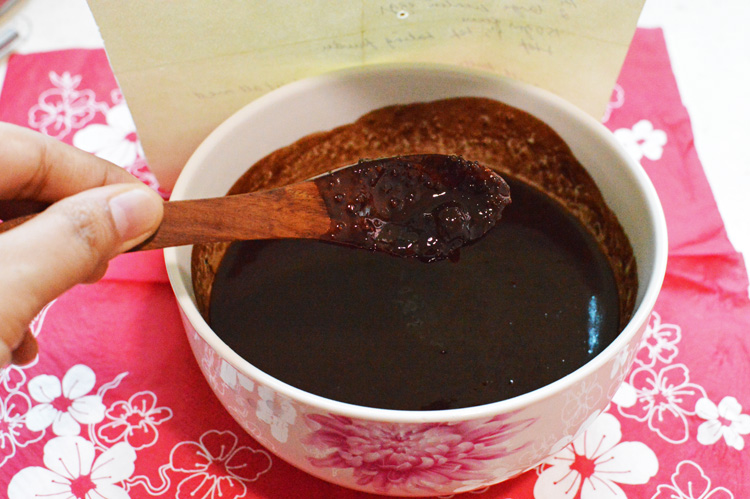
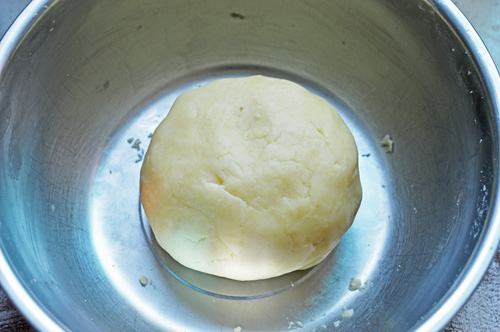
 this is how it comes together. Now cover with a cling film and let it sit in the refrigerator for 30-45 minutes.
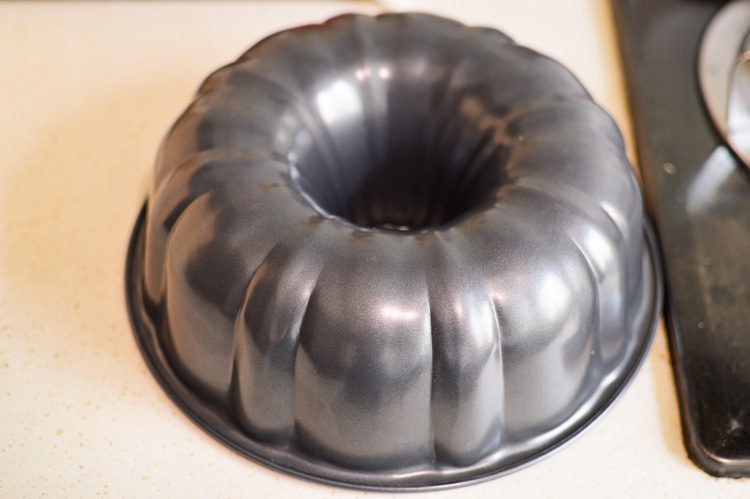
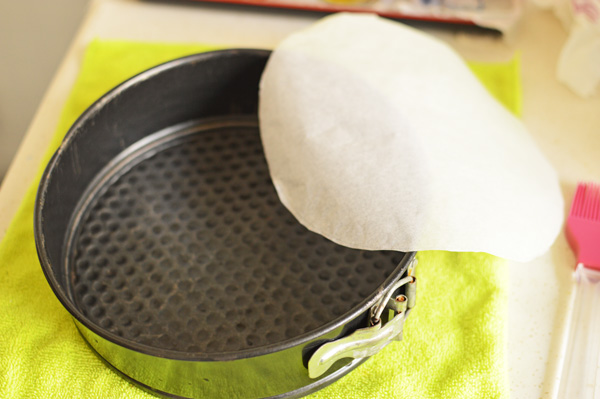
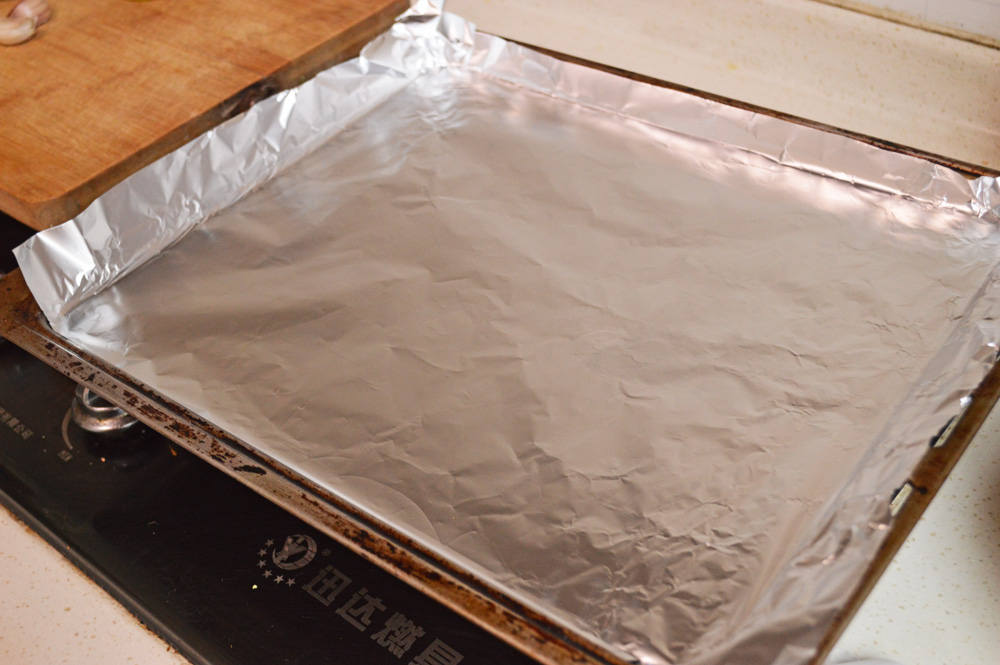
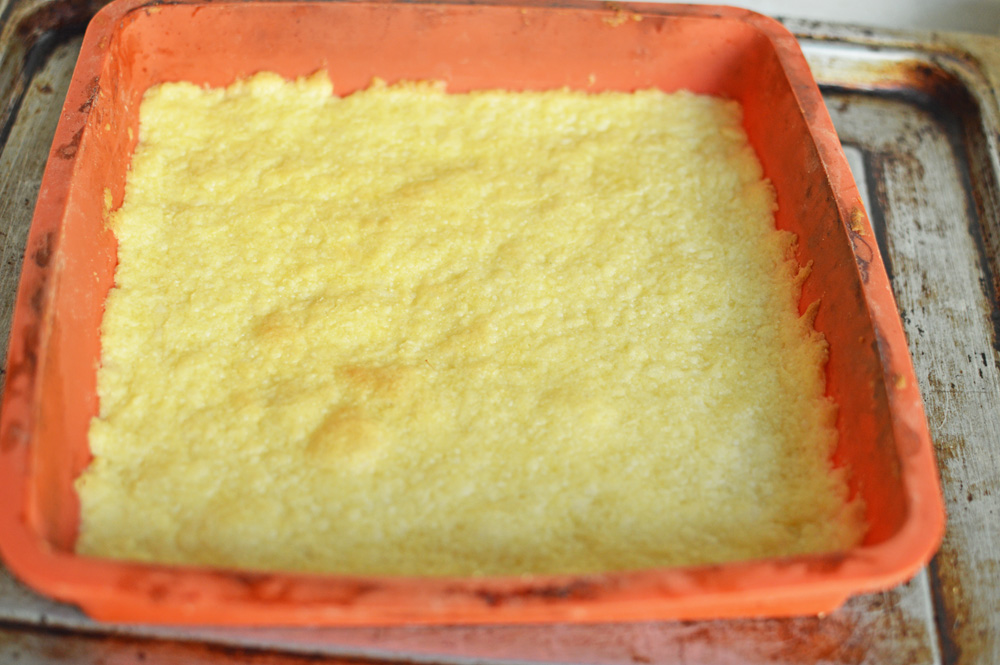
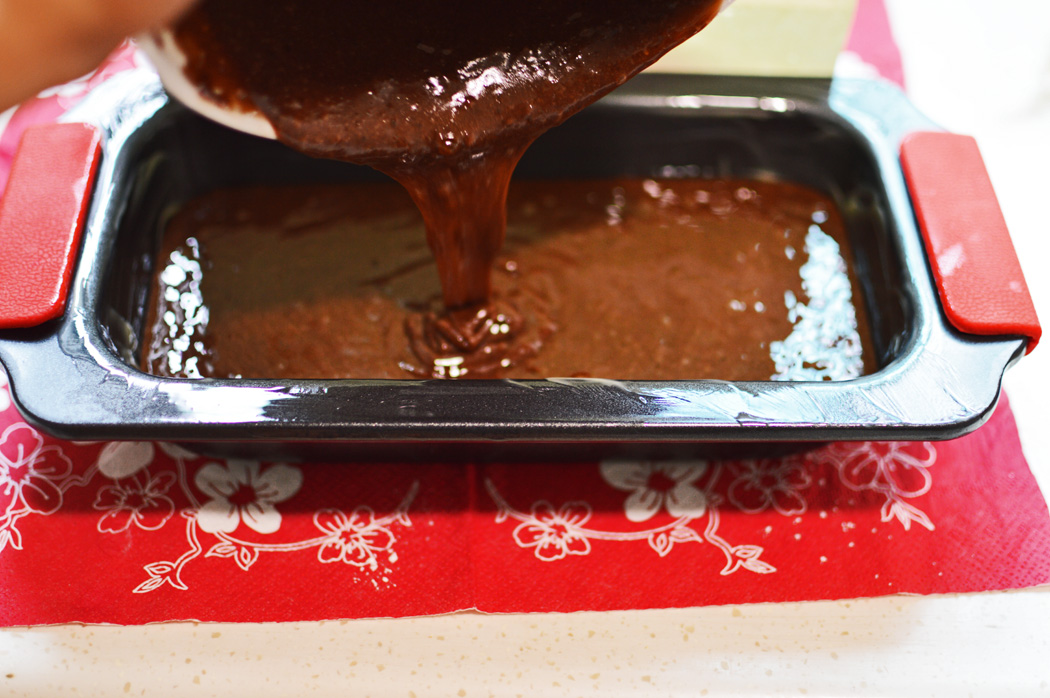
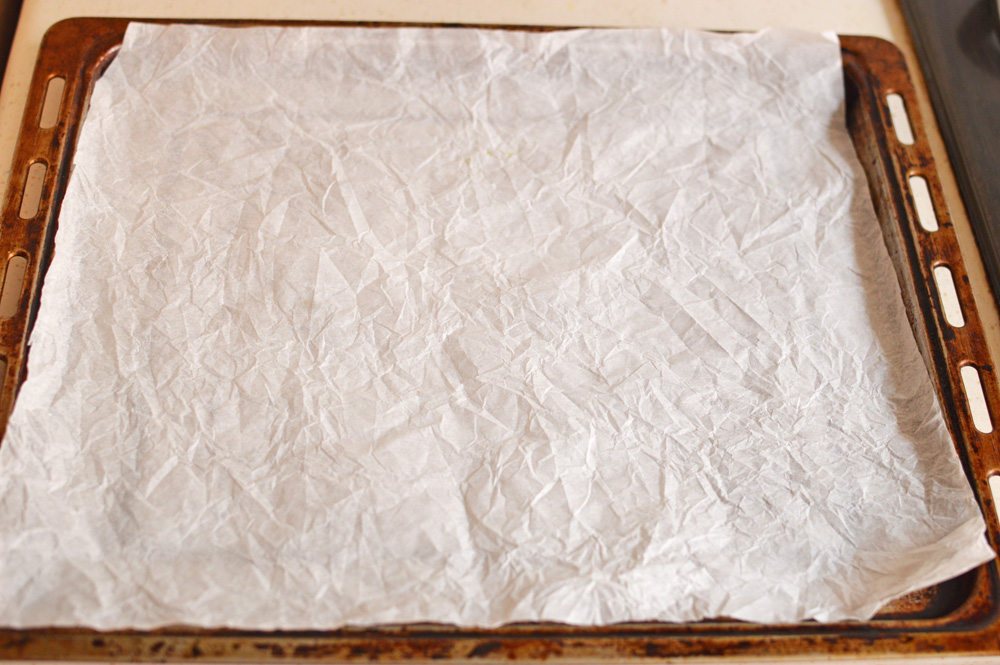 in the meantime, line your baking tray with parchment or butter paper, ignore that this is full of creases.
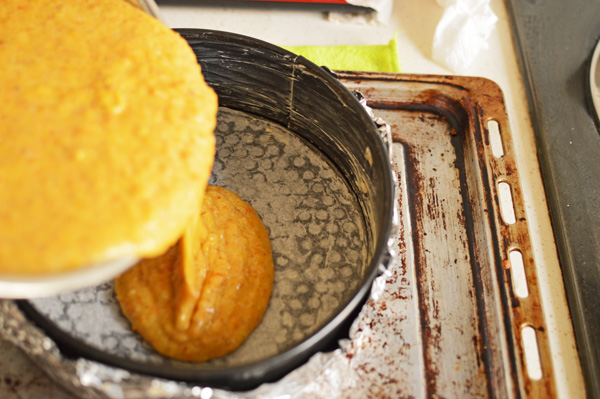
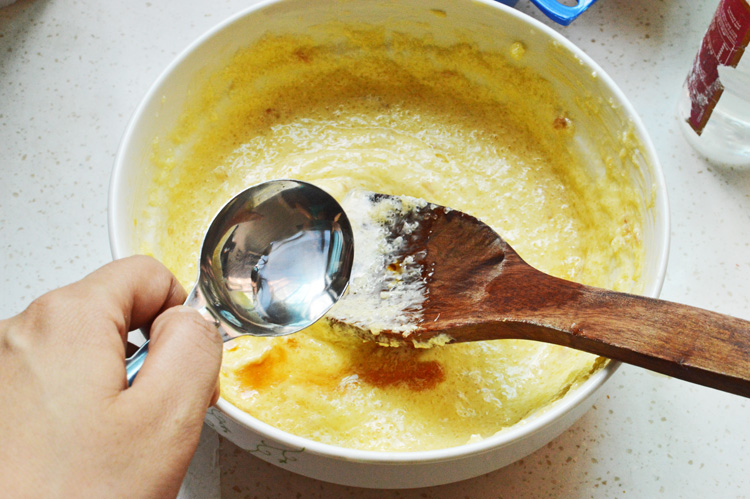
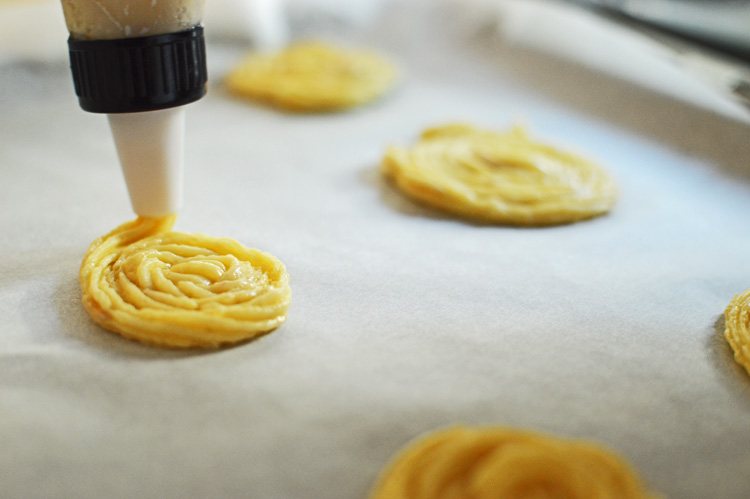
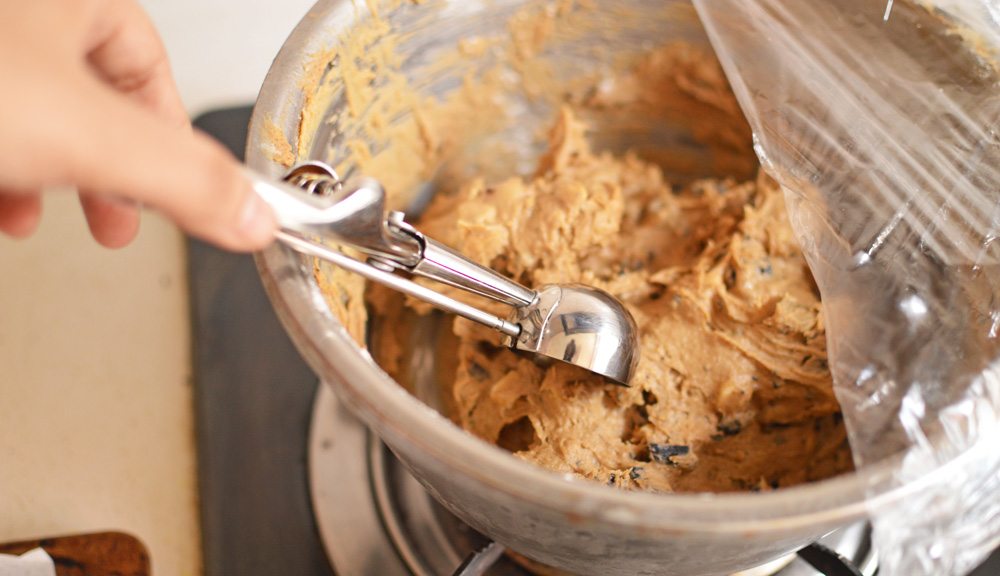 after 45 minutes, we’re ready to bake. It’s easiest with an ice cream scoop.
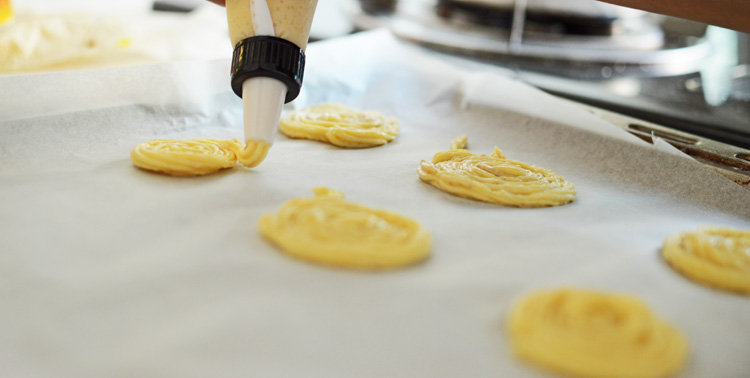
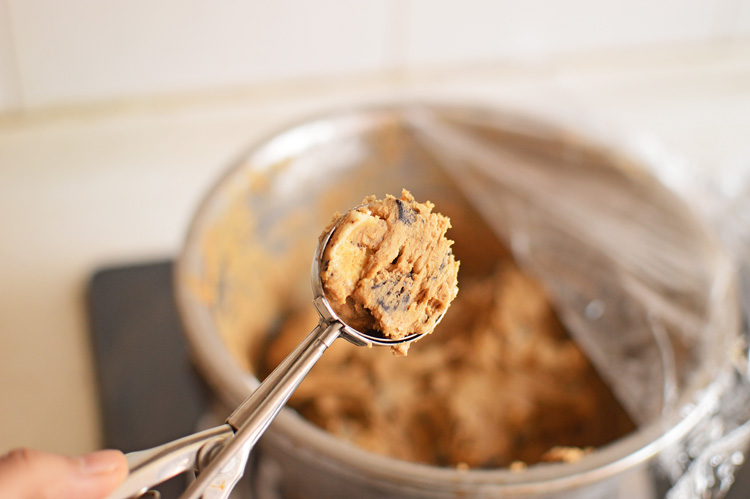 like so
 like so.. bake at 180℃ for 12-14 minutes, until the edges just start to slightly brown
 tadaa!! do not attempt to transfer the hot cookies immediately onto a cooling rack, they will all too easily tear. let them rest for at least 2-3 minutes.

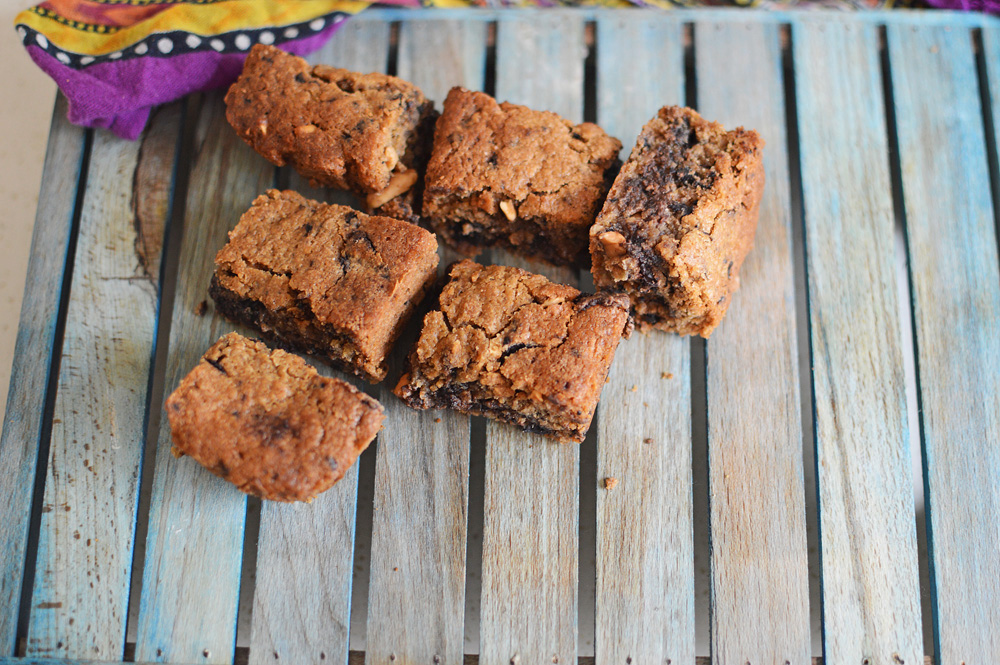
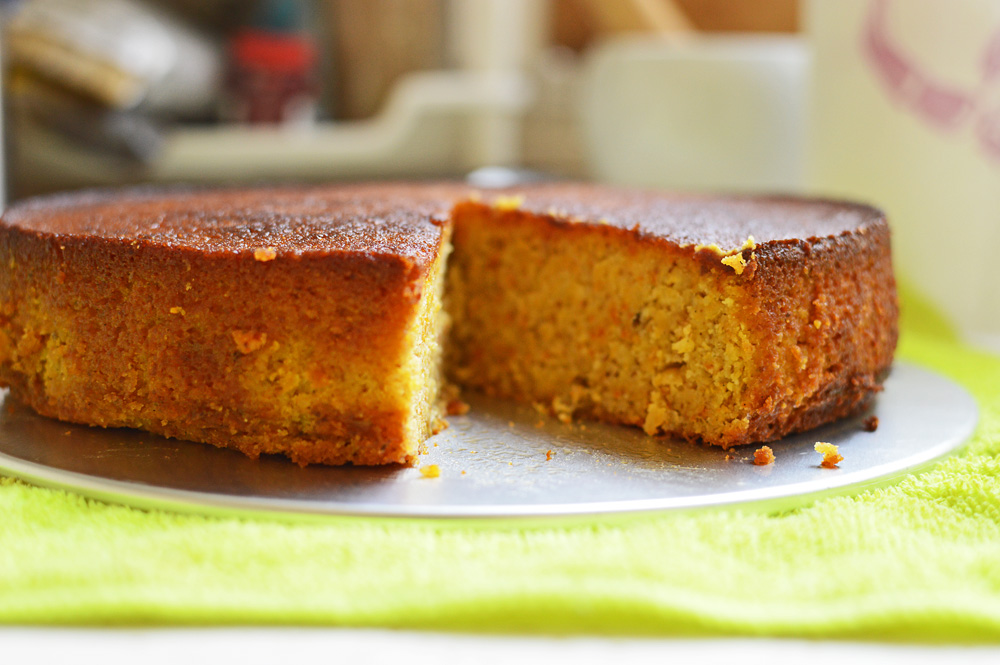
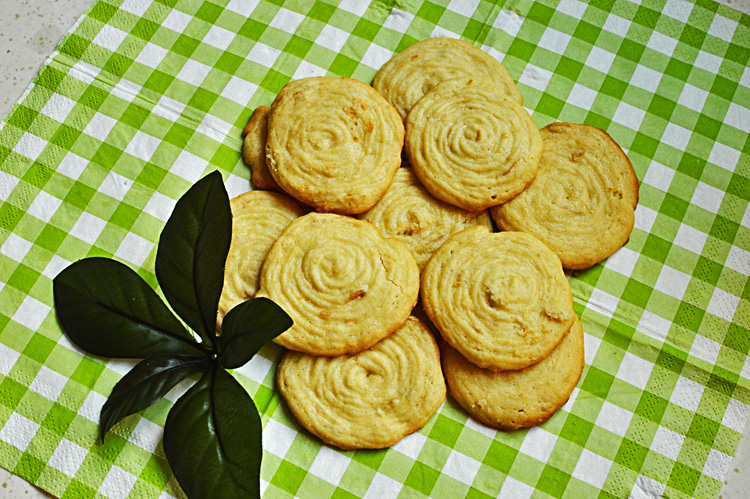
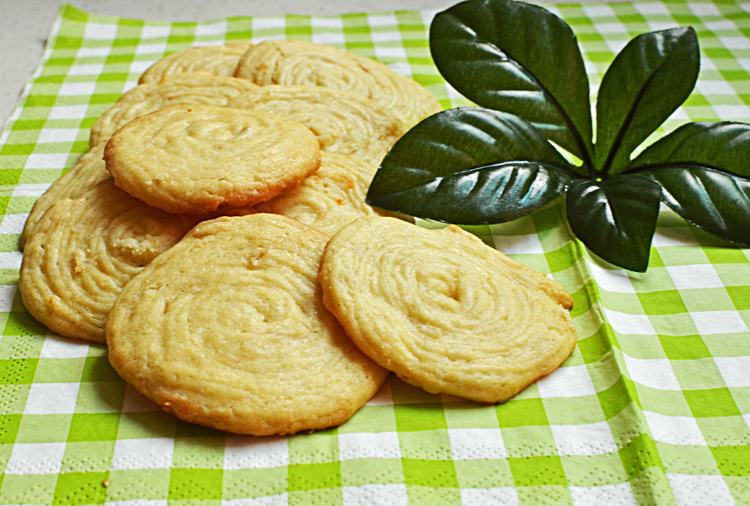
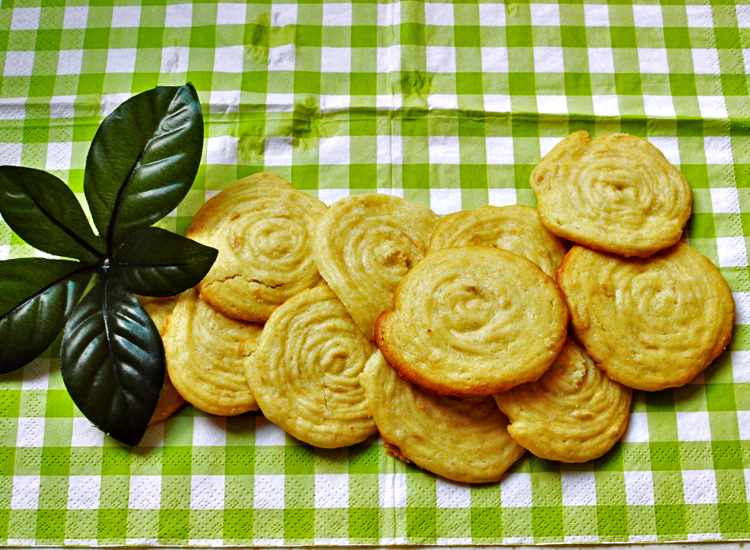
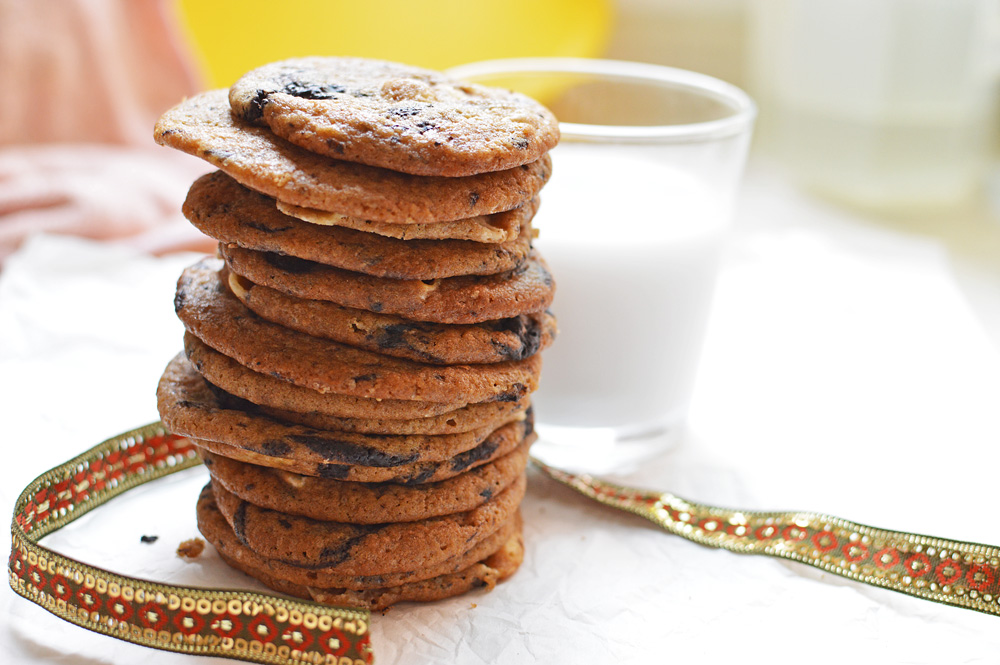
and finally this!
Dunk into milk, crumble over ice cream or just apply to face as is, they’re fantastic either way..and..and oh so gorgeous. The sides are slightly crispy, the center chewy, the chocolate chunks absolutely blowing these darlings into another dimension.
Ingredients
butter: 110g
white sugar: 70g (about 1/3rd cup)
brown sugar: 80g (a little less than 1/4 cup)
egg: 1
vanilla: 1 tsp
flour: 150g (1 and 1/4 cup)
baking soda: 1/2 tsp
salt: 1/4 tsp
dark chocolate (at least 60% cocoa): 70g (1/2 cup)
white chocolate : 70g (1/2 cup)
Preparation instructions:
Mix the dry ingredients (flour, salt, baking soda) into a separate bowl and set aside.
In a clean bowl, add in the softened butter and the sugar and cream until they’re light and fluffy. Crack in the egg and add in the vanilla extract and beat again for about a minute.
Add in the flour mixture and mix until just combined. Tumble in the chocolate chunks and stir again until all chunks are just incorporated into the mixture.
Cover with a cling film and let it sit in the fridge for at least 30-45 minutes.
layer your baking tray with parchment paper, and using an ice cream scoop place them at least an inch apart, since these cookies will spread.
bake at 180℃ for 12-14 minutes, until the edges just start to slightly brown.
Let them rest for a few minutes before you transfer them to cool on a cooling rack.
Store in an airtight container and they should disappear by the end of day.
 now you seriously gotta make these. Enjoy!