Do you ever wake up and suddenly remember something delicious you had months ago and feel the sudden need to recreate that moment or eat something similar? I’d ordered a bagel sandwich while out for brunch and though the sandwich was pretty lacklustre, the bagel in question was extraordinary and so it stuck and one day I woke up craving a bagel.
Bagels aren’t as easily available where I live and so it’s better and more entertaining to make some yourself which is exactly what I did and these came out pretty good, though I do intend on tinkering and tweaking a bit more with the recipe.
Whole wheat bagels with absolutely everything on top, fluffy on the inside and chewy on the out!
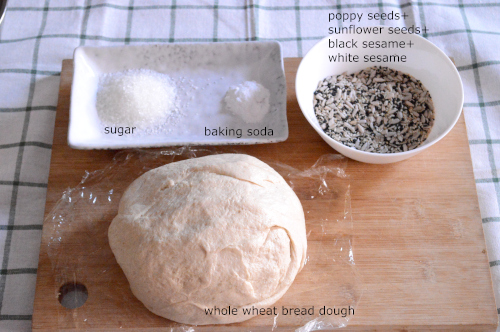
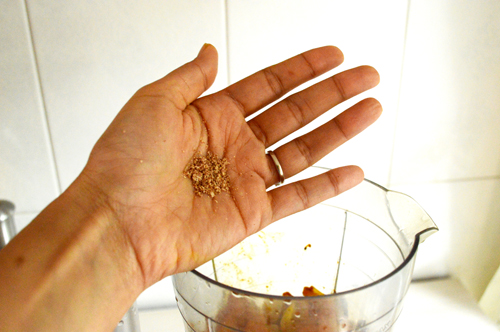
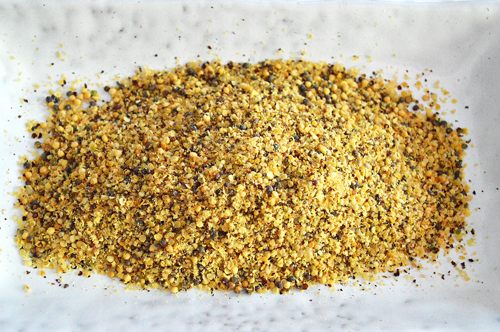
The premises are the same as any leavened bread. Start with some risen whole wheat dough. Recipe here. You also need some sugar, baking soda, and a mixture of whatever seeds or toppings you’d like on the bagel. It could be as simple as salt and sugar or a mixture of poppy, sunflower, black and white sesame seeds as I have here.
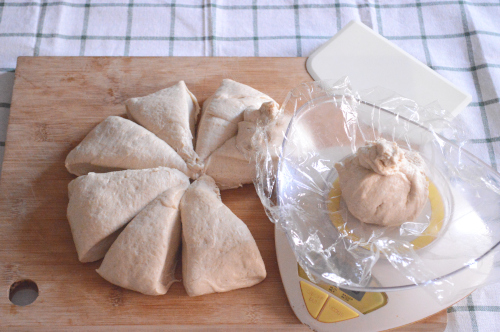
Divide the dough into equal sized dough balls. I made a total of eight from a kilo of dough for medium sized bagels. Each dough ball is 125g. You can make larger fewer bagels or smaller.
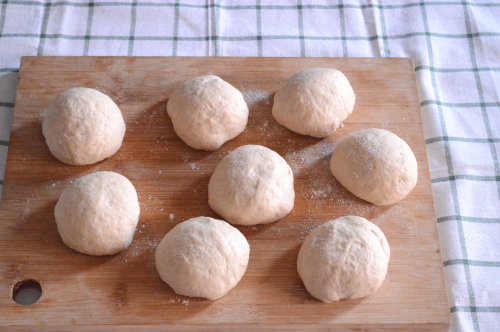
Make even sized balls

and let rest covered for 25-30 minutes.

Once they’ve slightly risen poke a hole in the centre and stretch the dough around to create a doughnut shape which is essentially also the bagel shape.

Like so.

Bring some water to the boil and add in sugar and baking soda.
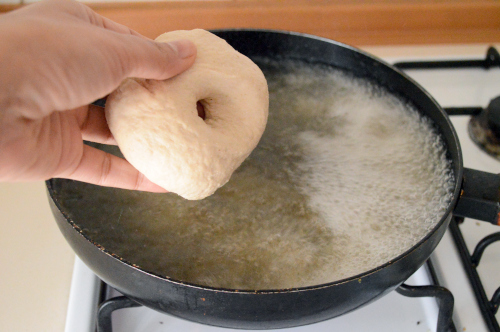
Once the water comes back to a boil slowly drop in the bagels

and let boil for a couple of minutes on each side

use a long spoon or chopstick to flip them over.
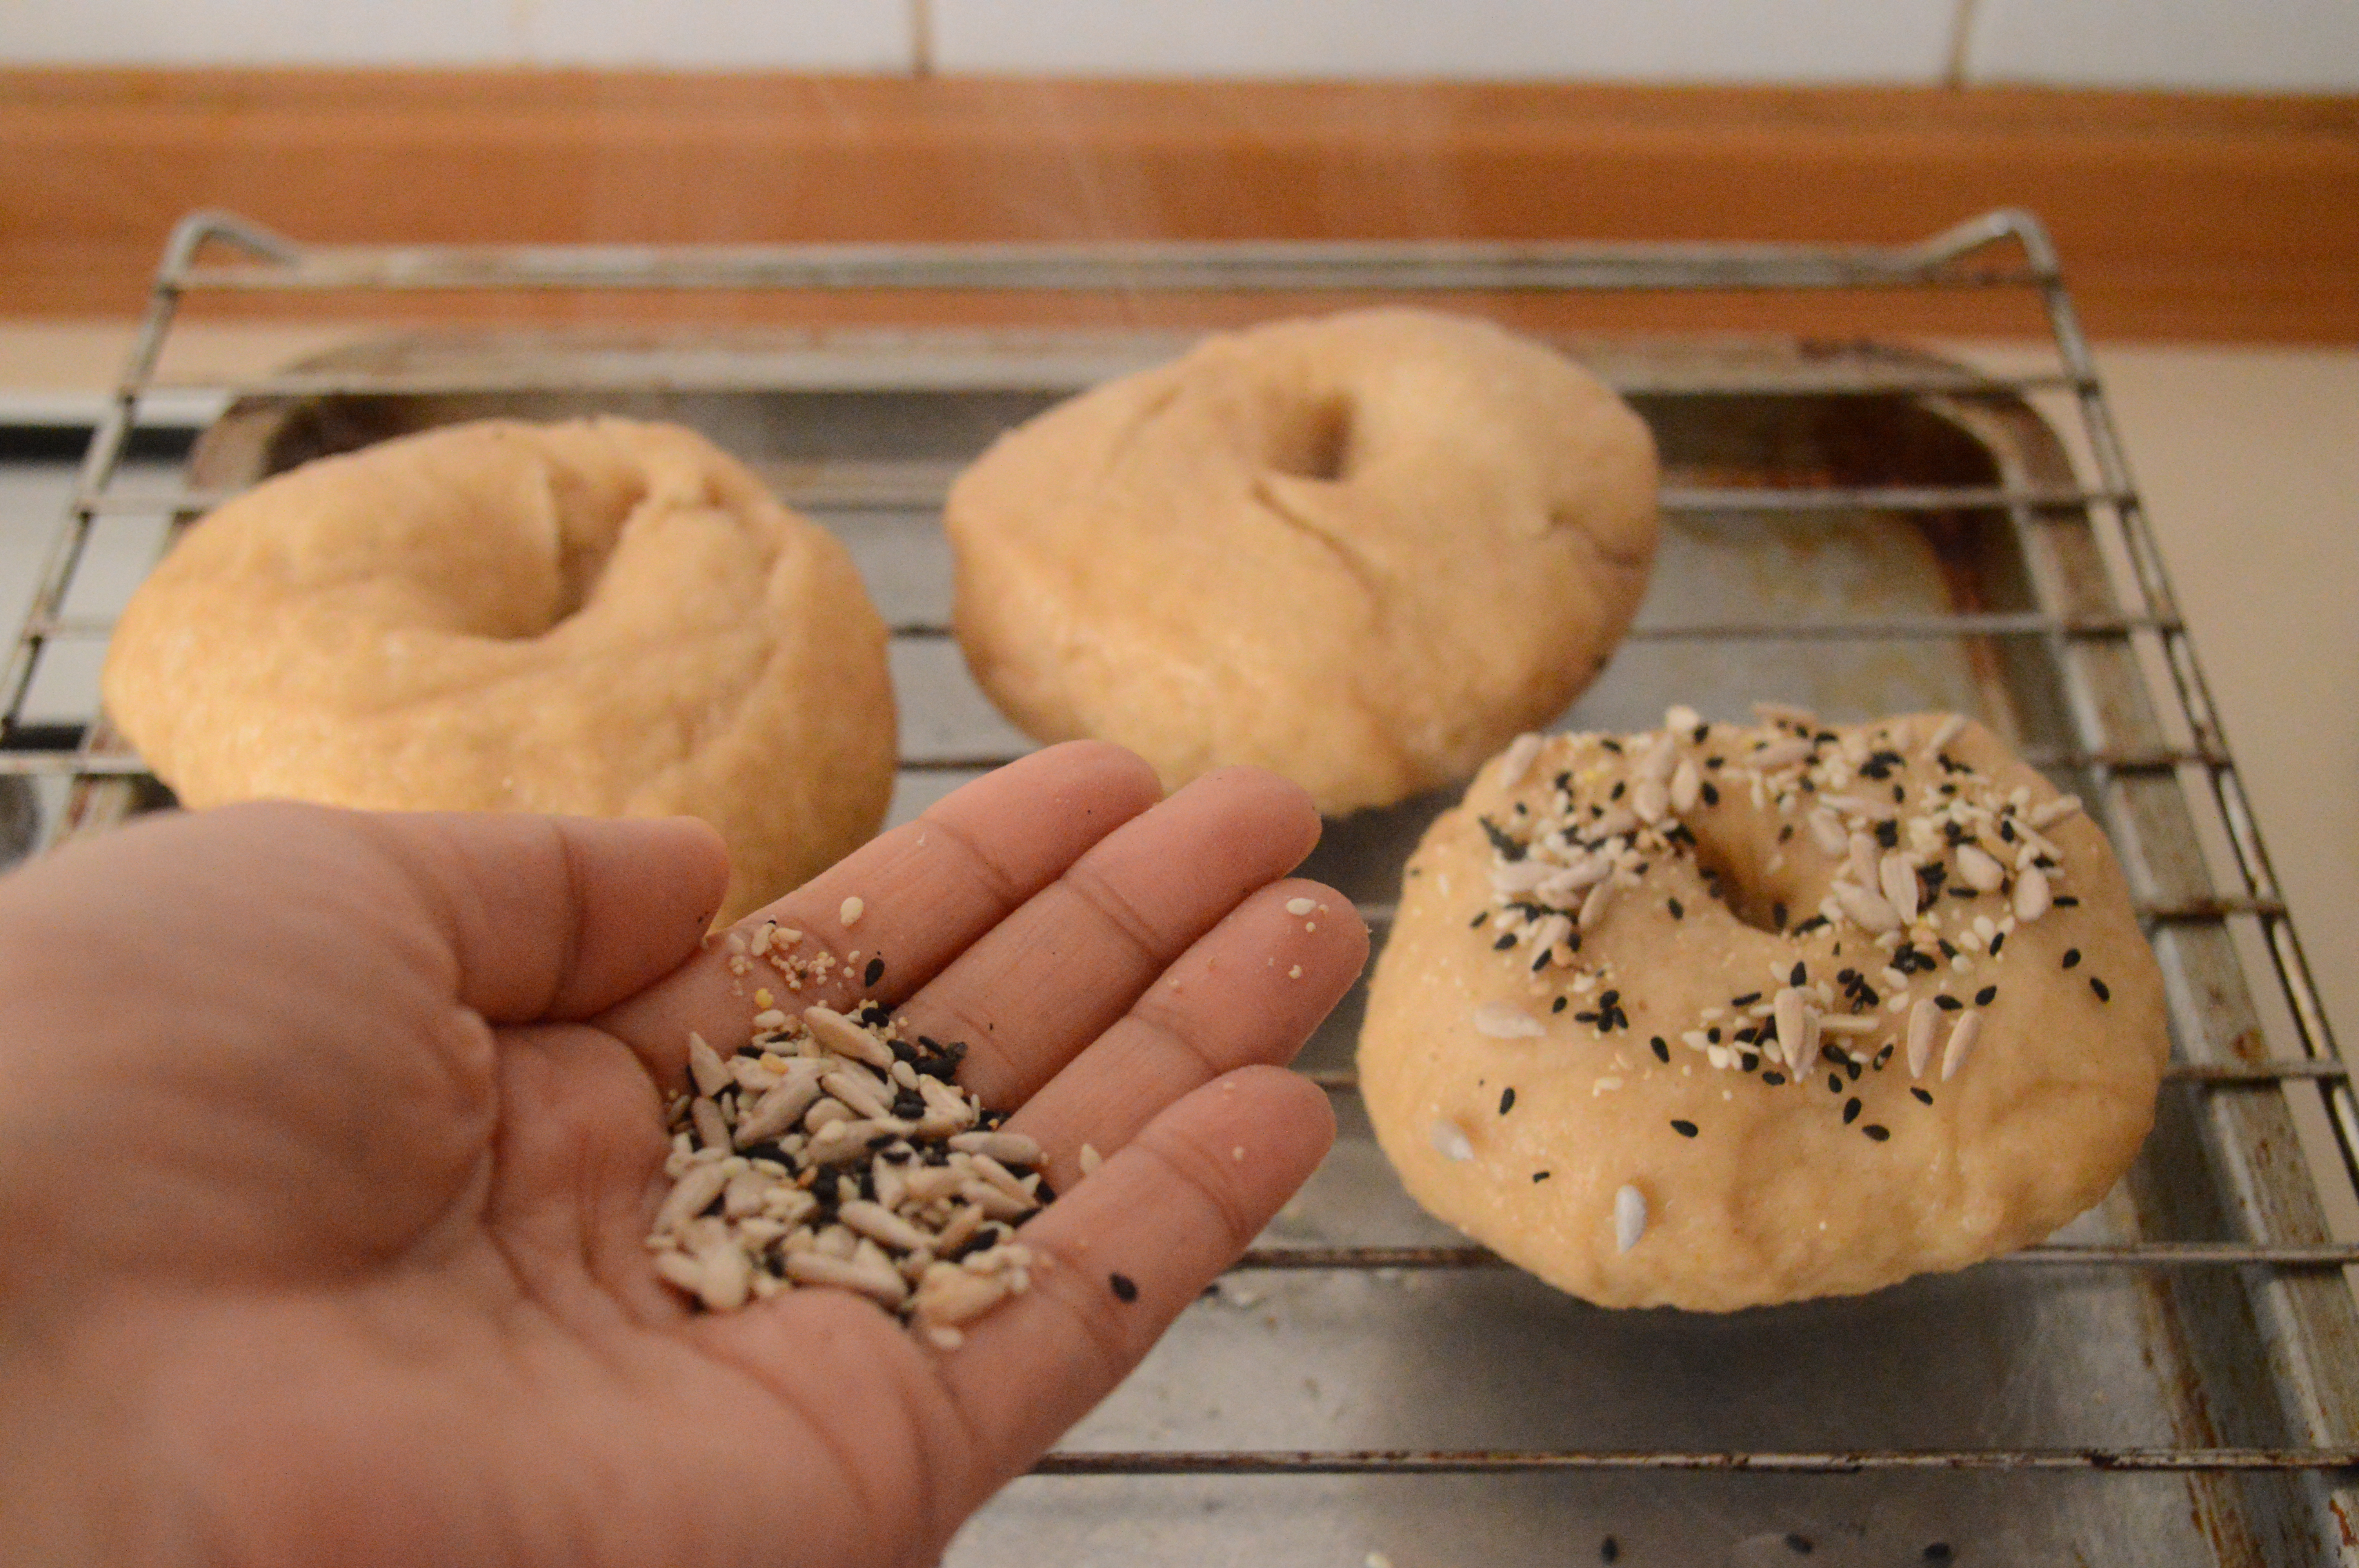
Fish them out of the boiling water once you see them floating, cover generously with the toppings and bake for 15-20 minutes at 200ºC until crisped and browned at the top.

Enjoy!
Ingredients and recipe instructions for whole wheat dough.
Ingredients for bagel

Wholewheat bread dough: 1 kilo
Sugar: 1tbsp
Baking soda: 2tsp
Poppy seeds: 1tsp
Black sesame seeds: 1tsp
White sesame seeds: 1 tsp
Sunflower seeds: 1tbsp
Recipe Instructions
Make the whole wheat dough a day before and let rise overnight in the fridge. Let rest at room temperature for an hour before dividing the dough into eight equal sized portions.
Roll each portion into a ball and let rest once again, covered, for 25-30 minutes.
Poke a hole in the middle of each dough ball and stretch around the hole to create a doughnut like shape.
Bring a large pot of water to a boil and add in the sugar and baking soda.
Once the water comes back to a boil slowly drop in the bagels carefully, not spilling any water. Let boil for a couple minutes on one side before carefully flipping using a chopstick or a long spoon and boiling on the other for the same time.
Fish out onto a baking tray and sprinkle over the toppings.
Bake at 200ºC for 15-20 minutes until the top has browned.
Let rest for 10-15 minutes before slicing. The outside should be chewy and the inside fluffy, and since these are whole wheat bagels the texture within will be a bit denser than the usual refined flour ones, but they will be just as delicious.