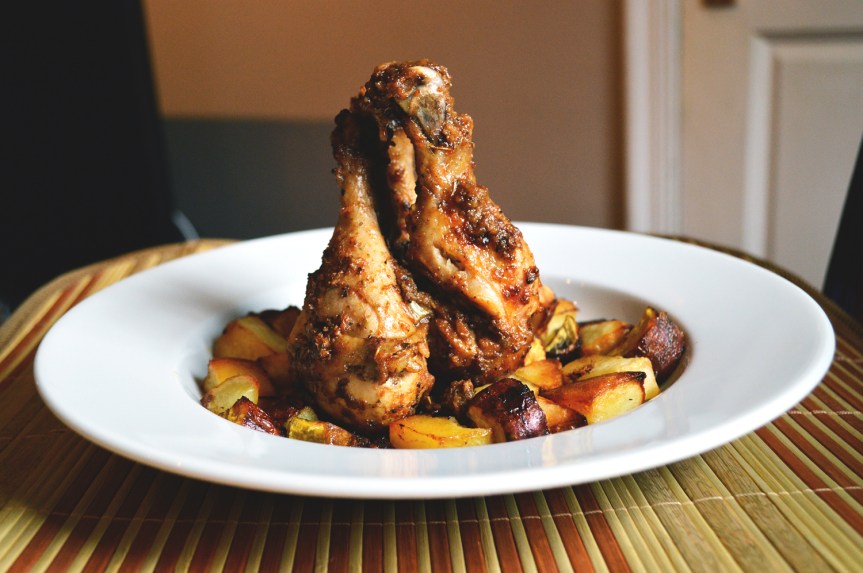
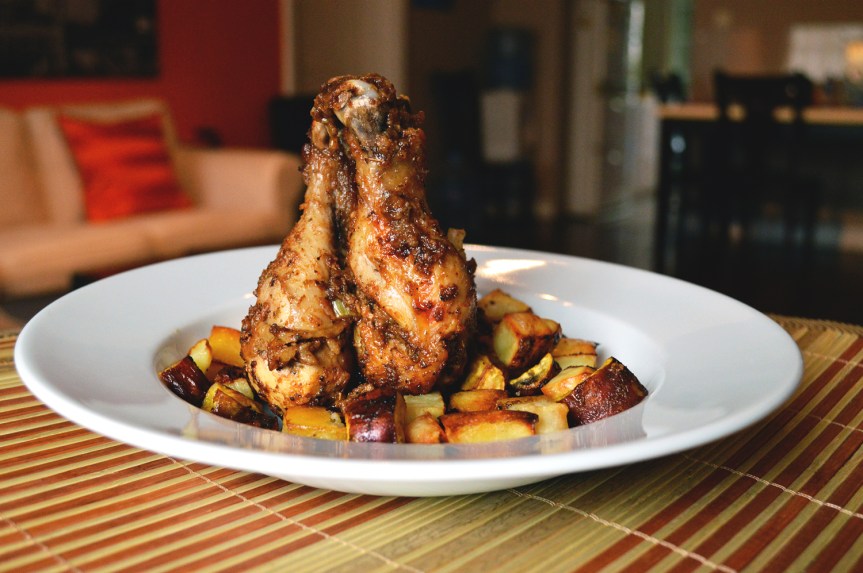
When you can feel the carnivore inside of you bubbling with primal instincts to tear into something meaty, something delicious and spicy, this chicken recipe with potatoes is just the thing. Savagely inoculated with flavours on a loudspeaker, there is nothing remotely subtle about this dish. It’s deliciously loud with mouthwatering piquancy, tender, juicy of flesh and drool inducing. The balance of tastes rendered stupefyingly lush with succulent aromas is so heady that it’ll send your entire house warming with tempting incense of tantalizing proportions.
Cooking it with potatoes just makes it a more complete meal, and there’s nothing more you’d wish for a better lunch.

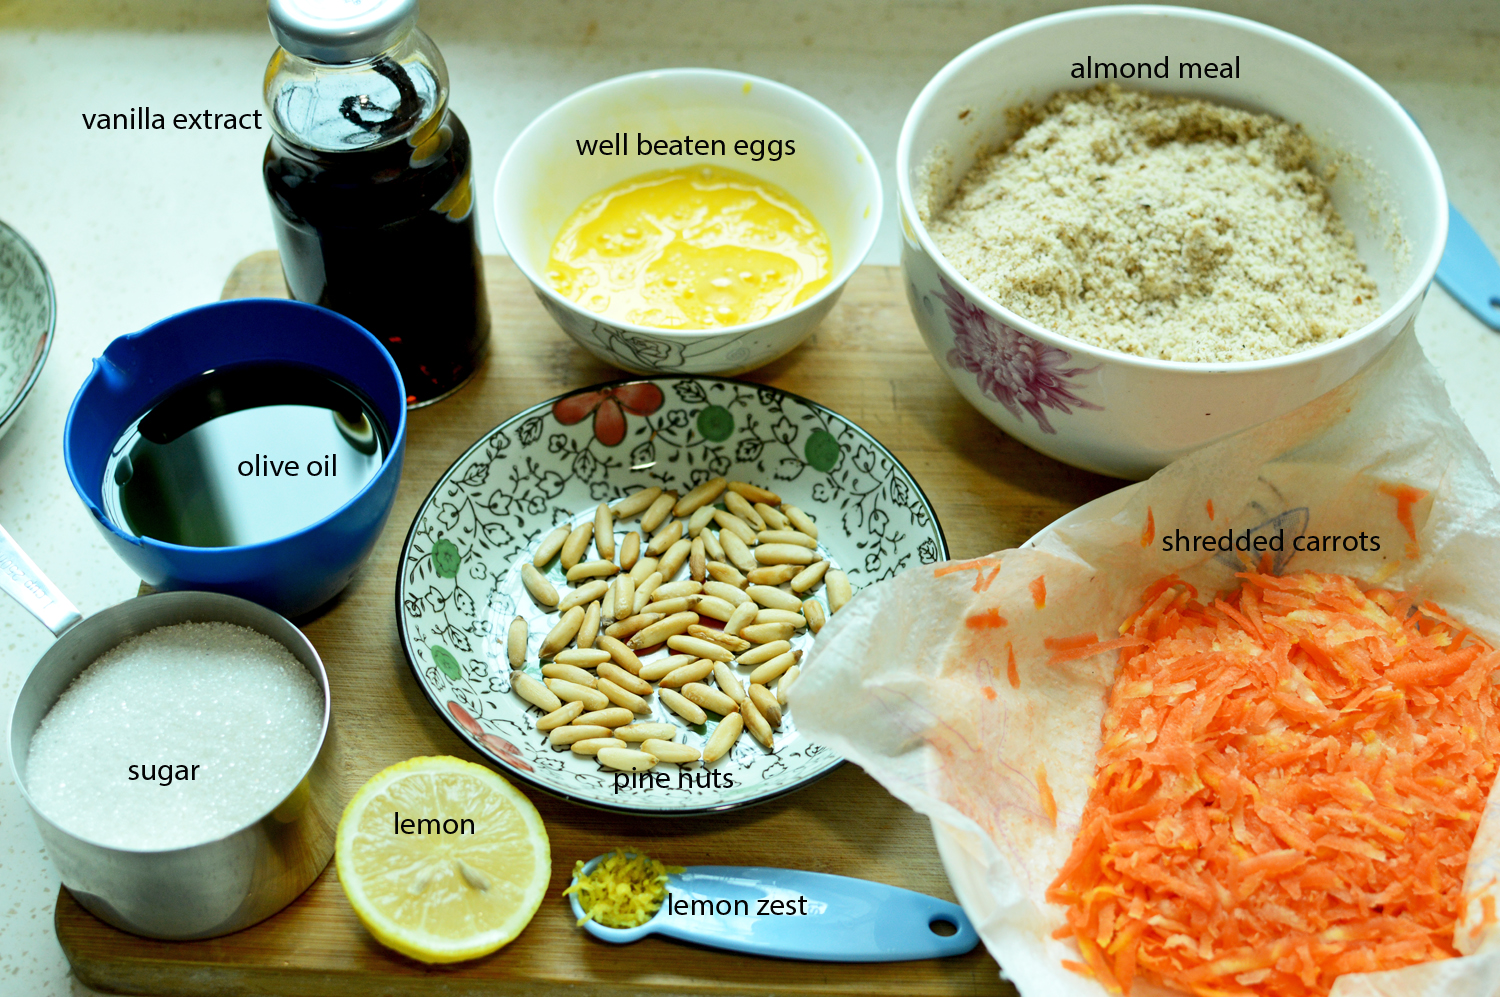
It doesn’t involve much in the way of fanfare, and most ingredients are easily available. Chicken drumsticks, olive oil, honey, crushed garlic, oregano, cumin powder, paprika, salt, black pepper, lemon juice and potatoes. I’ve used two different kinds of potatoes, but feel free to use whatever potatoes you like or have on hand.

for tender, juicier results we want to marinade the chicken for which you begin by slashing said chicken down to the bone. This helps with even cooking, and lets the spices penetrate in deep.

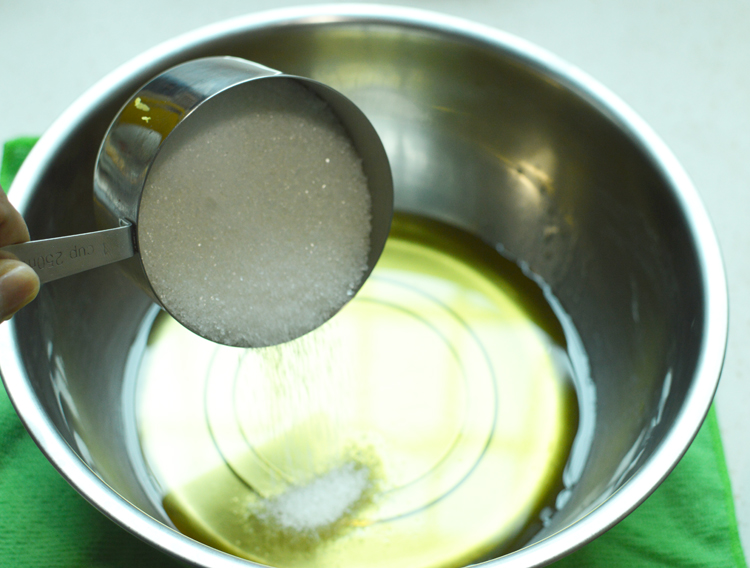
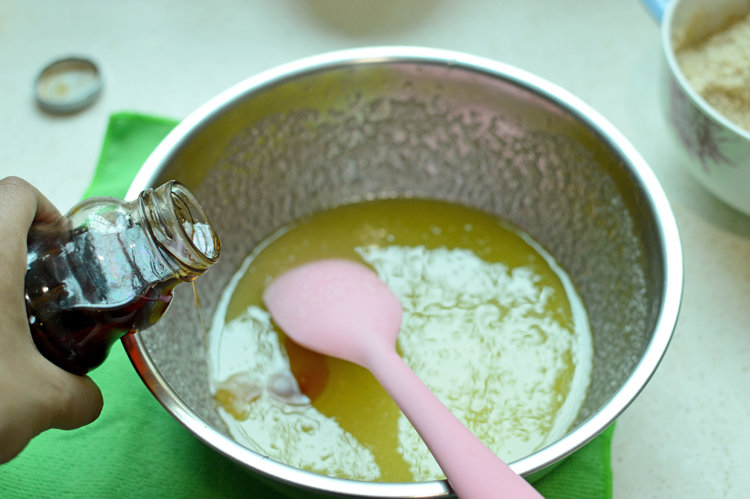
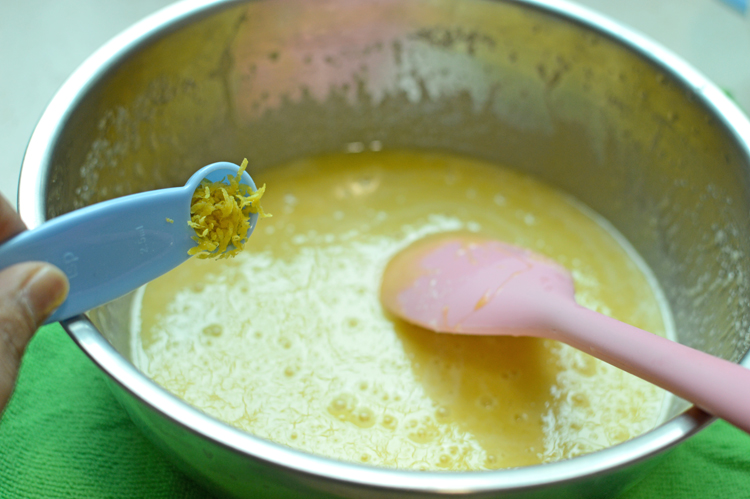
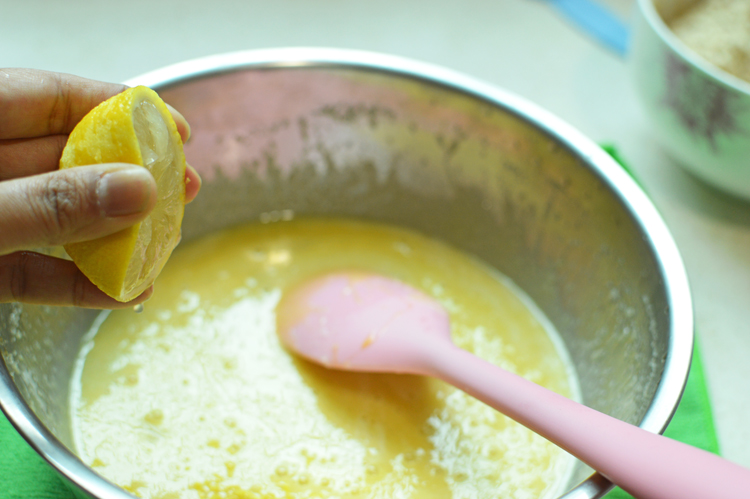
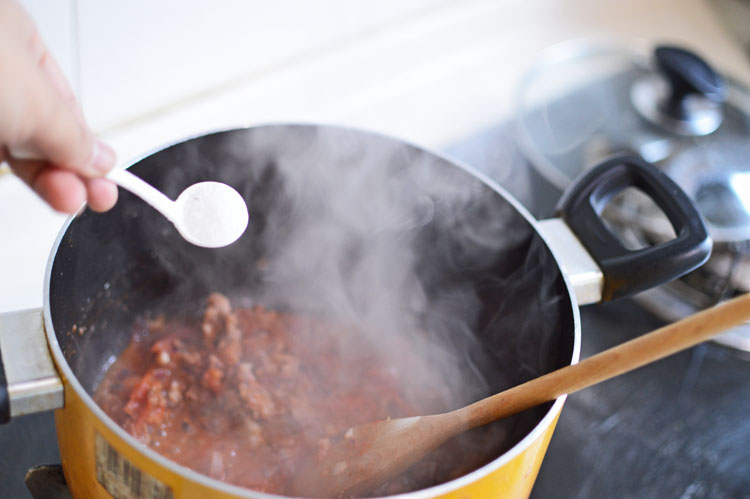
The marination is easy. Mix all the spices in a bowl

along with lemon juice

honey

and olive oil

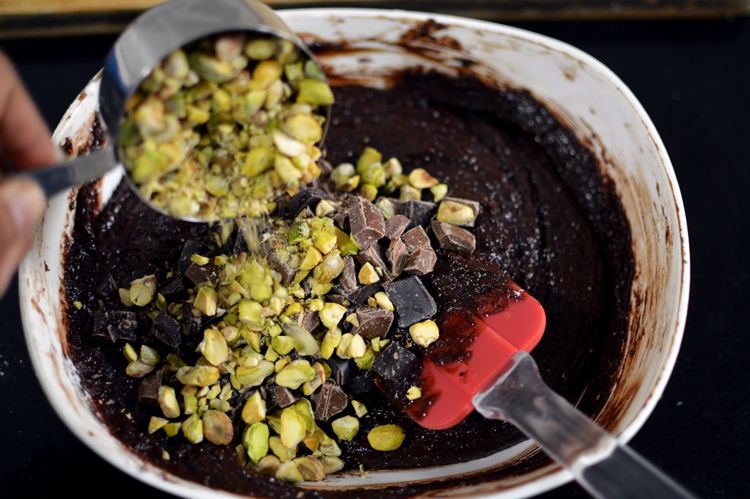
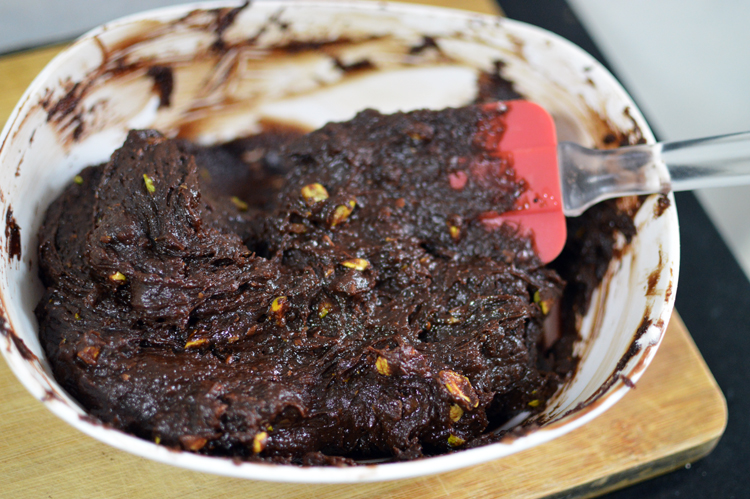
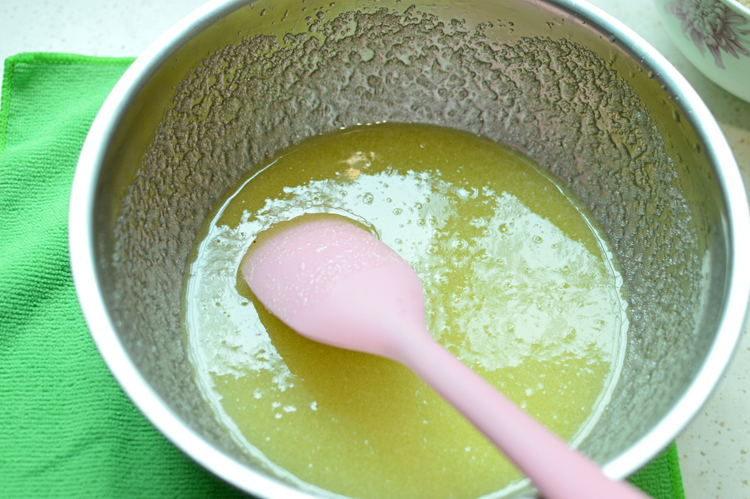
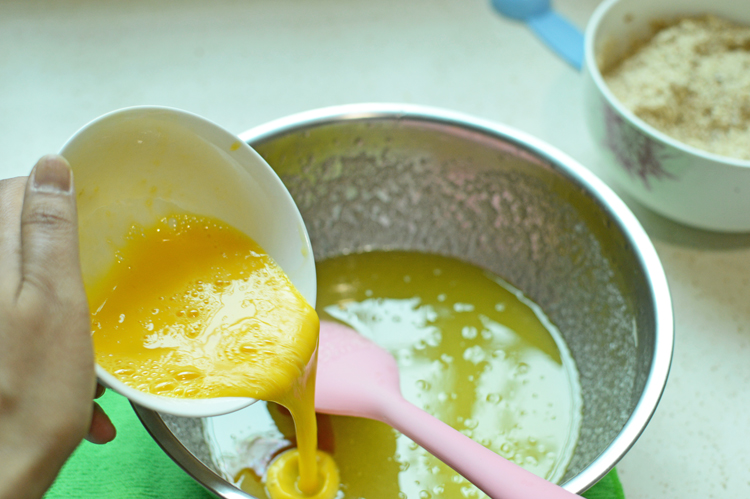
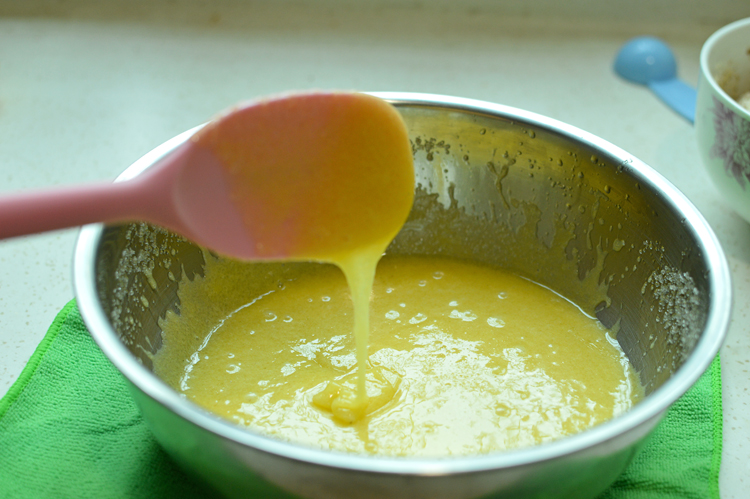
mix it all together to form a sort of paste.

Coat the drumsticks in the the marinade, making sure it’s seriously coated.

cover with a cling wrap and let it marinade in the fridge for a couple hours. You can do this bit of activity sometime during breakfast if you want to make it for lunch.

Prep your potatoes by cutting into bite sized cubes

drizzle a bit of olive oil

and a bit of salt. Nothing else needs be done to the potatoes.

Be sure to take the chicken out of the fridge at least 15 minutes before baking, so as to allow them to come to room temperature.

give it a final quick mix in the marinade before baking

place drumsticks on a bed of potatoes and bake at 200° for 30-35 minutes

about half way between baking time pull out the chicken and slather all the remaining marinade on top and under using tongs to rotate these pieces to get an even marination.
You won’t believe how good it smells.

This is it! they’re done. Let them rest for a few minutes before chomping in. Tender, moist, juicy, succulent. They’re so delicious you’d have to find another word for delicious, and don’t even get me started on the potatoes that have soaked in the flavours from the marinade and turned into crispy pieces of delectable spuds. YUM!
Ingredients
Chicken drumsticks: 3-4 in nos.
Potatoes: 2 in nos (1 sweet and 1 regular baking potato)
olive oil: 1 tsp
salt: 1/4 tsp
For the marinade
Crushed garlic: 1 Tbsp (2-3 garlic cloves)
Dried oregano: 1 Tbsp
Cumin powder: 1 Tbsp
Paprika: 1 Tbsp
Crushed black pepper: 1/2 Tbsp
Salt: 1 tsp
Lemon juice: 2 Tbsps
Honey: 1 tsp
Olive oil: 4 Tbsps (60 mls)
Recipe instructions
Make slashes on the chicken drumsticks to the bone, especially on its thickest parts, and make sure the meat has no water sticking to it or dry it with a paper towel. This helps the marinade cling better.
For the marinade, mix all the spices, salt and crushed garlic in a bowl along with lemon juice, honey and olive oil. (the addition of honey doesn’t sweeten anything except balance the tartness and spiciness of the marinade). Give it a good mix until everything is well incorporated and toss in the chicken. Use tongs for even coverage of the mixture on the meat.
Cover and let rest in the fridge for a few hours before baking.
Pull it out of the refrigerator at least 10-15 minutes before baking time to let it come to room temperature, thus ensuring even baking.
Chop potatoes into bite sized cubes and drizzle with olive oil and sprinkle salt. Cover baking tray with aluminium foil and place the potatoes and chicken drumsticks. Bake in a preheated oven at 200° for 30-35 minutes.
Halfway between baking time pull the chicken out of the oven and drizzle all the remaining marinade to coat or rather smother it, using tongs to flip the chicken on all sides to soak up the marinade.
Bake it for remaining time and let rest for a few minutes before serving.
NOTE: To know whether the chicken is done, insert a knife in the thickest part of the drumstick, and if the juices run clear then it’s cooked. If the juices are still red then you need to put it back into the oven.
Serve on a warm plate.
Enjoy!!


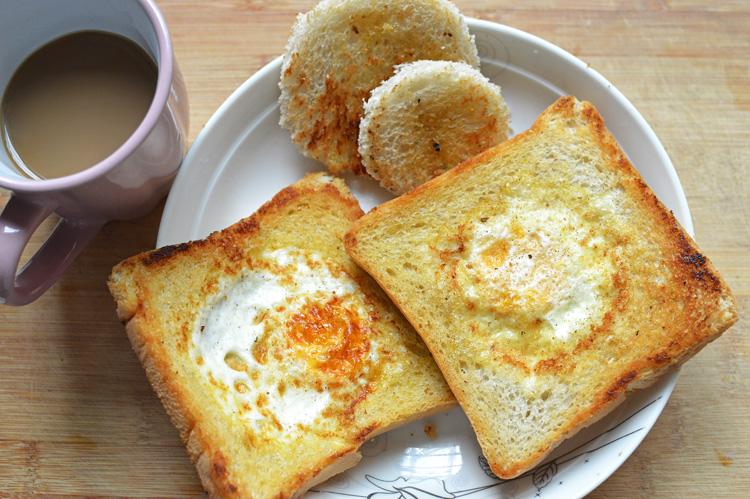
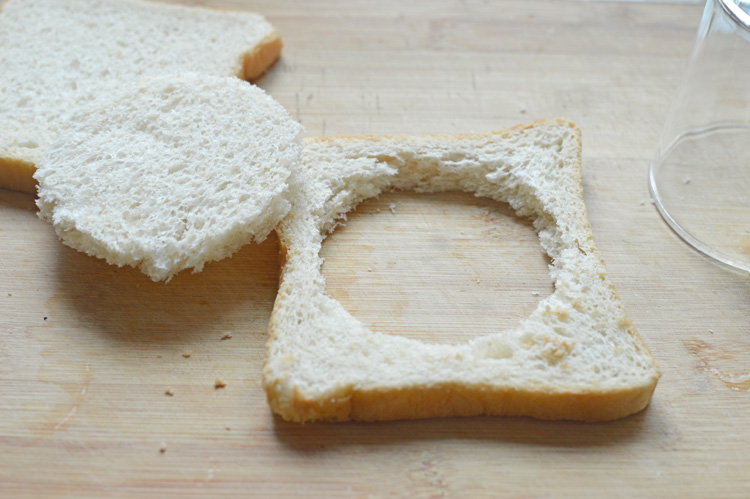
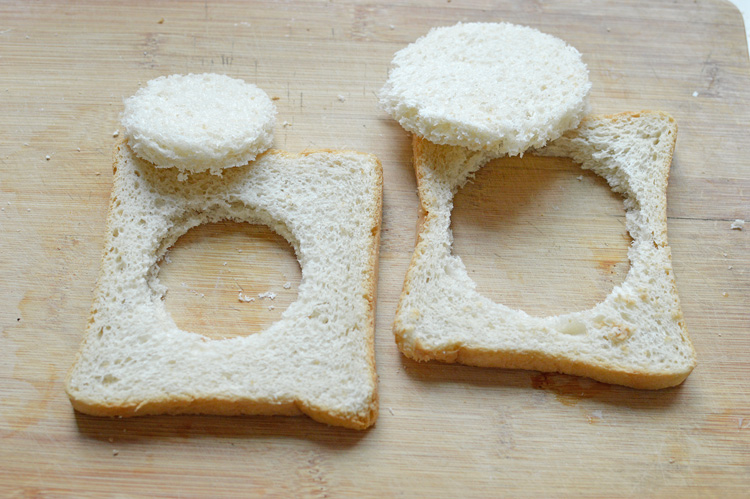
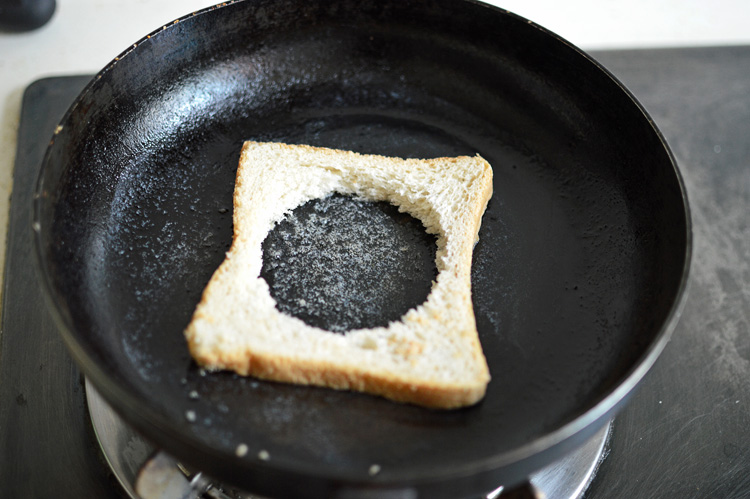
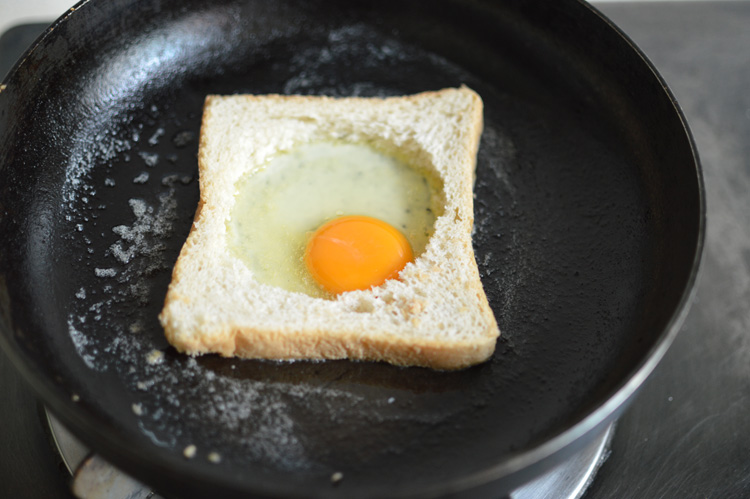
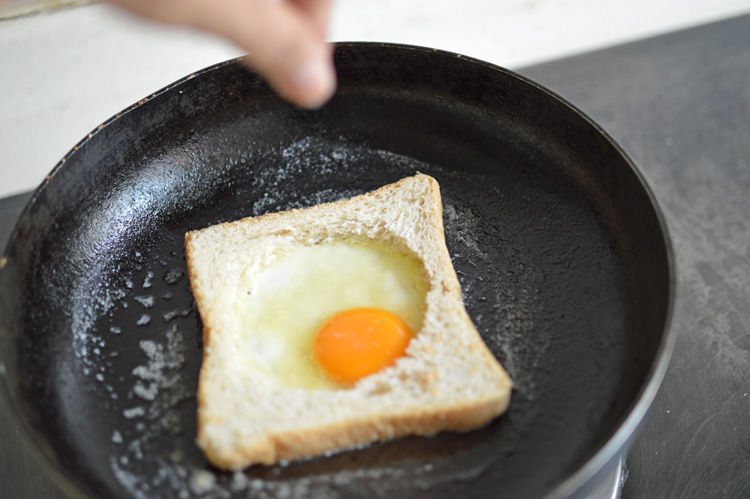
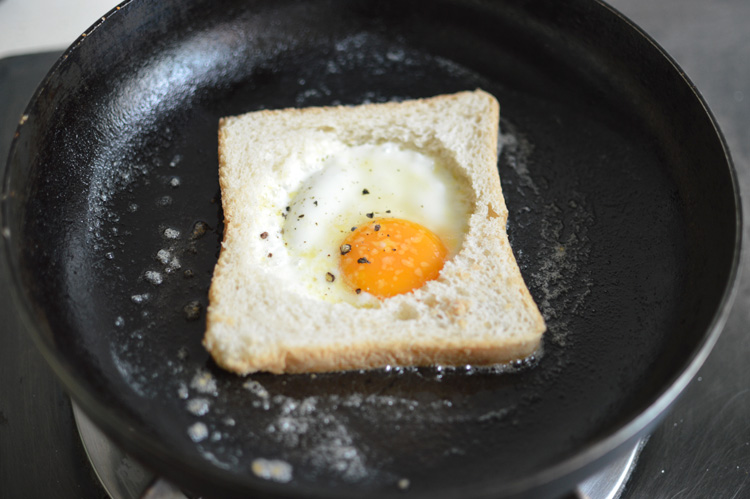
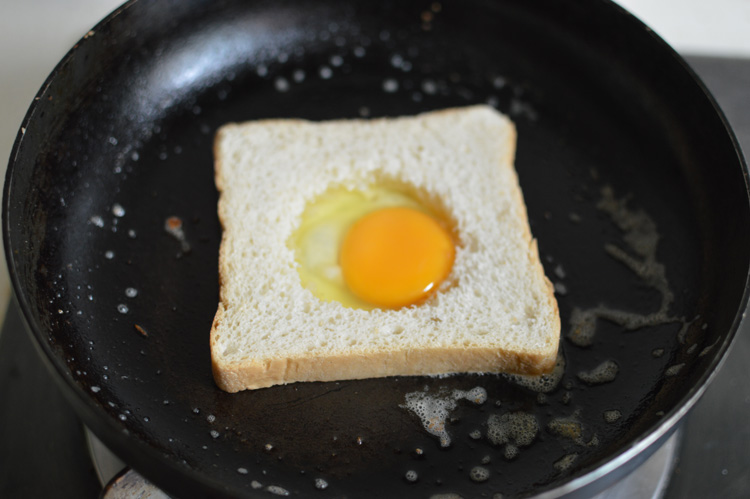
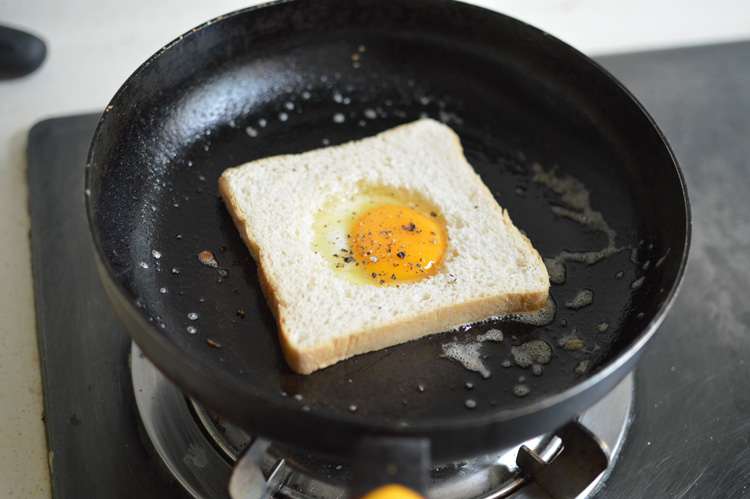
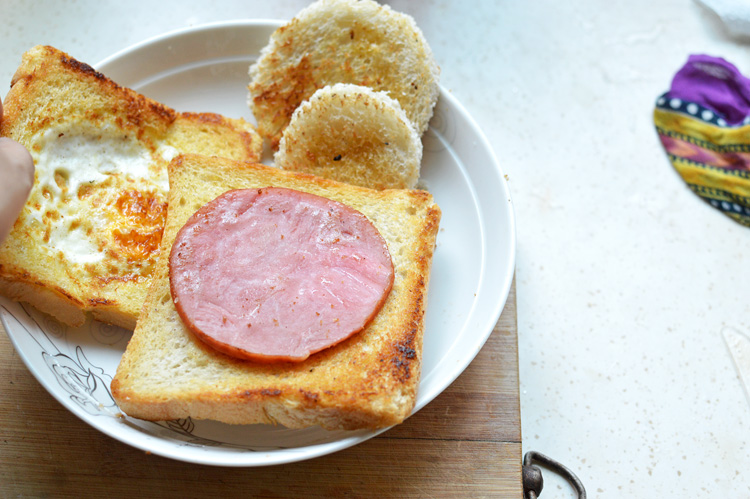
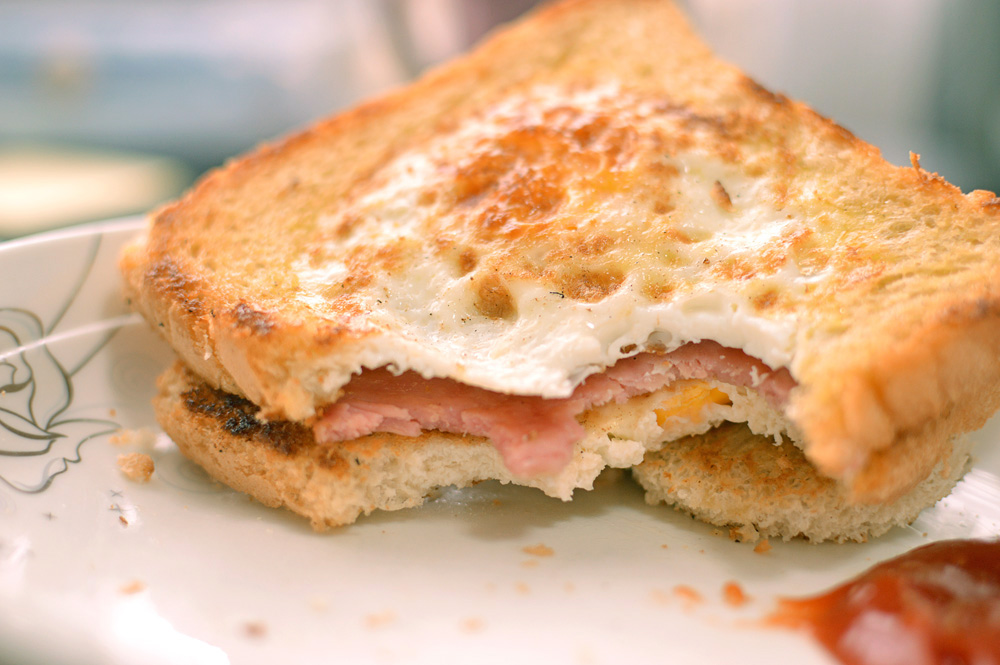
 There’s no reason to call this an ‘awesome breakfast sandwich’ when this can be as easily called an ‘awesome brunch sandwich’, and does in fact serve as a fantastic brunch idea. It’s fast, filling and satisfying. Monstrously heaped with all things good, it’s indulgent, comforting and a fantastic fuel for moments when your body craves a morning laden with carbs and greasy crisp bacon.
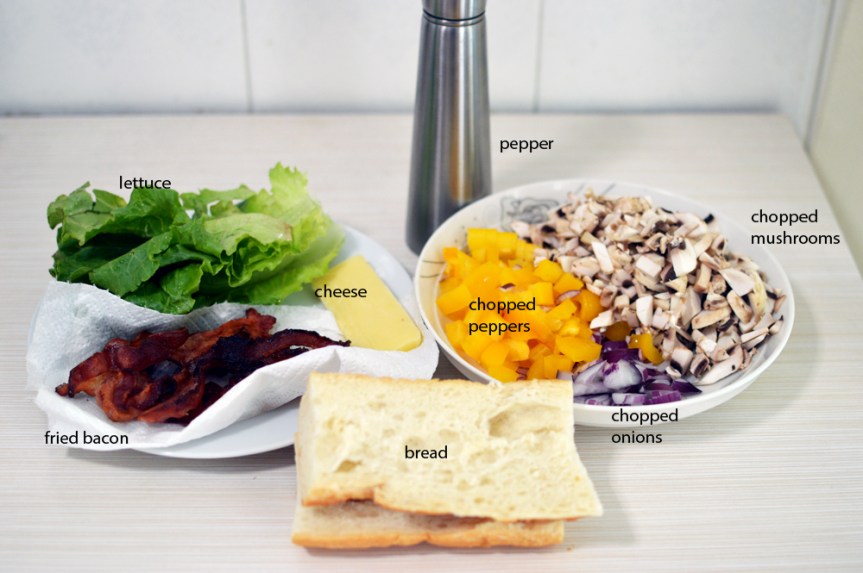 if you were to edit bacon out of this picture, you’d have the ingredients for a a very veggie sandwich. There’s also mustard and mayonnaise but they’re working behind the scenes.


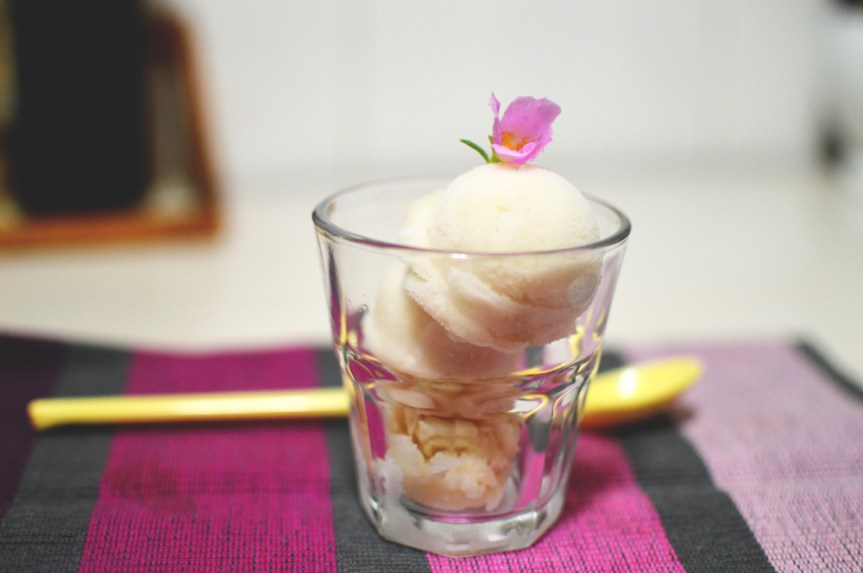
 Since the gods are being all sorts of unkind with the sun, what with the blazing rays and scorching heat, it’s only natural to pour in copious amounts of coolants into your body, without skimping on the sugar.


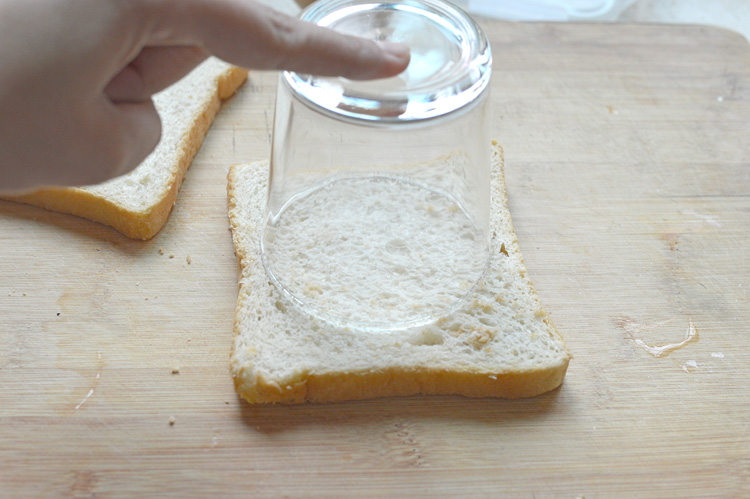
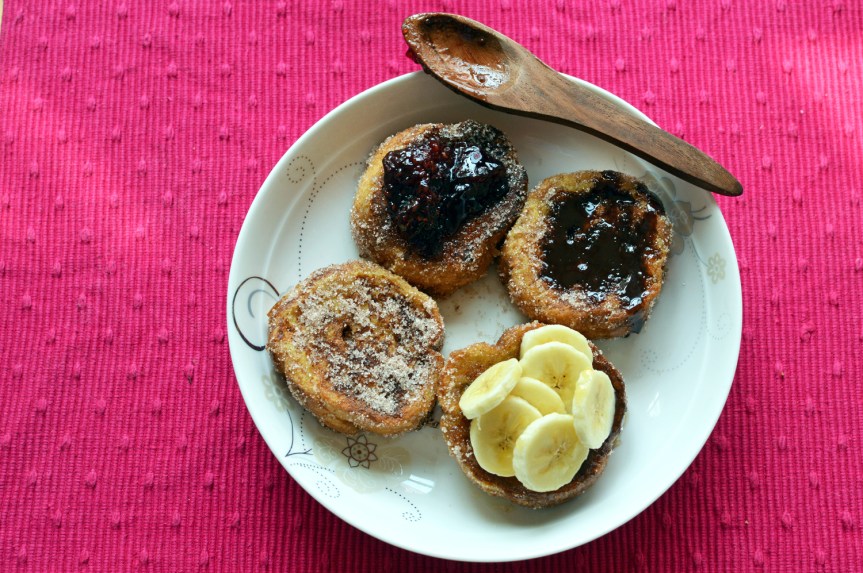 That’s right my darlings..doughnuts for breakfast, except these are actually French toasts masquerading as doughnuts..but do you care? They’re hot, coated thickly with cinnamon sugar and doused with your favourite toppings to make one heck of a breakfast meal.
 Eggs, milk, vanilla, cinnamon, salt, sugar and bread. That’s it. High rewards for such few ingredients.
 This step doesn’t apply to those who live in a world of pre sliced breads. I used a stale baguette, and it does help a lot if you’ve a stale bread lying about the house dying to be used up.
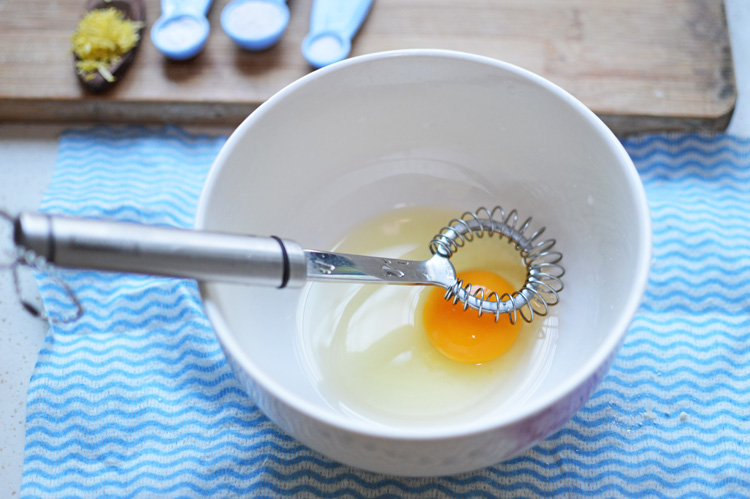
 Crack in the eggs and add milk
 vanilla
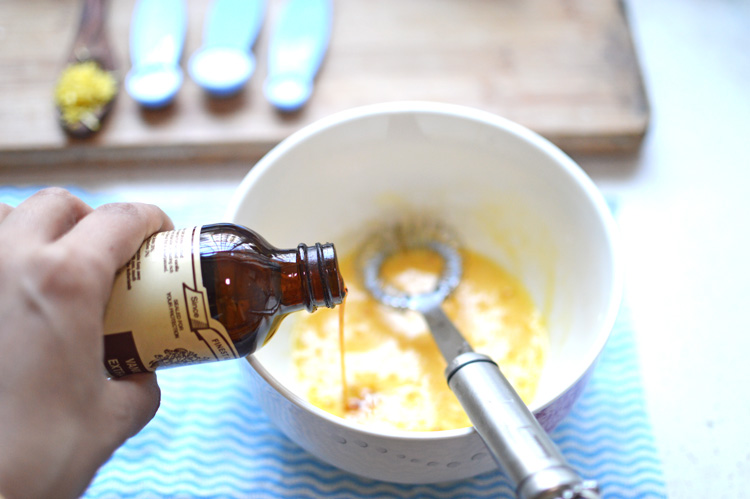
 and salt
 mix, smear, whisk, besmirch the calm
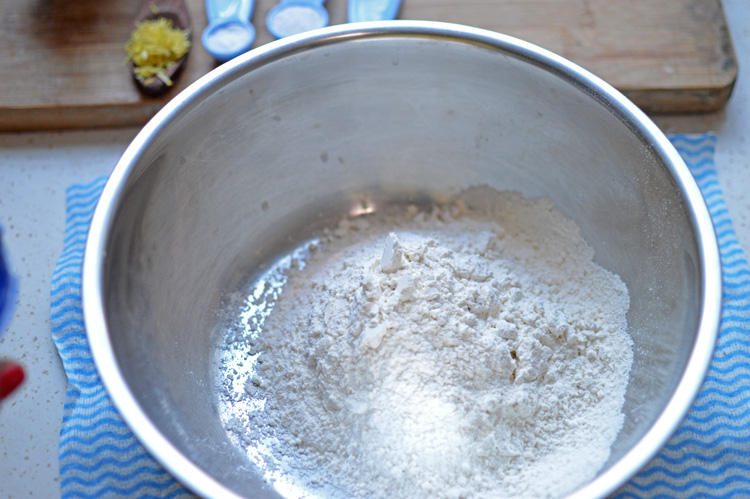
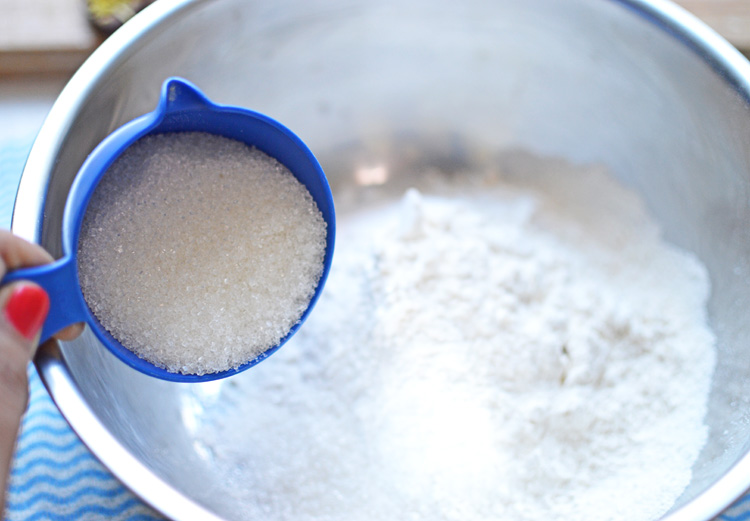
 and proceed to making the sugary coating with sugar
 and cinnamon
 and lo! cinnamon sugar. Alchemy I tell you.
 melt a fat knob of butter in your pan over medium heat
 and dunk the bread in eggy pool of golden promises.Let it stay in there for at least half a minute. It’ll start drinking in the eggs.
 Turn them over to let the other side soak up the sun.
 and whoa! all the egg’s been absorbed by these little babies
 the butter should be nicely frothing
 transfer the eggy toast to the pan to cook to a nice golden tan.
 just a couple minutes
 Mmm..golden and gorgeous.
 once these are cooked on both sides, let them cool for a few seconds before transferring them or rather slathering them with the cinnamon sugar mixture.
 Coat all sides, roll them into the sugar if you have to. Be barbaric about it.
 et voilà..we have doughnut french toast. These are fantastic to eat just as they are, but if you want to add a bit of luxury to the richness then please do not restrain yourself as you go totally berserk.
 bathe it with chocolate syrup
 cloak it with your favourite fruit jam/marmalade or preserve
 or how about chunks of banana drowned in maple syrup?