 These are by no means an innovation that ever appeared in gastronomic heaven, but in fact a hearty street food staple very commonly found in China. There are many a variations to it, but I’m sharing the one I find in my locality.
Before I begin let me just tell you how incredibly fantastic these street food pancakes are; sold mostly out of a small shop or mobile stall, and usually eaten after a drink too many or breakfast and even as a not so light snack.. they’re crispy, fried on a hot pan without skimping on the oil and meat. The pancakes are flaky, almost like a puff pastry sheet, slathered with a thin coating of viciously hot sweetness, a layer of egg, meat of choices, bundled up and wrapped in a packet. Every bite is a steamy, meaty, spicy morsel wrapped in flaky pancake heaven. Every bite a revelation! I usually buy these sometime around tea time from a very kind lady near my house. She has a stall decked with small jars of condiments and spices, and an array of meat. The most popular combinations are eggs+bacon+spam with a generous brush of her homemade spicy sauce.
I’ve tried to recreate something similar here which is gratifyingly delicious and stunningly delectable but absolutely no match to what she whips out of her 5 feet x 3 feet stall.
So here it is.
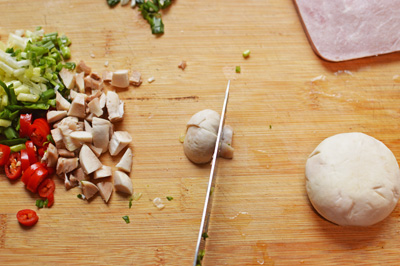
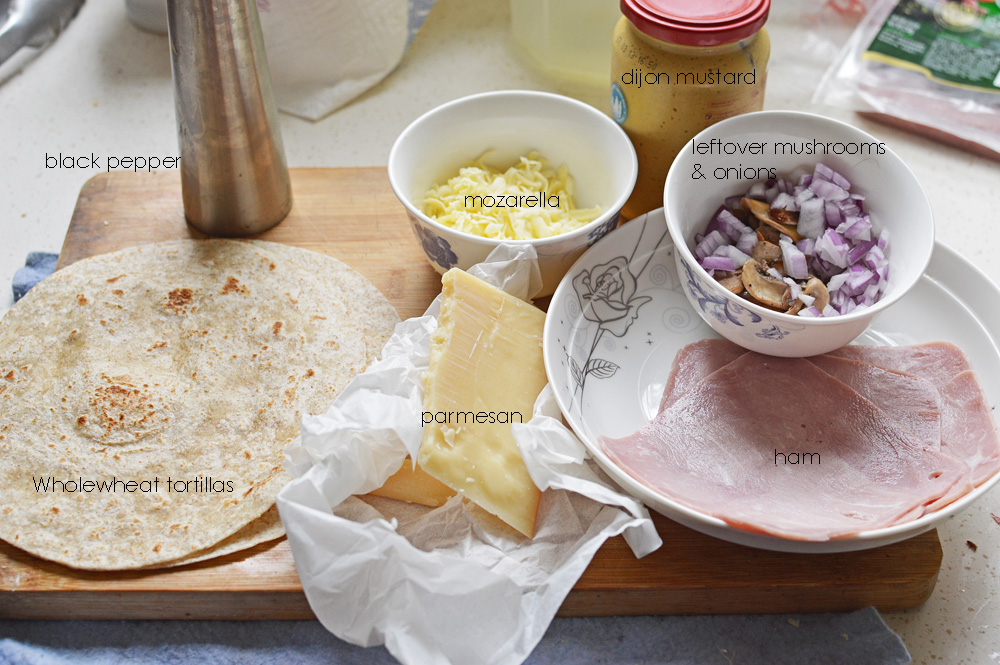
 the ingredients are straight and simple. Just frozen Chinese pancakes which are easily available in any supermarket, lettuce leaves, eggs, fried bacon and ham (instead of spam) and sriracha.
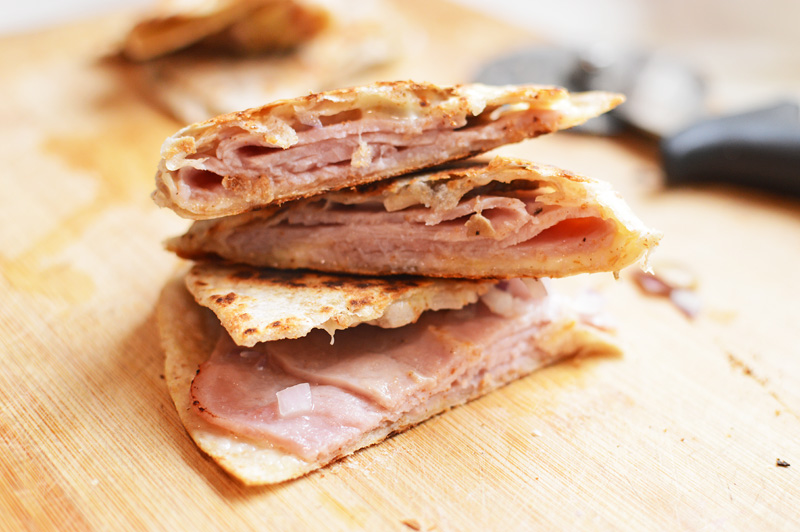
I’ve cut ham into thick coins and very slightly charred them on a hot pan to recreate those smoky flavours that emanate from the street stall’s seasoned skillets.
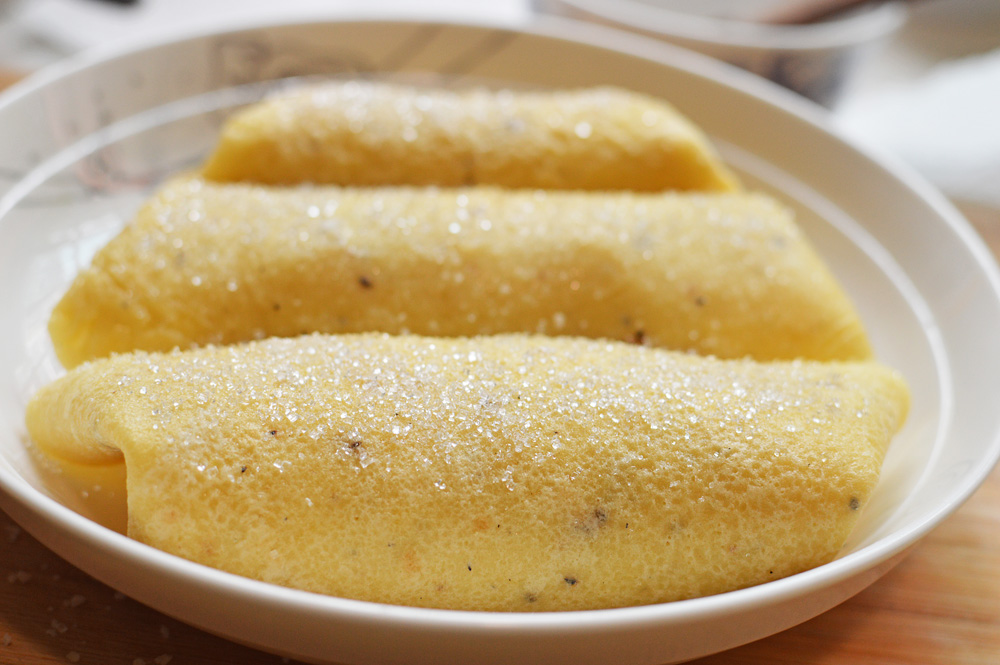
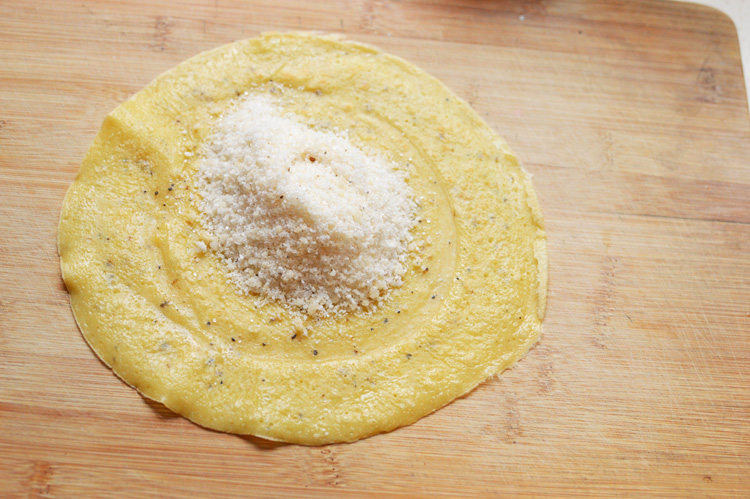
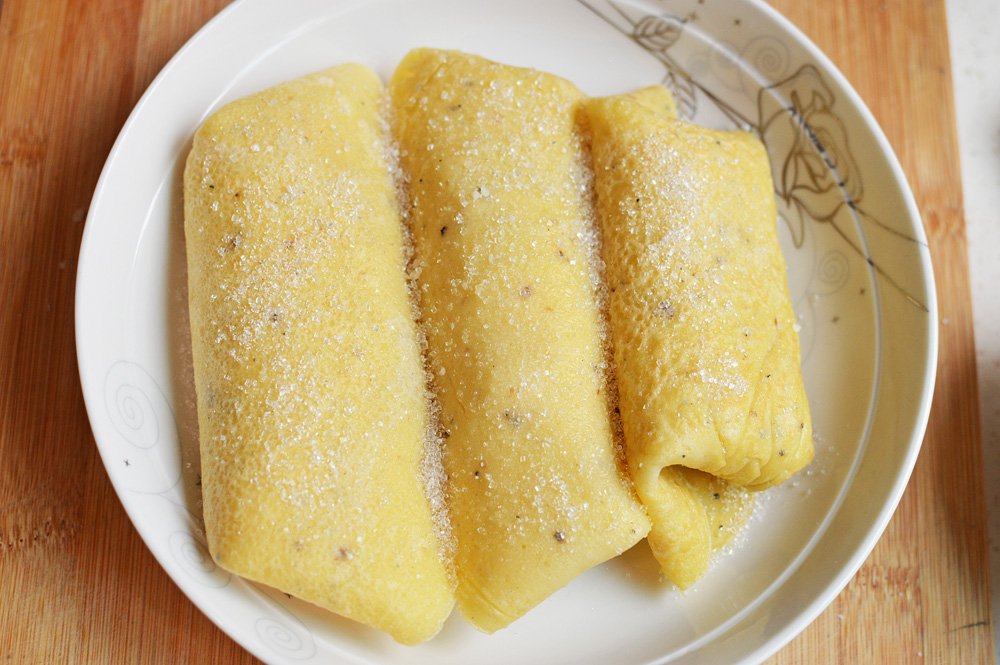
 these are what the pancakes look like. They come frozen and neatly wrapped in wax paper on both sides. These pancakes are smaller than the street food stall ones, but work just as well.
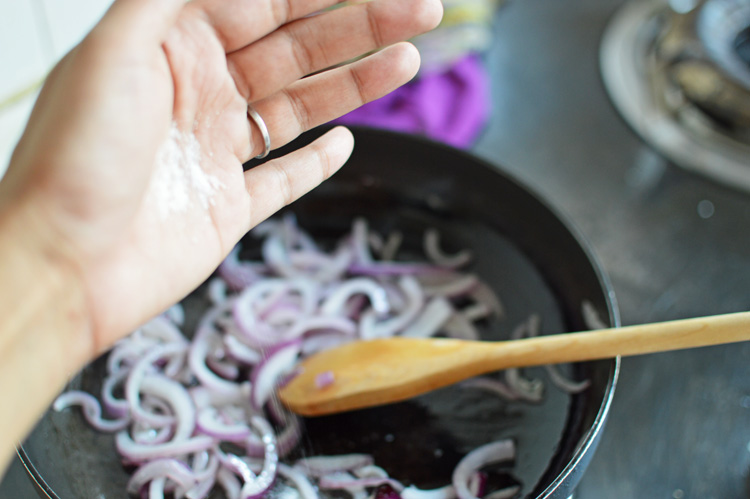
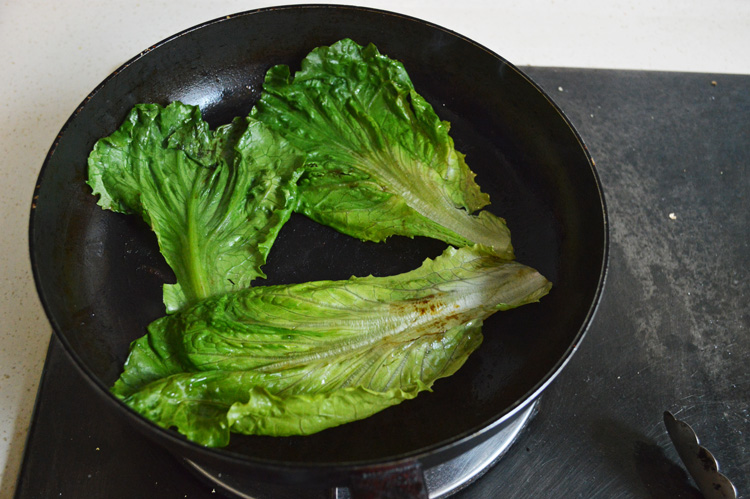 I slightly charred the lettuce as well on a very hot pan for that burnt crisp texture. This step is entirely optional.
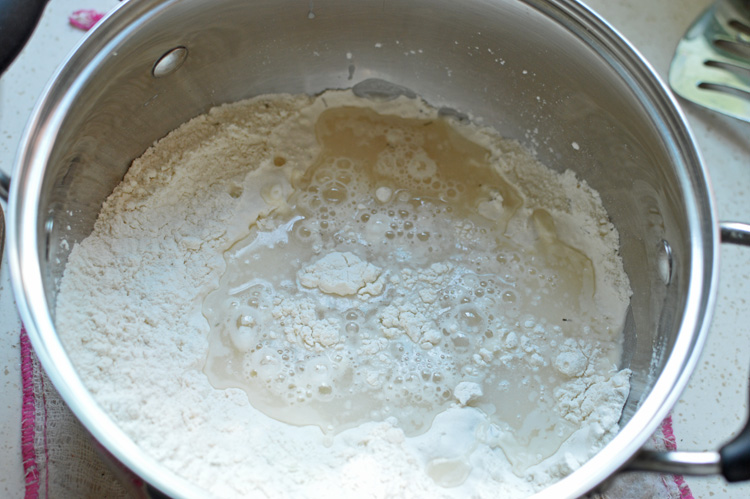
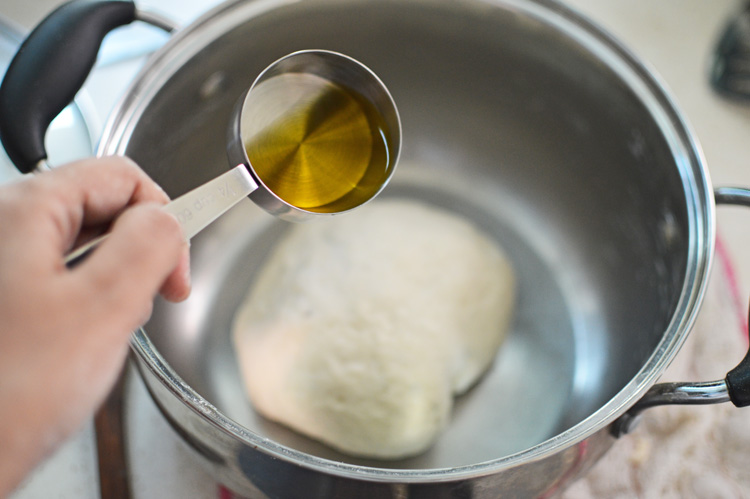
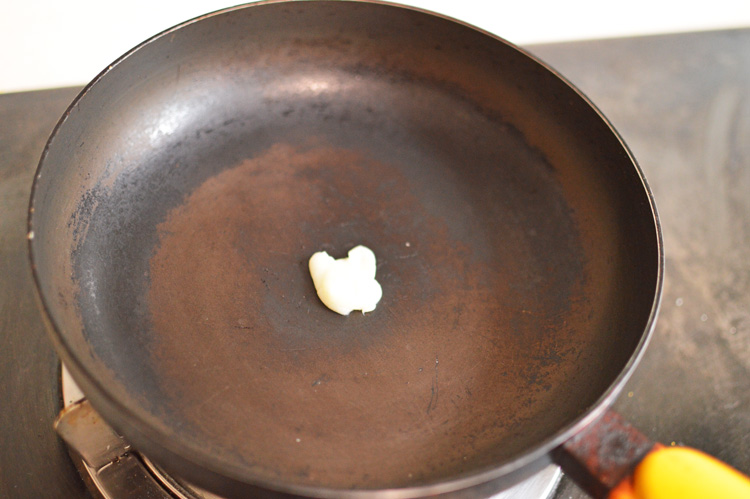
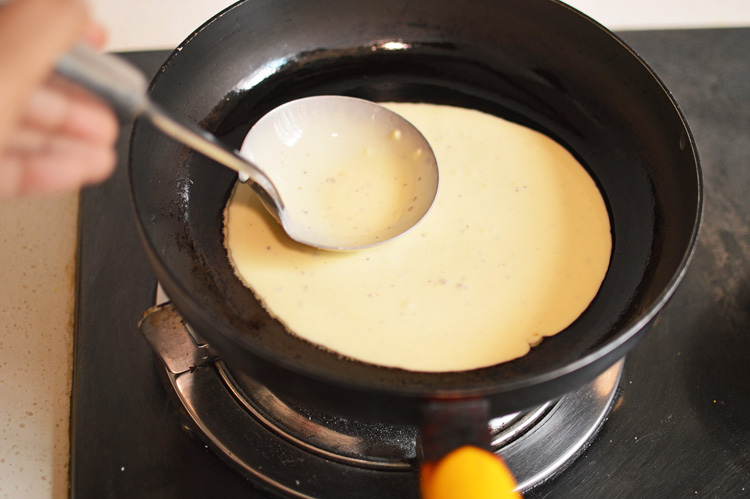
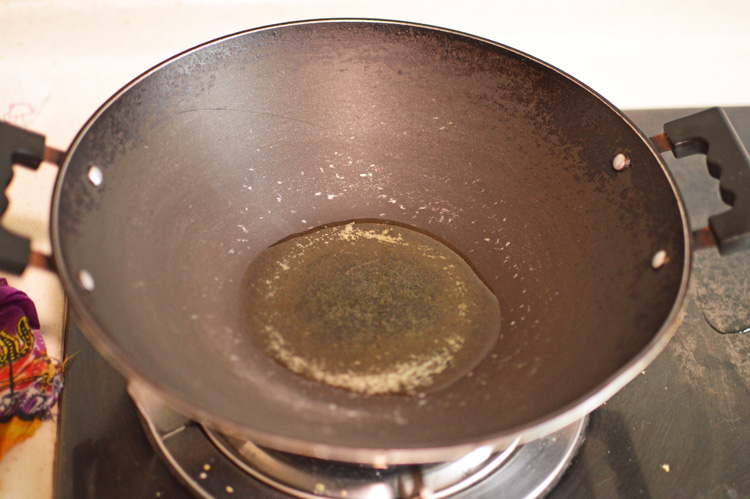
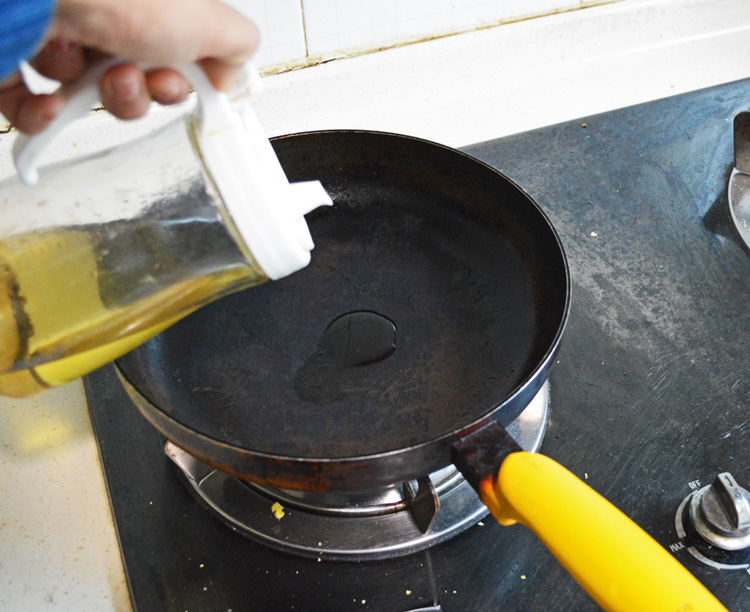 ok, so in a pan on medium heat add some oil. This is about a teaspoon and let it coat the pan.
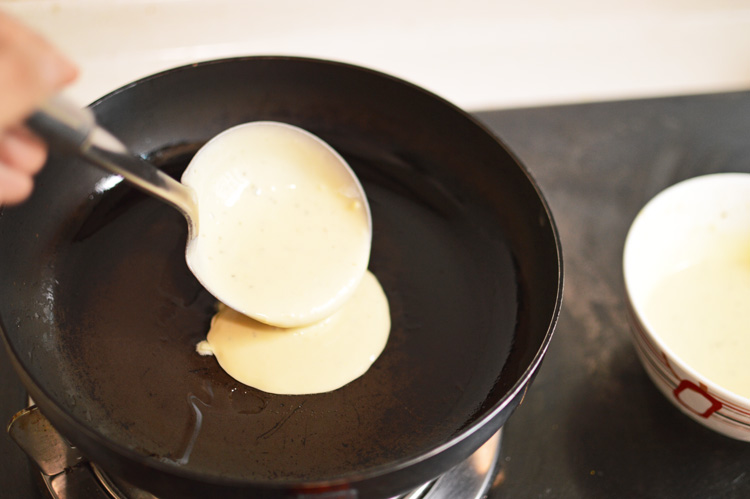
 once the oil is evenly heated, slap on your pancake and let it be. The trick is knowing that you can not and will not flip it until the underside is done, or else you will break, tear and ruin your pancake.
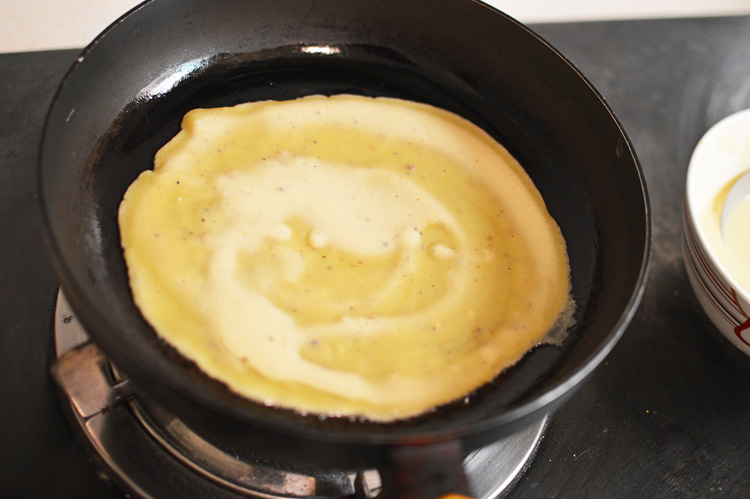
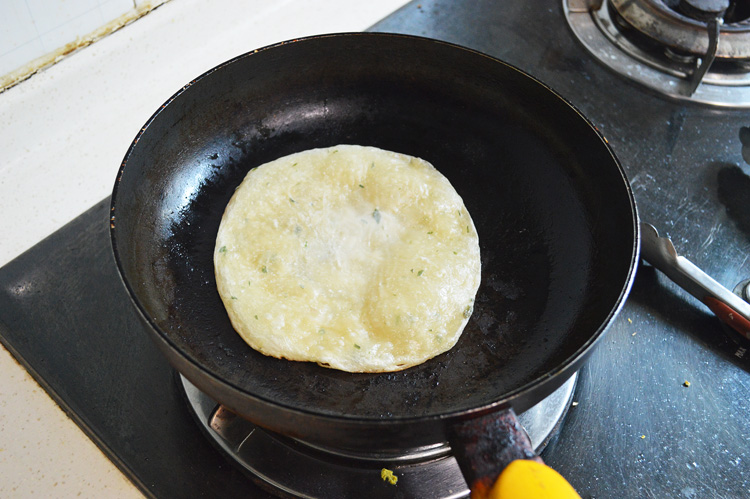
 this is how you figure out if it’s done. It’ll start turning translucent as it cooks. So the sides are cooked but the middle isn’t. Give it another few minutes
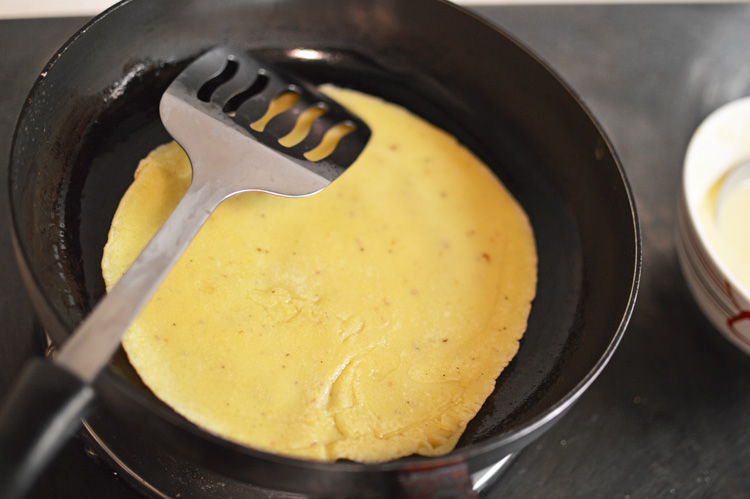
 there you go. It’s ready for a flip
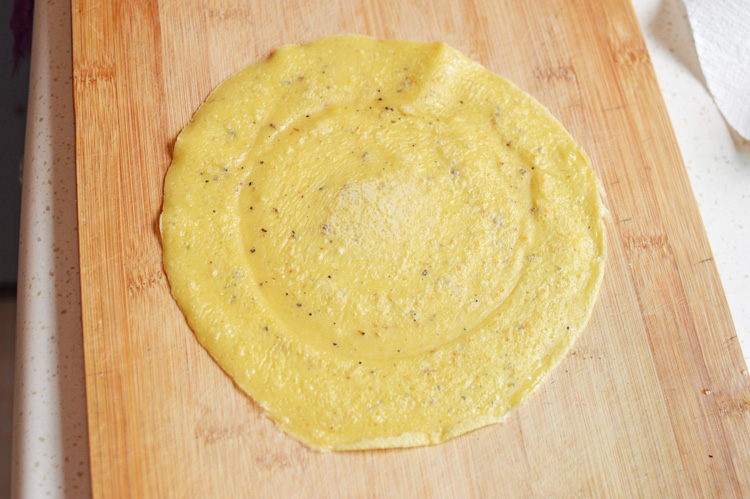
 see.. so nice and golden and cooked.. now while the other side is cooking
 crack en egg
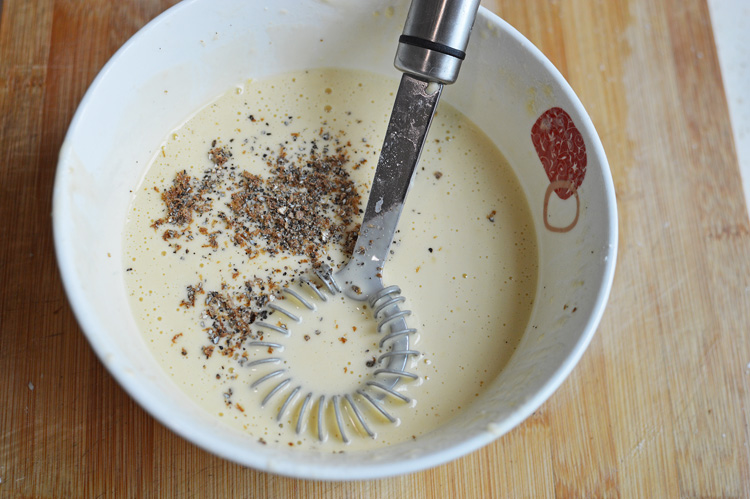
 mutilate it with a fork to let it evenly spread
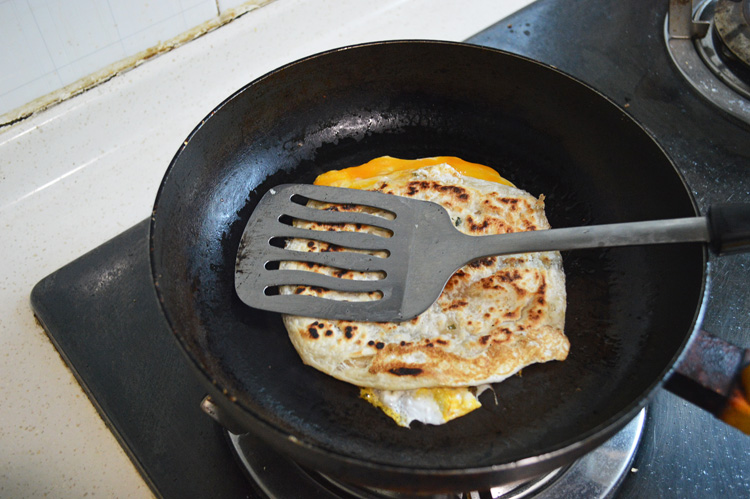 and flip! for maybe half a minute until the egg is cooked
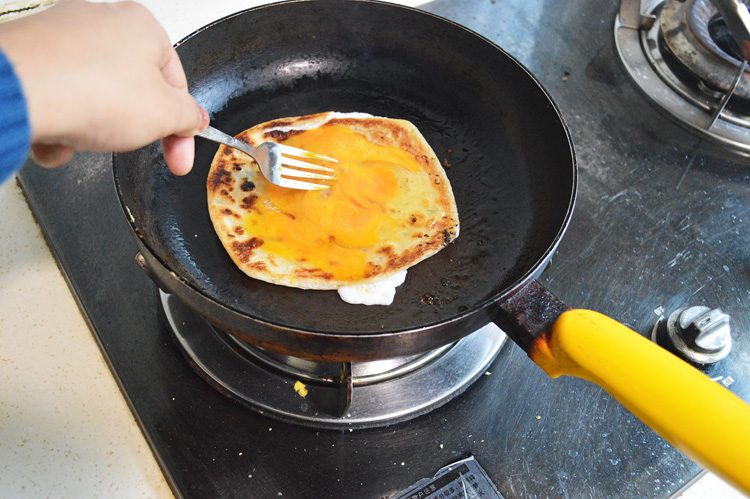
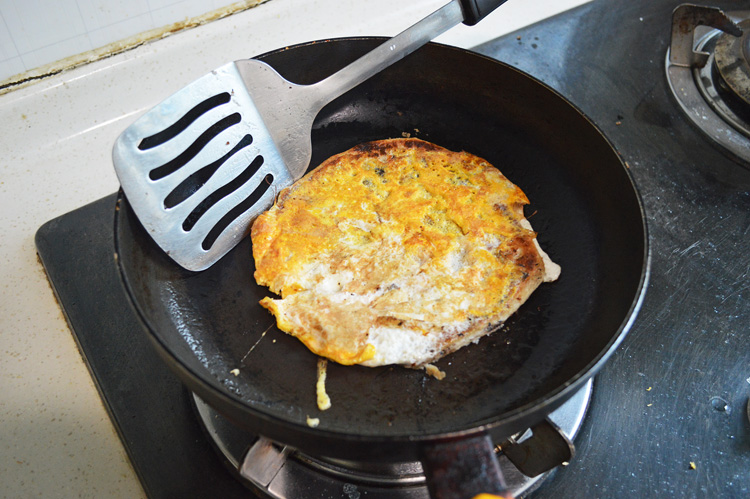 flip it back to let the egg face you
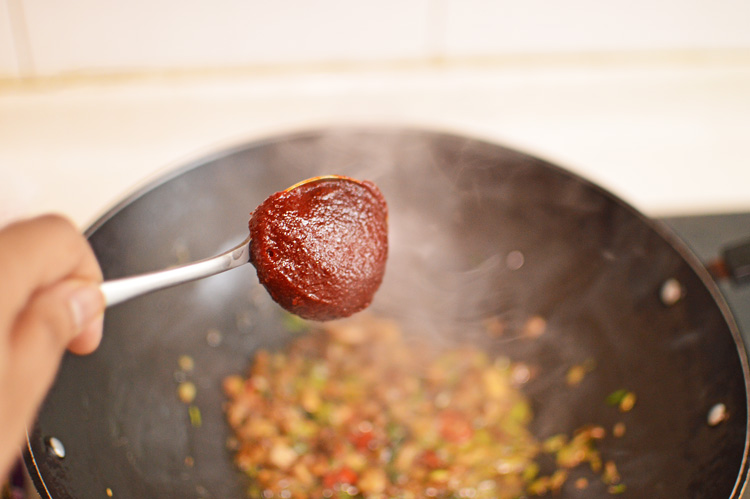
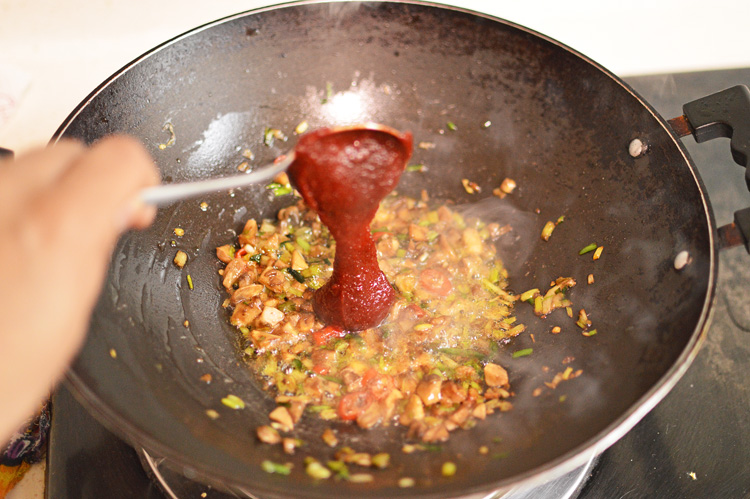
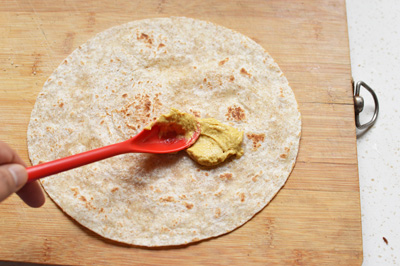
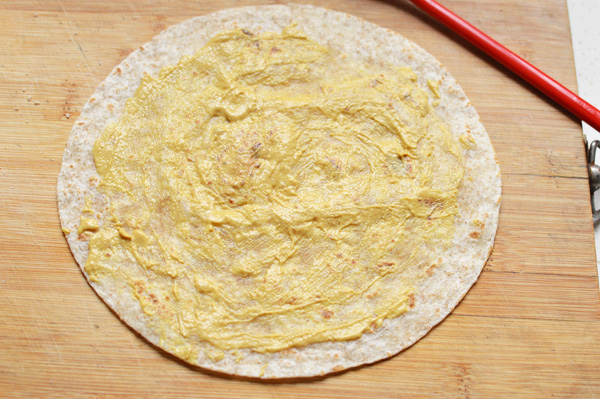
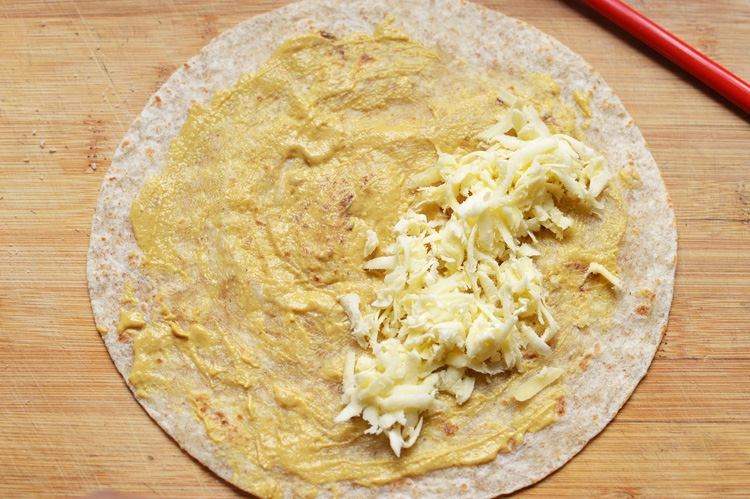
 add sriracha or your favourite hot sauce, and paint it all over the egg
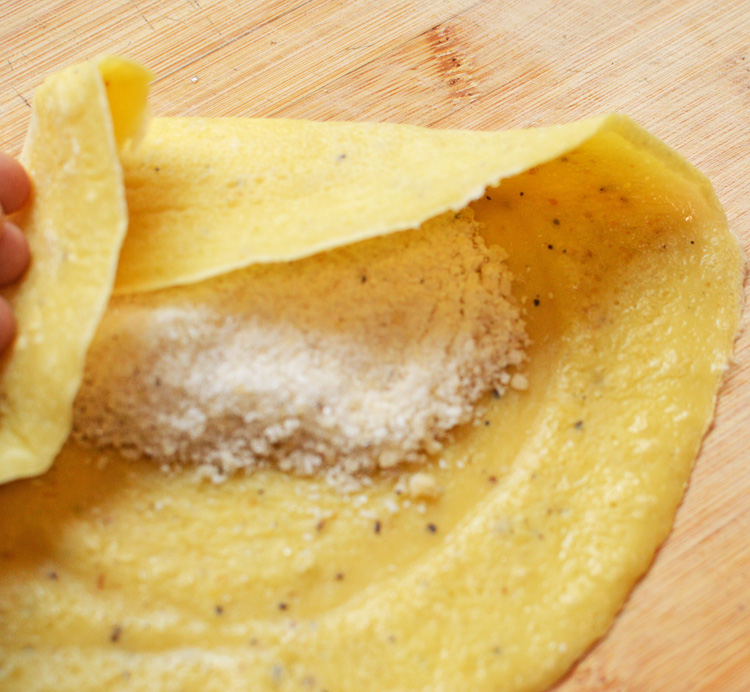
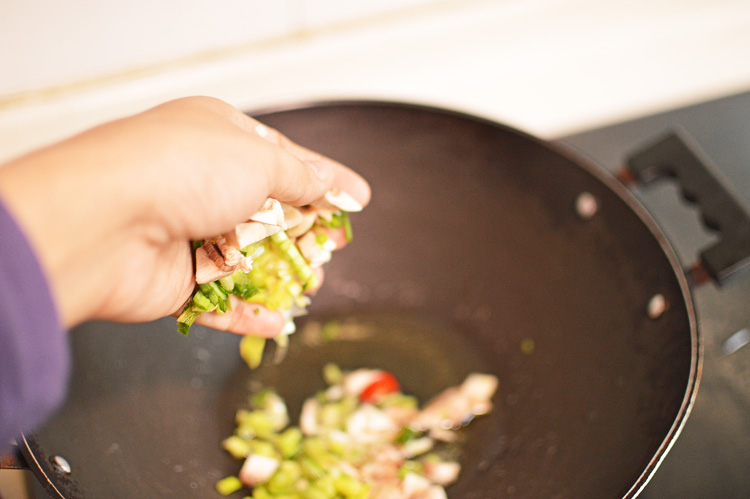
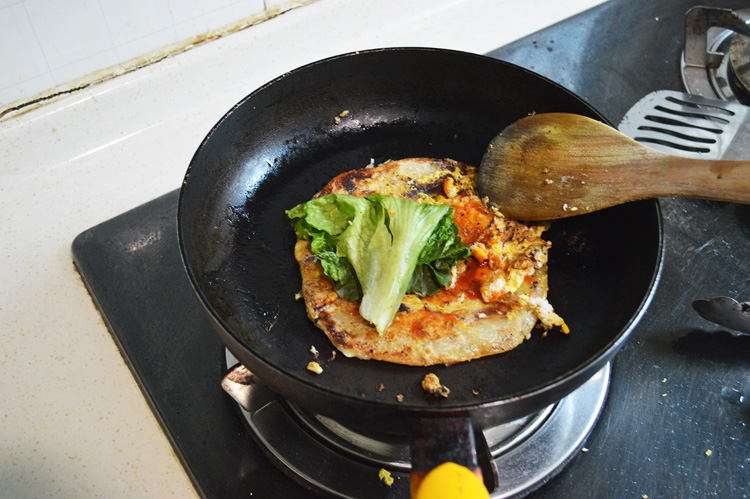 now we have to start layering. start with lettuce
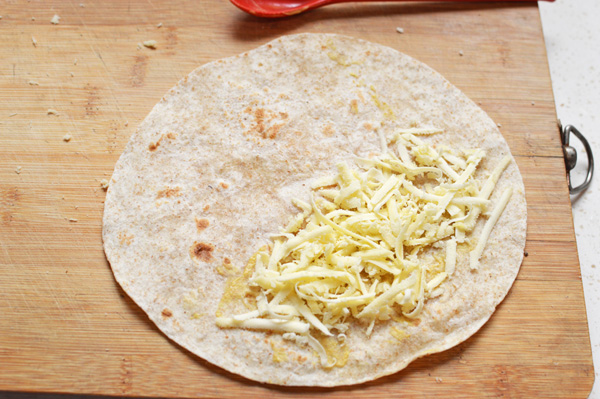
 followed by bacon
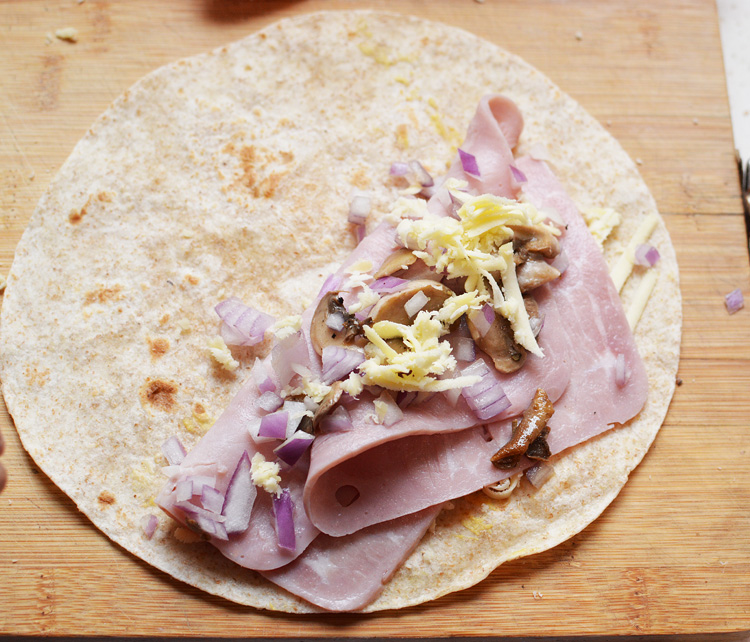
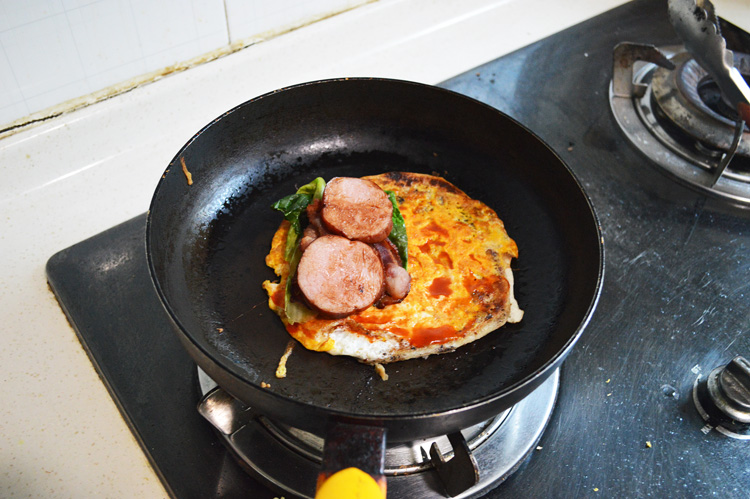 followed by ham
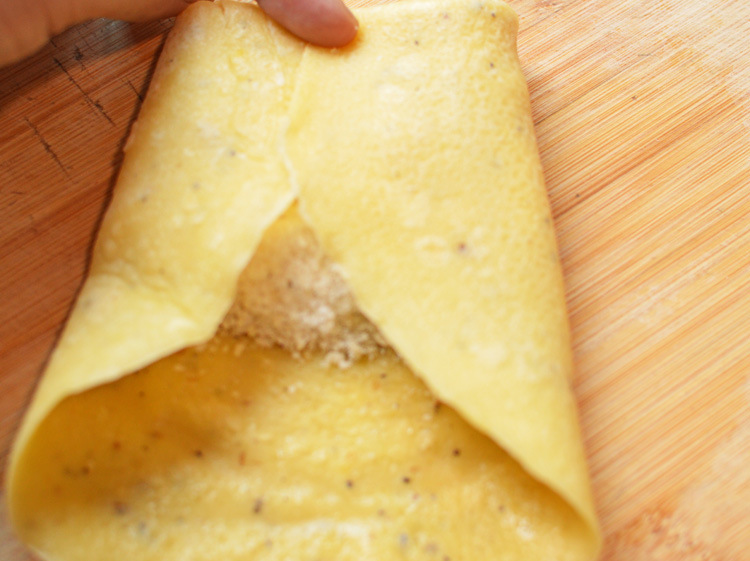
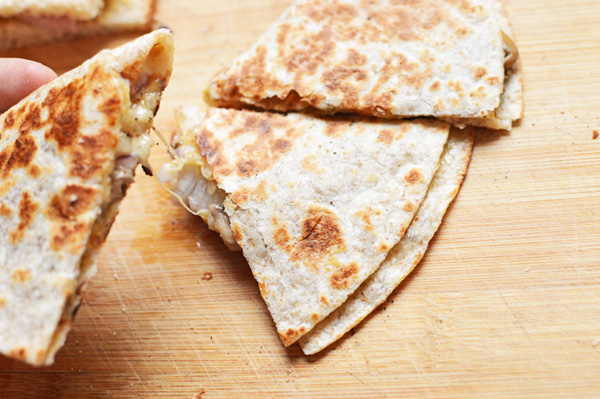
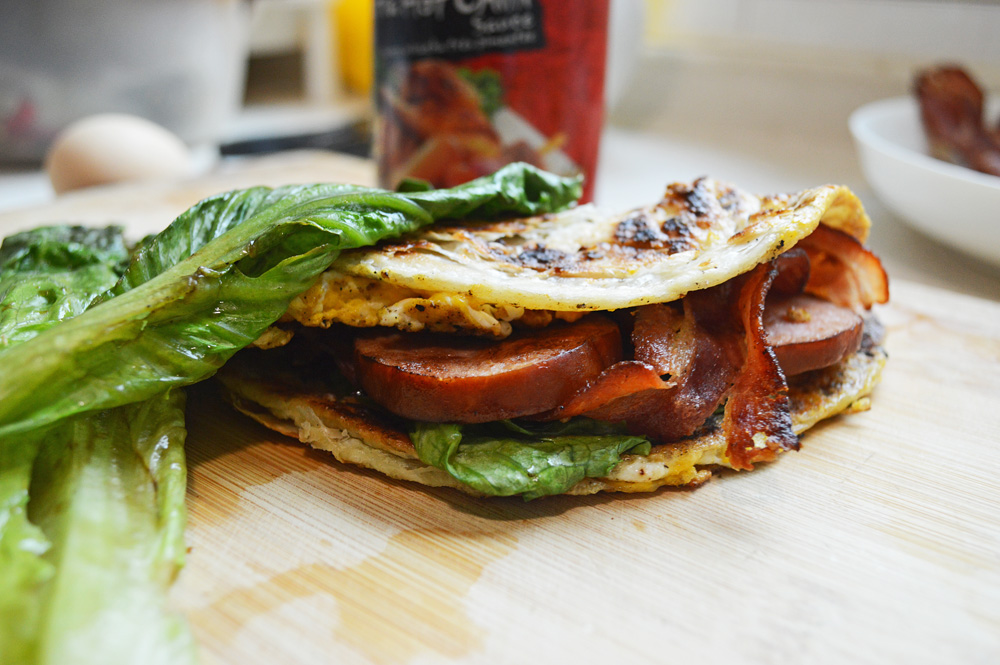
 followed by folding over, to form a sort of pancake sandwich, which is also weirdly the name of this blog post.
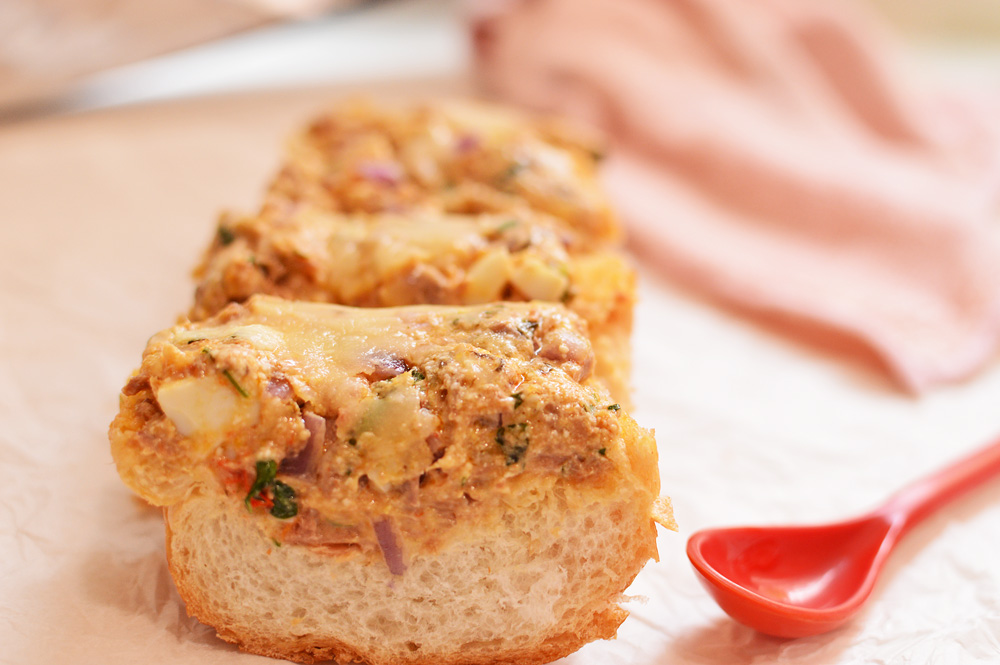
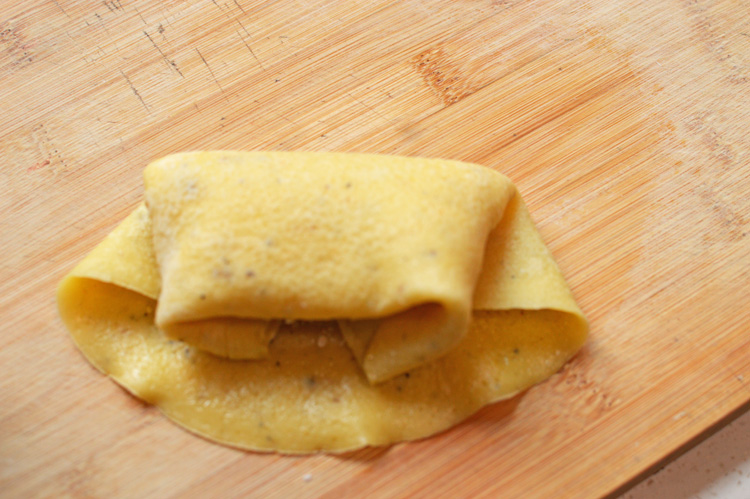
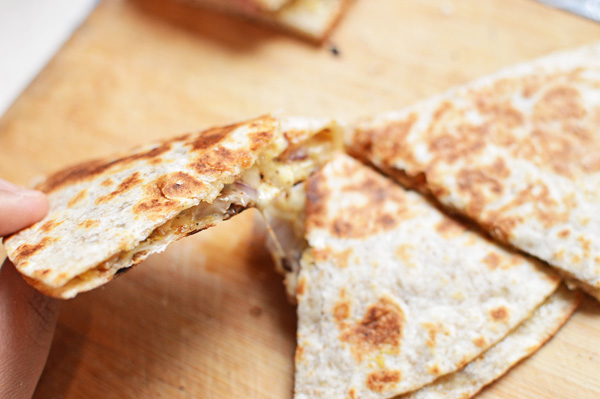
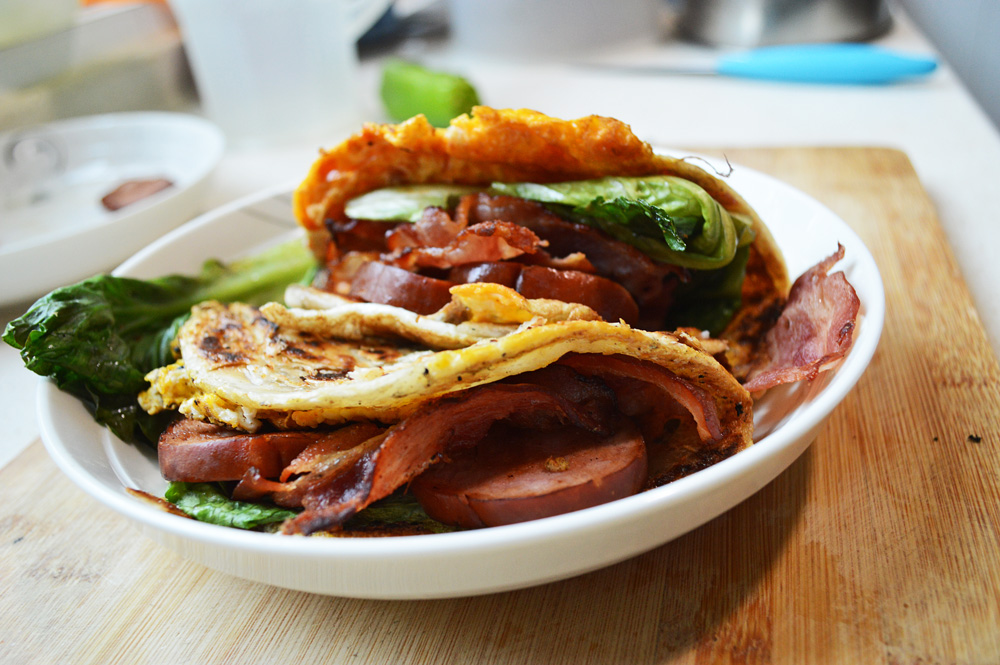
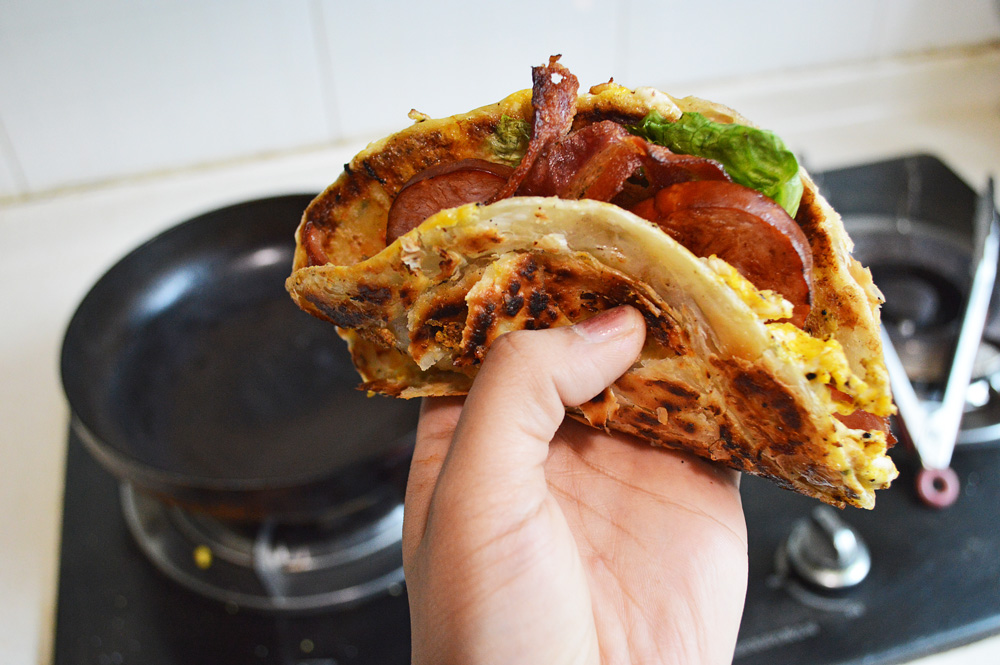 and just like that you have a hearty meal to satisfy your inner glutton. Perfect for curing hangovers and stoner hunger pangs.
Ingredients
Frozen Chinese pancakes: 2
eggs: 2
bacon: 4-5 strips
ham: 4-5 slices
sriracha: 2 tablespoons
oil: 2-3 teaspoons
(of course there’s no particular recipe, you can make as many for a lot of people or just a couple for solitary indulgence. Change the ingredients to make a Chinese pancake BLT or even a vegetarian version)
Cooking directions: On medium high heat, coat the surface of a pan with some oil. Once hot, lay the pancake gently so as not to tear and let it cook for a couple of minutes. Once its surface is translucent flip over and crack and egg on the cooked side. Break the yolk with a fork to coat the pancake and flip over to the let the egg cook for at least half a minute.
Flip again to spread some hot sauce over the now cooked egg and start layering with lettuce, bacon and ham on one side of the pancake. Fold over the other end to form a sort of half moon.
The sandwich is now ready to be devoured. These are easy to make and quick to eat. You can make plenty for a crowd or just a couple for lunch.
Enjoy!