


Chicken katsu, one of those exquisitely done Japanese morsels of fried cutlet done just right. Golden, crunchy and juicily subtle. These breaded pieces of fried chicken encompass the elegance that somehow a chicken bucket does not. Either cut into dainty strips or fried in small portions, chicken Katsu is a sure fire easy as breath and quick to jeuje up fantastical dish that everyone can easily have in their repertoire.

it’s done pretty much the same way you would these fish fingers . The principles are the same and so is the technique, though you can play around with how you’d like these cutlets to taste. The usual fare of eggs, garlic powder, salt, pepper, flour, bread crumbs and chicken breasts that I have sliced into fillets.
The one thing to note here is that instead of regular breadcrumbs Panko breadcrumbs would be more appropriate while preparing katsu, but all I could find in the grocery store were ‘Japanese style breadcrumbs’.
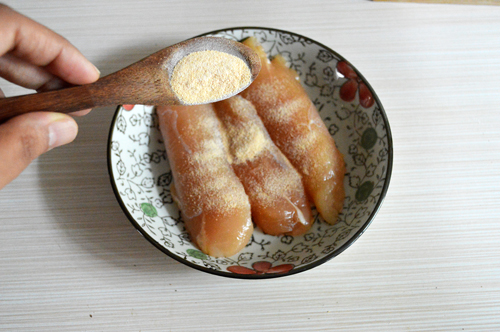
begin by seasoning the chicken with garlic powder
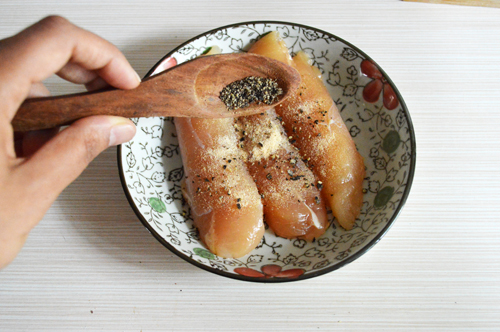
pepper
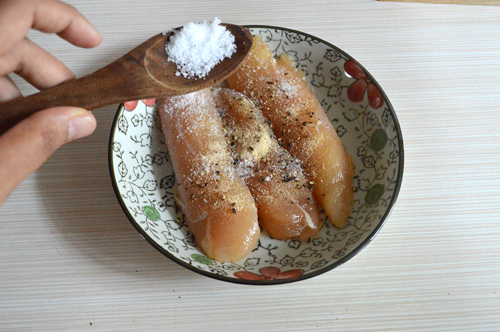
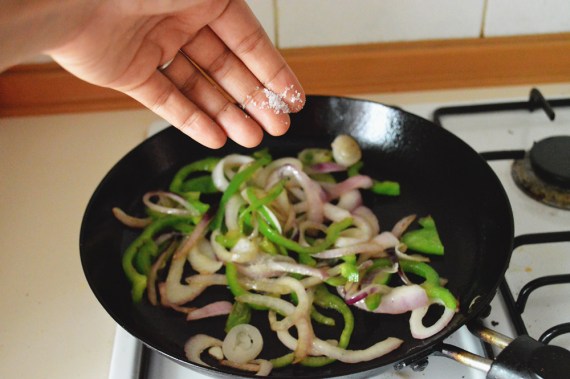
and salt
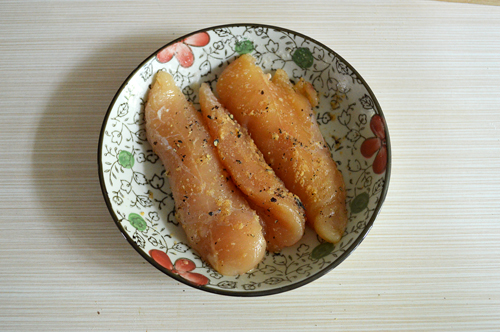
smoosh them together until chicken is well coated and let it rest while we get on with the breading station.

I used two plastic food bags to coat and bread the chicken because I didn’t think I wanted to wash too many dishes, and this just works.
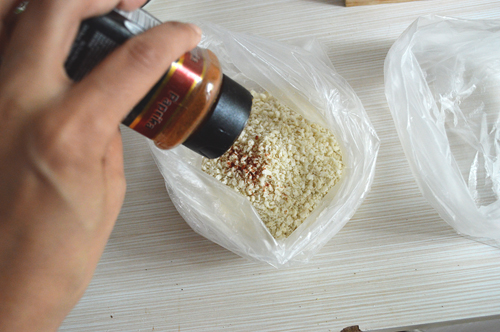
Season the breadcrumbs with some paprika because it helps brings out a better colour when fried.

flour in another plastic food bag.
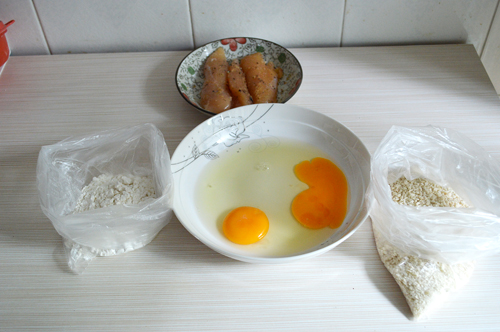
so here you have it. the stage is set for frying
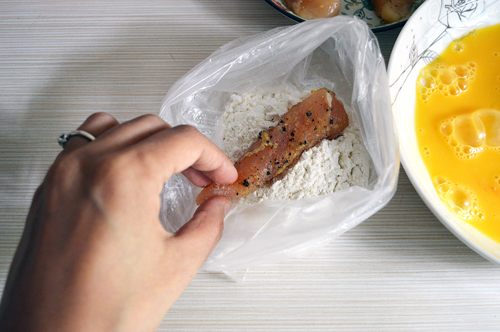
Into the flour

coat it well

followed by an egg bath
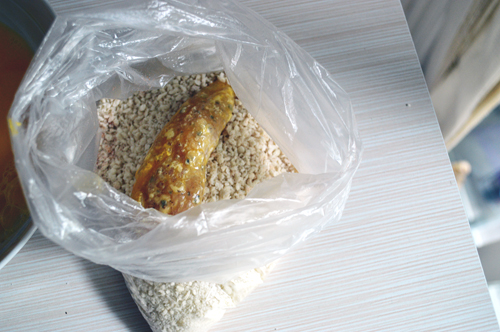
after which a casual lay about in grainy crumbs

you can also scrunch about the plastic bag to make sure it’s all coated.

It hardly takes time and before you know it, there are three richly swaddled pieces of chicken sitting pretty on your station.

You can deep fry these if you want, but I’m totally into shallow frying things, because deep frying makes me nervous.

Lay these gently in a pan once the oil is hot and cook each side for 4-5 minutes depending on the thickness of chicken pieces until the outside is bronzed and crisp while the insides retain their juiciness without being overdone or undercooked.

fish them out on a paper towel to let them drain

check for doneness if you want. This one was well done, moist and delightfully flavourful

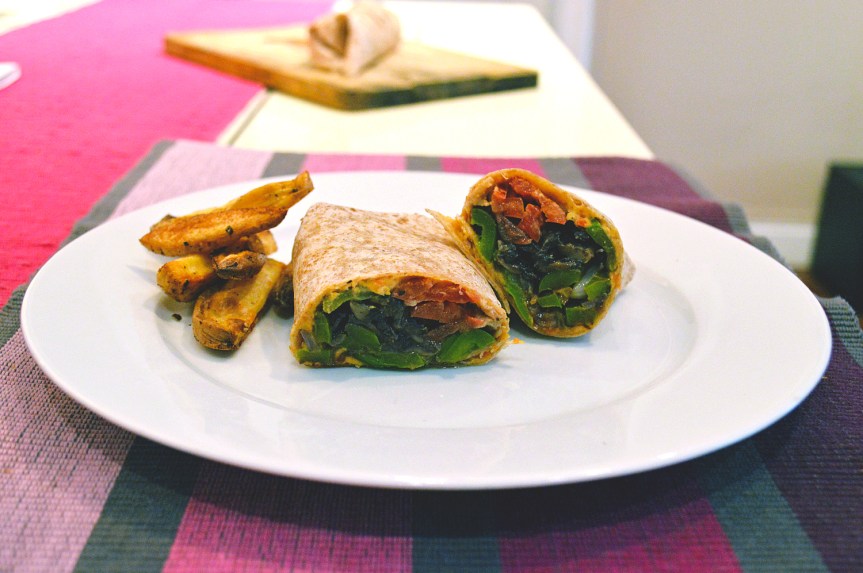
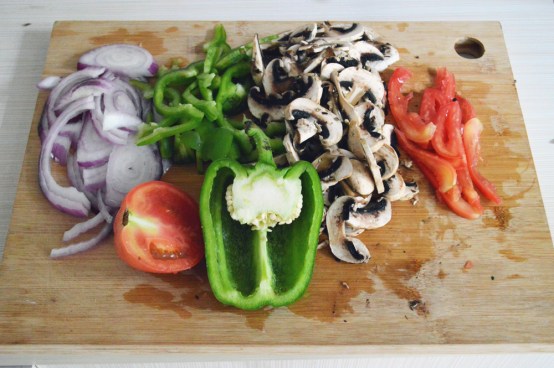
serve with fresh vegetables or salad or even fries if you want. I like mine with a bit of steamed broccoli.
Chicken katsu Ingredients
Bread crumbs: 75 g (1 cup)
Flour: 60g (1/2 cup)
Garlic powder: 1 tsp
Pepper: 1/2 tsp
Salt: 1/2 tsp (the image shows 1 tsp, but 1/2 tsp should be enough, or to taste)
Paprika: 1/2 tsp
Eggs: 2
Chicken breast: 150 g either sliced to fillets or flattened out to quicken and ensure even cooking.
Oil for frying
Recipe instructions – Coat the chicken evenly with garlic powder, pepper and salt and let it marinade for a few minutes.
In separate dishes assemble the eggs, flour and breadcrumbs. Add paprika to the breadcrumbs.
Coat the chicken first with flour, followed by eggs and then breadcrumbs.
Heat oil in a pan over medium heat, slowly place the breaded chicken pieces. Cook the chicken for 4-5 minutes on each side until the exterior is crisped up well and the insides are cooked. It’s for this reason you don’t want to use a thick piece of meat.
Drain on a paper towel for a minute and cut through to check for doneness.
Serve hot and crunchy with a cooling salad or steamed vegetables.
Enjoy!


 A little backstory on fish fingers from my nostalgic archives. The first time I ever had these was when I was little, nay, wee, hardly a sapling of sorts and my dad had ordered a plate of fish fingers and it was the first time ever I’d set my eyes on something that literally looked like fingers, smelled like fried food and came crumbed in crunchy bits of golden deliciousness.


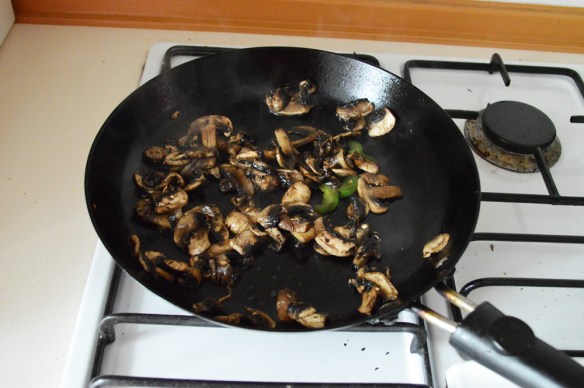
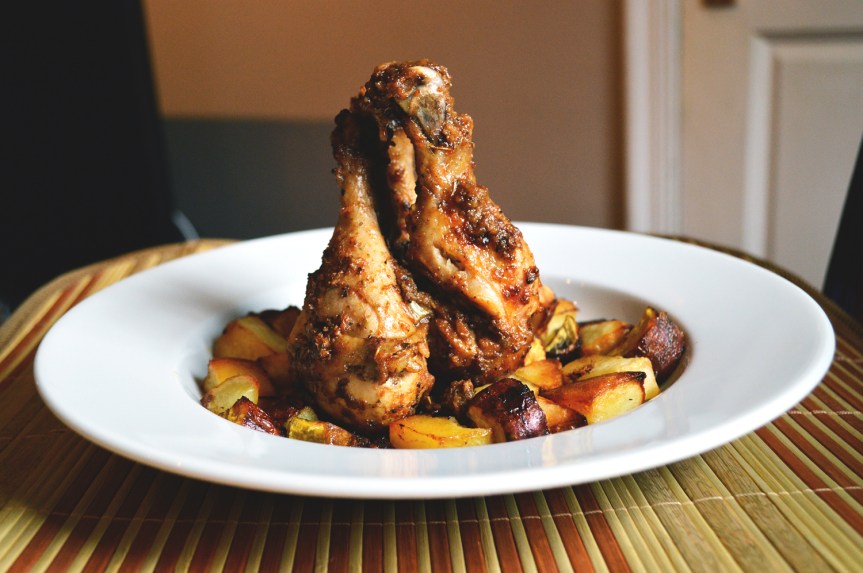
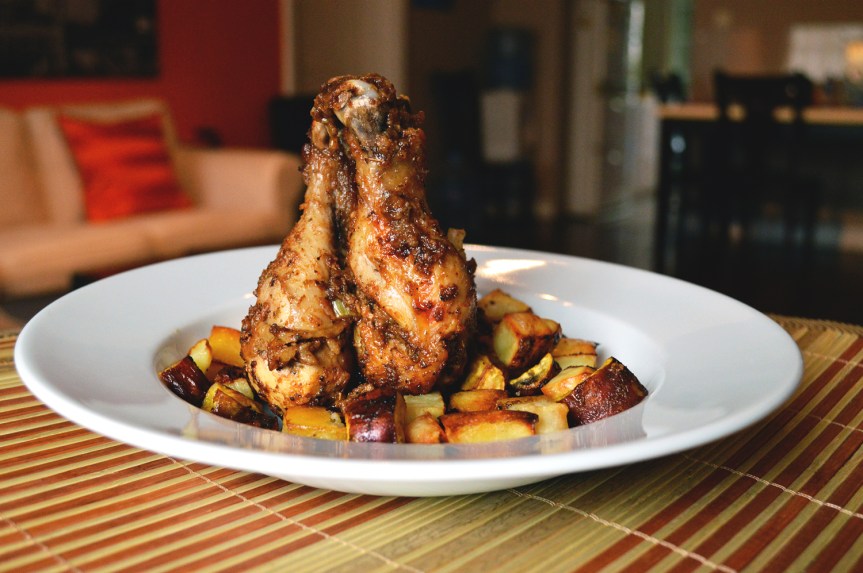
 When you can feel the carnivore inside of you bubbling with primal instincts to tear into something meaty, something delicious and spicy, this chicken recipe with potatoes is just the thing. Savagely inoculated with flavours on a loudspeaker, there is nothing remotely subtle about this dish. It’s deliciously loud with mouthwatering piquancy, tender, juicy of flesh and drool inducing. The balance of tastes rendered stupefyingly lush with succulent aromas is so heady that it’ll send your entire house warming with tempting incense of tantalizing proportions.


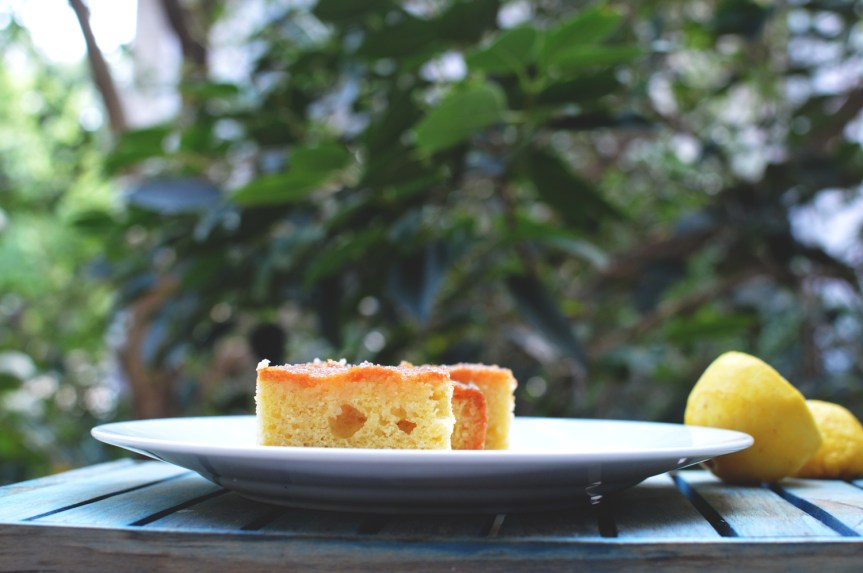
 These symmetrically gorgeous yellow and white pieces of soft squares are the stuff of dreams most soothing and calm. As lovely and mysterious as these are to look at, they taste almost as tranquil and smooth.
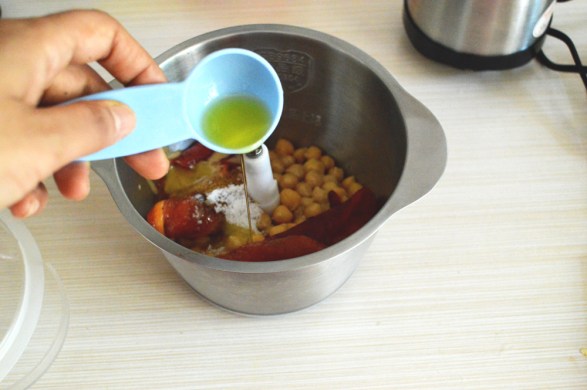
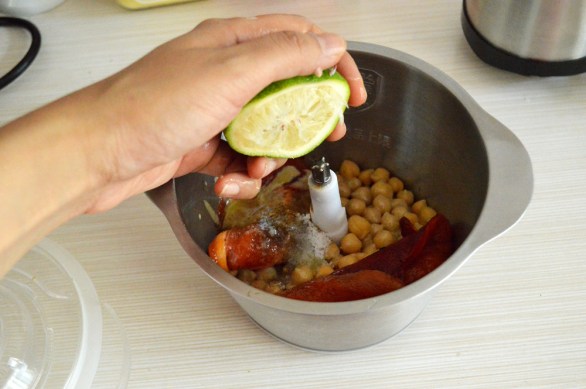
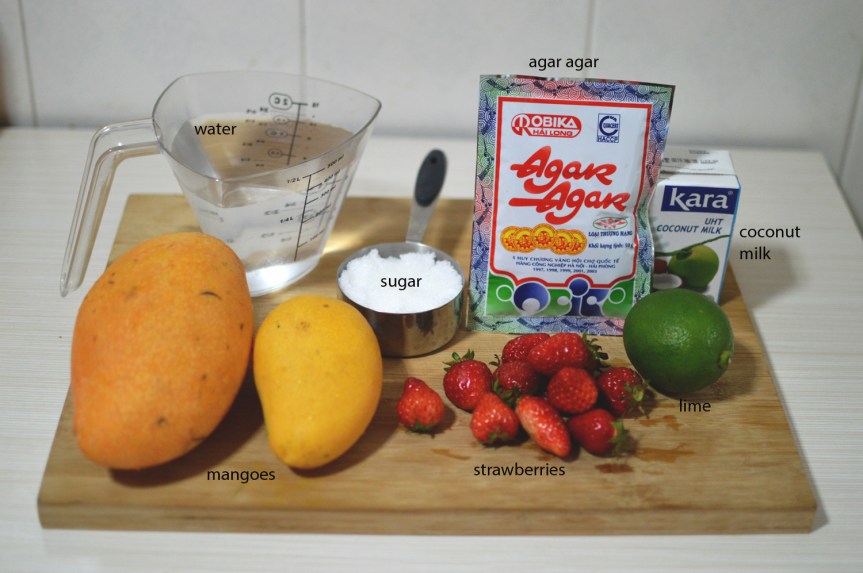 the ingredients are mangoes, sugar, lime, strawberries, coconut milk, water and agar agar.


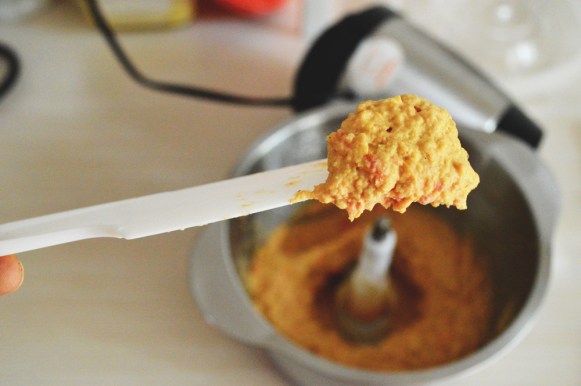
 cut into squares and serve chilled.

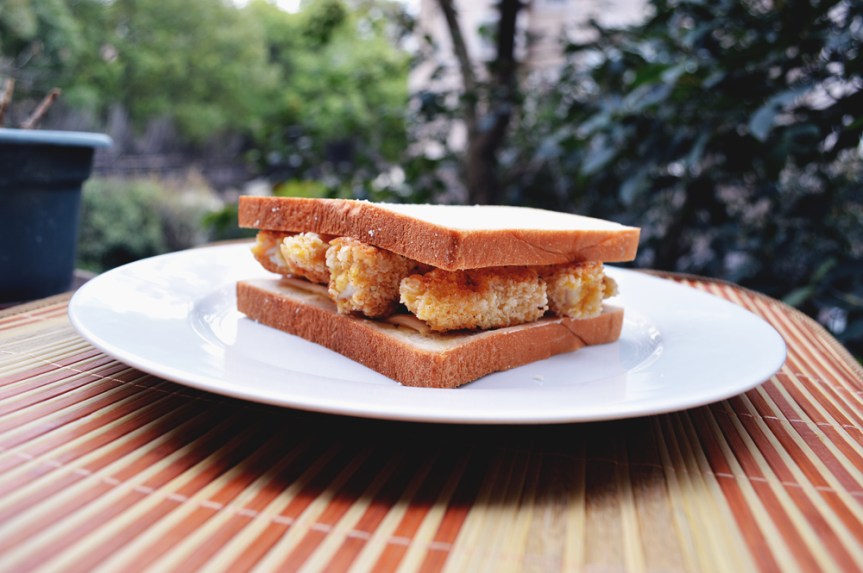
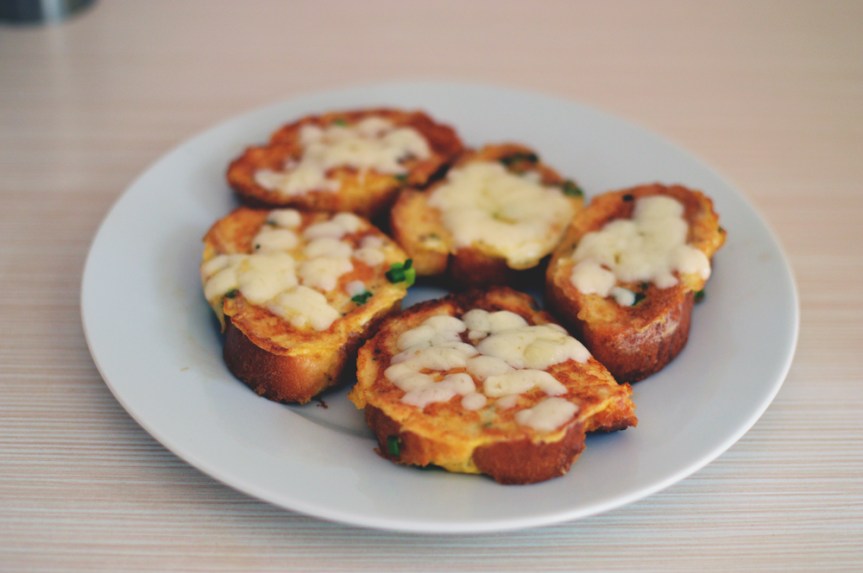 When you get tired of your daily egg and bread breakfast and wish to twist it into a spectacular bronzed meal of cheesy topping, you make these babies; that in reality are nothing more than your daily fare of omelette and bread, all jeujed up into spicy fragments of burnished toasts. Not only do they take away from the mundanity of an everyday same ol’ breakfast but also kick it up a notch with flavours that feel just right for the most important meal of the day.


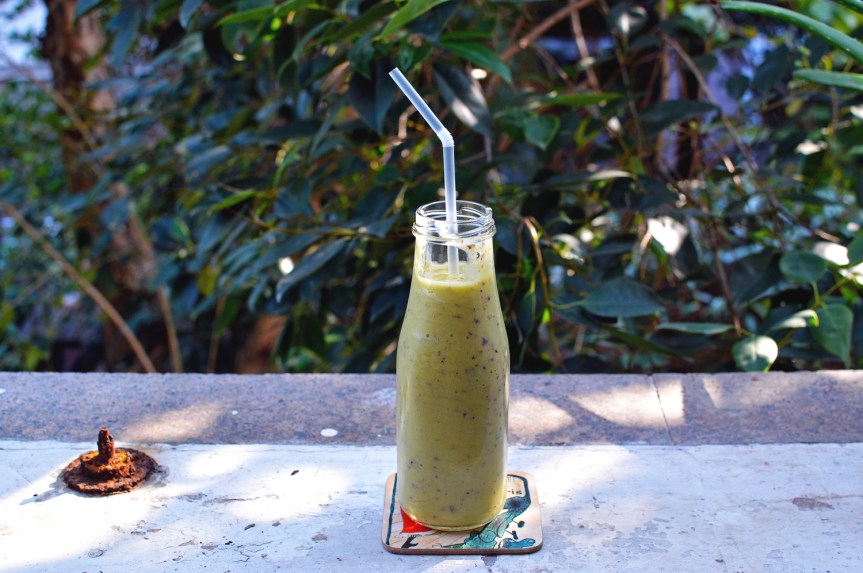 As days get colder I get lazier. leaving the comfy confines of a chair that’s been warming under you simply to make breakfast feels a bit treacherous, but we gotta eat and breakfast is the most important meal of the day.
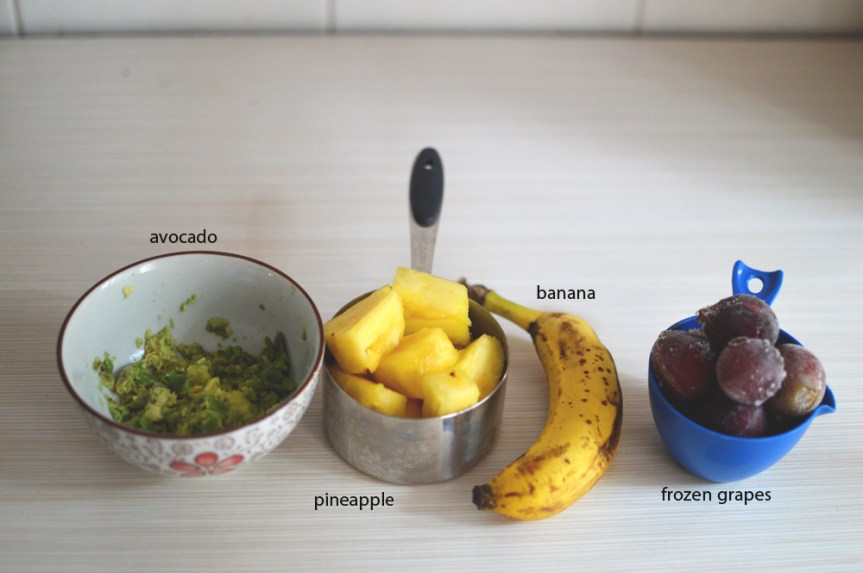 You can of course change any of these ingredients according to whatever your fridge spring or local fruit market sustains. All fruits, any kinds are welcome, and these are what I put in. A mushed up half of an avocado, pineapple, banana and frozen grapes.


