Orange torte (gluten free)


DSC_0660I was dying to make something citrusy, something with a bright yellow colour, something that would remind me of sunshine and fill the house with summer smells of freshness.

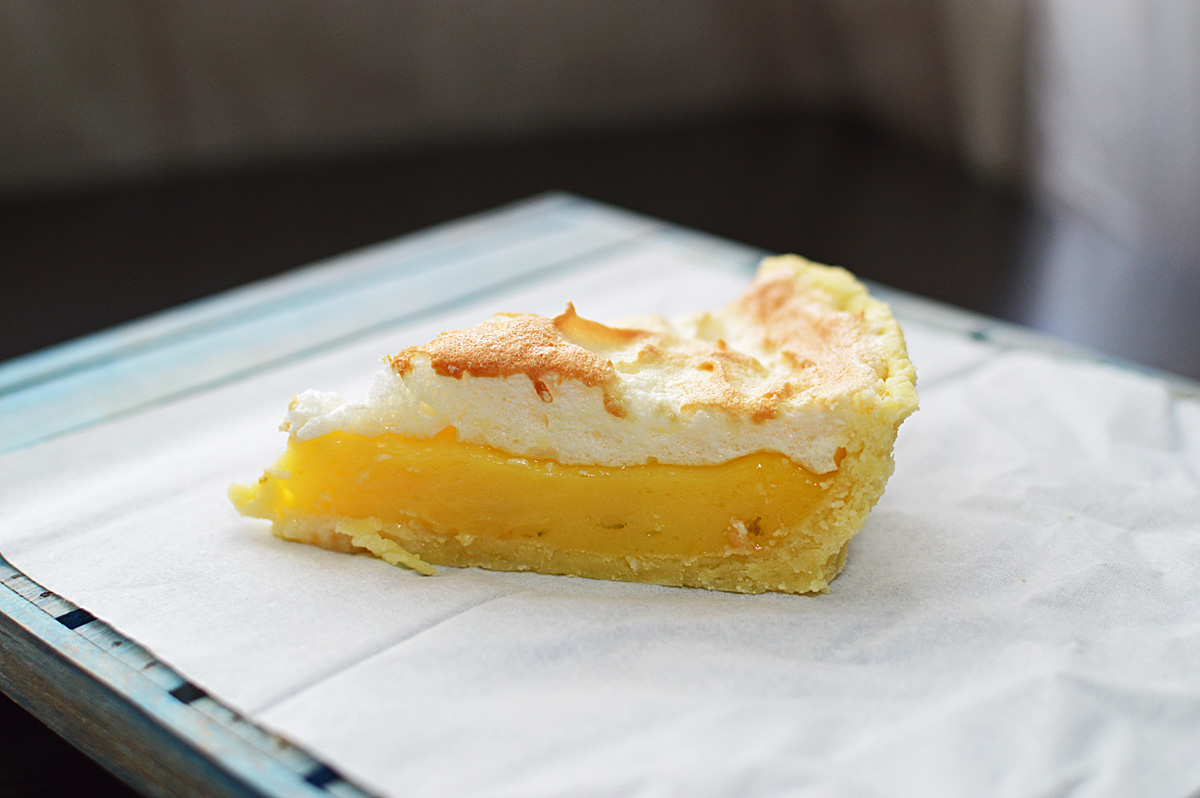
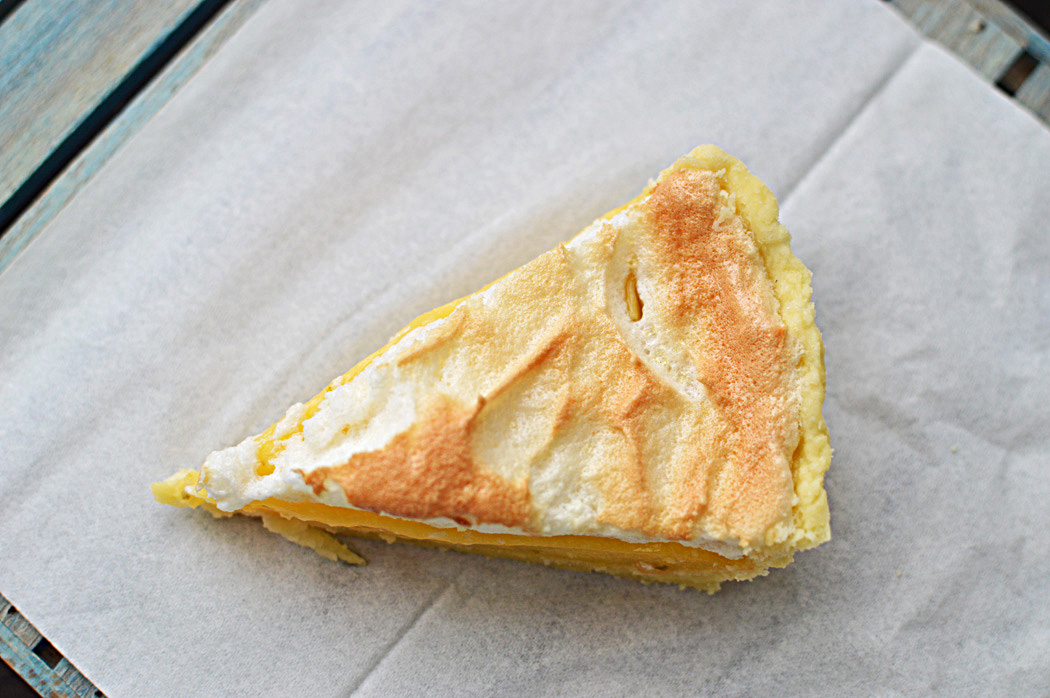
I love desserts that have a citrus note to them and this torte was no exception. This sunny disc of luscious flavours is a gluten-free torte which I adapted from Stephanie Jaworski of joyofbaking.com . she has such a wonderful collection of fabulous recipes and it’s all explained in such perfect details that it’d be impossible to go wrong, and this torte was no exception. I came across her clemetine torte and knew that I had to make it.

I just want to emphasize on the luxuriousness of this cake and that it’s one of the best things to come out of my kitchen. It’s pure tasteporn..I mean it.

DSC_0622c
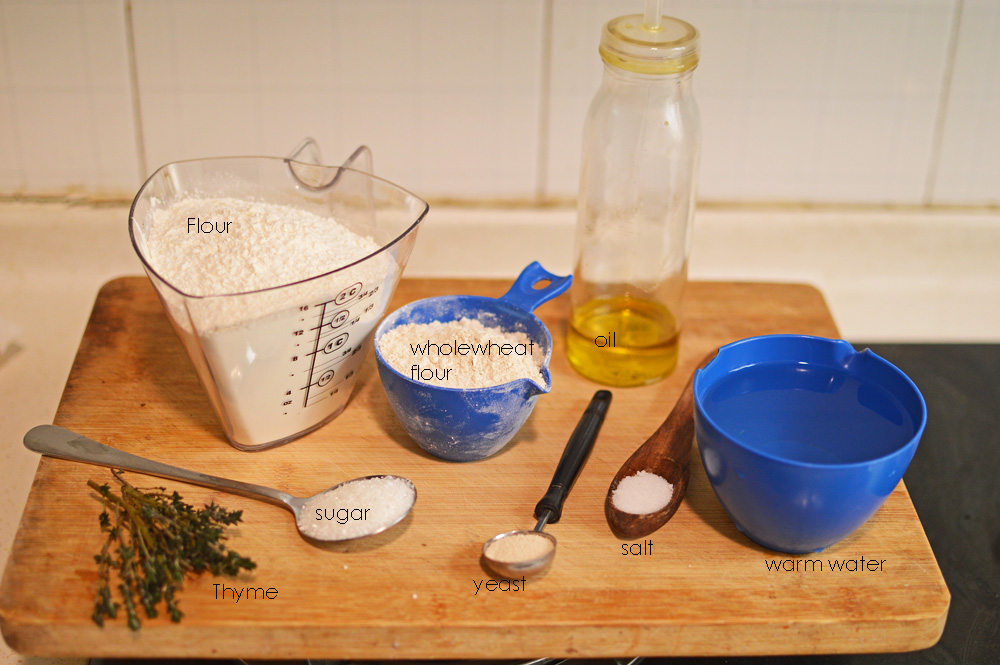
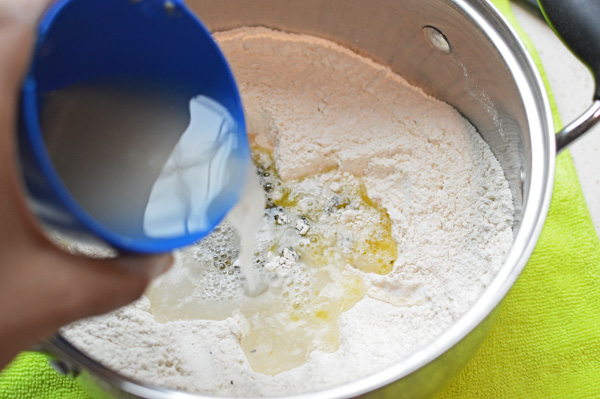
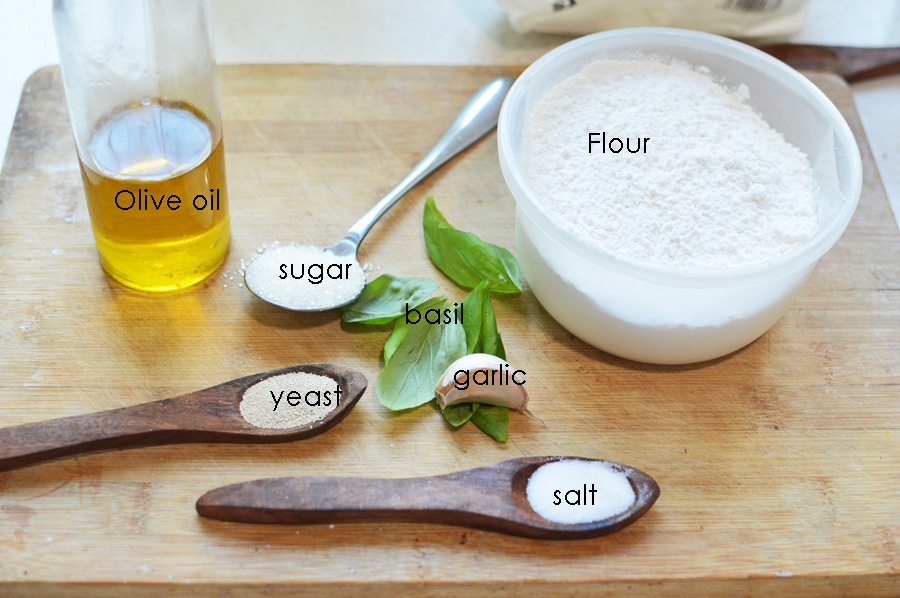
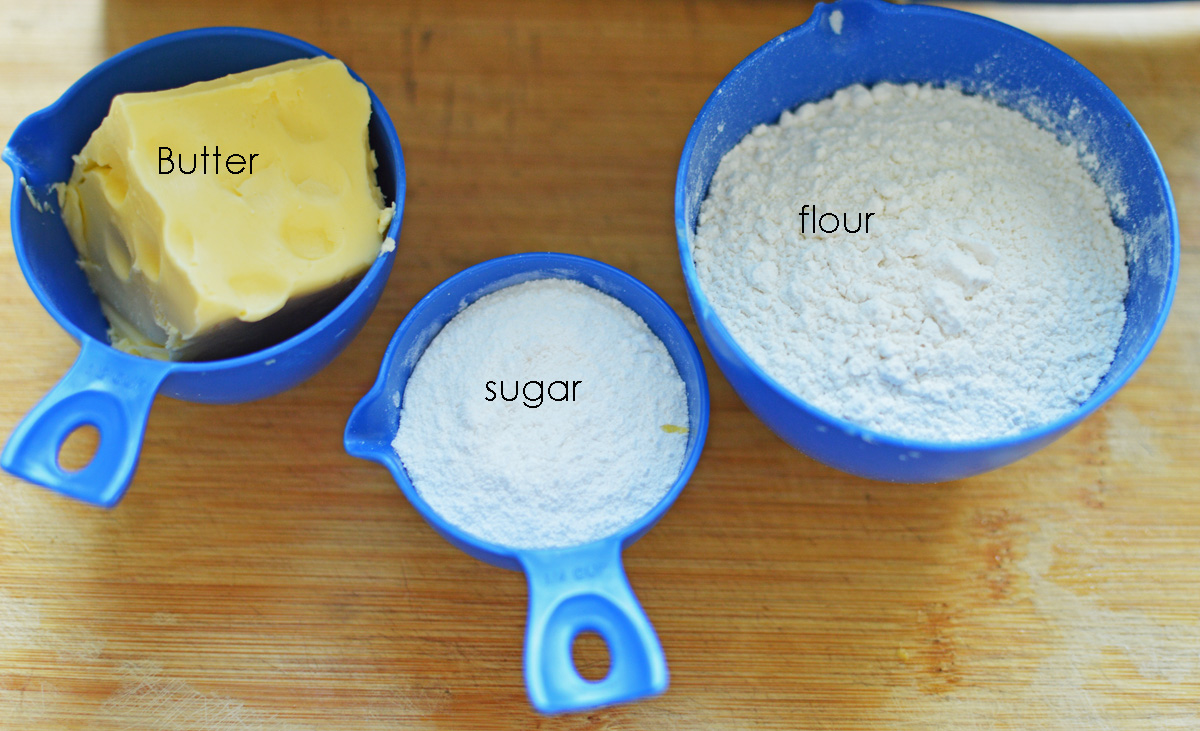
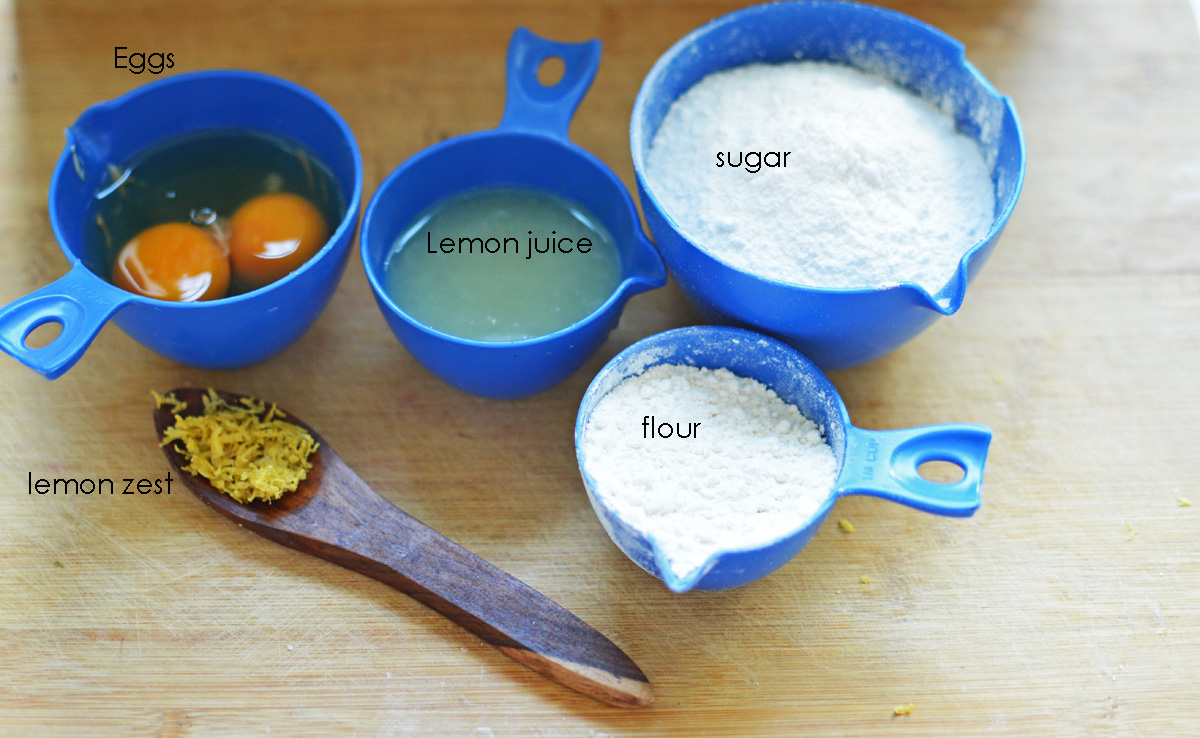
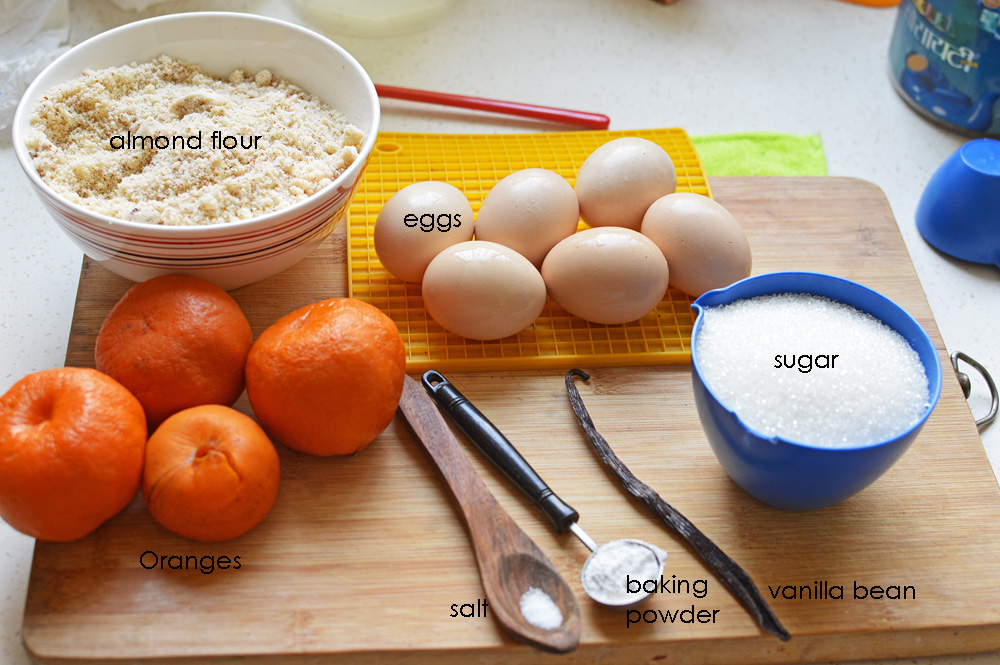
Since this is an orange torte you need oranges, almond flour, salt, baking powder, vanilla extract (I used a vanilla bean), sugar and eggs.

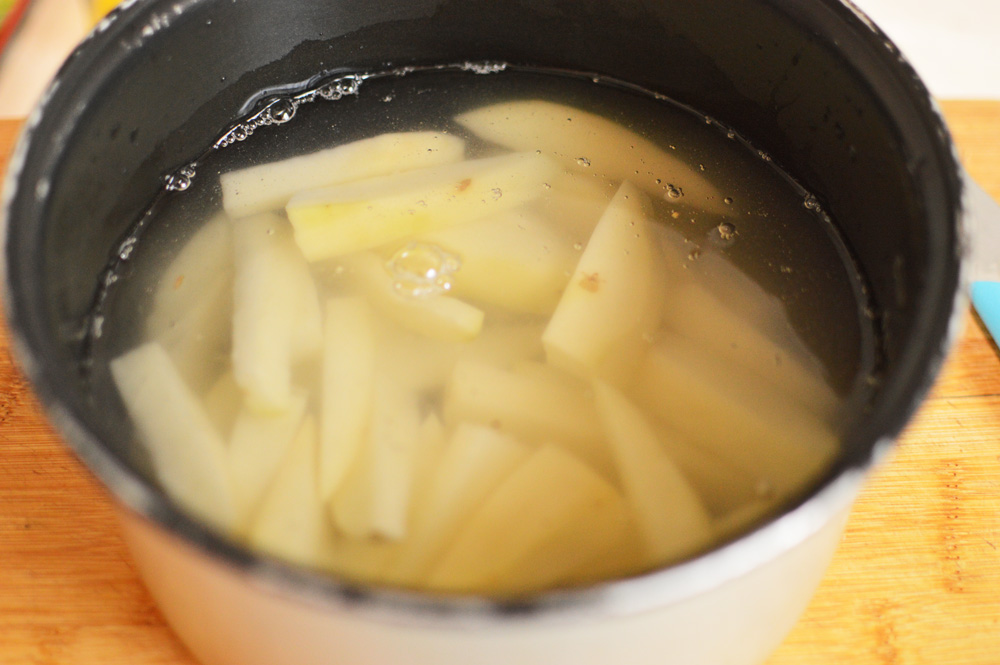
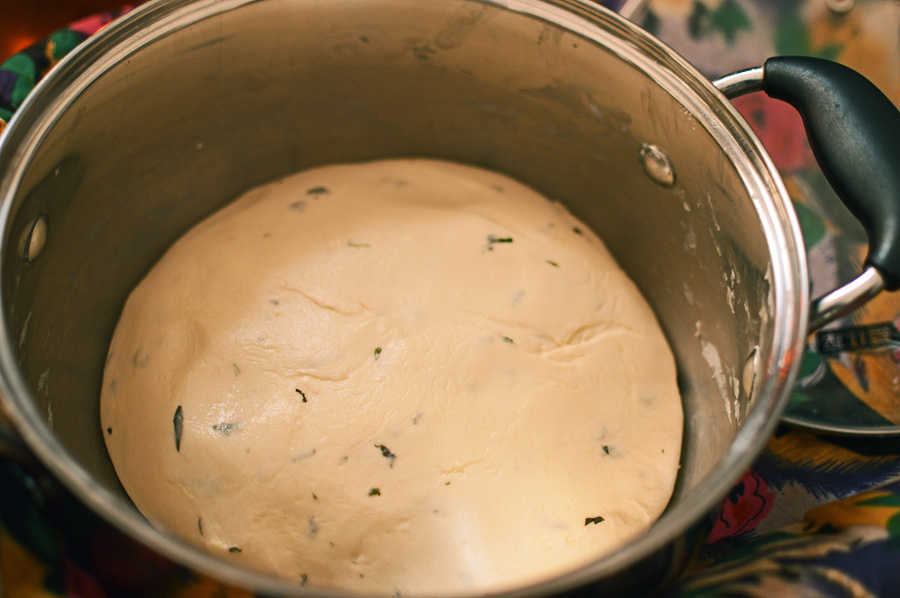
Before I start, I’d like to mention that these oranges need a good boiling because you want these golden beauties soft, soft, soft. I boiled these oranges a day in advance, and boiled them for about 1 hour until they were soft. Let them cool and store in fridge to use next day.

Also a word on almond flour/meal- please don’t get put off or think ‘meh this needs almond meal, who’s got that’? well I didn’t. I simply made it at home by blitzing almonds in a grinder until it resembled flour. It took me about 2 minutes. You can do it and you should, because this cake is extraordinarily delicious and moist and dense and orangey and you’d probably go to hell if you didn’t try this recipe.

ok moving on..

DSC_0623
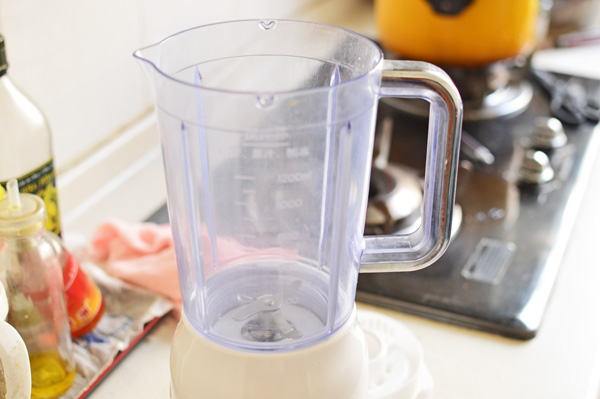
take a clean blender or food processor

DSC_0624
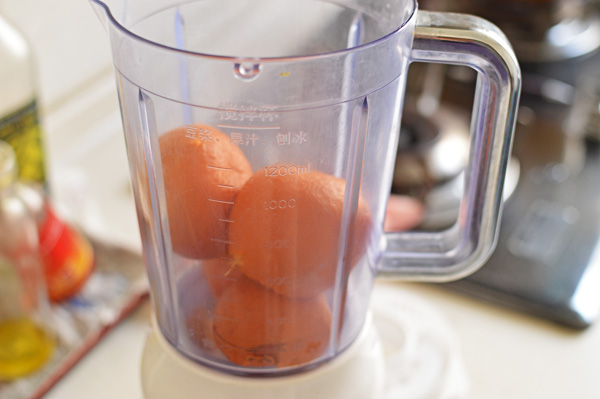
throw in your oranges

DSC_0625
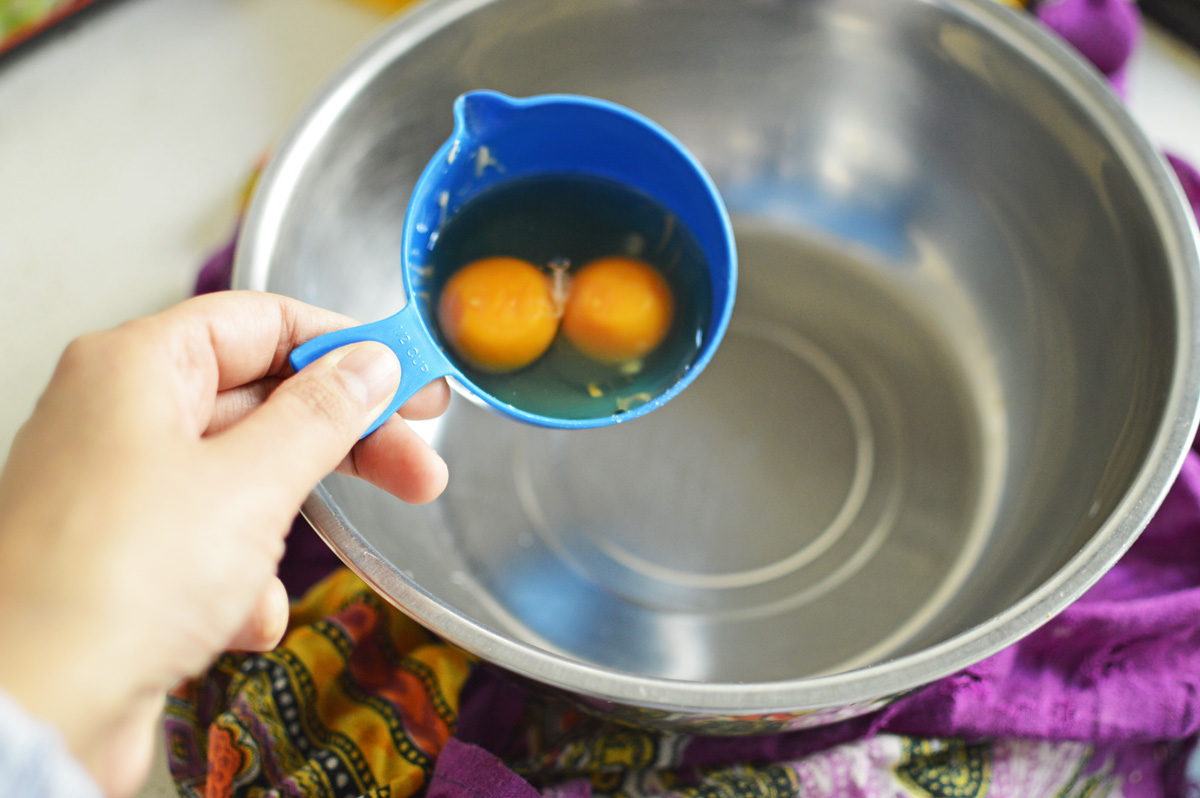
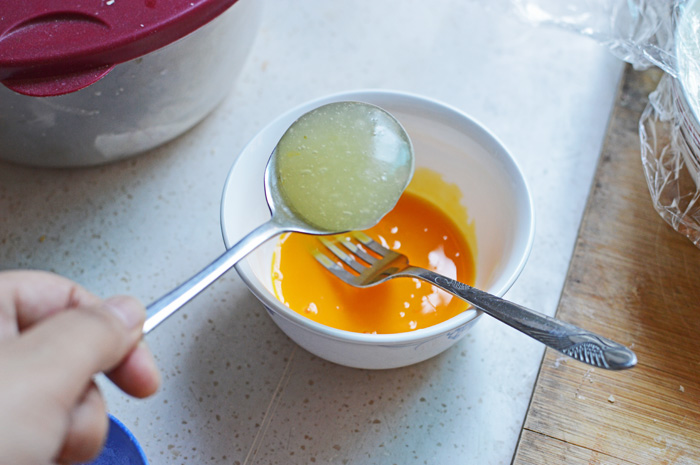
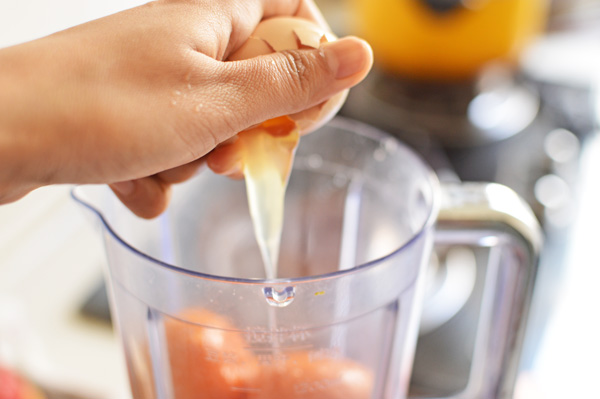
crack in the eggs in the most clumsy fashion

DSC_0626
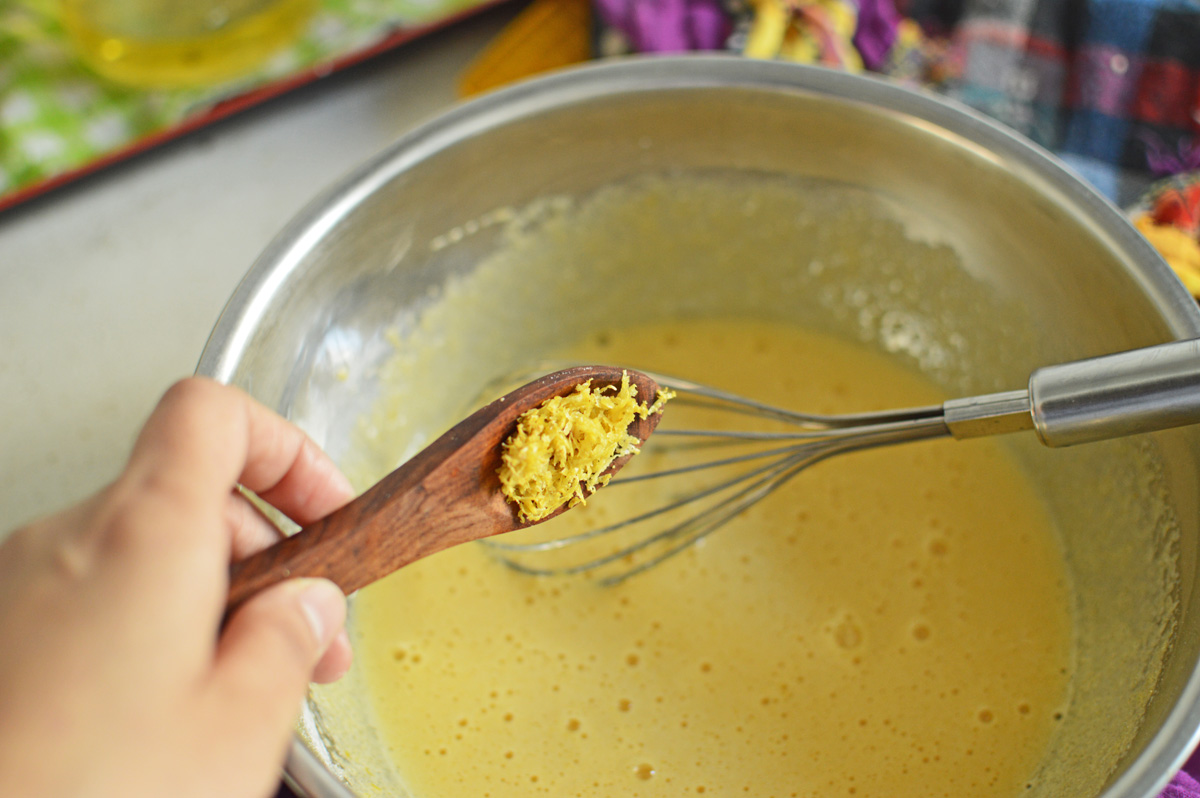
add in the vanilla (I’m using a vanilla bean, but please use good vanilla extract if you want, I just happen to have a truckloads of these beans)

DSC_0627Once it’s all in

DSC_0628
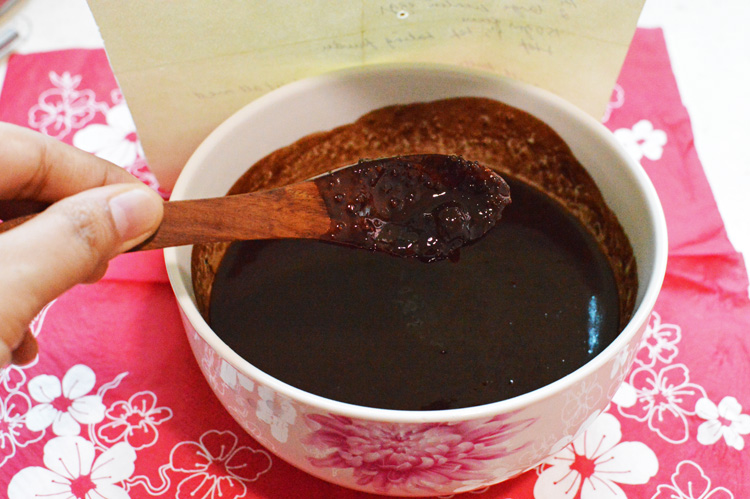
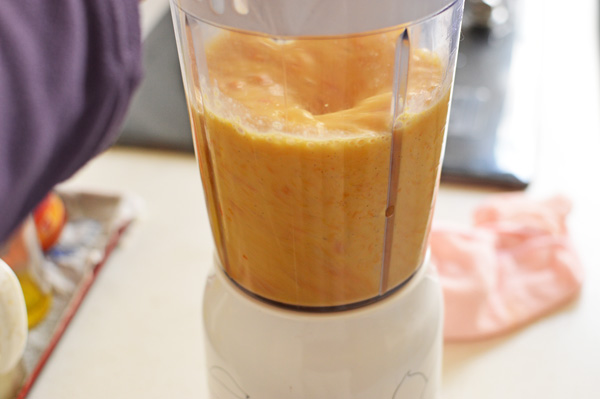
blitz to mix. It will turn into a golden pond of citrus love in a matter of seconds.

DSC_0629admire your handiwork and realize it resembles a milkshake and that you’re lactose intolerant..shed a few tears and get back to work.

DSC_0630
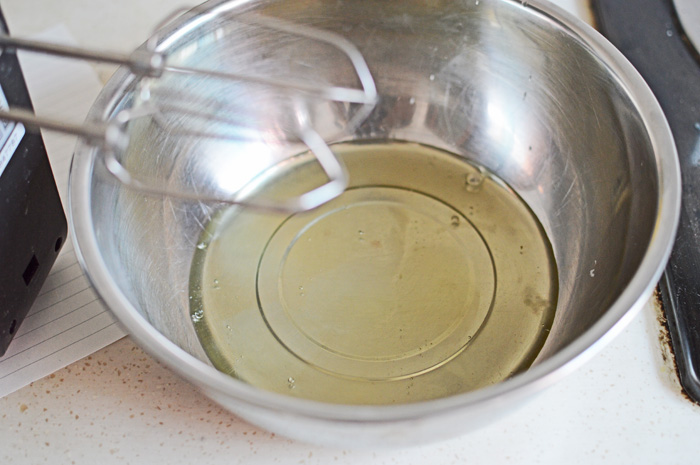
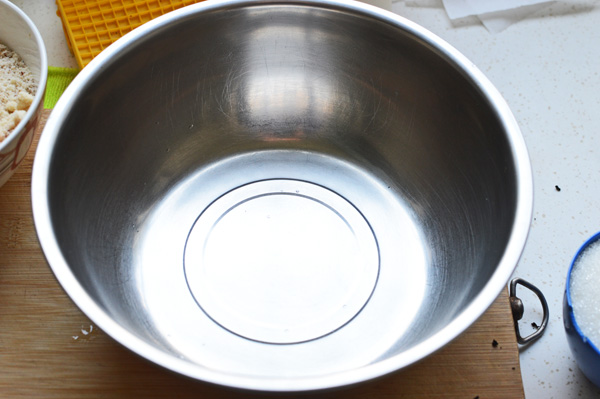
in a separate large clean bowl.

DSC_0631
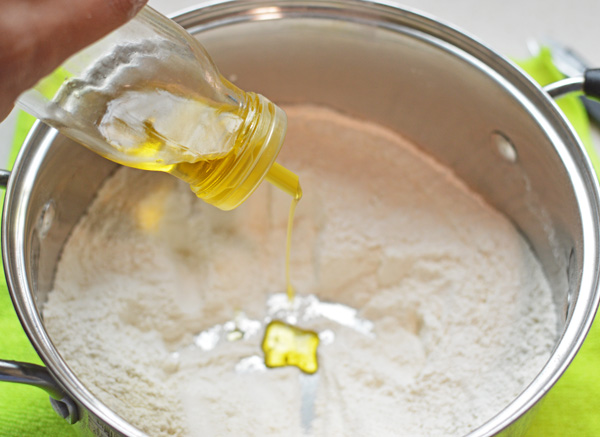
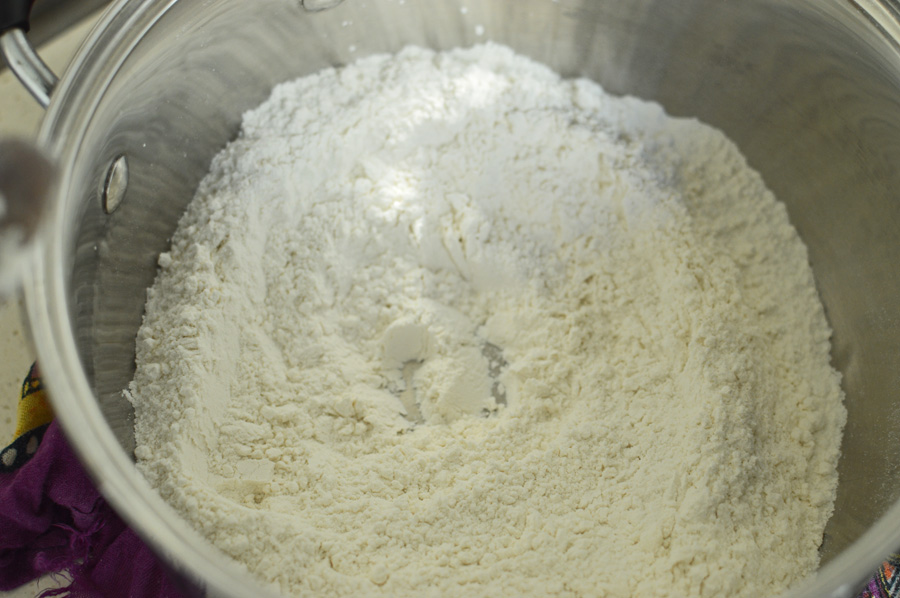
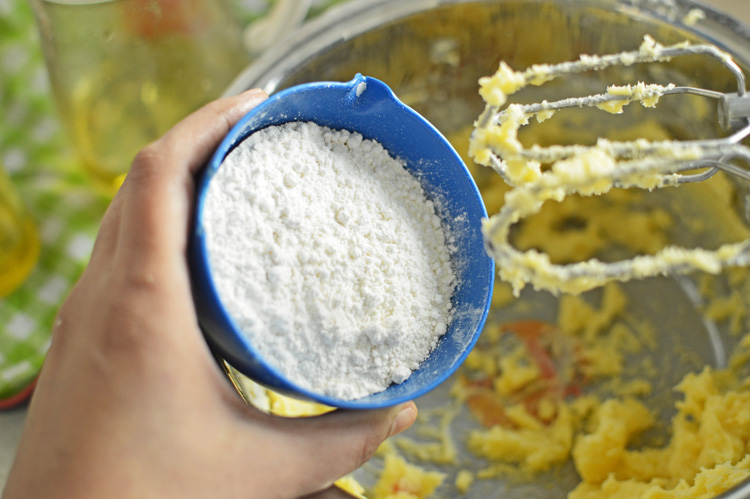
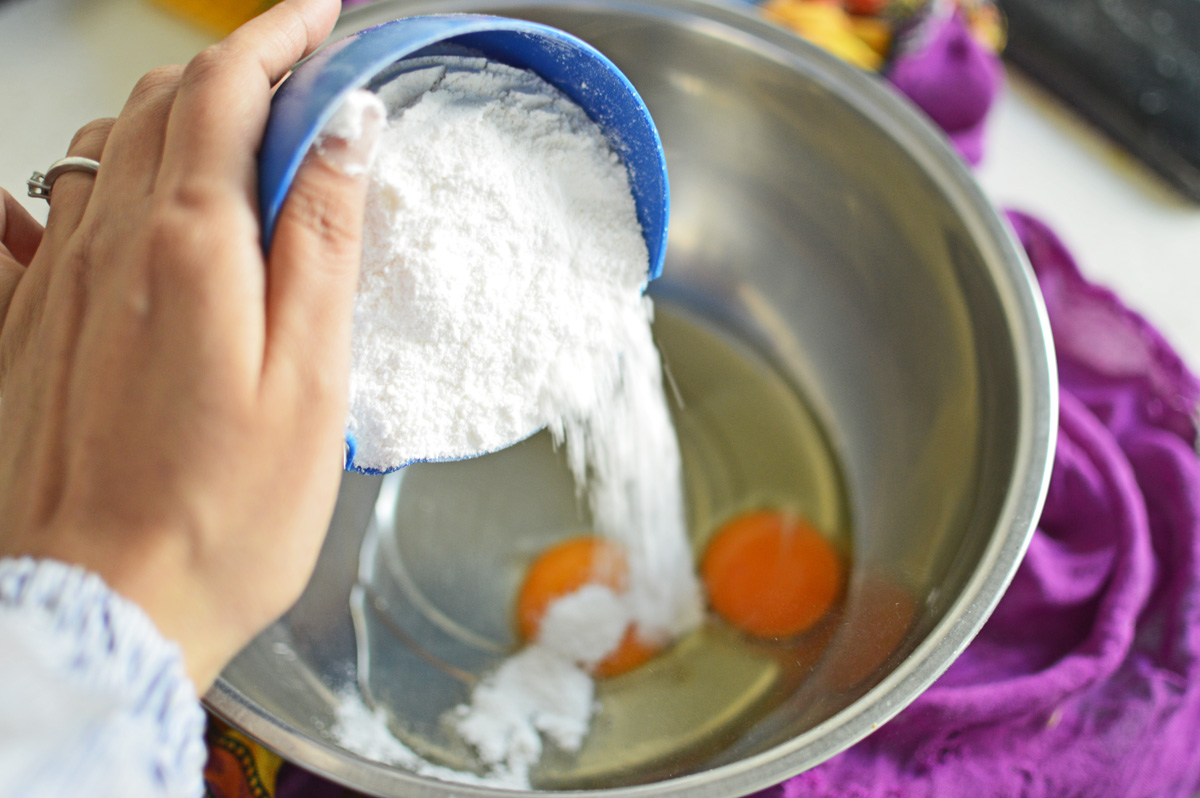
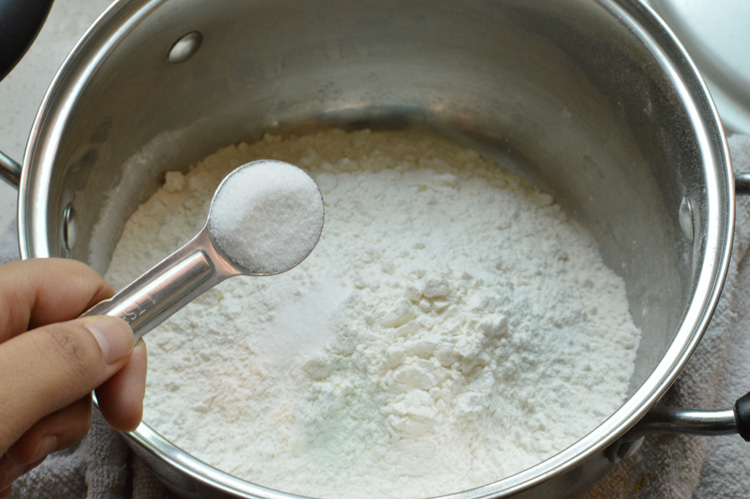
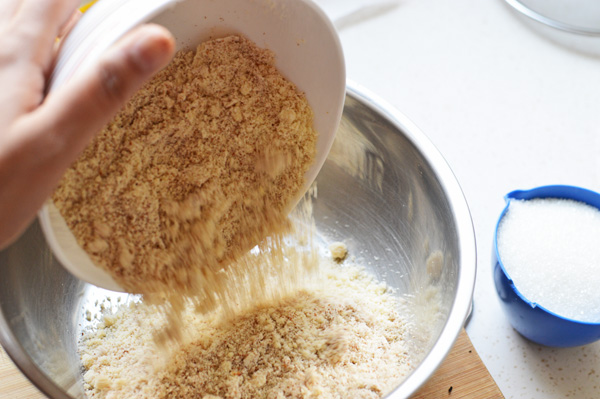
dump in your almond flour/meal (whatever you call it)
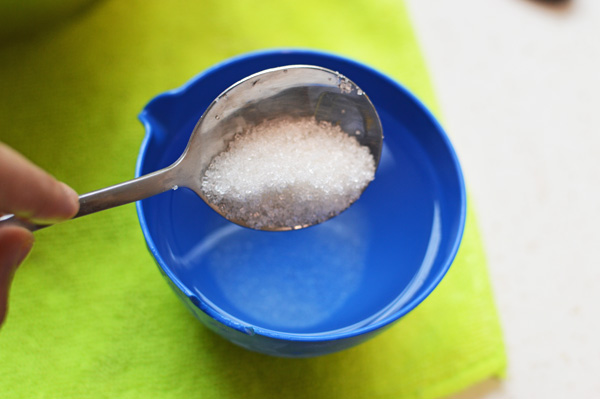
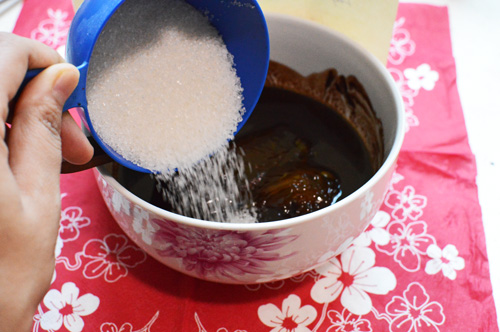
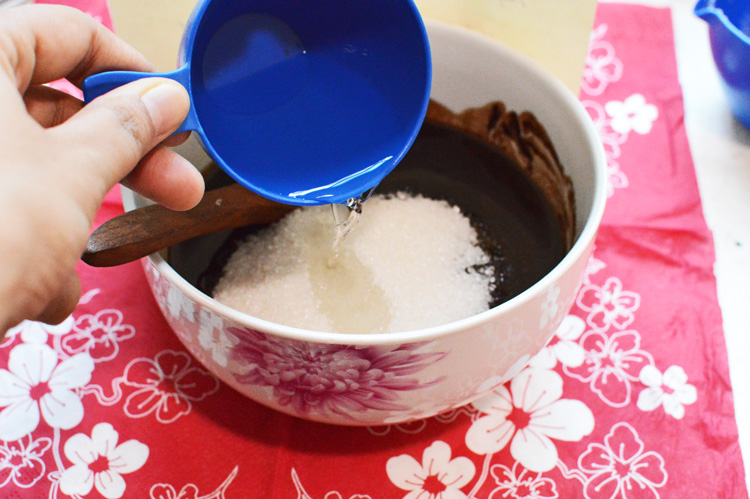
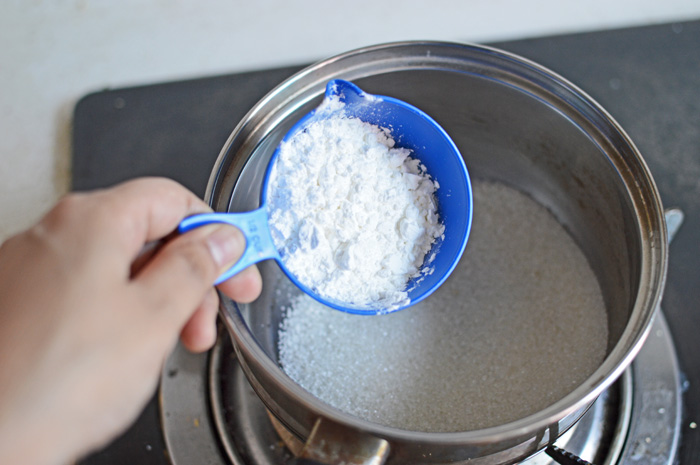
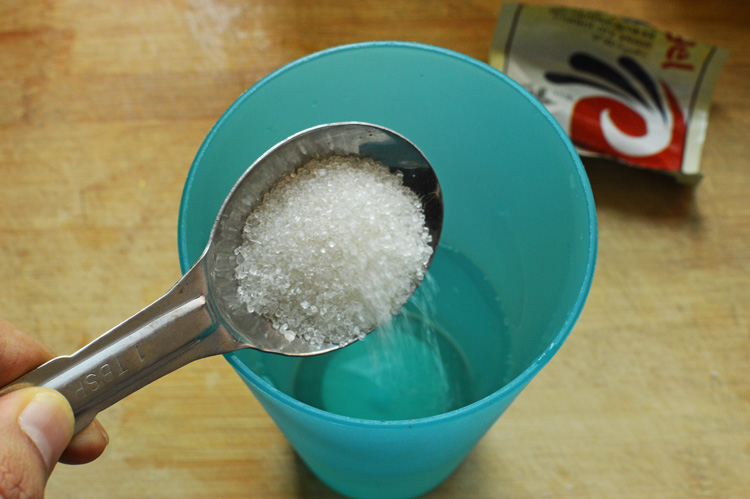
DSC_0632add the sugar

DSC_0634in with the baking powder

DSC_0635
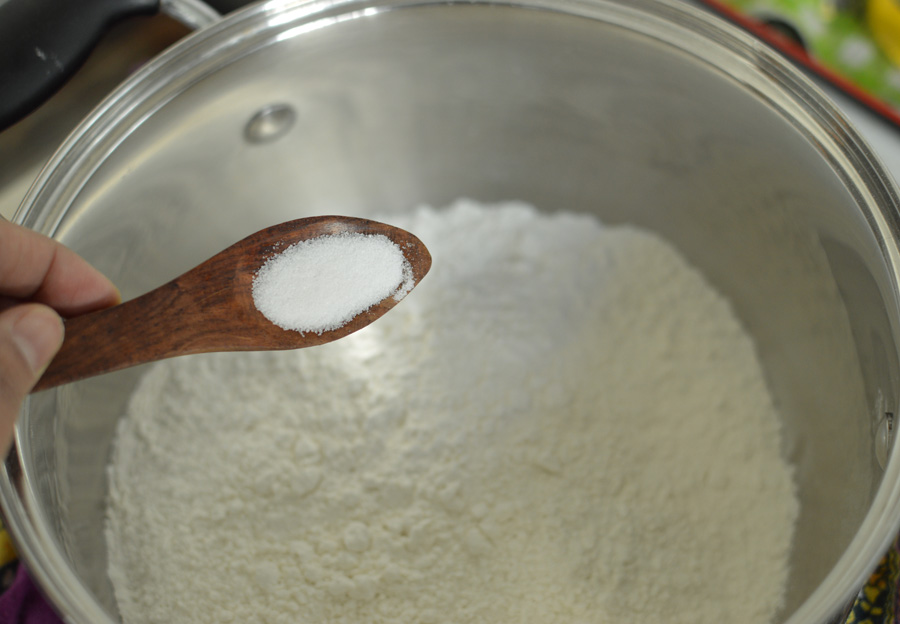
don’t forget the salt

DSC_0638it’s all heaped in. good!

DSC_0639
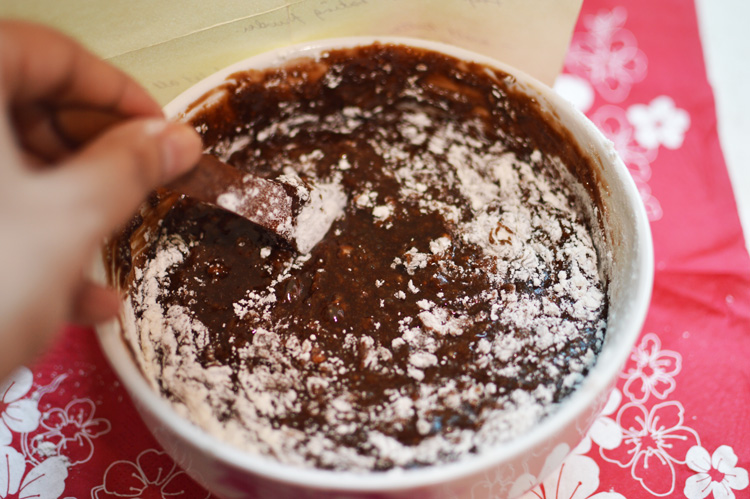
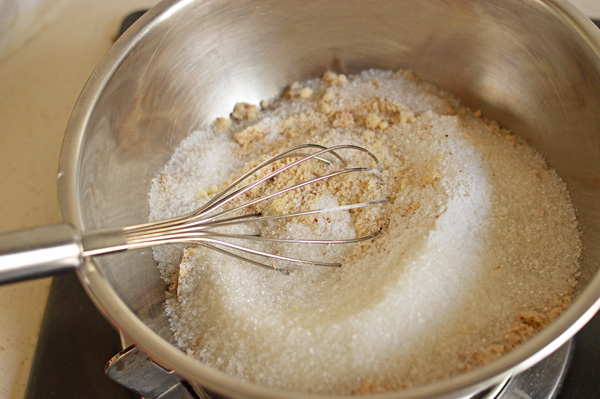
mix using a wire whisk. It’s just easier

DSC_0640
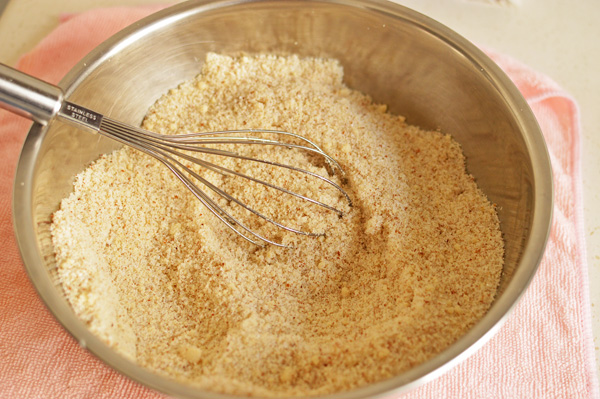
mix well like so. I put a spoonful in my mouth and it tasted great already.

DSC_0641
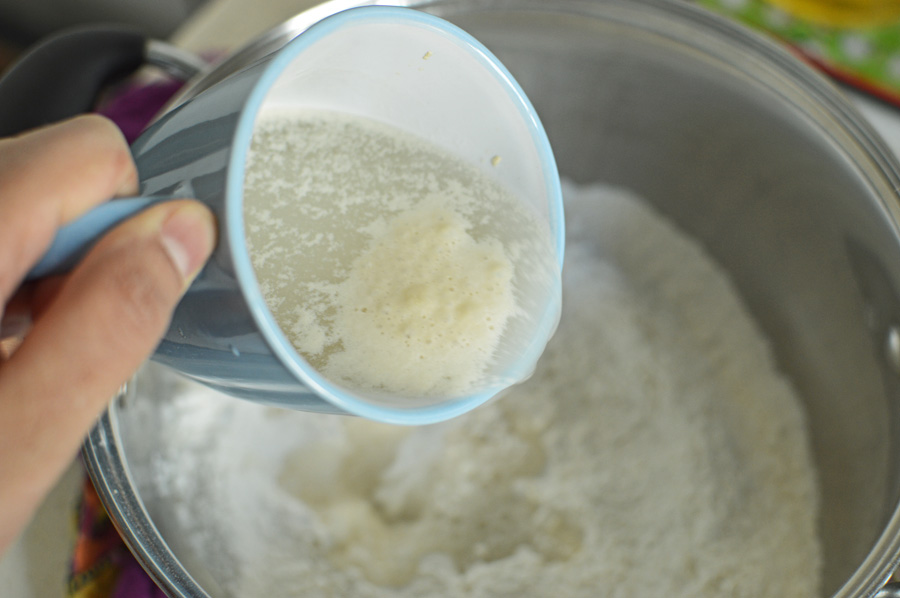
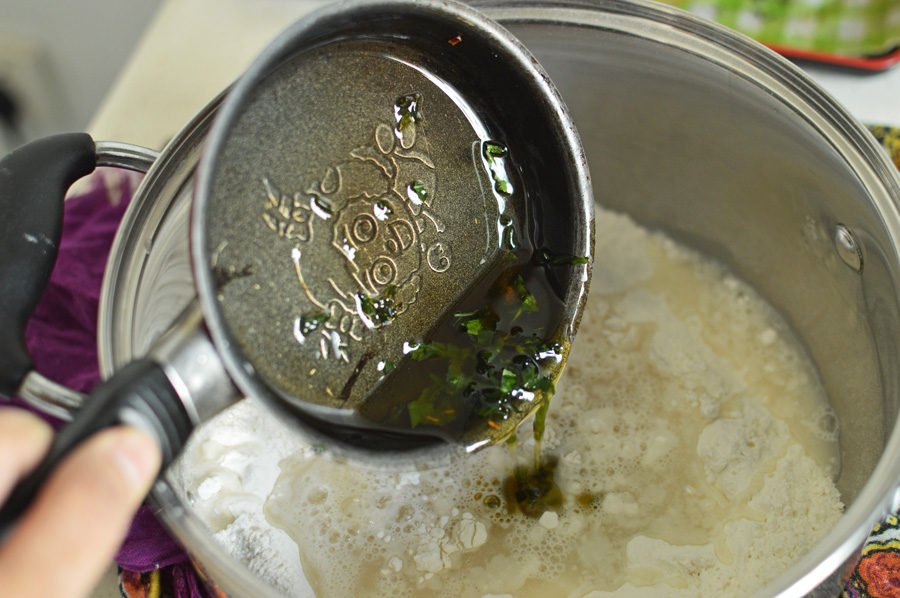
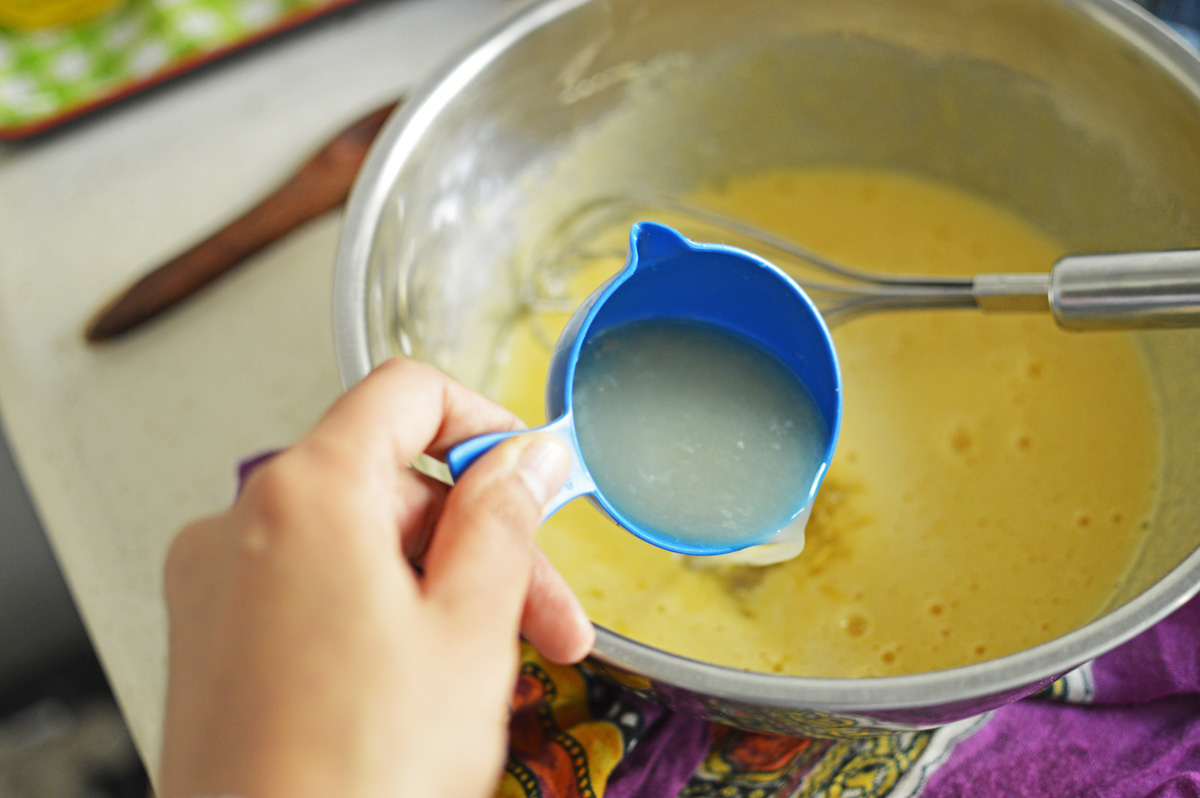
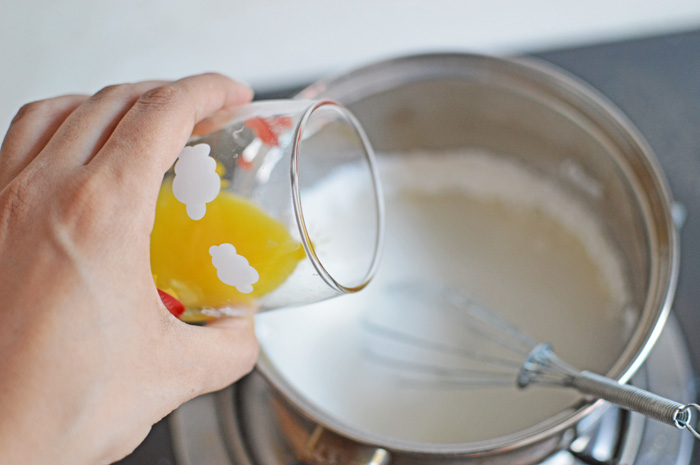
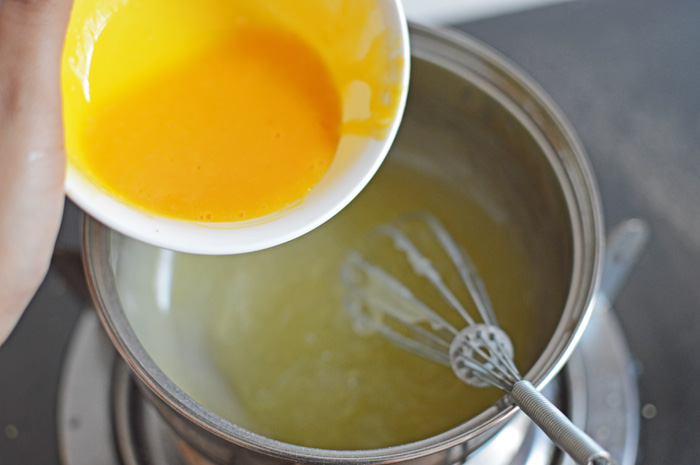
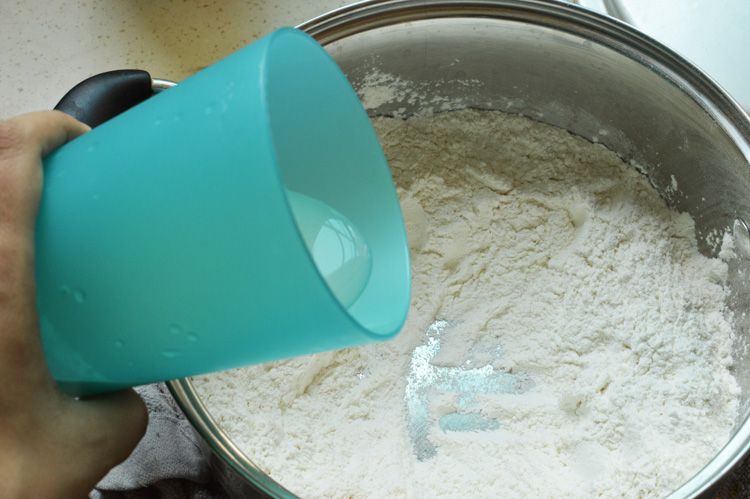
Now tip in your orange+egg+vanilla mixture

DSC_0643
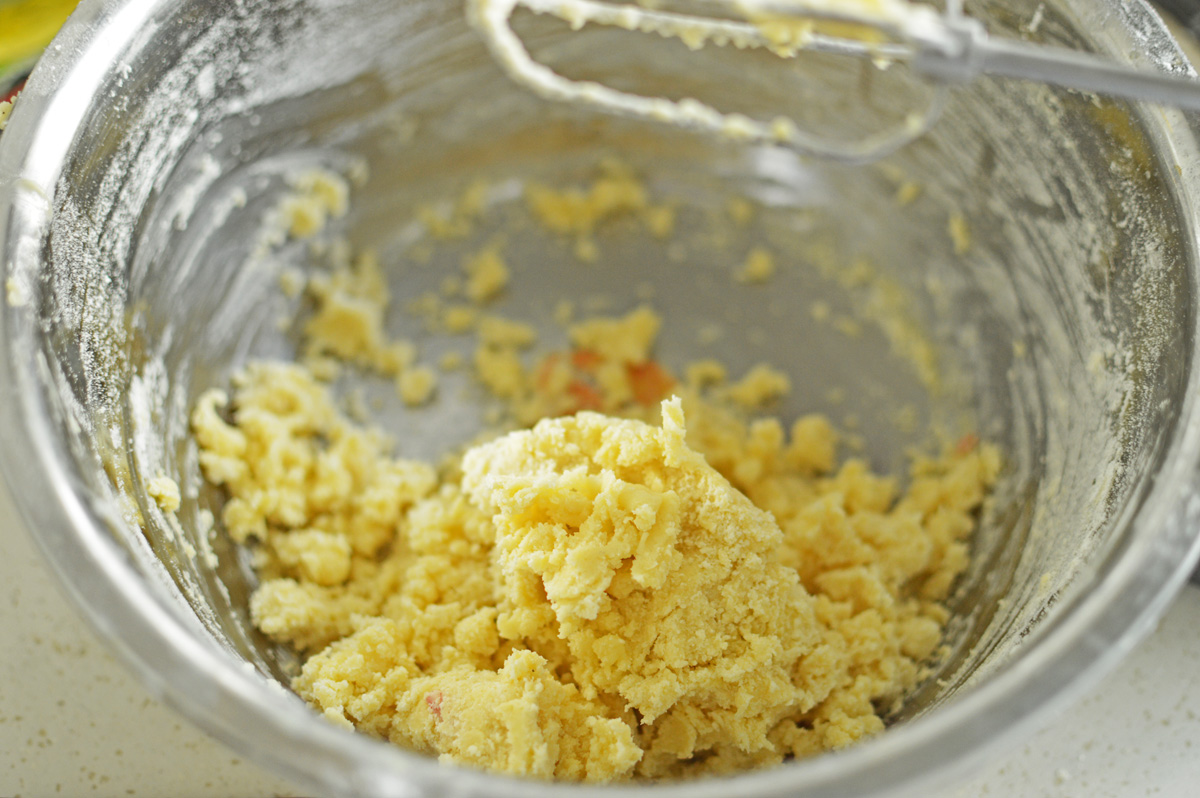
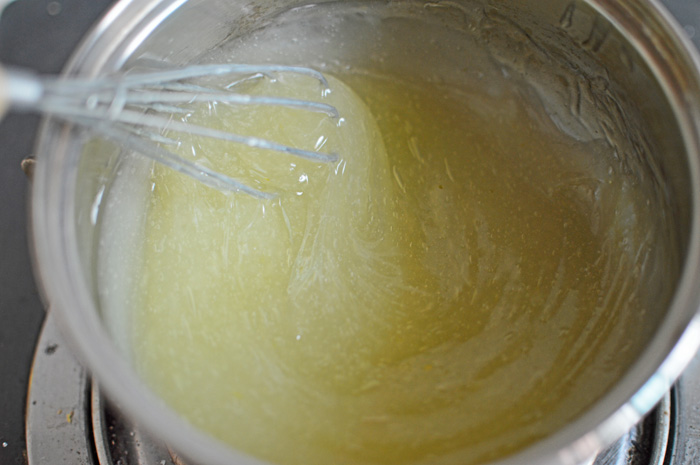
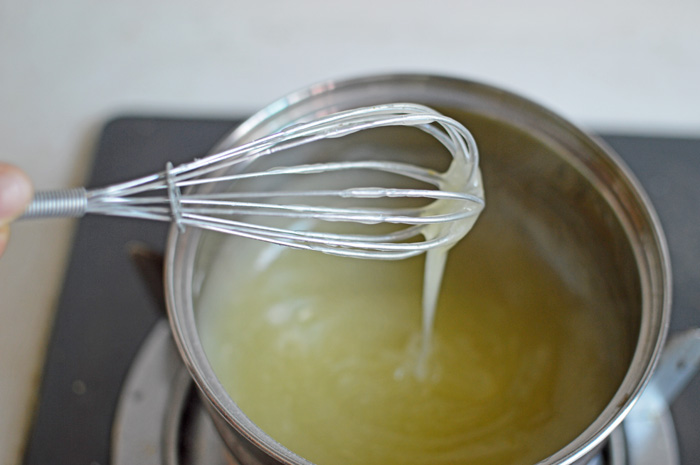
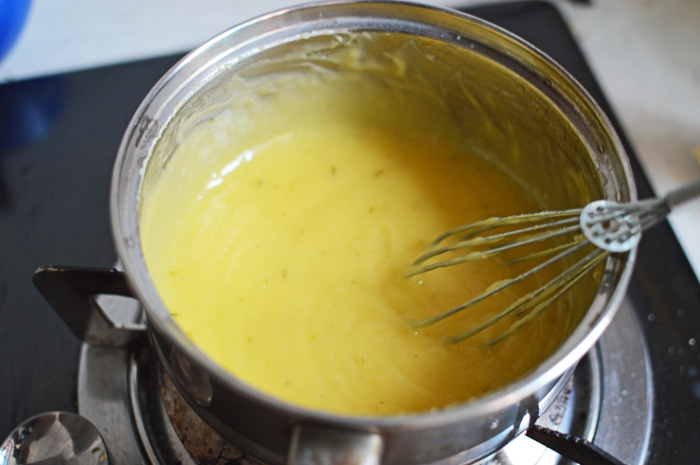
mix until it all comes together. Don’t be too vigorous.

DSC_0644
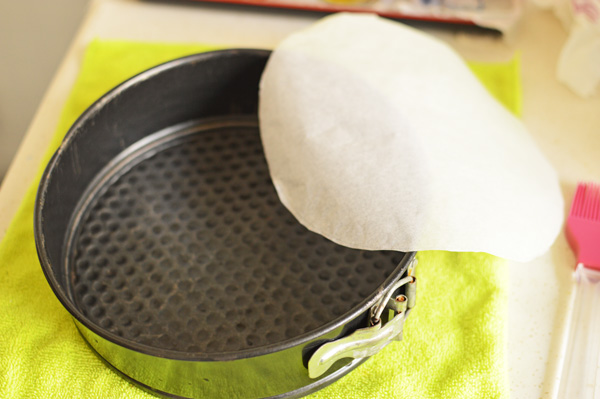
let that rest a bit and prep the pan. Take a springfoam pan and using its base as guide, cut out a round piece of parchment paper. It’s not geometry, you needn’t be precise. (Again, don’t be put off by this step. It takes a mere minute and it’s important for the cake)

DSC_0645
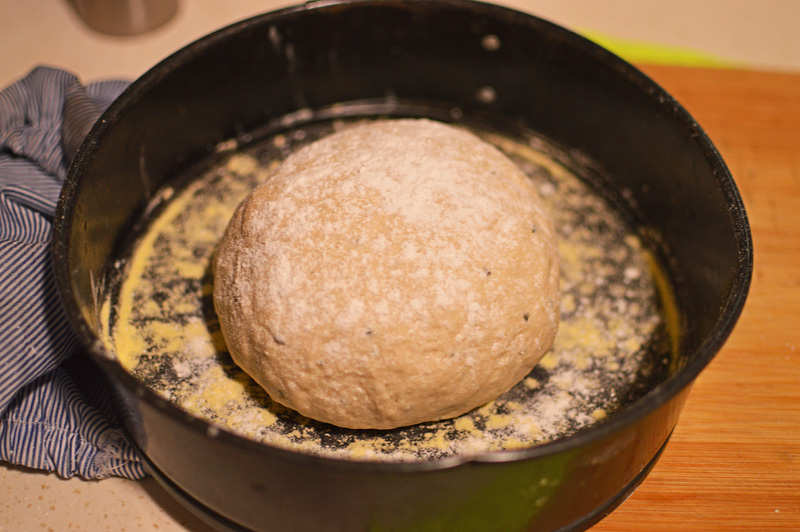
take a bit of melted butter and spread on the base of the tin.
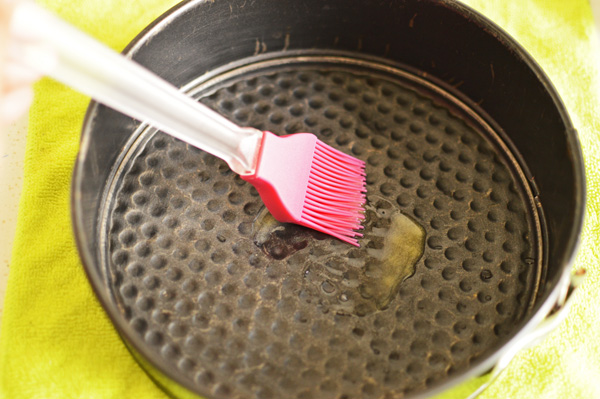
DSC_0646like so.

DSC_0647this enables the parchment to stick better. Flatten it out well so that there are no air bubbles.

DSC_0649
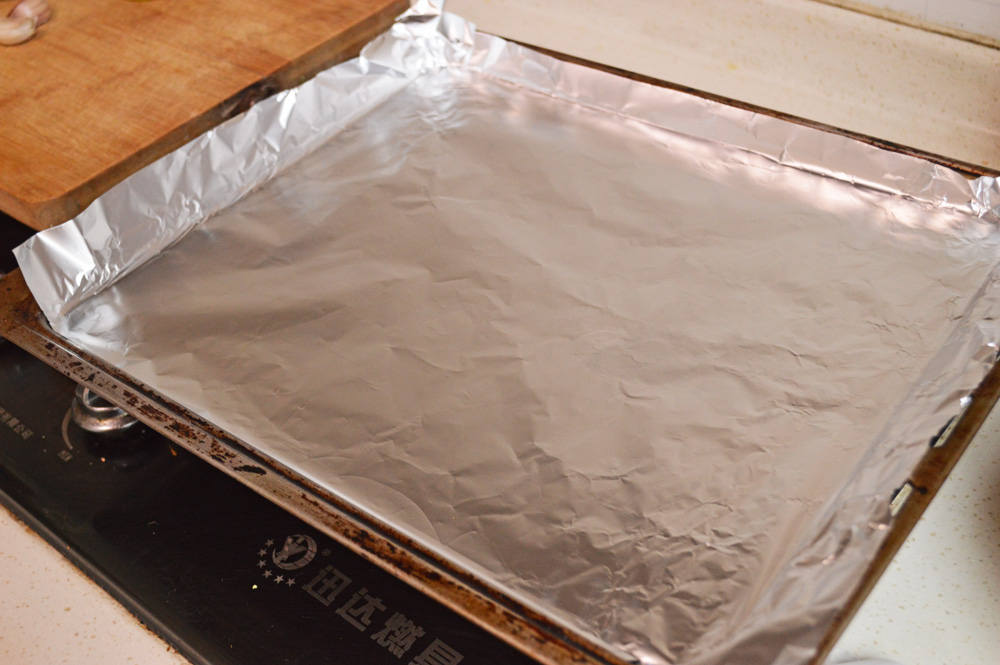
Brush the sides as well. I took an extra precaution and lined the base with aluminum foil to prevent any leakages. I have trust issues with this pan, and in return it doesn’t love me back.

DSC_0650
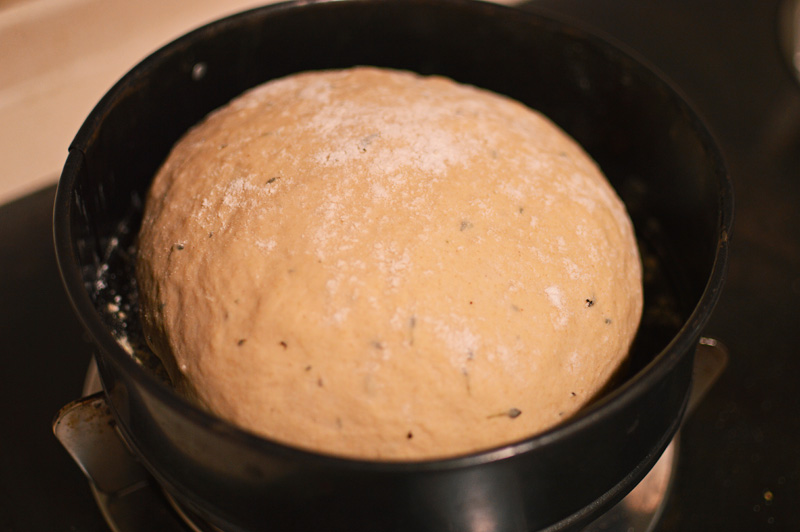
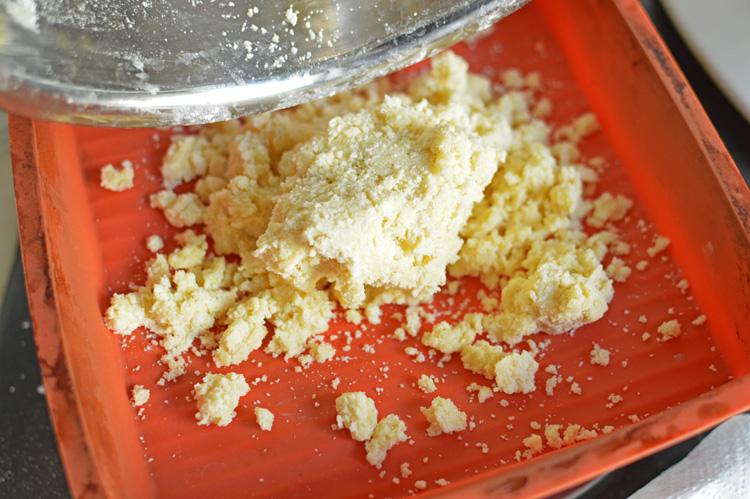
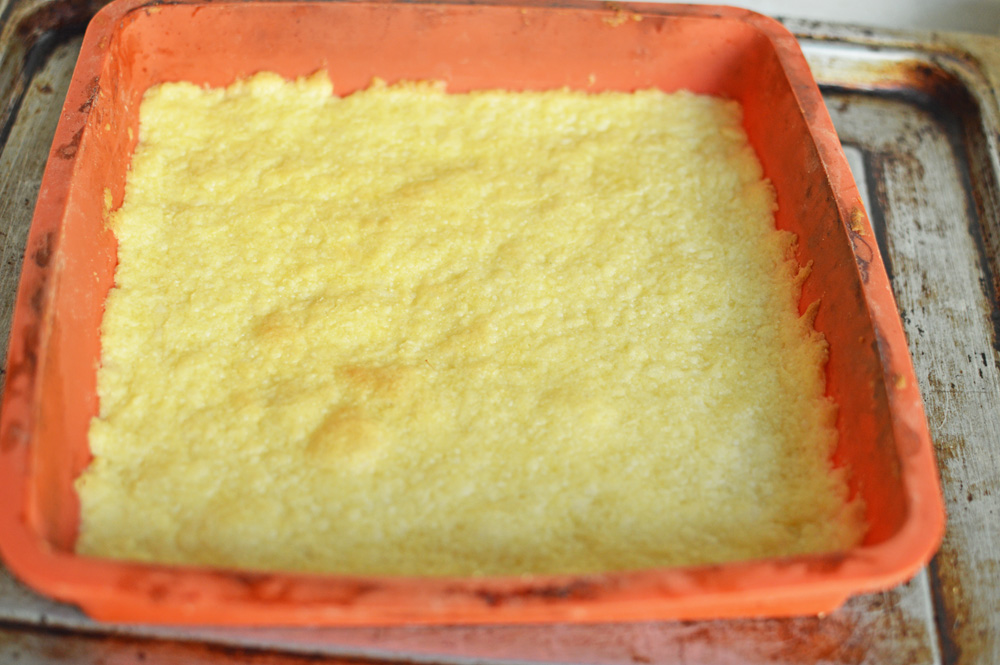
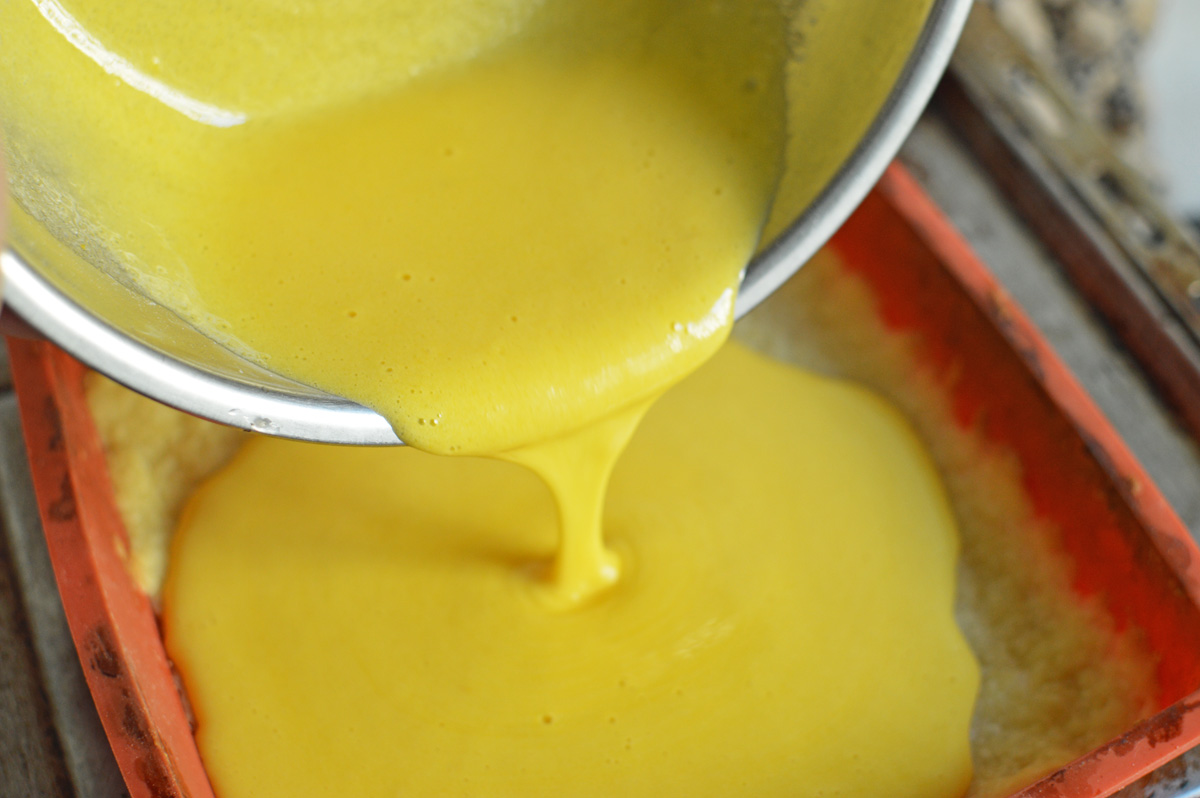
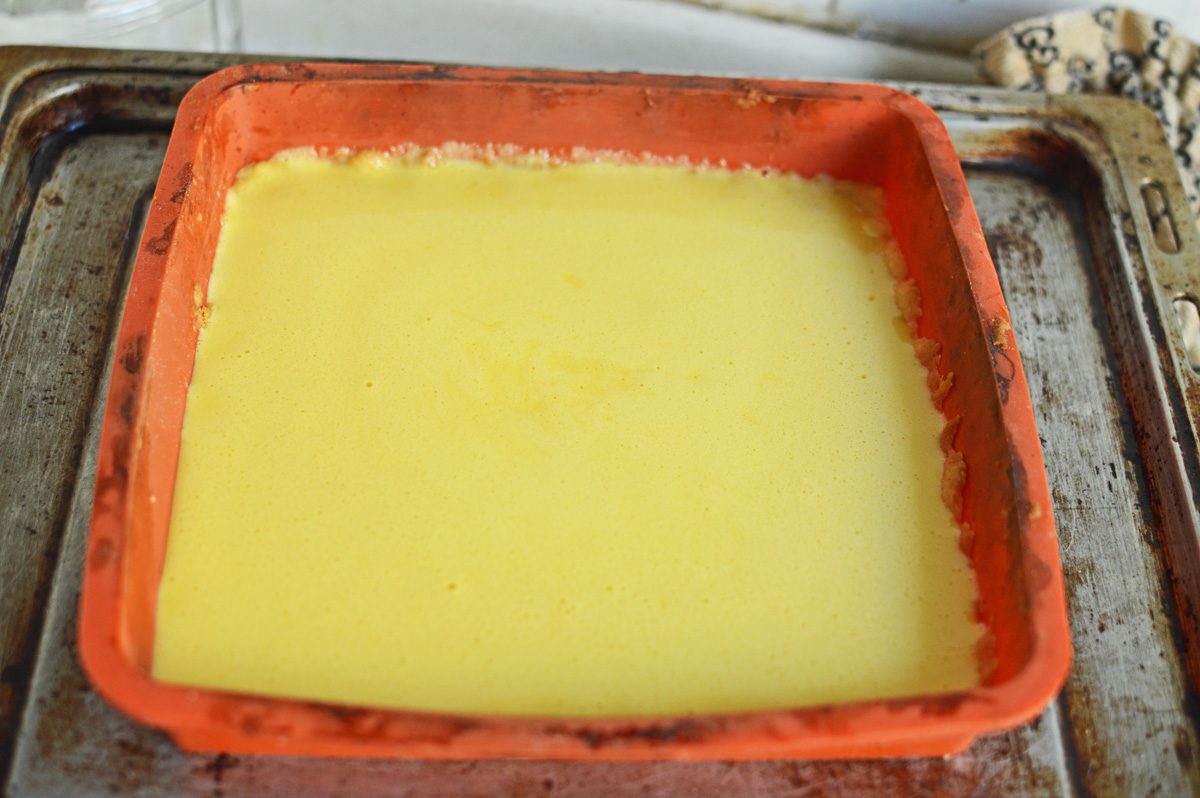
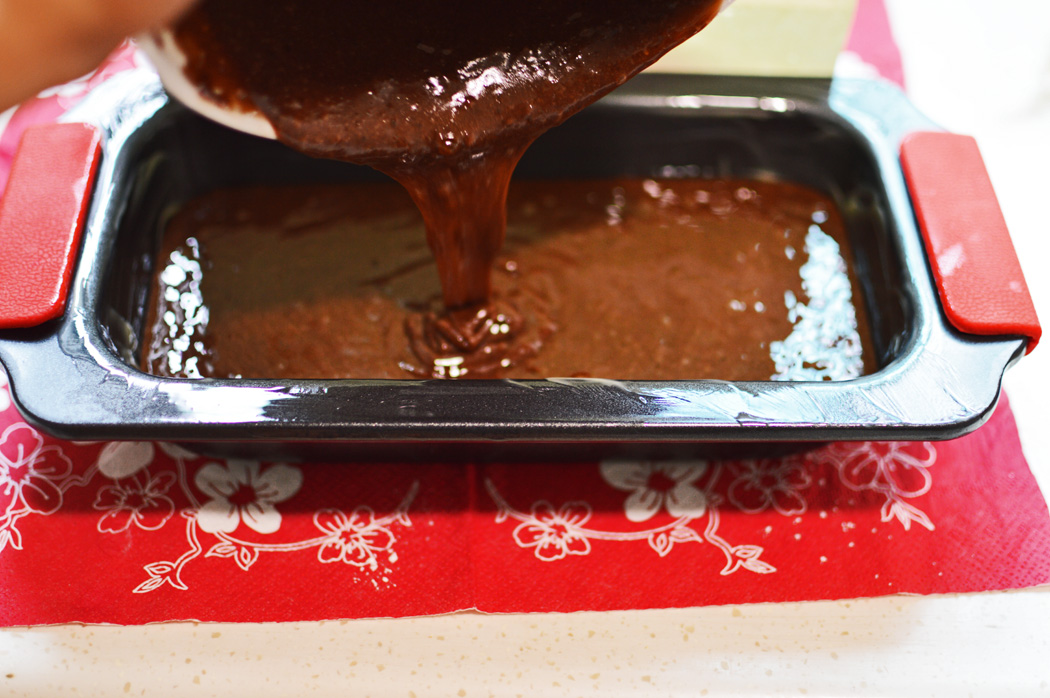
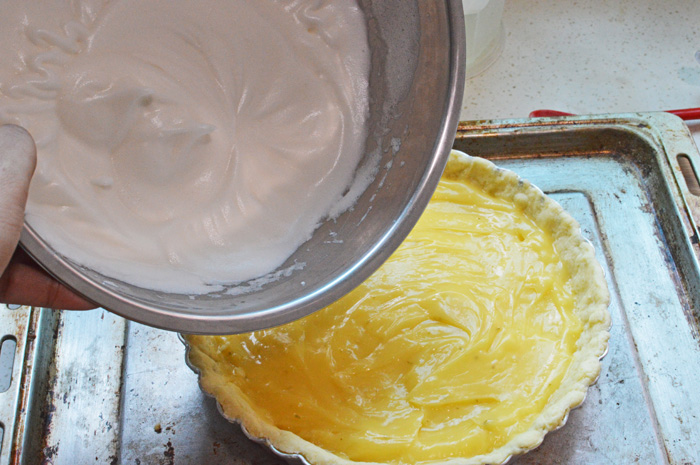
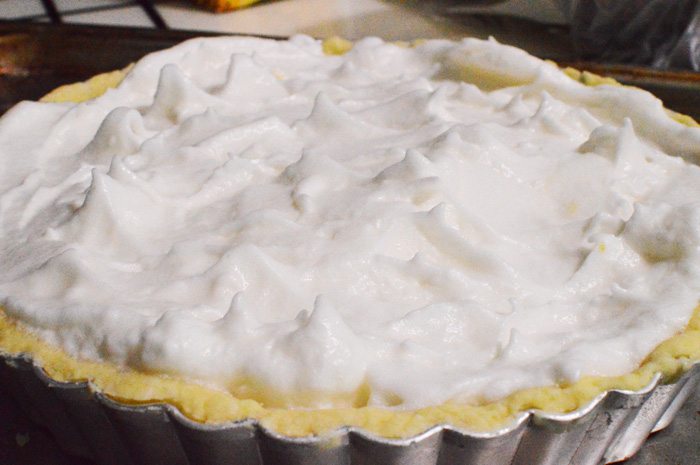
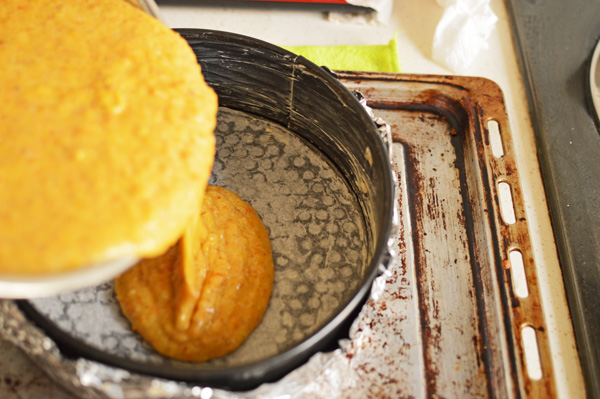
Tip in your batter. Tap it a bit and bake @ 190℃

DSC_0652
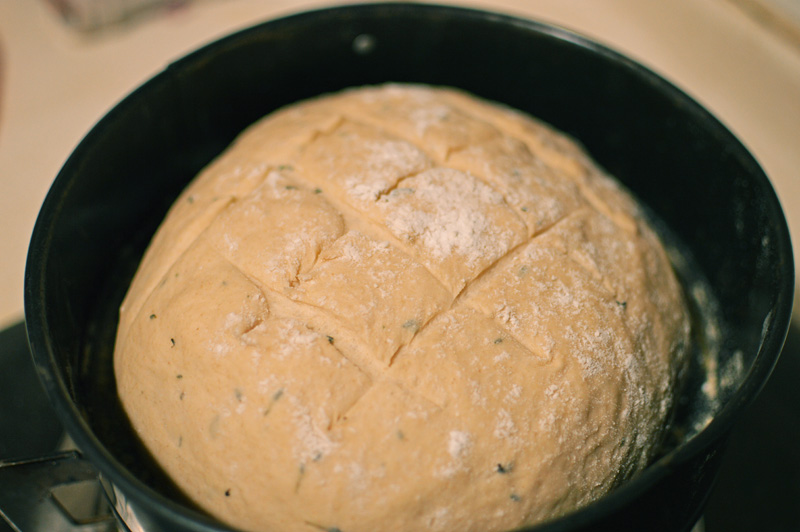
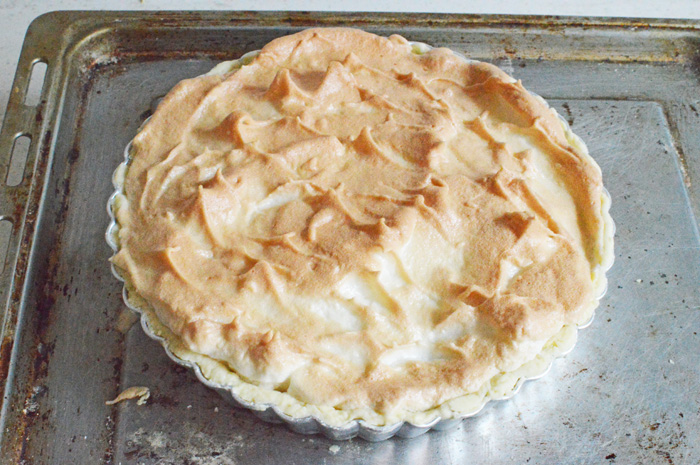
take it out after and hour. Check with toothpick in case it comes out clean and LET IT COOL COMPLETELY! I’m sorry for yelling but this how I yelled at the man who kept trying to eat it.

DSC_0660
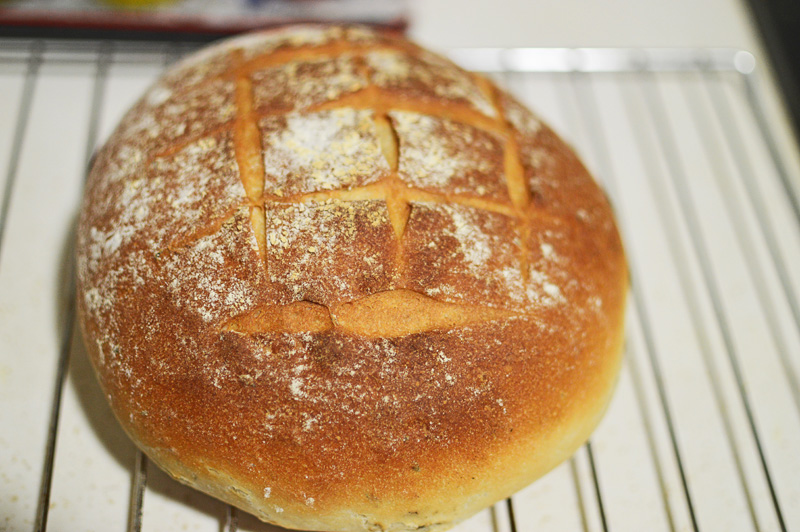
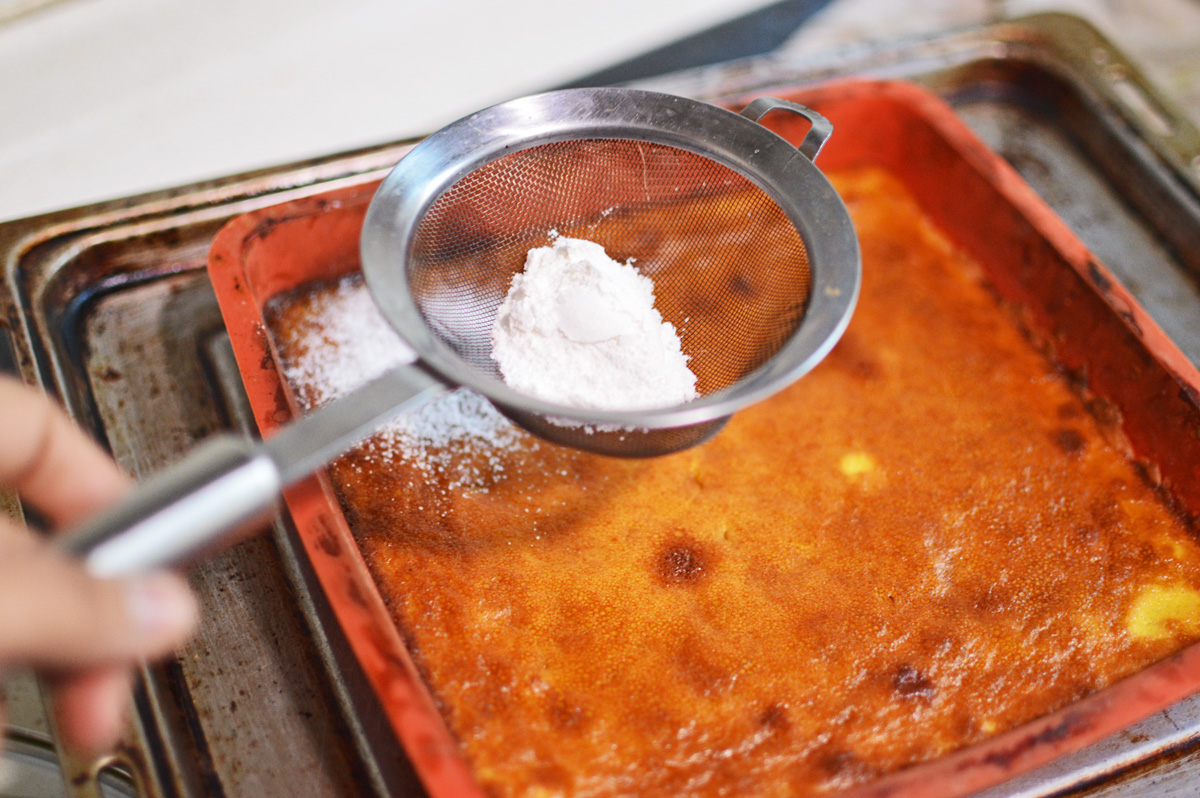
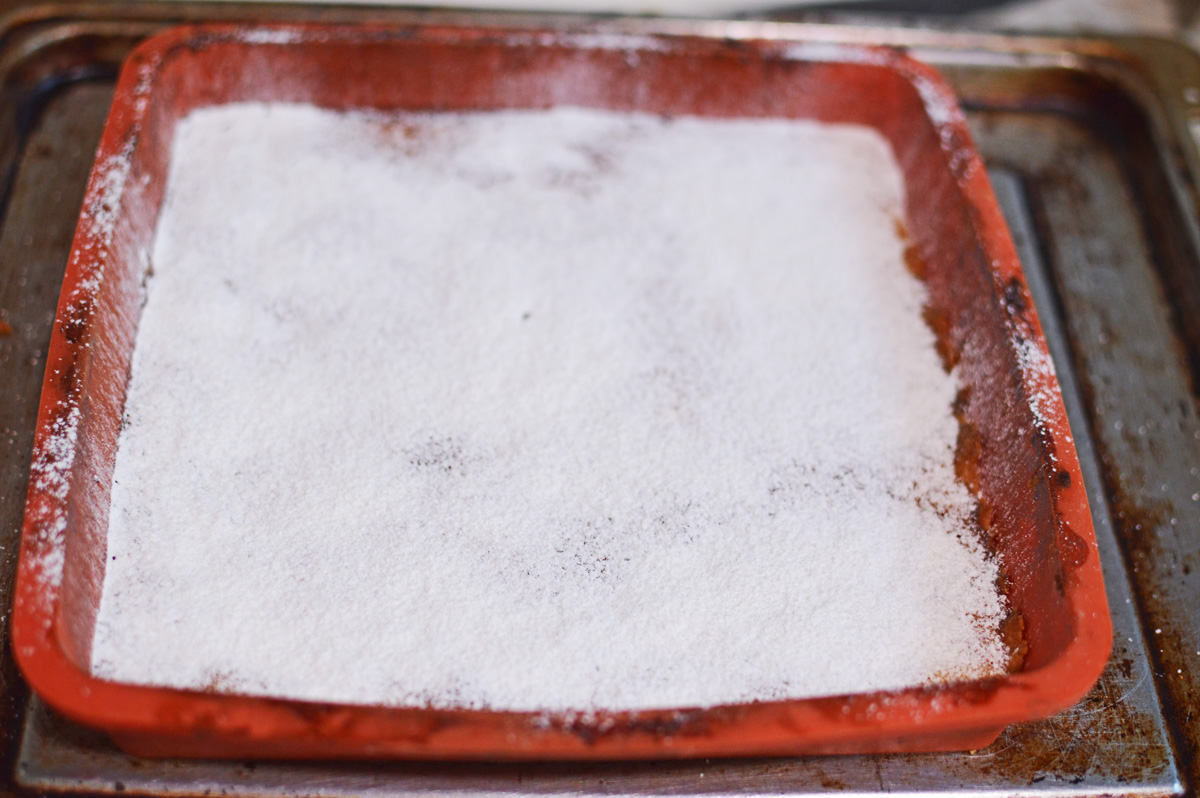
once completely cooled, very carefully and gently remove the base pan and peel off the parchment paper. Just be a little cautious. It’s a wonderfully moist cake so don’t be too heavy-handed with it.

DSC_0674
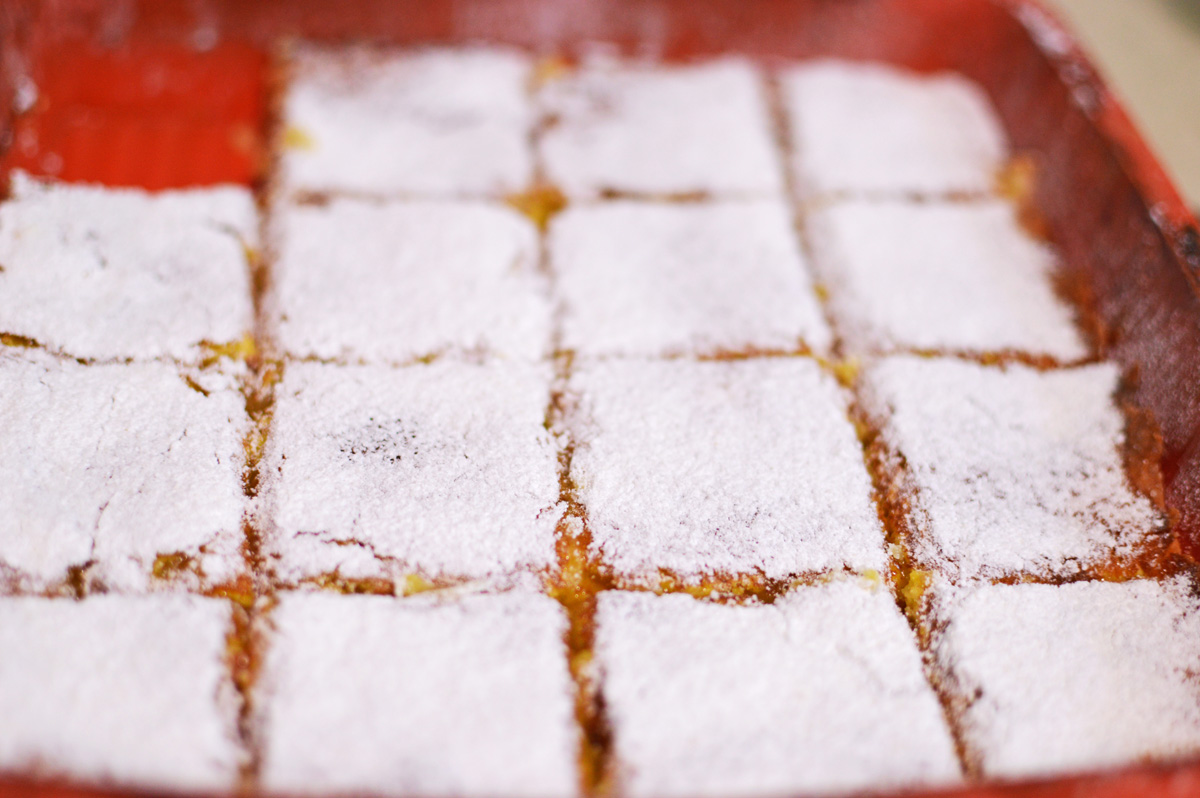
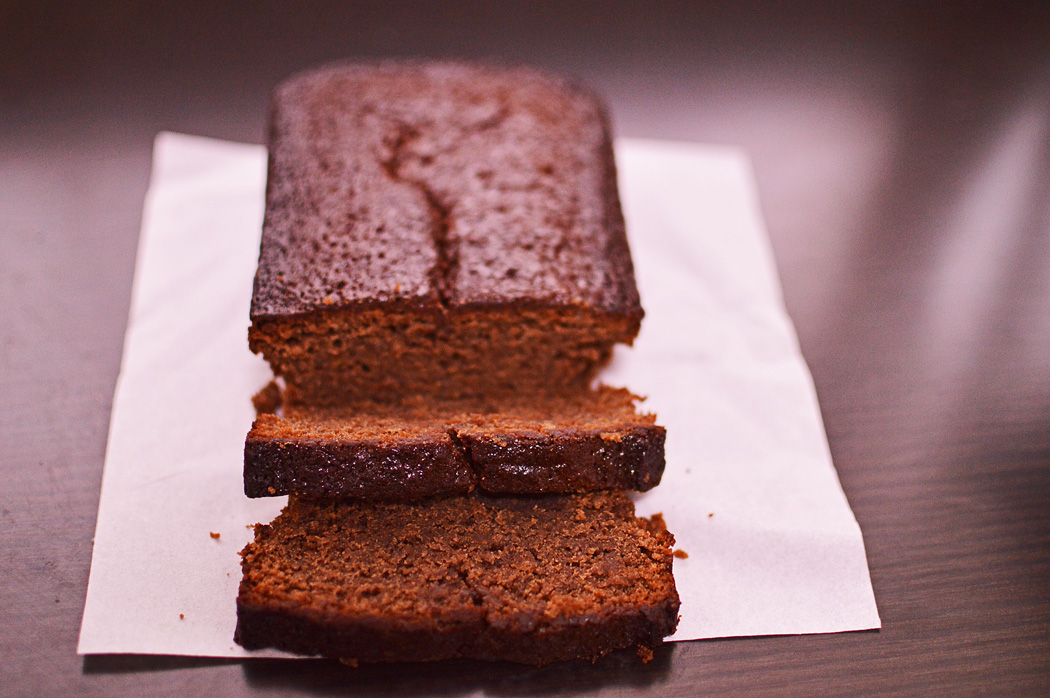
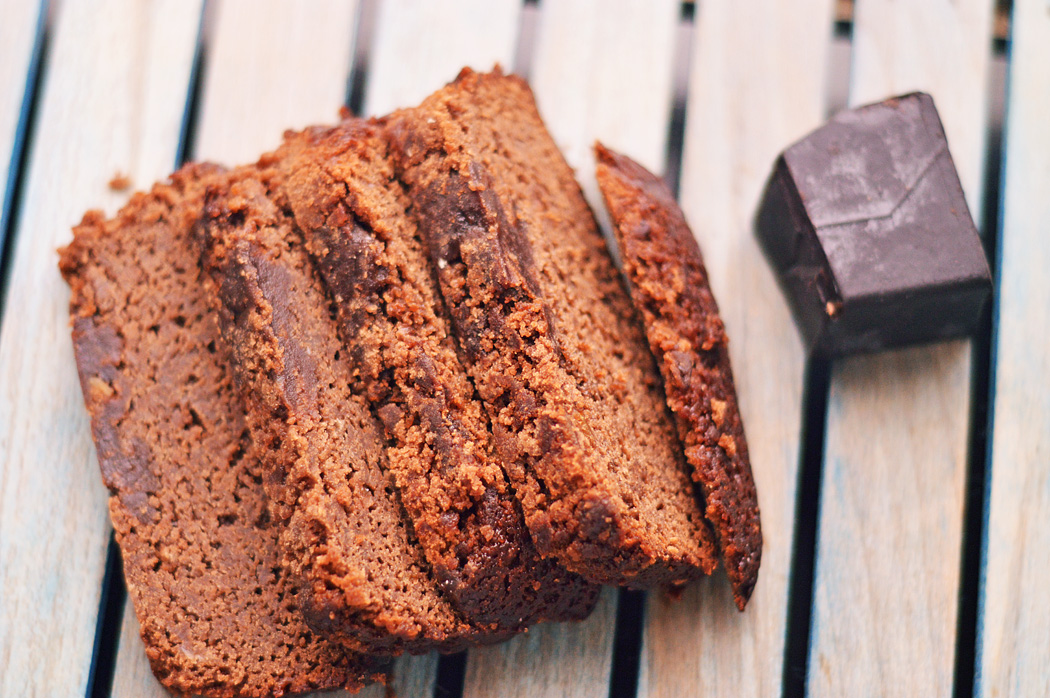
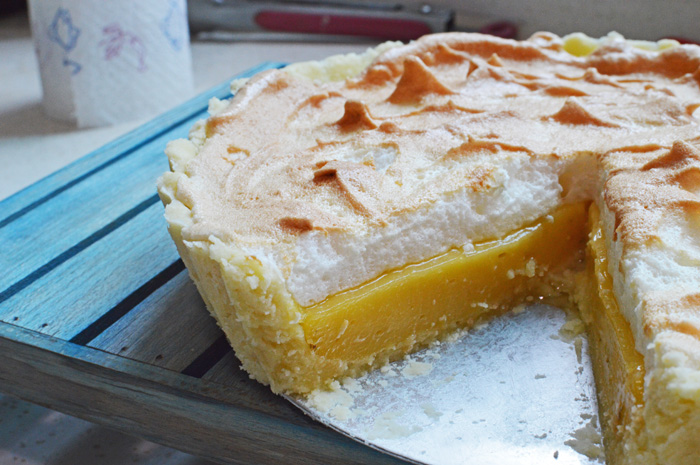
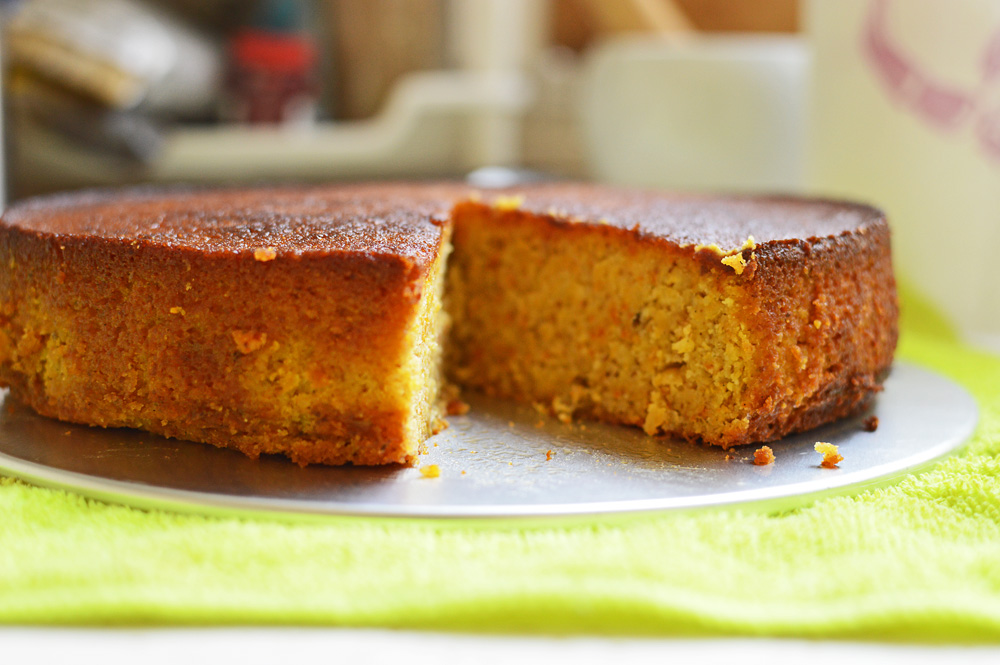
cut yourself a piece and fall in love.

Note: this cake tastes best after a couple of days of making, and for best results you have to let it be undisturbed overnight.

Ingredients

Oranges : 450g (boiled until soft, best to do a day in advance)

Eggs: 6

vanilla extract : 1 teaspoon or vanilla bean.

Almond flour/meal : 250 g (if you can’t buy it, then grind the same wight of almonds until it resembles flour)

Sugar: 230 g

baking powder: 1 teaspoon

salt: a small pinch

How to: In a blender or food processor, blend in the oranges, eggs and vanilla.

In a separate large bowl mix in the almond flour, salt, baking powder and sugar. Pour in the batter and mix well.

Line your springfoam tin with parchment paper after greasing the base and sides. To prevent leakages line the outside base with aluminium foil.

Pour in the batter and bake at 190℃ for 45-60 minutes. Check with toothpick to see if it’s baked. Mine took one whole hour.

Note: Around the 40 minute mark I covered the top with aluminum foil as it was getting a little brown.

DSC_0672
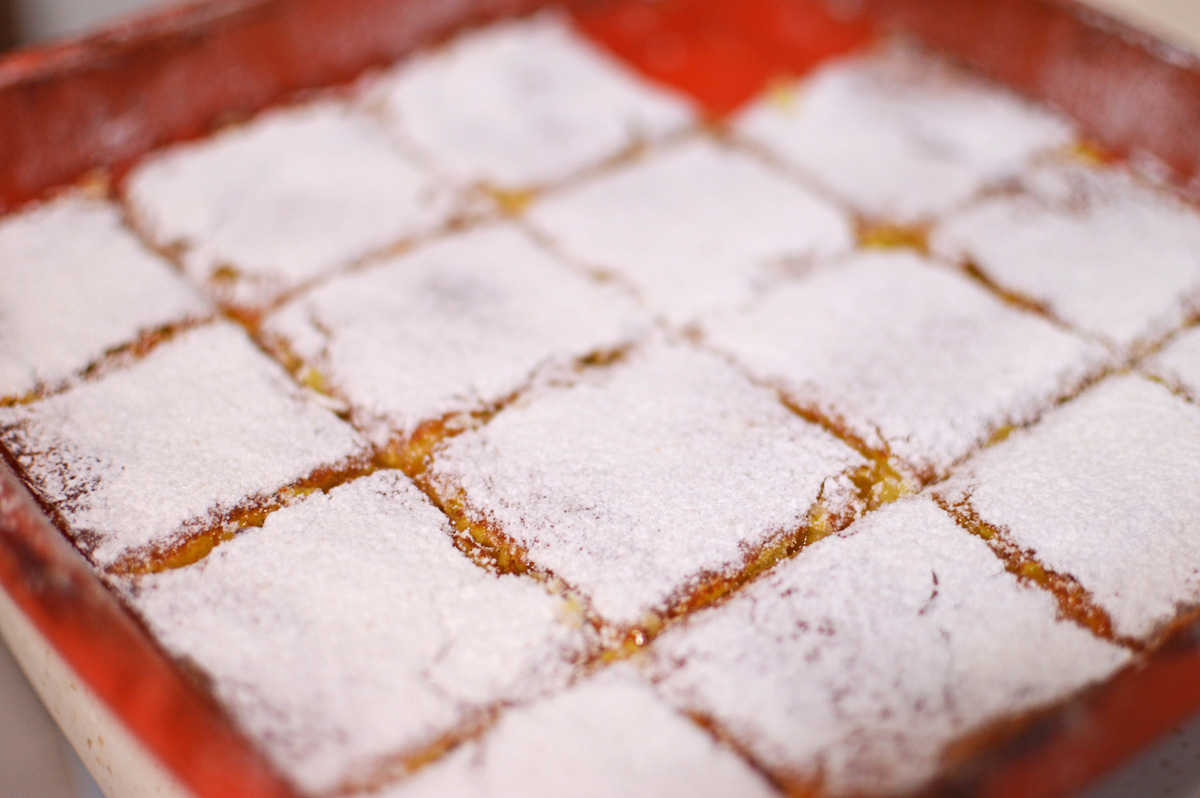
Here’s another delicious picture. Enjoy!!


Thyme scented bread


DSC_0599It’s been a while since I posted anything, but only because it’s been extremely, annoyingly, unbelievably, obnoxiously, stinging, frigidly cold. Yes it’s been very cold and some more. I don’t think there was ever a moment when it wasn’t snowing, or raining or hailing or a combination of all three. The weather is slightly better now. It’s not as frozen and water doesn’t seem all that spiteful but it’s severely cold still and of course there is nay a ray of sunshine.

What’s a carb loving gal to do in this hateful weather.. why of course bake some bread and shove it down in one big cartoonish gulp, because as I write I’m feasting on this ethereal scented bread, weighed down with copious amounts of butter and my computer has a severe case of the crummage.


Getting down to business, this bread is delectable, heavenly and all the good adjectives. It’s ever so slightly scented with thyme and this subtle perfume gives this bread an elevated elegance, which is so desirable in this weather. Also it’s easy and fun.

DSC_0542cBasic ingredients, except I wanted some heartiness to it, which is why I added whole wheat flour. It just takes the bread from mundane to exquisite. So..thyme, regular bread flour, whole wheat flour, yeast, sugar, salt, warm water and some oil.

DSC_0544into a large bowl, dump in your flours

DSC_0545add the salt and mix

DSC_0547into the warm water add in sugar

DSC_0548the yeast

DSC_0549mix and set aside to let the water foam in peace.

DSC_0550de-stalk the thyme in case you’re using fresh stuff.

DSC_0552once the yeast has foamed, make a well in the centre of your flour mixture

DSC_0553add in the oil

DSC_0554the thyme

DSC_0555yeasty water and mix together to form a dough. If your mixture is too dry add some more water, a teaspoon at a time, in case it’s a bit wet add some flour.

DSC_0557let it form a shaggy dough which has barely come together. Now start kneading. You have to knead for at least 10-15 minutes. It’s a good workout. You know you need it.

DSC_0558the best way to knead is to stretch it away from you.

DSC_0562then pull it back together. This gets the gluten going and the resultant dough is nice and springy. Repeat this step for at least 10 minutes and you’ll realize the dough has come to life. Trust me, you’ll just know it.

DSC_0563once it’s nice and soft and smooth and springy, form into a ball.

DSC_0567oil it slightly and let it rest for at least 1-2 hours depending on how warm your house is, making sure it’s doubled in size. 

DSC_0569once risen as you can see, it’s more than doubled, plop it out on your work surface.

DSC_0572punch it well to get rid of any air bubbles and knead again for another minute or so.

DSC_0573form into a ball.

DSC_0575and transfer on a baking sheet, bread pan or dish of choice. I dusted mine with some cornmeal but you can use semolina or flour.

DSC_0576dust some more flour on top. Cover and let rise again for another 30-45 minutes.

DSC_0578like so. mine took about 1 hour.

DSC_0580this step is completely optional, but I like doing it. I make some gashes or slashes to make it look like some artisan loaf. be careful while doing it, you do not want to deflate your bread so don’t Jackson Pollock it.

DSC_0582mmmkay!!  now bake at 200℃ for 20-25 minutes until the top is well browned and tapping the bottom makes the bread sound hollow.

DSC_0586like this!! you see this? So beautiful. You have to let it rest for at least 10 minutes. It’s going to be hellish hot.

DSC_0614ooooh mama!!! this bread is lightly specked with thyme, with a very subtle aroma. It’s soft and the whole wheat flour makes it a hearty mouthful.

DSC_0615this is what the interiors look like. It’s GORGEOUS!!!

Ingredients

Bread flour : 250 g ( 2 cups)

whole wheat flour: 70 g (about 1/2 cup)

salt : 1 teaspoon

sugar: 1 tablespoon

yeast: 1 teaspoon + a pinch

water (just warm to the touch): 250 mls (1 cup)

thyme : 1 tablespoon if using fresh or 1 teaspoon if using dried.

Oil: 2 teaspoons

Procedure: Add the sugar and yeast into the warm water and let foam. Add the flours into a large mixing bowl. Make a well in the centre and add in the oil, thyme and yeast water. Knead well for at least 10 minutes until the dough is smooth and springy.

Transfer into a lightly oiled bowl and let rise for a couple of hours until doubled in size. Once risen knead again for another minute and transfer into baking pan lightly dusted with flour. 

Dust the top of the bread with flour and let rise again for about 45 minutes. After the second rising bake at 200℃ for 20-25 minutes until the top is well browned and tapping the bottom makes the bread sound hollow.

Please give this bread a try, feel like a magician and feast like a Queen!!

DSC_0611another image to motivate you.. Enjoy!!!


Chinese fried rice


DSC_0983Zen, pure and a work of moments. These fried rice are a breeze to make and their savory, mellow, fresh taste makes it a delight to eat. They are nutritious, low-fat, versatile and catapult your leftover cooked rice into a delish meal.

This dish can be cooked using whatever leftover vegetables you have in your fridge and somehow it never goes wrong. This recipe was given to me by my Chinese friend and it is as much a pleasure to cook as it is to eat. Try this and you’d never want another recipe for your fried rice.

DSC_09441The ingredients are really up to you and what you have in your fridge, but this is as basic as it gets. Spring onions, Chinese chives, leftover mushroom & onion mix from my sandwich (this is optional), peas, carrot, red pepper, sugar, ginger, soya sauce & egg (not pictured)

I’m not using any garlic here, because my Chinese friends tell me that if a recipe includes spring onions there is no need for garlic.

DSC_0946Starting with pepper

DSC_0947De-seed, de-vein

DSC_0948and chop into about 1/4 inch dices

DSC_0949I used half of that carrot I showed in the picture simply because this was a solitary meal and how much can a gal eat?

DSC_0950carrot into two segments. each segment into three segments.

DSC_0951chopped into chunky small pieces.

DSC_0952ditto with green onions.

DSC_0953I reserve the white and light green part for the initial cooking as a flavour base and the green ones to put in later for flavour enhancement and garnish.

DSC_0954and these Chinese chives. I have a soft spot for these, and end up putting them in everything I cook.

DSC_0955As with the green onions, I use the lighter part for initial flavour base and the green part for second flavour layer and garnish.

DSC_0956Here we are with our chopped vegetables and the pictured egg.

DSC_0958Oil into your favourite wok, as you can see mine is pretty old and has seen many a burnt foods and adventures and I love it to bits. It’s my moms actually, I stole it from her and carried it to China.

DSC_0959while the oil is getting hot, here is my rice. It’s not much, but enough to feed me.

DSC_0961make sure the oil starts smoking before you add in your vegetables. The oil has to be ferociously hot. In a big swoop add in the peppers, carrots, white part of the chives,finely minced ginger and spring onions. It’ll sizzle and you’d salivate.

DSC_0963in with the peas

DSC_0966pepper, lots of it.

DSC_0967leftovers.. mushrooms in my case

DSC_0968pinch of sugar and this doesn’t sweeten anything but rather balances all the flavours.

DSC_0969finally half of the soya sauce

DSC_0971bring it all together and mix well for a few seconds.

DSC_0972add in the rice. I have here some beautiful jasmine rice, but use any rice you have.

DSC_0974mix well until most of the rice is slicked with vegetables and oil

DSC_0976now grab a handful of the green parts of the spring onions and chives and add to your hot wok. This boosts the flavours and brings together this entire dish

DSC_0977Now crack in the egg.

DSC_0978Mix until it’s scrambled and coated each rice strand.

DSC_0979Add in the remaining soya sauce

DSC_0980another handful of greens and mix and adjust for seasoning. If you need more salt and black pepper, now’s the time. My soya sauce was very salty and I really didn’t need any more salt but make sure this dish isn’t under salted. Mix well and it’s done.

DSC_0991how easy was this? rich rewards with minimum effort. You have to make this.

Ingredients

  • Rice: 1/2 cup
  • spring onions:  3-4
  • Chinese chives: 2-3
  • mushrooms: 4-5
  • egg: 1 large
  • peas: 60g (about 1/4cup)
  • carrot: 30g (scant 1/4 cup)
  • ginger finely minced : 1 teaspoon
  • red pepper: 1 medium size
  • soya sauce: 1 tablespoon
  • black pepper: 1 teaspoon
  • sugar: 1/4 teaspoon
  • salt: to taste
  • Vegetable oil: 2 teaspoons

(this recipe doesn’t really need measurements since it’s up to you, how much or how little vegetables you need. You can double or triple the amount of rice and ingredients to suit your needs)

Recipe: Chop the vegetables into 1/4 inch thick chunks. Reserve the green part of the chives and green onions for garnishing and later layer of flavours.

In a wok, heat oil and once it nearly starts smoking add in your ginger,vegetables, except the green parts of the chives and spring onions. Mix well. add the pepper, sugar and half of the soya sauce. Mix until well combined. Add in the rice and mix until the rice is slicked with oil and vegetables. Add in half the green part of spring onions and chives, crack in the egg and mix again until the rice is fairly coated with scrambled egg. Finally add in the remaining soya sauce and the remaining green parts of chives and spring onion, adjust for seasoning and serve hot.

This is not a very pungent, or overwhelmingly flavourful dish. It’s a very mild, subtle and fresh tasting rice dish. It’s pure and simple and a perfect light lunch or dinner.

DSC_0989Enjoy!!

Stoners grub: Sausage, mushroom & cheese sandwich


DSC_0935When thoughts are dull, days are cold and pleasures scarce, it’s always the food we turn to for comfort. There are days when even the idea of having something virtuous like smoothies, salads and fruits makes you want to launch a crusade against health food, you turn to sustenance. Hearty, innocent, full-bodied food that’d make you tuck in like a tapeworm, food that’d make you cry with joyous tears.

This sandwich is the stuff that voluptuous dreams are made of. It’s the kind of food you’d want to have after a night of crazy drinking or a joint too many. For days when you want to carelessly binge, for moments when you want to feel fueled and for times when you have the munchies for planet portions of feel good food, this sandwich is a life saver.. and it’s easy enough to throw in a matter of moments.

DSC_08922This is a pretty versatile affair. You can stuff it with whatever you want, but I did mine like so… butter, cheese (emmental & cheddar), cured sausage, onion, mushrooms & bread.

Now before I start this, I’d like to mention that  this is just my version. You can make this anyhow you want, using whatever cheese, whatever meat, whatever mushrooms, in fact whatever whatever. Just make sure its got plenty of meat and cheese and butter.

DSC_0893I started with the sausages and sliced them like so.

DSC_0894into a hot pan for a few seconds just to let them warm through. These are cured so they don’t really need any cooking. That makes this recipe so much easier.

DSC_0895Now very carefully because this step call for being an incompetent chopper, chop your mushrooms. Be very casual about it, because it’s not a gourmet sandwich meant for a Michelin table.

DSC_0897In a pan or skillet, heat a tablespoon of butter along with some oil.

DSC_0898add  in the mushrooms because we want to cook them and turn them brown and get rid of their water. We don’t want a soggy sammy!

DSC_0899while that’s cooking away, in a similar incompetent fashion chop the onion. Make sure there’s nothing pretty about it.

DSC_0900check your mushrooms. add some crushed black pepper (entirely optional) but oh so good!

DSC_0902

DSC_0907while the mushrooms are cooking up, grate your cheeses. In hindsight I realized I should have used a box grater because it took me forever to grate this but it doesn’t matter, the important thing is grated cheese.

DSC_0903checking the mushrooms they looked good and almost done.

DSC_0905add in the onion and just stir it in the mushrooms. We don’t really want to cook the onions just slightly soften them. This step is done.

DSC_0909This step is essentially building up your sandwich. I have here some hearty brown bread ( I don’t know why though), but use any bread you prefer.

DSC_0910Layer on the cheese

DSC_0911Pat it down so that it doesn’t bulge up and form a hump. then layer with your mushroom onion mixture.

DSC_0912like so.. and sort of flatten it a bit to prevent a dome formation.

DSC_0915layer your sausages and while layering I realized that the sausages were a lot more than the rest of the ingredients but you shouldn’t let trivial things like these matter, so build away. Finally top it with the remaining cheese.

DSC_0916Gently place the other half of your bread on top if this structure. Press down a bit, but honestly if you stuff your sandwich to this point some meat or cheese is bound to ooze out in the most gratifying way.

DSC_0917If you have softened room temperature butter then please violently slather it on your bread, I however had very cold butter which I simply dotted all over the top.

DSC_0919Melt a generous amount of butter in a pan

DSC_0920place your bread on it and move it around a bit to let it absorb all the butter. Once you feel it’s done from the bottom, carefully flip it and cook the top side. There might be some spillage in the process but i don’t think it matters.

DSC_0938There you have it, a meal fit for the gods of carnal pleasure. Get your munchies on, get rid of your hangover, binge eat and give up yourself to some sin. This is seriously good. Eat these with some delightful baked potato fries

Ingredients

  • cured sausage or meat of your choice diced into small pieces (crisped bacon, yesterdays chicken, can of tuna, anything you love) – 100-150g (mine was 1/2 cup)
  • sandwich bread slices
  • Emmental and cheddar cheese (or any cheese you love and have readily available) – 1/2 cup
  • mushrooms – 5-6 medium size
  • onion -1/2 of a big one or 1 small
  • butter – 4 tablespoons or more
  • salt & pepper to taste

Recipe: dice the sausages into pieces and let them warm through on a hot skillet. Keep aside.

Melt one tablespoon of butter with some oil and add in the chopped mushrooms till they are cooked and their water has evaporated. Add in the chopped onions and pepper and salt and cook for another minute. You don’t have to cook the onions completely.

For the assembly, start with layering the cheese, followed by the mushroom onion mixture and then the sausages. Press down a bit after every layer to prevent the formation of any bulges.

Heat some butter in a skillet and place your sandwich on it and move around to help it absorb all the butter. Also butter the top part of your sandwich and once the bottom is nicely browned flip it over carefully.

If there is any spillage, you can always push them back into your sandwich.

Make this!!!

DSC_0937Enjoy.


Baked potato fries


DSC_0929

Potatoes!! Is there anything as comforting, as loving, as selfless, as versatile, as sexy, as sensuous as potatoes?? No, the answer is no!! Potatoes love you back they understand your feelings, they believe in giving and they care.

Sadly with modern times now, these beautiful spuds of love have been maligned as fattening food.. gasp! people are told to steer clear of them if they want to lose weight.. I say, what rot?? It’s not true. Potatoes aren’t bad for you, you’re bad for potatoes. Who thought of loading them with MSG and packing them into airy bags? you did! who thought of over salting them to the point of oblivion?? you did!! So please do not blame these humble vegetables for making you fat. Blame yourselves. Fried food WILL fatten you, it does not take a rocket scientist to know that, but when you bake these beauteous vegetables with the right amount of love, they love you back.

Case in point are these baked fries. They require no effort but give you all the love you need these winter months. Not only do they satisfy your spud cravings but they also don’t make you feel bad about it.

So for those moments of anguish when only a potato will do, bake these fries and get caught in the rapturous greed of smug satisfaction.

DSC_08521Just potatoes, garlic, olive oil (any oil really), mixed italian seasoning, paprika and sea salt.

DSC_0854before you start, line your baking sheet with foil.

DSC_0855wash and peel your potatoes. Remove any eyes and anything weird you don’t like seeing on your fries. You can keep the skin on the potatoes if you wish, just wash and scrub them really well.

DSC_0858Since my potatoes were not exactly equal in size, I cut mine to make three roughly equal sized potatoes. You don’t have to do this if your vegetables are symmetrically proportional.

DSC_0861I cut each potato segment into three, because I don’t exactly like very skinny fries, but if you do, please go ahead and make them as thin as you like.

DSC_0862So many potatoes.

DSC_0866I cut each segment in three’s.

DSC_0869I had almost equal sized fries, those which were a bit thick I cut them to size. Nobody messes with the size okay!

DSC_0870Into a pot of cold water to rinse away the starch. Let these be for a while now.

DSC_0871Now about their massage oil. Peel your cloves of garlic and mince them fairly well or chop, whatever you prefer.

DSC_0872add the seasoning mix. I’m using dry simply because It’s too cold and I have no fresh herbs left, but if you wish you could as easily use them fresh. Dried is just easier. These mixed Italian seasonings are pretty nifty.

DSC_0875in with the paprika. As little or as much as you like.

DSC_0876a glug of oil. This is about a tablespoon, but you could use more, you could use less.

DSC_0879stir with a spoon of choice until all is well combined.

DSC_0880Drain the potatoes and pat them dry with a kitchen towel or cloth of your choice.

DSC_0882give them a good pat. You want them completely dry.

DSC_0883tumble onto your lined baking sheet

DSC_0885make sure there isn’t a single wet spot. (snigger)

DSC_0887pour over the massage oil and this gets a little messy because you need to use your hands to evenly coat them

DSC_0888like so. Make sure the oil is distributed evenly and that every piece is well bathed.

DSC_0889sprinkle on the salt and into the oven at 200℃ for 35-40 minutes.

DSC_0906this is what they looked after 30 minutes of baking and the kitchen was smelling so divine. Garlic infused herbal incense. I was mesmerized and hungry.

DSC_0914

like this at 38 minutes of baking, and I turned on the broiler for about 2 minutes because I was getting impatient and I love it when they turn golden and crisp on the top.

DSC_0924like so!!

How were they? what can I say? see for yourself. They were beautiful, they were crispy on the outside and fluffy on the inside. I gave them a final sprinkling of salt before I served them.

DSC_0929A flask of masala tea and potato fries.. what more can I ask this winter?

Ingredients

Potatoes (as many as you want)

Garlic- 2 to 3 cloves

Italian seasoning – 1 teaspoon

Paprika – 1 teaspoon

Salt to taste ( I used 1 1/2 teaspoon of sea salt)

Olive oil/any vegetable oil – 1 to 2 tablespoon

RECIPE: Line a baking tray with aluminium foil. Wash and peel your potatoes and cut each into 3 segments and each segment into two or three fries, depending on how thick or thin you want them. Soak them into a bowl of cold water to remove excess starch.

Into a separate bowl, mince your garlic, add in the Italian seasoning, paprika and oil and mix well.

Drain the potatoes and dry thoroughly.

Tip them on your aluminium lined baking tray and pour over the prepared oil mixture and coat every fry with the mixture, making sure they’re all evenly coated.

bake at 200℃ for 35-40 minutes until deeply golden. Depending on your oven the baking time will vary. In some ovens it might take longer in some lesser, so keep an eye.

Enjoy!!


Garlic basil focaccia


DSC_0616Focaccia sounds like an enigmatic lover. It’s the kind of romantic name that would roll off my tongue after going easy on the wine, when in the throws of passion I’d utter in a husky femme fatale voice and say ‘oh focaccia my love, I have killed Valentino to be with you forever’ or something idiotic like that.. except Focaccia isn’t some  chivalrous lover, it’s a chivalrous carb form, a wondrous bread if you must. A sort of flattened bread, slicked with olive oil and a treat to end all treats. Much like focaccia the lover, you’d want to take this bread back to bed with you.

Wonderful as it is, I decided to up the ante by adding in hints of garlic and basil, seeing that harsh winters were not too kindly with my basil plant I decided to experiment with focaccia and the results were nothing short of magnificent. It was delightful and not too overwhelming. The best part however, was that it was easy to make.

Not too fussy and without too many ingredients

DSC_0475Flour, sugar, yeast, salt, olive oil, basil and garlic.. also water which I forgot to picture.

DSC_0477Chop the garlic and basil not too fine.

DSC_0478we begin with the garlic part of focaccia and I do this by making some garlic oil. I didn’t want to put bits of garlic in my bread as I want the garlic flavors, but not too pronounced. Heat some olive oil in a pan or vessel of choice.

DSC_0480add in the chopped bits of garlic

DSC_0485let the oil heat up slowly sizzling the garlic

DSC_0486slowly as the oil heats the garlic will start oozing its flavours.

DSC_0487like so..

DSC_0488and when it just starts turning brown you turn off the heat because they will keep getting darker in the hot oil.

DSC_0489at this moment when the oil is really hot you also add in the chopped basil

DSC_0490 the basil will sizzle with the garlic and you’d wonder why this aroma has never been used for creating incense sticks.

Leave it to cool and start with prepping flour for the bread.

DSC_0491sugar into a cup

DSC_0493followed by warm water

DSC_0494followed by sprinkling of yeast. leave it to proof for about 10 minutes and enjoy the proofing show from afar without disturbing it please.

DSC_0495Use a big bowl or vessel of choice for the initial mixing of the flour. here is the flour in question.

DSC_0497sprinkle in the salt.

DSC_0498and mix and create a crater of sorts in the middle. This is where our liquid items will go i.e the yeasty water and the oil, and speaking of the oil..

DSC_0499aha!! it has cooled down and now we just have a small task at hand.. we need to get rid of these bits of garlic.

DSC_0500I use chopsticks, but please feel free to use fingers, spoon, fork.. it’s your oil.

DSC_0501chopsticks are efficient. this is in essence very good aromatic and strong-smelling garlic oil with a hint of basil. here is where I realized I need MORE BASIL!!

DSC_0502Back our yeasty water. see how well it has foamed.

DSC_0503Water into the flour

DSC_0504Garlic basil oil into the flour and get a mixing

DSC_0505mix with yer hands until it all just comes together.

DSC_0511you need space for kneading.. so dump it on a very very clean surface and start kneading.

DSC_0513I knead by pushing the dough forward and pulling it back. This is where I thought would be a good time to add some more basil.

DSC_0516Basil meet dough. Dough meet basil.

DSC_0517cover and knead

DSC_0518like so

DSC_0519and like this

DSC_0520keep kneading to form a smooth ball. I worked on this dough for about 10 minutes. It gives you serious muscles but if you’re not a fan of working out then by all means use your muggle gadgets.

DSC_0525Now this dough, like any other yeast dough needs to rest. I used the same bowl from the initial mixing and poured in some oil, because we do not want our lover to stick do we?

DSC_0527coat the entire dough with the oil and you can see that it’s a beautiful soft dough.

DSC_0528Cover and let rest for at least 1-2 hours or until the dough has doubled in size. If your house isn’t warm enough it might take longer but don’t fret.. it will get fatter.

DSC_0530there!! so big, so beautiful. Flecked so daintily with basil.. sigh!!

DSC_0531Now retrieve a pan or tin from the abyss of your pantry which you’d want the focaccia to bake in. Oil generously!

DSC_0533Pull your risen dough out of its hibernating vessel. You don’t need to deflate or anything, because we will soon be puncturing its smooth exterior with much-needed dimples.

DSC_0534Plop it on the oil.

DSC_0535and using your fingers, spread it to fit into the pan.

DSC_0537Like so. You only need gently coax it with your fingers and this smooth dough will fit beautifully. If you want a very fat focaccia please use a smaller, less wider pan.. however I like them lovers a bit lean so…

DSC_0539Now we oil it more, because it’s focaccia and it needs the good stuff. be sure to use good olive oil all the way.

DSC_0540Massage in the oil gently.

DSC_0543Cover well with a cling film and let rest again for another 45 minutes or until the dough has visibly risen and puffed up.

DSC_0544like so.

DSC_0546It needs some more olive oil. Don’t be shy and spread on. Don’t forget this is focaccia not some virtuous salad, so spread on the oil and do not feel ashamed.

DSC_0547like so. Make sure all it’s pretty dimples have some amount of oil pooling in it.

DSC_0549scatter some sea salt on top and now it’s ready for the oven.

DSC_0550Time for celebration!! a jubilant slab of exquisite focaccia to be feasted on. devour with your eyes for now and let cool a bit.

DSC_0566while it cooled I brushed some more olive oil because why not?

DSC_0608

There you go!! Dip in some more olive oil and enjoy!!!

The garlic and basil flavors were not overwhelming but very mild and subtle. If you want bigger flavors, by all means increase the garlic and basil amounts.

Ingredients

Strong bread Flour 250g (about 2 cups)

Warm water 200 mls (about 3/4th cup)

Yeast 1 teaspoon

Sugar 1 tablespoon

Salt 1 teaspoon

Basil 10-15 leaves or more for stronger basil flavour

Garlic 1 clove (more if you want a stronger garlic taste)

Extra virgin Olive oil 75 mls (5 tablespoons) + more

Sea salt (optional) 1 teaspoon

Recipe:

Heat the olive oil in a pan and add the chopped garlic until it starts turning brown. Turn off the heat under the oil and add the chopped basil. Let cool. Once cooled discard the garlic and retain the basil.

Mix the sugar and warm water and add the yeast. Let it start foaming on top. It takes about 5-10 minutes.

In a separate bowl add the flour and salt. Make a well in the center and add the yeast water and oil. Mix until it starts clumping together and knead to form a smooth dough. In case the dough is too dry add some more water a little at a time. Knead for at least 10 minutes until the dough is very smooth and slightly springy to the touch.

Let the dough rest in a well oiled bowl for at least 1-2 hrs or until it has doubled in size.

Once the dough has risen, tip it out on a well oiled baking sheet of your choice and spread using your fingers to give it the characteristic focaccia dimples.

Smear some more oil on top and cover with cling film and let rest in until puffed up (about 45 minutes)

Once it’s risen pour some more oil ( about 3-4 tablespoons) on top and let it pool in the focaccia dimples. Sprinkle some good sea salt on top or regular salt or none if you wish.

Bake at 190℃ for 25- 30 minutes or until the top has turned golden and the bread has risen gorgeously.

Let cool for a bit and brush again with some olive oil.

Serve with hummus (see recipe here) or just plain olive oil.

I eat mine with butter 😉

Enjoy!!

DSC_0616

Lemon bars


DSC_0472These winters when the sun is scarce and sky seems frozen, these lemon bars will inject that bit of sunshine and tang to your day. I had earlier been of the view that chocolate heals all ills, chocolate is the universal answer and that chocolate gives meaning to your life… however once I made these bars I realized It’s actually these sweet lemon bars that can actually bring about world peace. No seriously, its true!! These lemon bars aren’t just good they are dazzling with sexy oomph!

They are super chic, exquisite and the taste is like a mouthful of magnificent citrus love. It makes no sense because these bars make no sense. They are so ridiculously good, very zippy, tart, sweet and rich all at the same time. You have to MAKE THESE to believe it, and you’d say, that crazy internet girl was right about this one.

The best part about these is that they are easy to make. Not fussy like a lemon meringue pie. Easy to put together and easier still to eat. But careful, these yellow babies are rich!!

These bars are made of a shortbread base and a mouth-watering lemon filling. Here is how its done.

For the shortbread base

DSC_0402very easy. Just three ingredients. Butter, sugar and flour.

DSC_0403In a clean bowl with a hand mixer, cream the butter and sugar, until it’s umm creamed. It should resemble something like this or better.

DSC_0405Add in the flour and beat again

DSC_0406until it just starts clumping together. Once it starts coming together we stop.

DSC_0407Tip this shortbread mixture into a baking vessel of choice. Mine happened to be a square silicon mould (7 x 7 inches).

DSC_0409spread it around as well as you can and bake at 180℃ for 15-18 minutes or until the sides just start turning a shade brown.

DSC_0417like so. Leave this to cool and prepare the filling.

DSC_0414The filling is fairly straightforward. Just eggs, lemon juice, sugar, lemon zest and flour.

DSC_0420we start with eggs

DSC_0421followed by sugar

DSC_0423then light mixing.

DSC_0424and some lemon zest

DSC_0427add in the lemon juice

DSC_0428finally in with the flour and a good beat up.

DSC_0431Mix it until it looks something like this, which means stir without caution for a couple of minutes and you’re there.

DSC_0433tip this batter in the now cooled shortbread base

DSC_0435making sure it’s evenly spread and bake at 175℃ for 18-20 minutes

DSC_0439My oven got a little too hot, hence the tan, but if you think the top of the bars is getting browned too quickly then just tent it with silver foil. This tan is not going to affect the final outcome because it’s just pleasantly golden not overly burnished, so don’t worry. You will know the top is done when it’s just set and there’s a slight jiggle to it.

You have to let it cool complete before you do anything to it. Mine took about 45 minutes.

DSC_0441pass some powdered sugar through a sieve.

DSC_0444blanketing completely

DSC_0446cut into squares and thank Ma nature for creating lemons.

DSC_0448I cut mine into fairly small bars, simply because these are so rich and so sweet and citrusy that it’s all too easy to eat them.

You wouldn’t believe the smugness you’d feel after making these, because they come out perfect every single time, even if you’re making these for the first time. They work great as desserts and taste unexpectedly delicious. Make these Now!!


Recipe

For the shortbread

butter 110 g ( a little less than 1/2 cup)

powdered sugar 30 g (about 2 tablespoons)

flour 125 g (about a cup)

– In a clean bowl cream together the butter and sugar using a hand mixer.

add in the flour and beat until it just starts to come together.

Tip into a baking dish and evenly spread to form a base.

Bake at 180℃ for 18-20 minutes or just until the sides lightly brown

allow to cool.

For the lemon filling

Eggs 2

sugar 170 g (a little less than a cup)

lemon juice 70 mls (2.5 tablespoons)

lemon zest 1 tablespoon

flour 30 g (about 2 tablespoons)

– In a clean bowl beat the sugar and eggs until smooth.

add in the remaining ingredients and mix well.

Pour over the now cooled shortbread base making sure it’s evenly spread out.

Bake at 175℃ for 18-20 until just set with a bit of jiggle. If the top starts getting too brown, tint with a foil.

Allow to cool completely and sift some powdered sugar on top before cutting into bars.

DSC_0454You do not want to miss this.

Enjoy!!


Chocolate orange cake


DSC_0162Orange and chocolate when put together, open a portal of another dimension, which leads you into a parallel universe where there is endless happiness, where eating more makes you lose weight and where lemons give you life.

Orange and chocolate form something so deep, so intense and flavourful and so unbelievably delicious that you’d think the person who discovered this was given a nobel prize or at least he should be given one asap.

This cake is so rich, so damp, dense, dark and irresistible that you wouldn’t be able to stop yourself from devouring this completely. It’s almost impossible to put in words but it tastes like a mouthful of happy malevolence. Crazy right? but this cake has to be made to believe and this is one of the best desserts you could serve at a dinner party. It’s gorgeous and it has an air of elegant simplicity with the most aromatic and not so subtle flavours of orange and chocolate.

The other best part about this cake is that it’s easy and it can be made into just one bowl.


DSC_0090Just flour, salt, baking soda, butter, best quality dark chocolate, sugar, orange marmalade, vanilla, orange liqueur (optional), eggs.


DSC_0093I started by melting the butter and the chocolate into a microwavable bowl. You could by all means use a double boiler but this was easier and faster.


DSC_0095Stir together and exercise enough restrain to not dive into this dark pool of melted chocolate and butter. It’s so easy that I’m using a tiny wooden spoon and a bowl two sizes too small to make this cake.


DSC_0098Into this add in the orange marmalade


DSC_0099the sugar


DSC_0100the orange liqueur


DSC_0101the vanilla extract


DSC_0102and stir. You can see lumps of the marmalade I put in and this is what helps the texture of this cake making it moist with small pieces of marmalade studded in the chocolate.


DSC_0111In with the beaten eggs


DSC_0113and gradually adding a bit of flour and stirring to incorporate. Instead of adding in the whole heap, add in a tablespoon at a time and gently mix in without over beating.


DSC_0117like this


DSC_0120to finally get this.


DSC_0125Into a cake mould. You can also make cupcakes out of this and more often when I have a lot of people, I actually make these into small cupcakes and these need absolutely no frosting/icing of any kind… none!!


DSC_0138Now because this cake is damp, it takes a bit longer than usual cakes but this is so glorious and intensely aromatic. It’s fabulous.


DSC_01688You really have to make this cake and see for yourself how easy it is to create something so rich and elegant yet so simple. This cake is a hit and you’d be asked for seconds and thirds. You really have to make this..


Ingredients

  • butter 125 g (unsalted)
  • dark chocolate 100g (at least 60%cocoa)
  • Orange marmalade 150 g
  • Orange liqueur (optional) 30 mls/1 tablespoon
  • sugar 120 g
  • salt 1/4 teaspoon
  • baking soda 1/2 teaspoon
  • eggs 2 large beaten
  • flour 150g
  • vanilla extract 1 teaspoon

Recipe: Melt the butter and the chocolate. Add in the marmalade, sugar, liqueur and vanilla. Stir to combine

add in the eggs and mix thoroughly.

Add the flour slowly or one tablespoon at a time and mix completely without over beating.

The batter will be very moist. Bake at 180℃ for 45-50 minutes. Let cool completely.

This cake needs no icing or frosting at all.

Alternatively you can use this recipe and make cupcakes as well.

Enjoy!!!


Lemon meringue pie


DSC_0990

This is the official dessert served to all sinners in hell. It’s also known as crack for angels! This slice of sunny gold is actually all the happiness in the world bound into a pie. It’s sweet, lemony, buttery and guilt inducing. Guilt you would happily live with, guilt that would never weigh on your conscience, guilt that would force you to commit this sin over and over again. Lemon meringue pie is also a perfect substitute for love and all those carnal pleasure everyone keeps raving about.

This is a time-consuming recipe, but that does not mean it is difficult. It’s easy and the time that takes making this is more than worth it, because time hasn’t eaten this and if it had, time wouldn’t be such an ass at times.

So let’s get the basic first!

DSC_0992this pie has three parts. The bottom pie crust which is like the tissues & the muscle fibres of a body, then it has the lemon filling which is like the soul of a body and finally the meringue which is like skin and makeup. So there you have it. This is easy stuff! let us begin

DSC_0906Pie crust ingredients: flour, water, butter, sugar and salt.

DSC_0908Make sure the butter is very cold and cut into cubes. Then into a bowl with the flour, sugar and salt we need to work the butter into the flour until it resembles fat breadcrumbs. you can either use a food processor/pastry cutter/fork or just use your finger tips and mush the butter and flour together, making sure the butter stays cold at all times.

DSC_0910this is what you want it to look like. Form this into a dough by putting in a tablespoon water at a time until it comes together to form a dough. DO NOT KNEAD!! we don’t want any gluten formation. using a spoon or a butter knife make criss cross actions until you feel the dough starts clumping at which time you shall stop and very gently with your hands form into a ball.

DSC_0913Like so!

DSC_0915Divide into two parts, Wrap them in cling film and stick into the fridge for about 20-30 minutes.

I do not have the rolling out pictures of the dough because my hands were greasy and floury but it’s very easy.

You only need one dough ball for this. Freeze the other one for the next time you want to make a pie.Once you’ve retrieved the dough from the fridge just roll it out on a lightly floured surface and keep rotating it so that it doesn’t stick on the platform. Once it’s the size of your pie tin, you need to lay it on to fit and cut the excess from the edges.

Another simple way it to break small balls off your dough and line them in the pie tray and with the back of a glass just flatten them evenly so that all the sides are covered with the dough.

DSC_0919Once you’ve lined the pie crust in the pie tin, poke some holes into it so that it doesn’t rise while baking. We are going to blind bake this pie crust, which simply means this..

DSC_0920Line your poked pie crust with aluminum foil and fill with beans/rice or pie weights if you happen to have them. This will ensure that there is no silly rising in the oven. Bake for 15 minutes

DSC_0922After 15 minutes let the pie crust out and let cool.

Now for phase 2

DSC_0924The soul of the pie: Lemon filling. You don’t need egg whites for this but you need them for the meringue, also I forgot to mention that you also need some butter (not pictured) because it’s forever alone okay?

DSC_0927Into thick bottomed sauce pan, add the sugar and the corn flour/ corn starch whatever you call in your part of the world.

DSC_0929Mix to combine

DSC_0931add water

DSC_0932lemon juice

DSC_0934On a low flame start mixing without stopping for even a second. Thou shalt not stop, no matter what. Keep stirring with a whisk, your arms will be sore but the pie will be delicious.

DSC_0939After a few minutes of whisking CONTINUOUSLY this is what will happen. It’s called magic. The corn starch/flour will form this..

DSC_0938This is what you want!

DSC_0940Put a spoonful of this hot mess into your egg yolks to temper them. You don’t want lemony scrambled eggs, so do this!

DSC_0942Put these tempered eggs back into the saucepan where we have some weird magic going, and now look at this transform

DSC_0943Very quickly add in the zest and the butter (not pictured, it’s forever alone).

DSC_0945Whisk, whisk and whisk. Keep the flame low.

DSC_0947Lift your whisk and admire your handiwork, Turn off the flame and keep it aside to cool for a bit.

Let’s get on to forming the skin & makeup of this pie.. I mean the meringue. Feel like a god!

DSC_0949Egg whites and a faithful beater

DSC_0950Beat till it’s all foamy, and add in sugar

DSC_0952Keep beating until it looks like this. It resembles whipped cream, but it is actually whipped eggs! The should look nice & shiny ok?

Assembly!!

DSC_0954Lemon filling into the pie crust now completely cooled.

DSC_0955Even it a bit

DSC_0956Top with the meringue.

DSC_0960Take a good look. I made pretty peaks!! Push into an oven and wait patiently.

DSC_0962Once the meringue is nicely browned you know it’s done. Pull it out and let it COOL COMPLETELY! you have to wait for at least 2-3 hours before you push this in your mouth. The cooling step is absolutely essential if you want an awesome pie, and as I mentioned that wait is worth it. I went out for a movie while it cooled. Just giving you some ideas..

DSC_0967And once it’s cooled you can slice it and bathe in it.

DSC_0989This is how it looks from the top

DSC_0994and from the side. If you want to know what it tasted like, then let me tell you that you’d want to take it to bed with you.

Make it this weekend.

Ingredients

For the pie crust

Flour 350 g

Sugar 1 tablespoon

Salt 1 tablespoon

Butter 200 g (cold & cubed)

Cold water 3-4 tablespoon

For the lemon filling

 3 Egg yolks

sugar 100 g

cornflour/corn starch 5 tablespoons

Butter 30 g

Lemon juice 4 tablespoons

Lemon zest 1 teaspoon

Meringue

3 Egg whites

Sugar 50 g

Recipe Into a large bowl sift in the flour, salt and sugar and add the very cold butter and work into the flour until the flour resembles fat crumbs. You can also process it. Add one tablespoon water at a time until the dough just comes together or starts clumping. Do not add too much water to the dough.

Divide the dough into two balls and wrap and refrigerate for 20-30 minutes. I use only one dough ball since my pie tin is 6 inches and freeze the rest for next time.

Roll the dough on a floured surface making sure it doesn’t stick to the surface, rotating every few seconds helps. Line in the pie tin and cut off the extra from the edges.

Make holes all over using a fork and line with aluminum foil weighing down with beans or weights. Bake in a pre heated oven at 180℃ for 15-18 minutes. Remove the foil and let it cool.

Lemon Filling: In a heavy bottomed sauce pan add the sugar, corn starch, water and lemon juice. Whisk continuously over a low flame until it starts coming together and looks weirdly congealed.

Take a spoonful of this mixture and add into the egg yolks to temper them.

Add the now tempered egg yolks into the sugar mixture and whisk again, adding the butter and the lemon zest. keep whisking for another few minutes until the mixture is hot and then remove from the flame and let cool slightly.

Meringue: Into a very clean bowl, beat the egg whites to form a somewhat foamy mixture and gradually add in the sugar and keep beating until it starts resembling shiny whipped cream and holds peaks.

Assembly: Fill the pie crust with the lemon filling and smooth it out evenly. Top with the meringue and bake at 170℃ for 30- 35 minutes or until the top starts browning.

Let cool completely for at least 2-3 hours before slicing.

Enjoy!

Homemade Pita bread


DSC_0905I ta, you ta, we all scream for pita! ok, this makes no sense but these pillowy pita breads do! No, I haven’t gone completely insane and while you can buy perfectly fine pita breads in the supermarket, they wouldn’t be nearly as good as the ones you make at home. For starters these involve your blood, sweat and tears, or just some sweat or none.

Once you’ve made your own pitas you’d not bother buying one.

After many a failed attempts at baking pitas in the oven, I decided to give it another approach and now I’d want to kick myself for never trying this out.

Let’s talk a bit about pitas made in oven. Mine just never came out that good. They would puff up and beautifully brown, but they never had that softness and that cushiony thickness to it. They’d be hard, brittle and crack, unlike these, which can be stuffed with your furniture without as much as a tear.

These were just magnificent, soft, forming beautiful pockets and absolutely delightful. these are so incredibly easy to make that you’d rather make these than drive all the way to buy one.

DSC_0854such simplicity.. I cry. handful of ingredients:Warm water, yeast, high gluten flour, olive oil, sugar and some salt


DSC_0855Sugar + water = yeast love. Make sugar the water isn’t hot, or cold. It should be just warm, like warm to the touch. You don’t need any thermometers for this, just a finger.


DSC_0856Into the sugary water we add in the yeast. I’ve used the instant dry yeast, but please feel free to use whatever yeast you have handy.


DSC_0857Mix and let it be for at least 5 minutes. In which time we can prepare our flour.


DSC_0859add salt in the flour and mix it to disperse salt evenly.


DSC_0861Make a ridiculous well in the centre of the bowl and pour in the yeasty water. NOTE: the water should be foamy and frothy by now. If the water hasn’t foamed it probably means that the yeast hasn’t activated, in which case throw out the water and start again. make sure the yeast is fresh and the water isn’t very hot.


DSC_0862pour in the water


DSC_0863and the oil, and start kneading the dough.


DSC_0865Of course I didn’t take pictures while kneading the dough, I have but only two hands. I kneaded the dough for about 10 minutes and formed into a somewhat smooth dough ball. It should be slightly springy to the touch and not very dry. I also had to add a bit more water as I kneaded.

I also lightly oiled the bowl so that dough does not stick as it sits to rise. Cover the bowl and let it be in a warm place for an hour until it has doubled in size.


DSC_0867Magic!!!! the dough has become puffy and fat and I sort of want to rest my head and sleep on it. Ok, now punch the dough to release out all the air. you heard me, punch it like you’d want to punch your ex, ripping out its entrails and dancing on them… forget that last part. Just punch it ok.


DSC_0868Tip out onto a floured surface and make sure you knock out all the air from the dough.


DSC_0870form into some sort of geometrical shape, mine looks a rectangle. Make sure it’s evenly thick from all sides and edges.


DSC_0871now cut it in equal portions.


DSC_0873I ended up having about 8 equal portions, but you could have less, you could have more depending how big or small you want your pita, but I think this was fine.


DSC_0876form these into equal sized balls and let them rest on a floured surface. I floured the tops slightly and covered with plastic wrap. let these rise for another 30-45 minutes.


DSC_0877Oooooh, these have become fat yet again. No matter how many times I make bread, I can’t keep myself from getting amazed at what yeast does. It’s magic I tell you. Here’s your letter to Hogwarts!


DSC_0878Okay, now taking individual rounds, flatten them a bit and using your rolling-pin roll these out to form….


DSC_0889These!!!! ok, I admit they could have been rounder but once these have puffed up you wouldn’t care, also as you progress your rounds will keep getting better, in theory and in life. Let them rest for a couple of minutes.

While they are resting, bring out your skillet or in my case a non stick frying pan, and put it on a medium high flame. Let it get reasonably hot and put on the rolled out dough. Flip it after about 20 seconds and after giving the other side 30 seconds flip again and…


DSC_0885This!!!! It will rise, it will puff up, you will scream and shriek and you would want to embrace everyone. It actually puffs up. It forms a pocket. this really happens, in your own kitchen!!!!


DSC_0886Flip again to let the other side cook and brown a little and look at this little thing. It’s risen majestically. Bow down and pat yourself on the back, for you are now a proud owner of homemade pitas.


DSC_0901 DSC_0902 DSC_0890These are different pitas in different stages of puffing.

OK, now the first one would probably not puff up as much as you’d want because you’d still be getting a hang of it, the skillet/pan would be adjusting heat and perhaps your flipping would be either too fast or too late, but believe me, after the first two you’d know exactly what to do and there wouldn’t be a pita that wouldn’t rise. I promise!


DSC_0898Very soon your pita pile will get bigger,


DSC_0905and bigger, and now you’re a pro..


Ingredients

Lukewarm water: 250 mls (I cup)

Flour( High gluten): 400 gms

Yeast: 1 teaspoon

sugar: 1 tablespoon

salt: 1 teaspoon

Olive oil: I tablespoon

Recipe: Dissolve the sugar and yeast into the water and let rest until the yeast starts foaming. In the meanwhile into a large bowl, add the flour and mix in the salt.

Making a well in the centre of the flour mixture add in the yeast water and the oil and knead to form a soft dough. Depending on the humidity and the flour you might want to add in more water if the dough is dry or add in more flour is it’s sticky.

Once you’ve made a smooth ball it should be slightly springy to the touch, let it rest in a lightly oiled bowl. Make sure to cover it and keep in a warm place for at least 1-2 hours depending on the rising and how warm your place is.

After it has risen it should have doubled in size. Punch it to knock the air out and tip it on a floured surface. Even it out and cut into 8 equal sized portions.

Form them into balls and let them rest again for 45 minutes until they have puffed up and increased in size.

Using a rolling pin, roll them out to form about 1/4 inch thick rounds and let them rest for another 2-3 minutes.

Heat a skillet or a frying pan on medium high heat and place the rolled out dough and after every 20-30 seconds flip it over to evenly brown and puff. After about 2-3 minutes it would have cooked through and formed pockets.

Stuff these pockets falafels (recipe here), hummus (recipe here) and roasted red peppers (here)

Enjoy!!!!